Get Started
Introduction
E2E Queue service (EQS) lets you send, store, and receive messages between parts of your application or components. This is a high-performing, reliable, E2E EQS-compliant service that can be used for high-volume send/receive operations between various components in your software stack.
How to Create EQS?
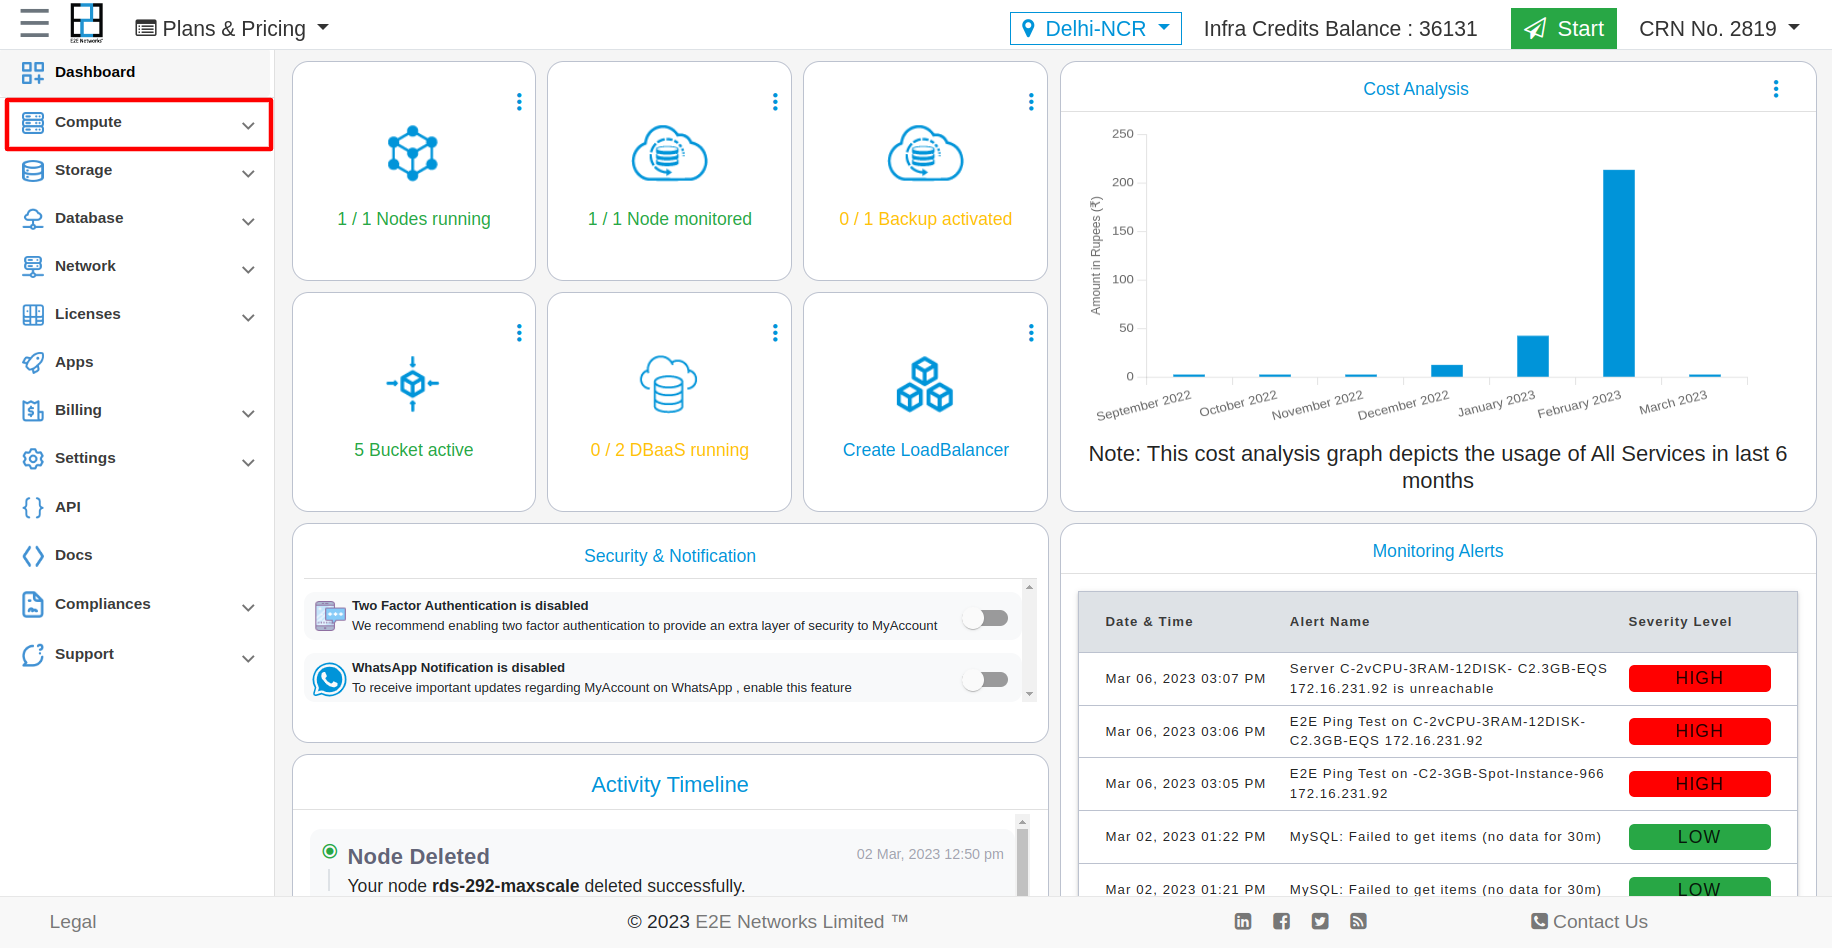
Click on Compute from the side navbar.
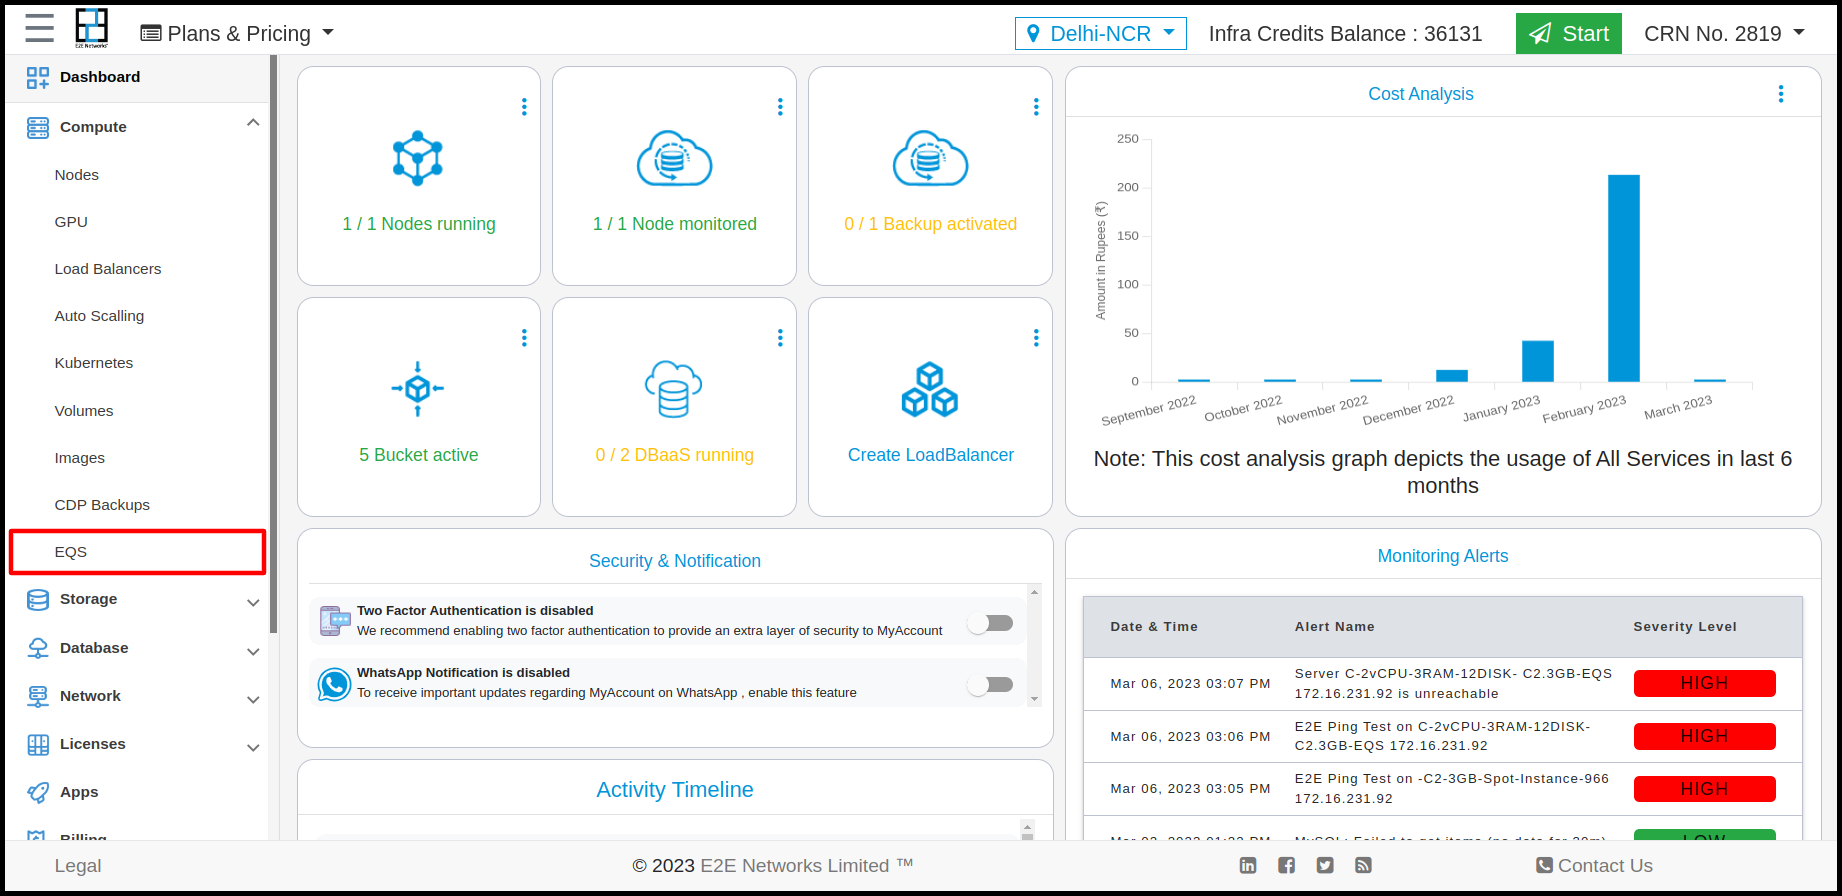
Under the compute section, users will be able to see an EQS service and need to click on EQS.
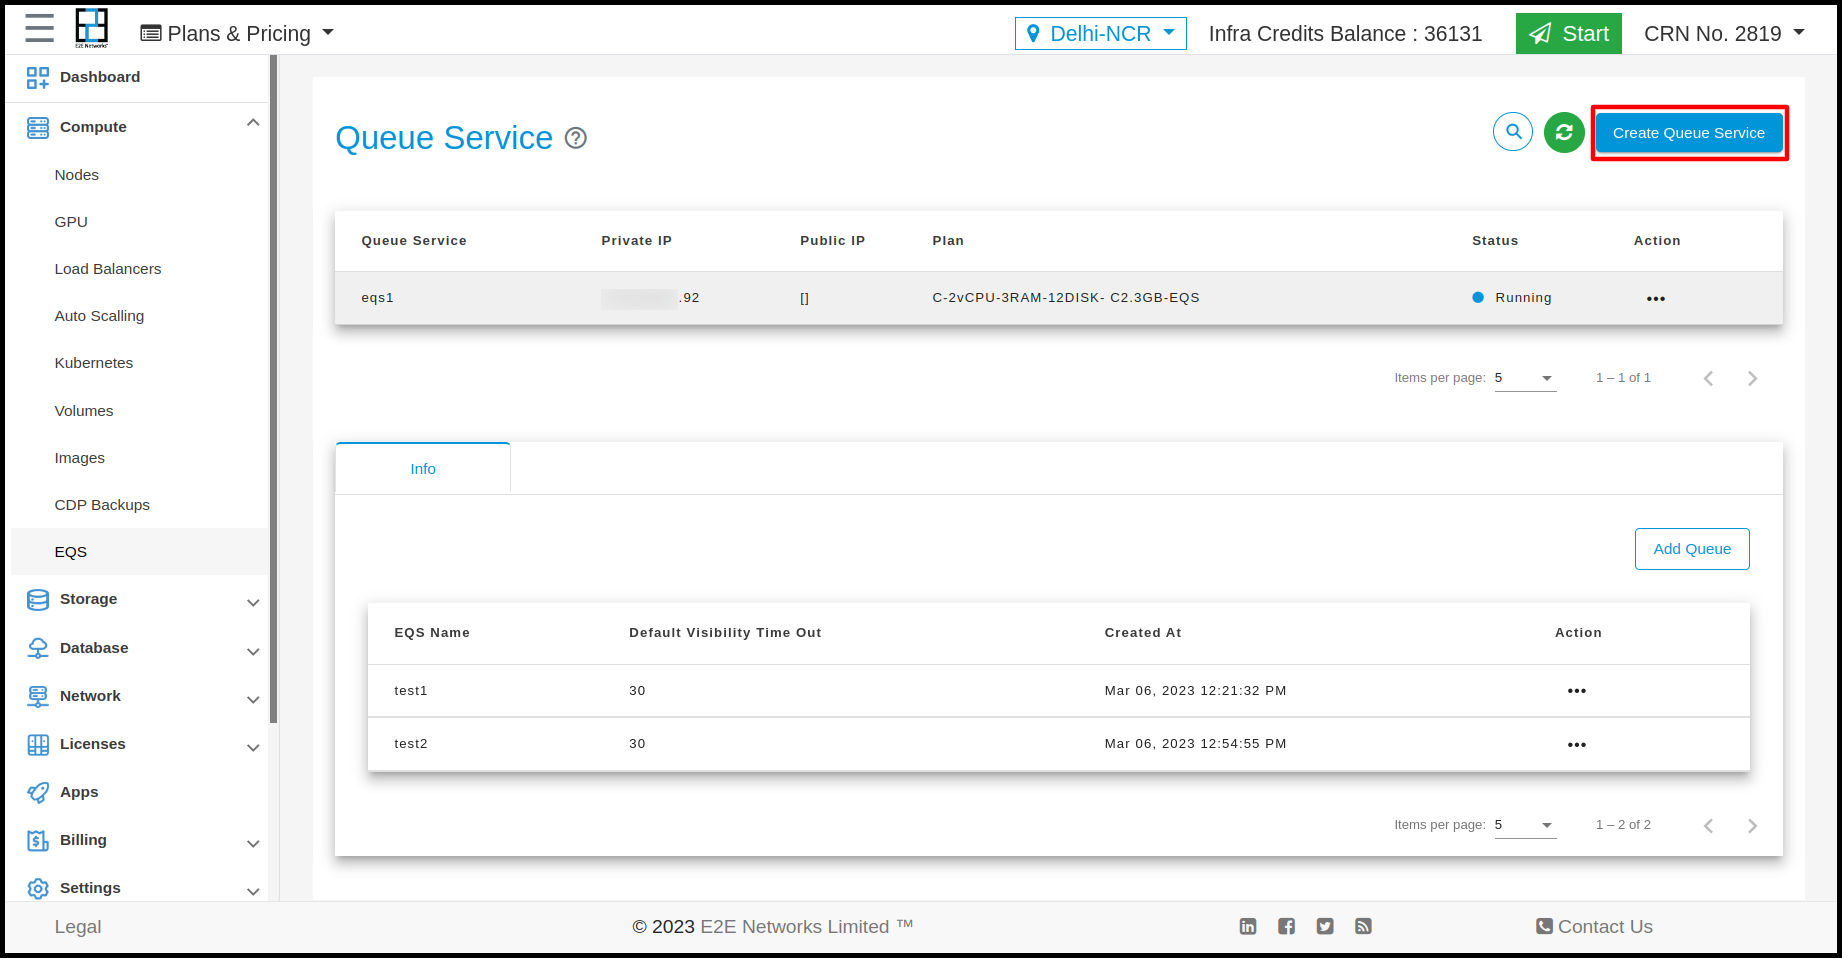
After clicking on the EQS, the page will redirect to the EQS page. To create EQS, click on the Create Queue Service button.
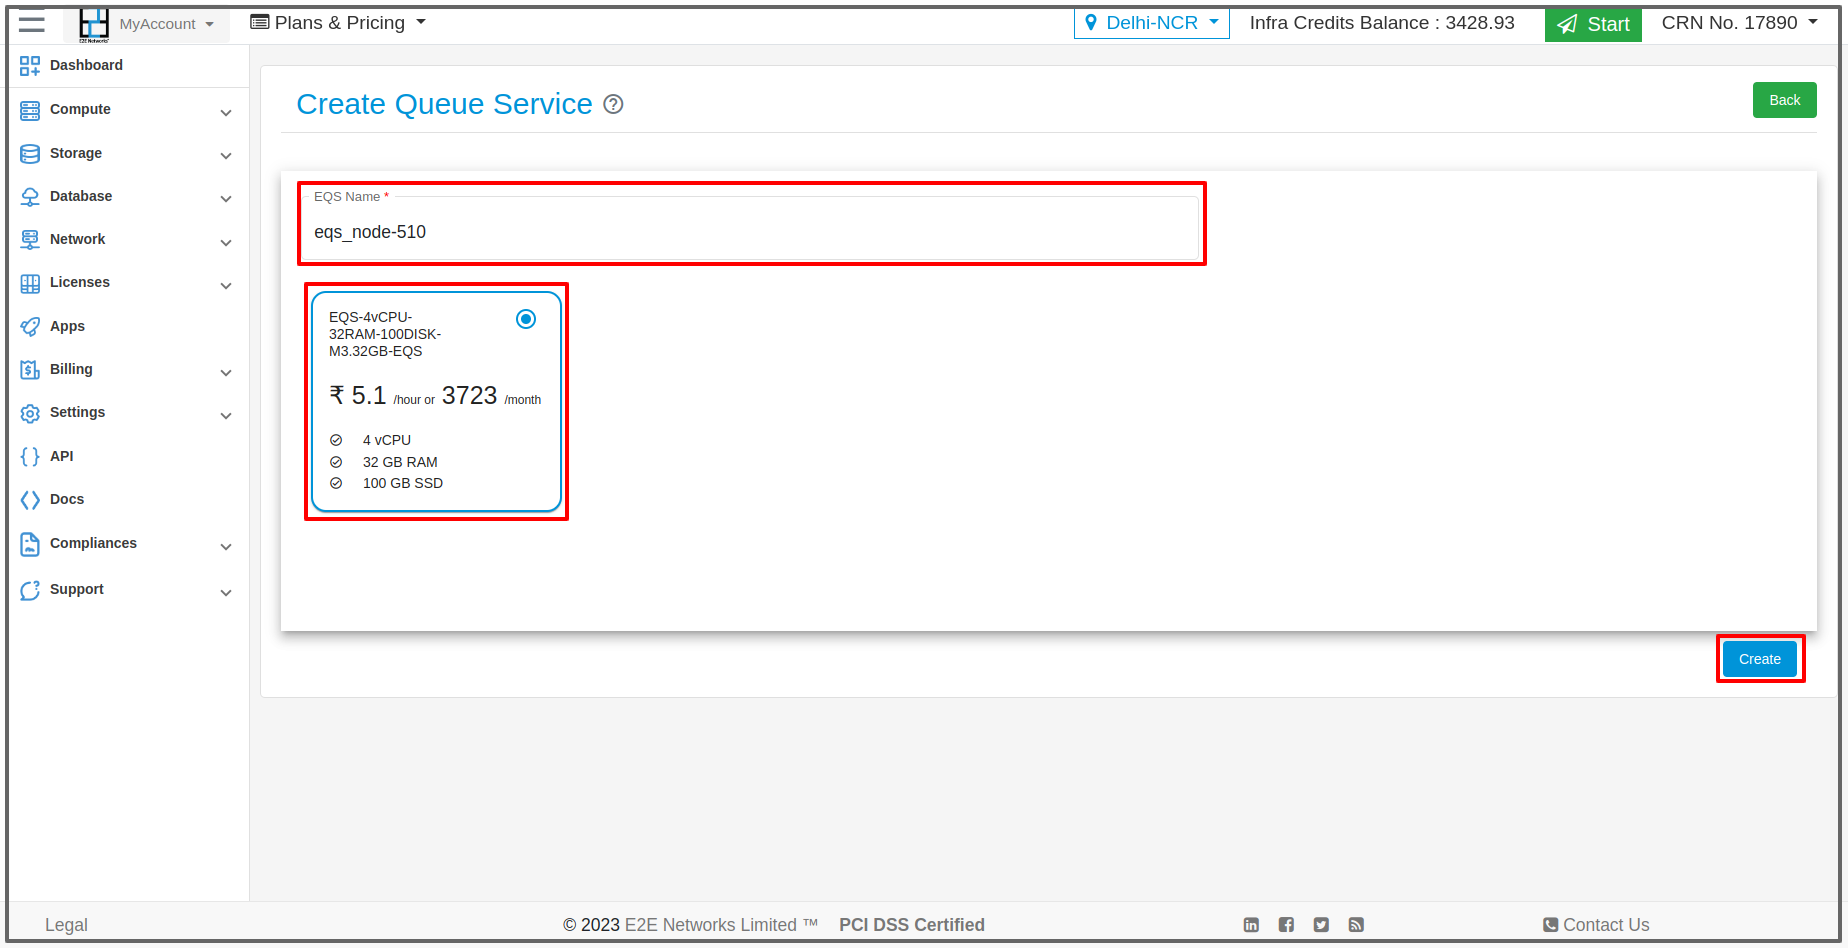
The EQS creation form will open, where users can name the EQS, select the plan according to their requirements, and optionally use VPC. Fill in the details and click on the Create button.
Once you click Create, the EQS service will be created and displayed in the list.
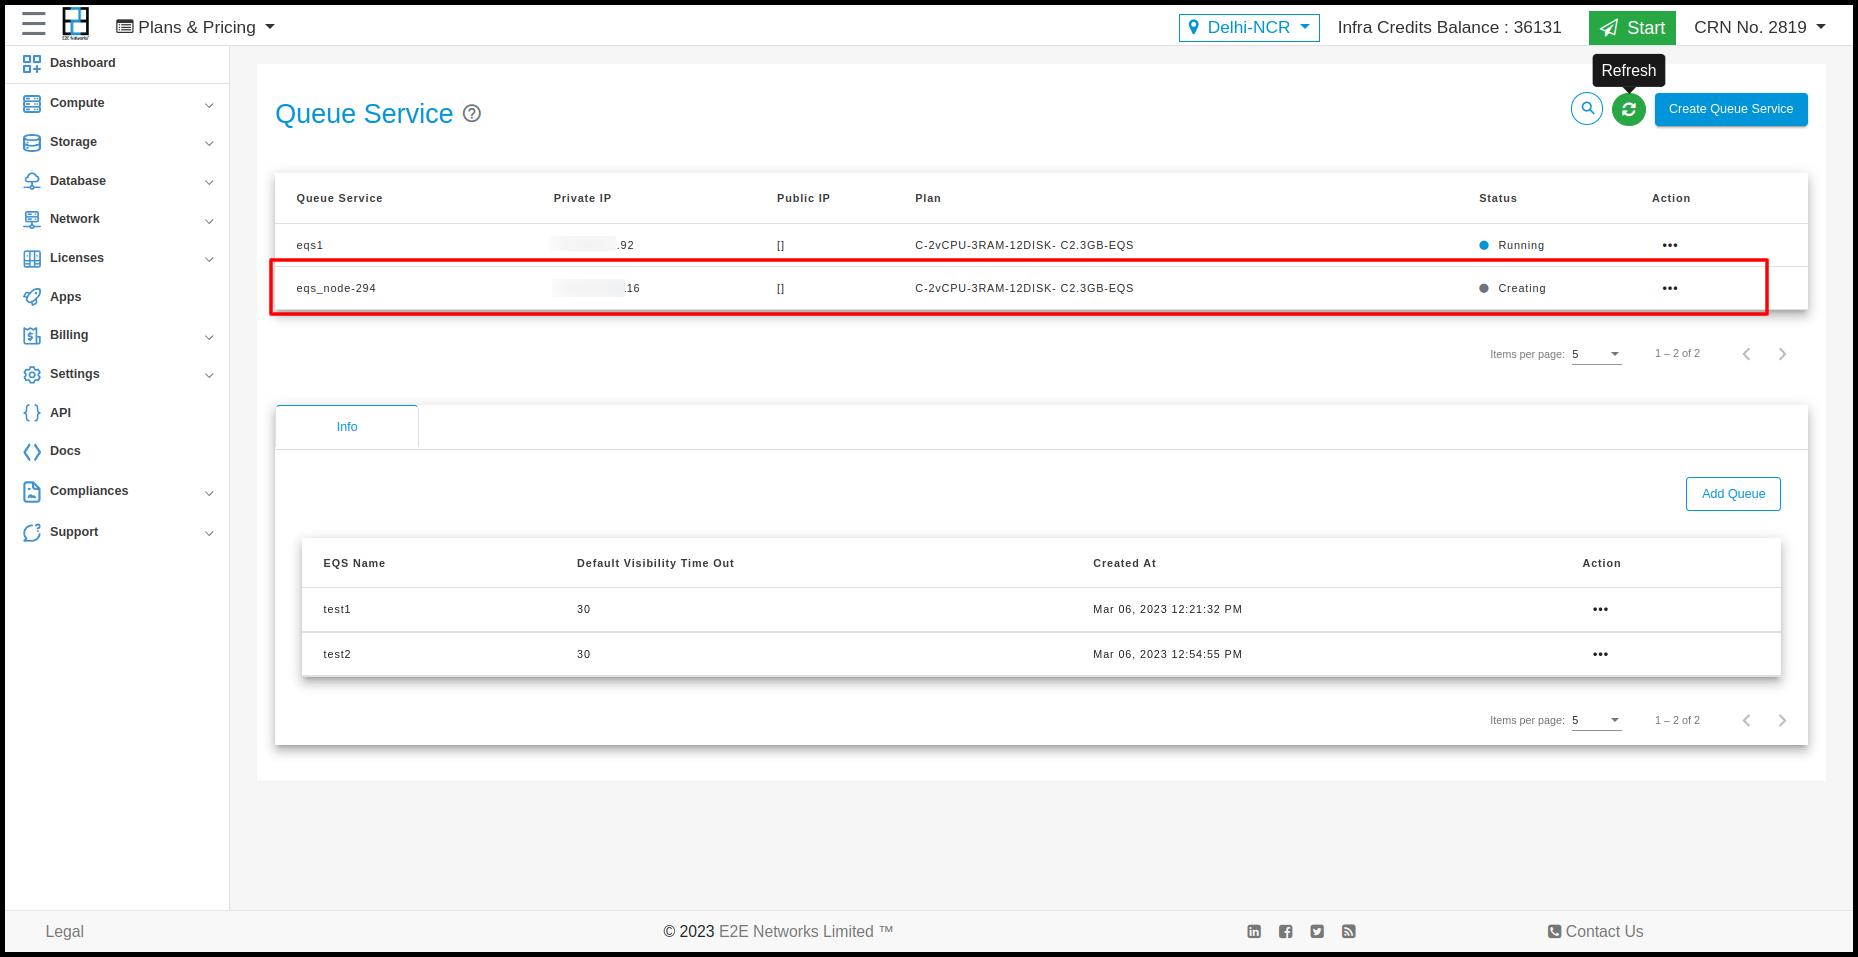
Actions
You can perform the following actions for the respective EQS:
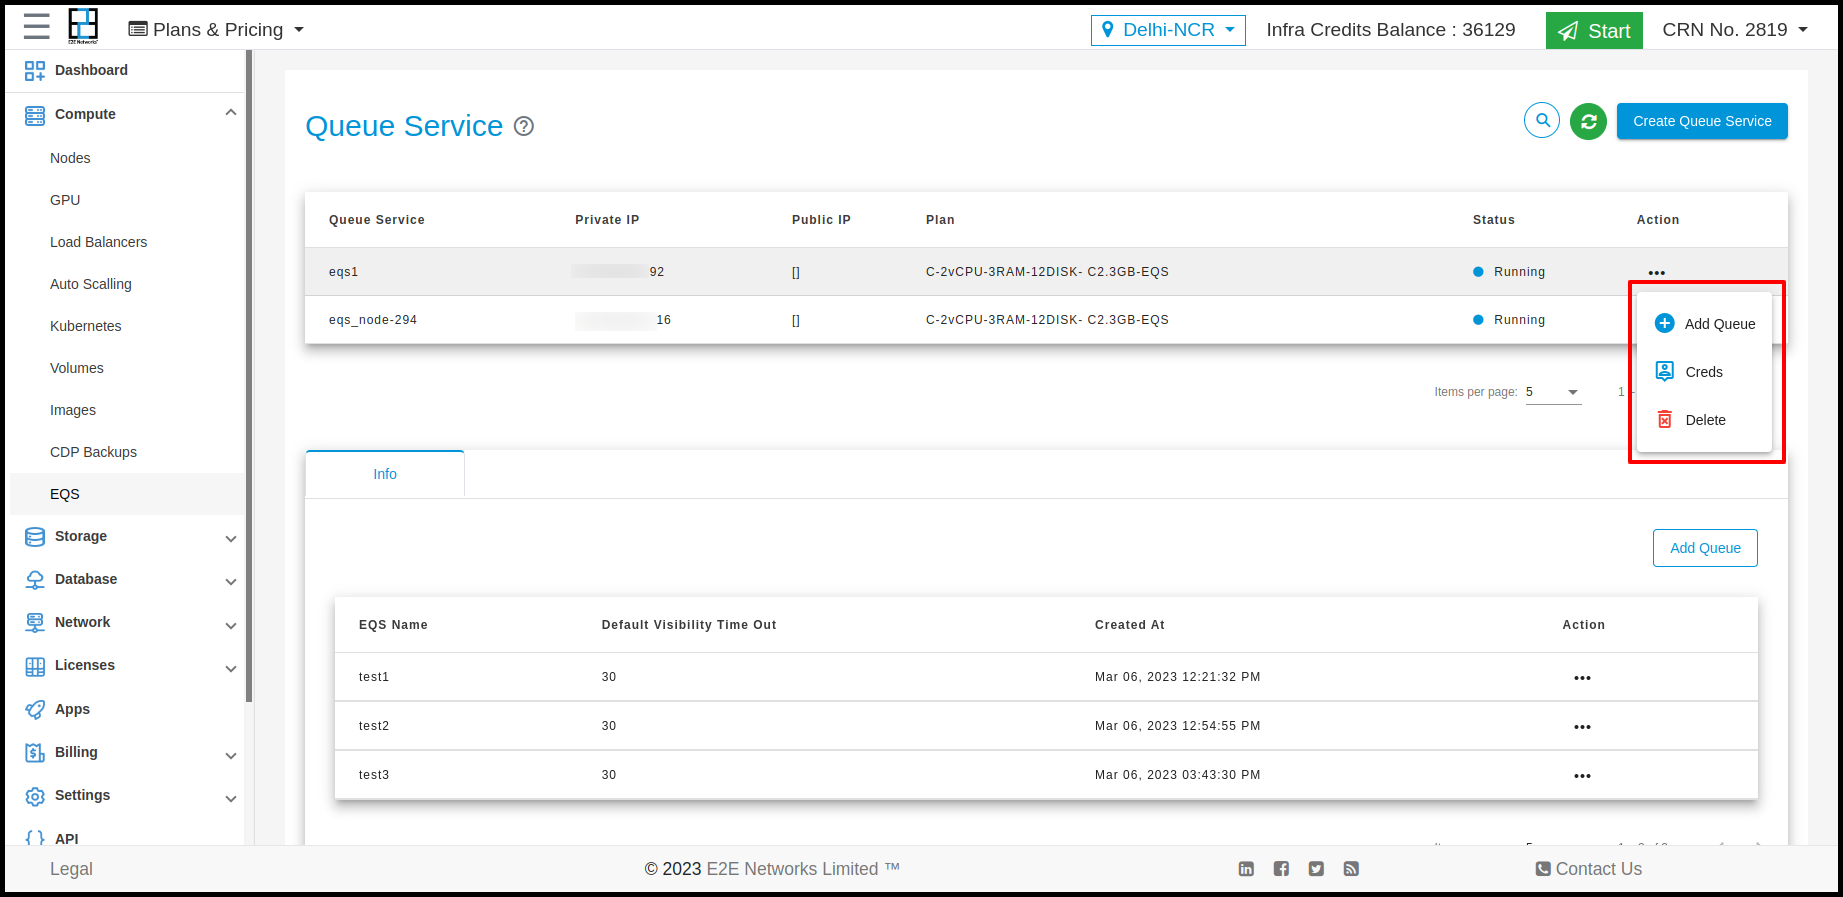
Add Queue
To create a queue, click on the Add Queue button.
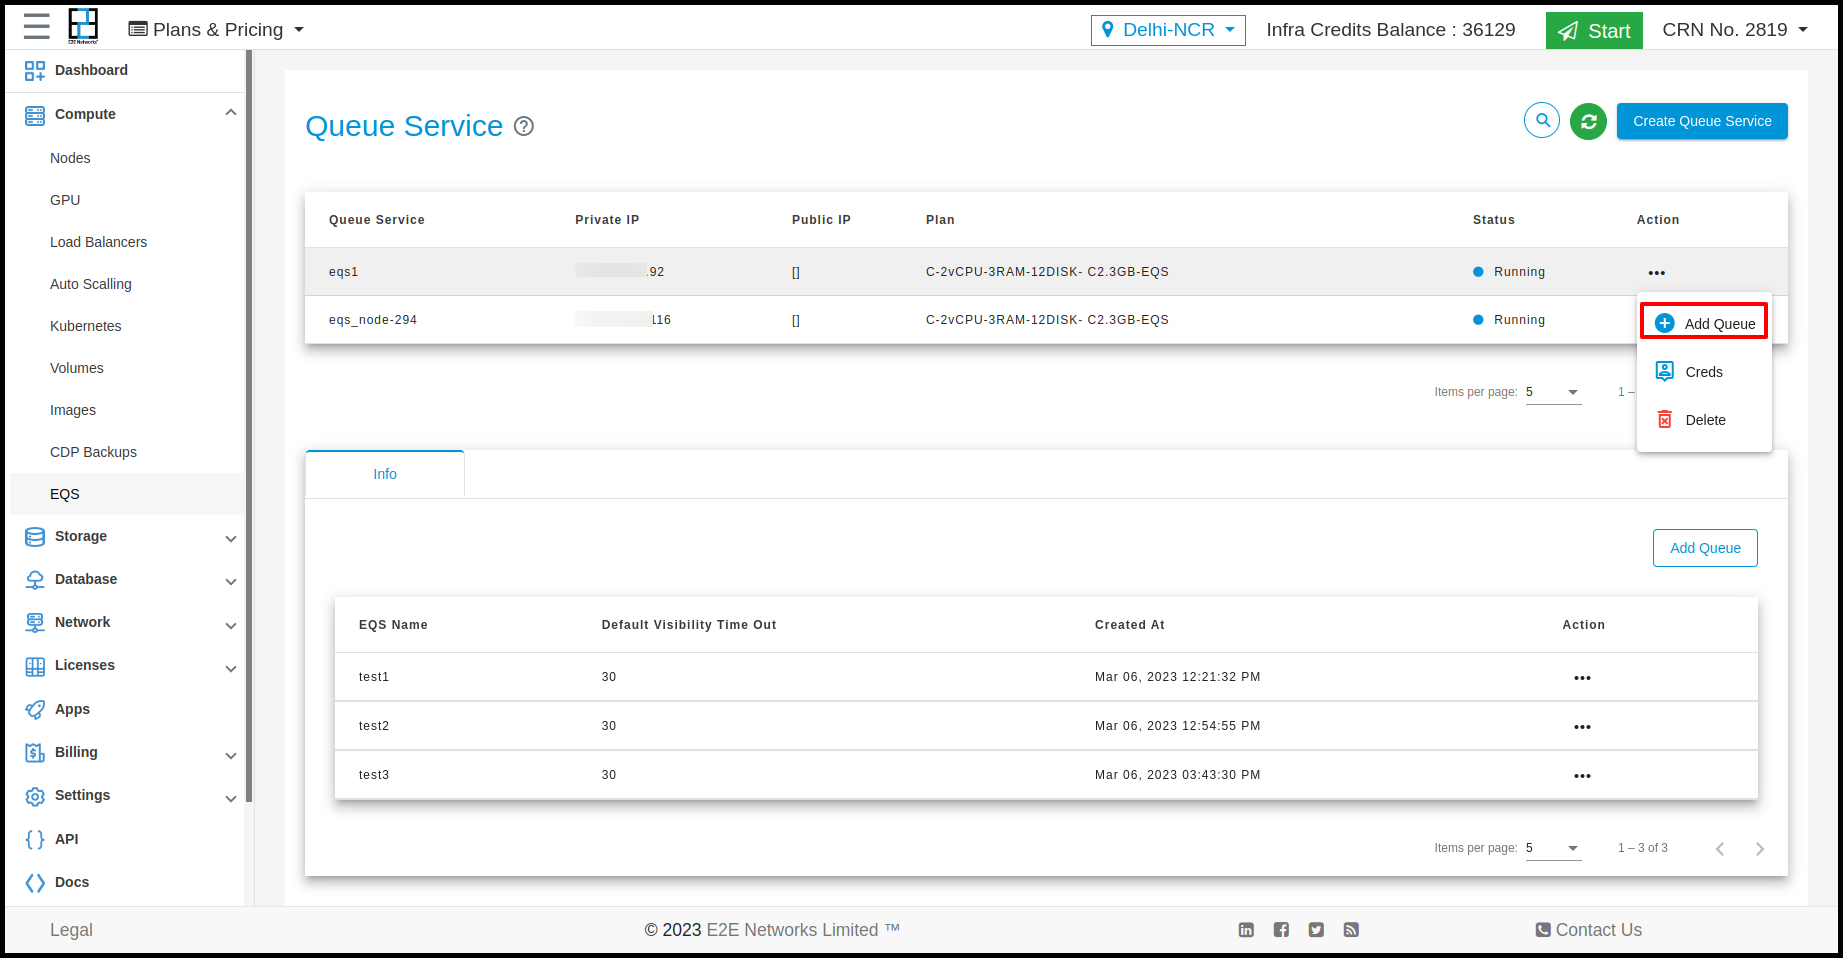
Creds
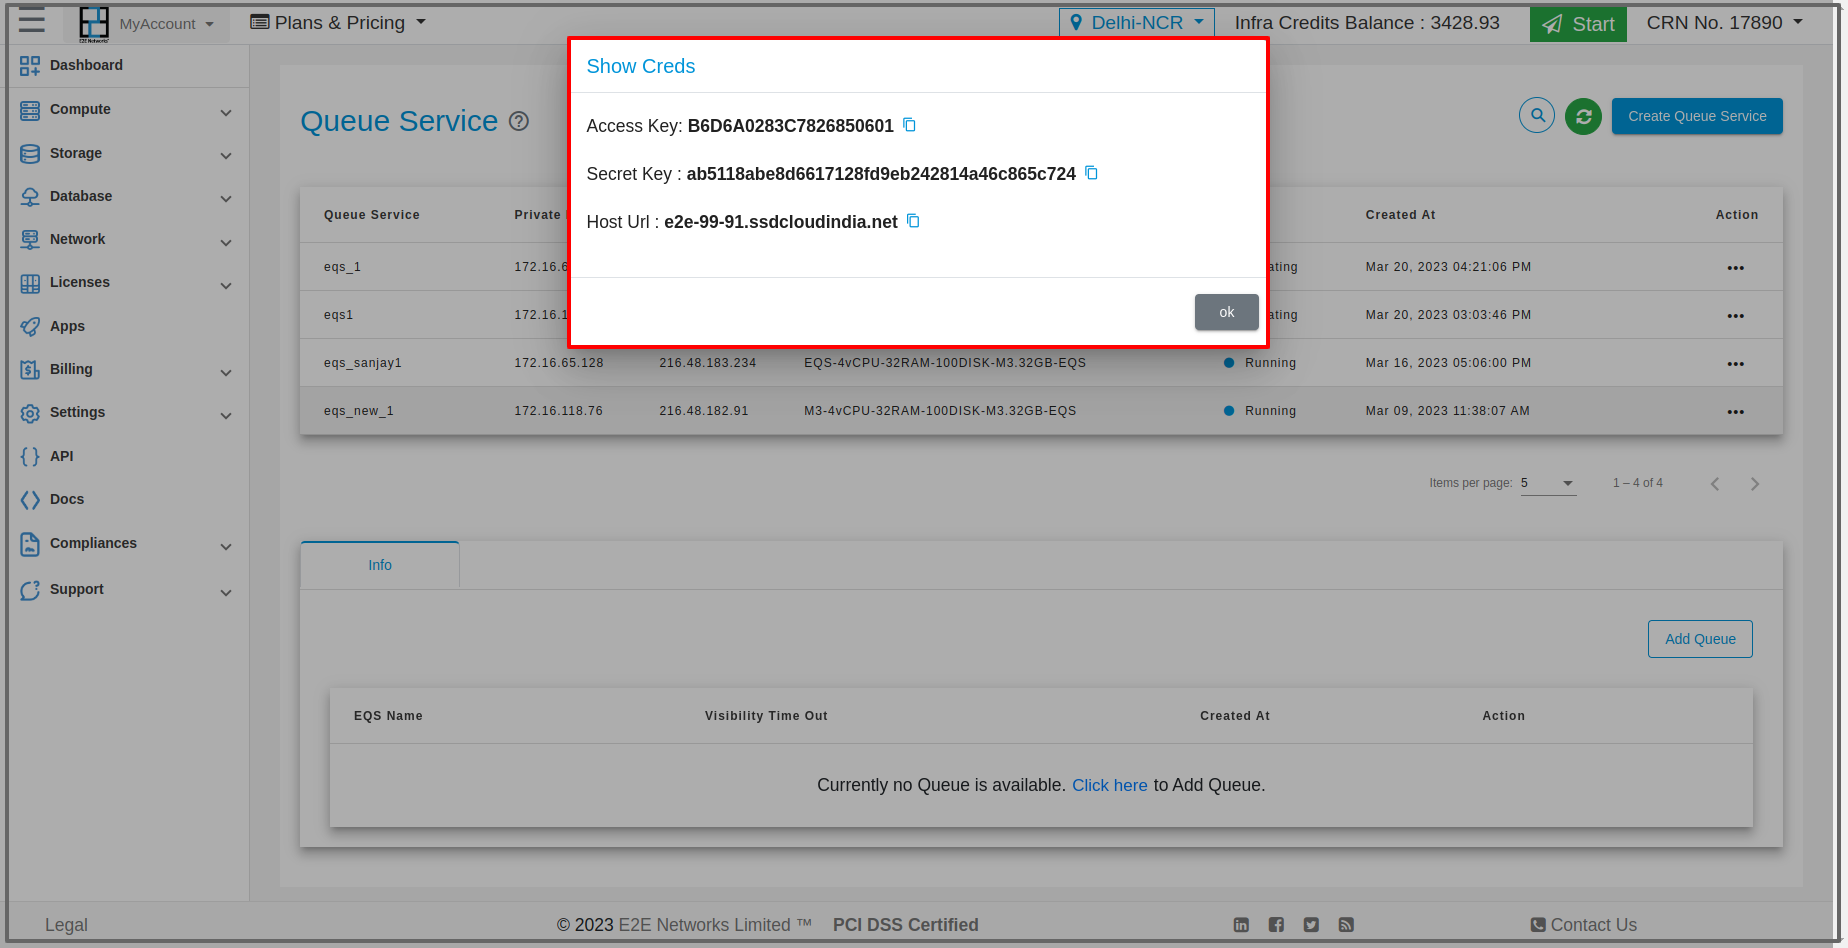
To see the credentials (such as the access key and secret key), click on the Creds button under Actions.
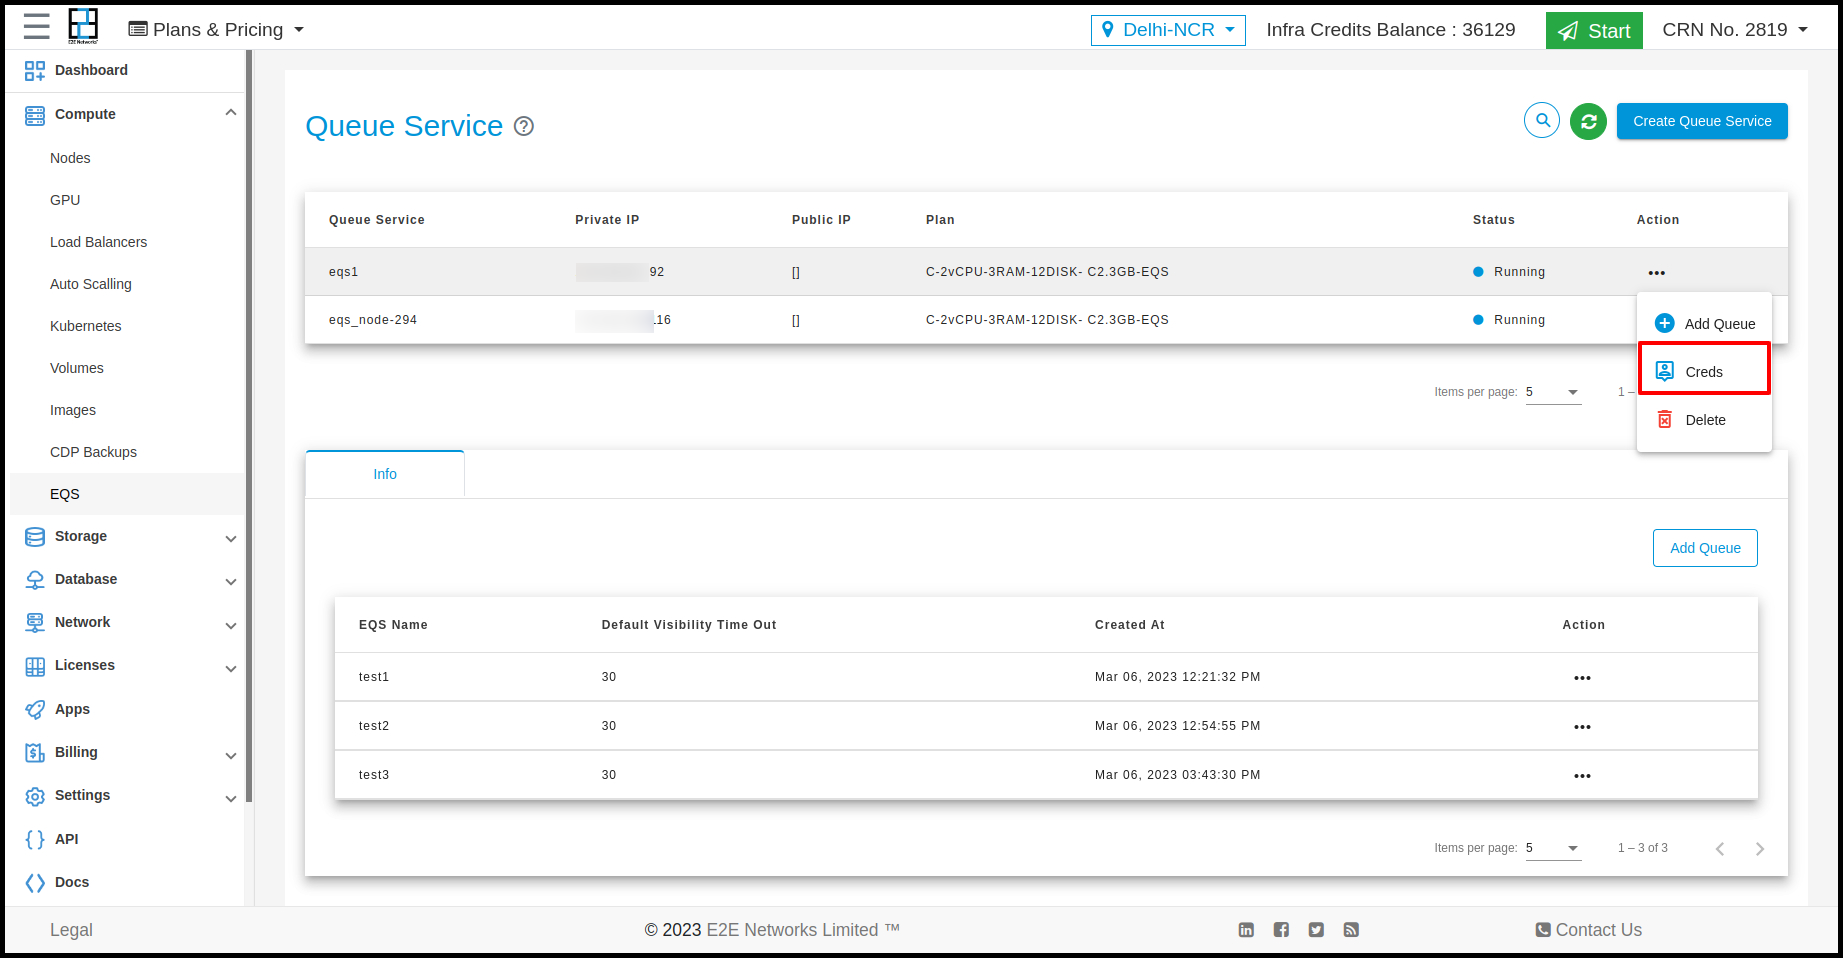
A pop-up will appear, displaying the credentials.
Delete
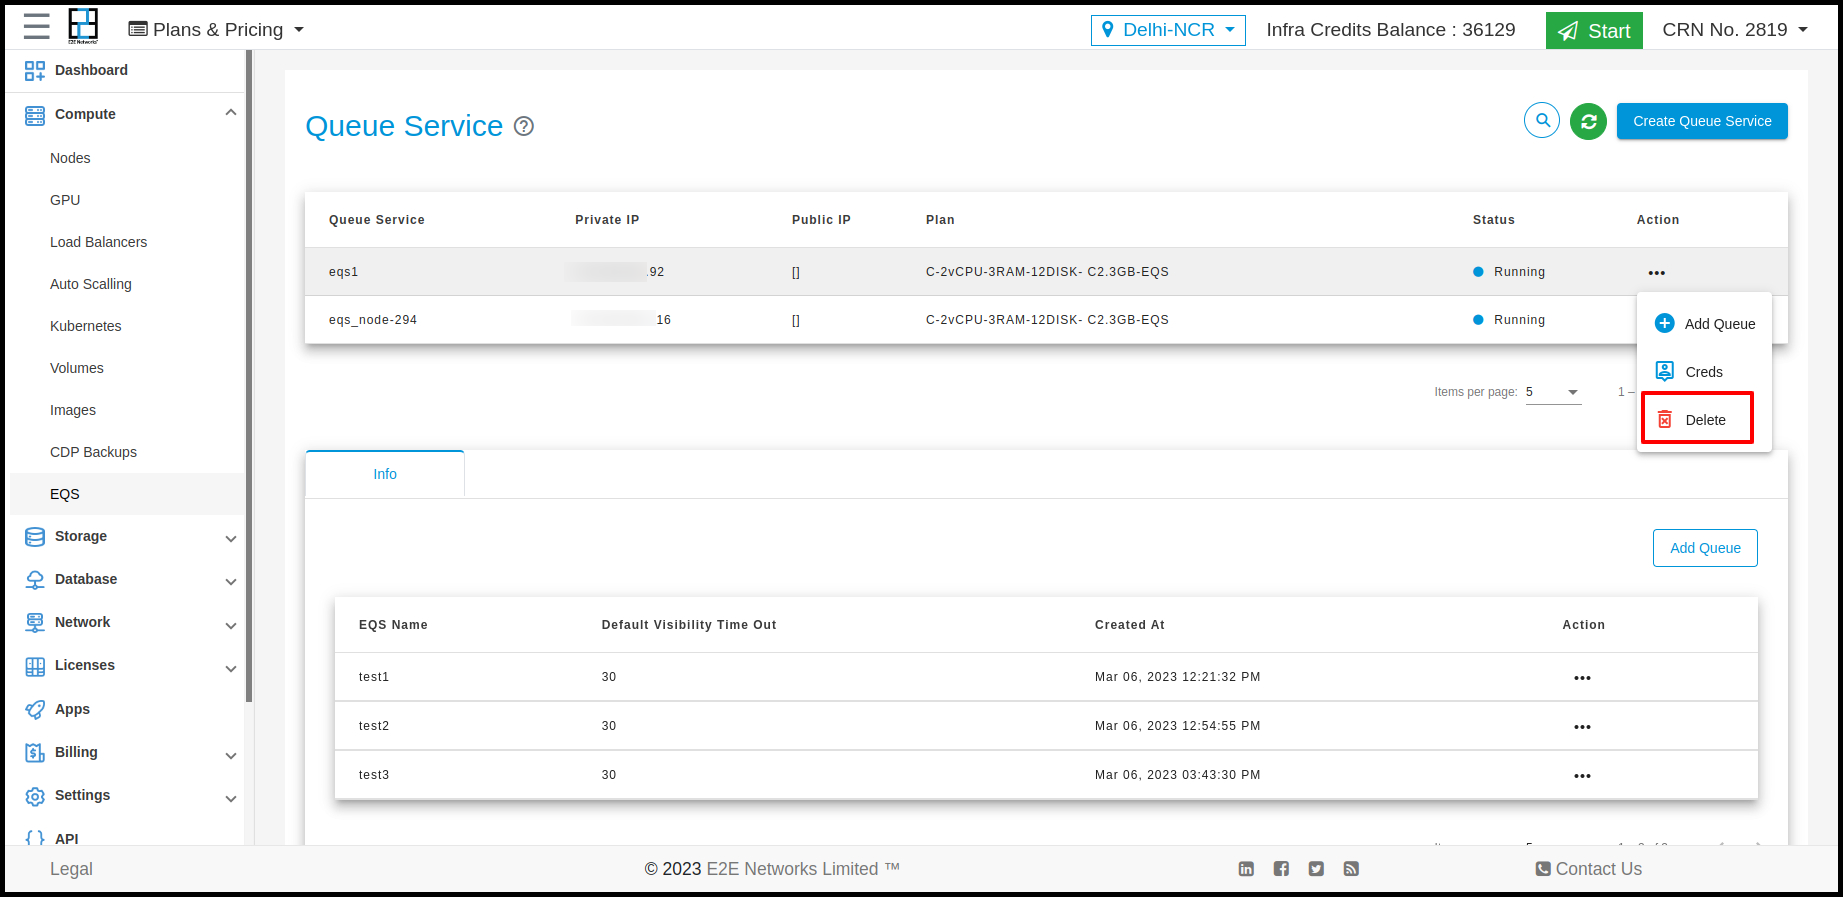
To delete your EQS, click on the Delete button under Actions.
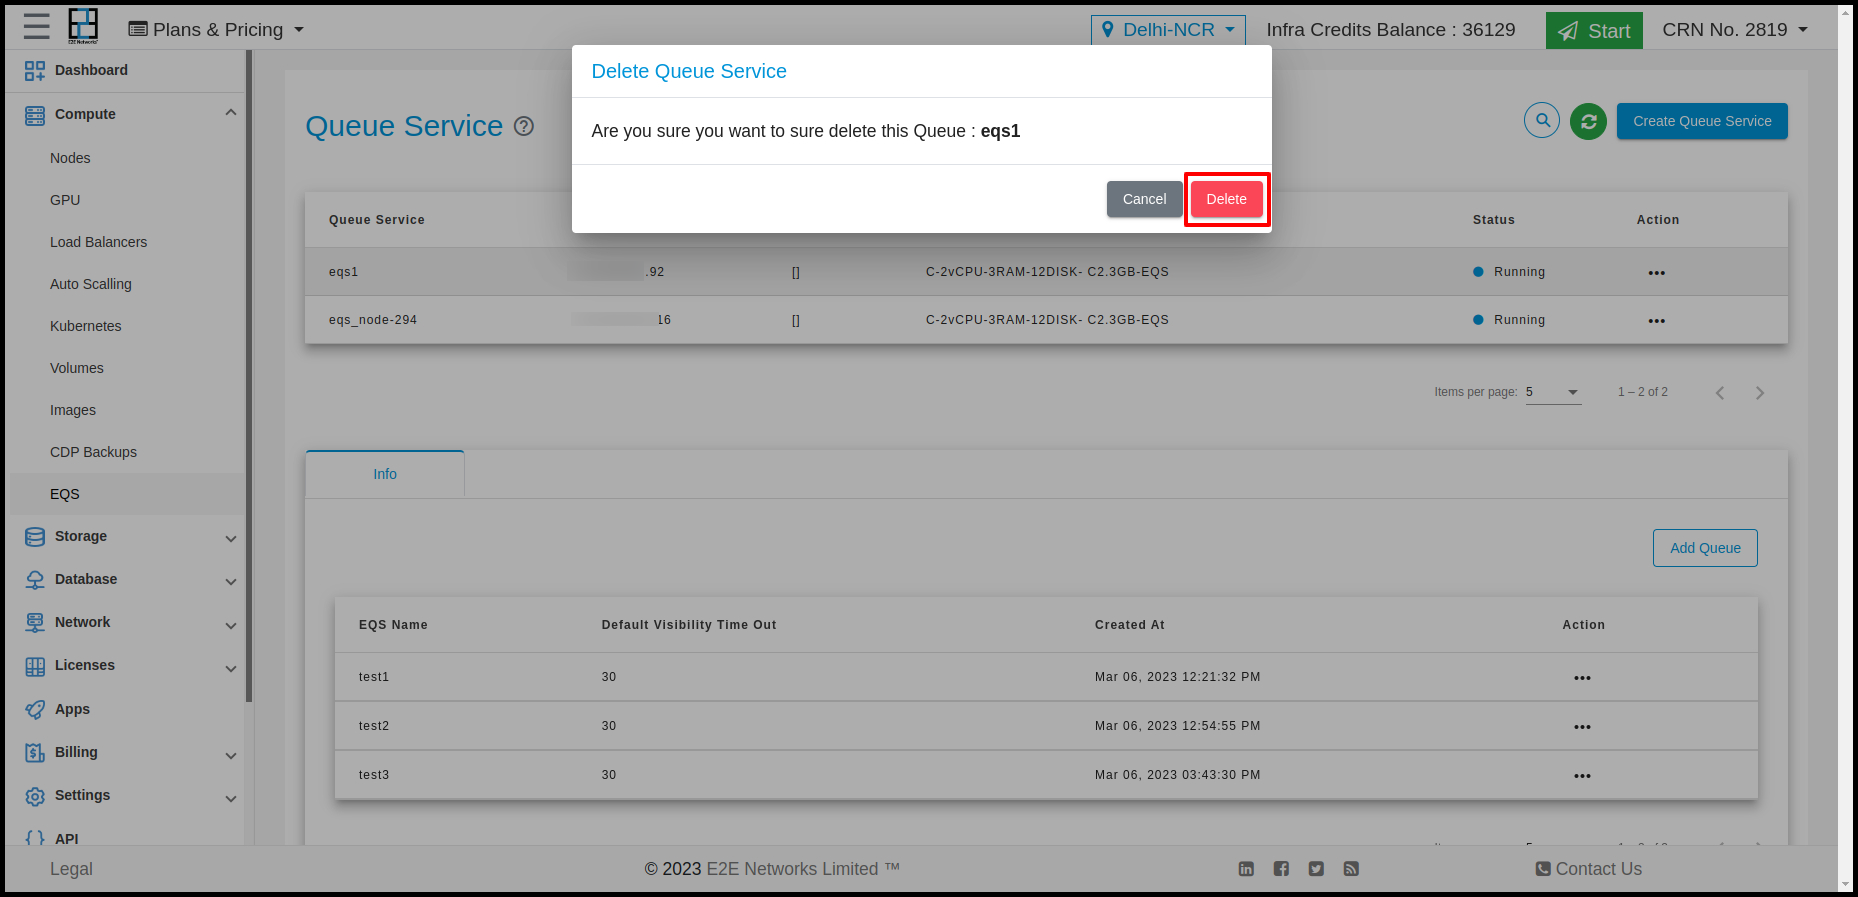
A confirmation pop-up will appear. Click on Delete again to confirm.
Add Queue under Tab
To add a queue under an existing EQS, click on the Add Queue button.
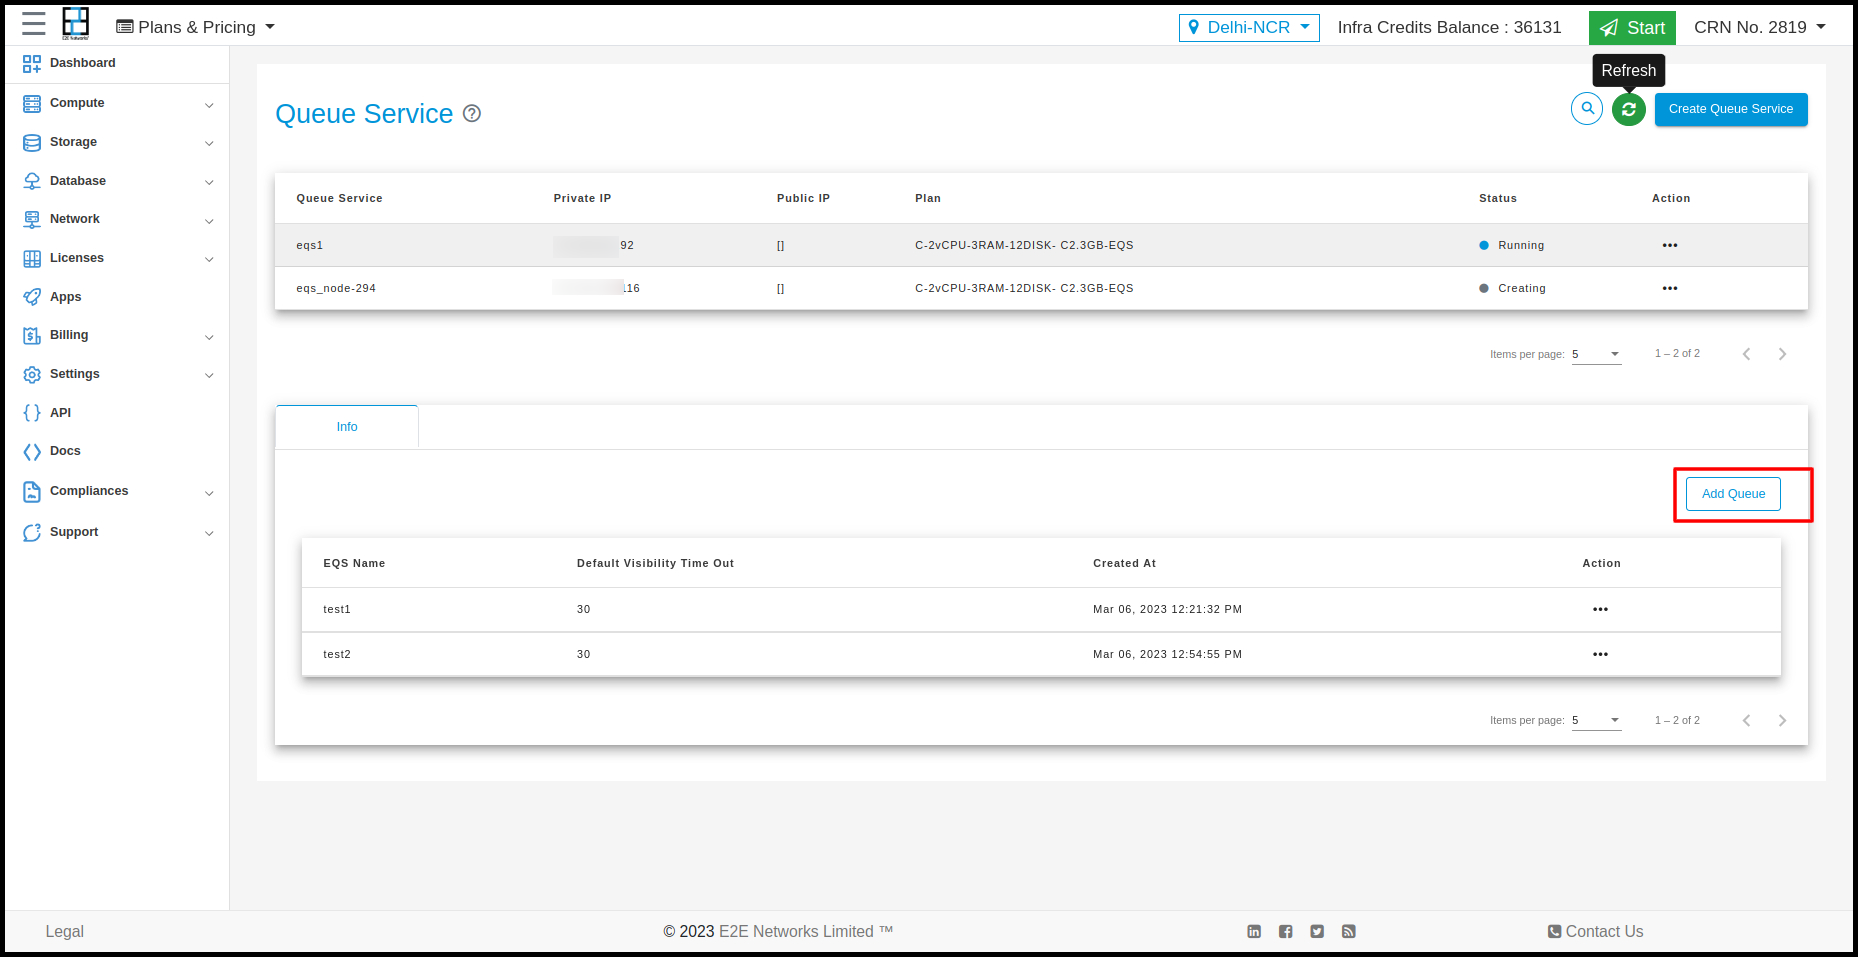
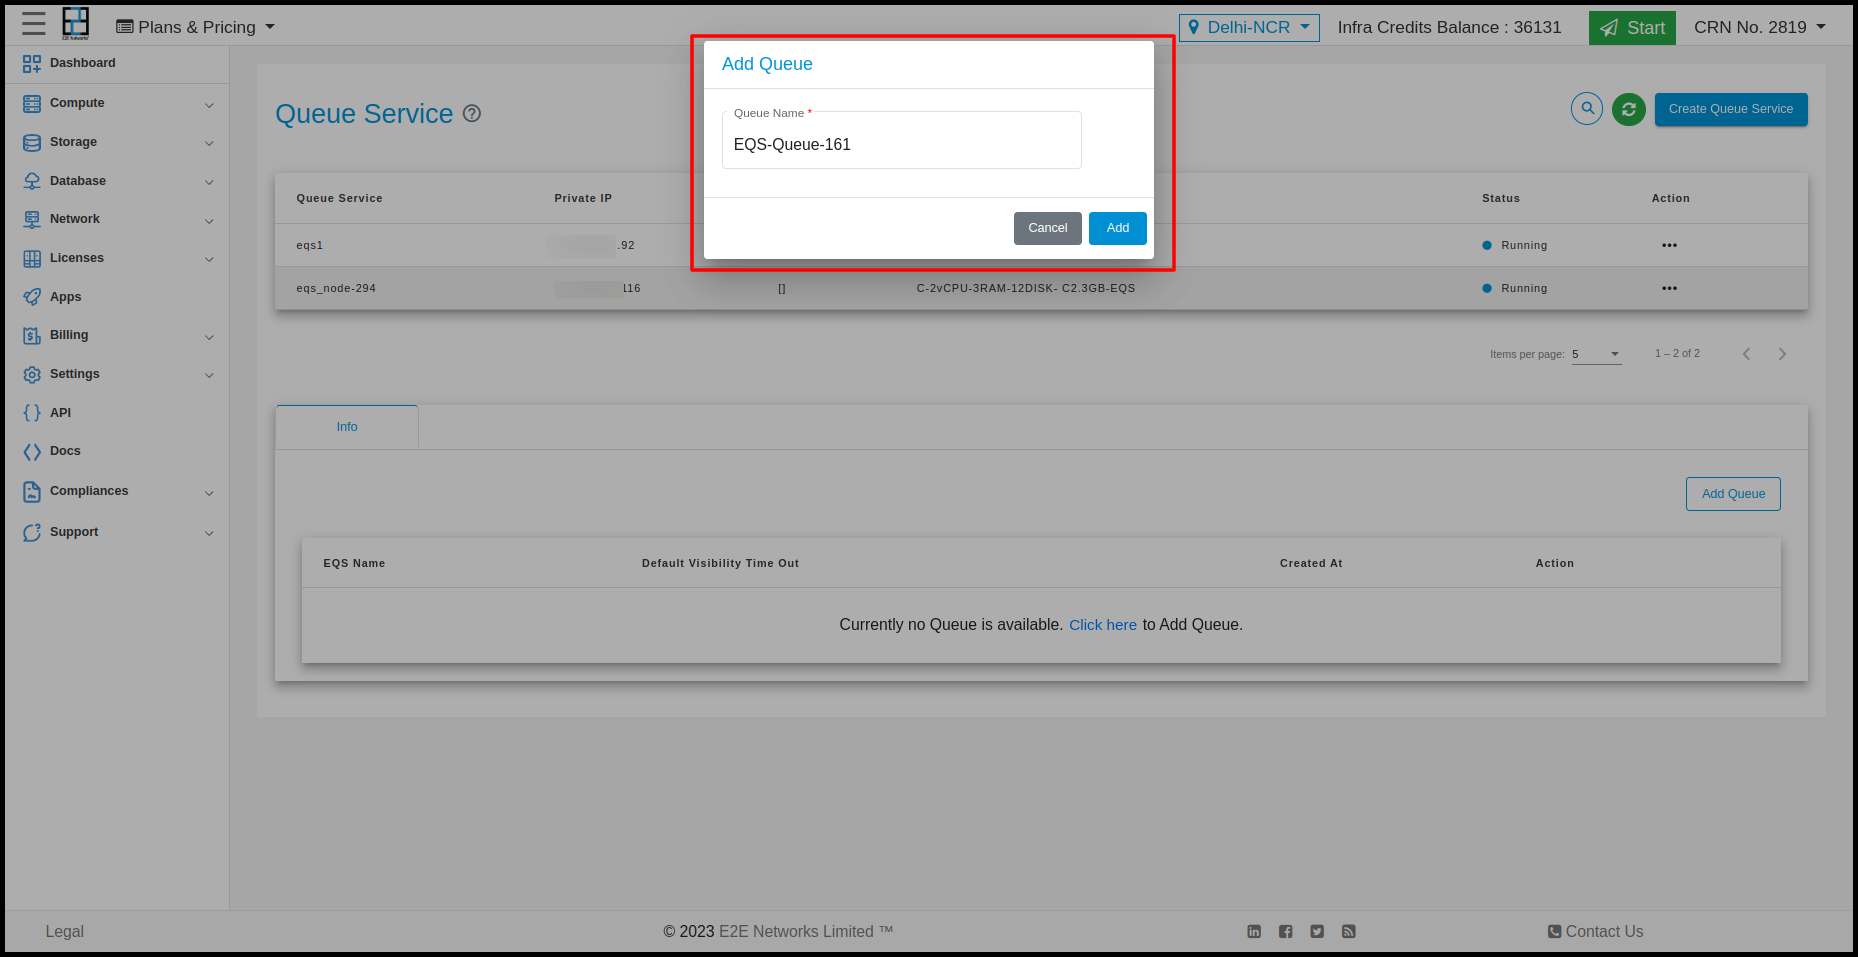
A pop-up will appear. Enter the name of your queue and click on the Add button.
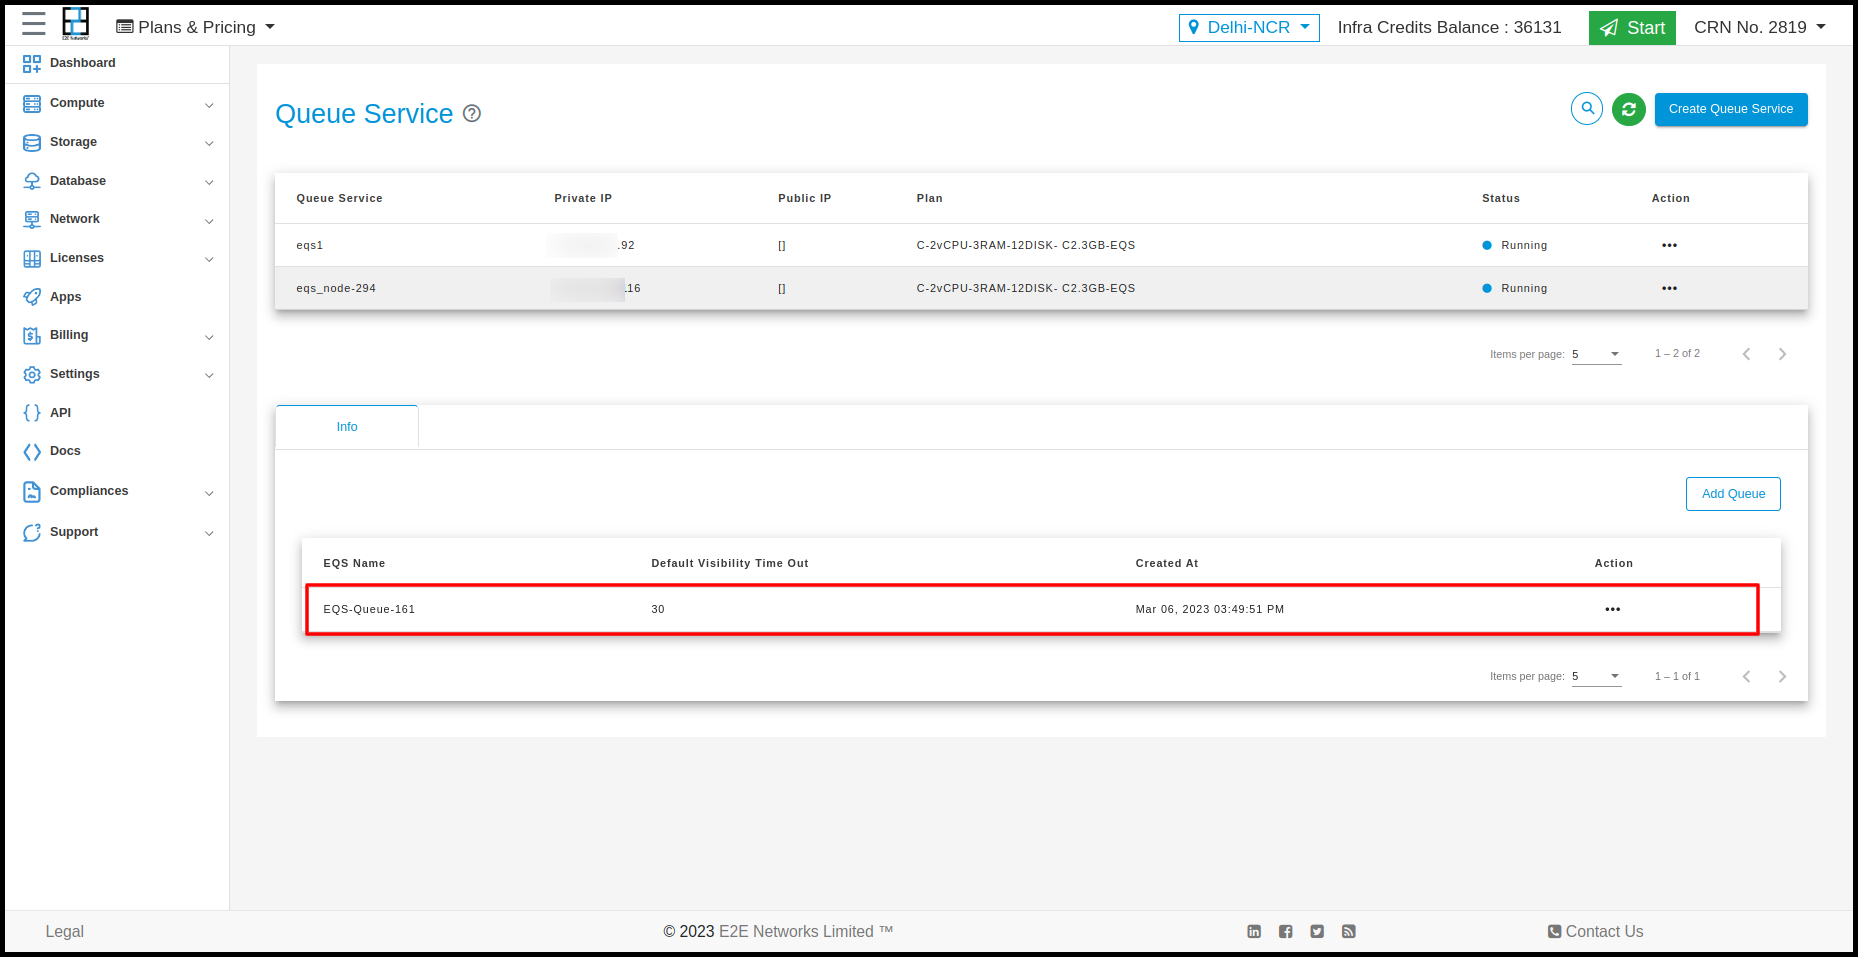
After creating a queue, it will be displayed in the list under the created EQS.
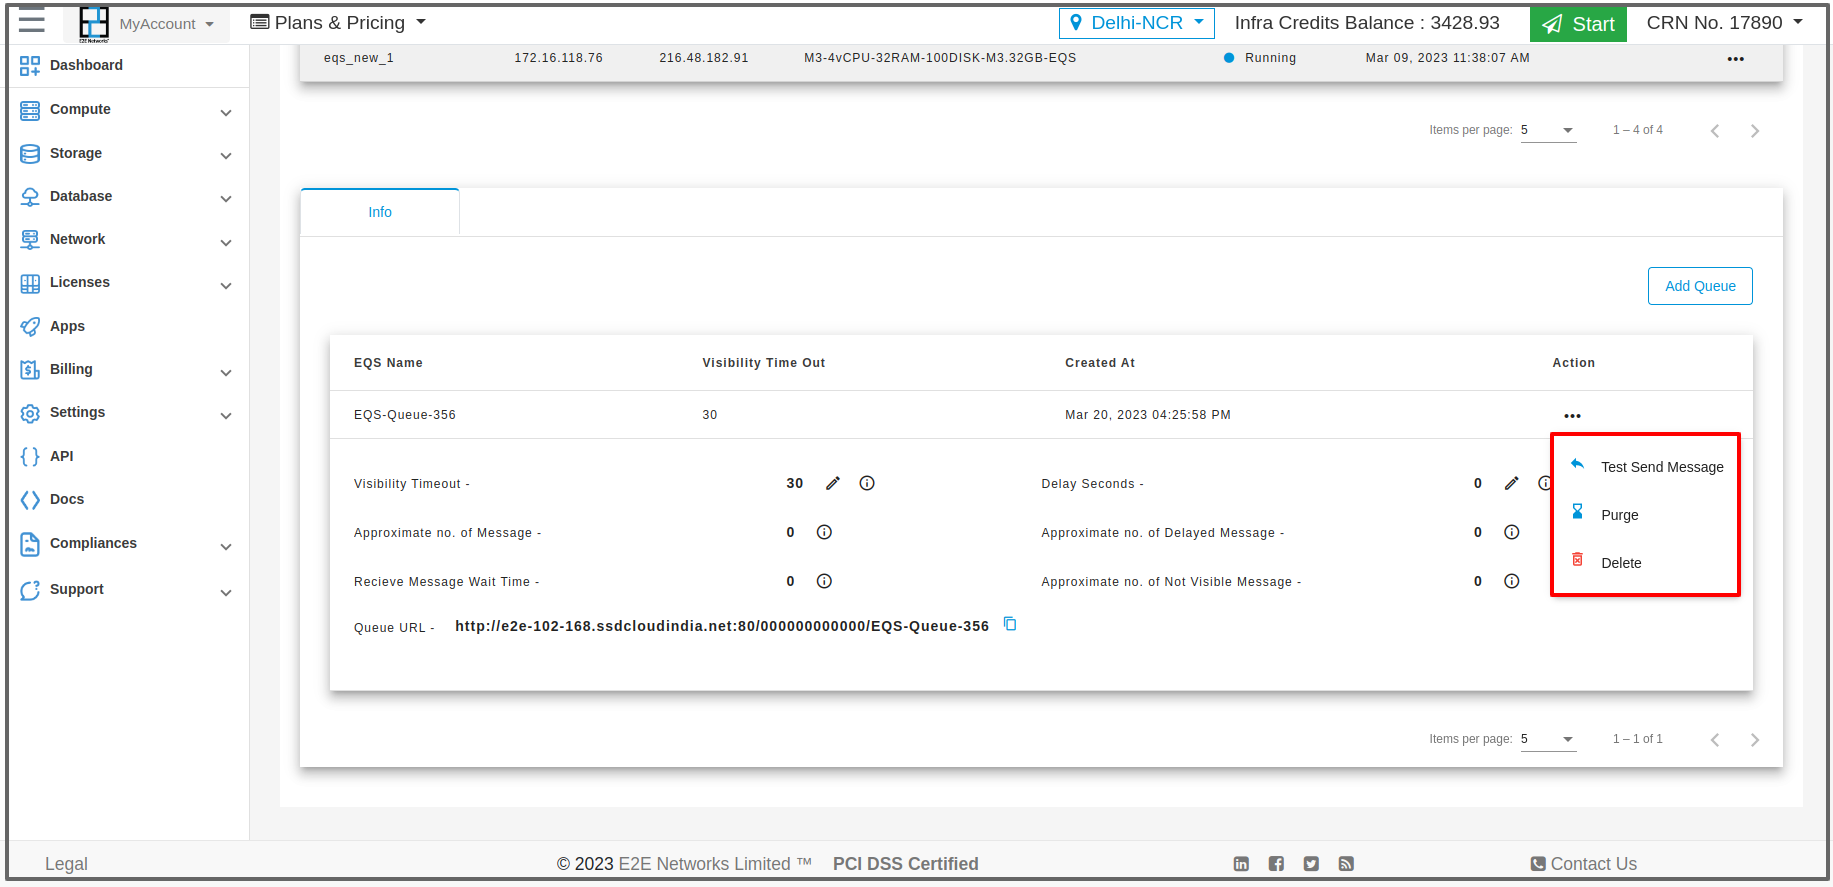
Actions for Queue Service
You can perform the following actions for the respective Queue:
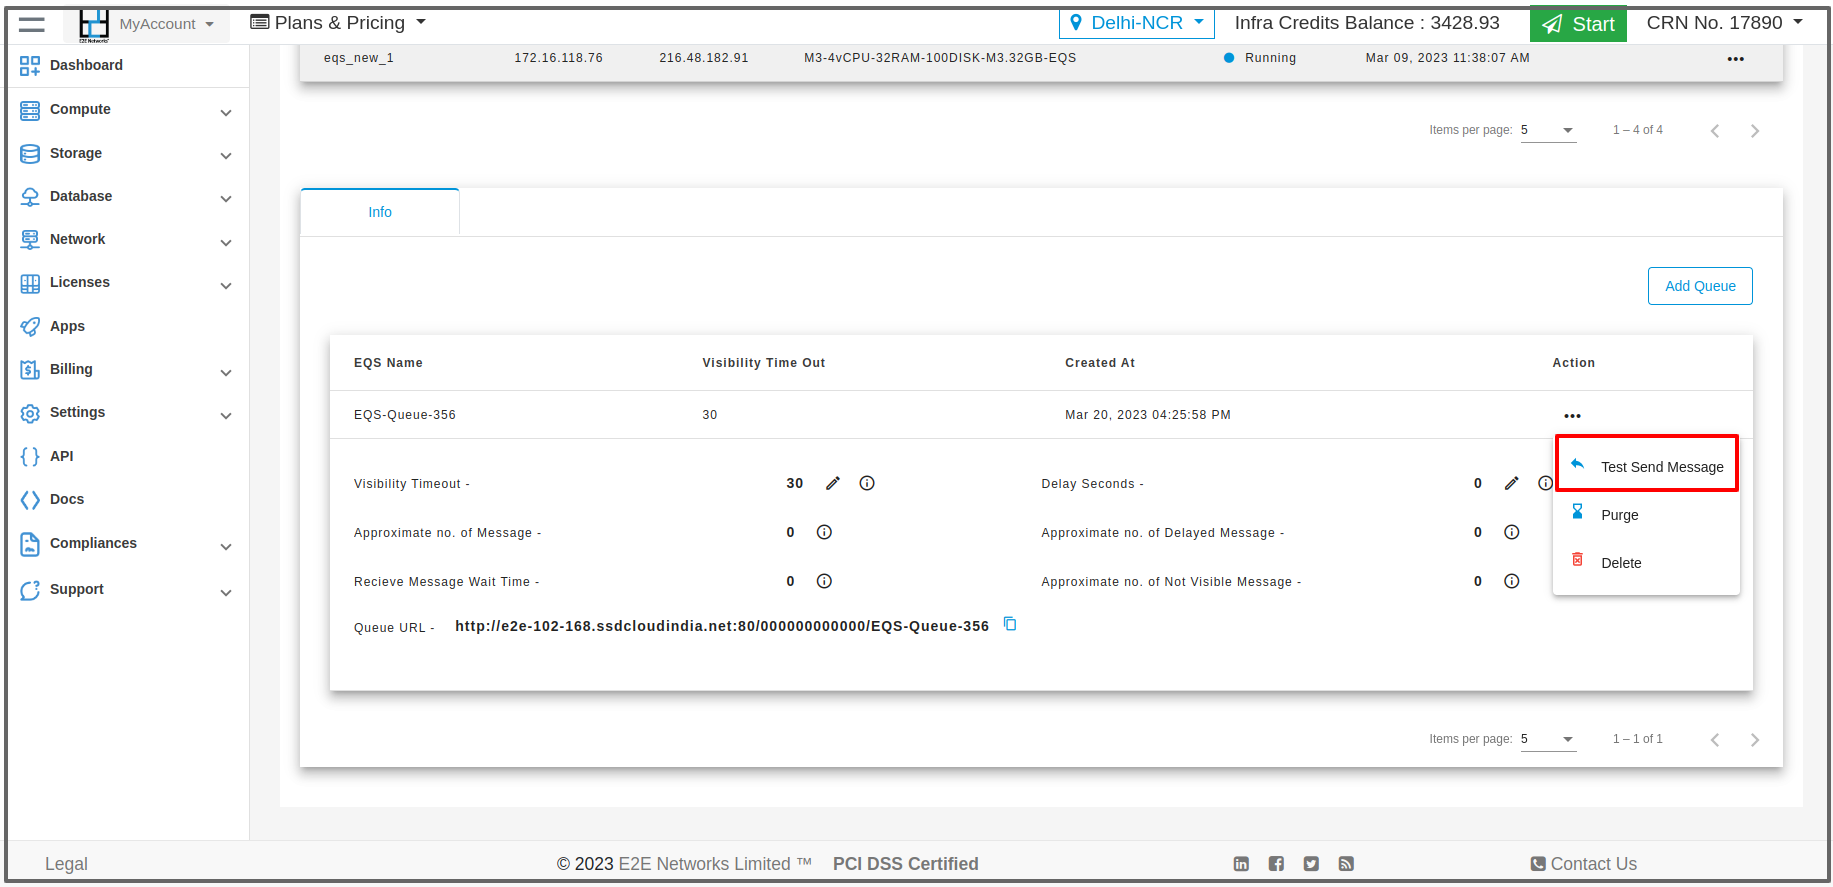
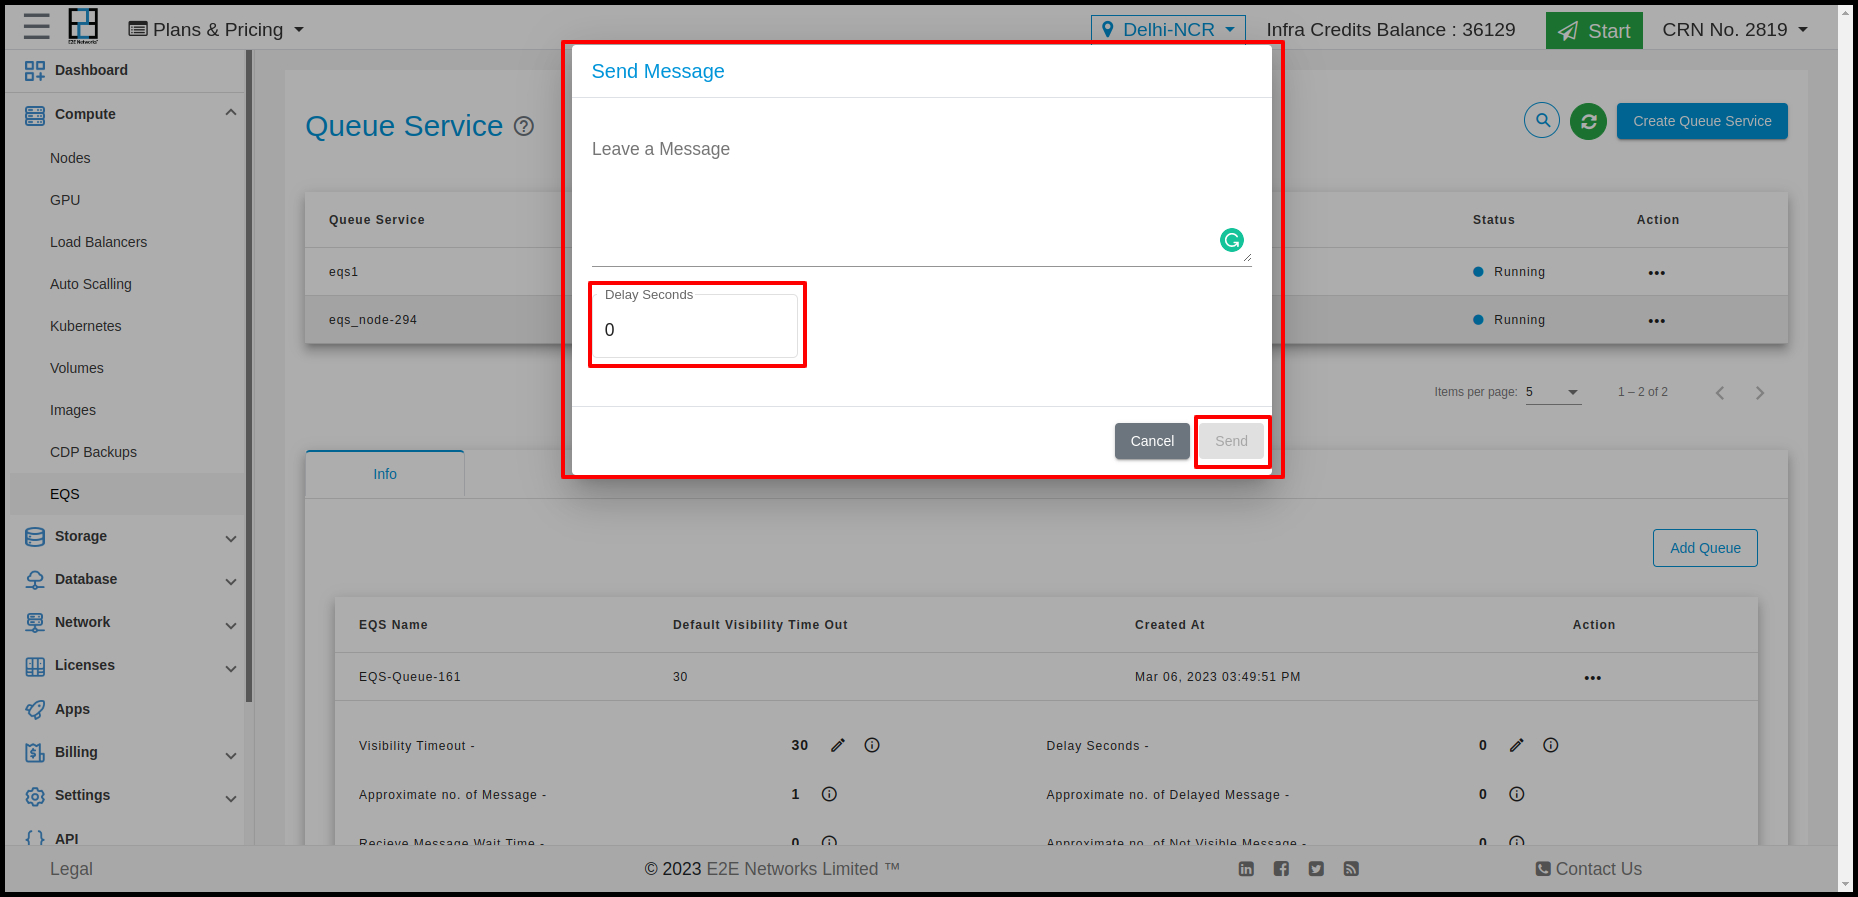
Test Send Message
Click on Test send message to send a test message.
A pop-up will appear. Enter your message, set the time delay if needed, and click Send.
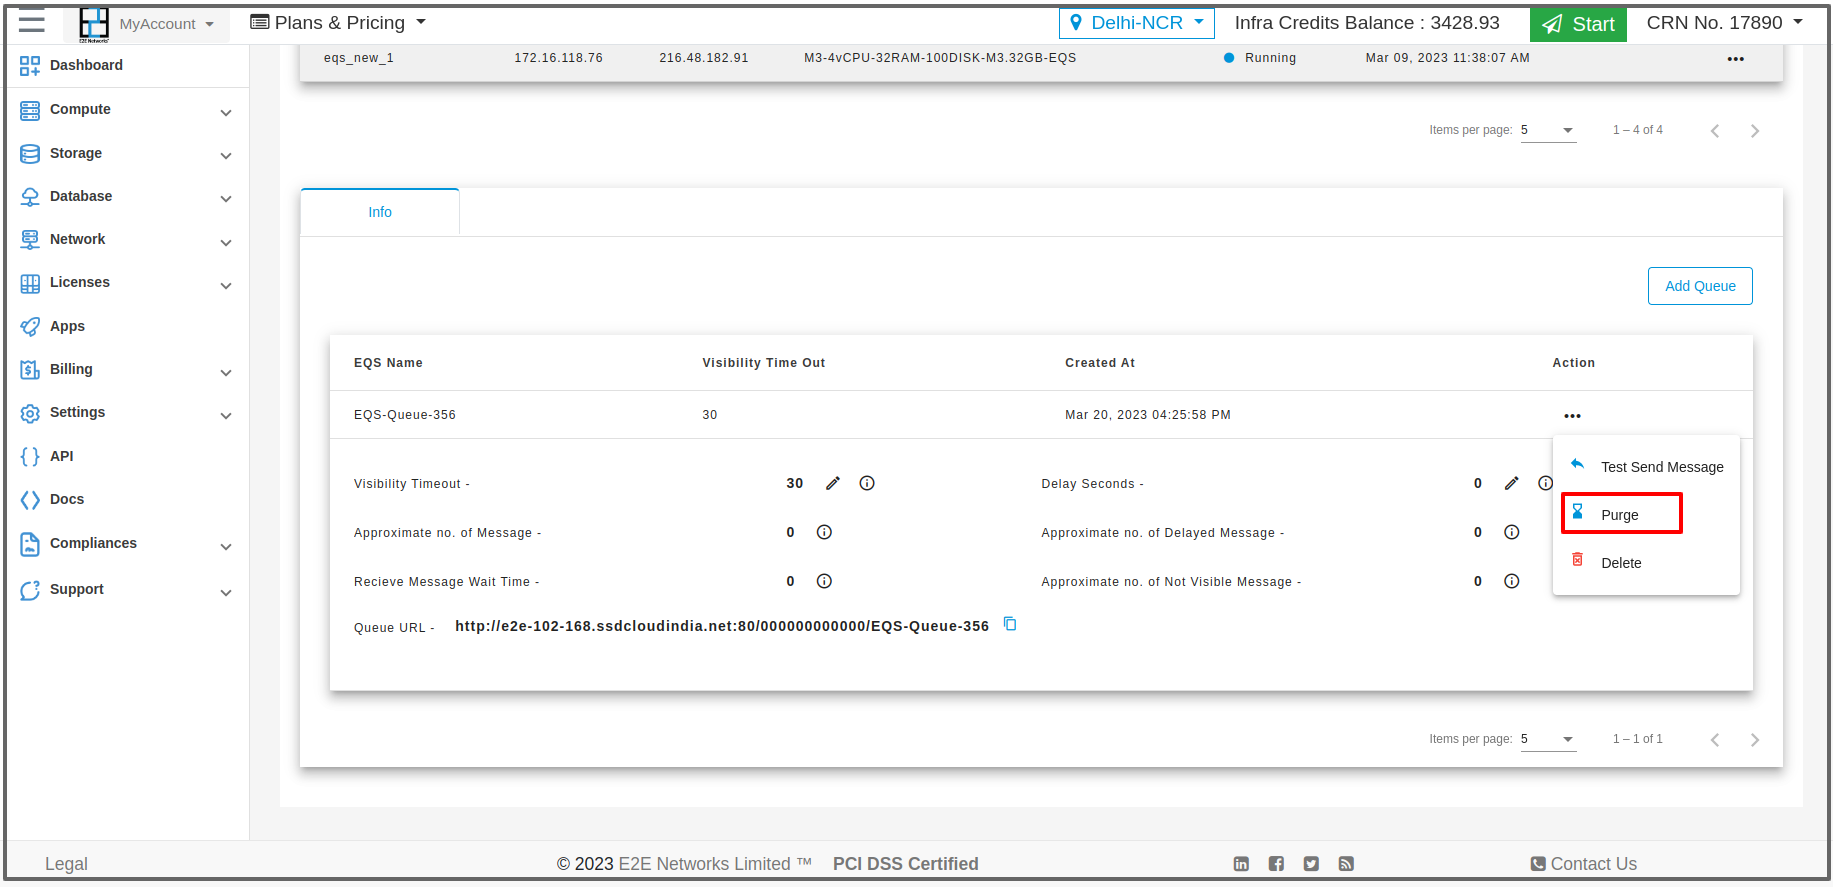
Purge
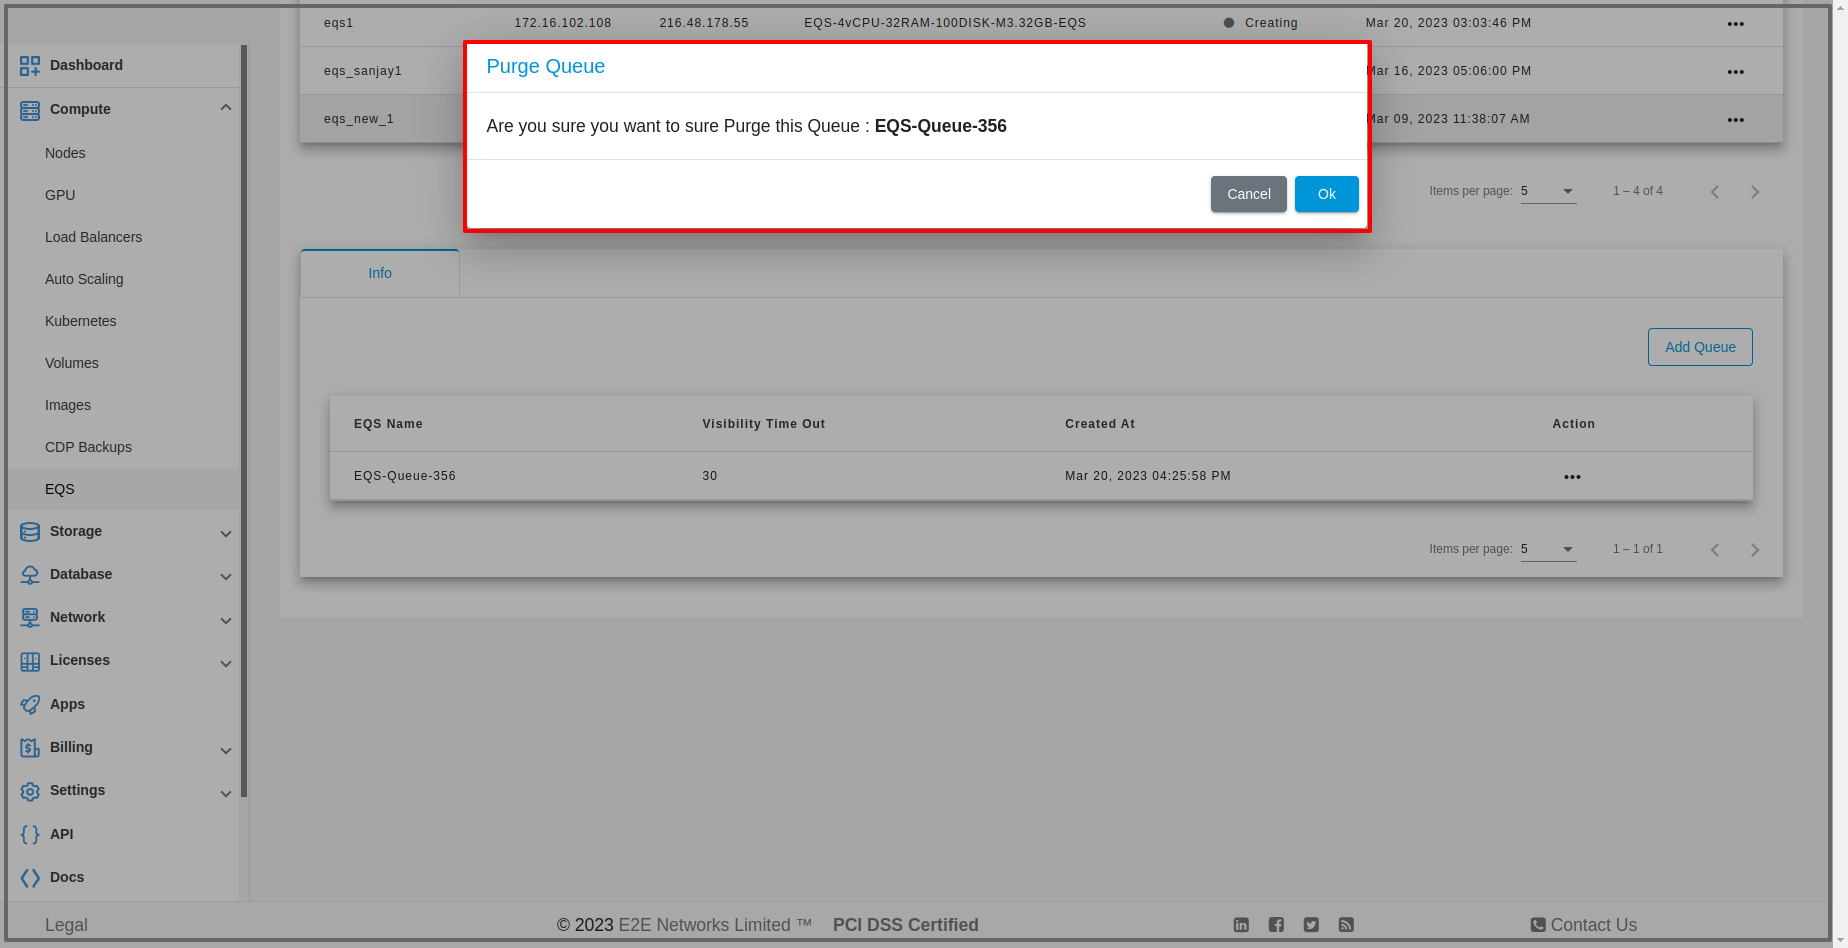
To purge a queue, click on the Purge button.
A confirmation pop-up will appear. Click OK to continue.
Delete
To delete a queue, click on the Delete button.
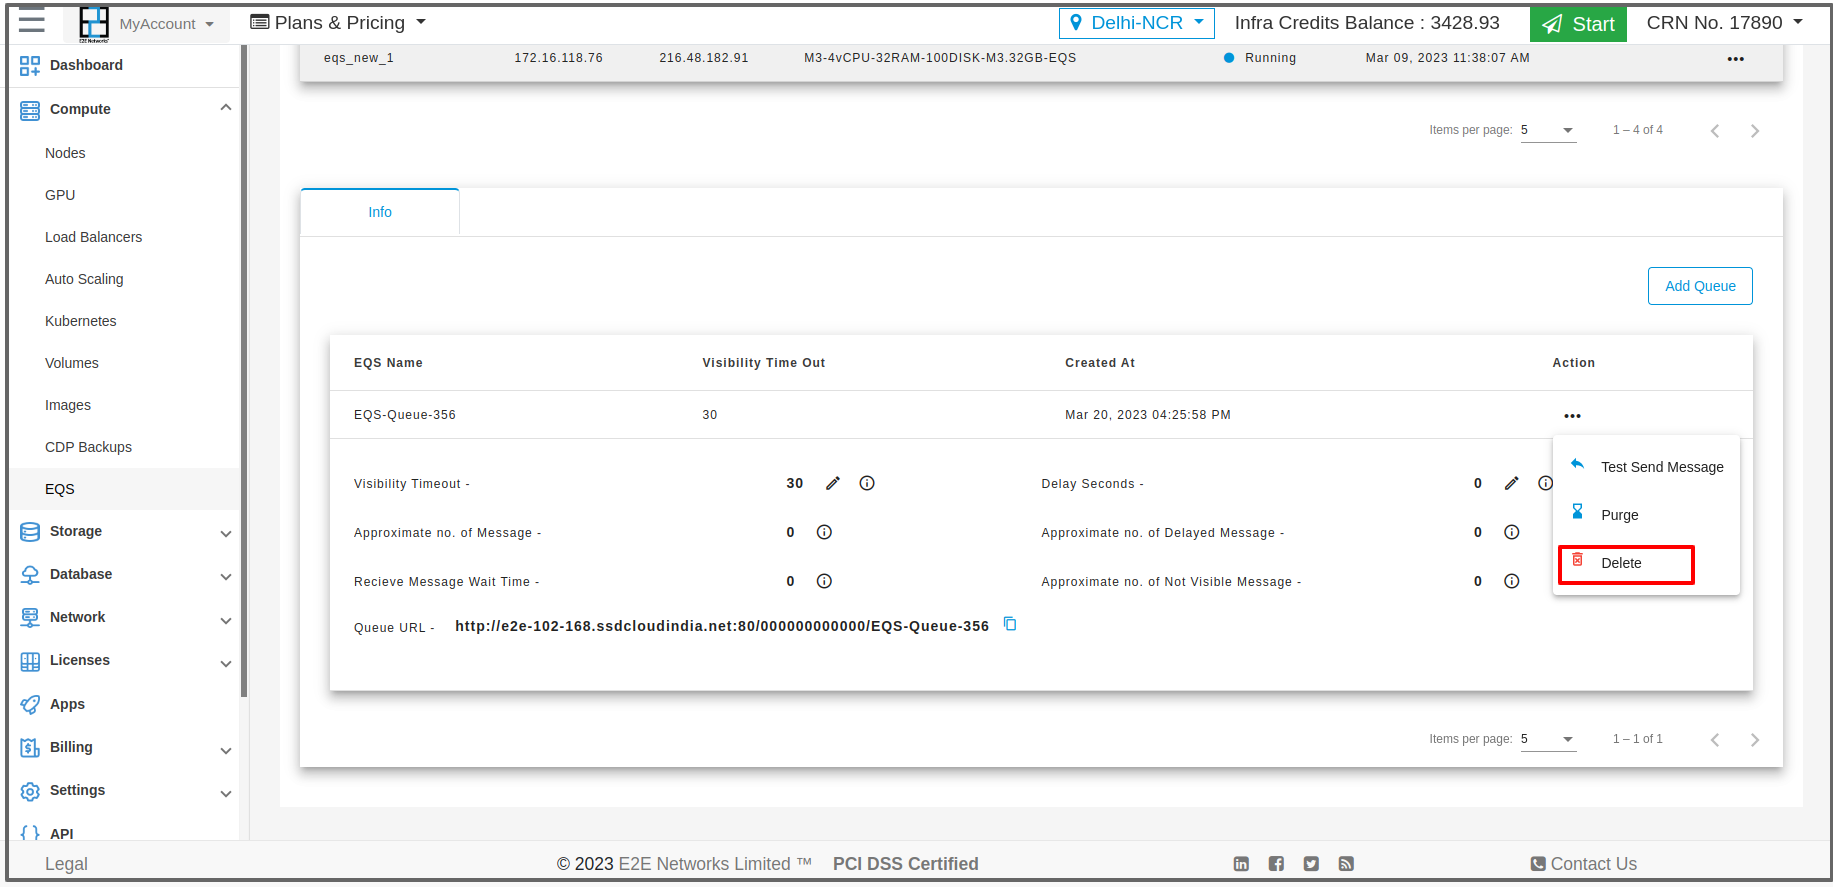
A confirmation pop-up will appear. Click Delete again to remove the queue.
