Project Settings
Through Project Settings, users can do the following things:
- Update project details and Delete Project.
- View the list of active project members, add project members, and edit their roles in the project.
- View Resource Usage.
- View Activity Timeline.
- Create and Edit Policies.
Update Project details and Delete Project
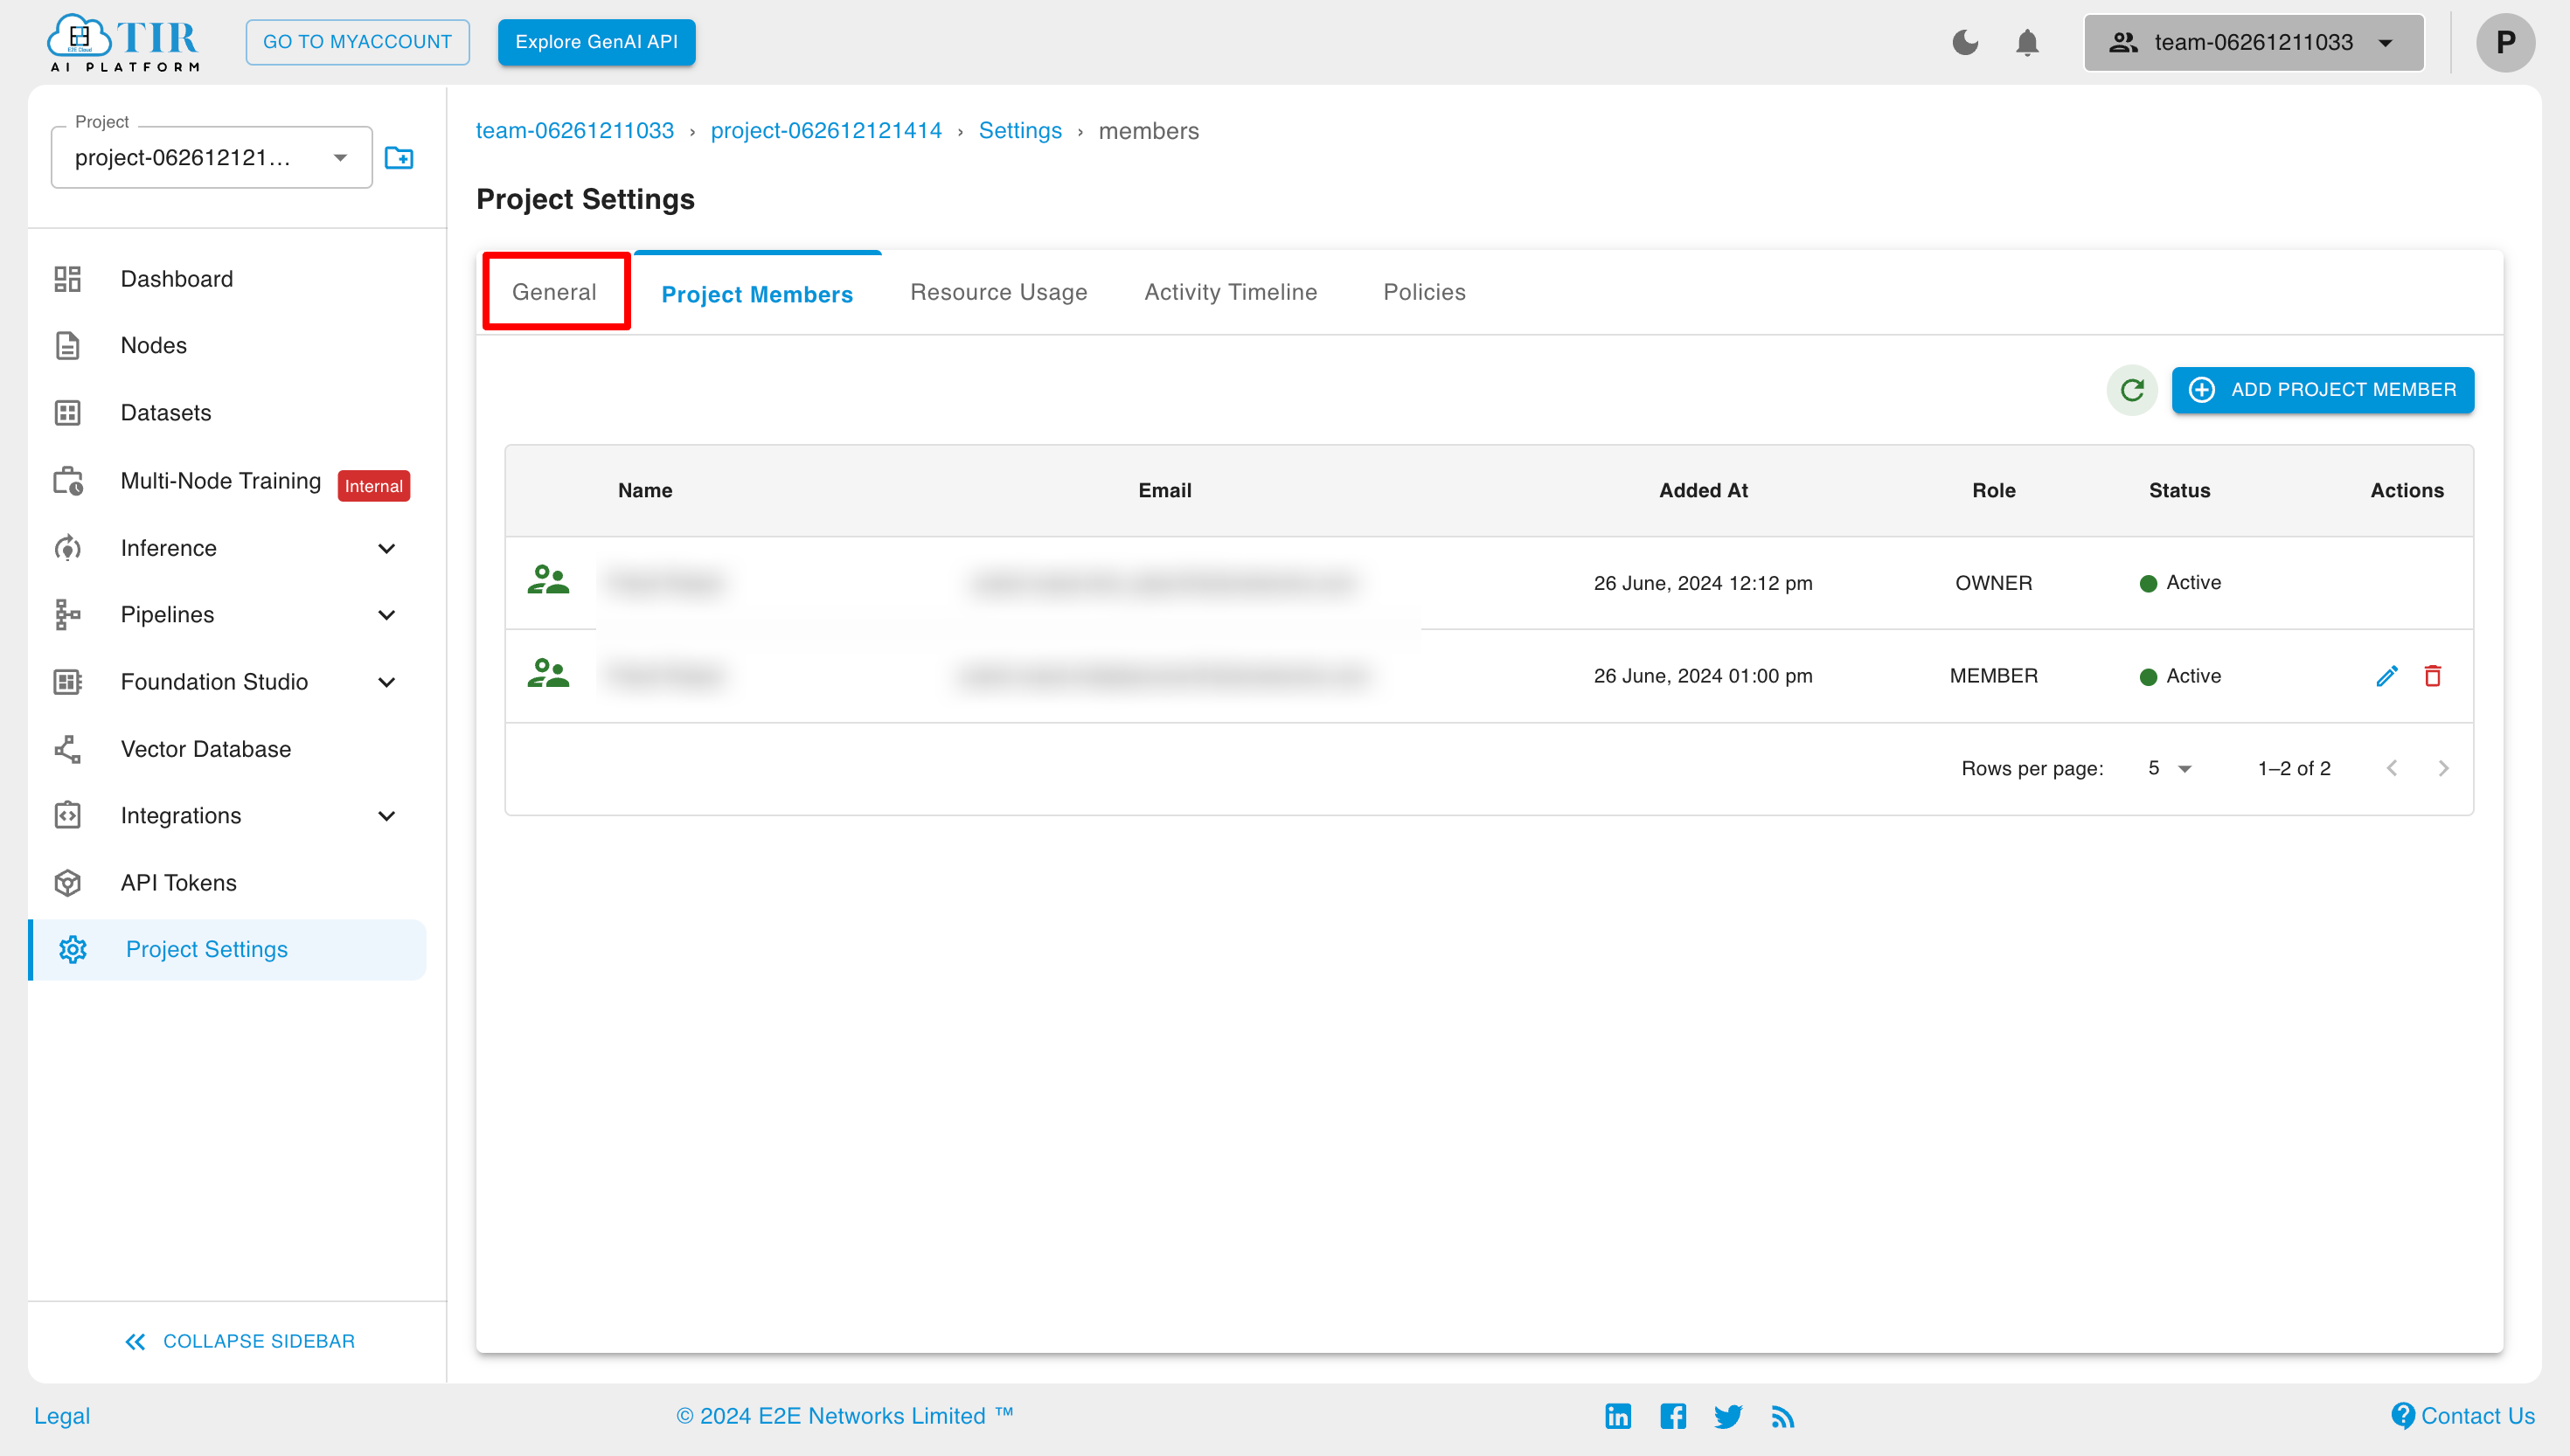
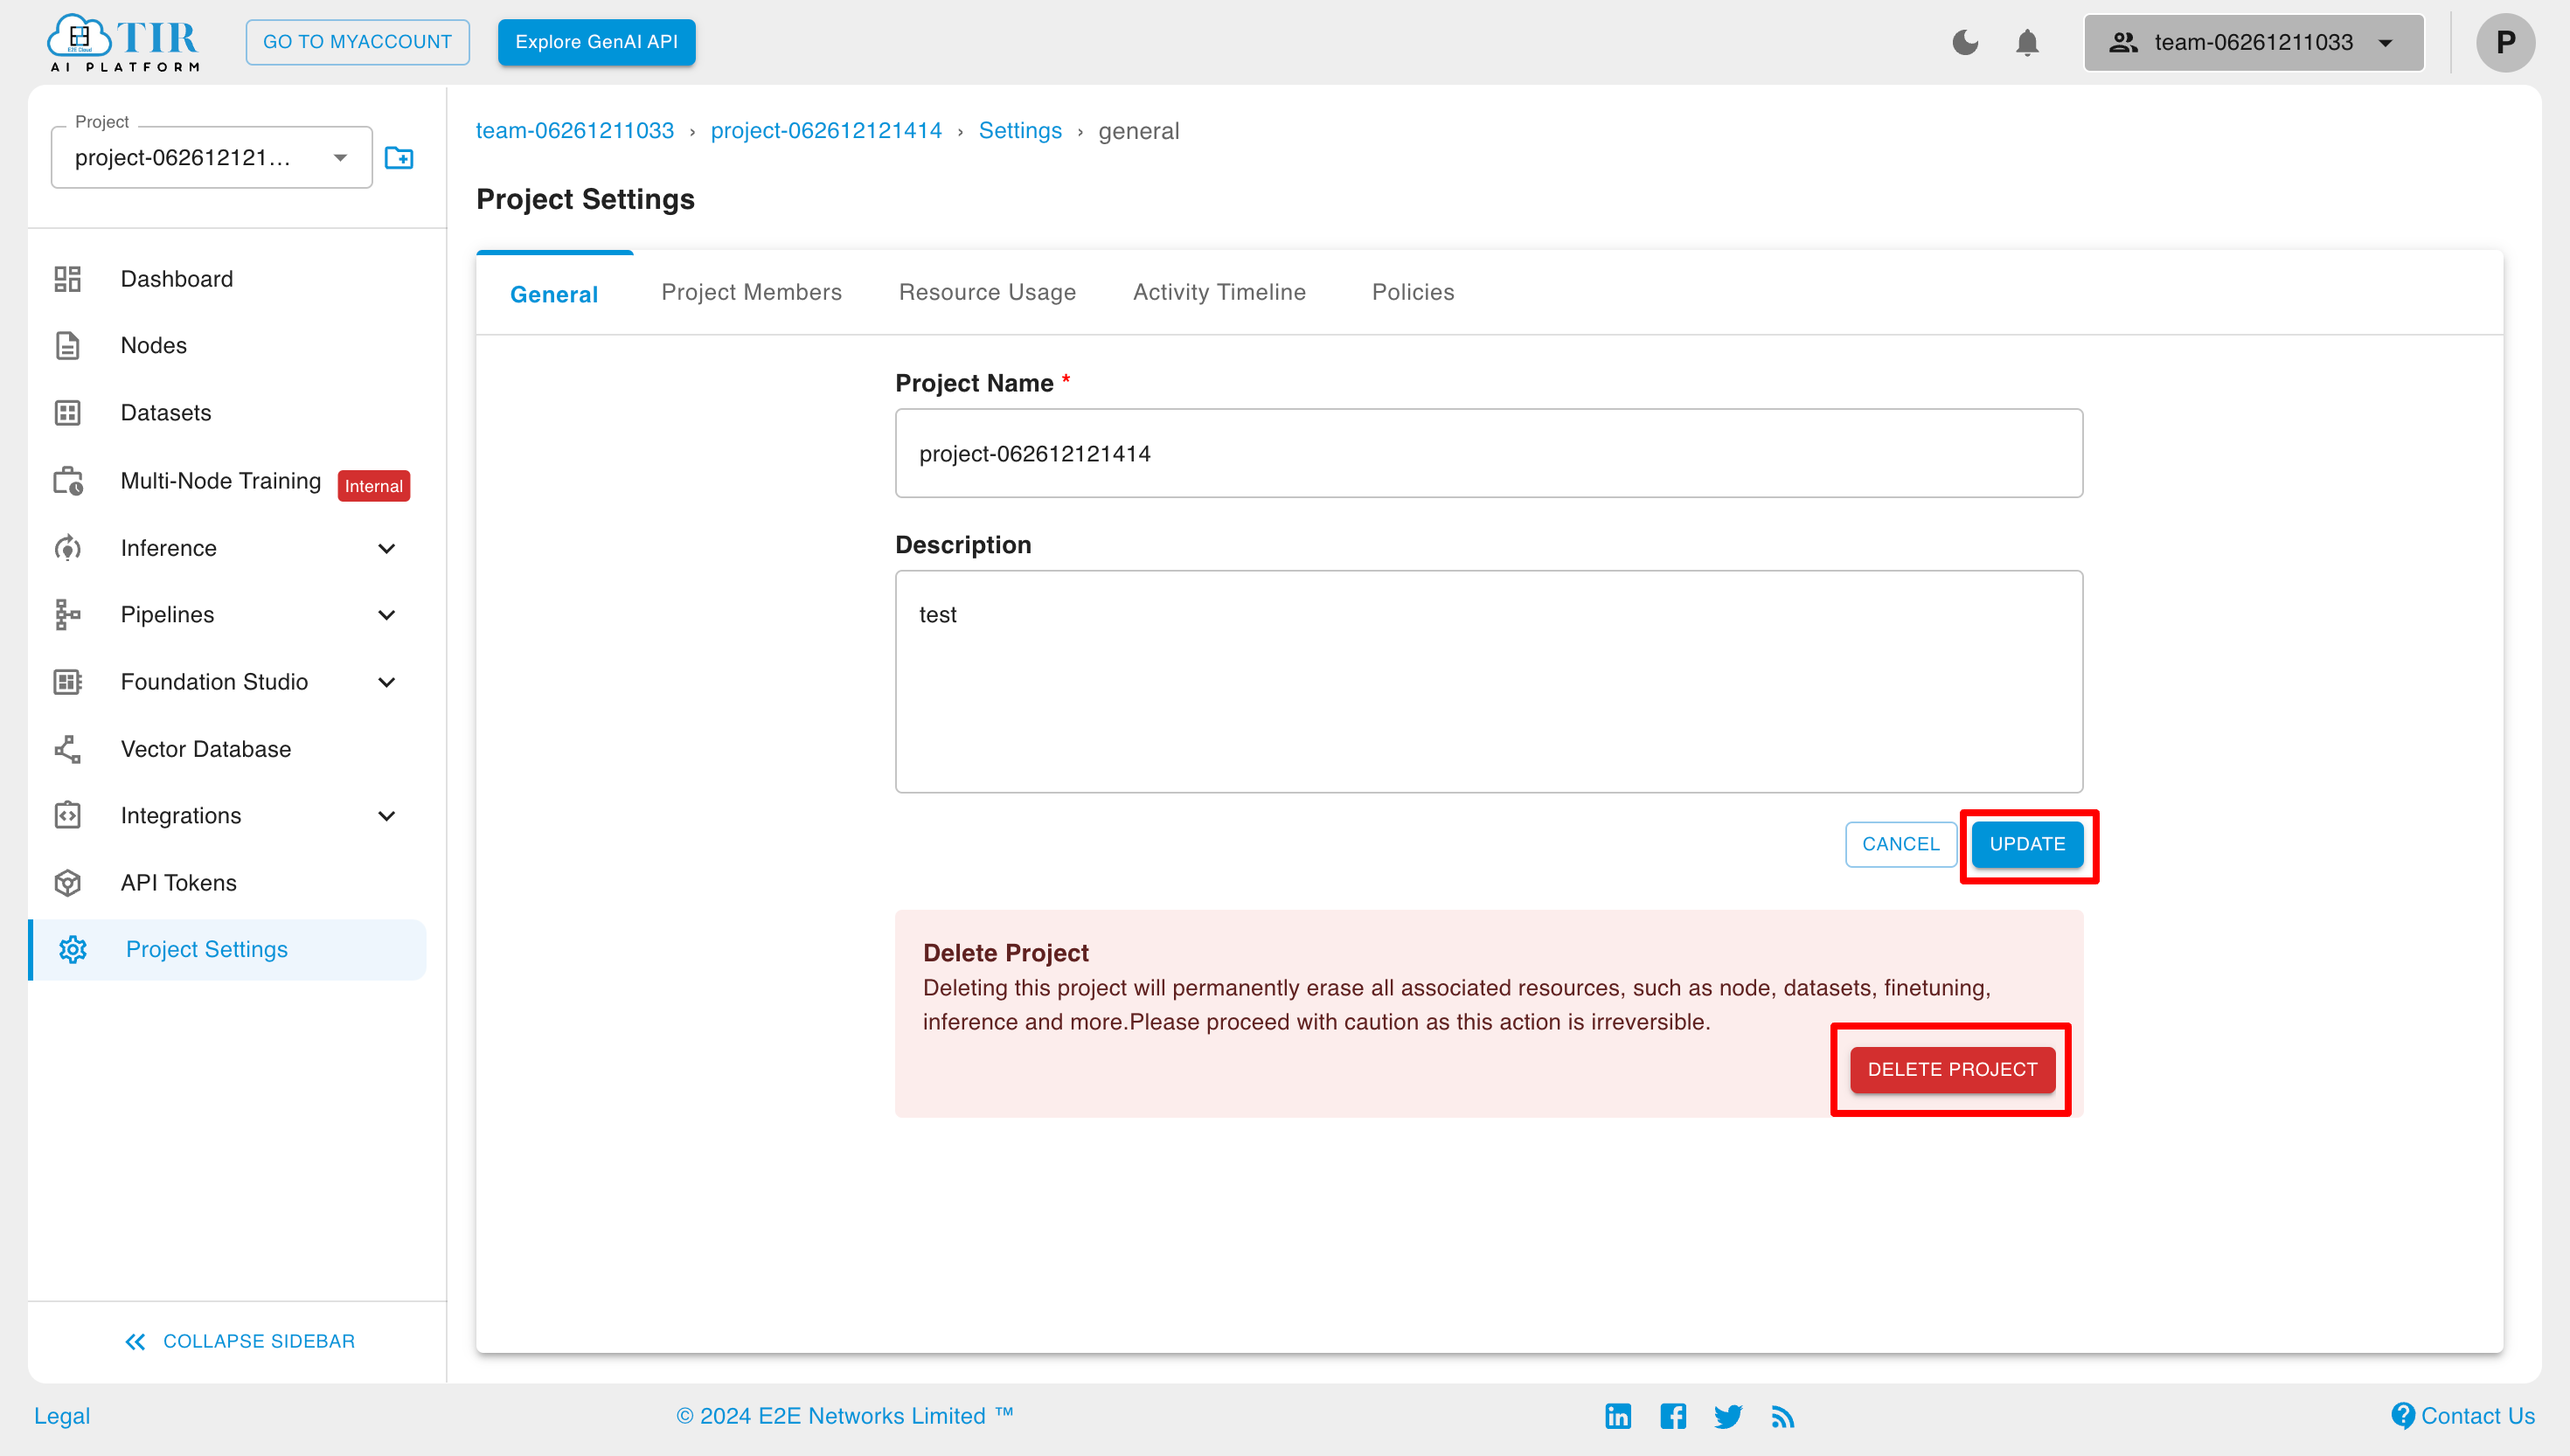
We can update project details and delete the project by moving to the "General" section in project settings.
Now click on "Update" to change the project details and click on "Delete" to delete the project.
Add Project Member
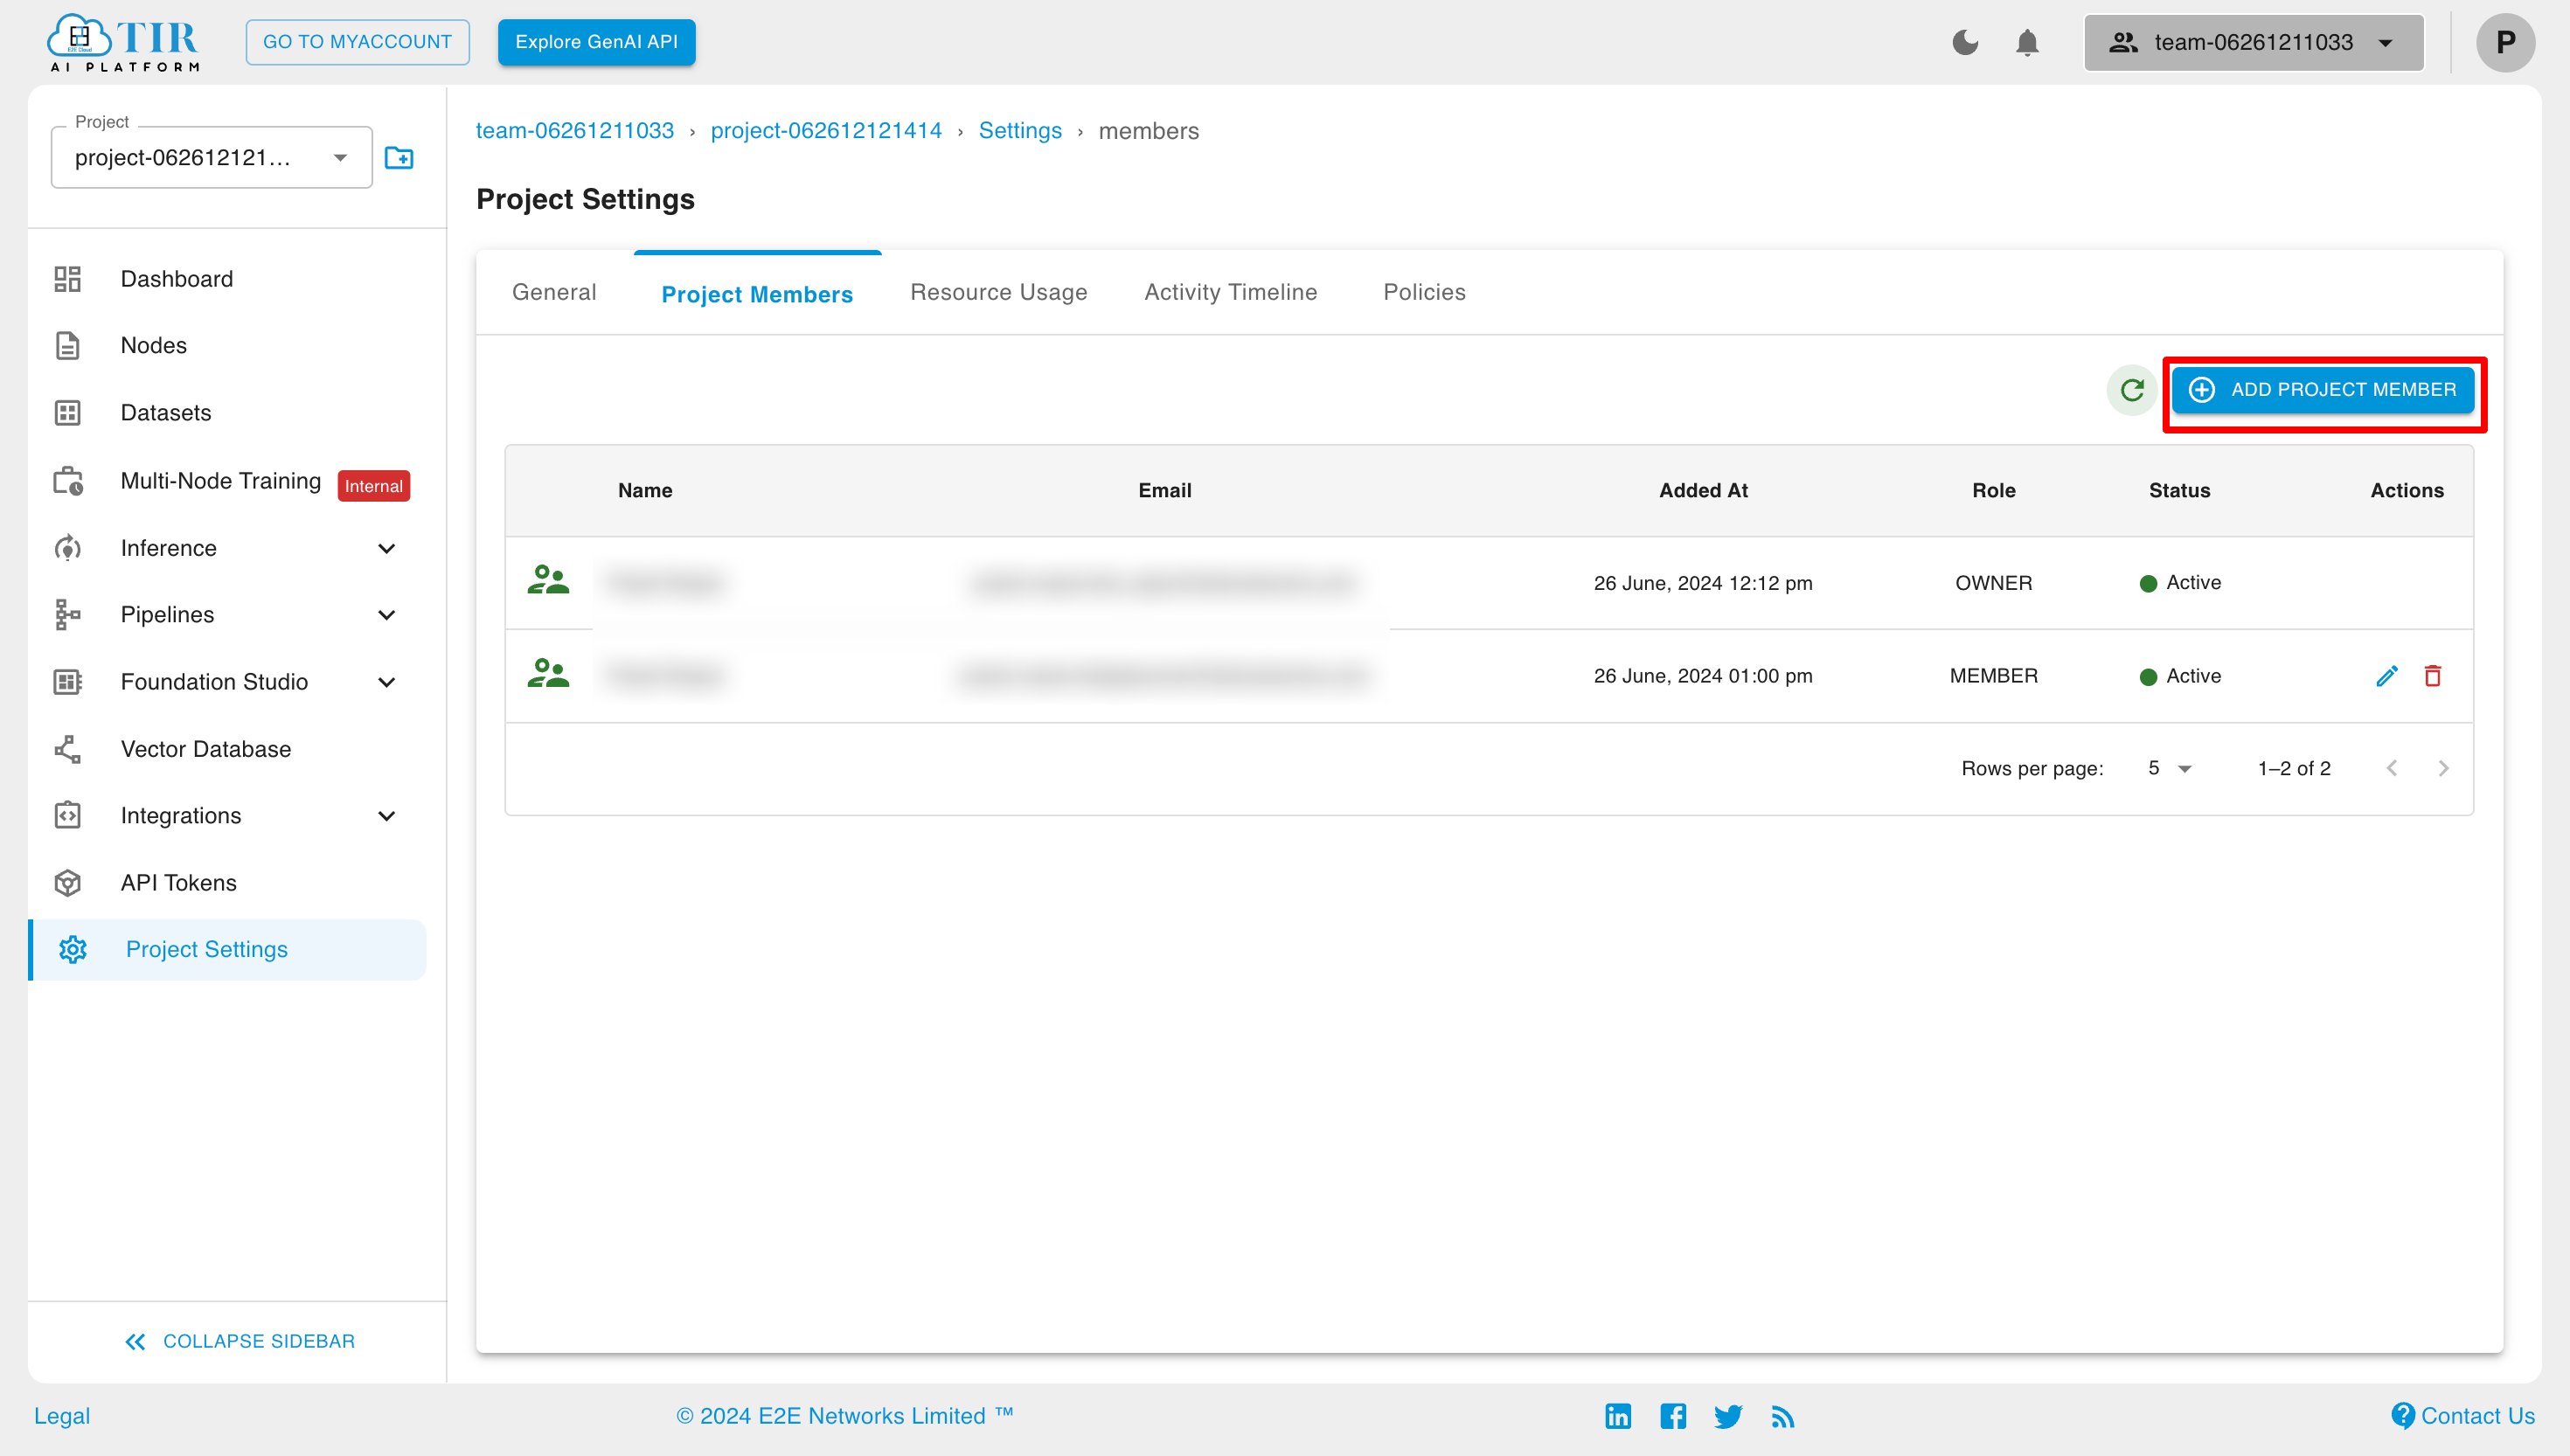
We can add project members to our project through project settings.
There can be two types of project members that can be added to the project.
- Existing Member: These are the members who are already added to the account and the team but are not part of the project.
- New Member: These are the members who are not added to the account and the team.
To add a project member, click on the "Add Project Member" button.
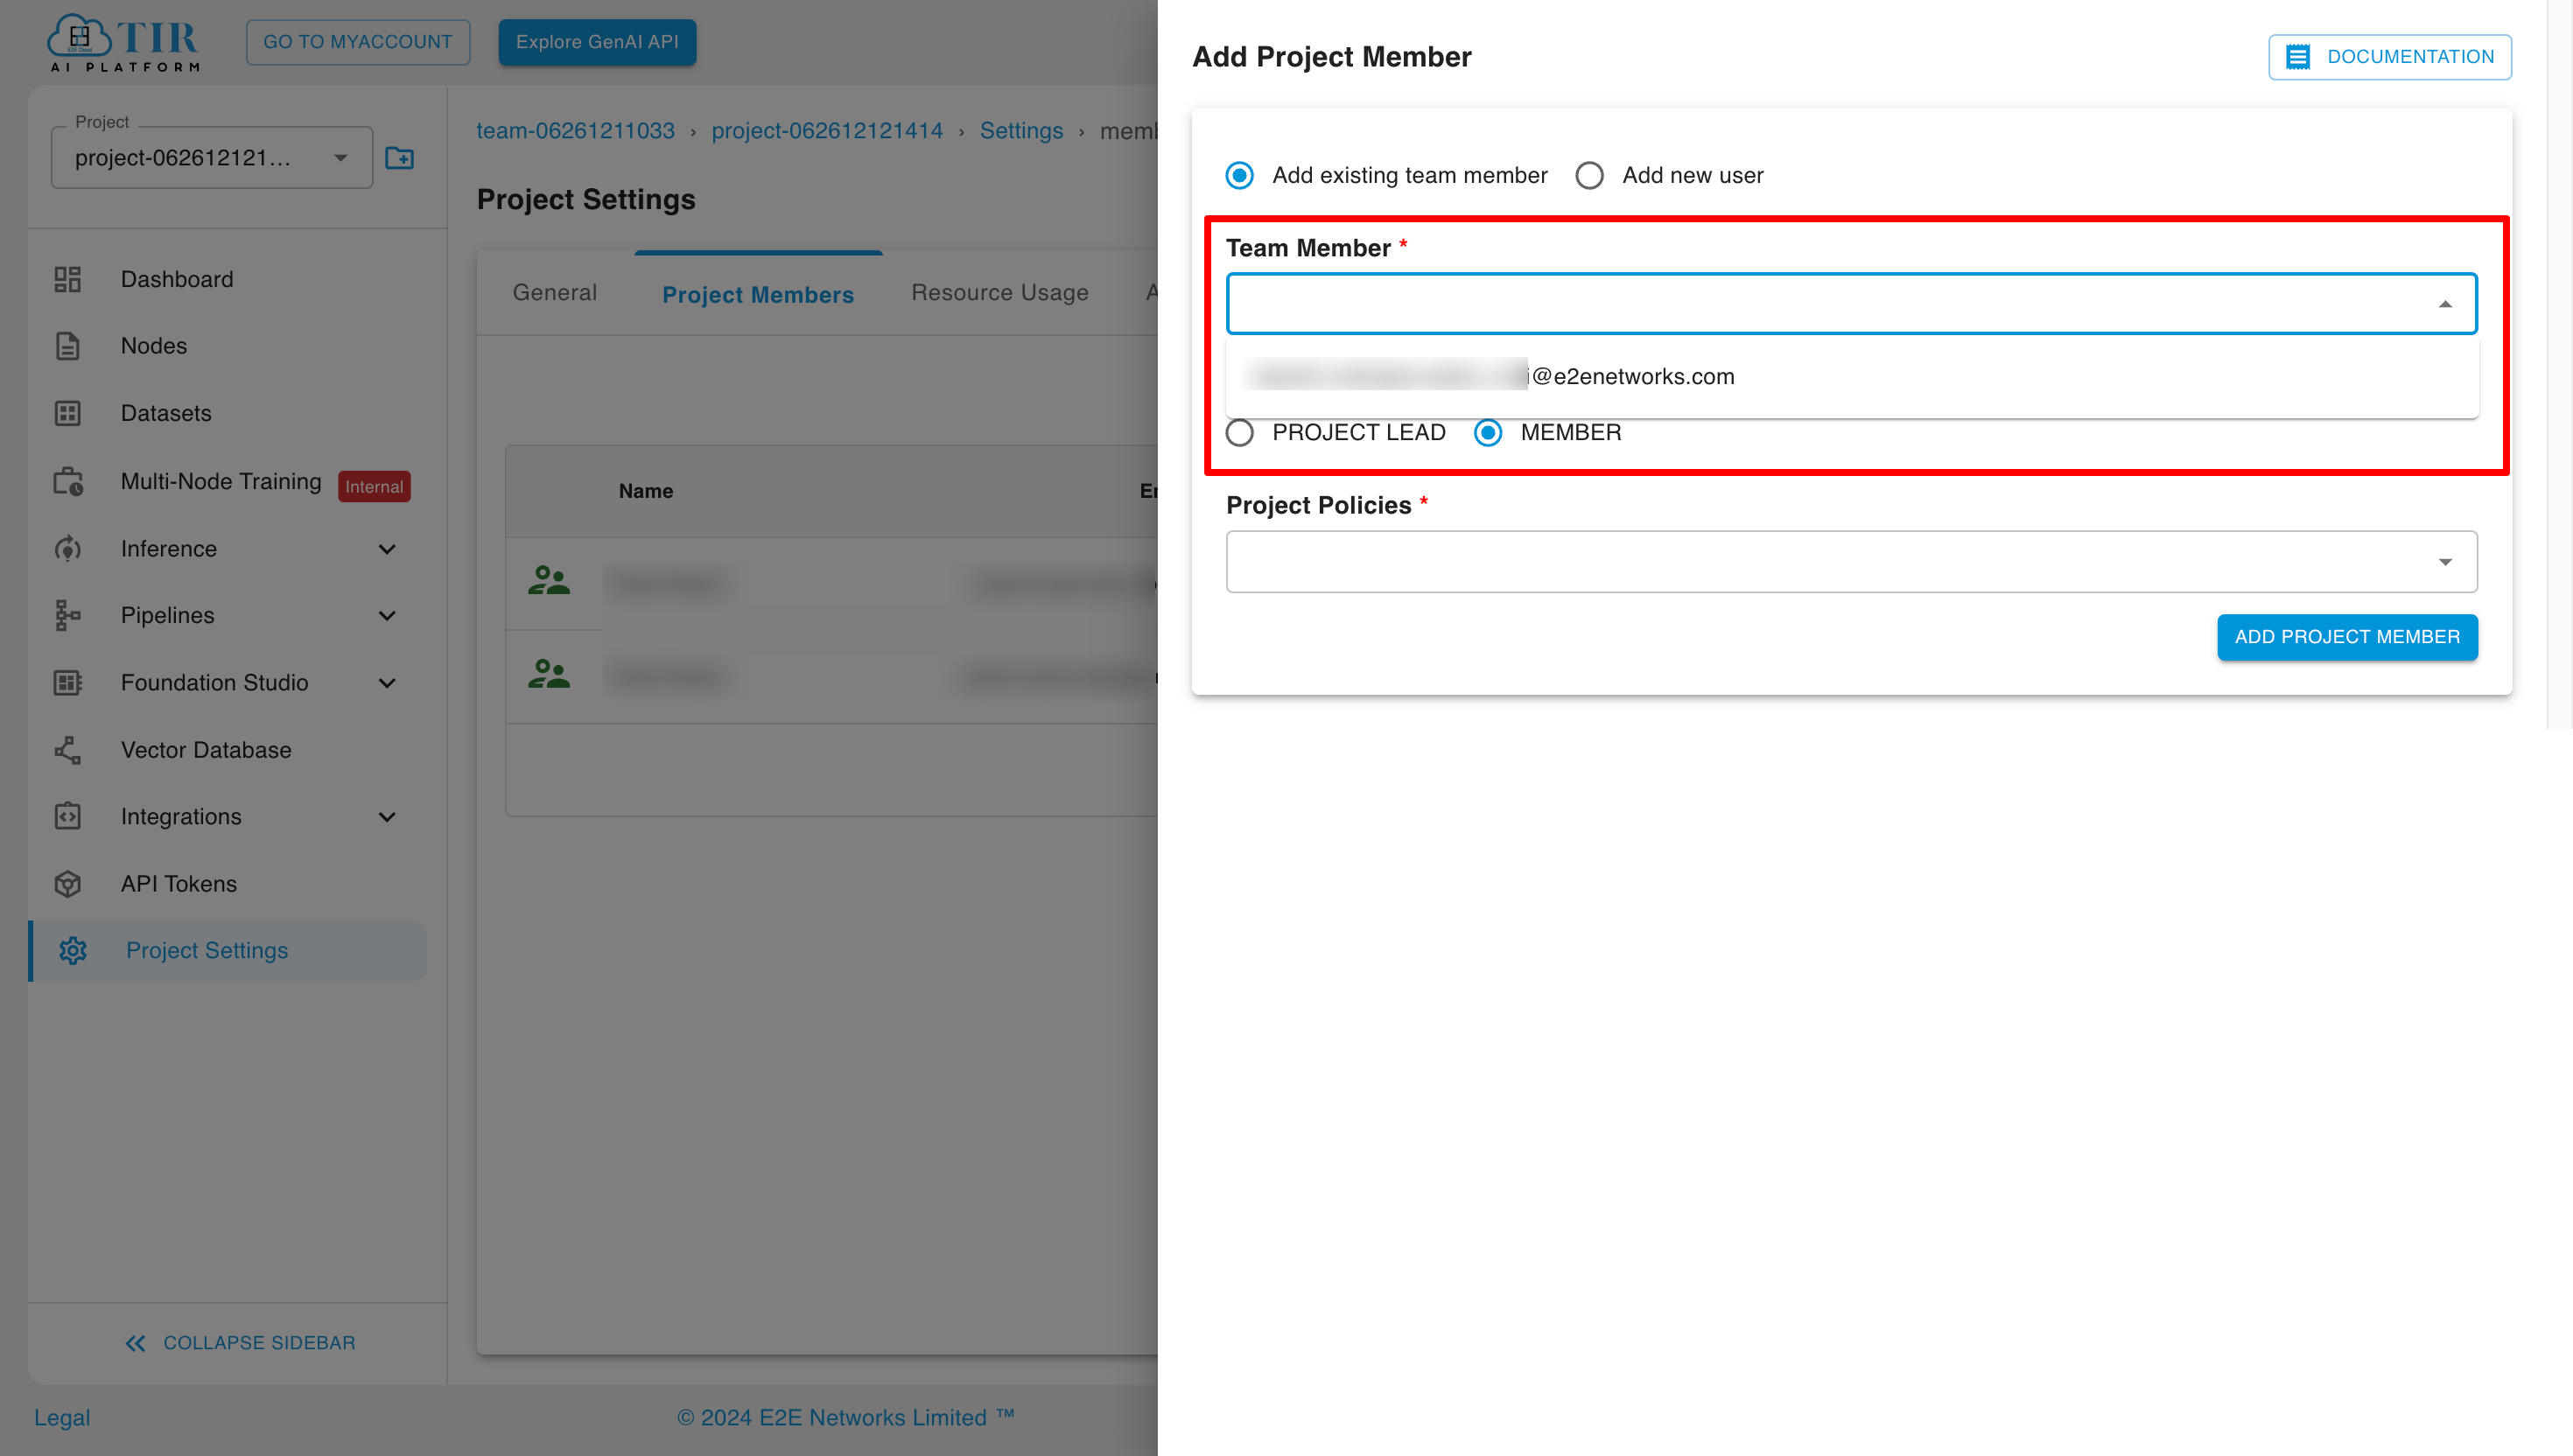
Adding an existing member
Select the existing users from the list.
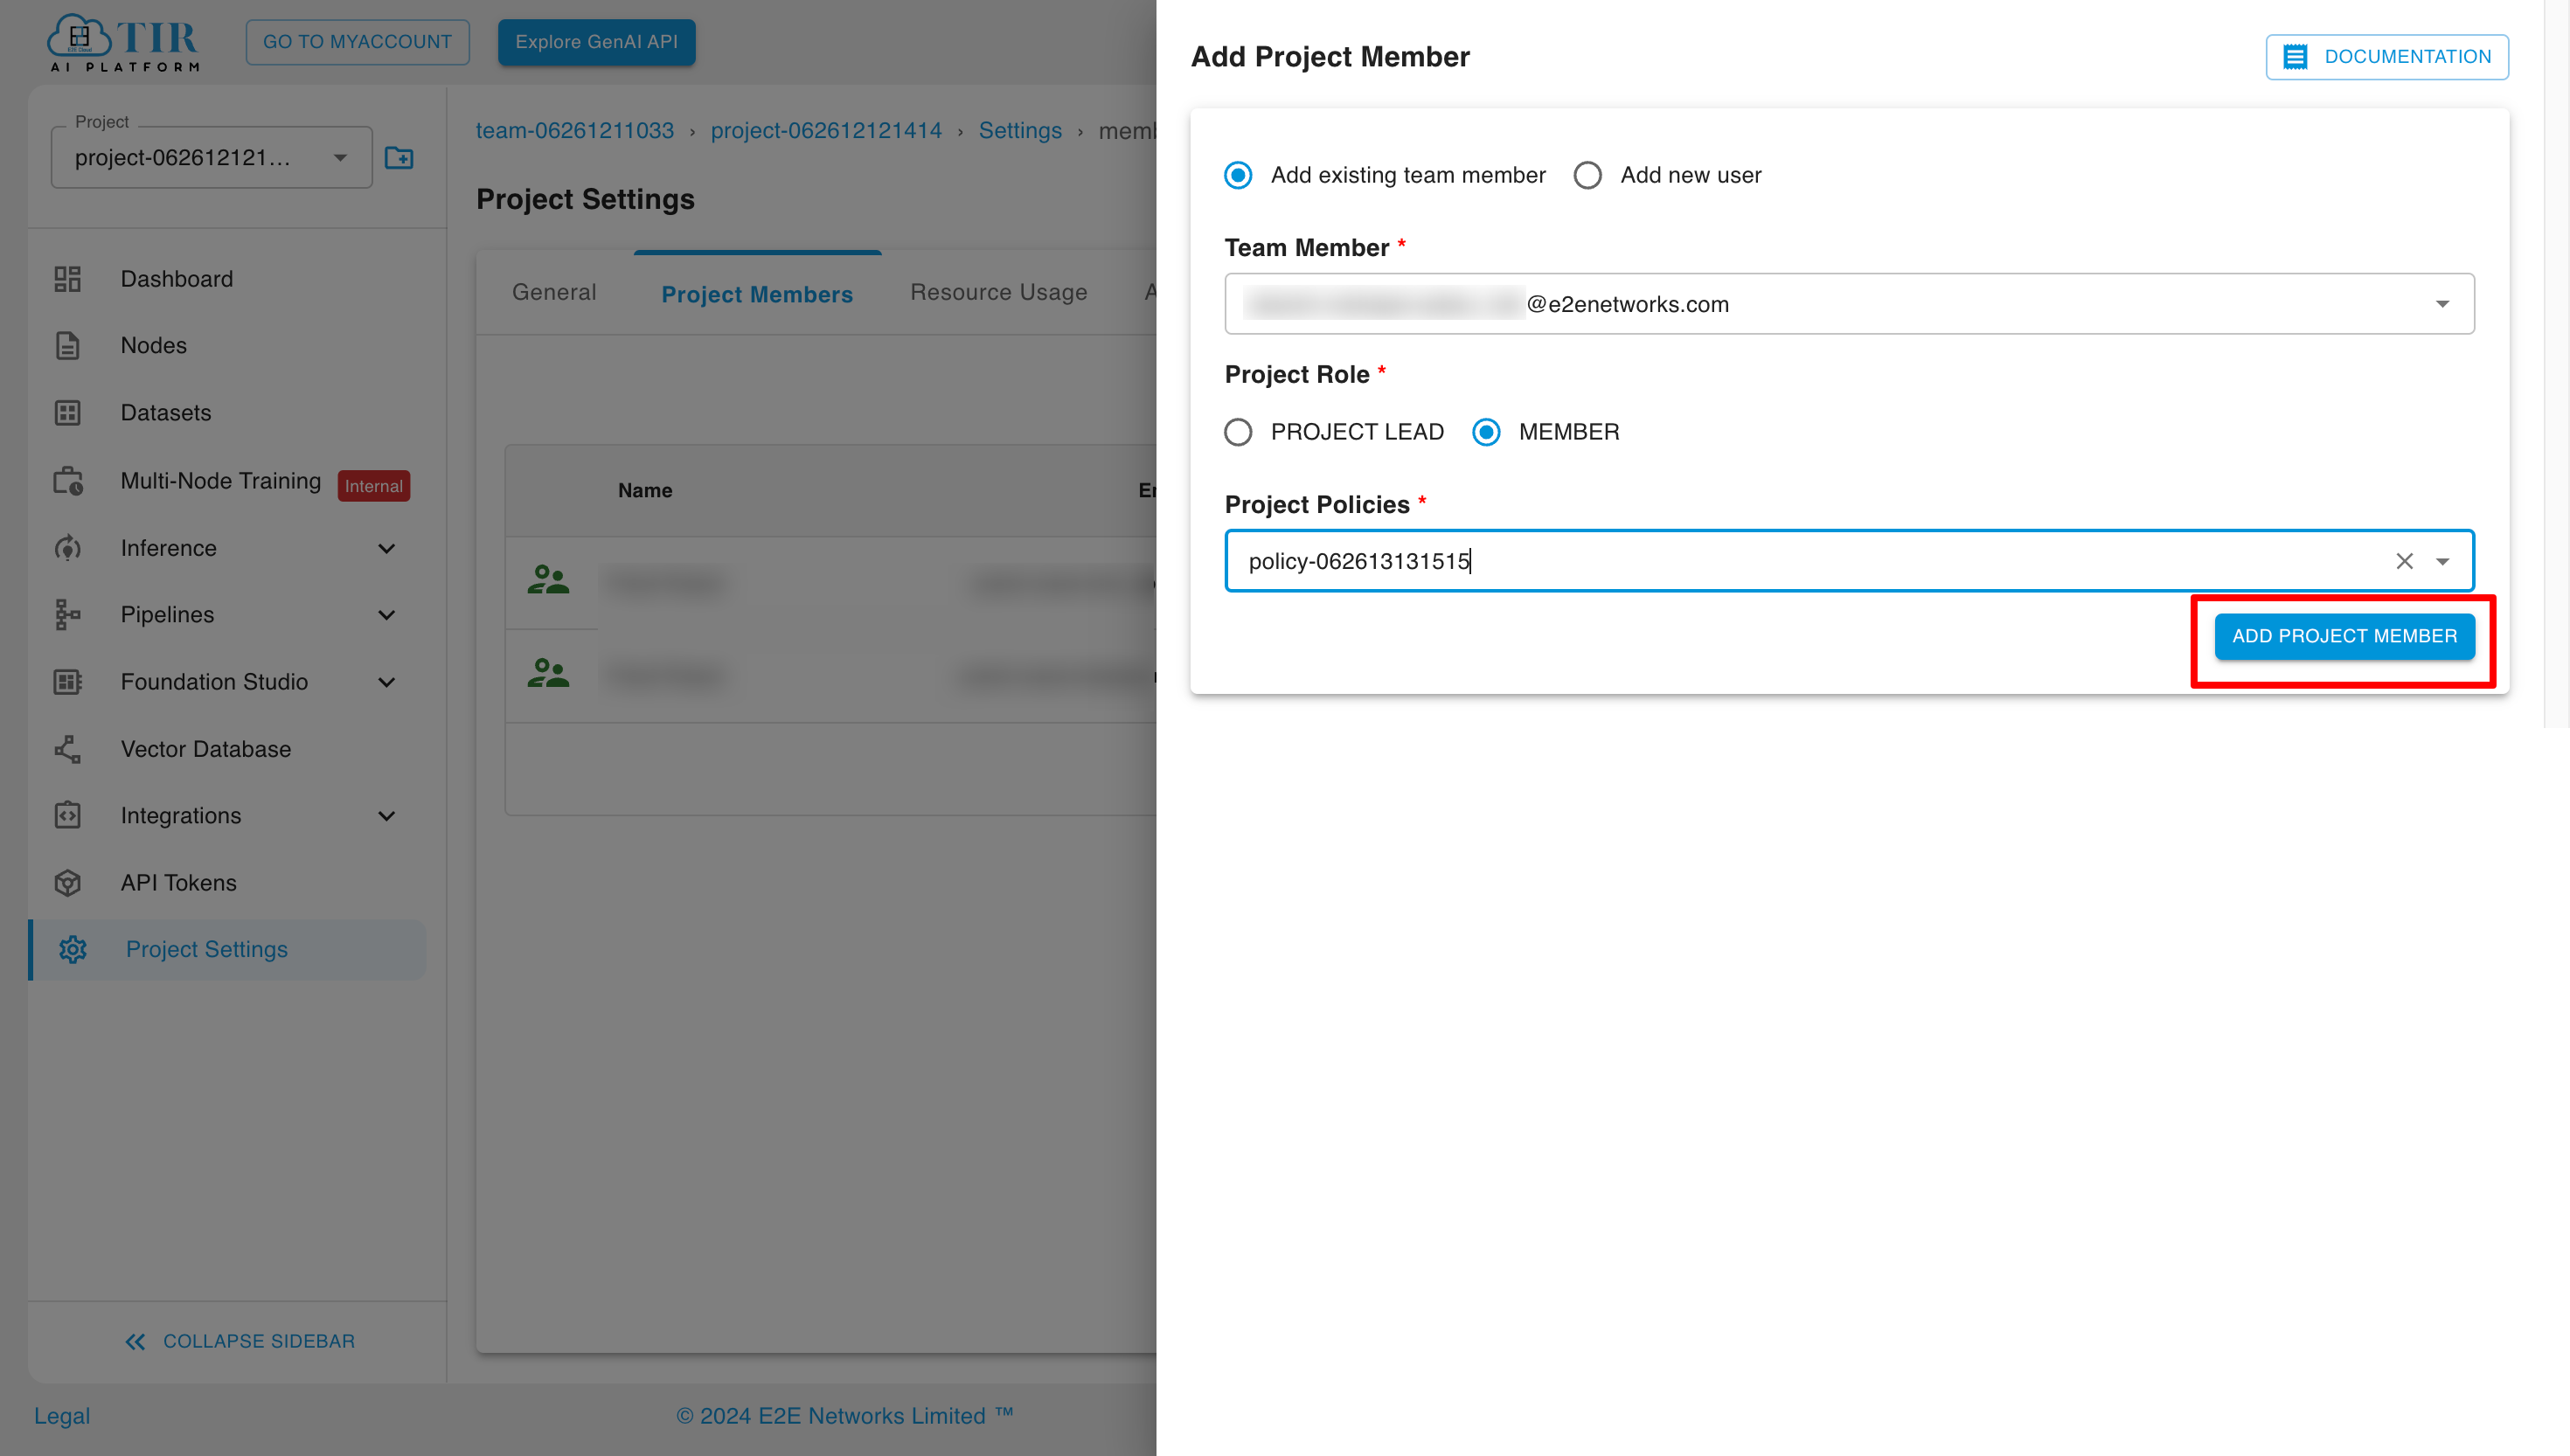
Select the appropriate role and policy, then click the "Add Project Member" button.
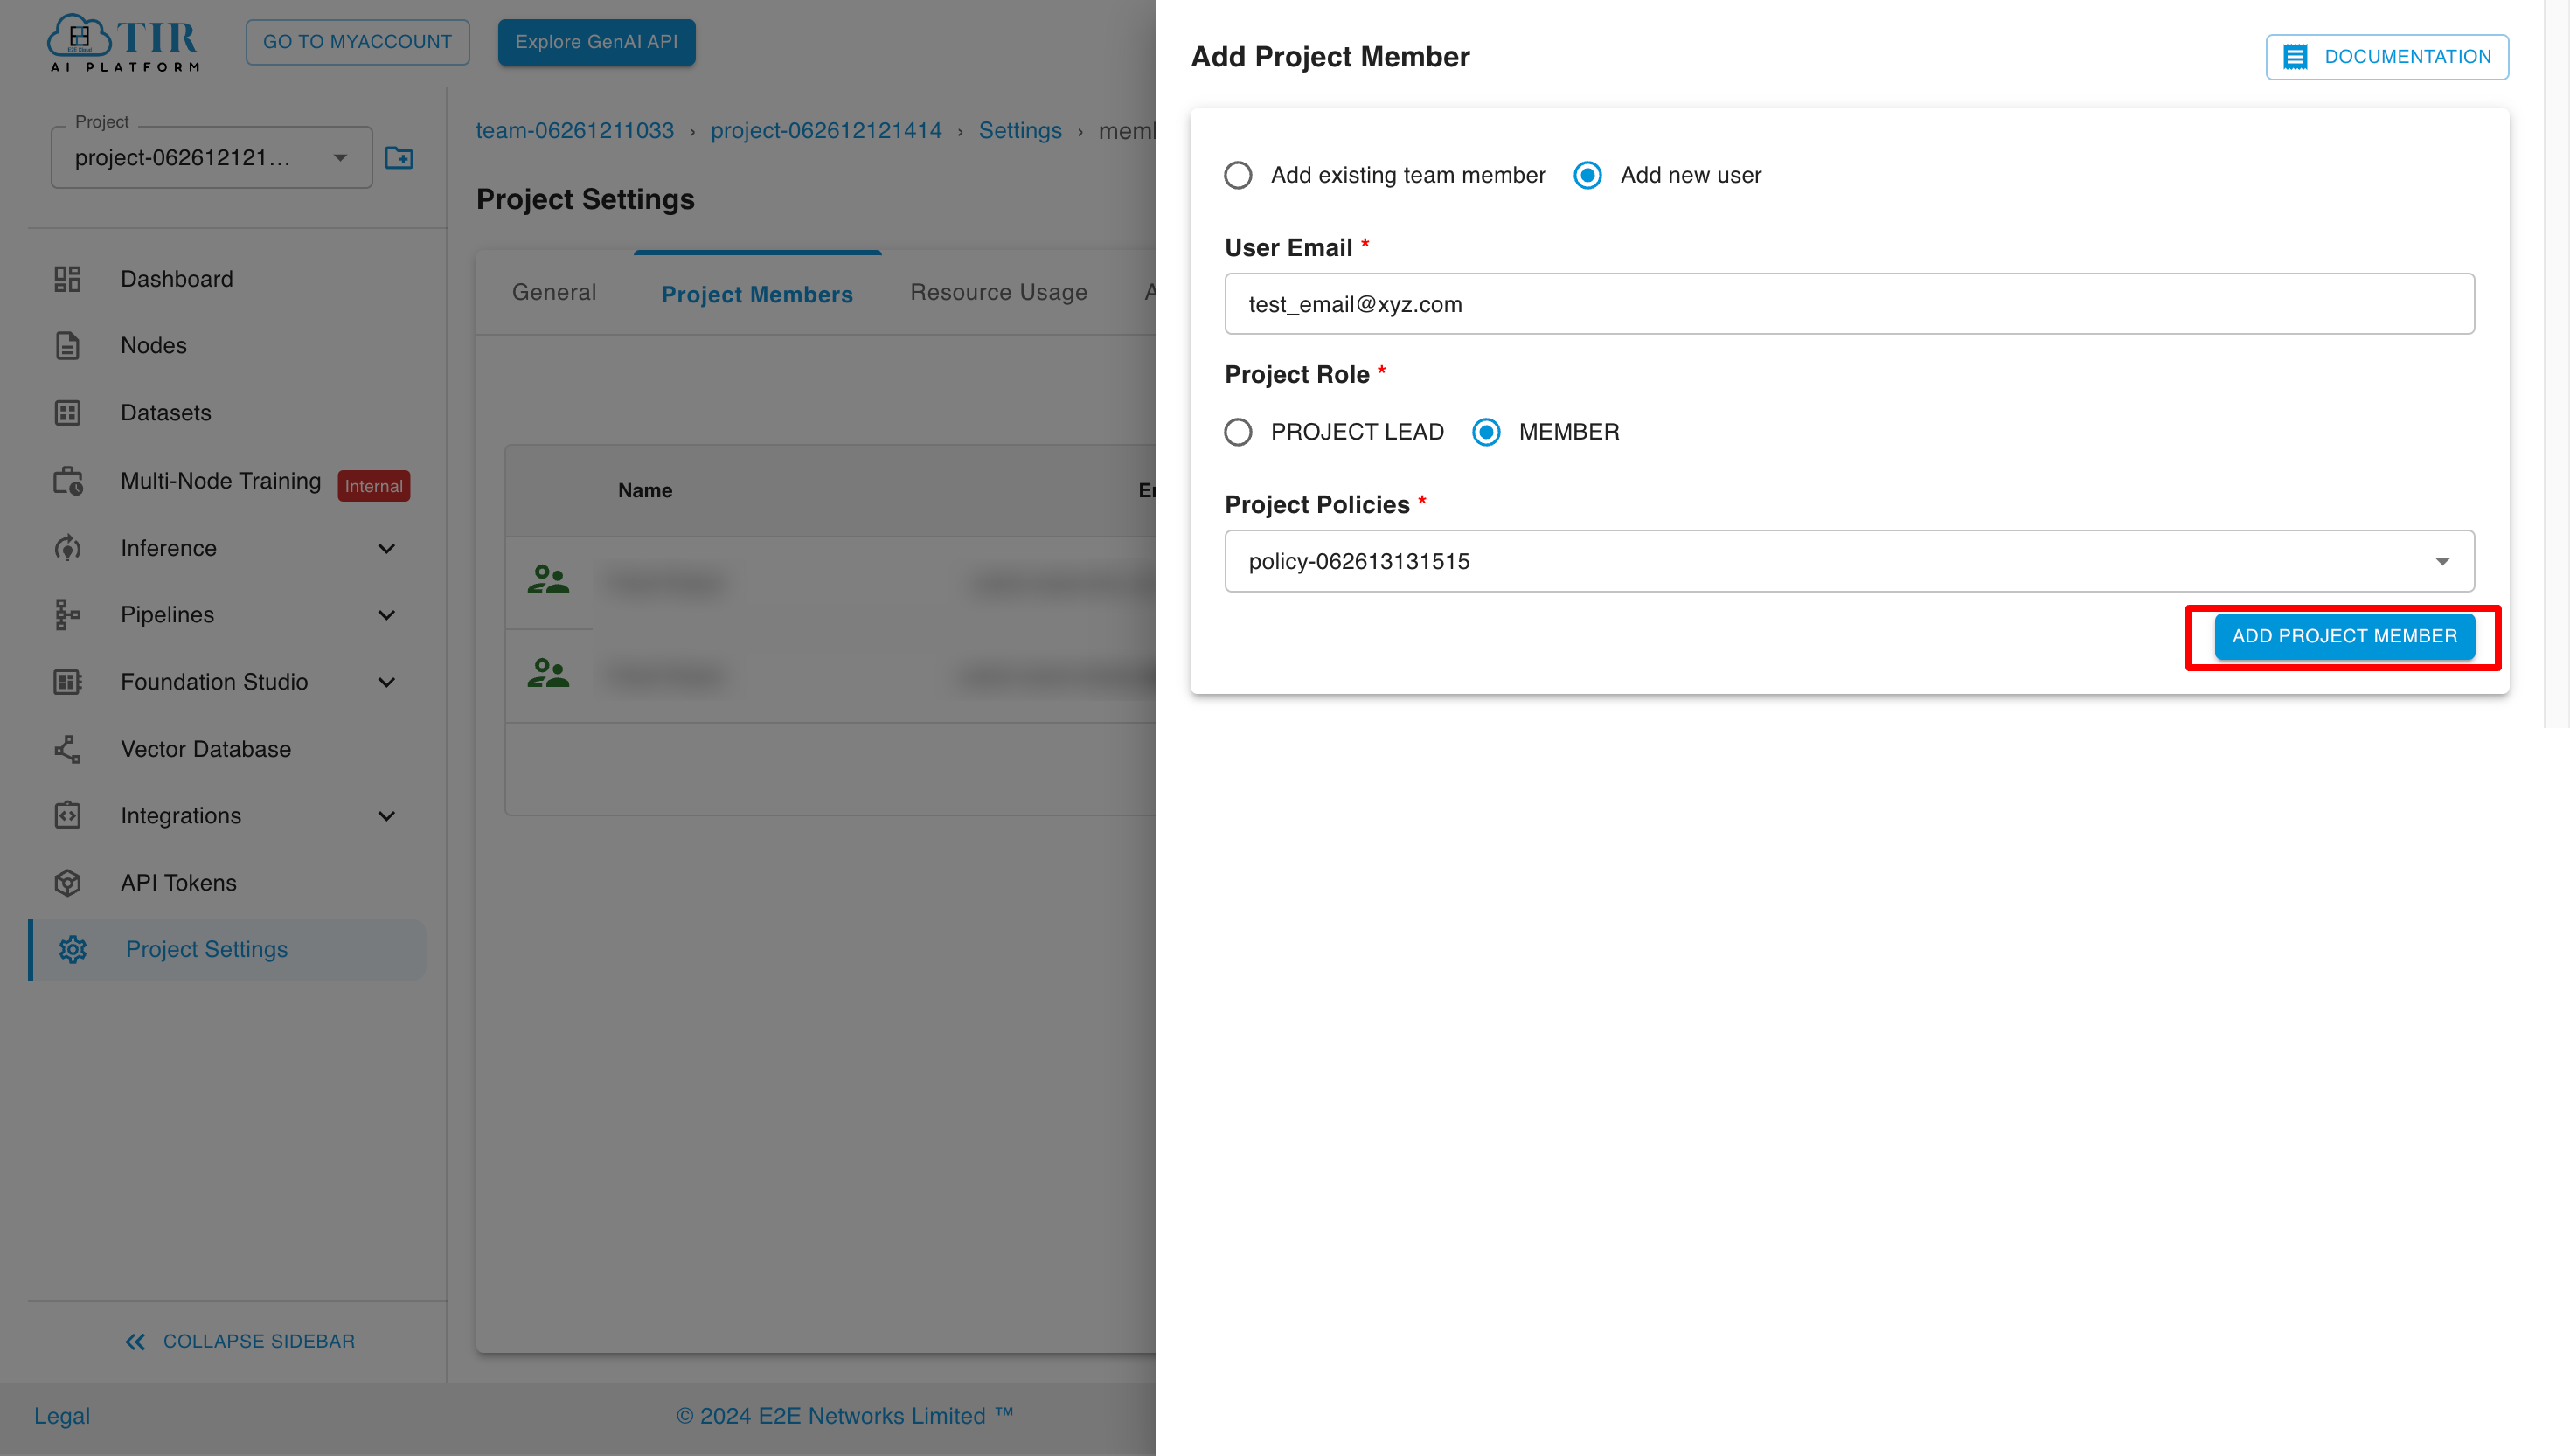
Adding a new project member
Select the appropriate role and policy, then click the "Add Project Member" button.
Invitations sent and their status can be seen in the invite section of the IAM Panel.
Edit Project Member
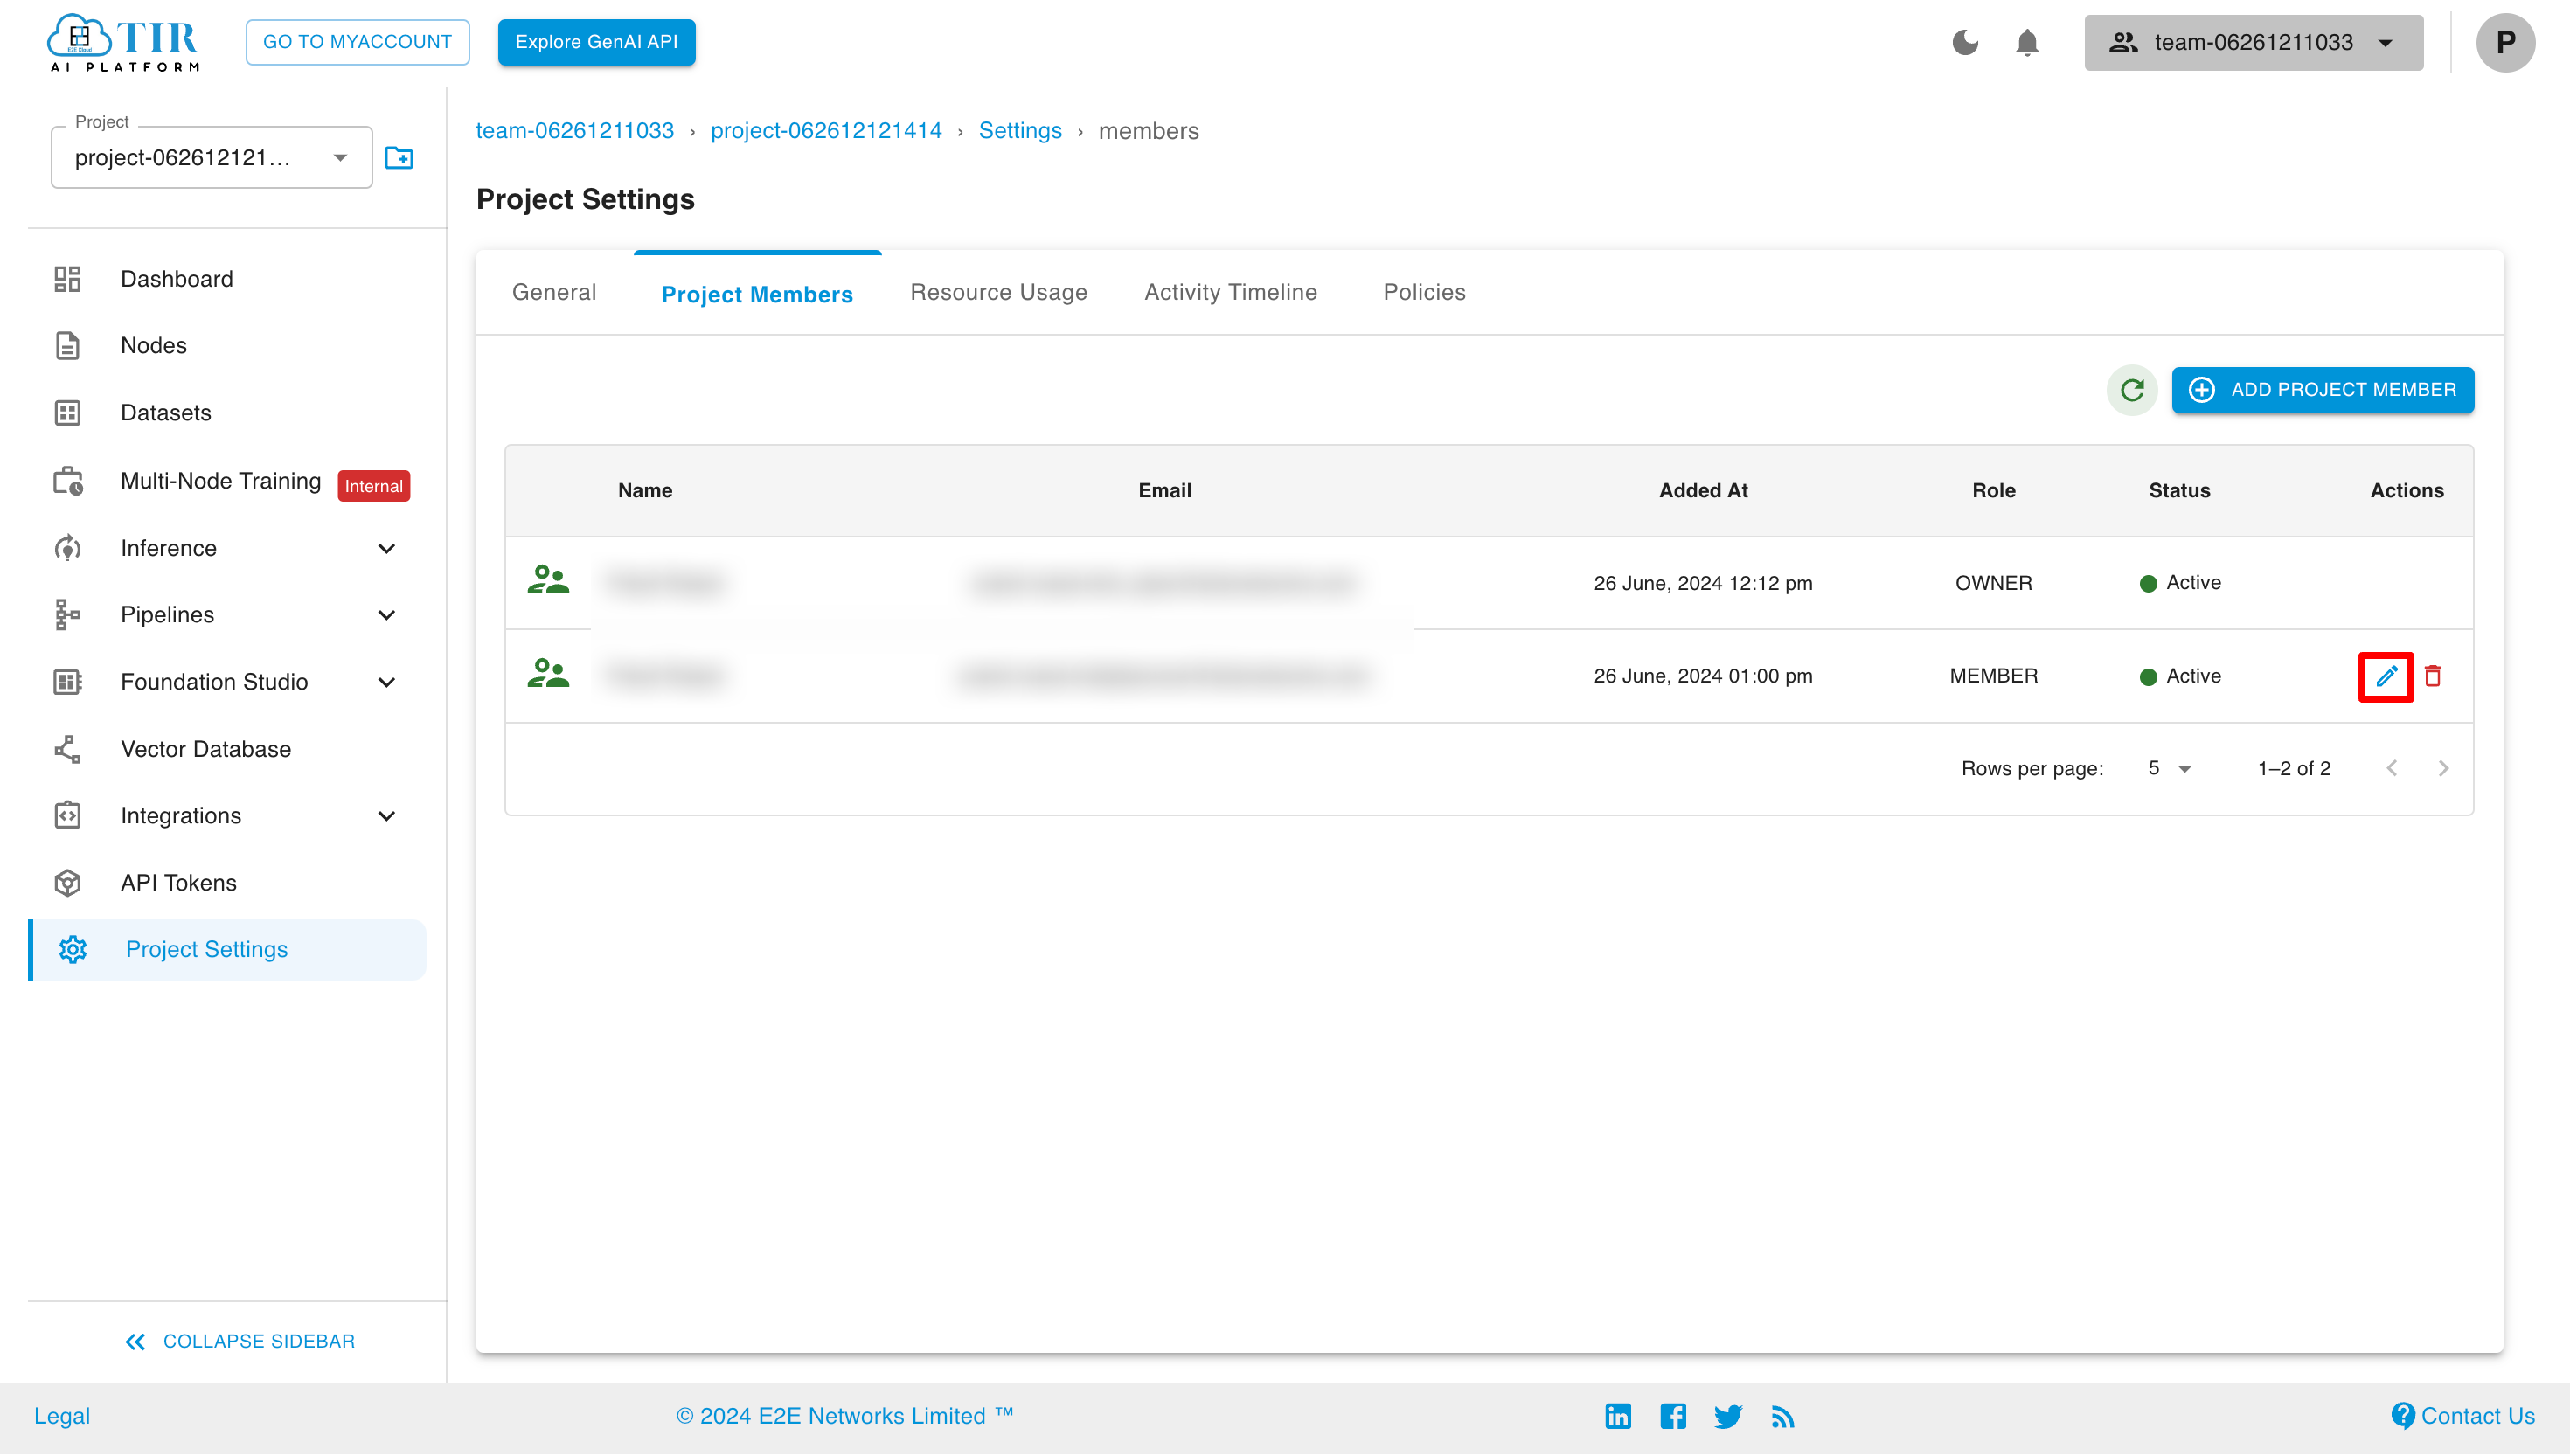
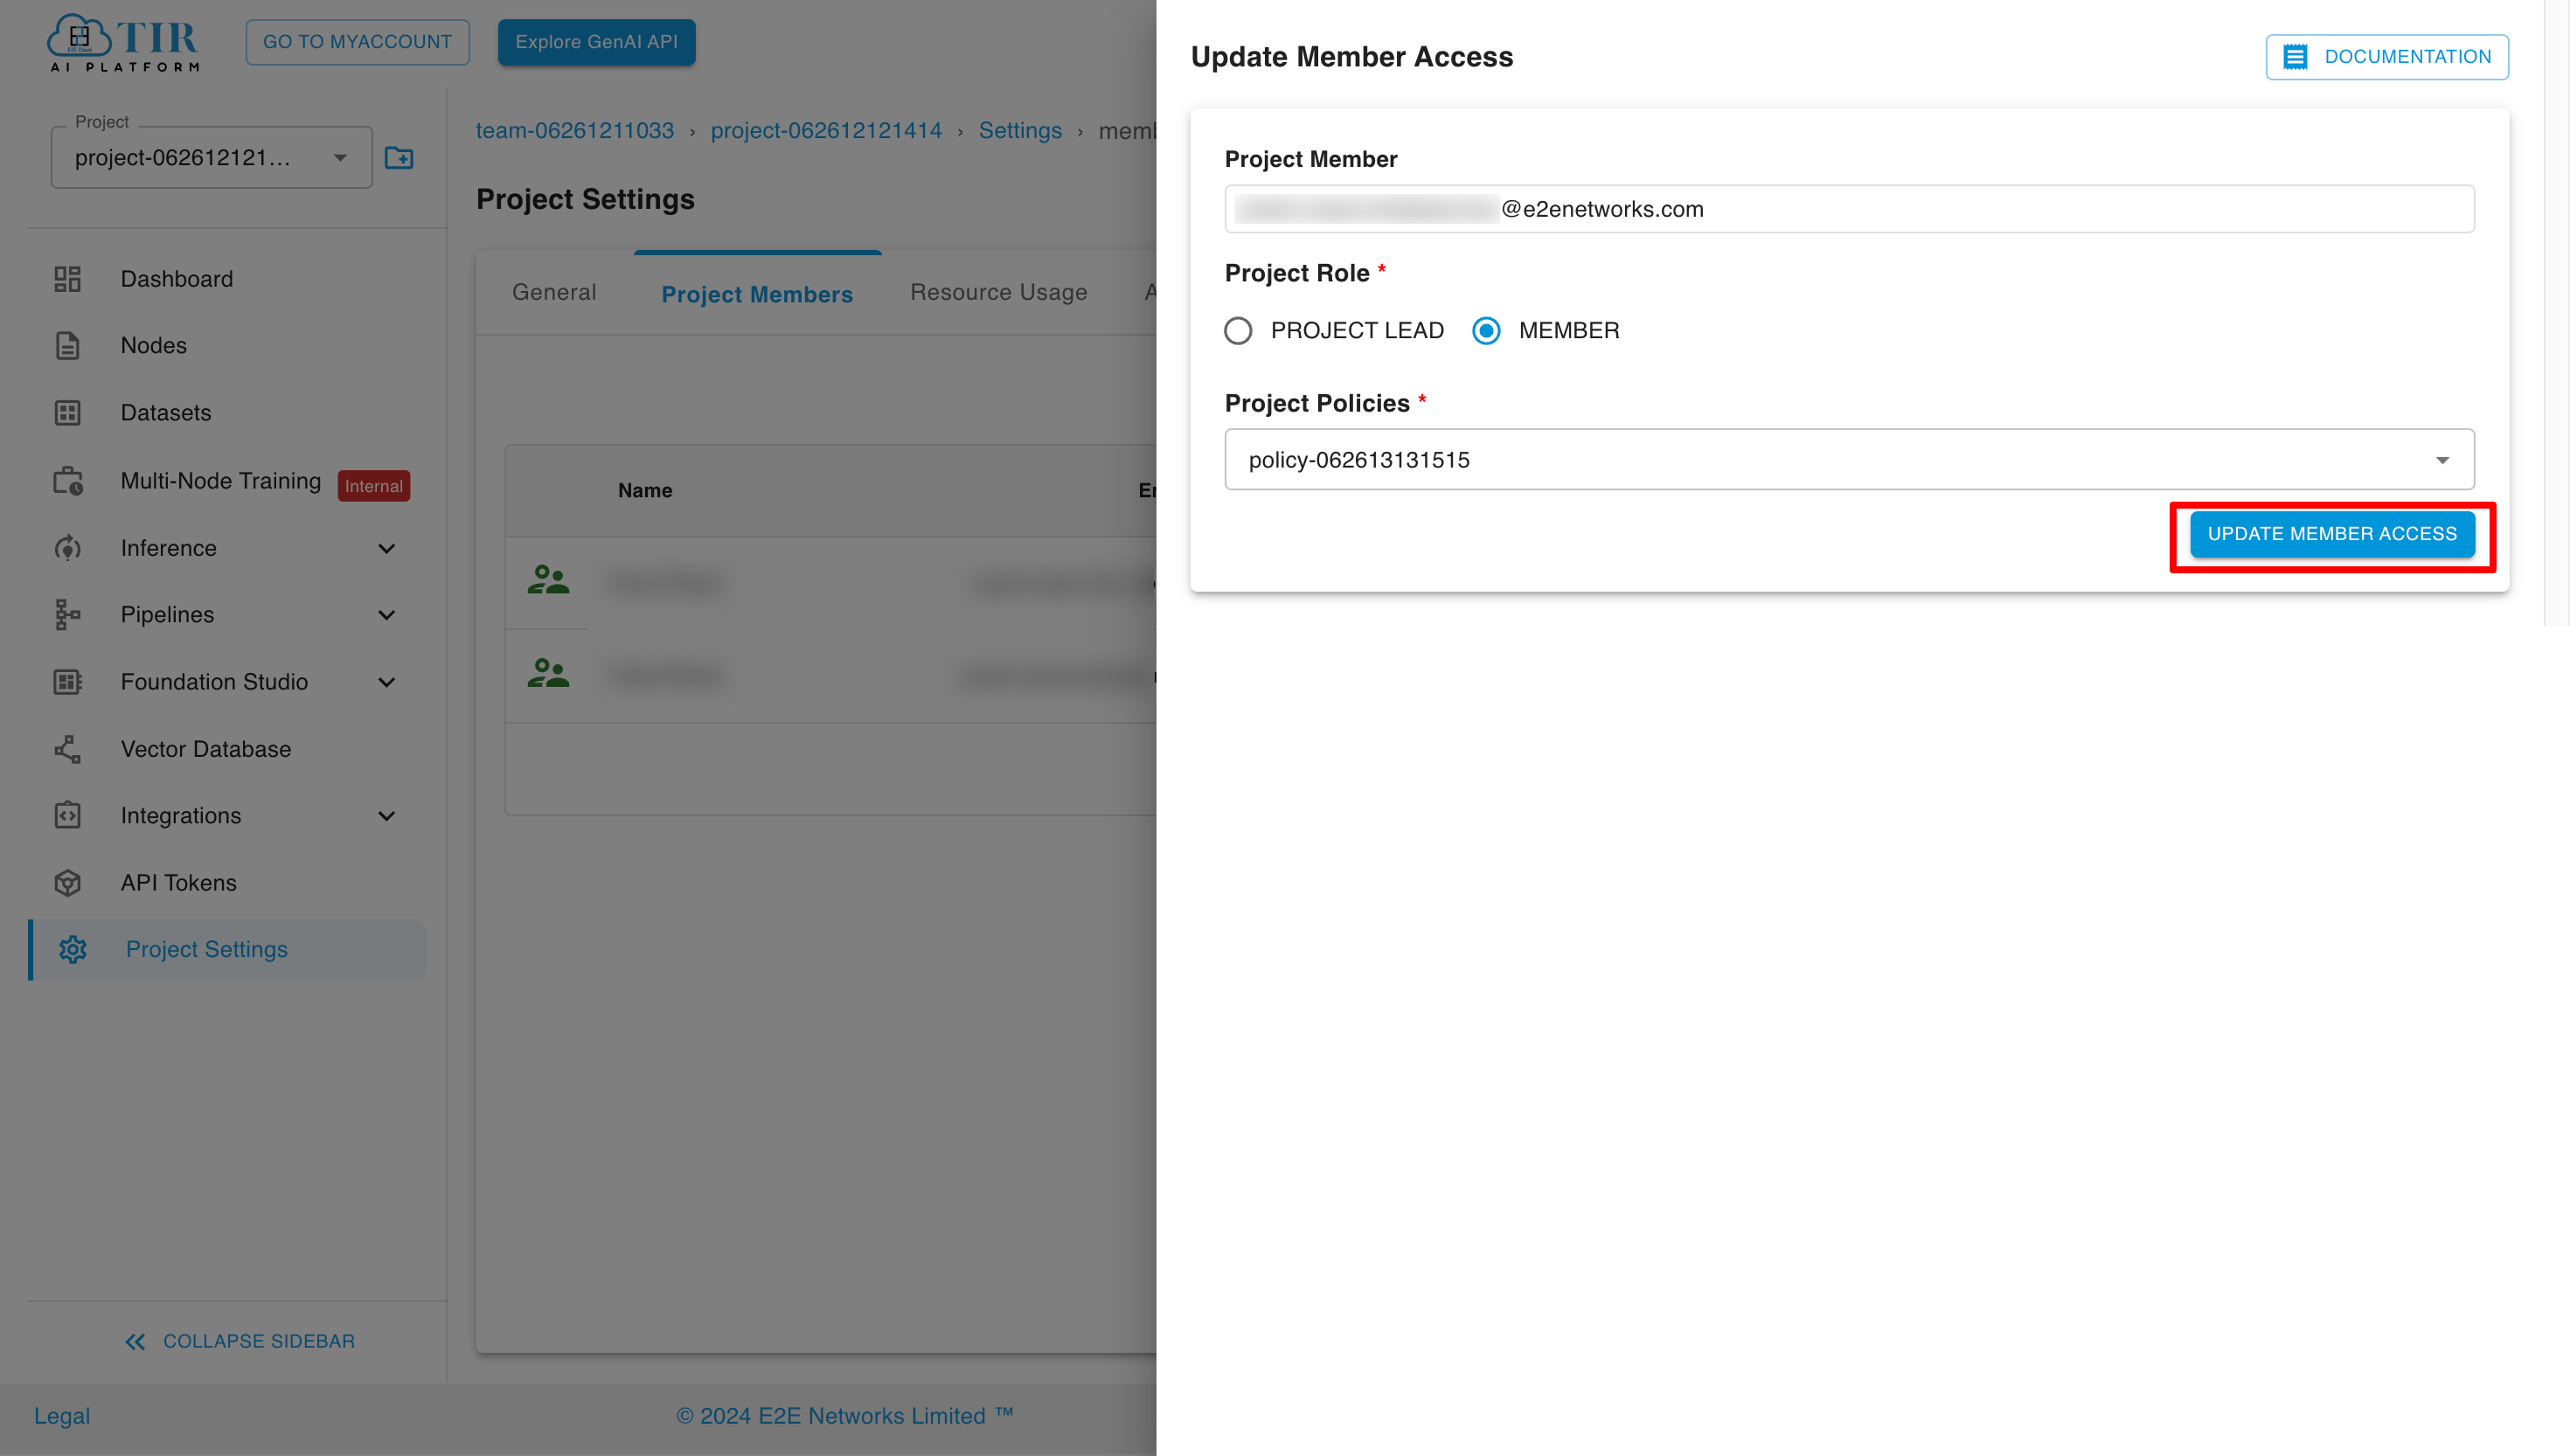
We can edit the project member's role by clicking on the "Update User Access" button in the actions section.
Now, select the appropriate role and policy, then click the "Update Member Access" button.
Delete Project Member
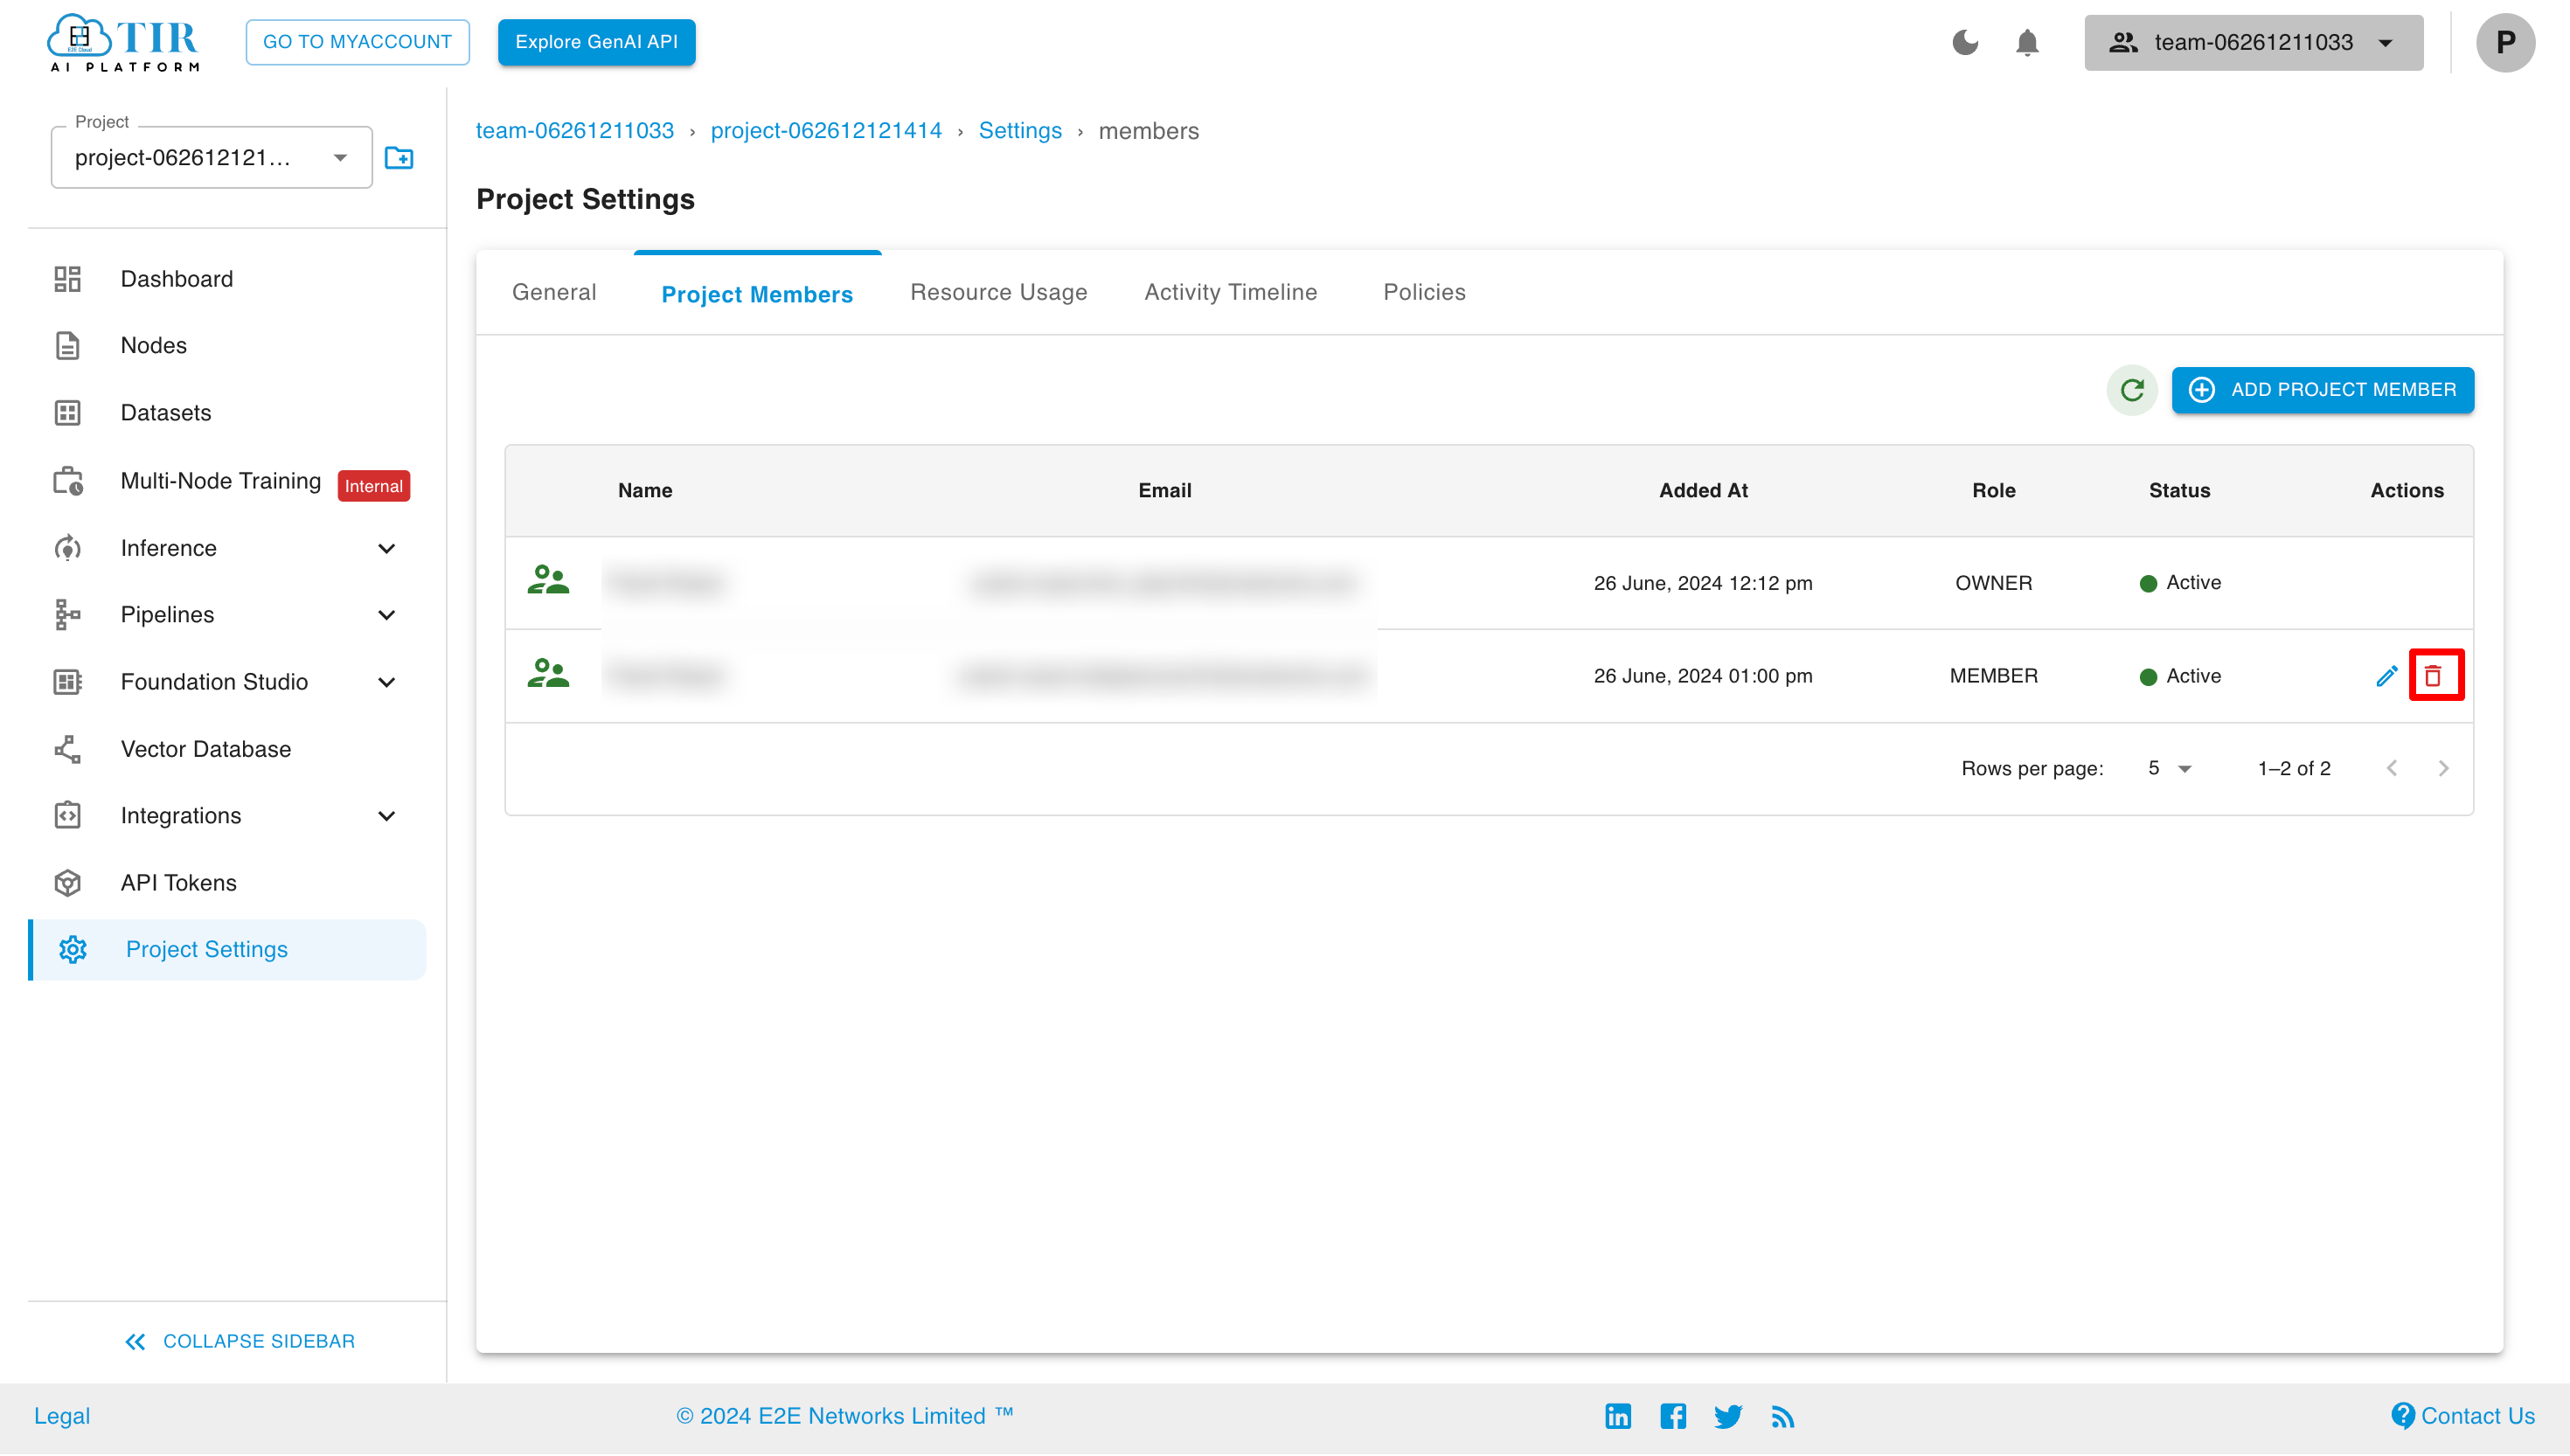
To delete a project member from a project, click on the "Remove Project Member" button in the actions section.
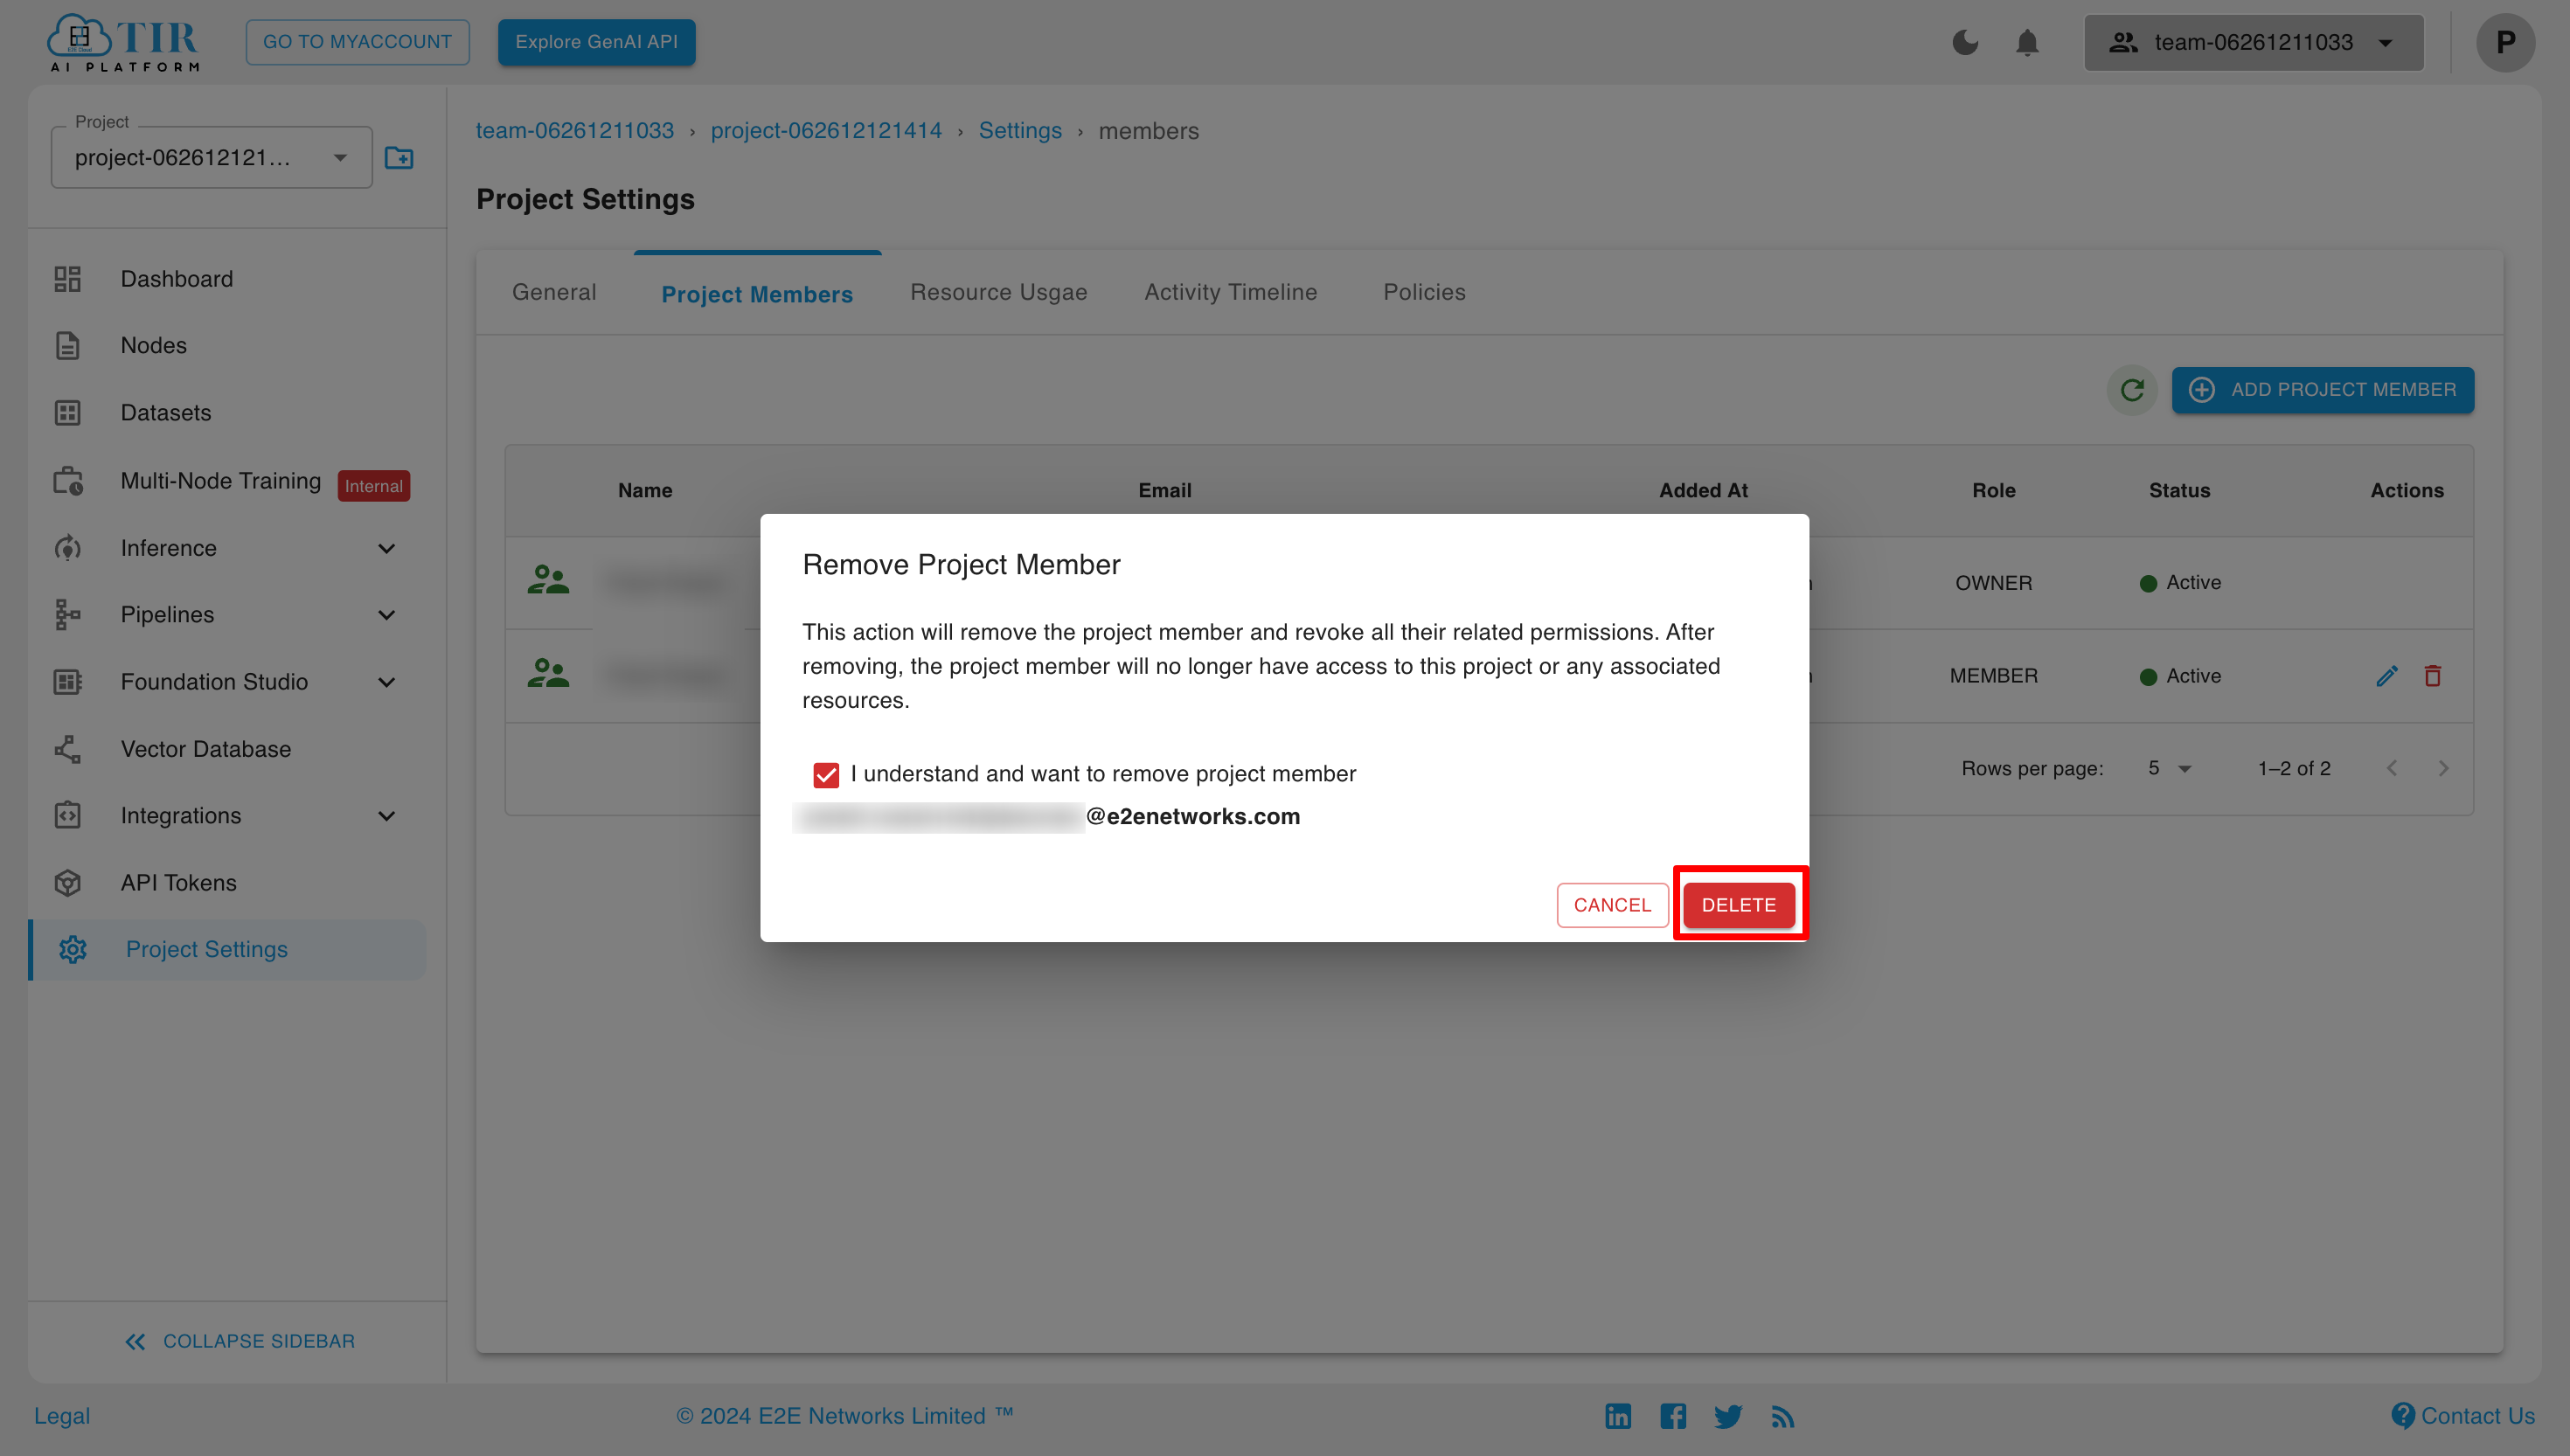
Now to delete the project member, check the checkbox and click on the "Delete" button.
Resource Usage
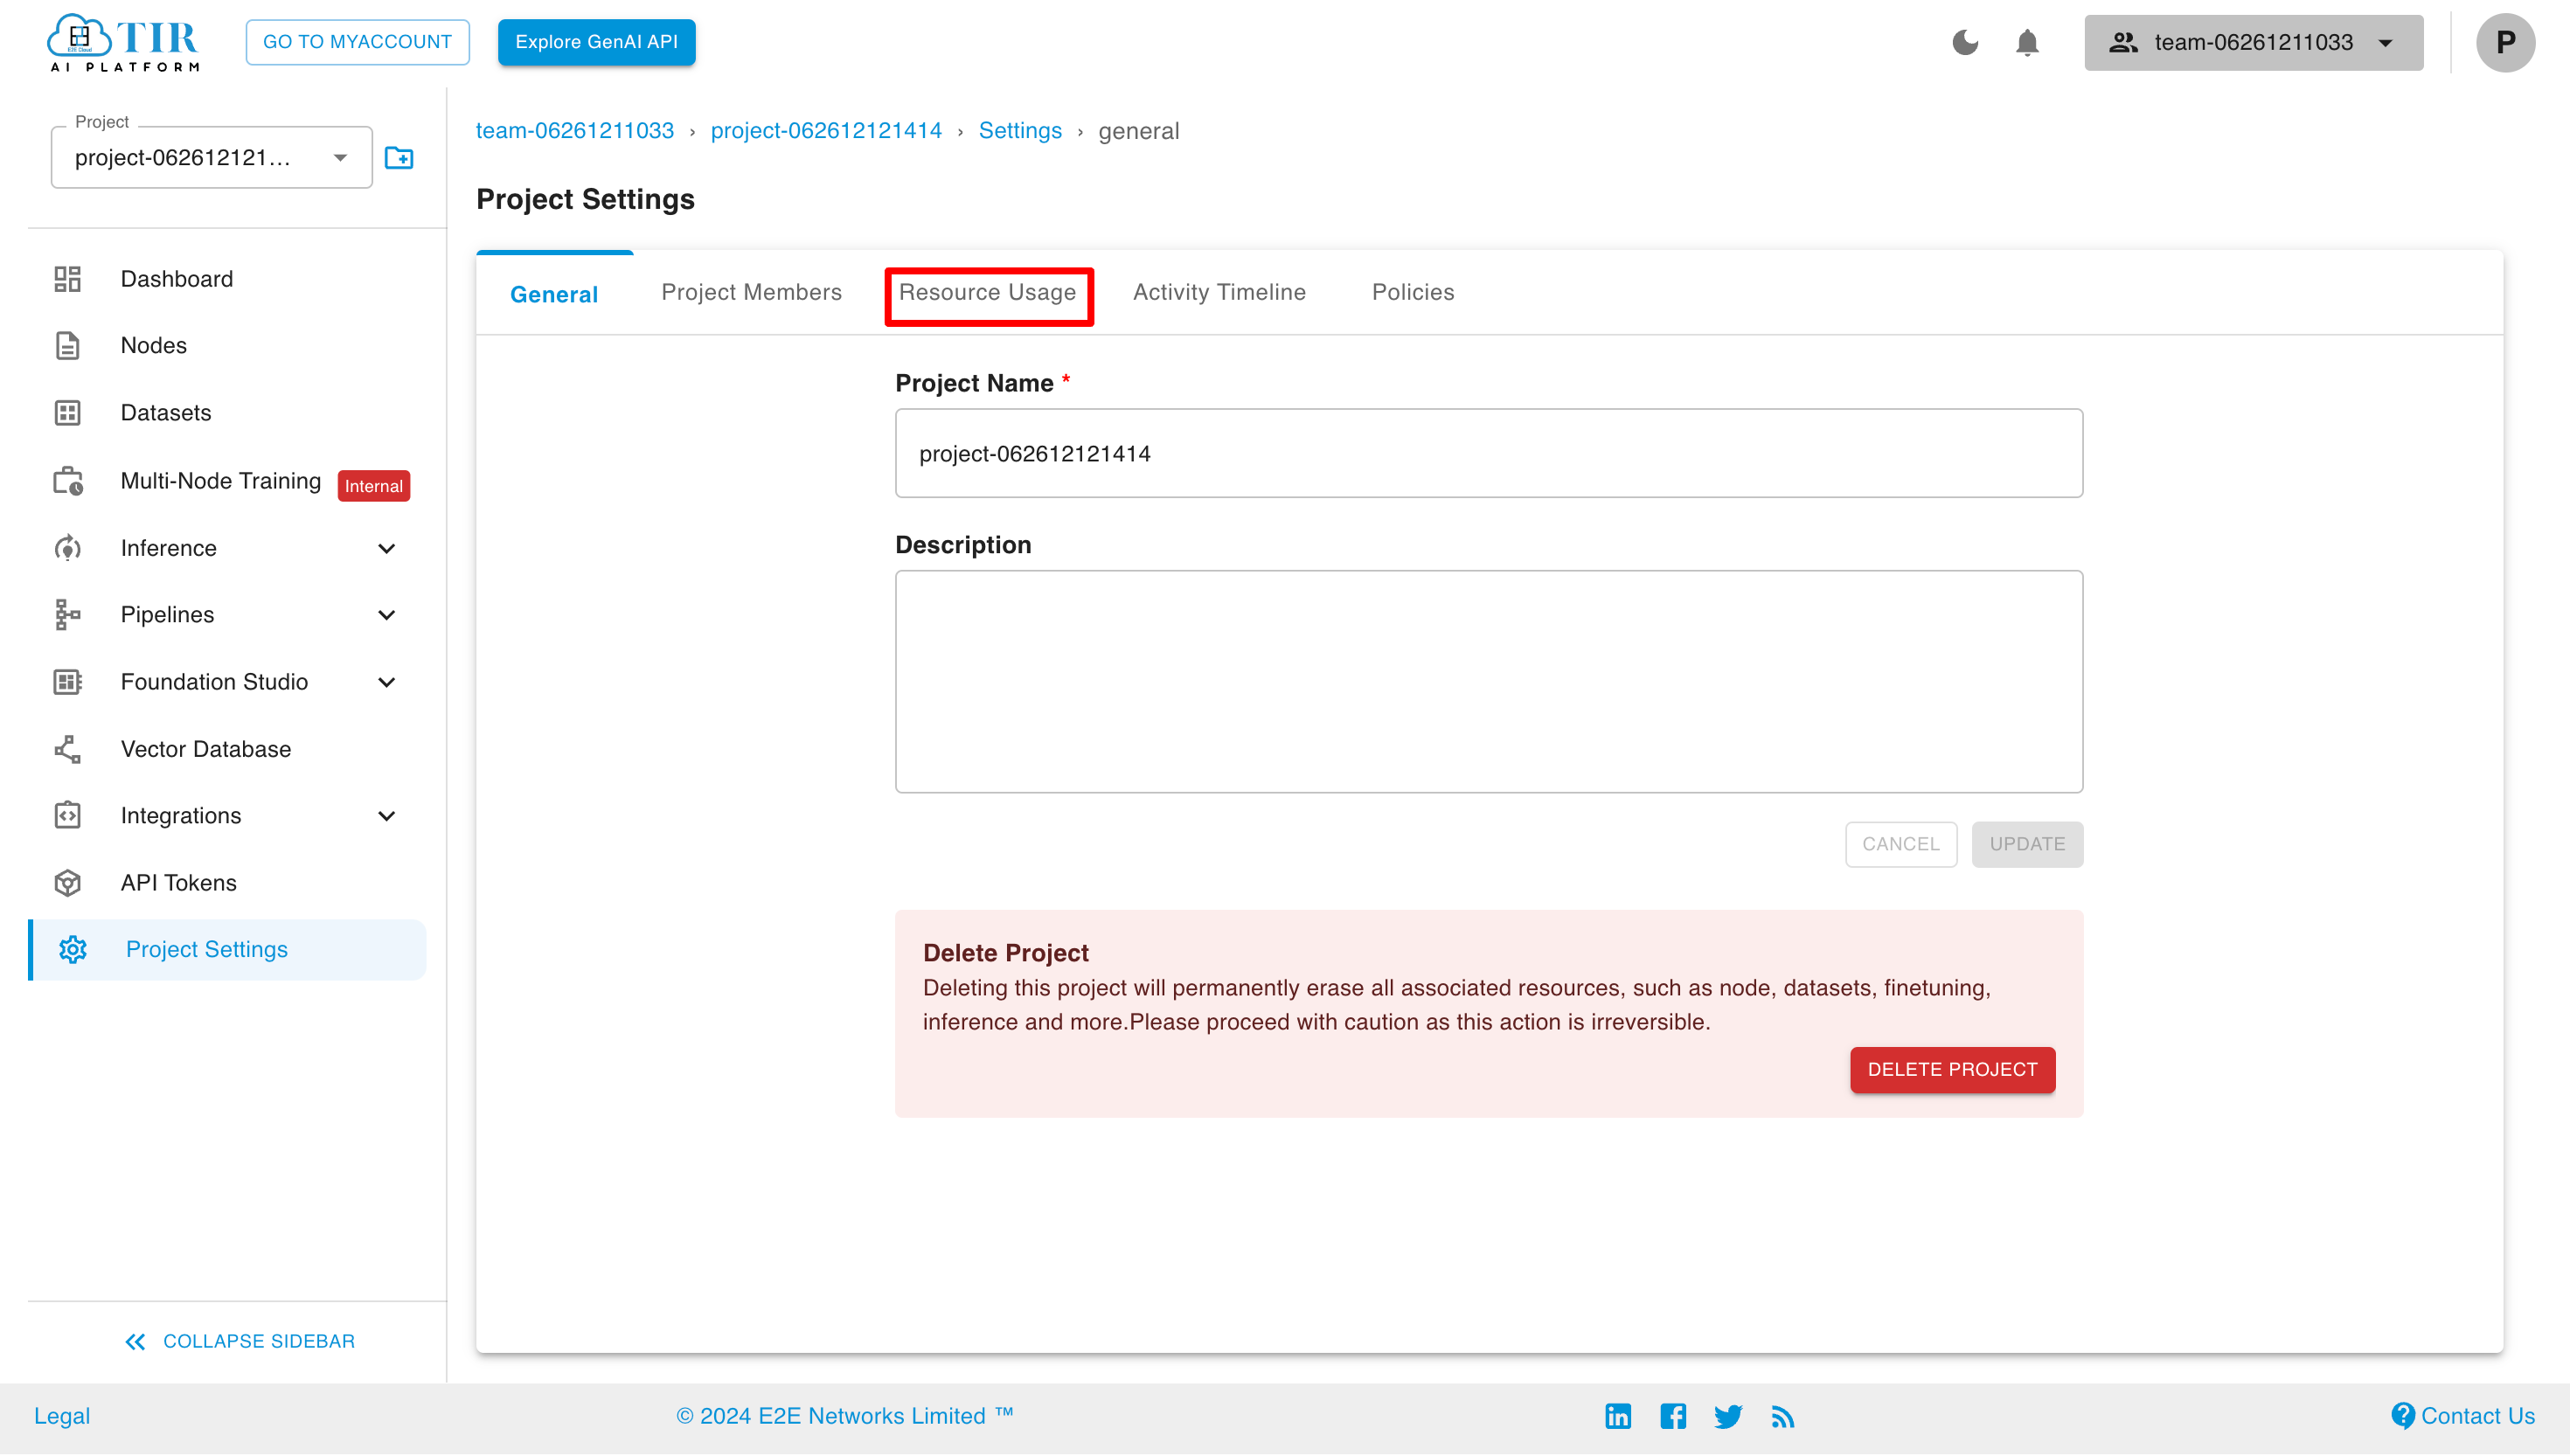
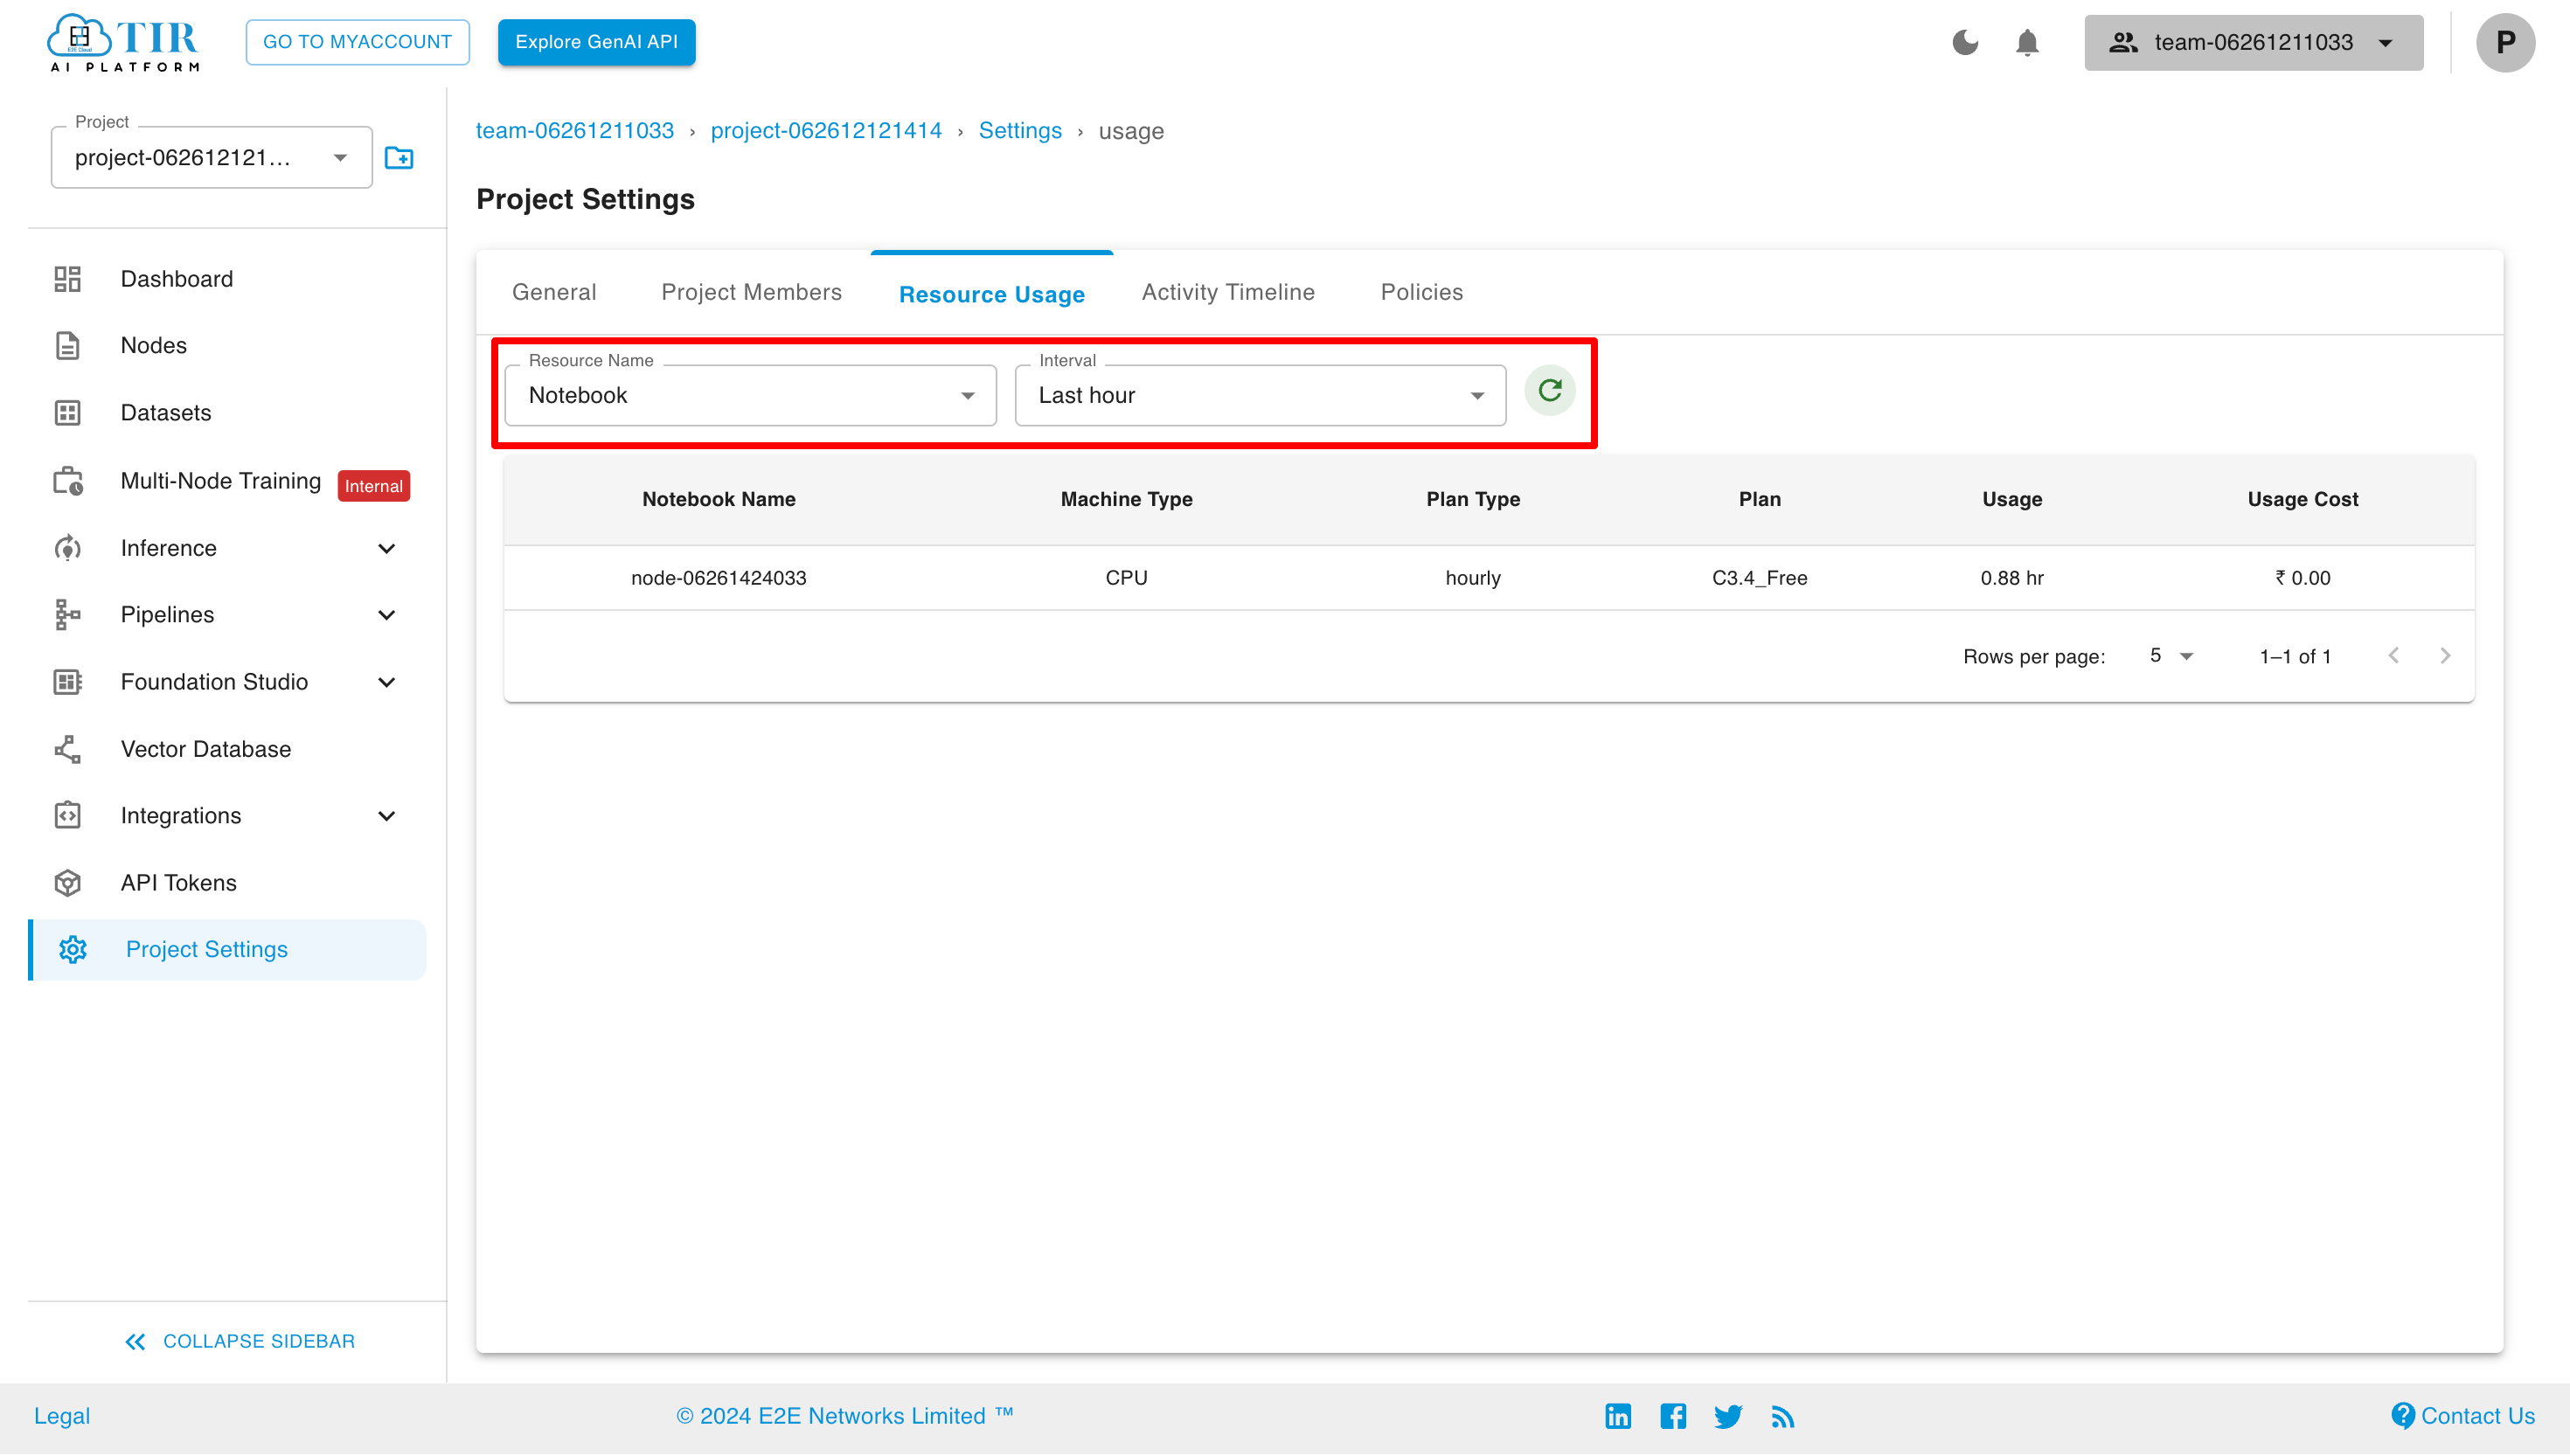
To view the resources and their usage, click on the Resource Usage tab.
Here you can select the resource and the interval for which you want to see the usage.
Activity Timeline
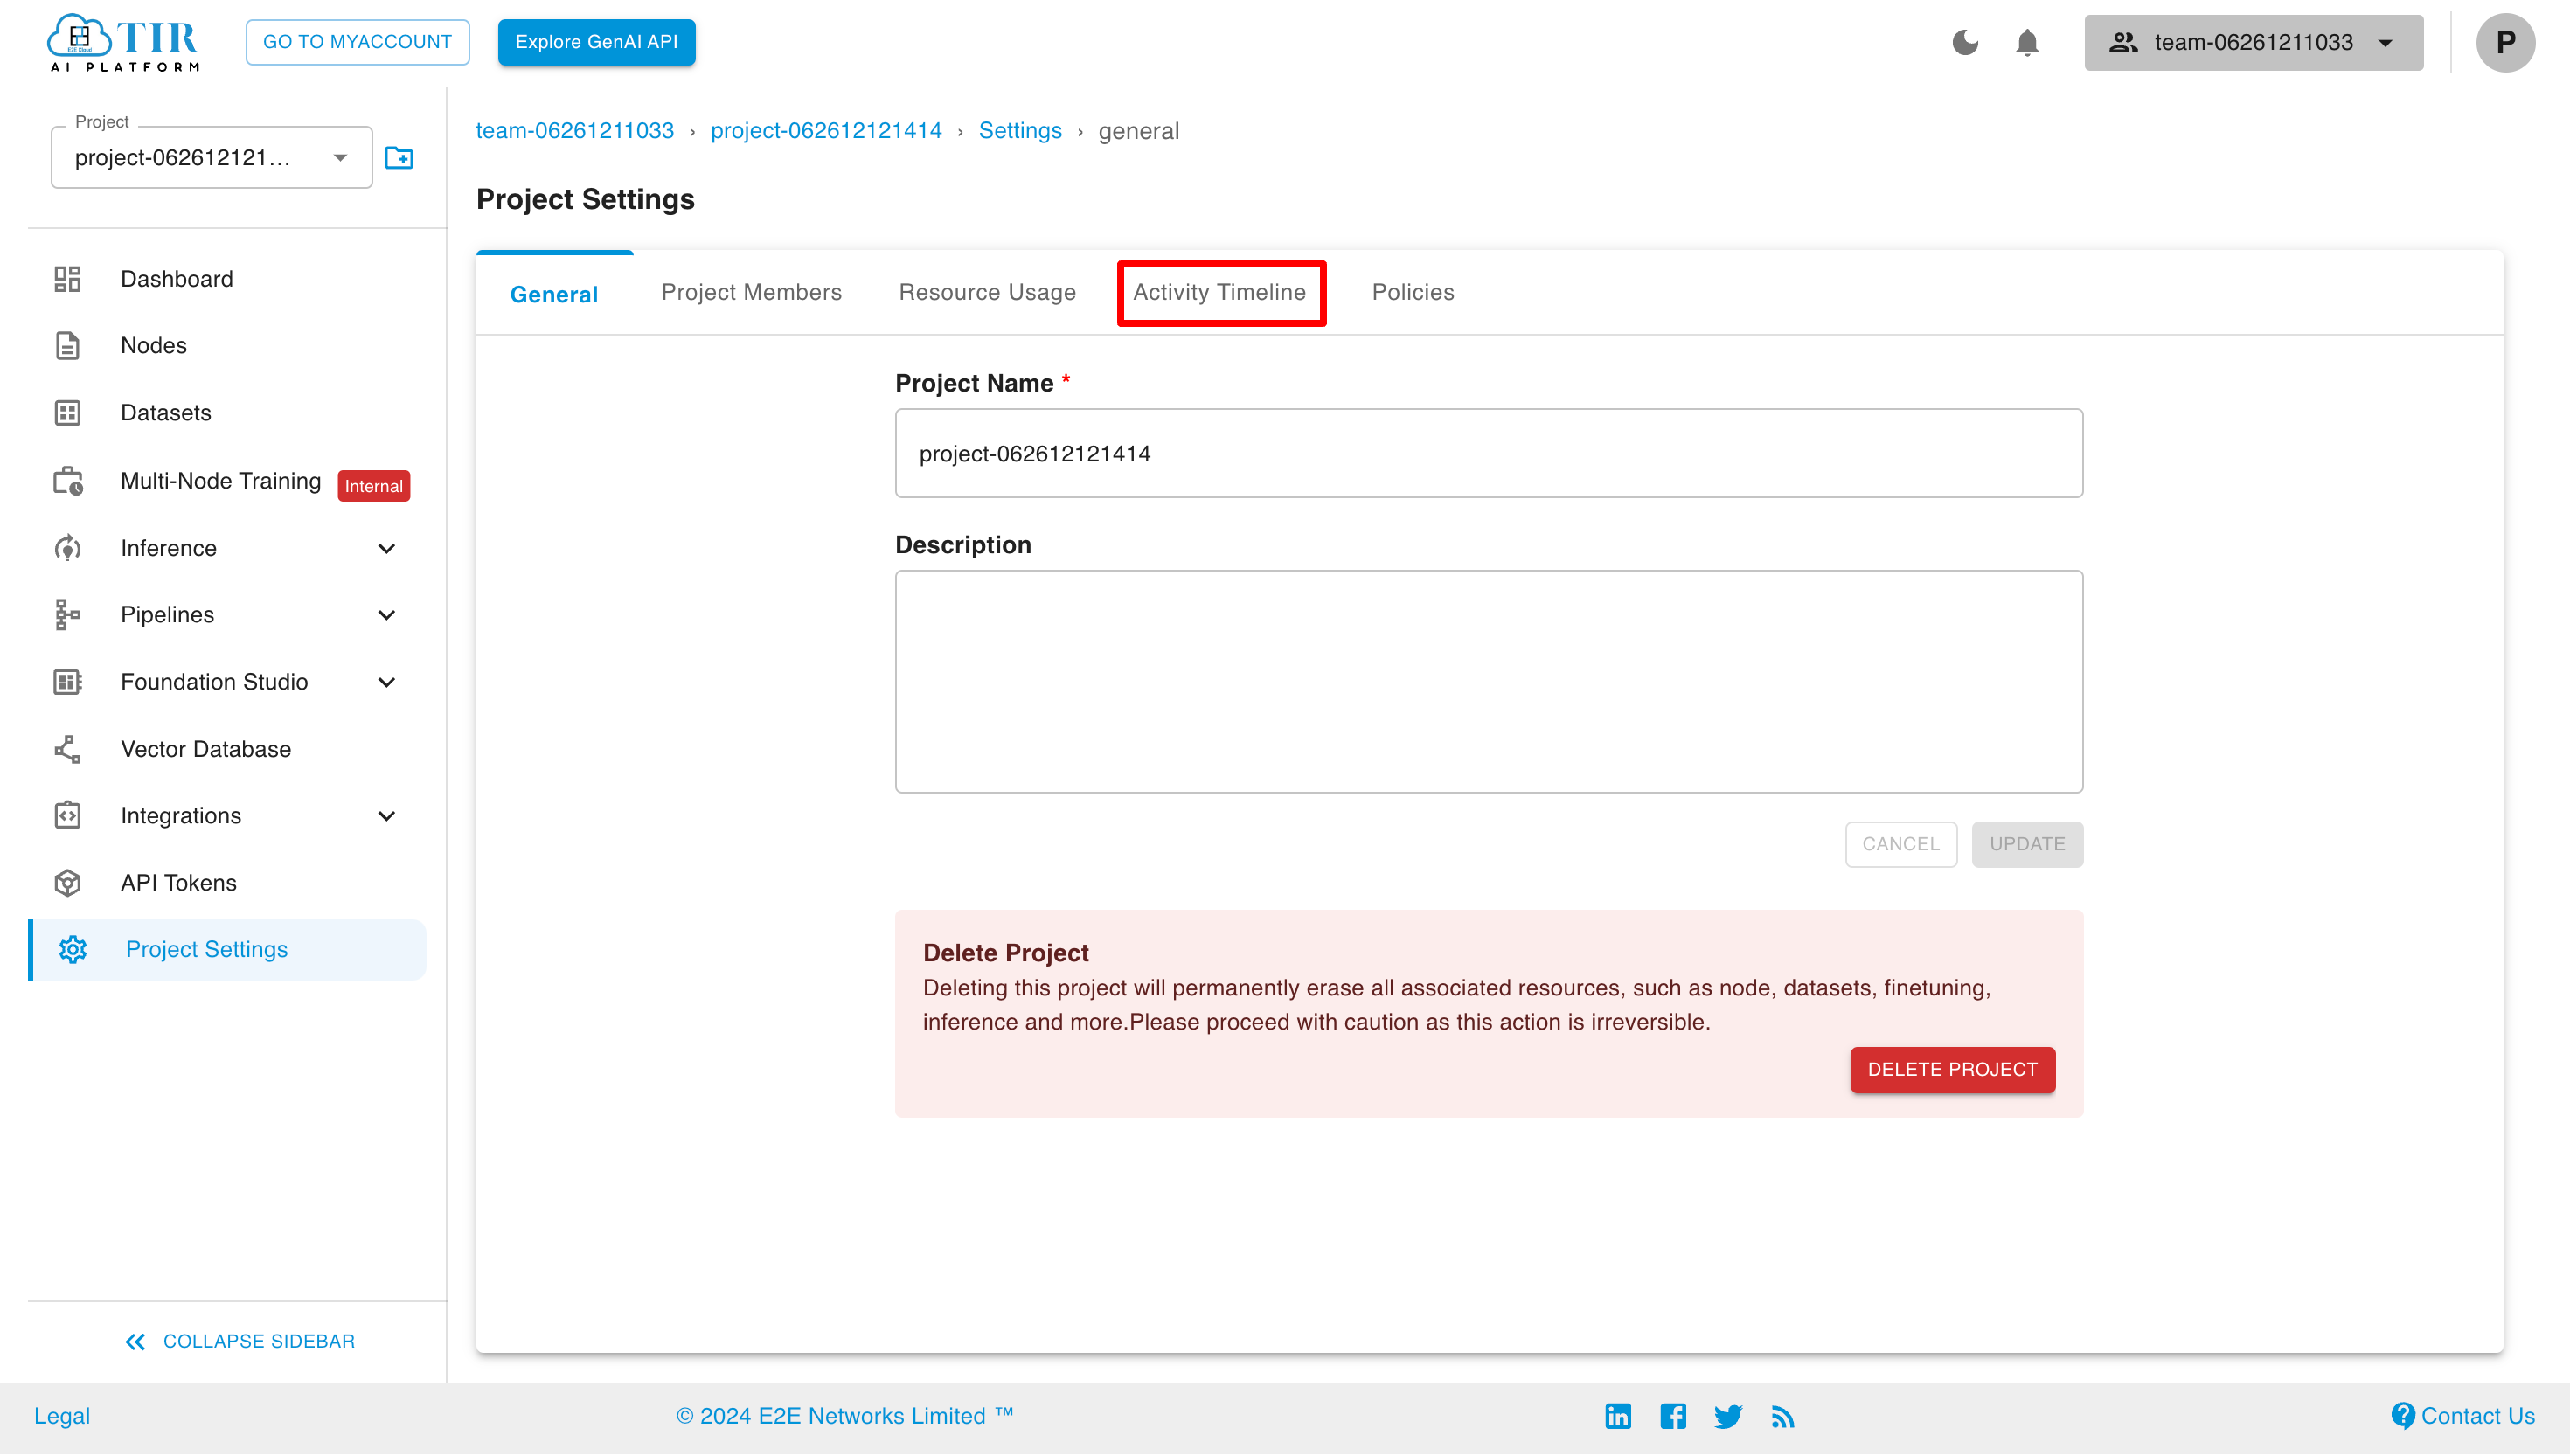
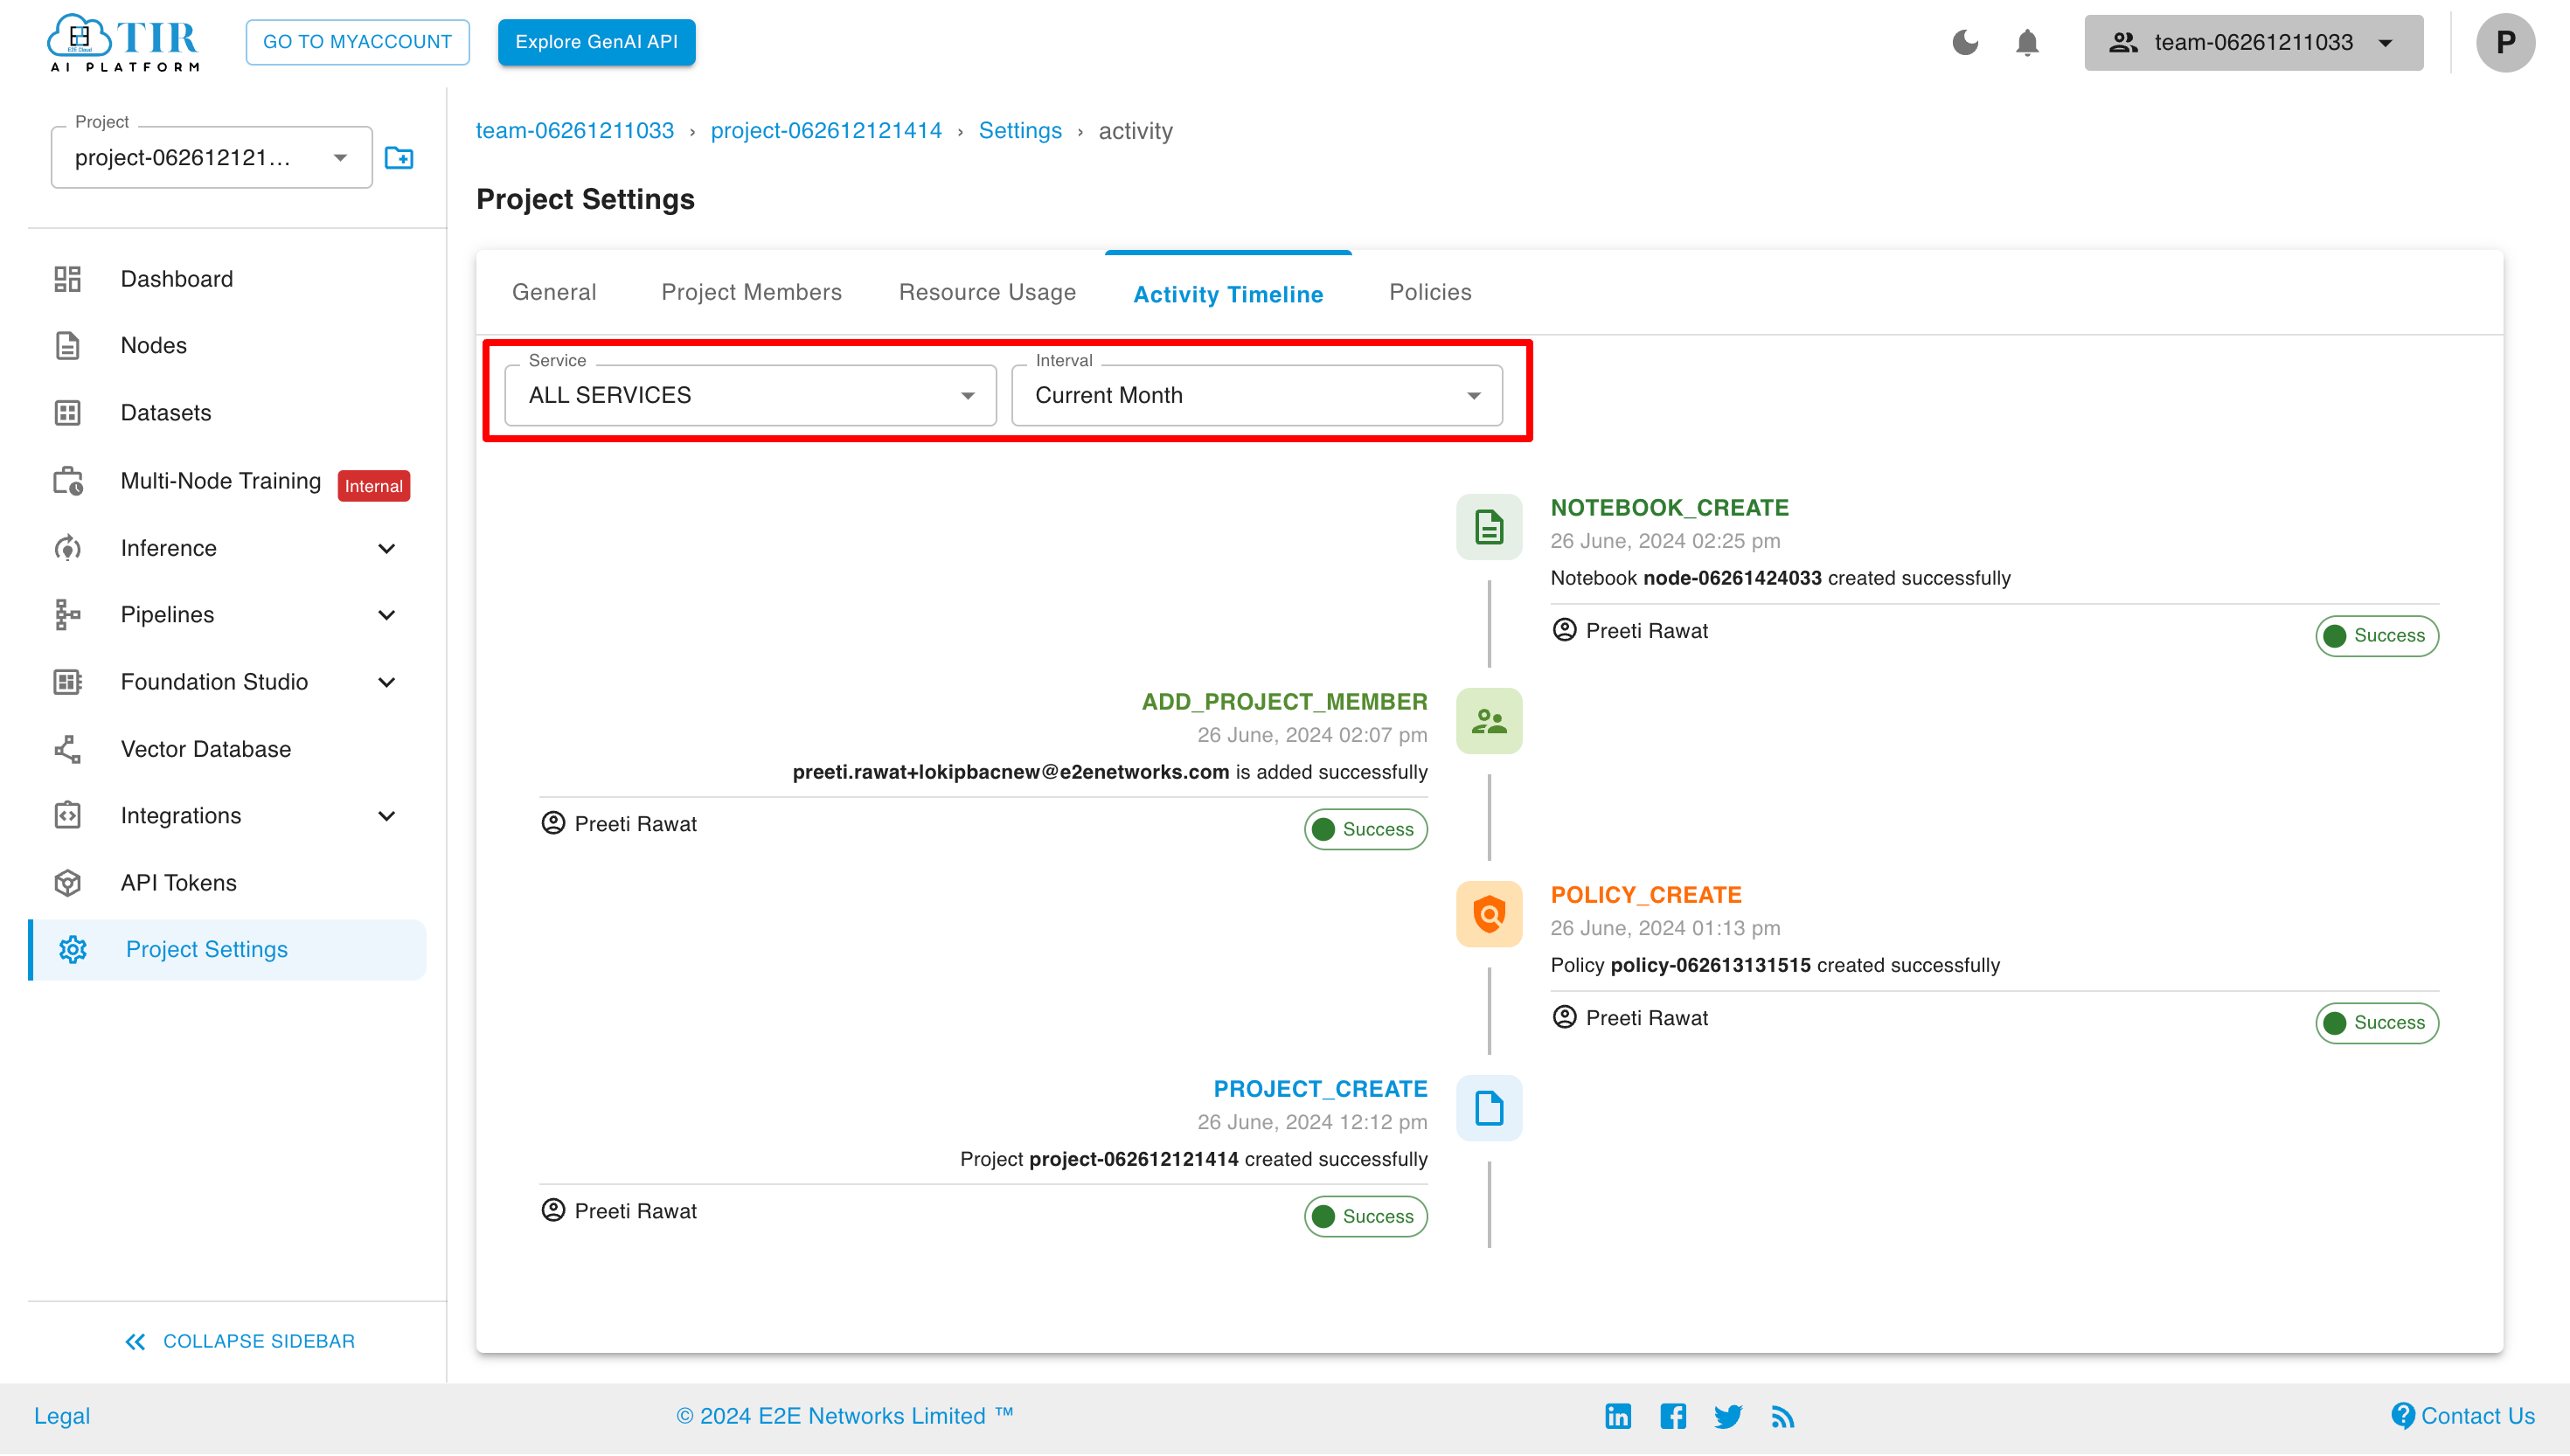
To view the record of all the activity for your project, click on the Activity Timeline tab.
Here you can select the service and the interval for which you want to see the activity timeline.
Policies
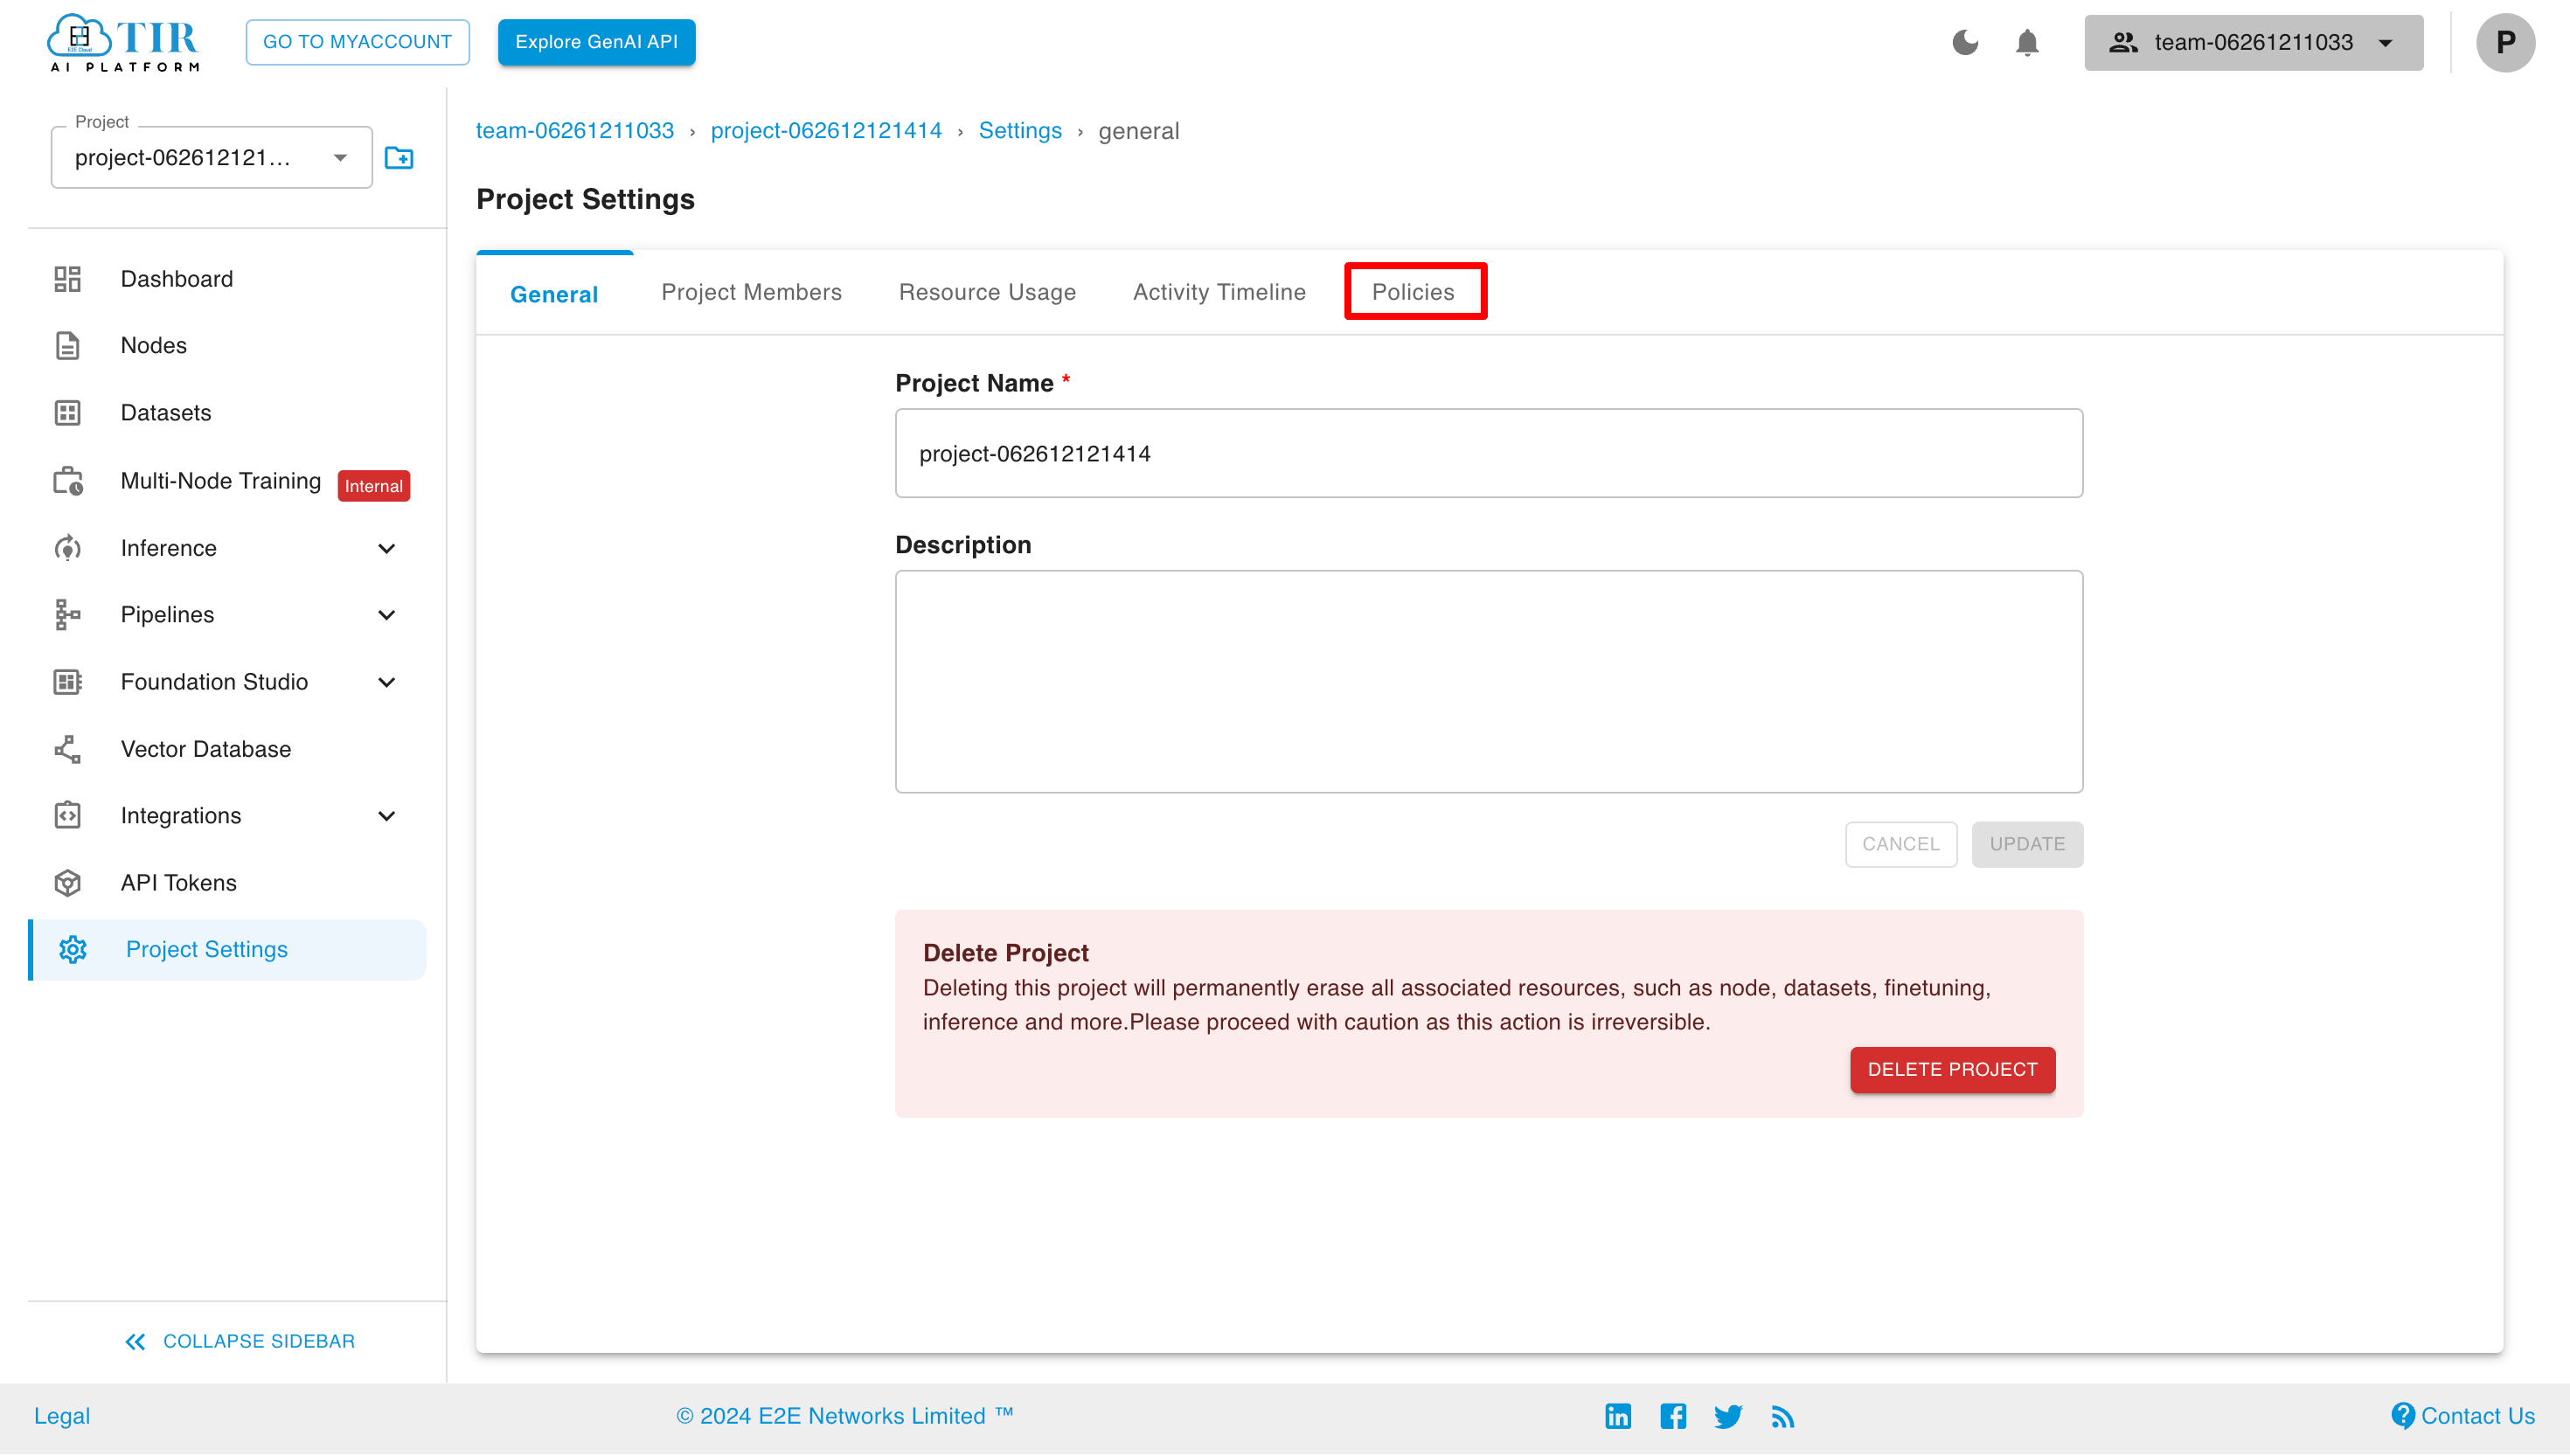
Policies allow you to manage access for the different services of TIR.
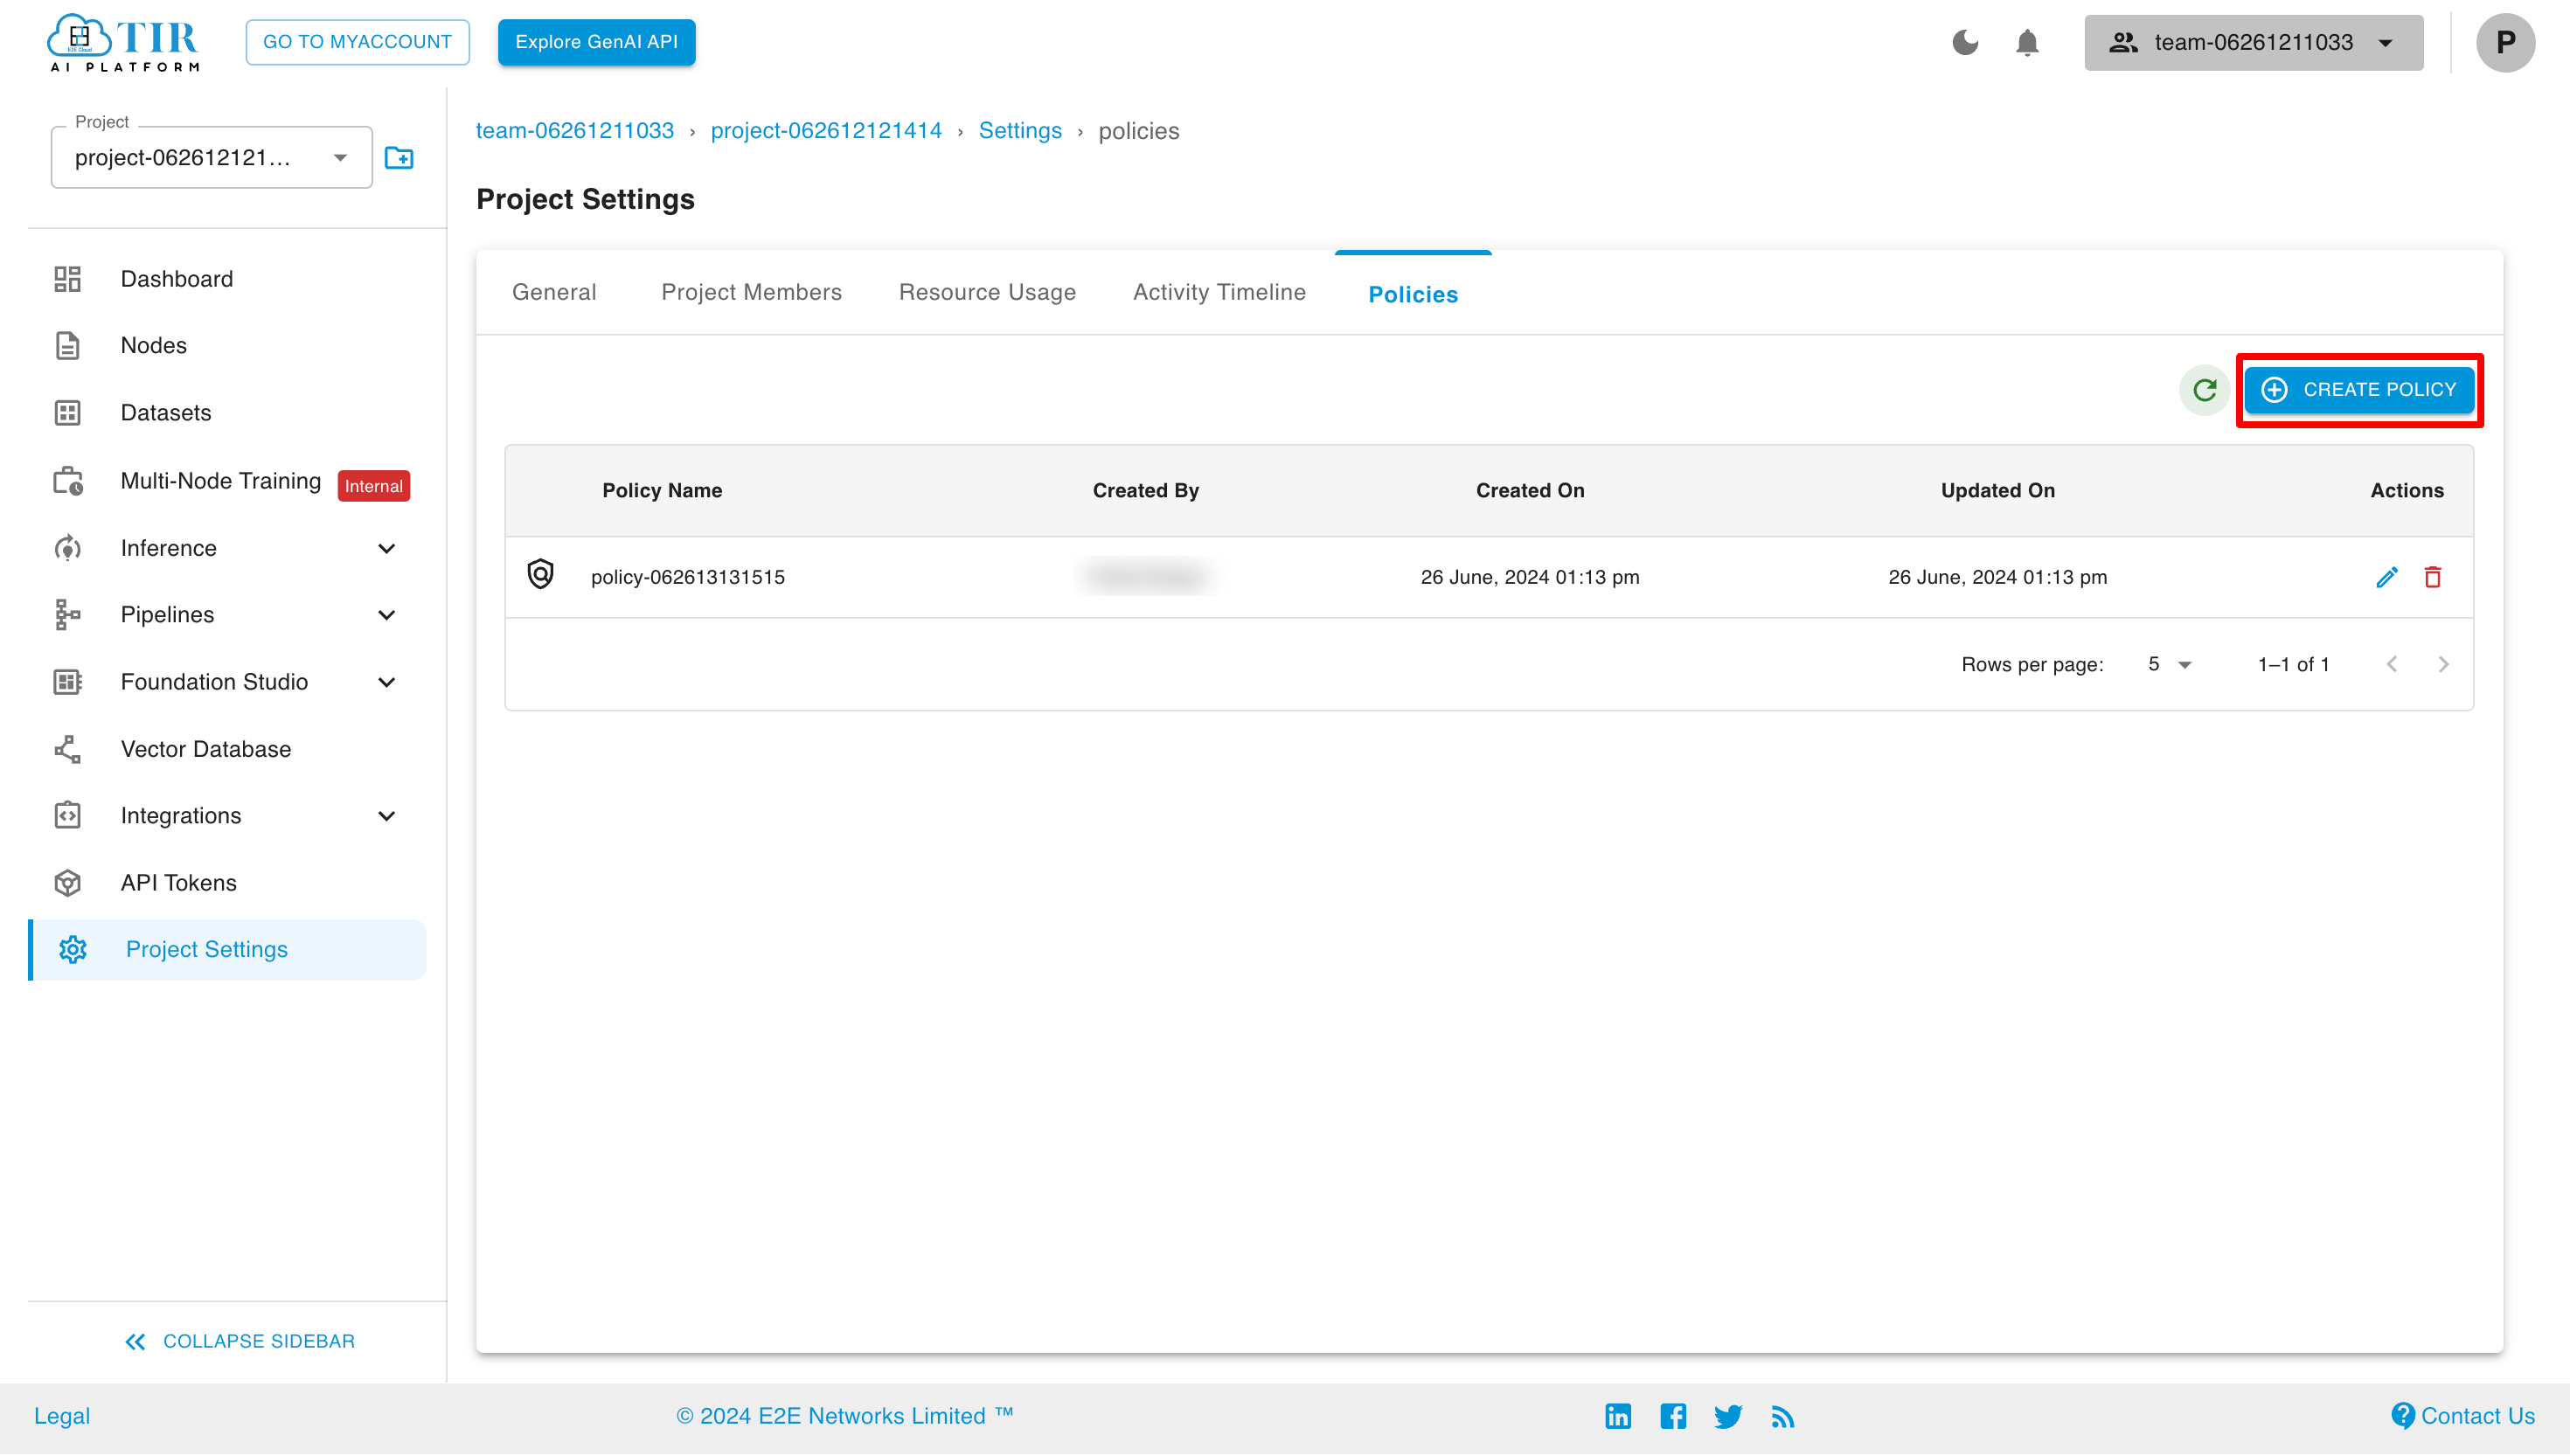
To view, edit, and create policies, click on the Policies tab.
Create Policy
To create a policy, click on the "Create Policy" button.
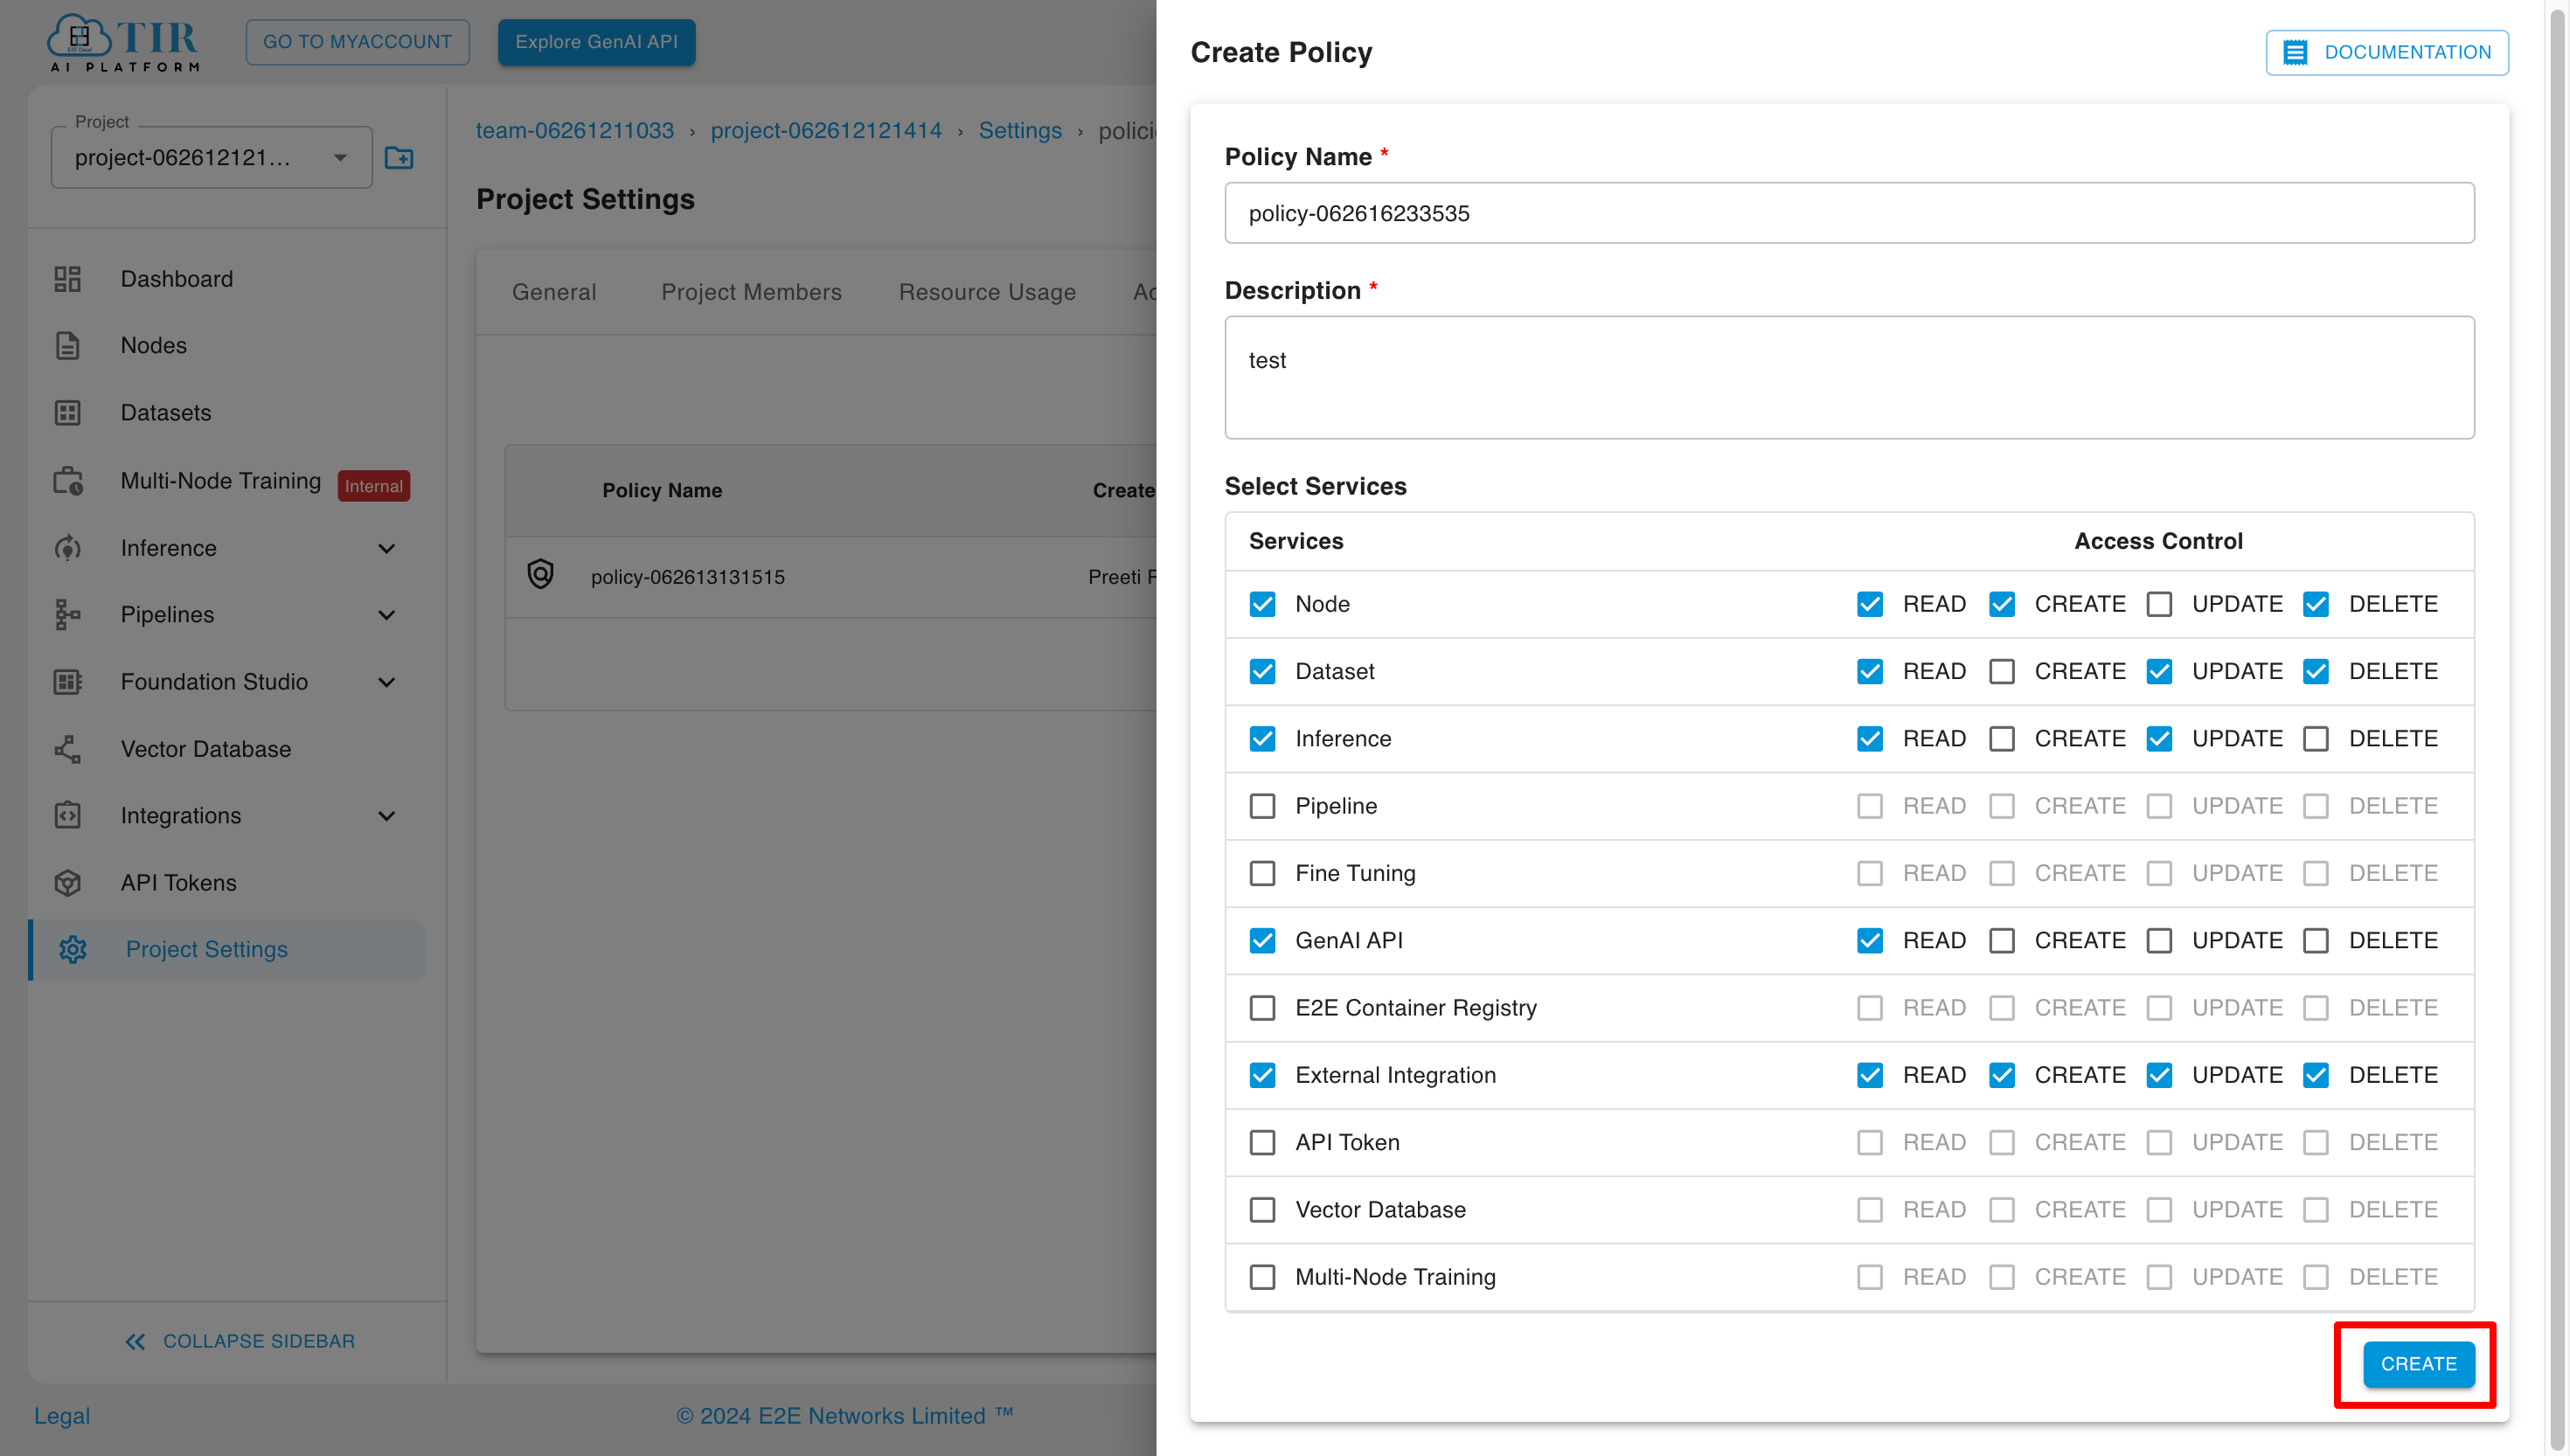
Now, provide the policy name and description, select the services, and specify the permissions for each service that you want to include in this policy, then click on the "Create" button.
Edit Policy
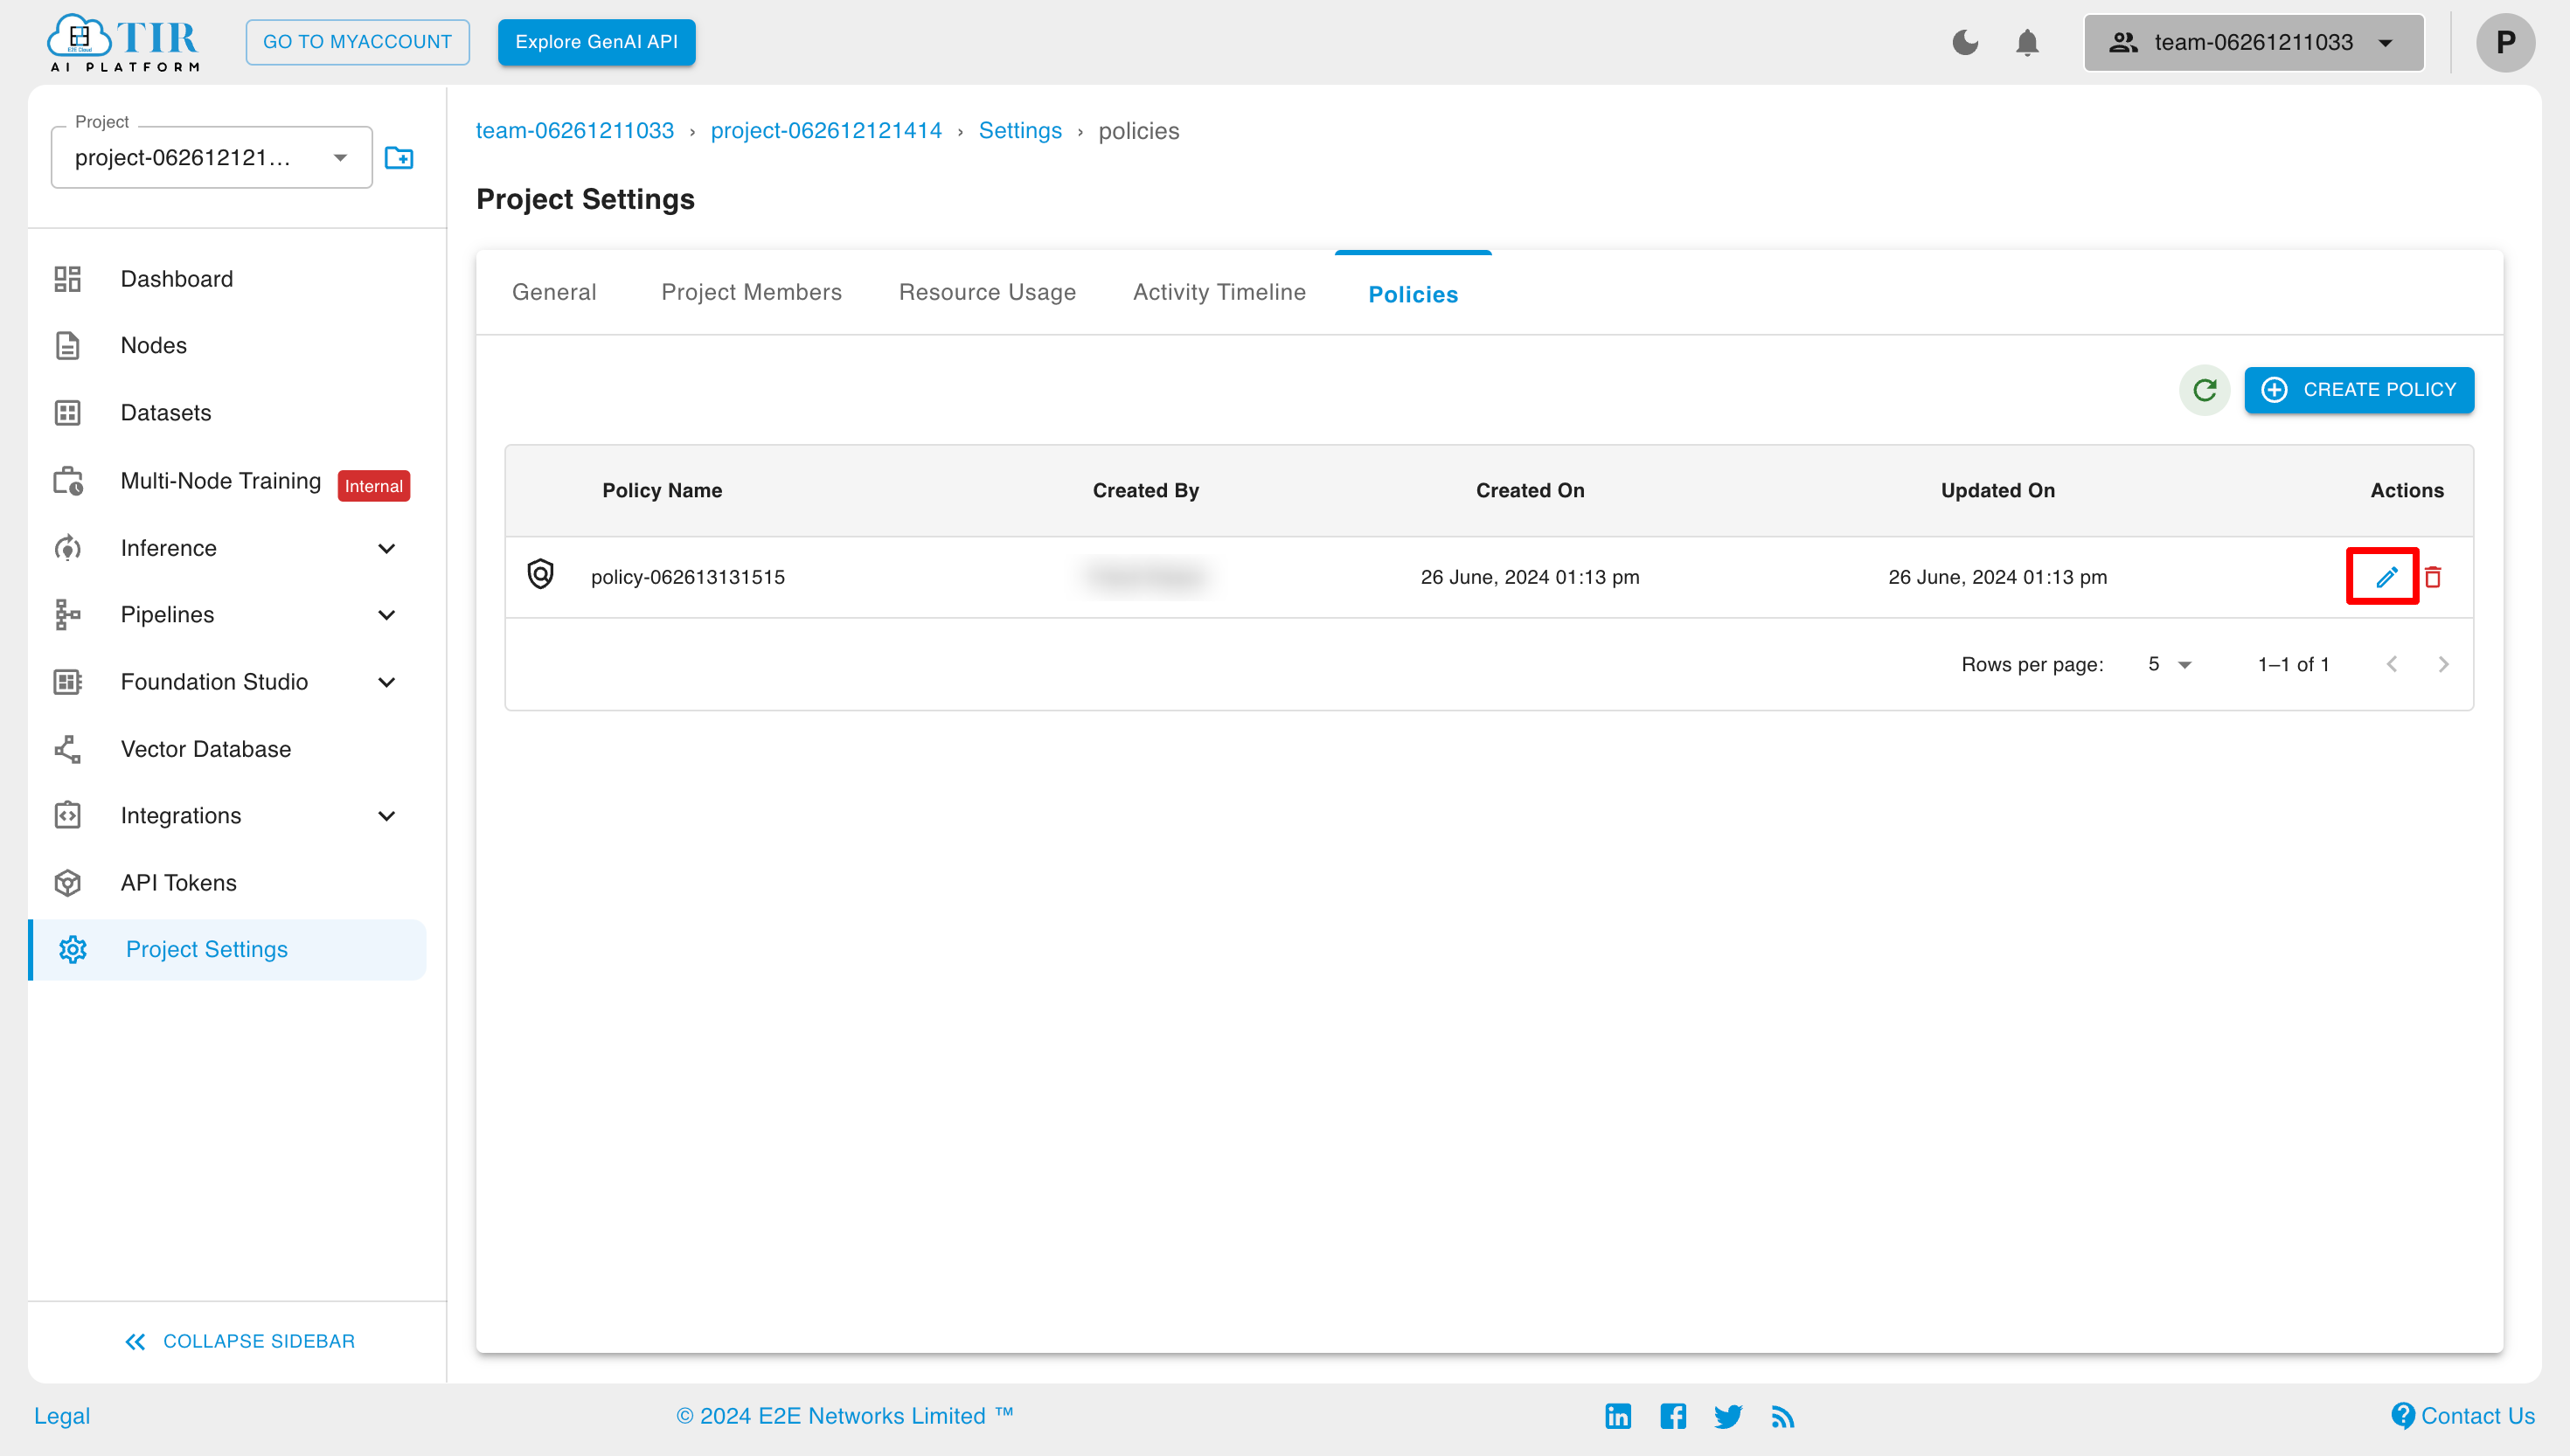
To edit the policy, click on the "Edit Policy" button in the actions section.
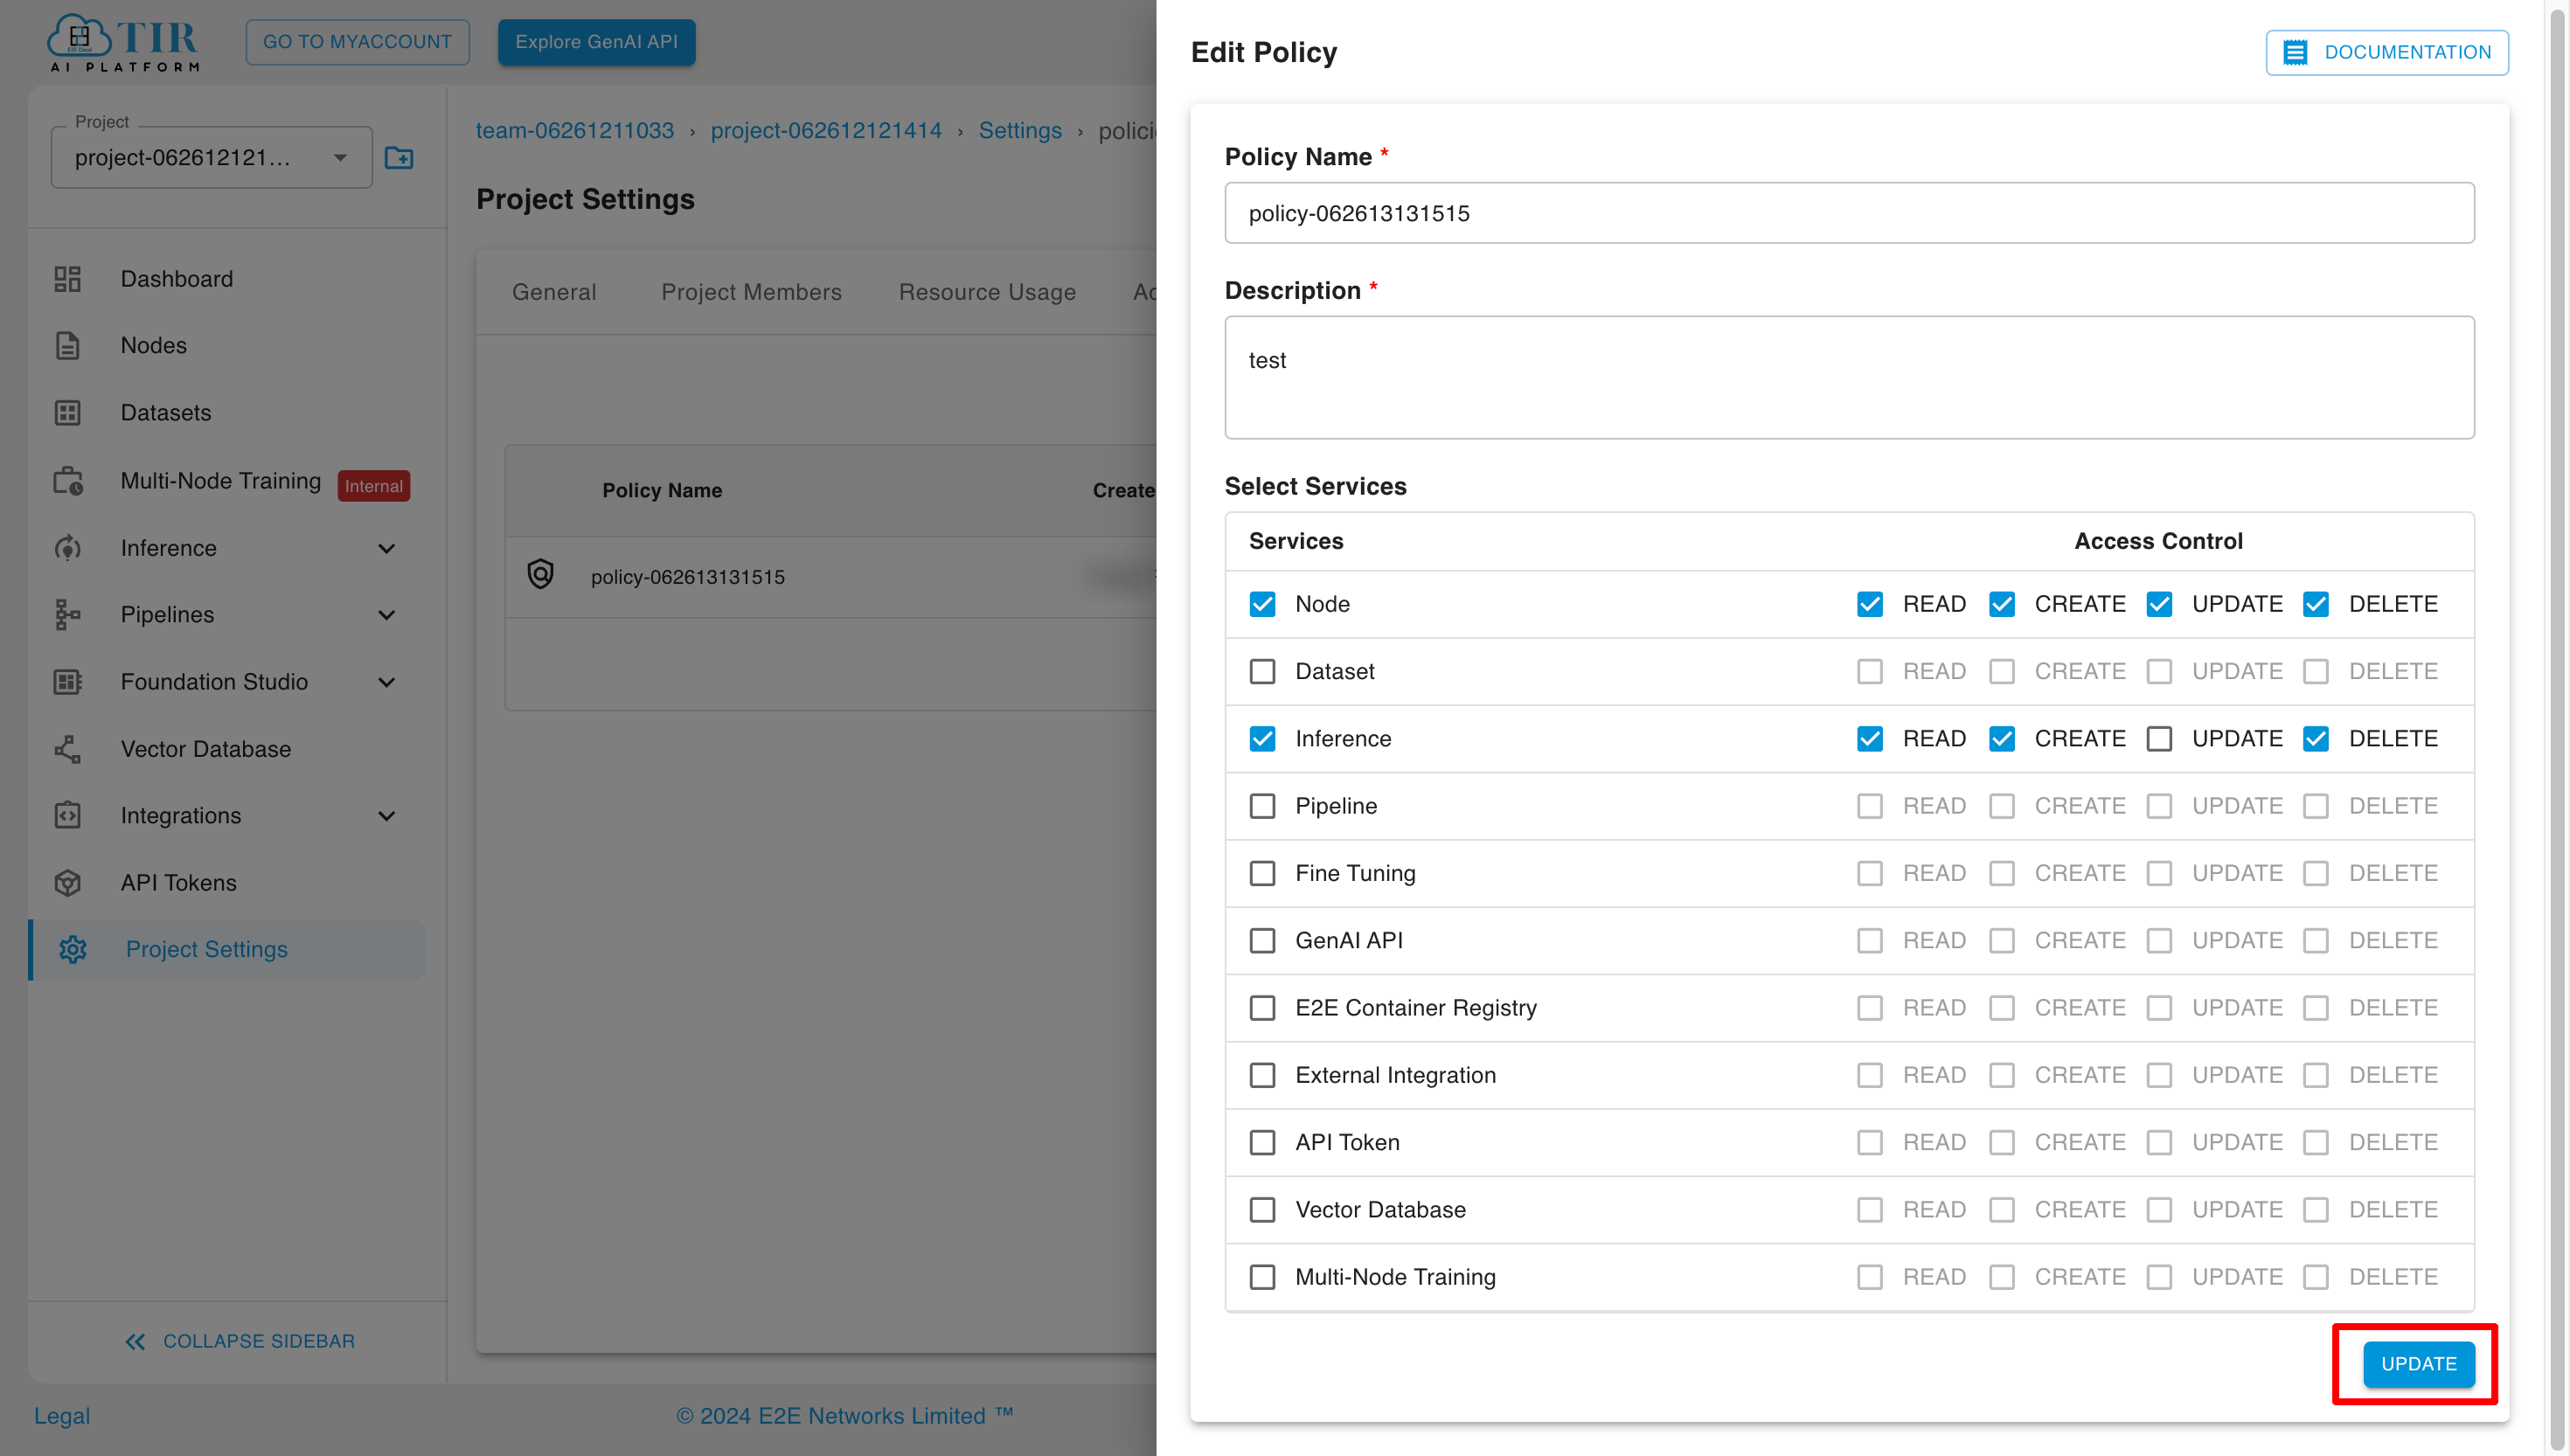
Edit the policy accordingly and then click on "Update."
Delete Policy
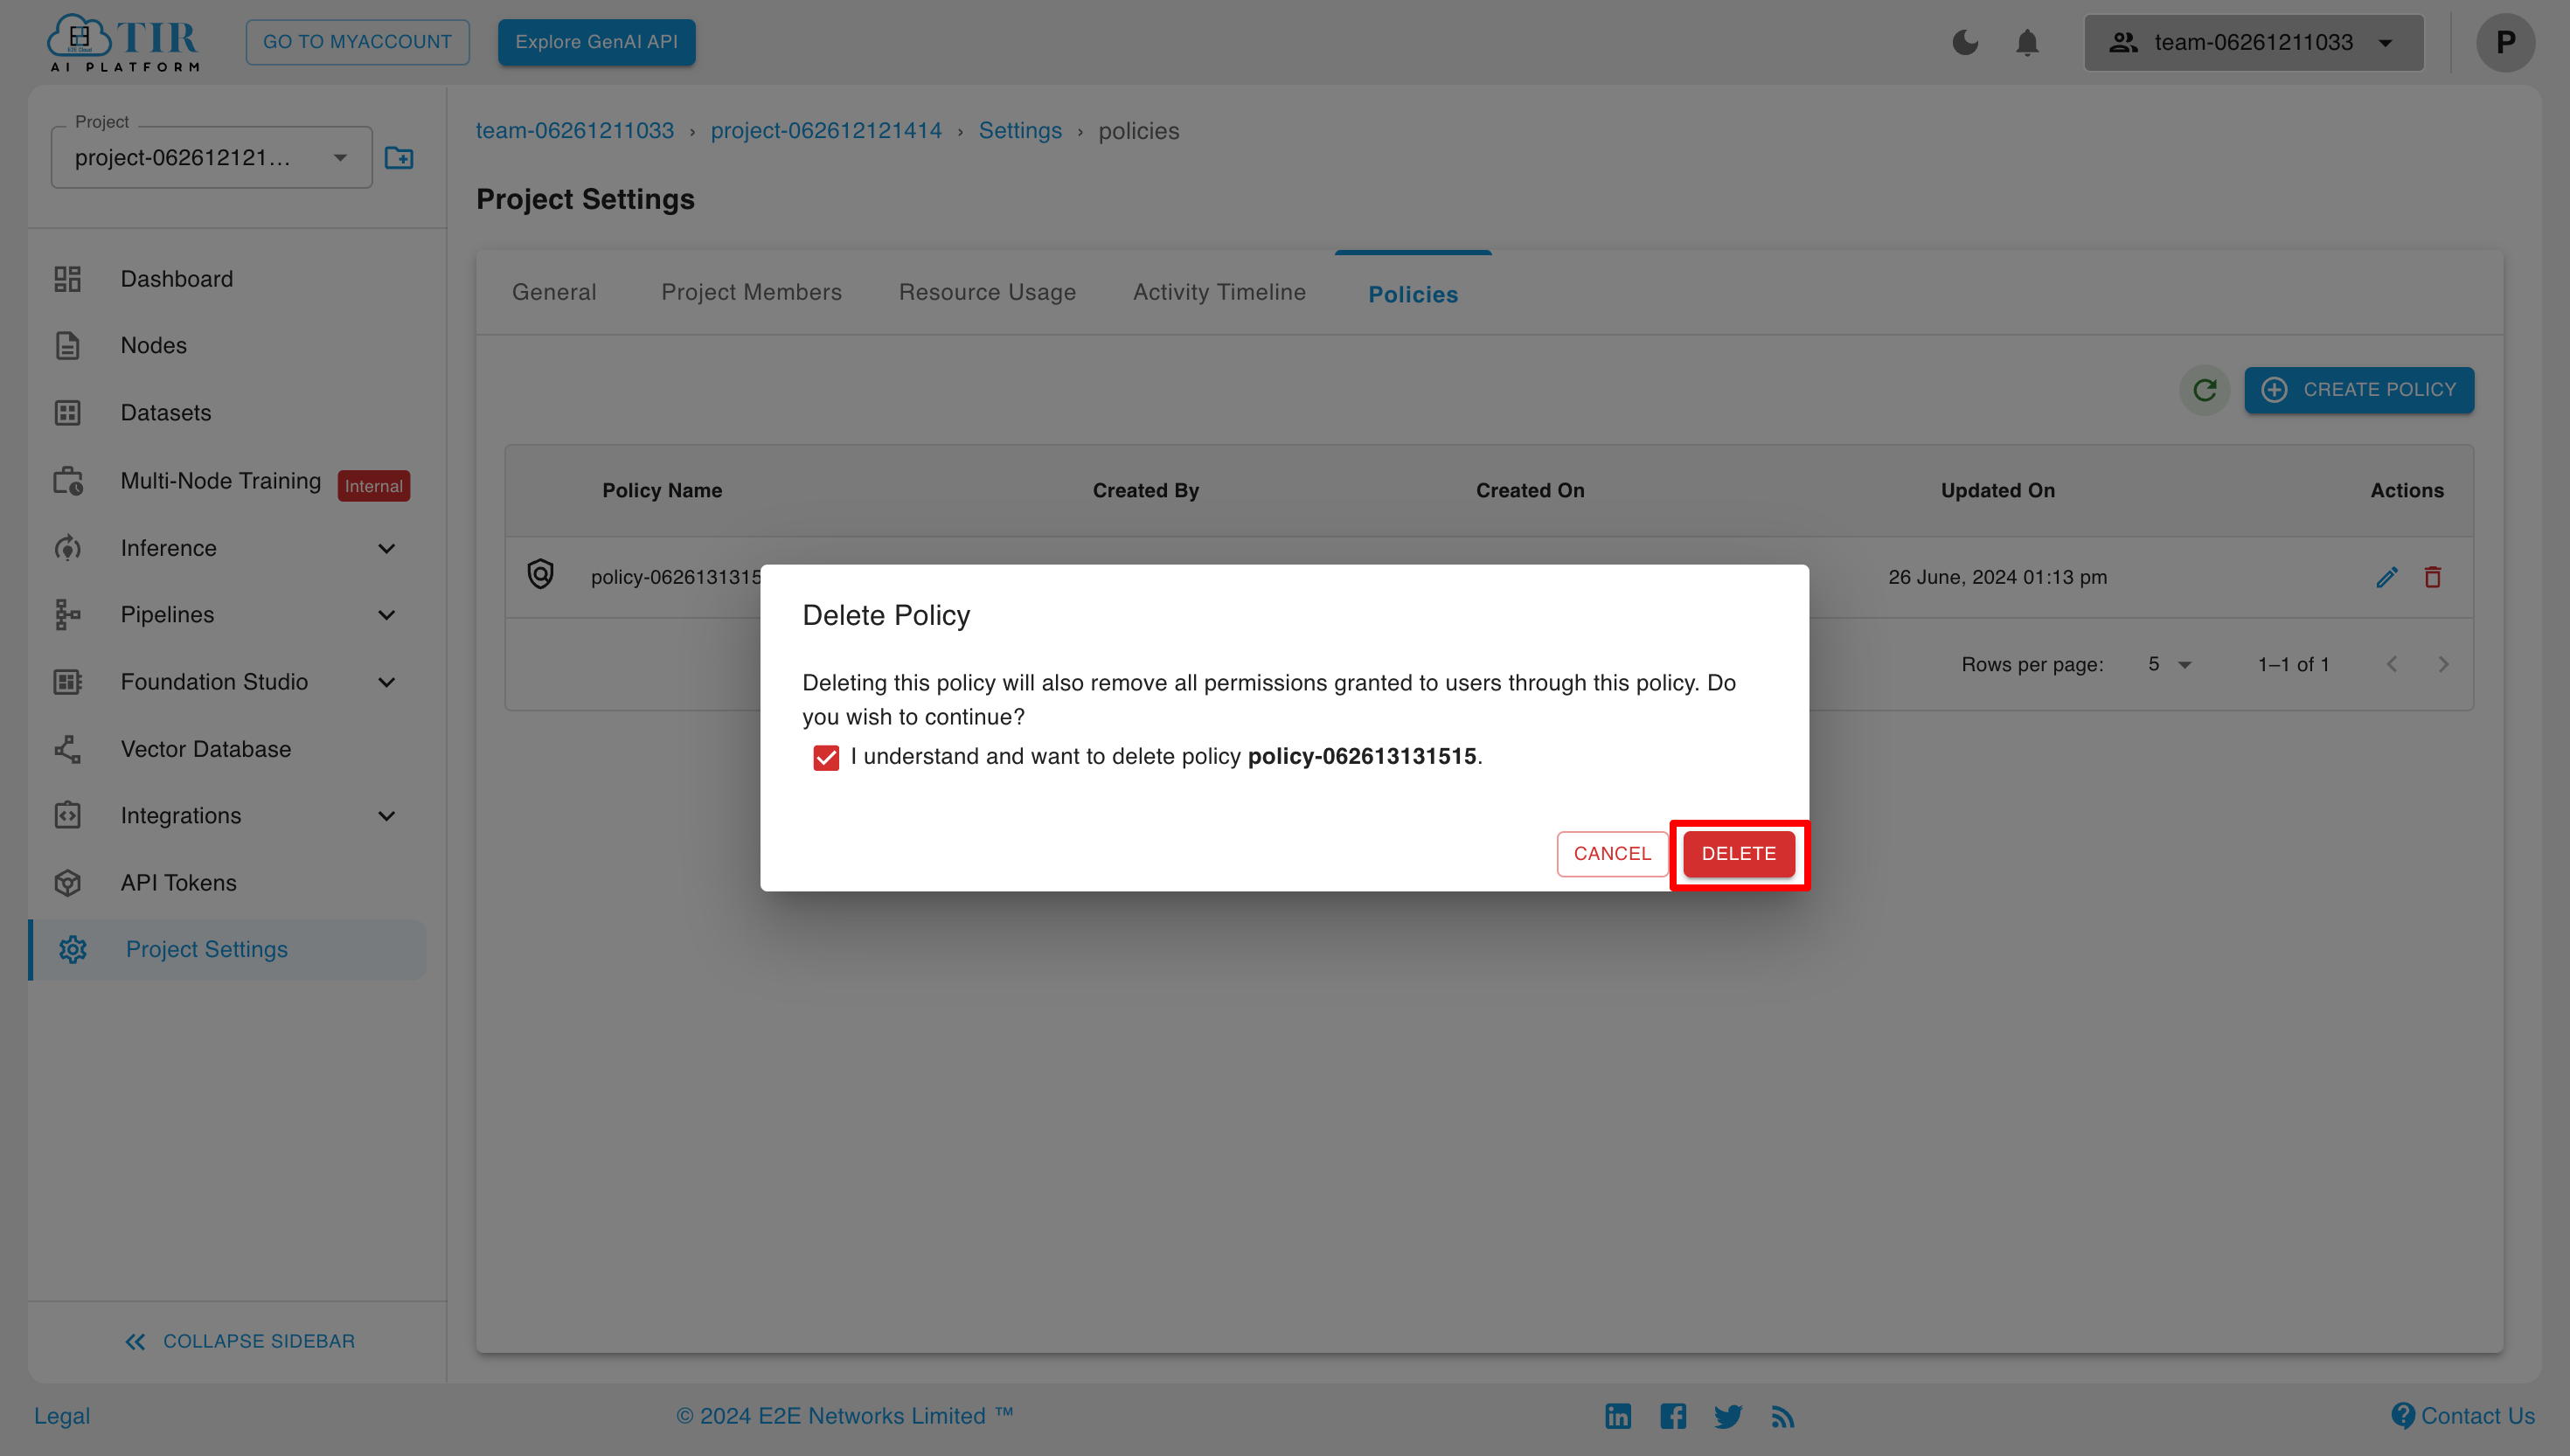
To delete the policy, click on the delete-policy button in the actions section for that policy.
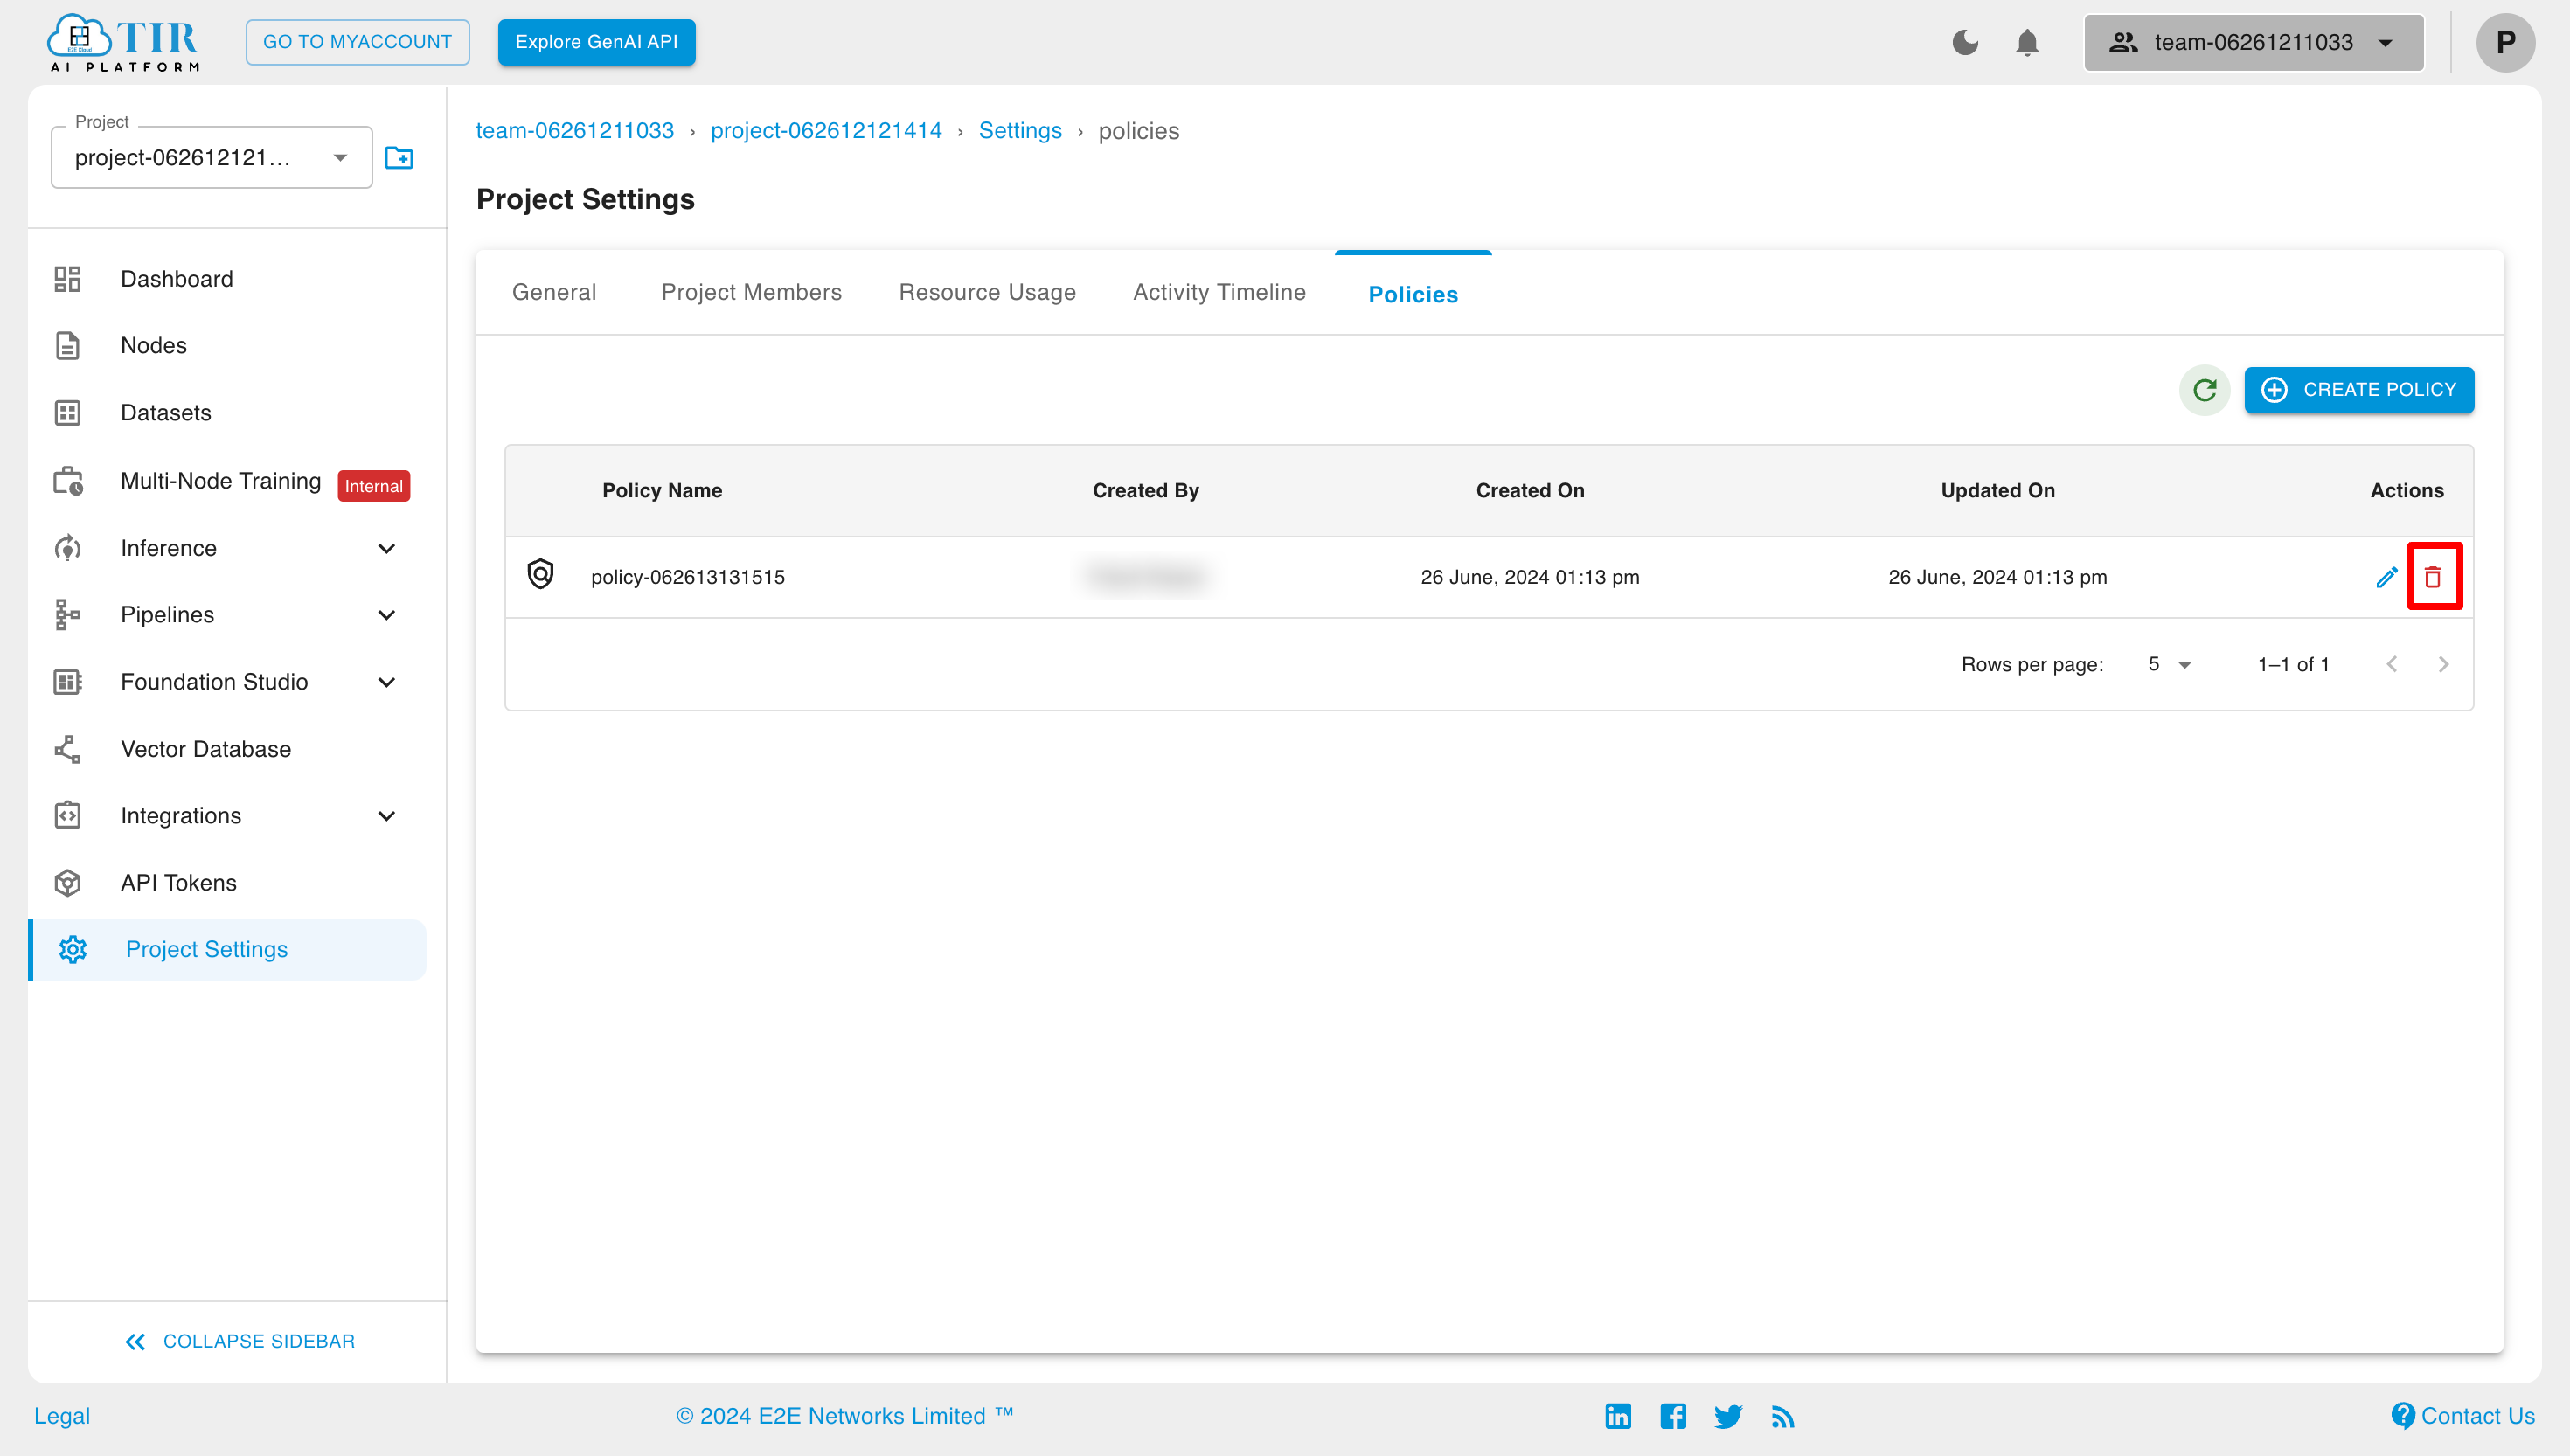
Now tick the checkbox and click on the "Delete" button to delete the policy.
