Data Syncer
TIR's Data Syncer is a service that seamlessly transfers data from your data source to TIR Datasets, ensuring efficient and reliable data synchronization. TIR provides different sync schedule modes where you can sync data instantly or schedule regular syncs, ensuring your datasets are always up-to-date.
Note:
You can only transfer files up to 50GB in size. If a file exceeds this limit, the transfer for that particular file will be skipped.
Getting Started
- Go to TIR.
- Create or select a project.
- Click on Data Syncer in the sidebar section.
- You will see three subsections for Sources, Destinations, and Connections.
- To sync data, you need to configure and create all three.
Sources
A Source is a data factory from where you want to transfer files. At present, TIR provides integration from the following sources.
| Source | Authentication Mechanism | Incremental Sync Support |
|---|---|---|
| AWS S3 | IAM User | Yes |
| Azure Blob | Connection String | Yes |
| Google Drive | OAuth | Yes |
| Google Storage Cloud | Service Account | Yes |
| Minio Object Storage | Secret and Access Keys | Yes |
Creating a Source
To create a source, follow these steps:
-
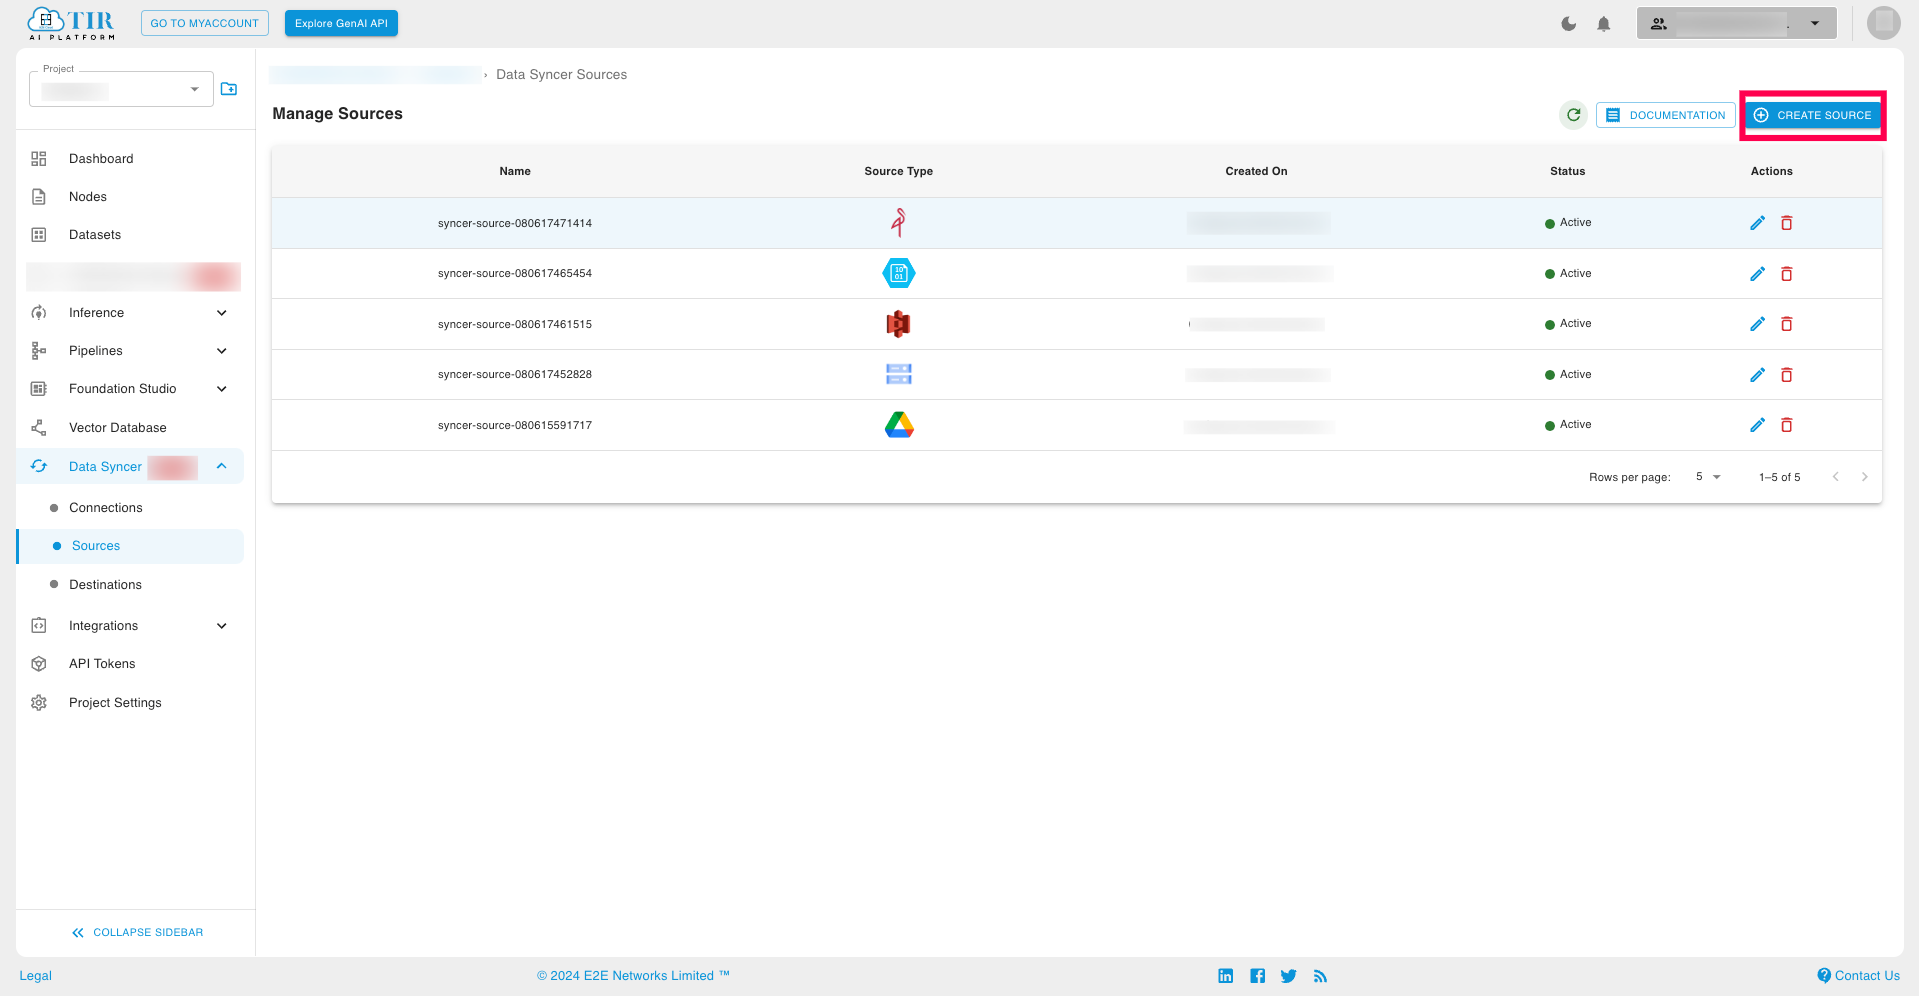
Under the Data Syncer section, go to Sources and click on Create Source.
-
Choose the type of source.
-
Enter the details and credentials for your chosen source.
See Configuring Sources to know more about how to configure each of the mentioned source types.
Once configured, the source can be used to create one or more connections.
Updating the Source Configuration
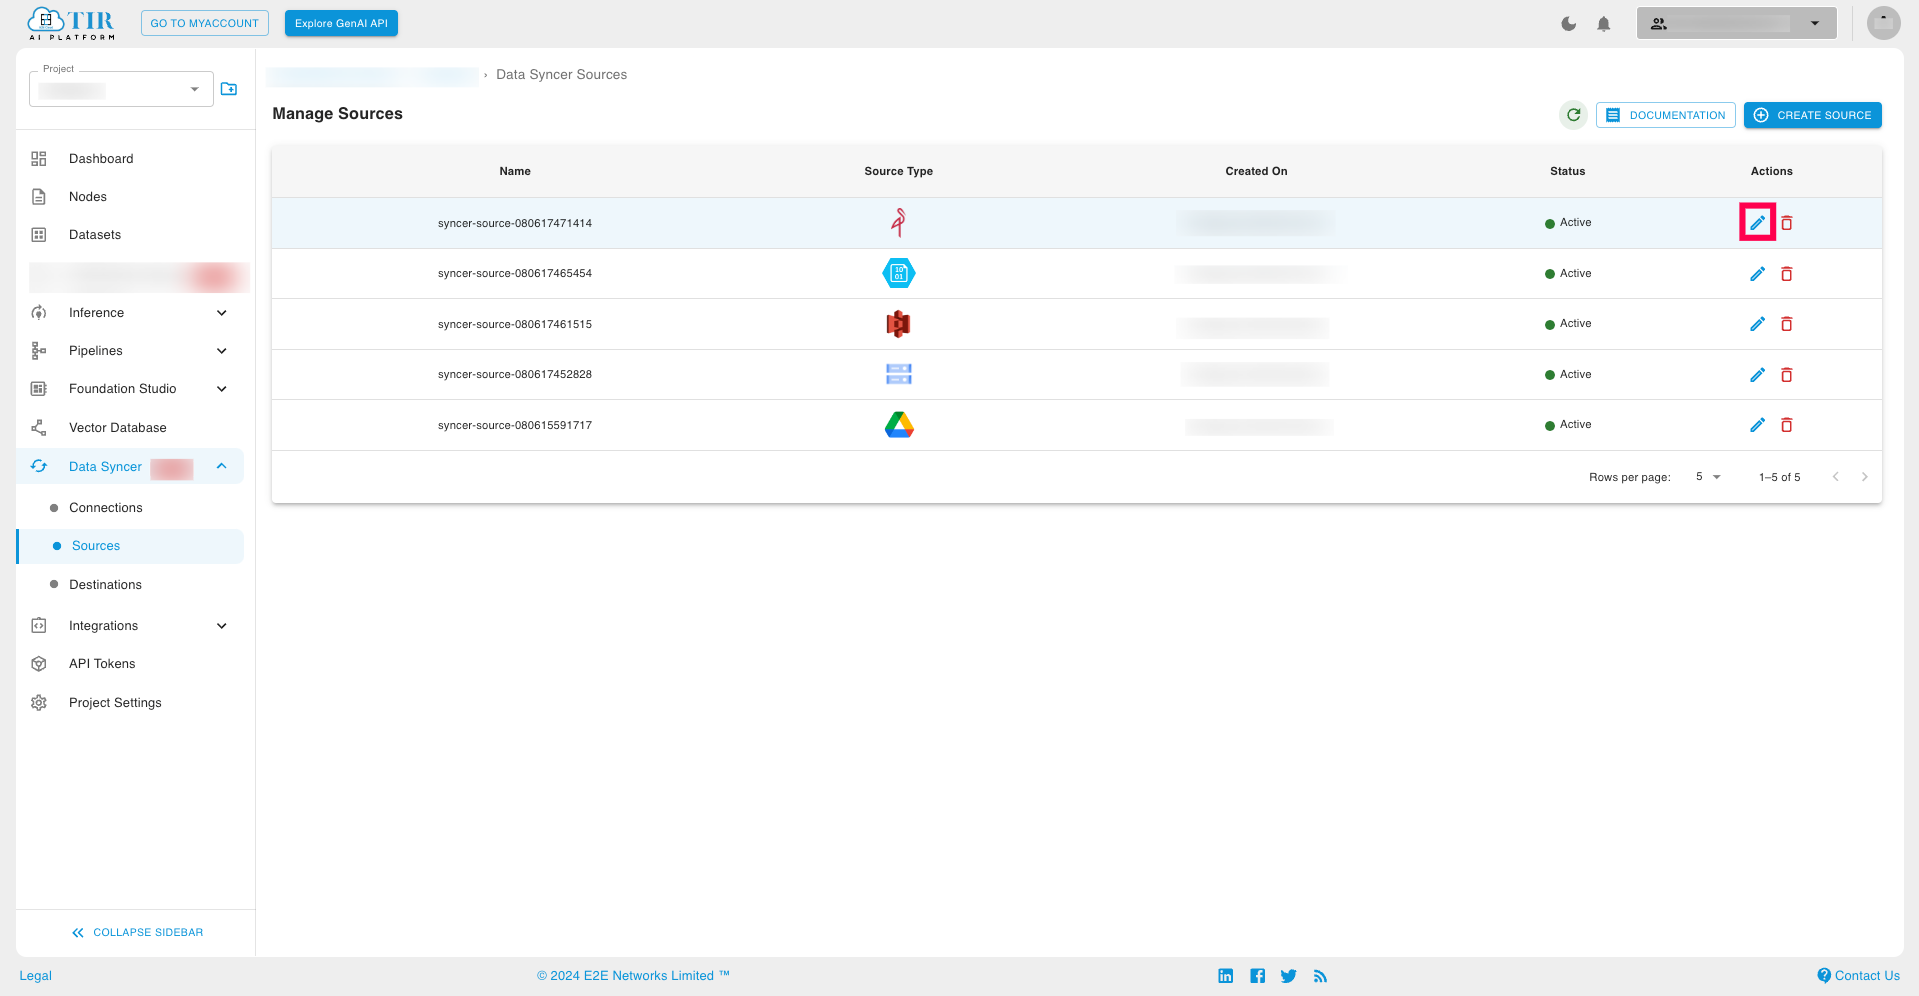
Source details can be updated anytime. To update the Source, click on the Edit Button and modify the source details as per the requirement.
Destinations
A Destination is an EOS-based TIR Dataset that will store all of the files you have synced from your source. You can either choose any of the existing EOS-based datasets or create a new one and use it to create a destination.
Creating a Destination
To create a Destination, follow these steps:
-
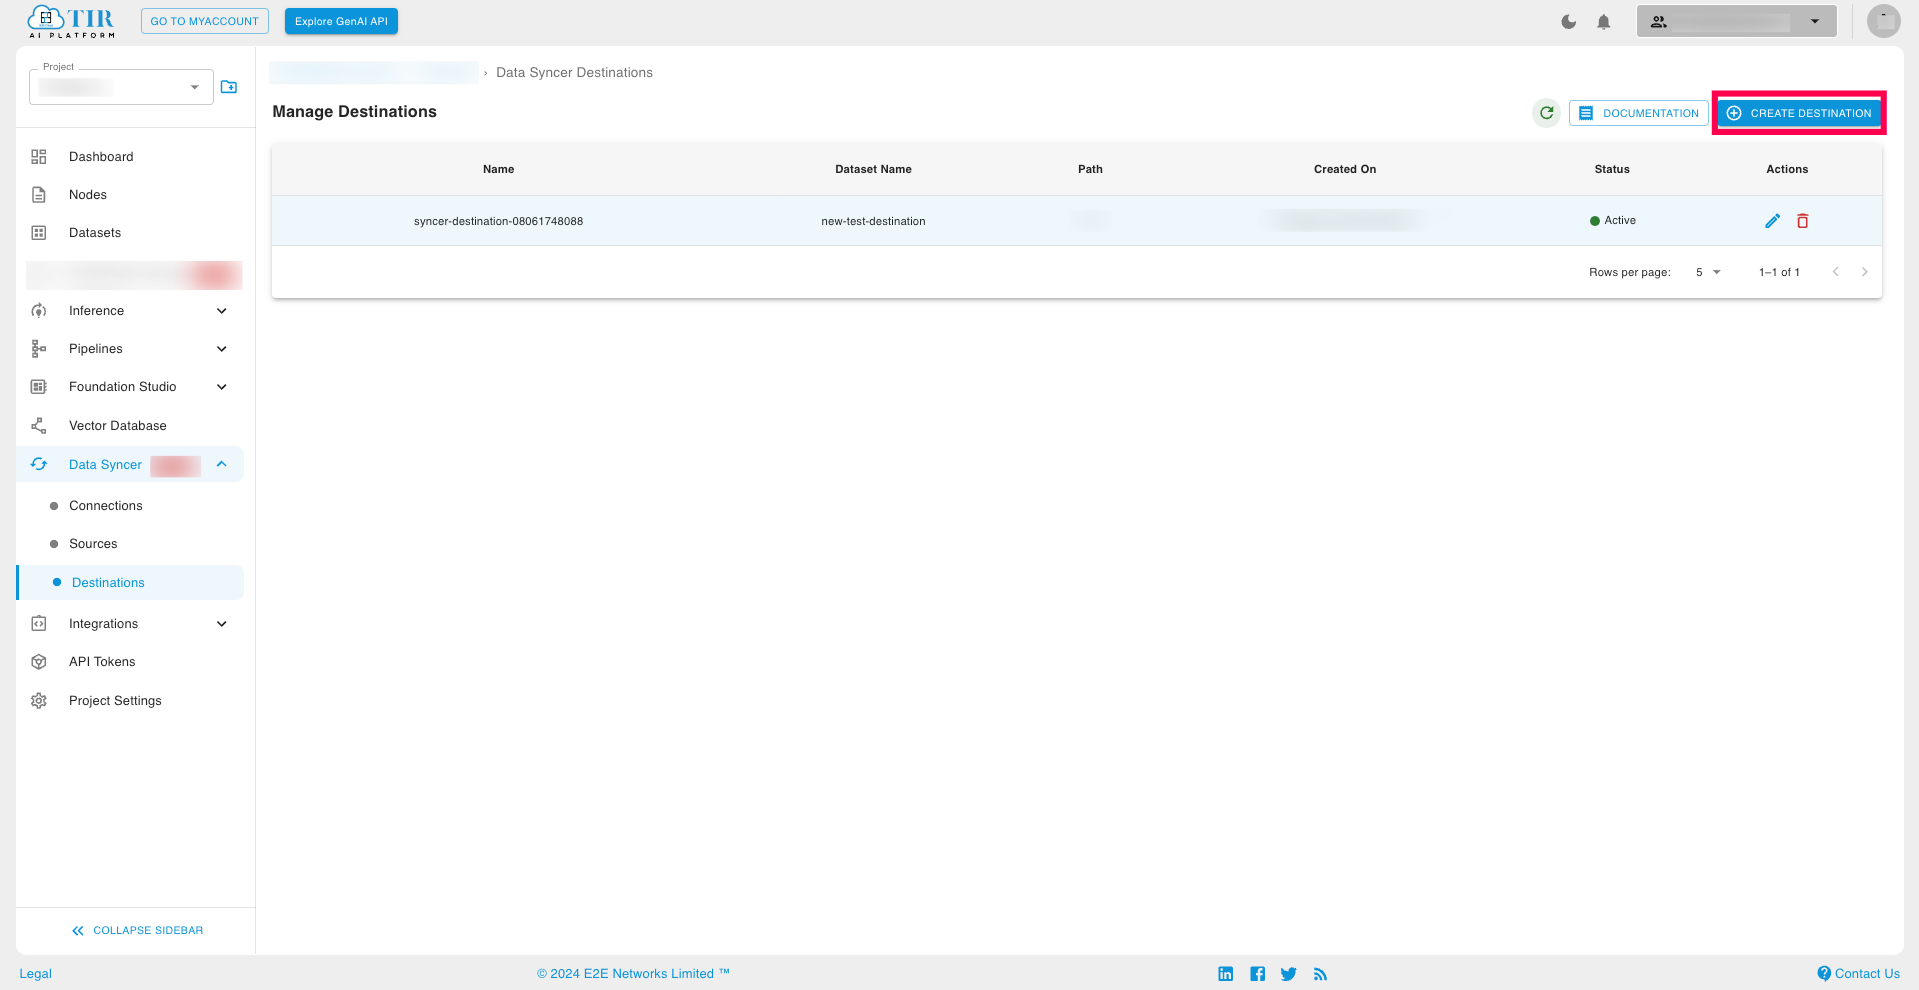
Under the Data Syncer section, go to Destinations and click on Create Destination.
-
Choose the dataset and specify the path where you want to store the incoming data.
-
Click on Create.
Note:
Choose your destination path within the Dataset carefully. Any conflicts with the existing dataset files could result in data loss.
Once configured, the destination can be used to create one or more connections.
Updating the Destination Configuration
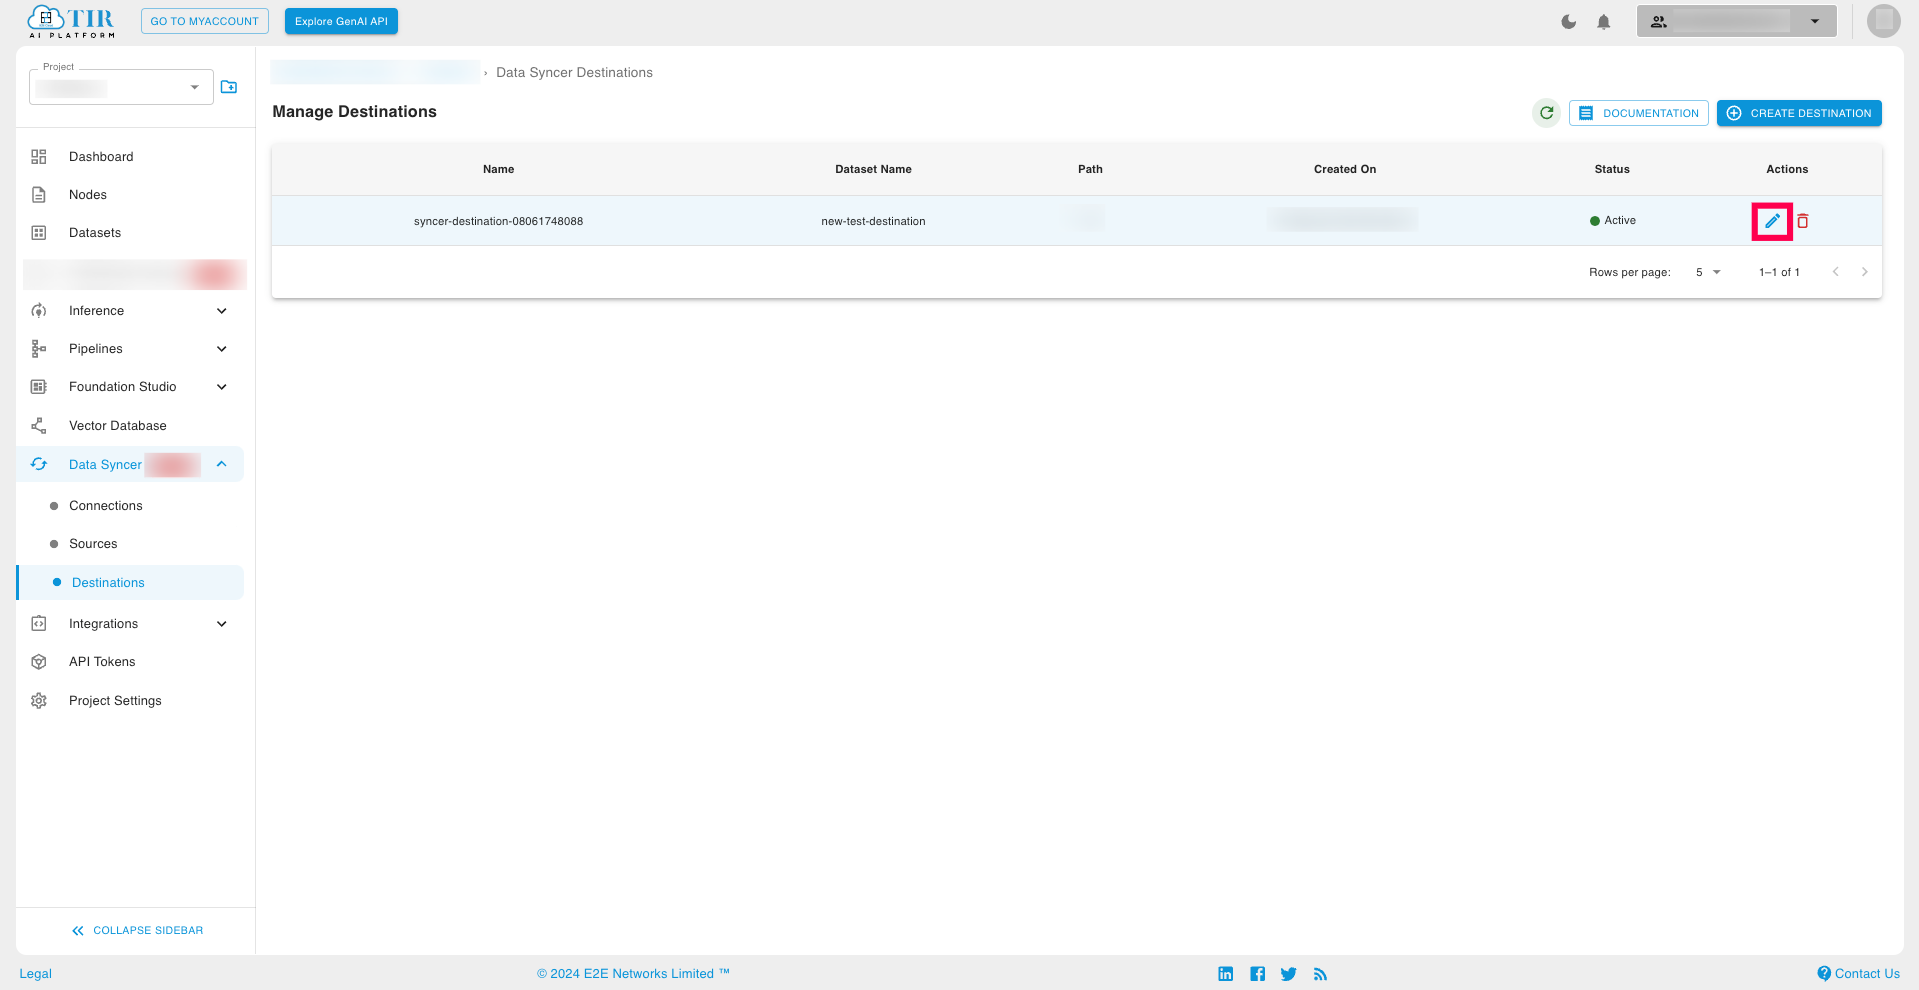
The destination path for the incoming data can be modified anytime. To update, click on the Edit Button and update the new destination path.
Connections
Once you have configured both a Source and a Destination, the next step is to establish your Connection. This Connection enables the actual file transfer between your specified Source and Destination. It links a configured source to a configured destination to perform data replication/sync. You have the flexibility to initiate the data sync manually whenever needed or schedule it to run automatically at specific time intervals.
Sync Modes
A Sync Mode governs how TIR will read from a source and write to a destination. TIR supports two types of Sync Modes:
- Full Refresh: Reads everything in the source and overwrites in the destination.
- Incremental: Reads files added to the source since the last sync job and updates only those files which were updated.
Schedule Mode
Schedule mode defines the frequency of the data sync, i.e., how often the data from your source will sync to the destination. The options are as follows:
- Scheduled: To trigger sync jobs at regular intervals of time.
- Cron: To trigger sync jobs at fixed times, dates, or intervals. See Cron Expressions to learn more.
- Manual: To trigger the sync job manually using the Sync Now button.
Creating a Connection
To create a connection, follow these steps:
-
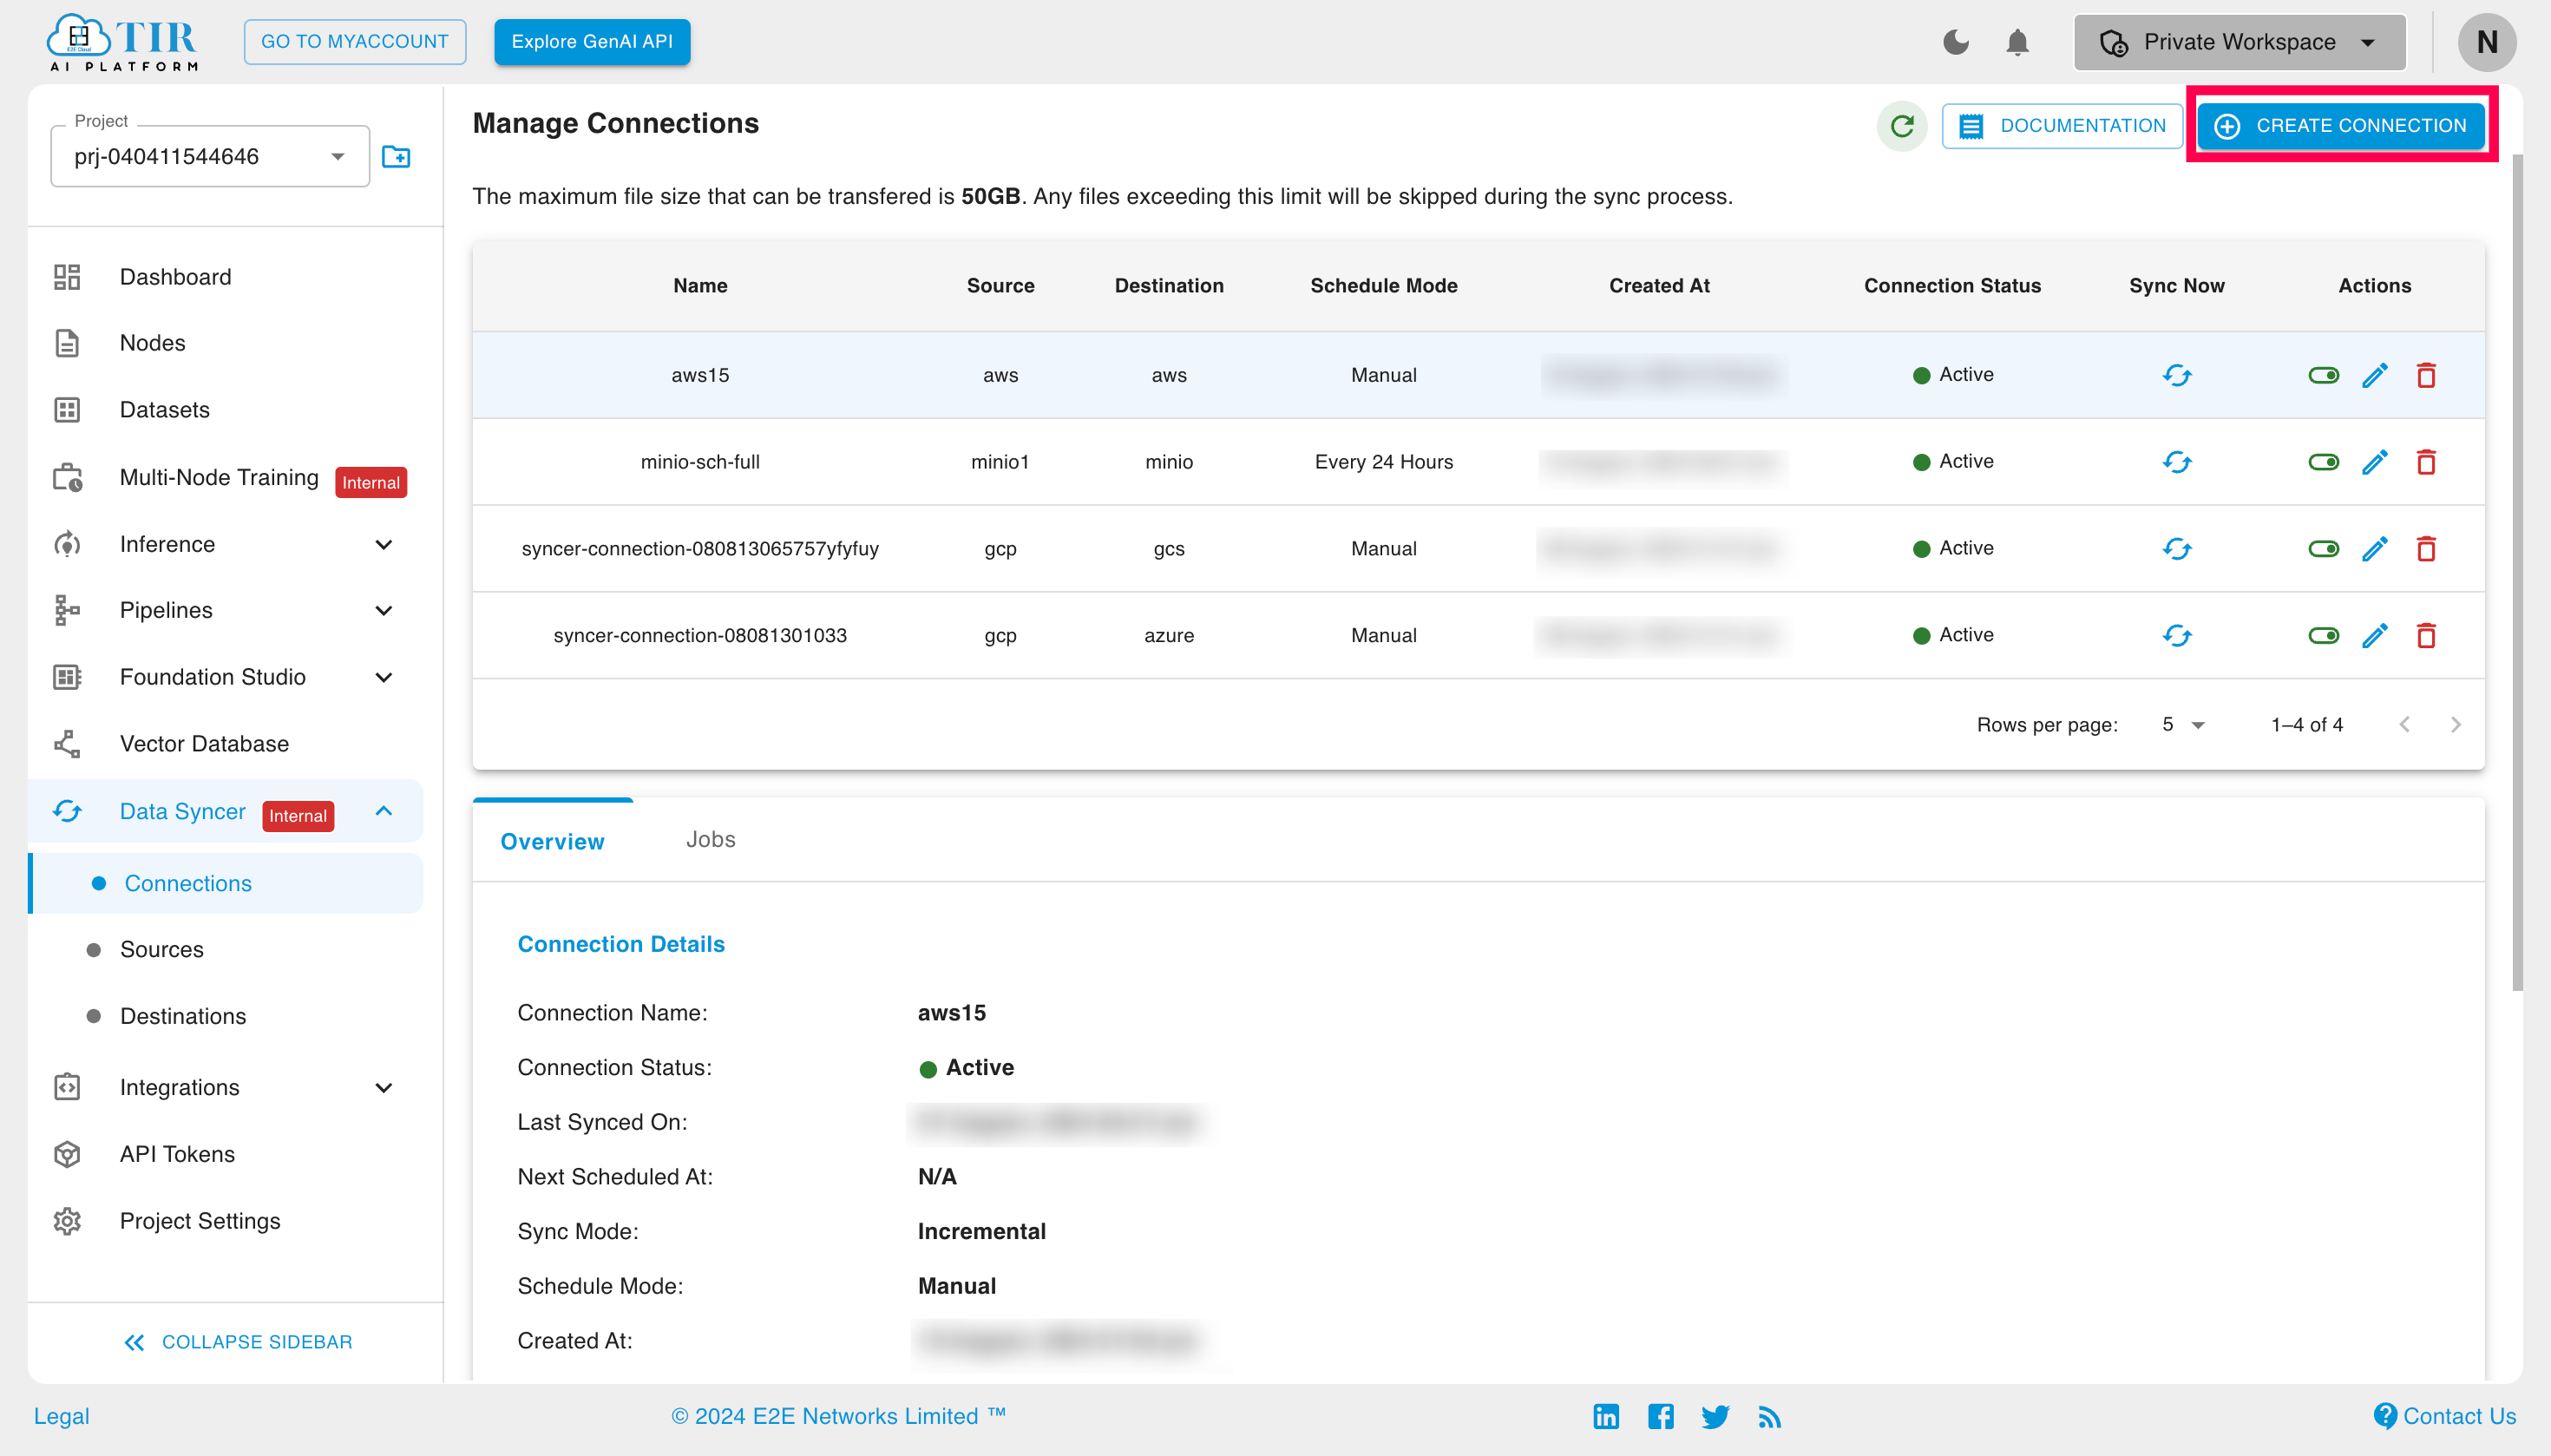
Under the Data Syncer section, go to Connections and click on Create Connection.
-
Select the Source and Destination you want to connect. This will establish the data flow between your specified origin and target location.
-
Choose the Sync Mode, Schedule Mode, and click on Create.
Note:
You can run the sync job for any connection anytime by clicking the Sync Now button, irrespective of the Schedule Mode.
You can see the Connection Details & Sync Jobs History for a particular connection under the Overview tab and Jobs tab respectively.
Enable/Disable Connection
Data Sync Jobs for any connection can be stopped temporarily by disabling the connection using the Toggle button in the Actions Column. Disabling the connection will stop all the scheduled sync jobs until the connection is enabled but does not impact any running sync job.
The connection can be enabled again using the Toggle button, and all the jobs, if any, will run as scheduled.
Updating the Connection
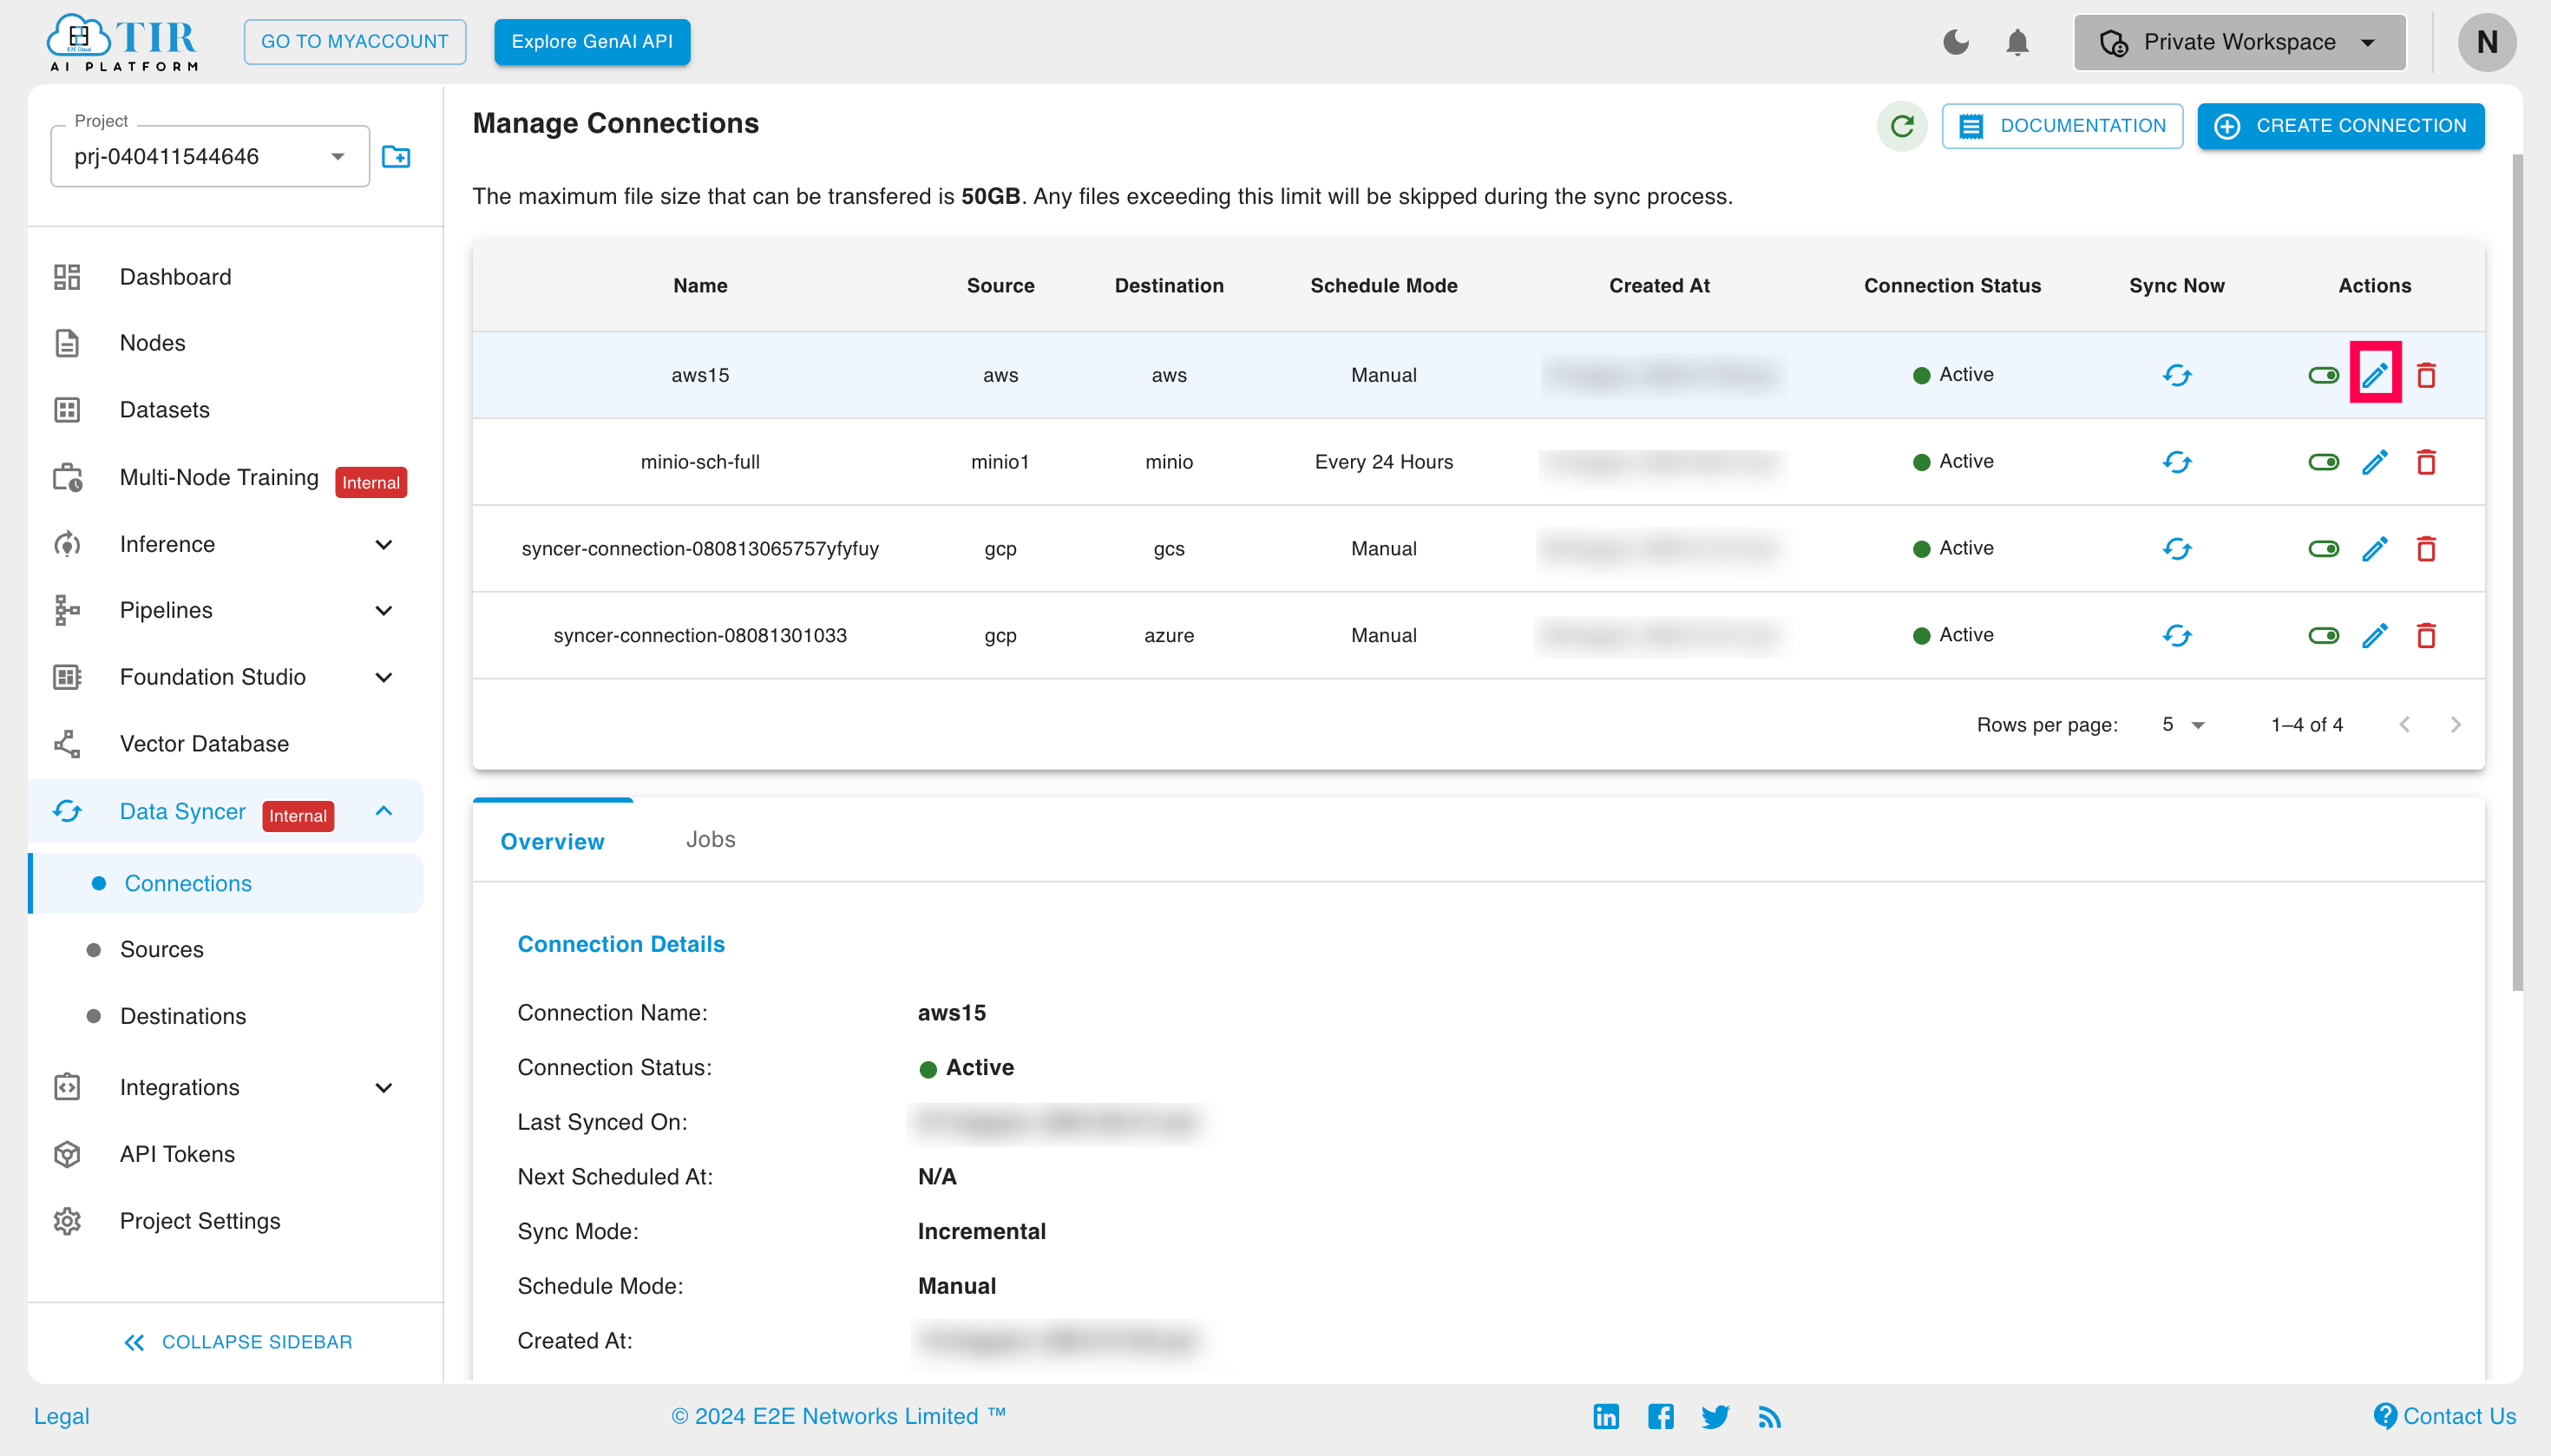
Connection configuration can be updated anytime. To update, click on the Edit Button and update the configuration details as required.
Cancel Running Jobs
Any running sync job can be cancelled using the Cancel button under the Actions column in the Job Tab. An important thing to note is that cancelling a job does not revert any of the files that have already been replicated.
What's Next?
- Learn how to configure the different source types provided. Configuring Sources
- Learn how to use Cron Expressions to schedule your data sync jobs. Cron Expressions