Model Endpoints
TIR provides two methods for deploying containers that serve model API endpoints for AI inference services:
-
Deploy Using Pre-built Containers (Provided by TIR)
Before launching a service with TIR's pre-built containers, you need to create a TIR Model and upload the necessary model files. These containers are configured to automatically download model files from an EOS (E2E Object Storage) Bucket and start the API server. Once the endpoint is ready, you can make synchronous requests to the endpoint for inference. Learn more in this tutorial.
-
Deploy using your own container
You can launch an inference service using your own Docker image, either public or private. Once the endpoint is ready, you can make synchronous requests for inference. Optionally, you can attach a TIR model to automate the download of model files from an EOS bucket to the container. Learn more in this tutorial.
Create Model Endpoints
-
To create a model endpoint:
-
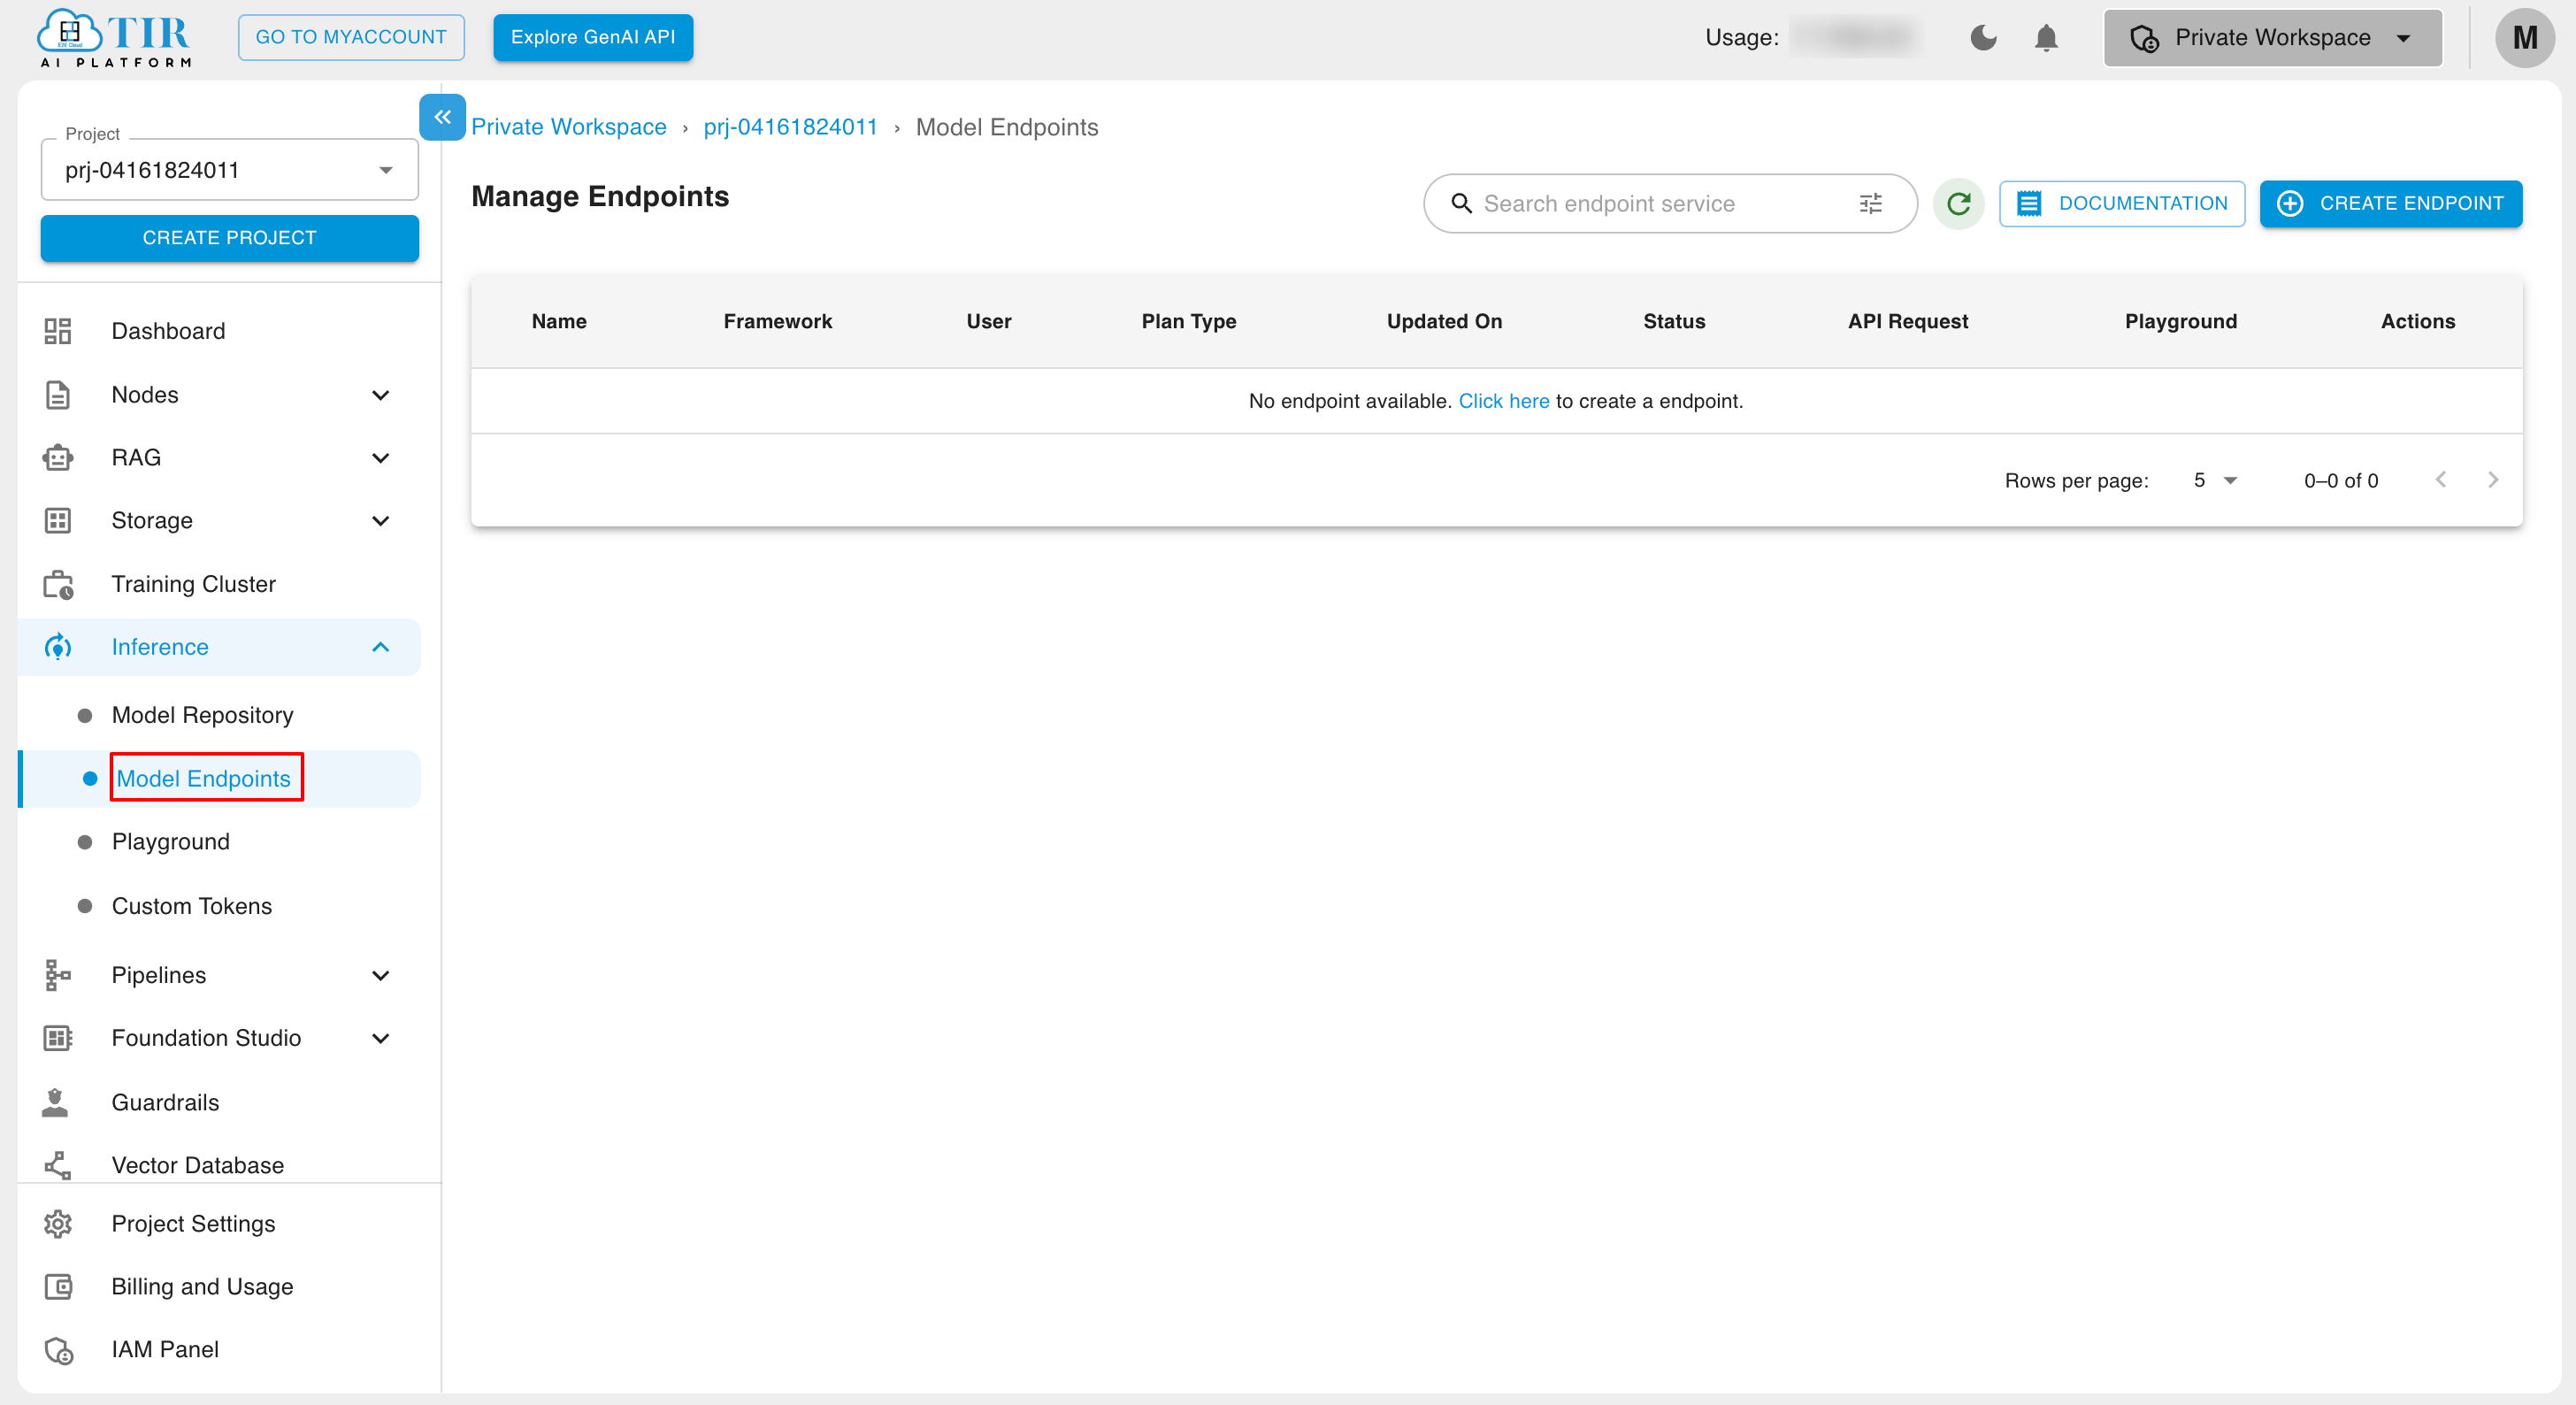
Navigate to Inference: Click on "Model Endpoints."
-
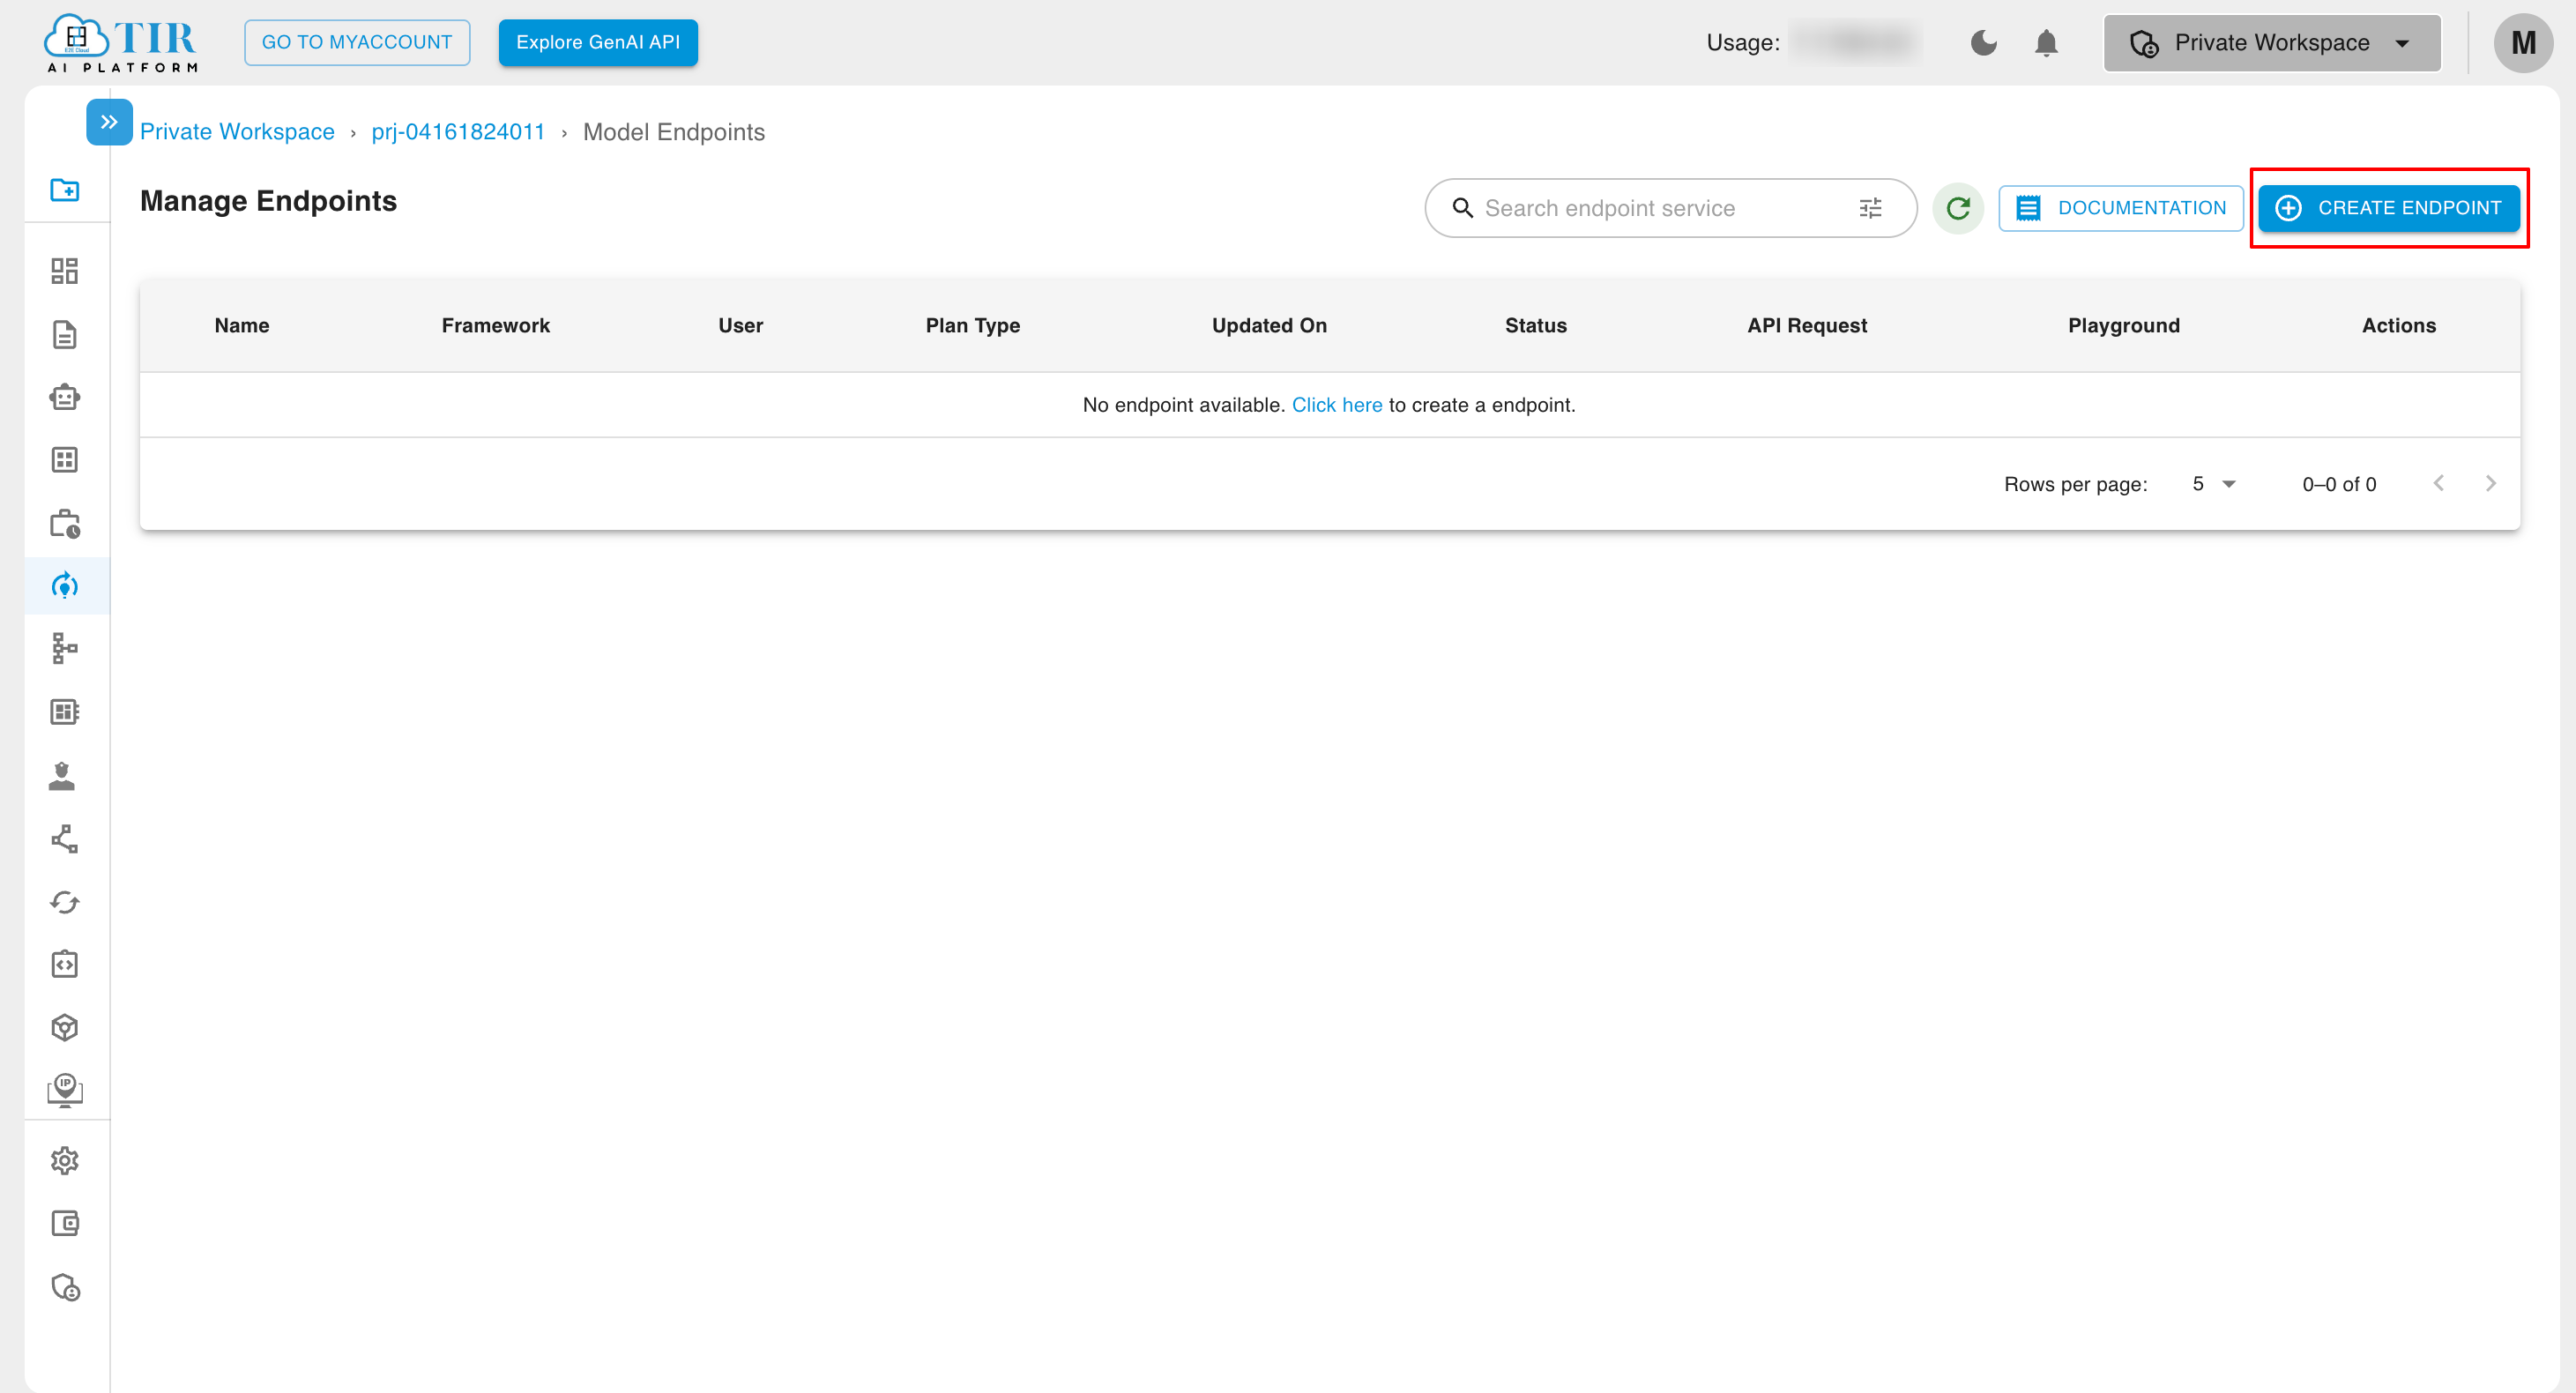
Create an Endpoint: Click on the "CREATE ENDPOINT" button.
-
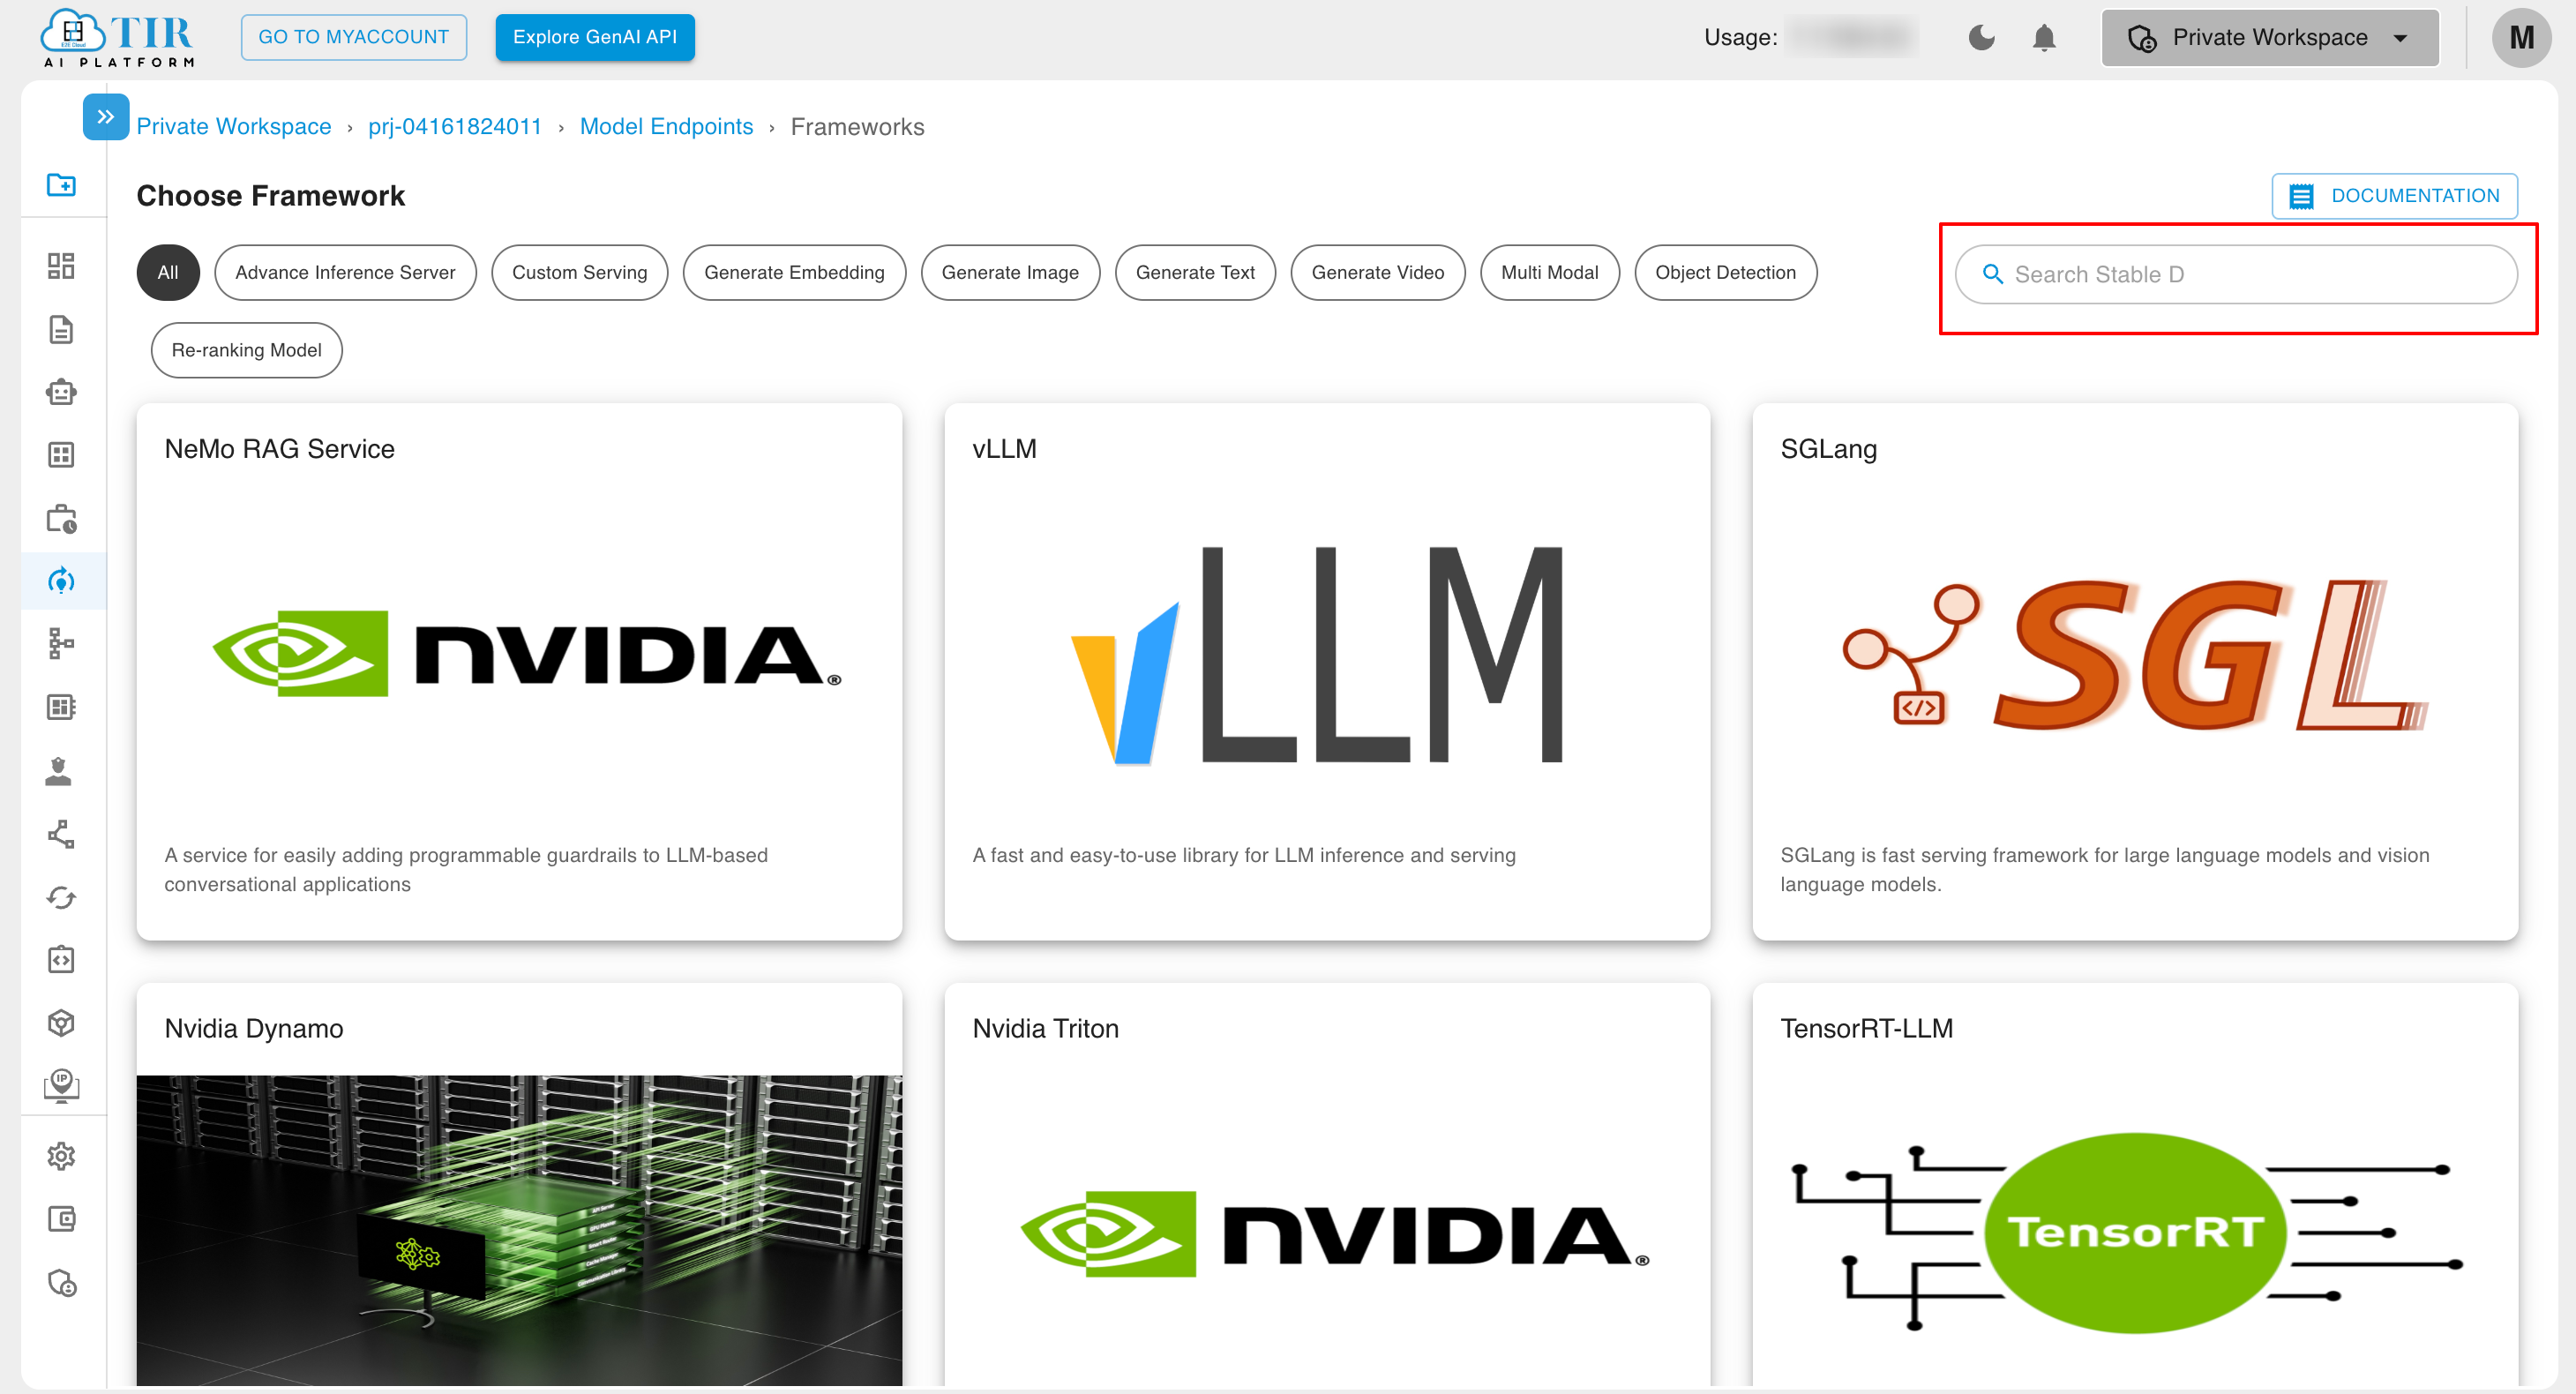
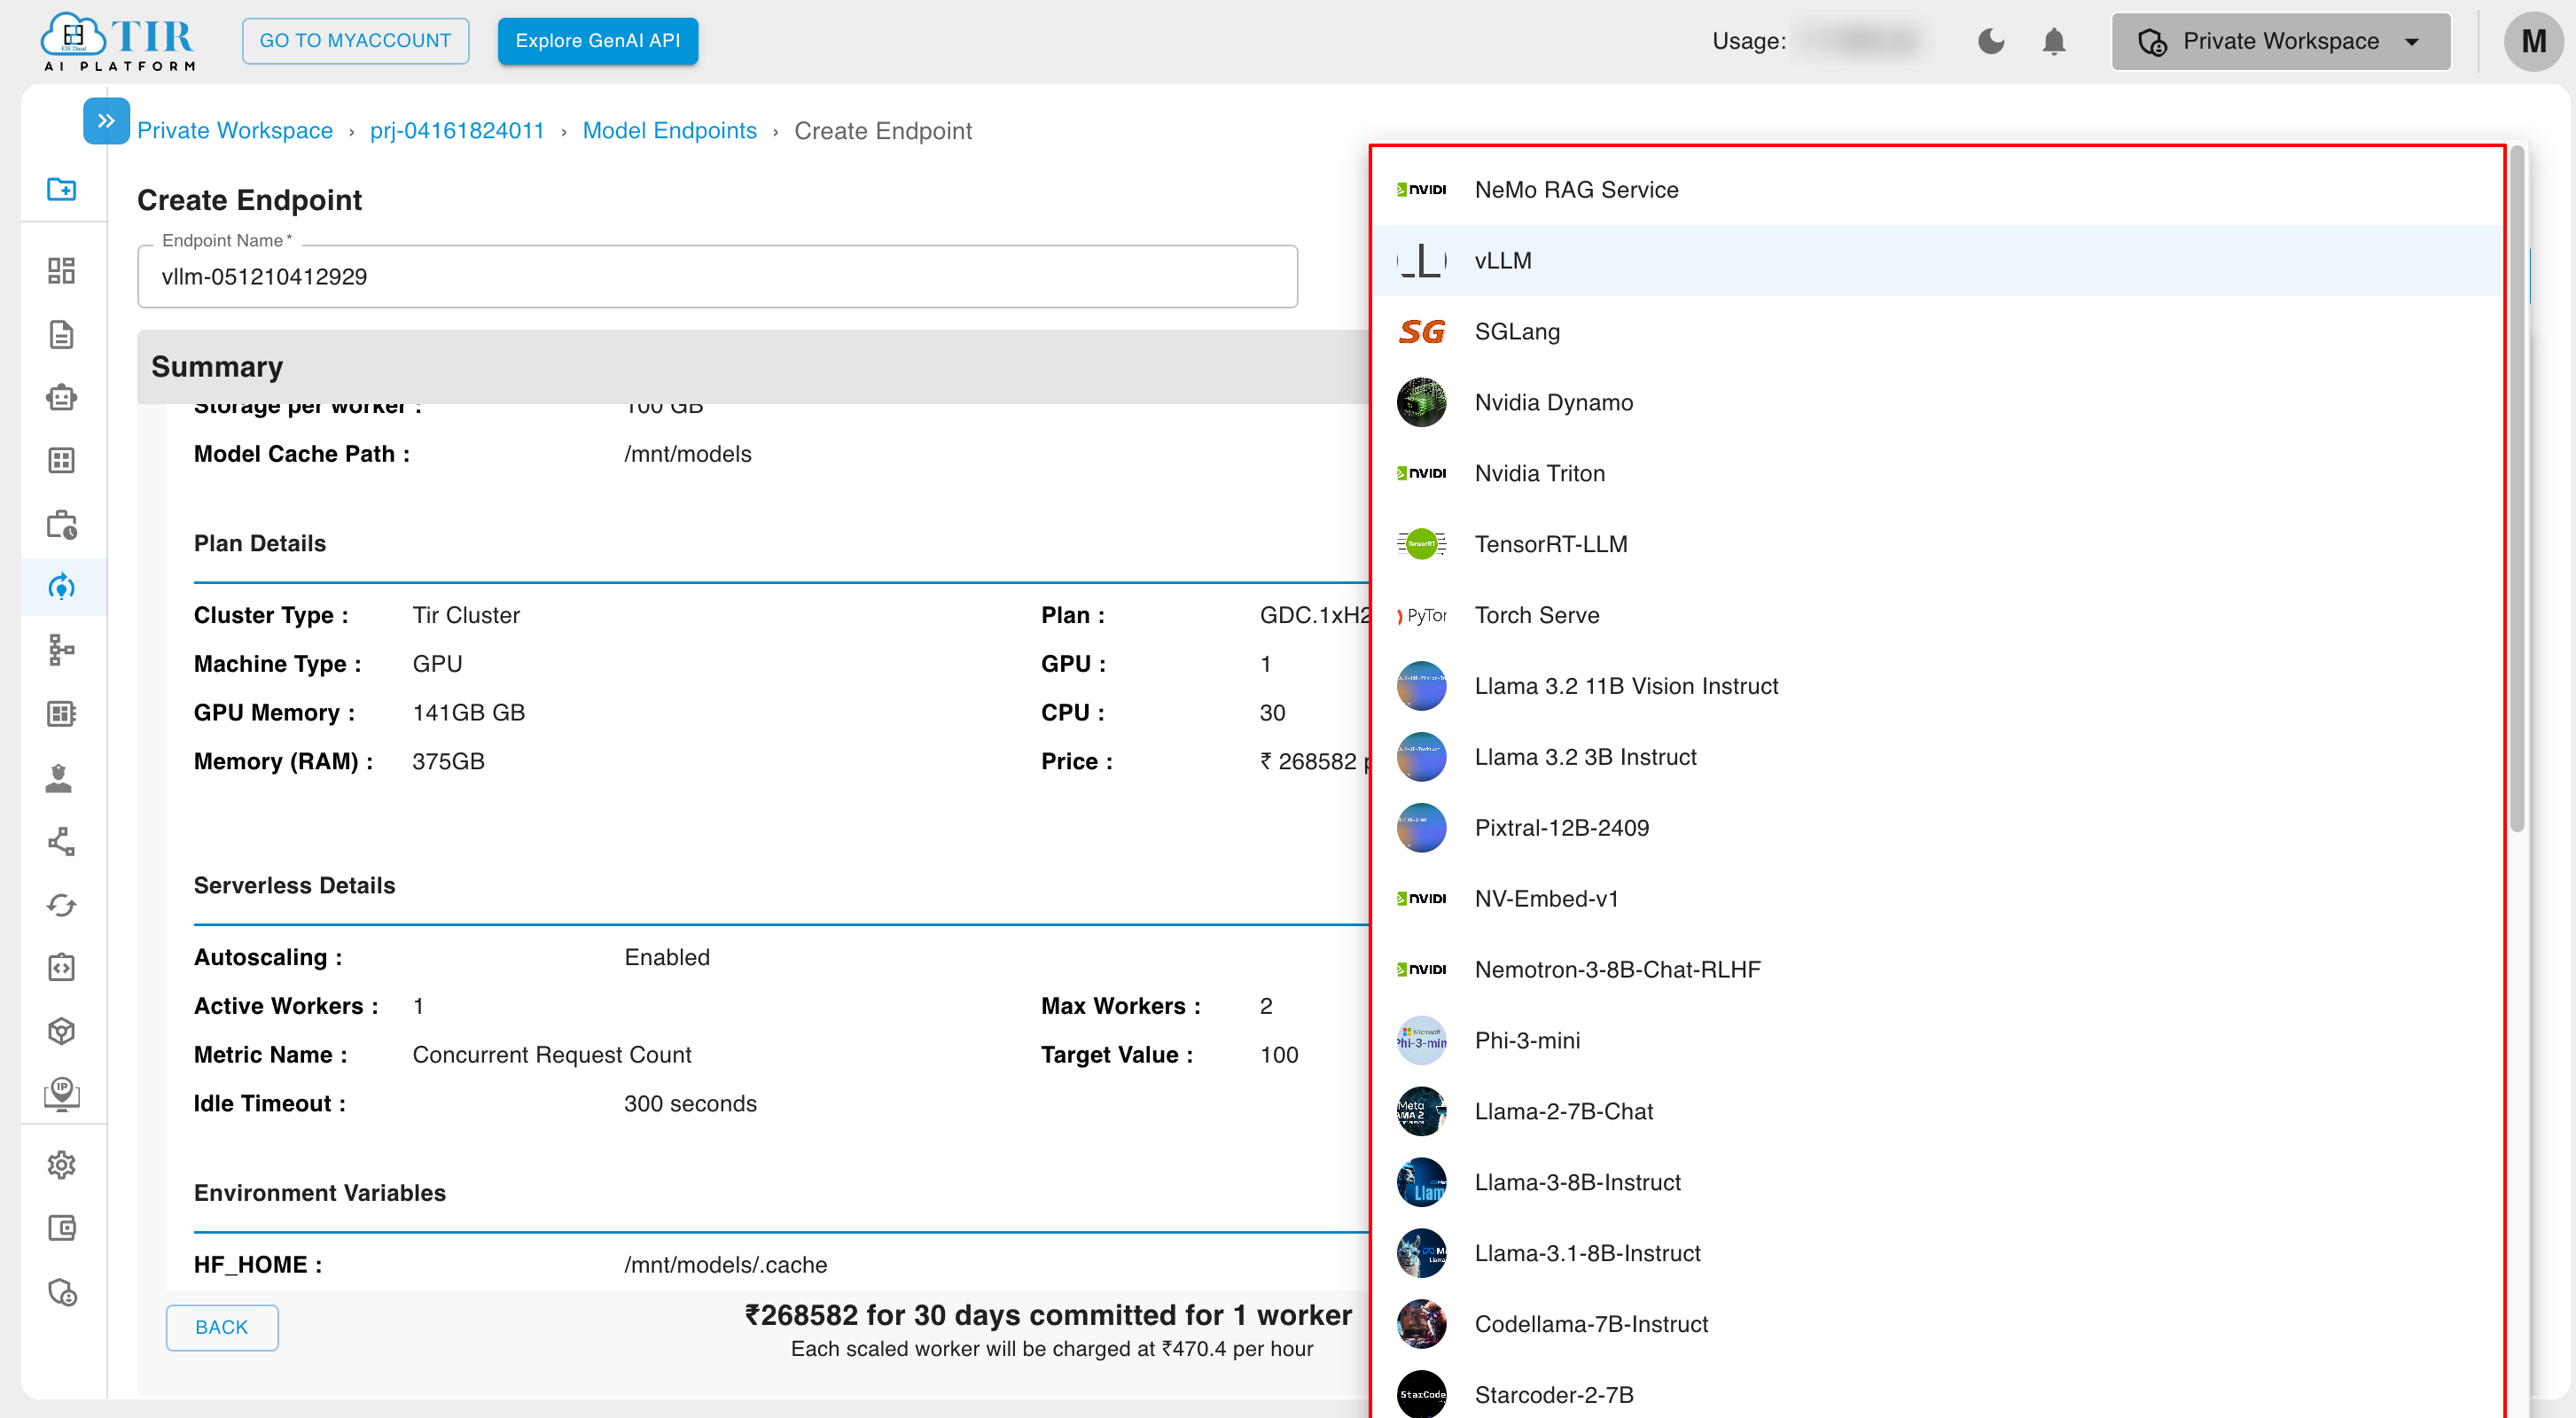
Choose a Framework:
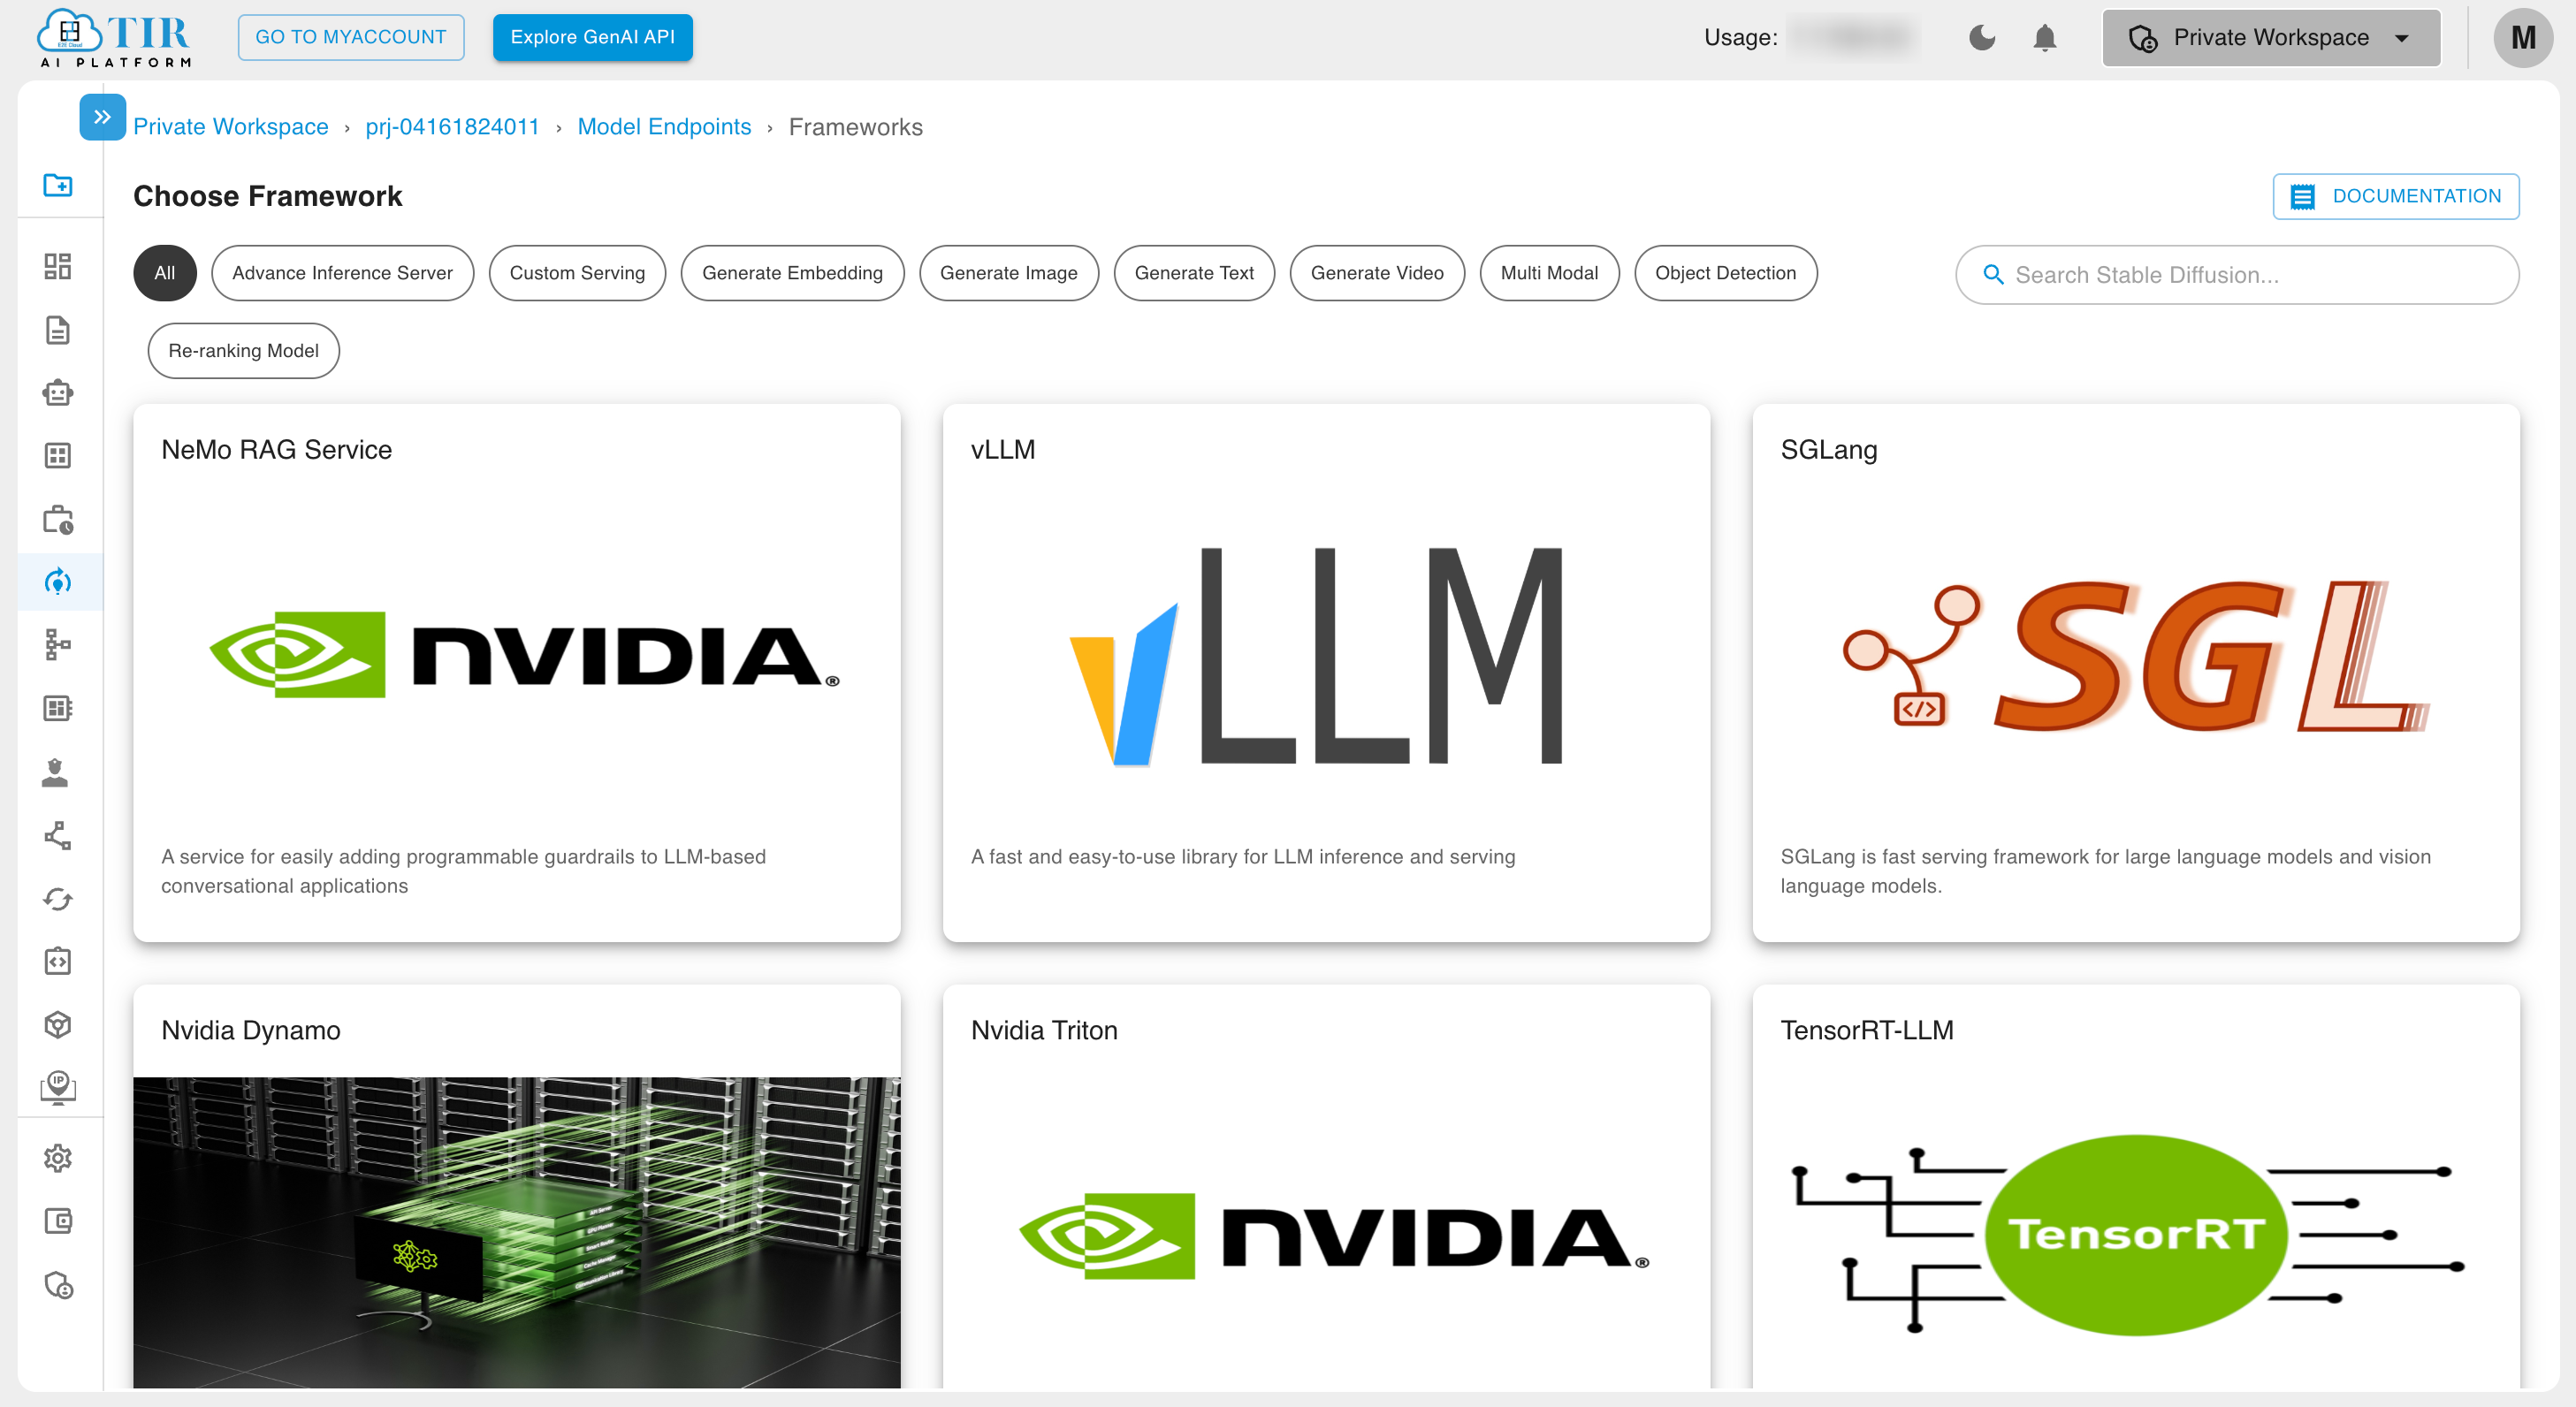
You can use the search bar to explore the available frameworks.
-
-
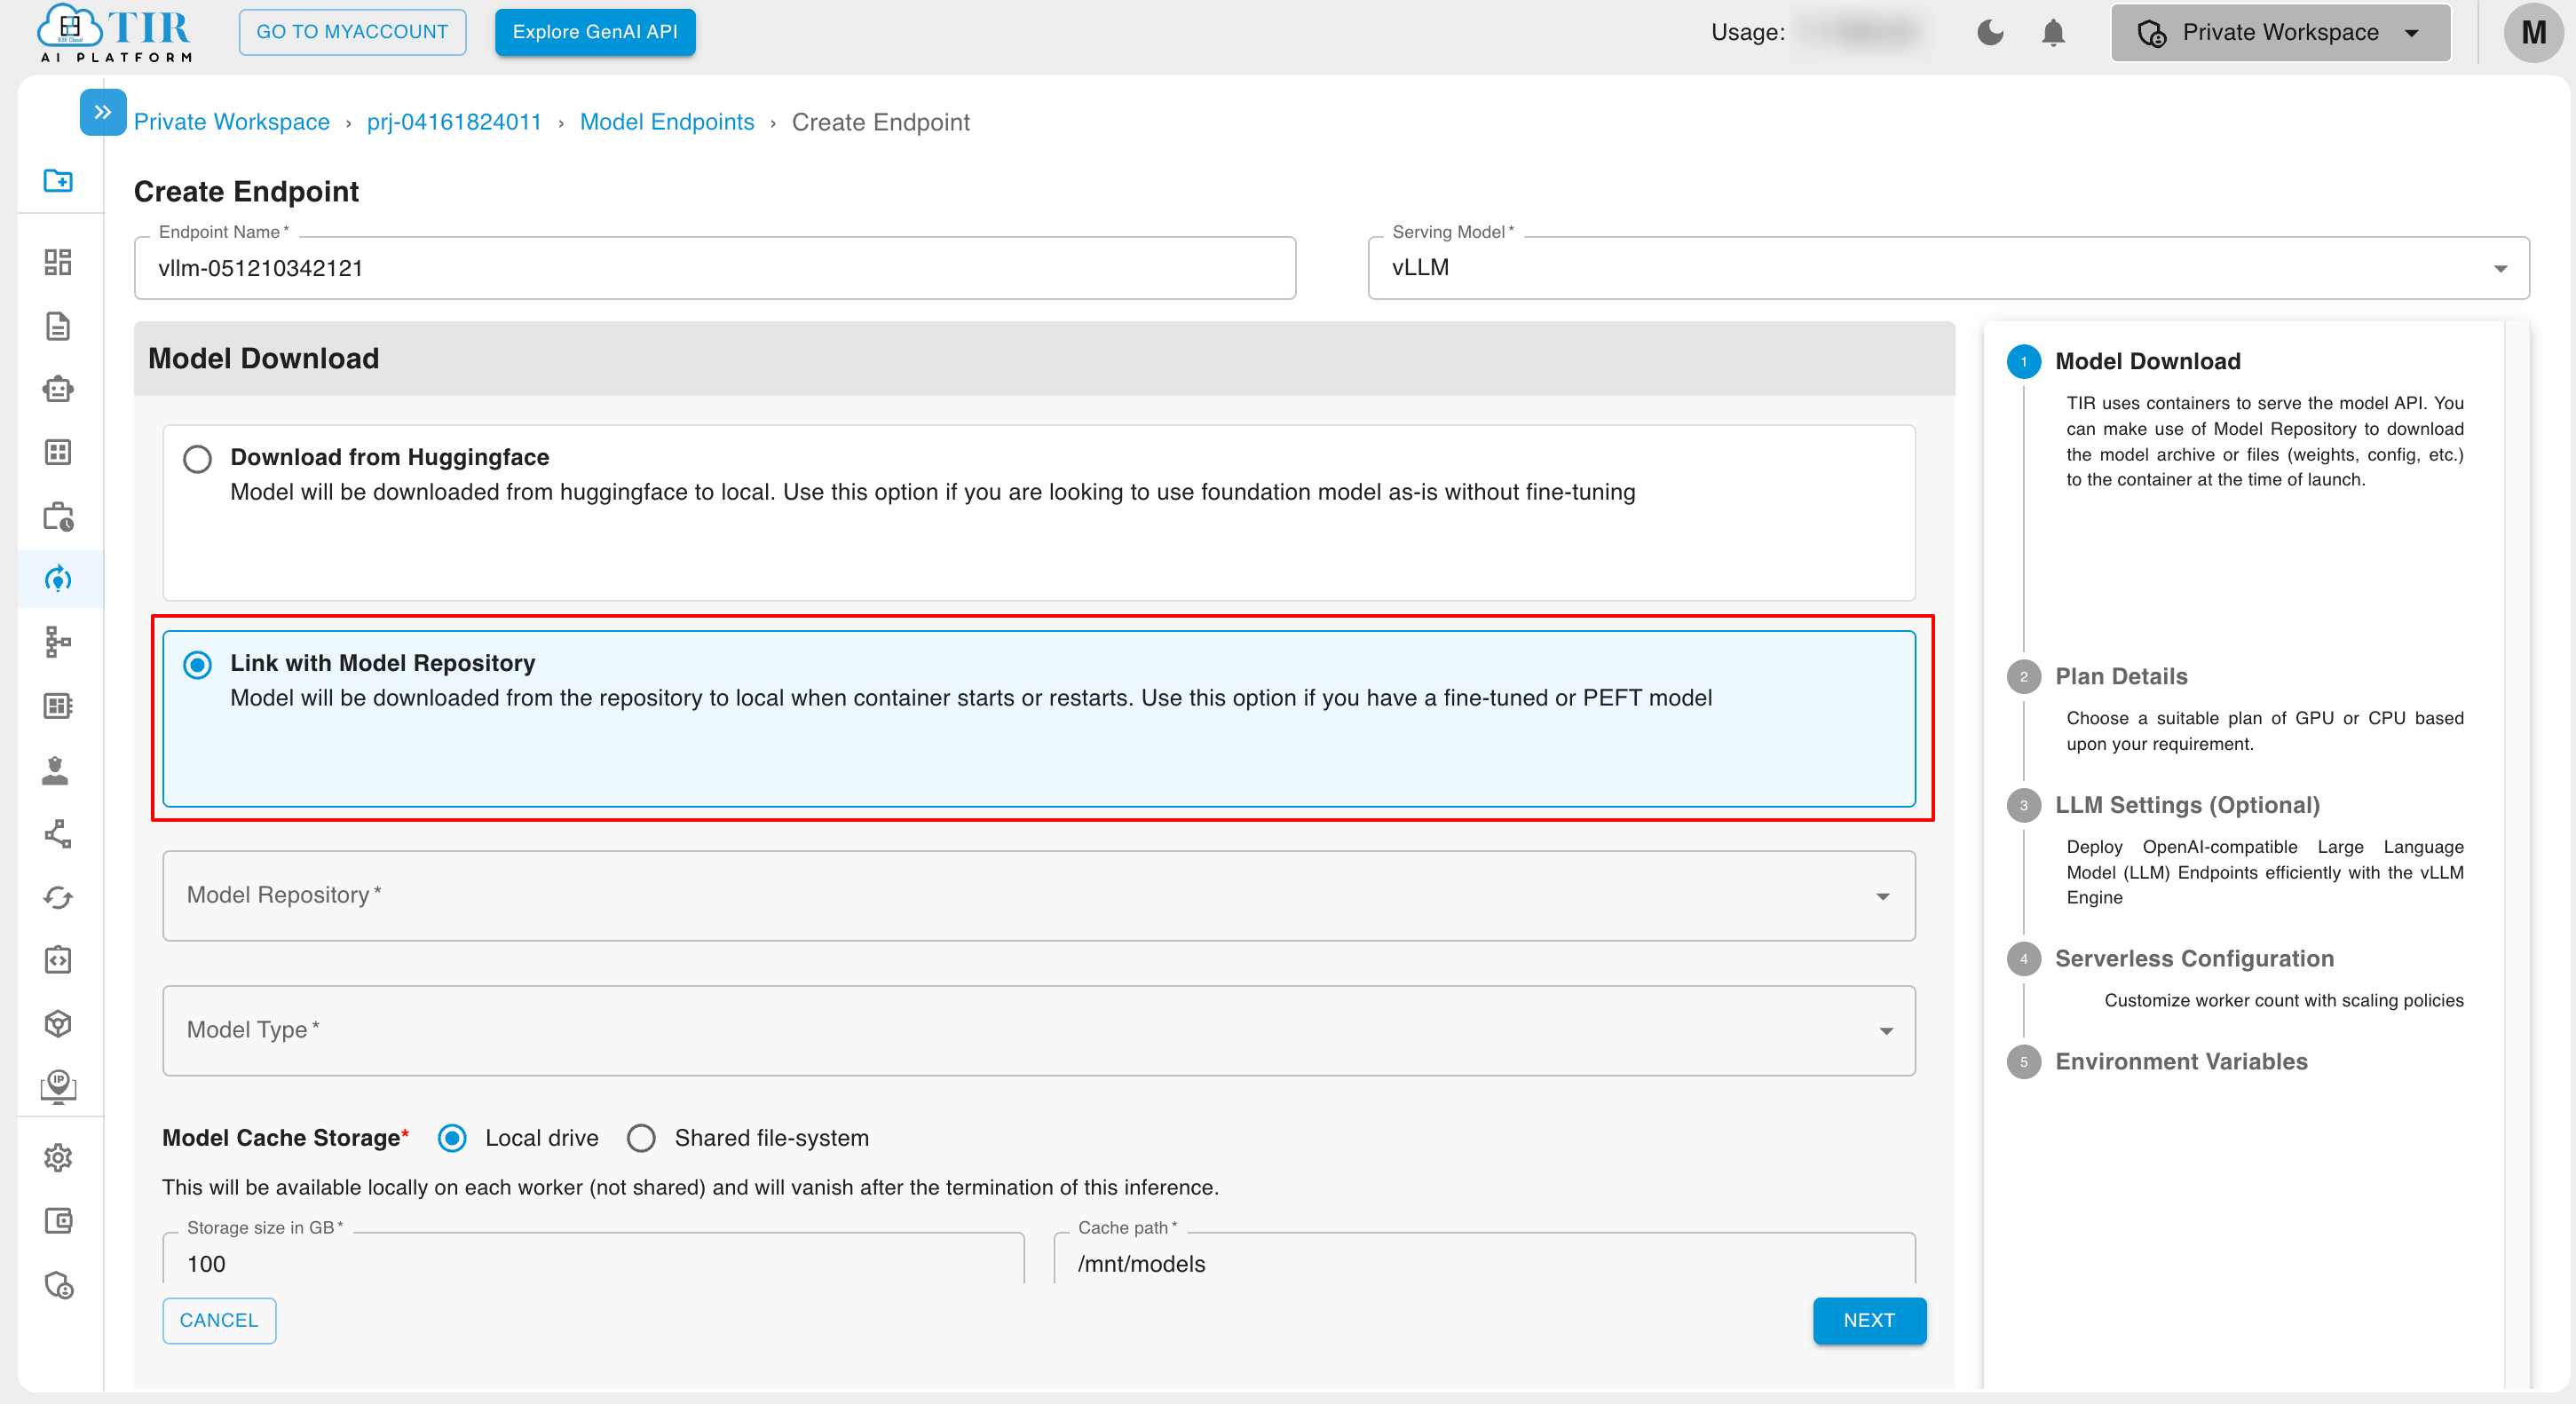
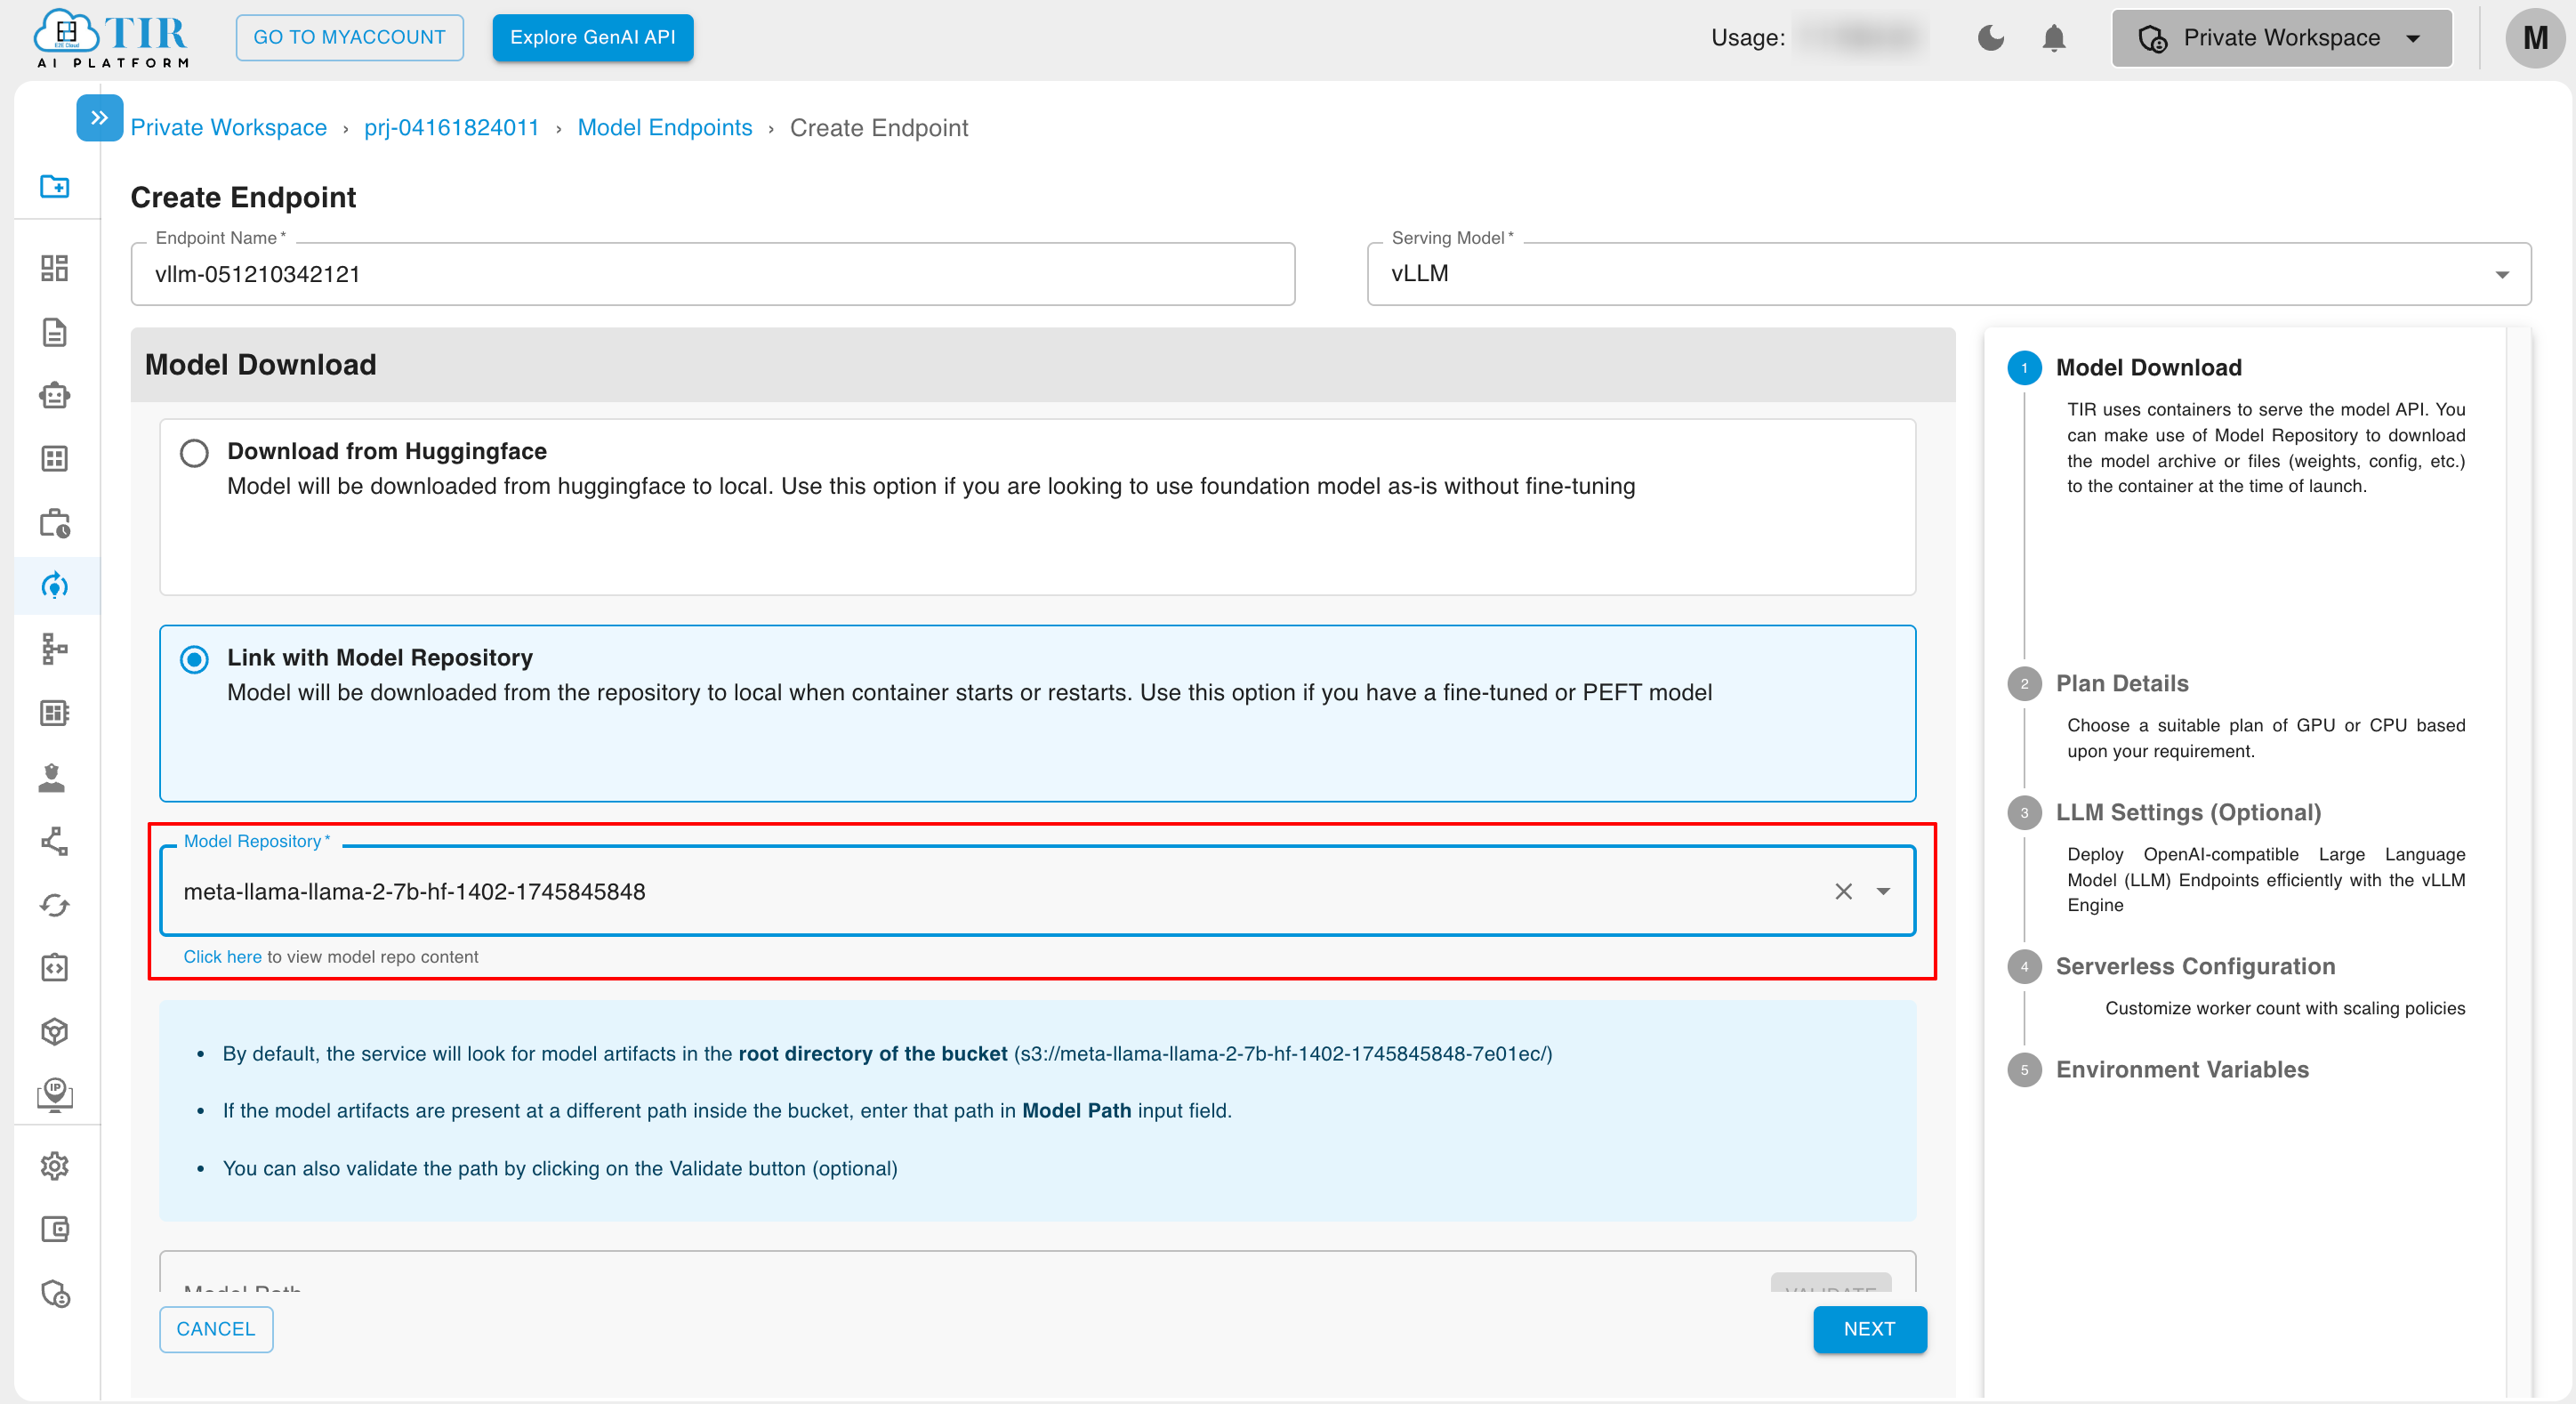
Click on Link with Model Repository and select from Model Repository.
-
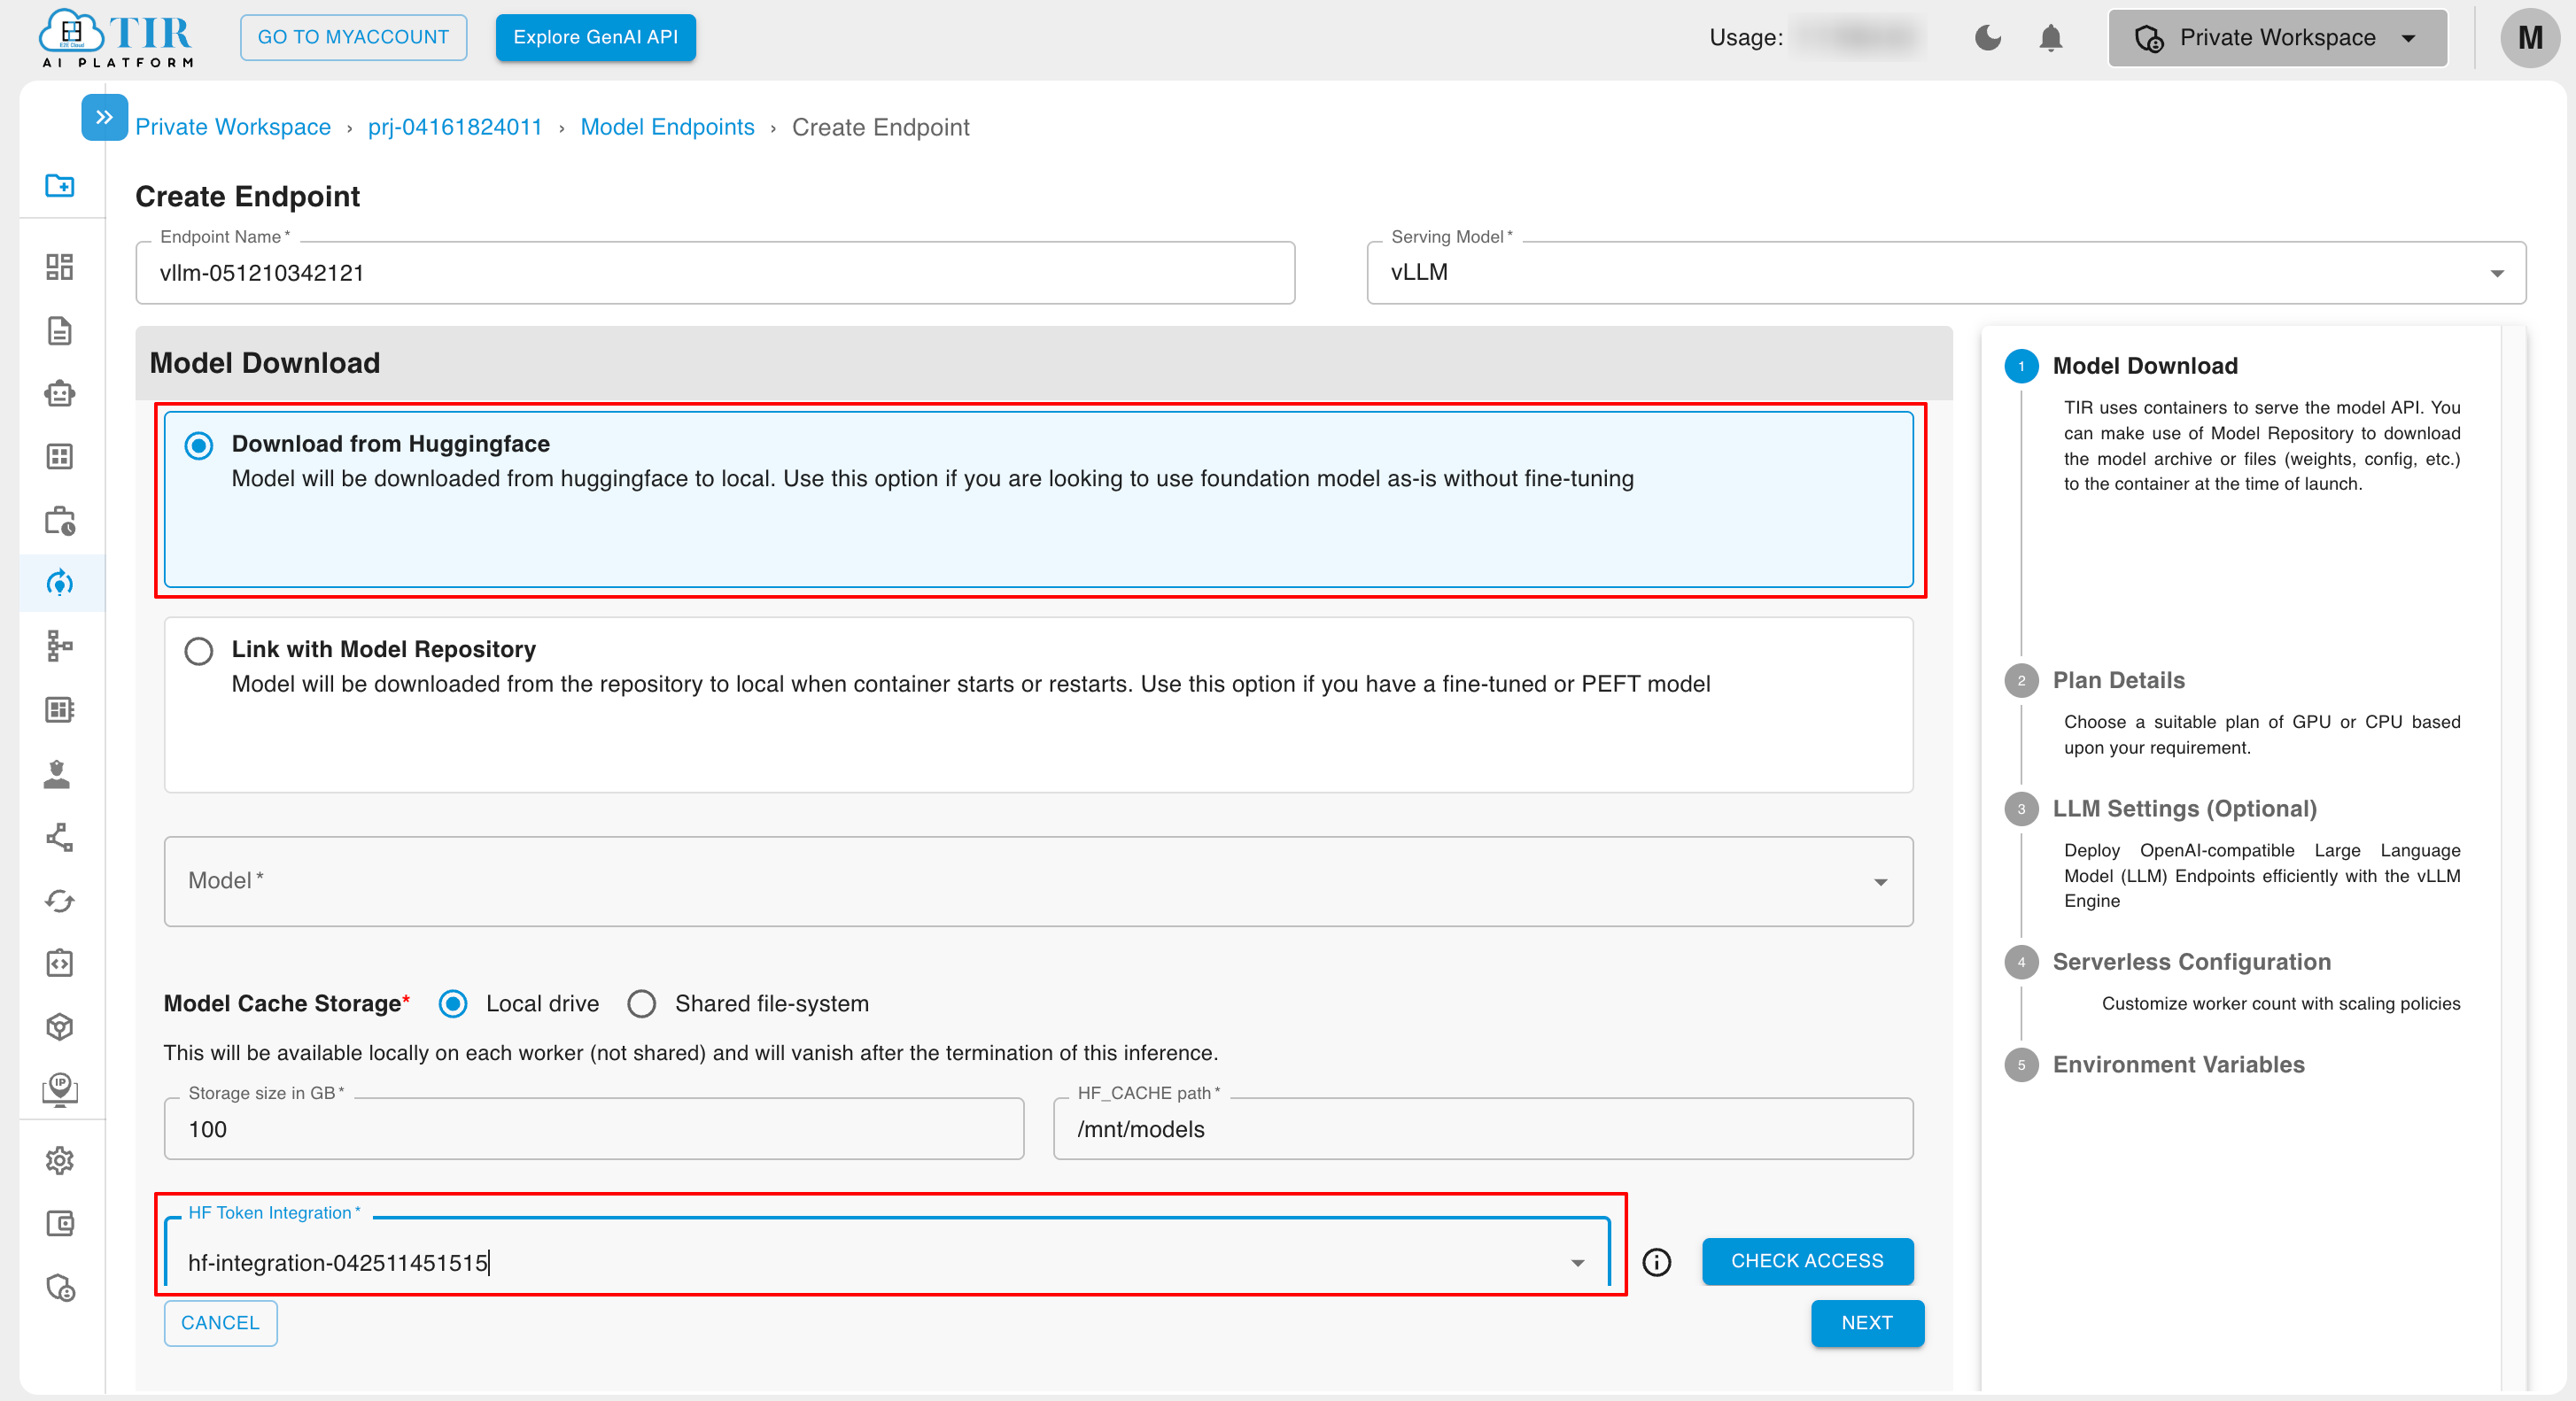
Click on Download from Huggingface and select token from HF Token Integration.
-
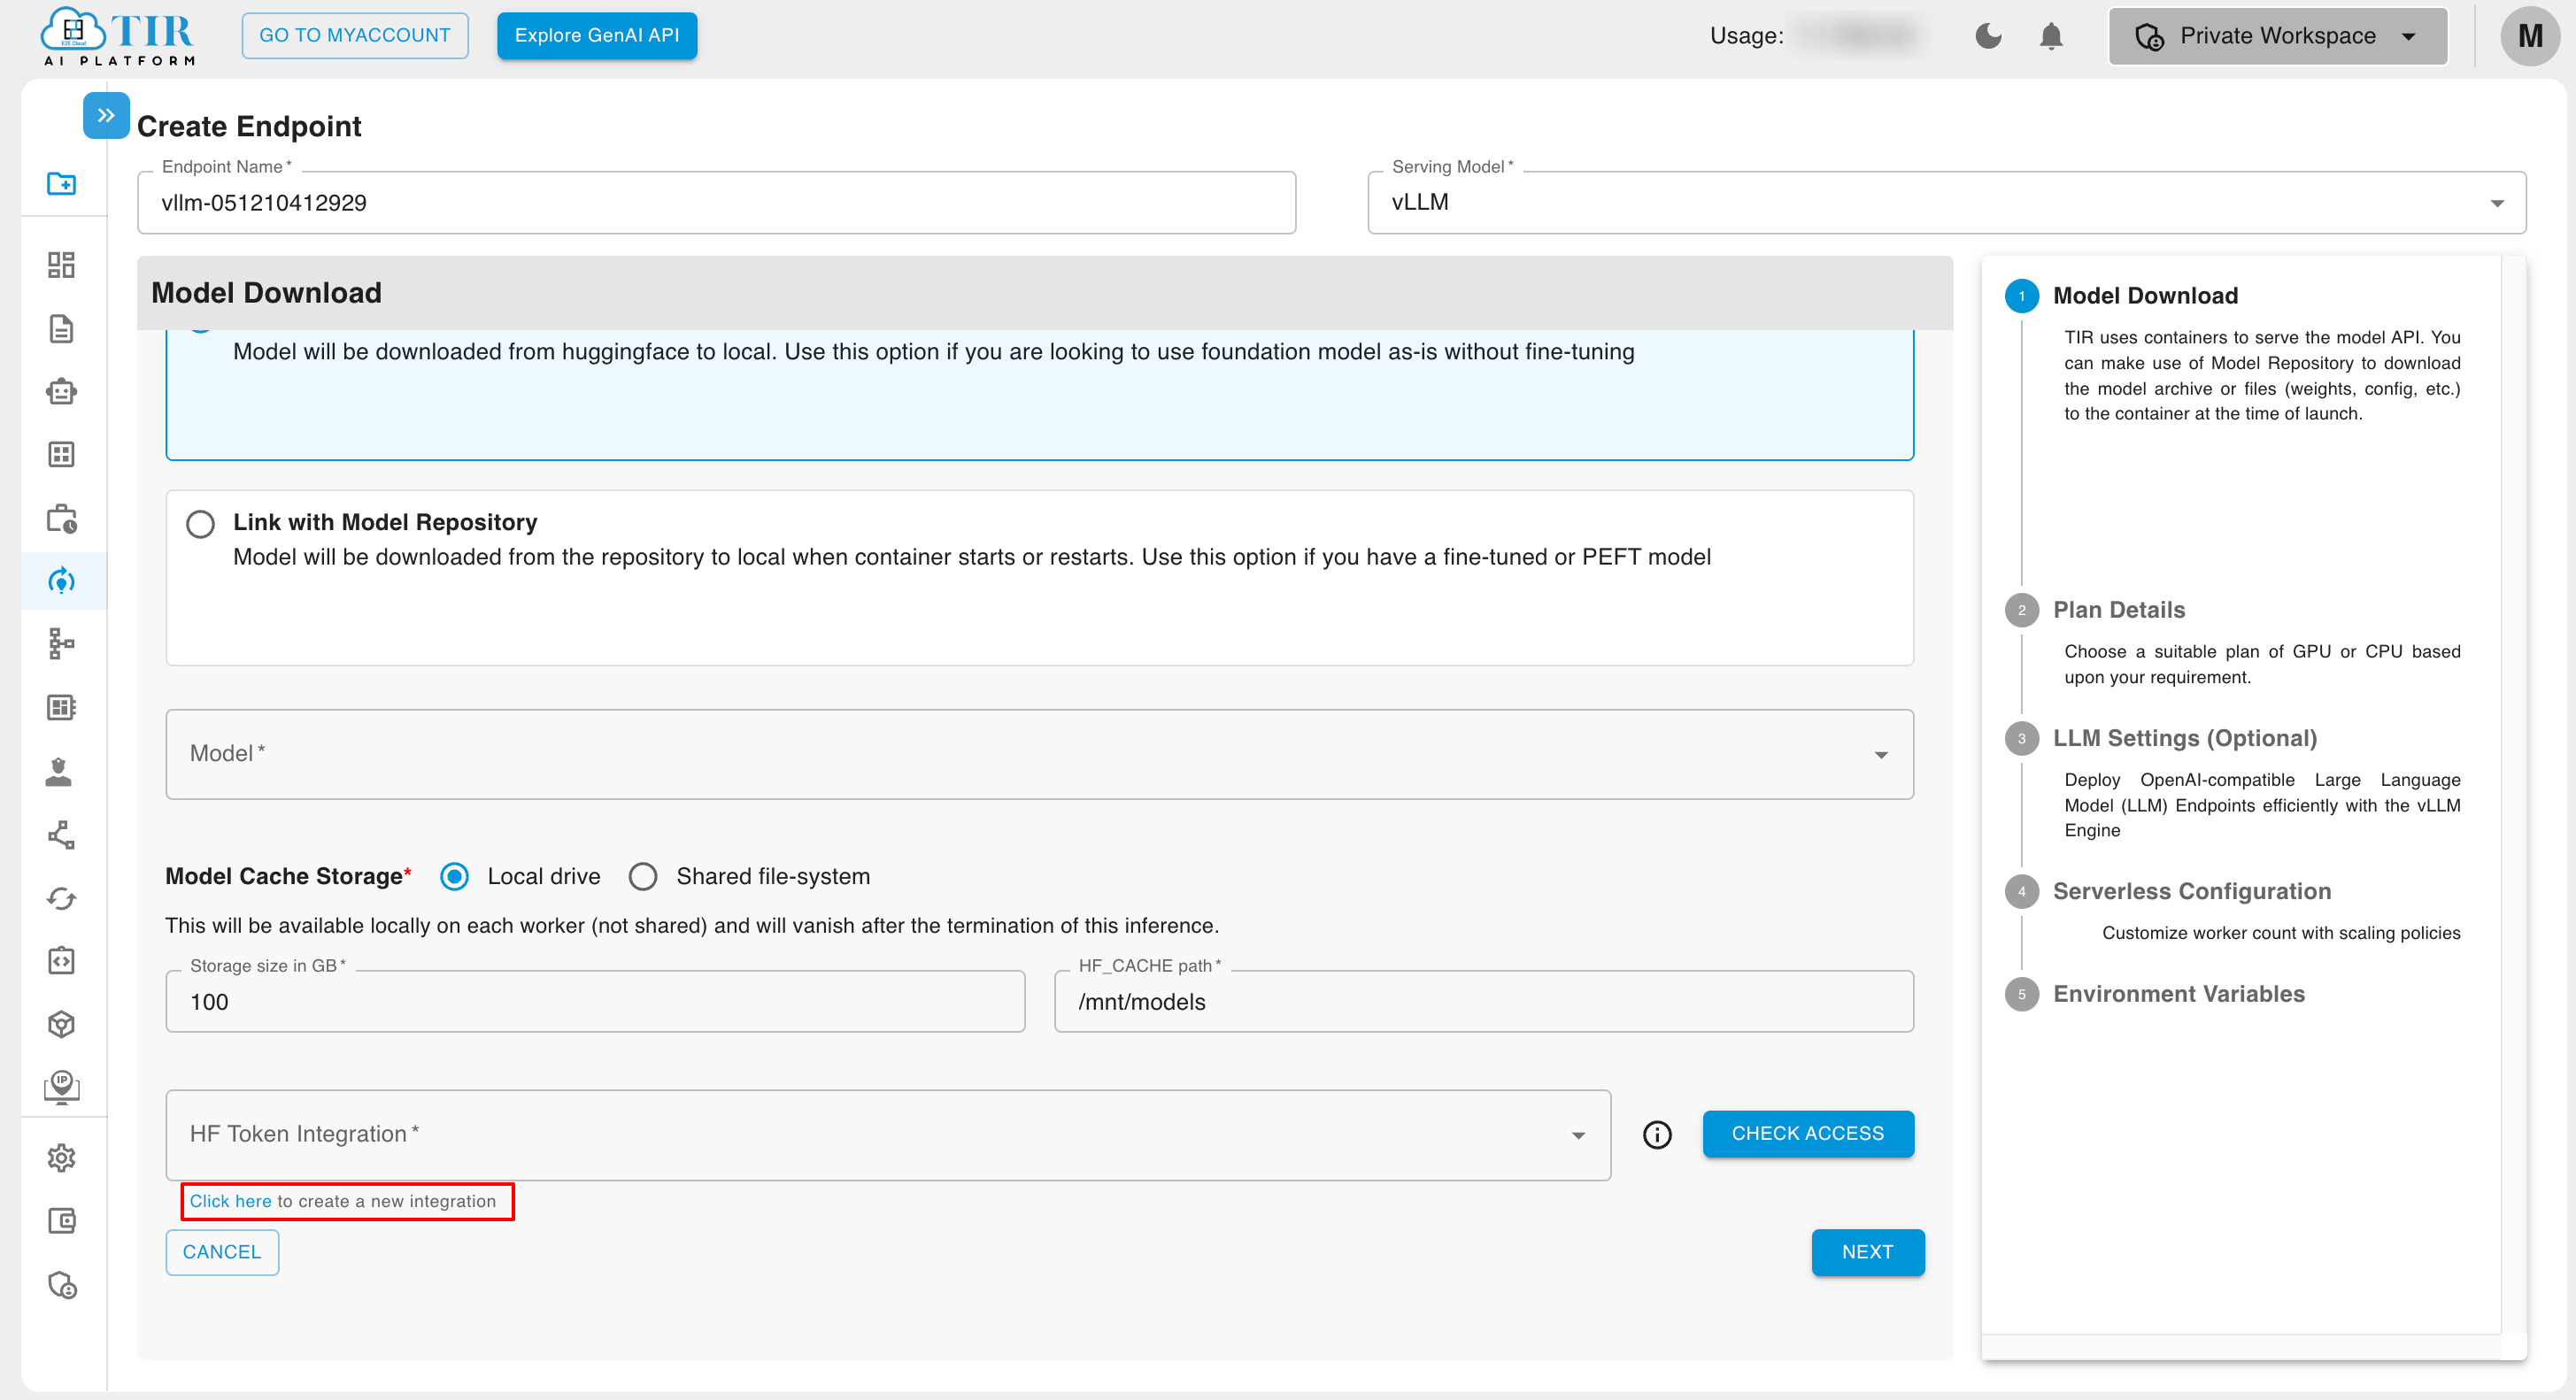
In case any HF Token is not integrated, then click on Click Here to create a new Integration.
-
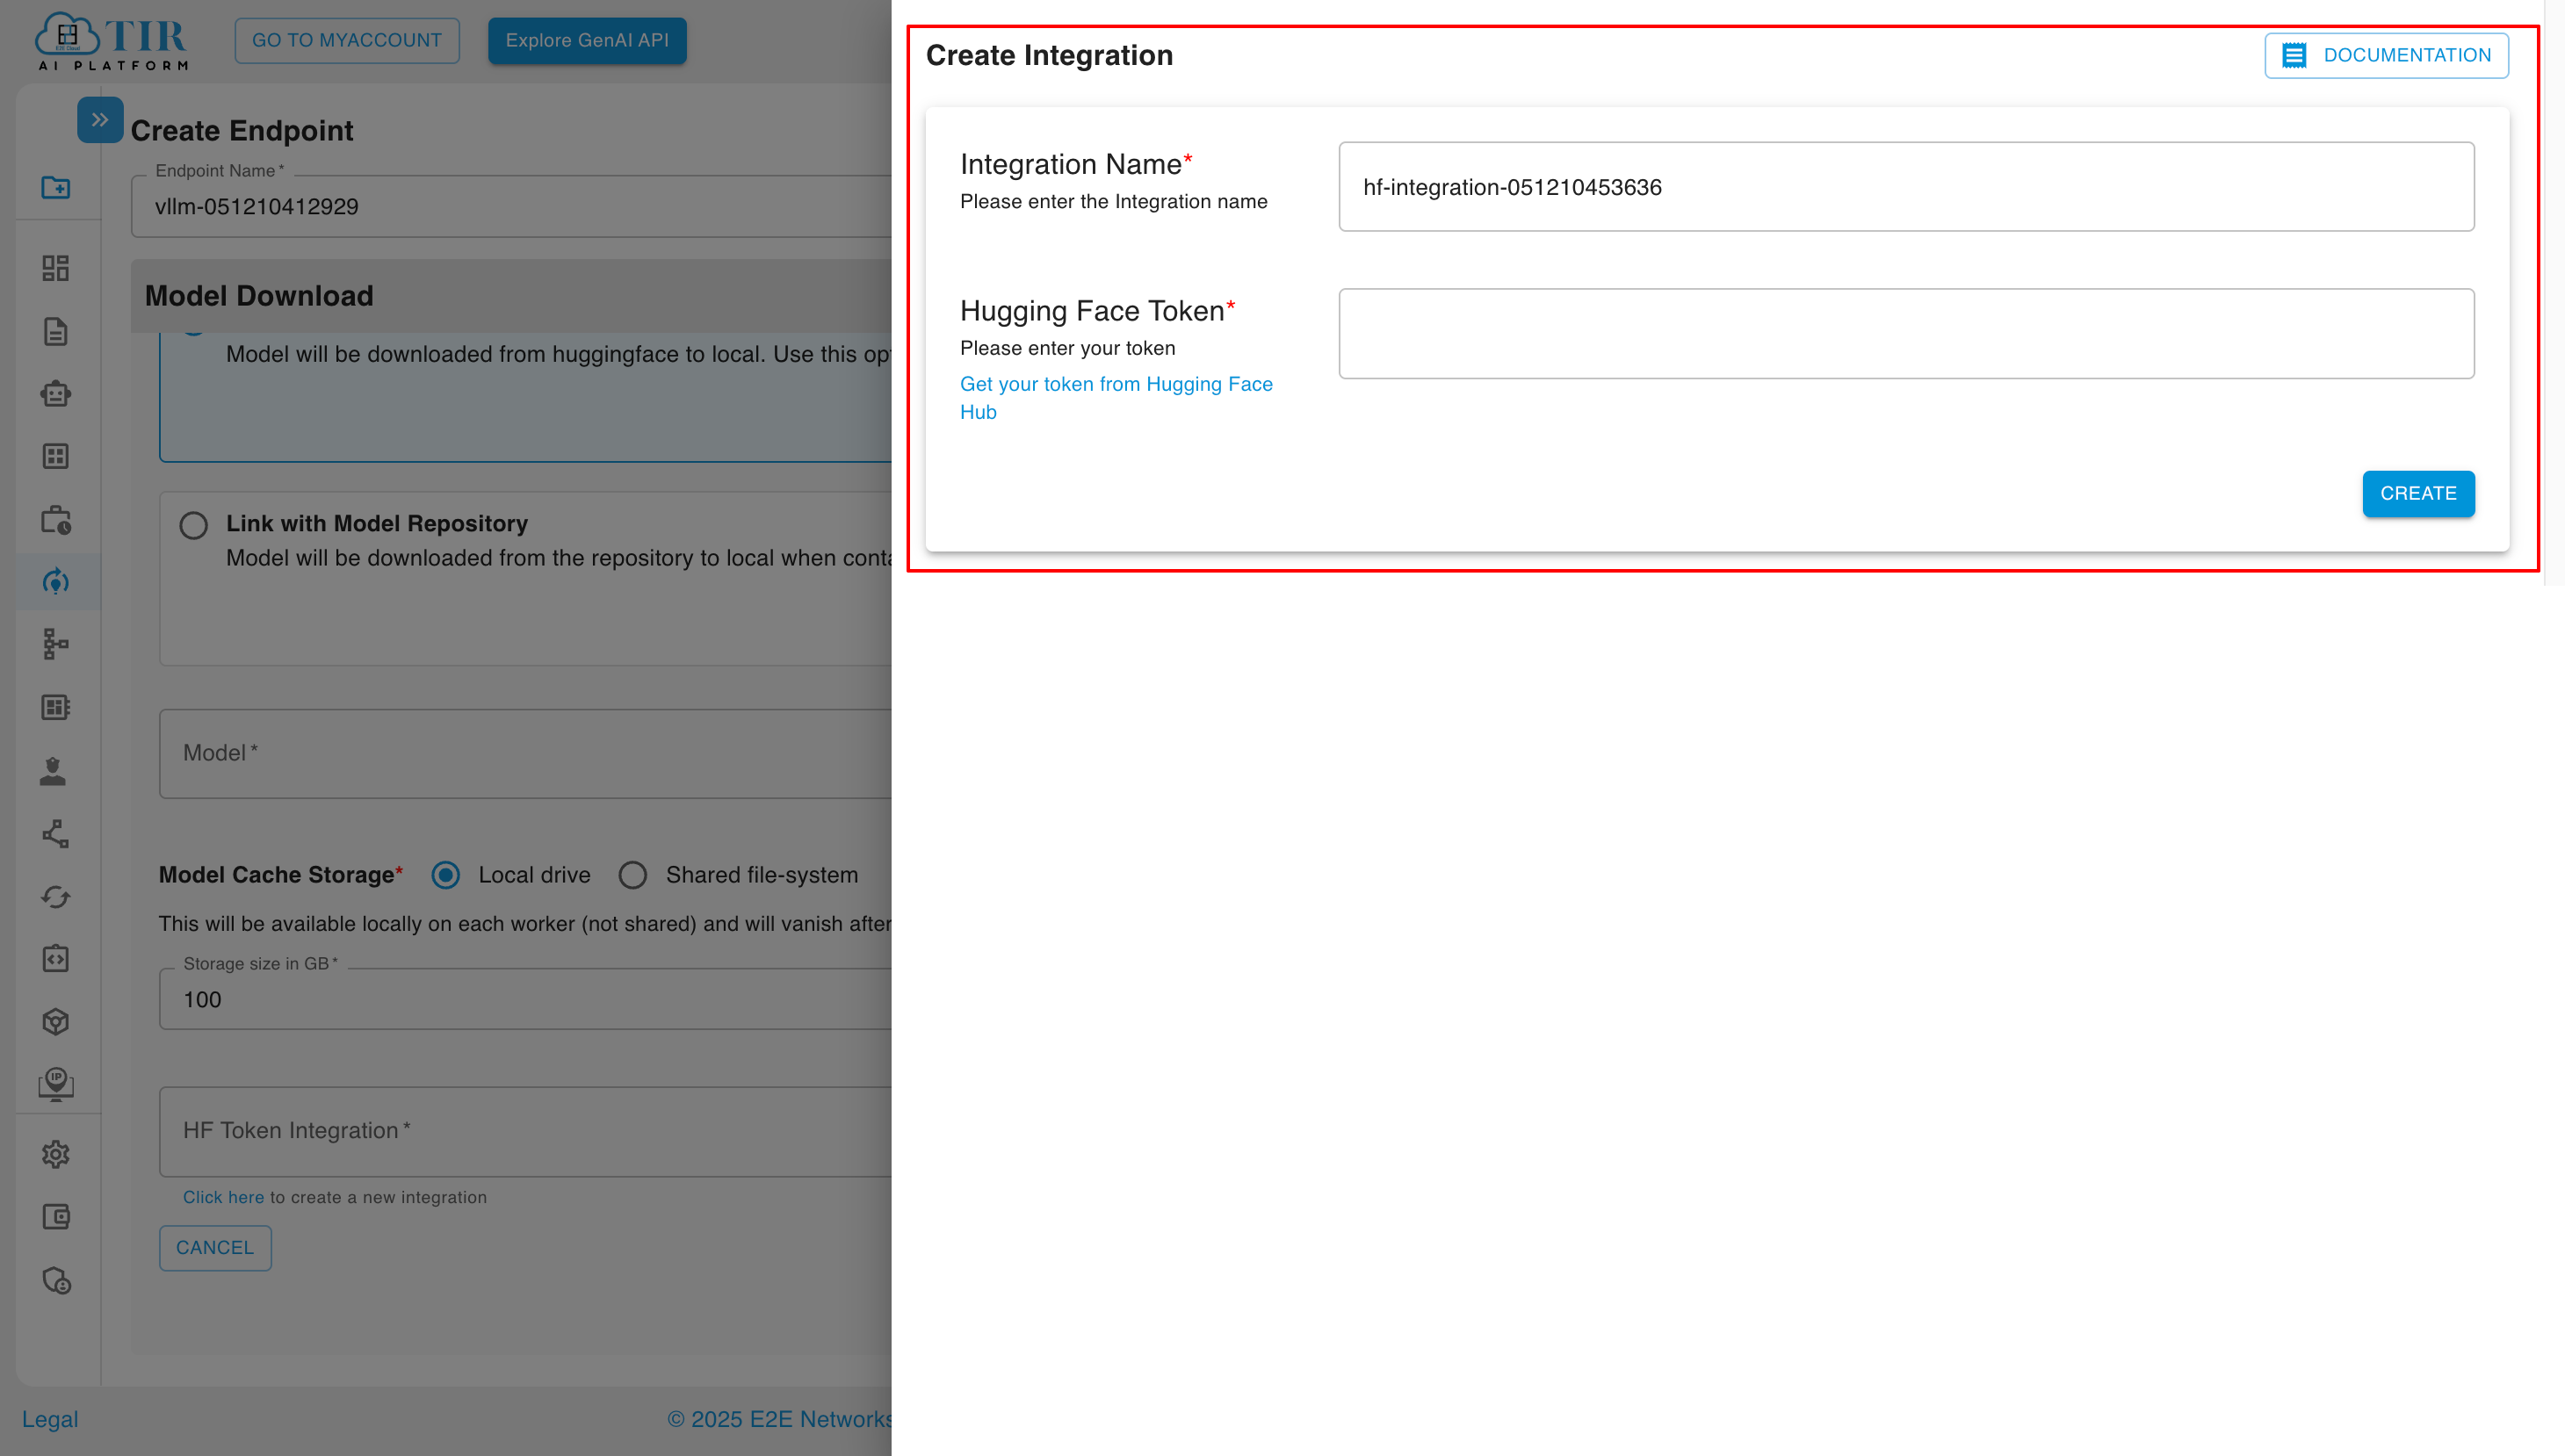
Add Integration Name and Hugging Face Token and then click on create.
-
Plan Details
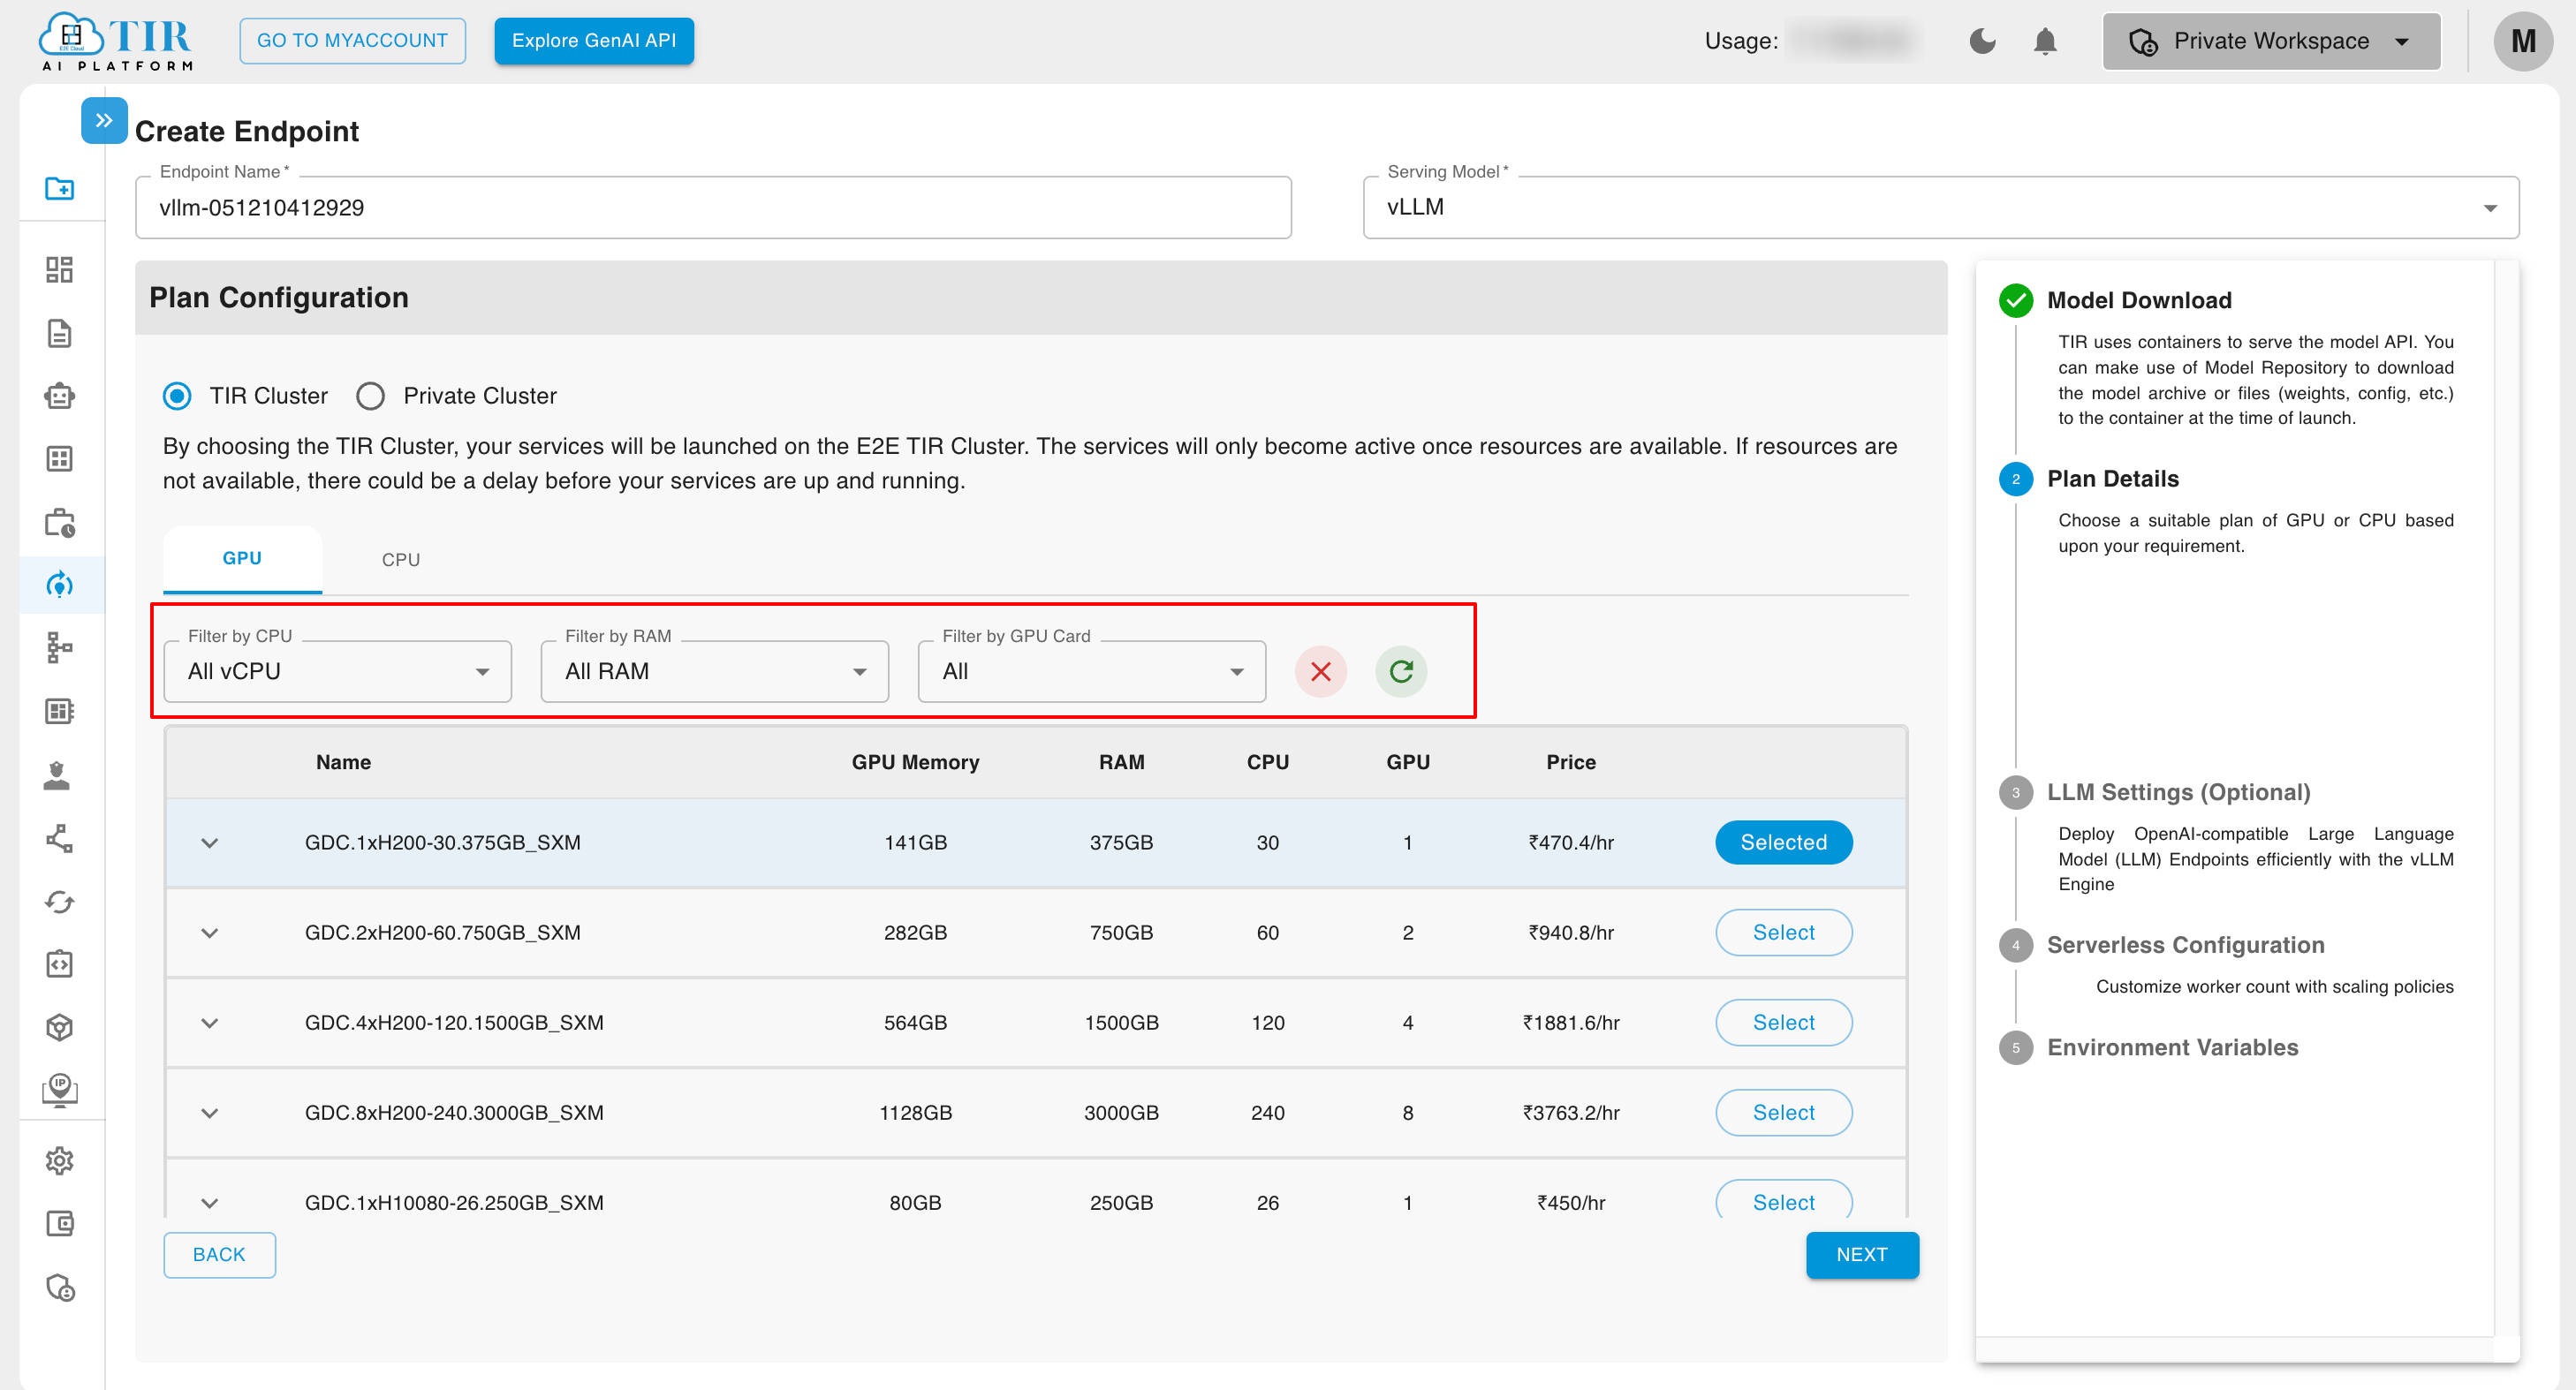
Machine
Here you can select a machine type, either GPU or CPU. While selecting the plan, you can choose the plan for the inference from Committed or Hourly Billed.
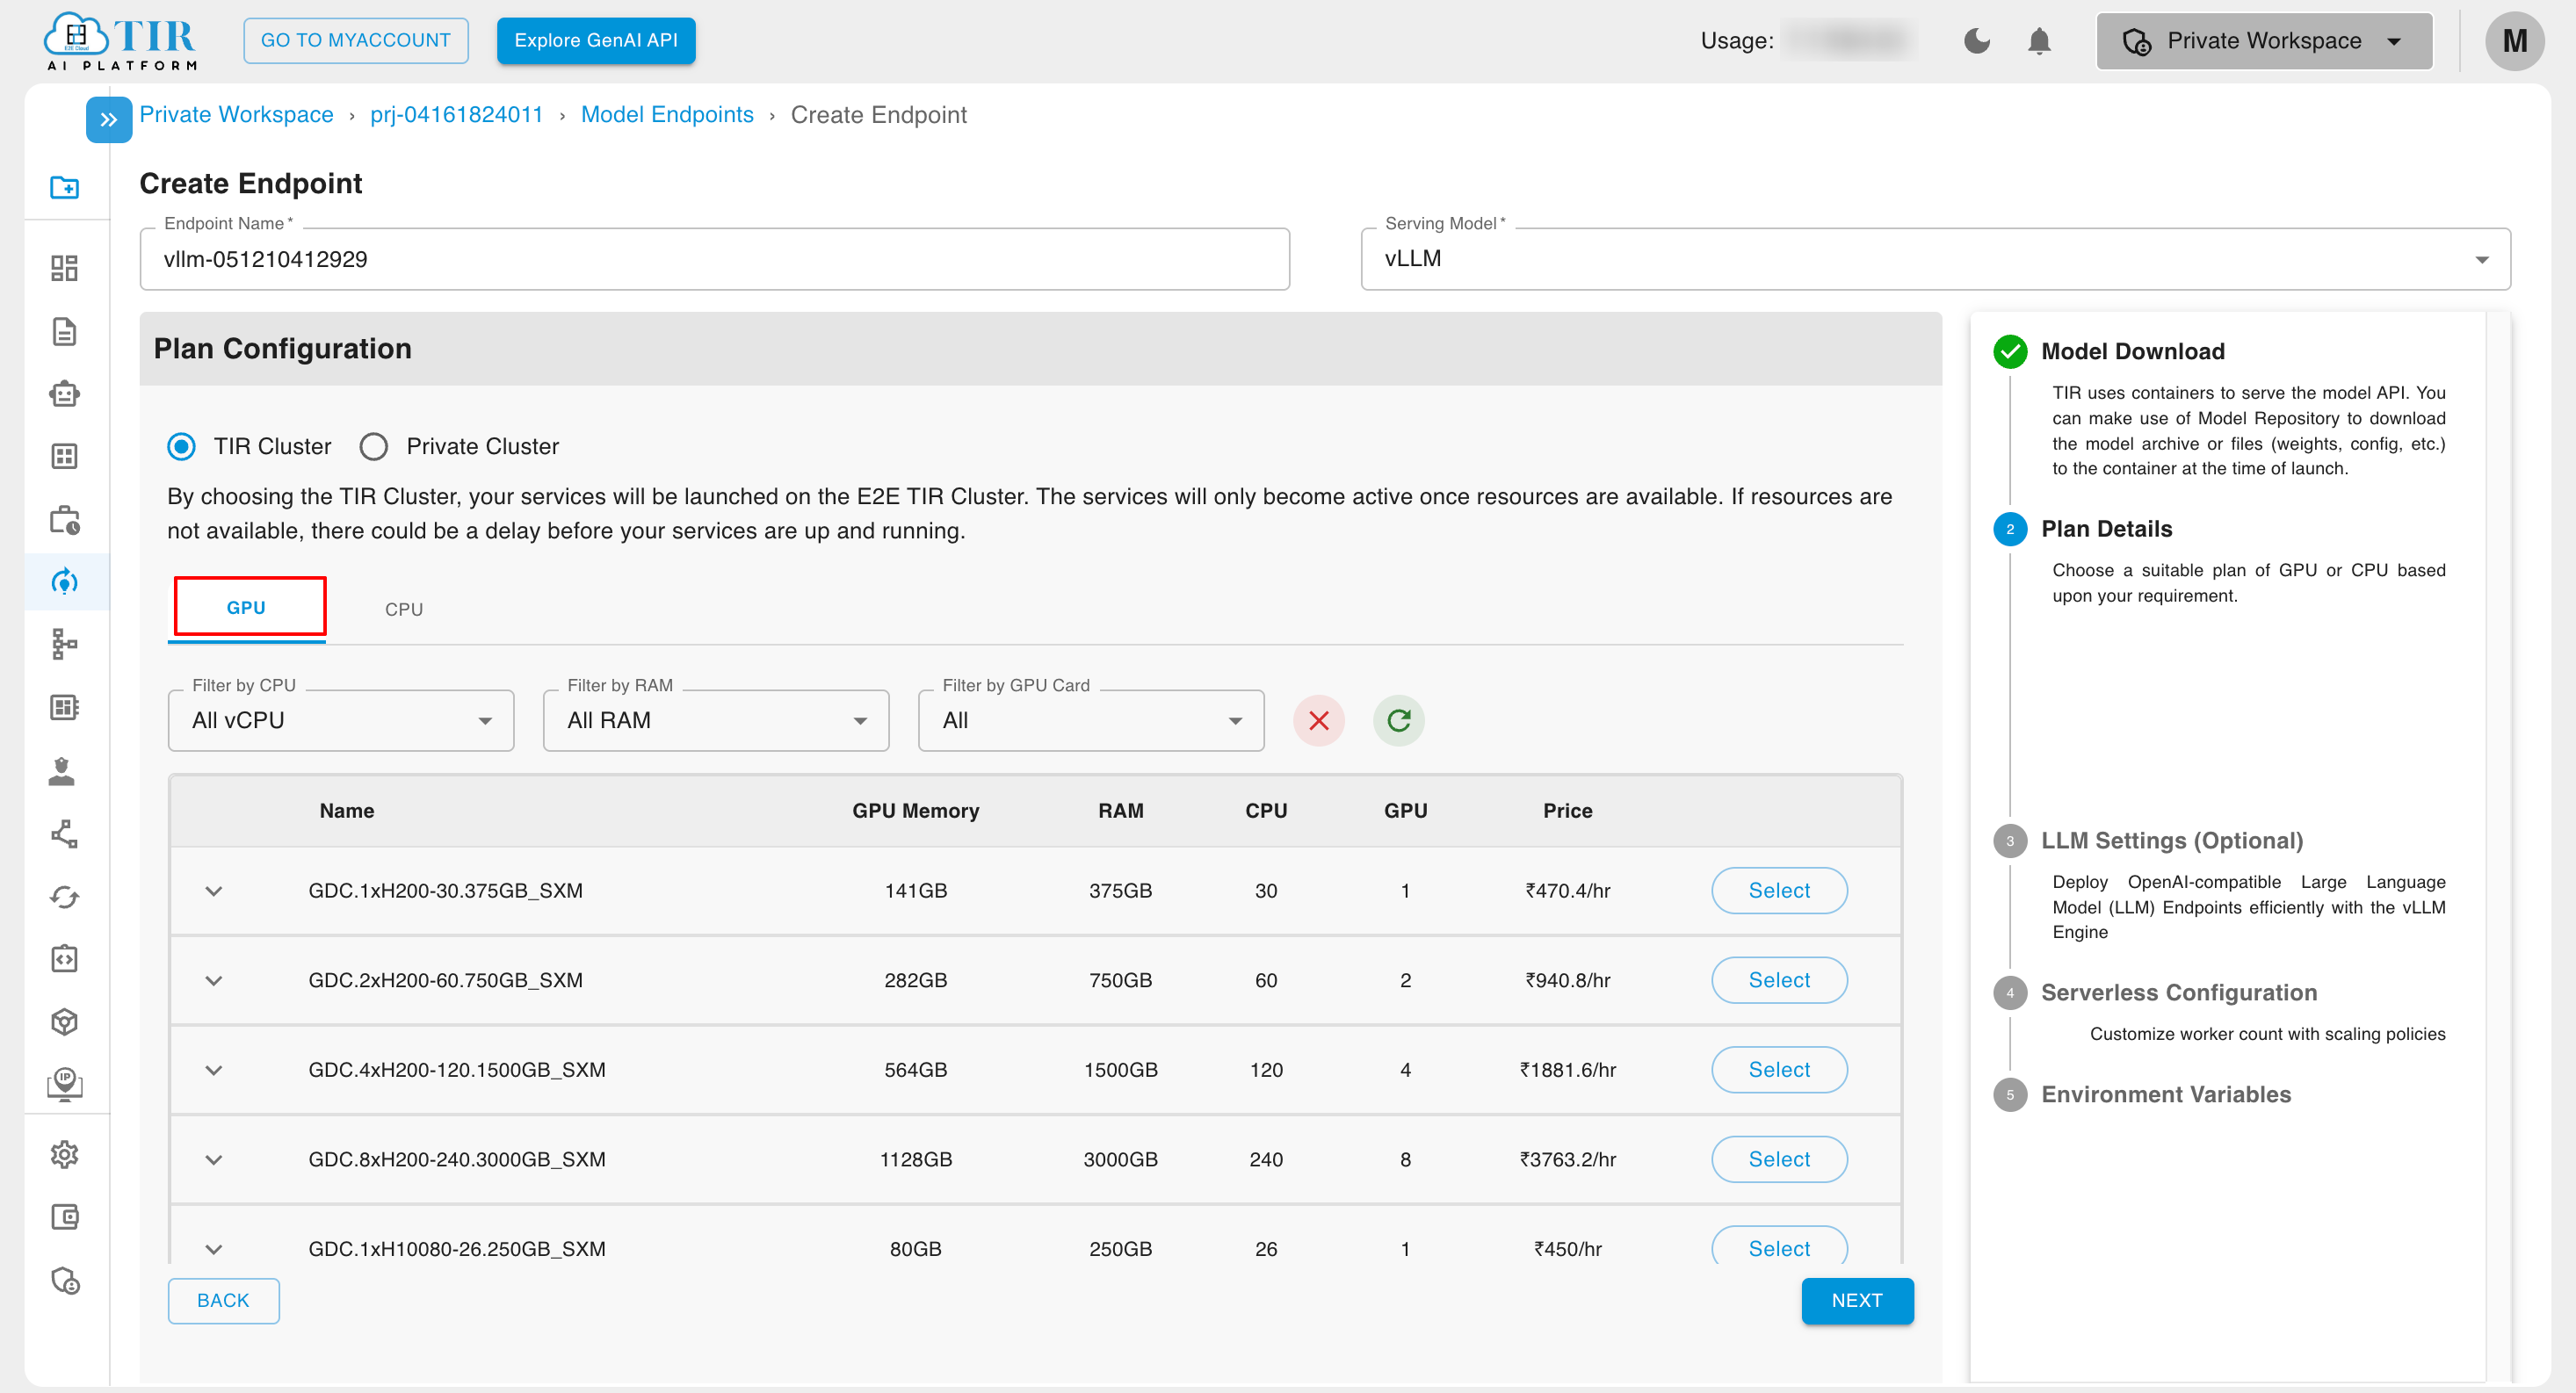
You can apply filters to the available machines to refine your search results.
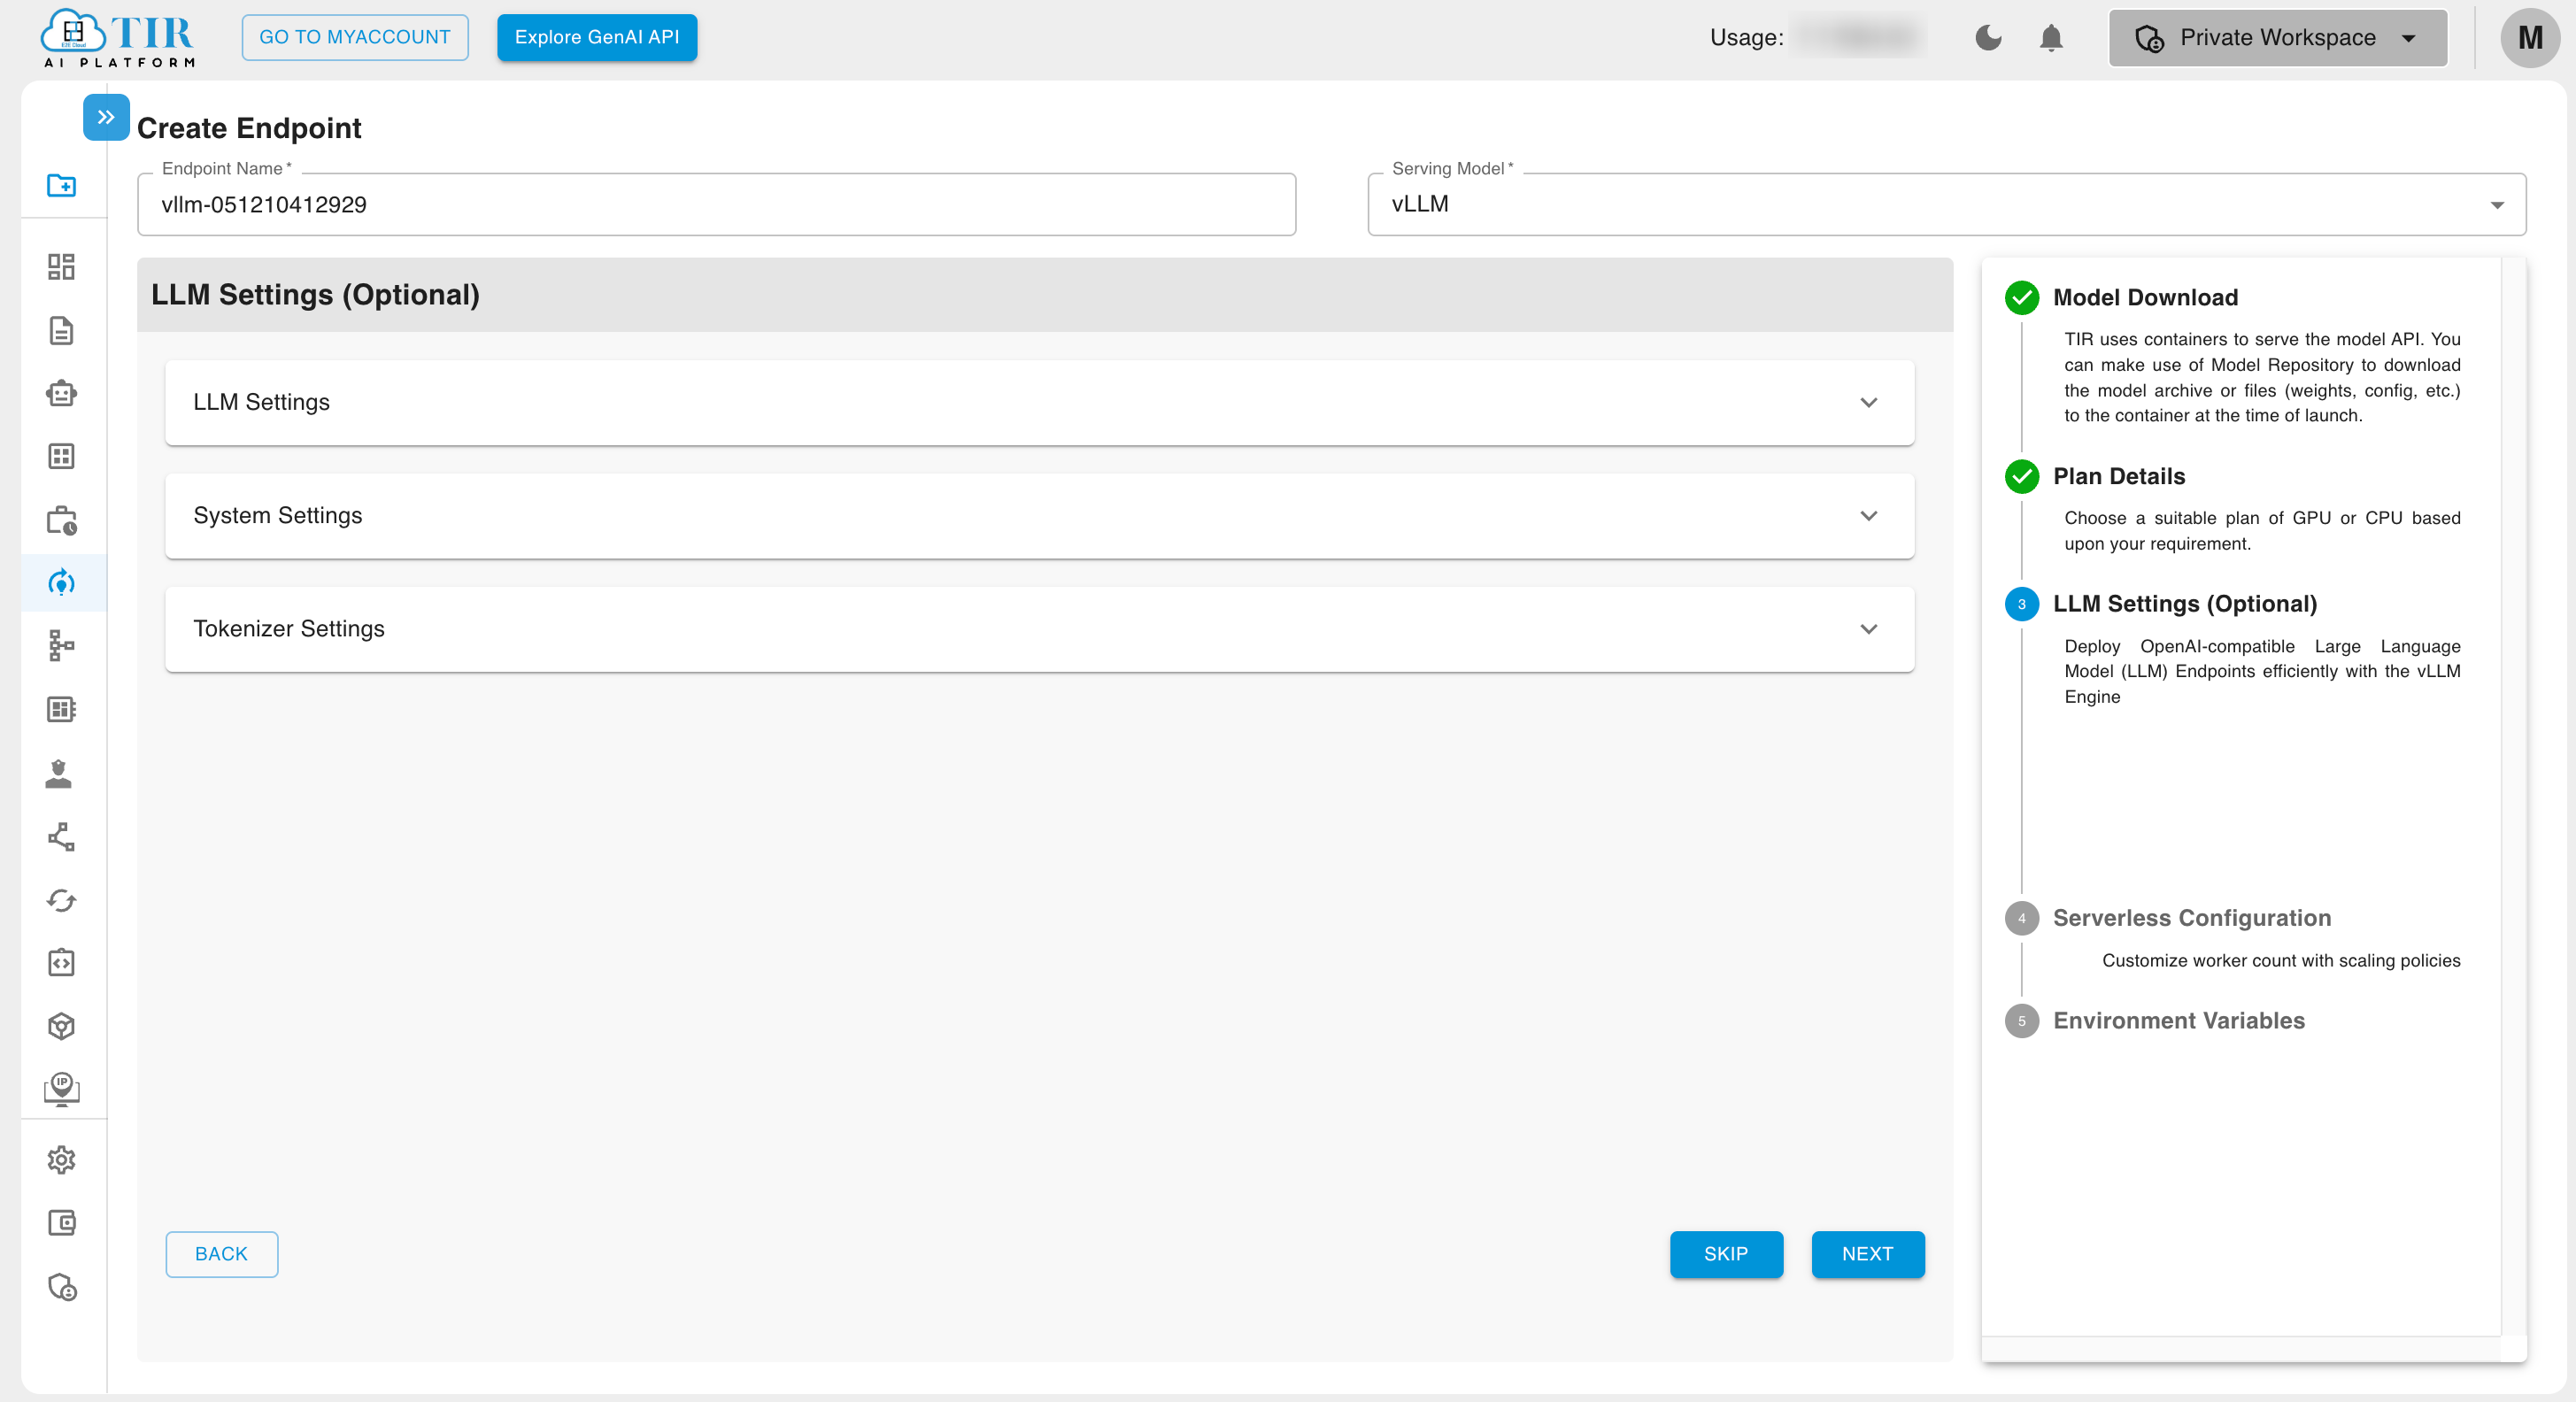
LLM Settings(Optional)
LLM settings encompass various configurations that define the model's behavior, efficiency, and performance during inference. These settings are categorized into three key areas: LLM Settings, Tokenizer Settings, and System Settings, each playing a crucial role in optimizing the model's output and deployment.
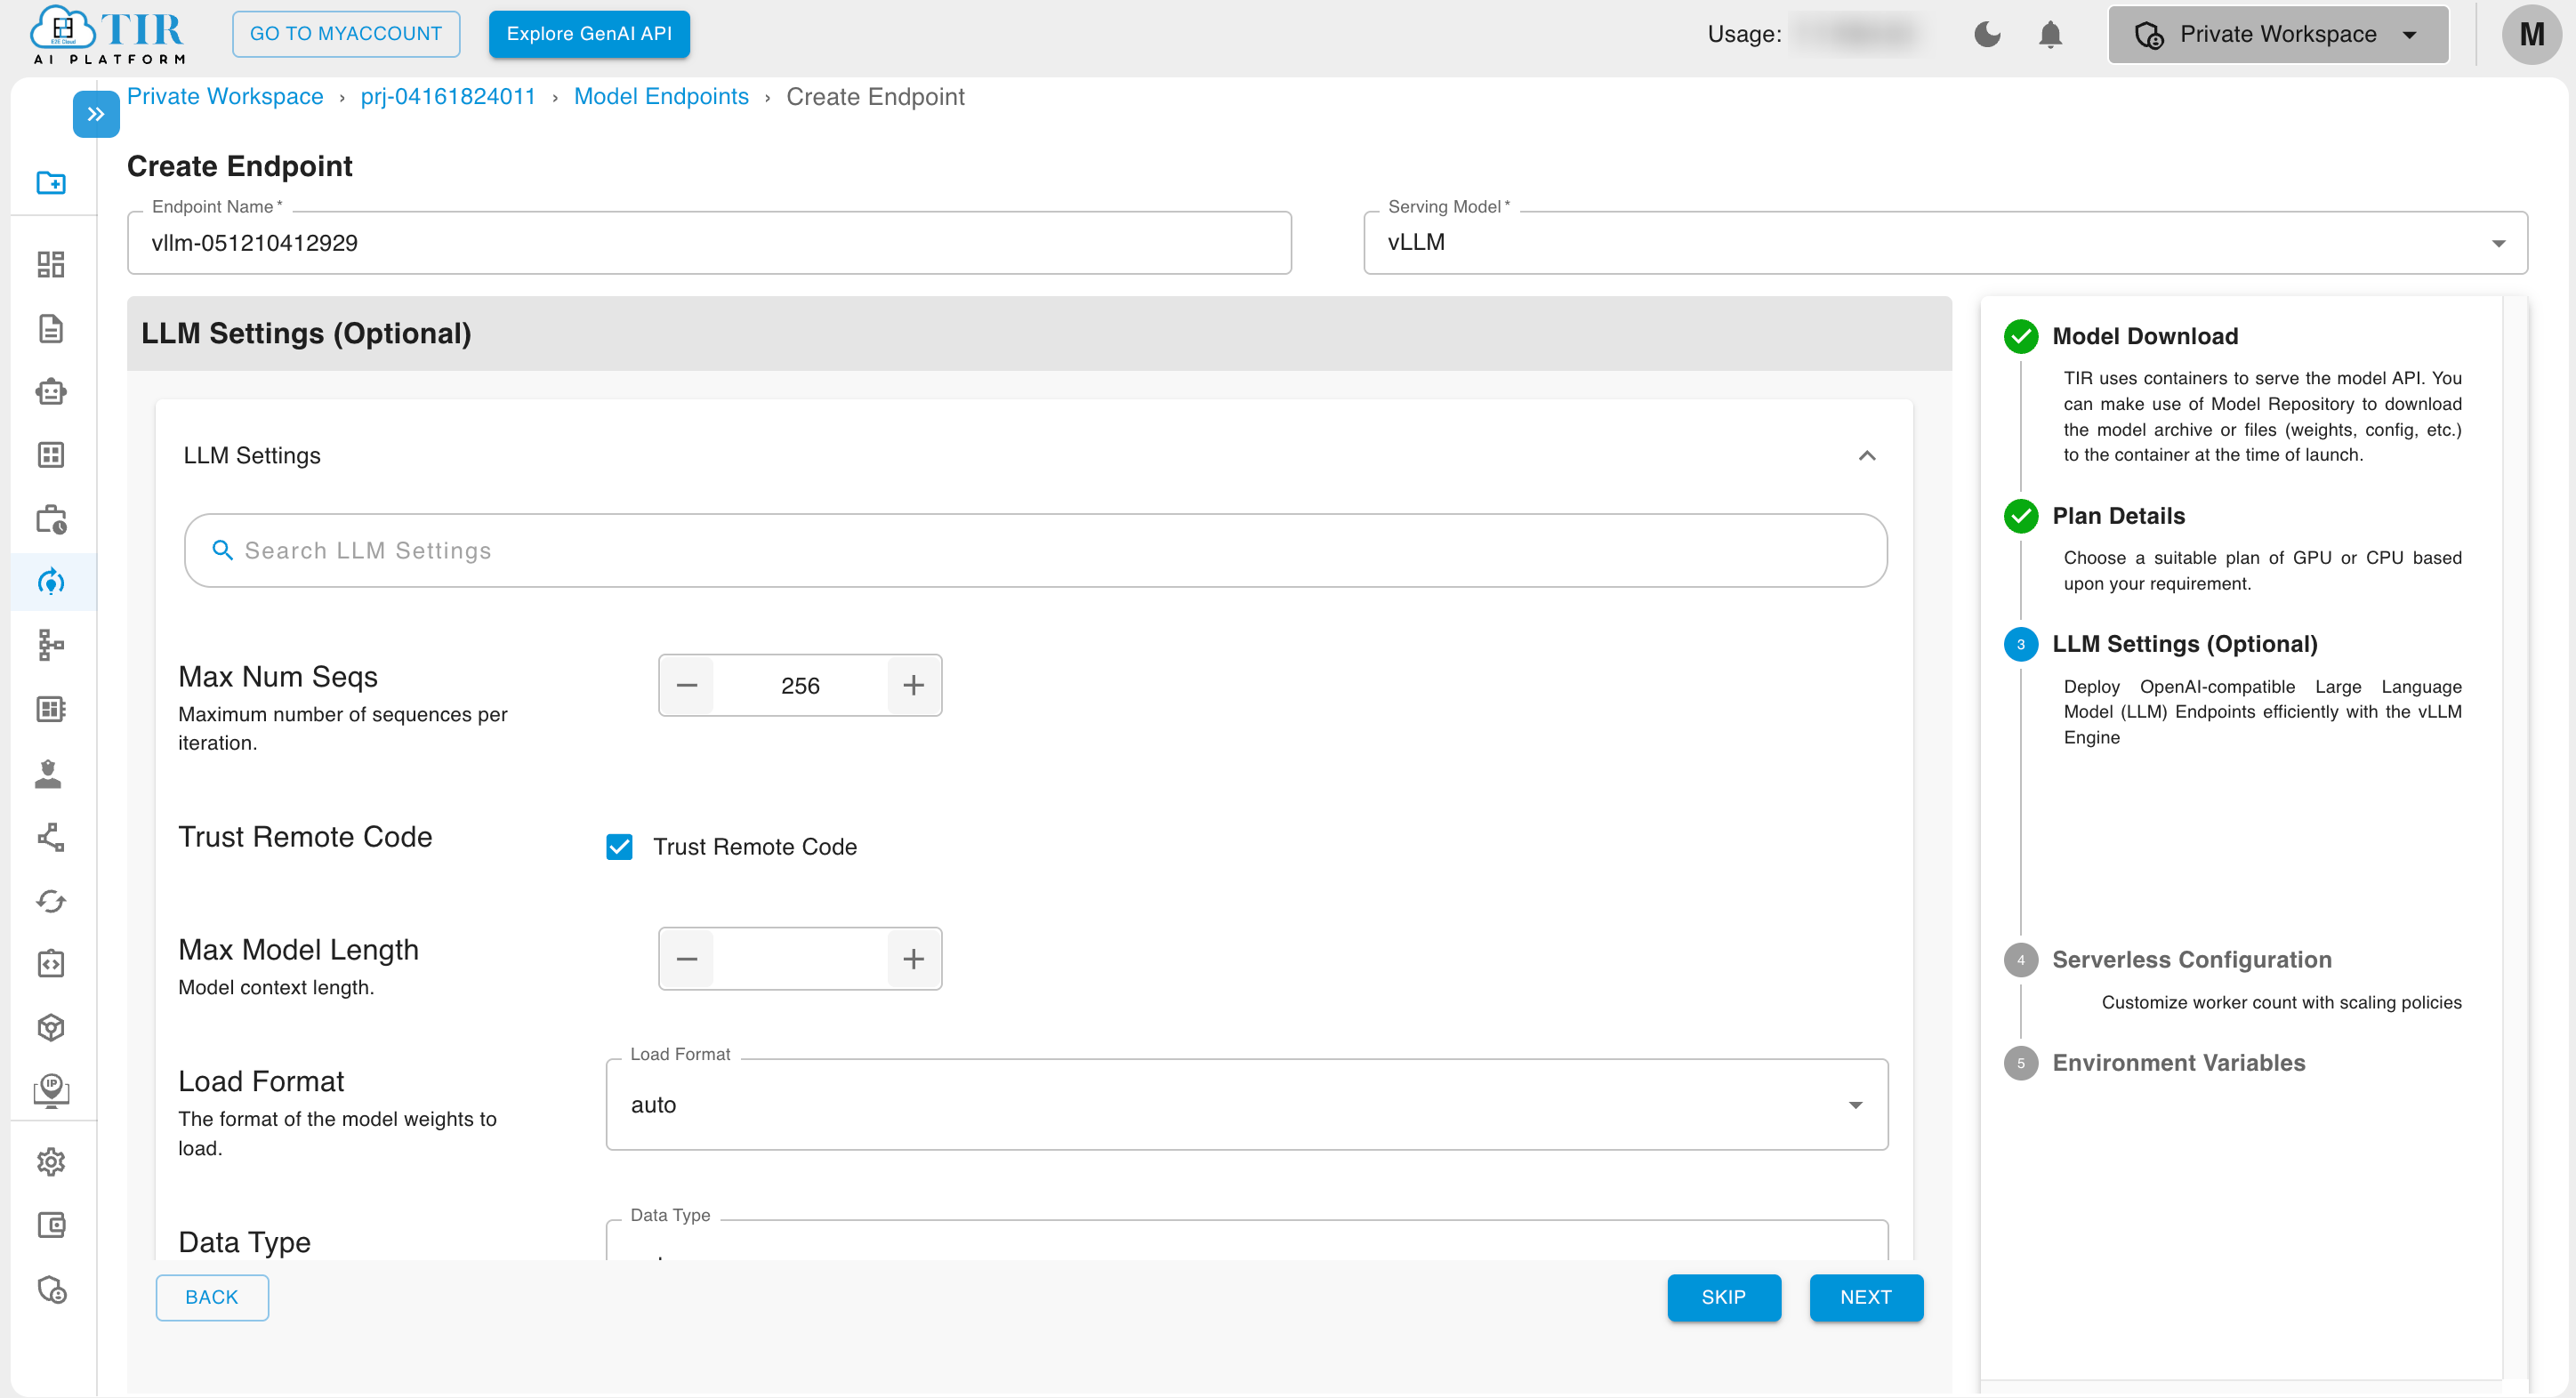
LLM Settings
LLM settings define the behavior, accuracy, and efficiency of a large language model during inference. Key parameters include Load Format (auto, pt, safetensors, etc.), Data Type (auto, float16, etc.), KV Cache Data Type, Quantization, and many more. Optimizing these settings ensures precise and contextually relevant outputs.
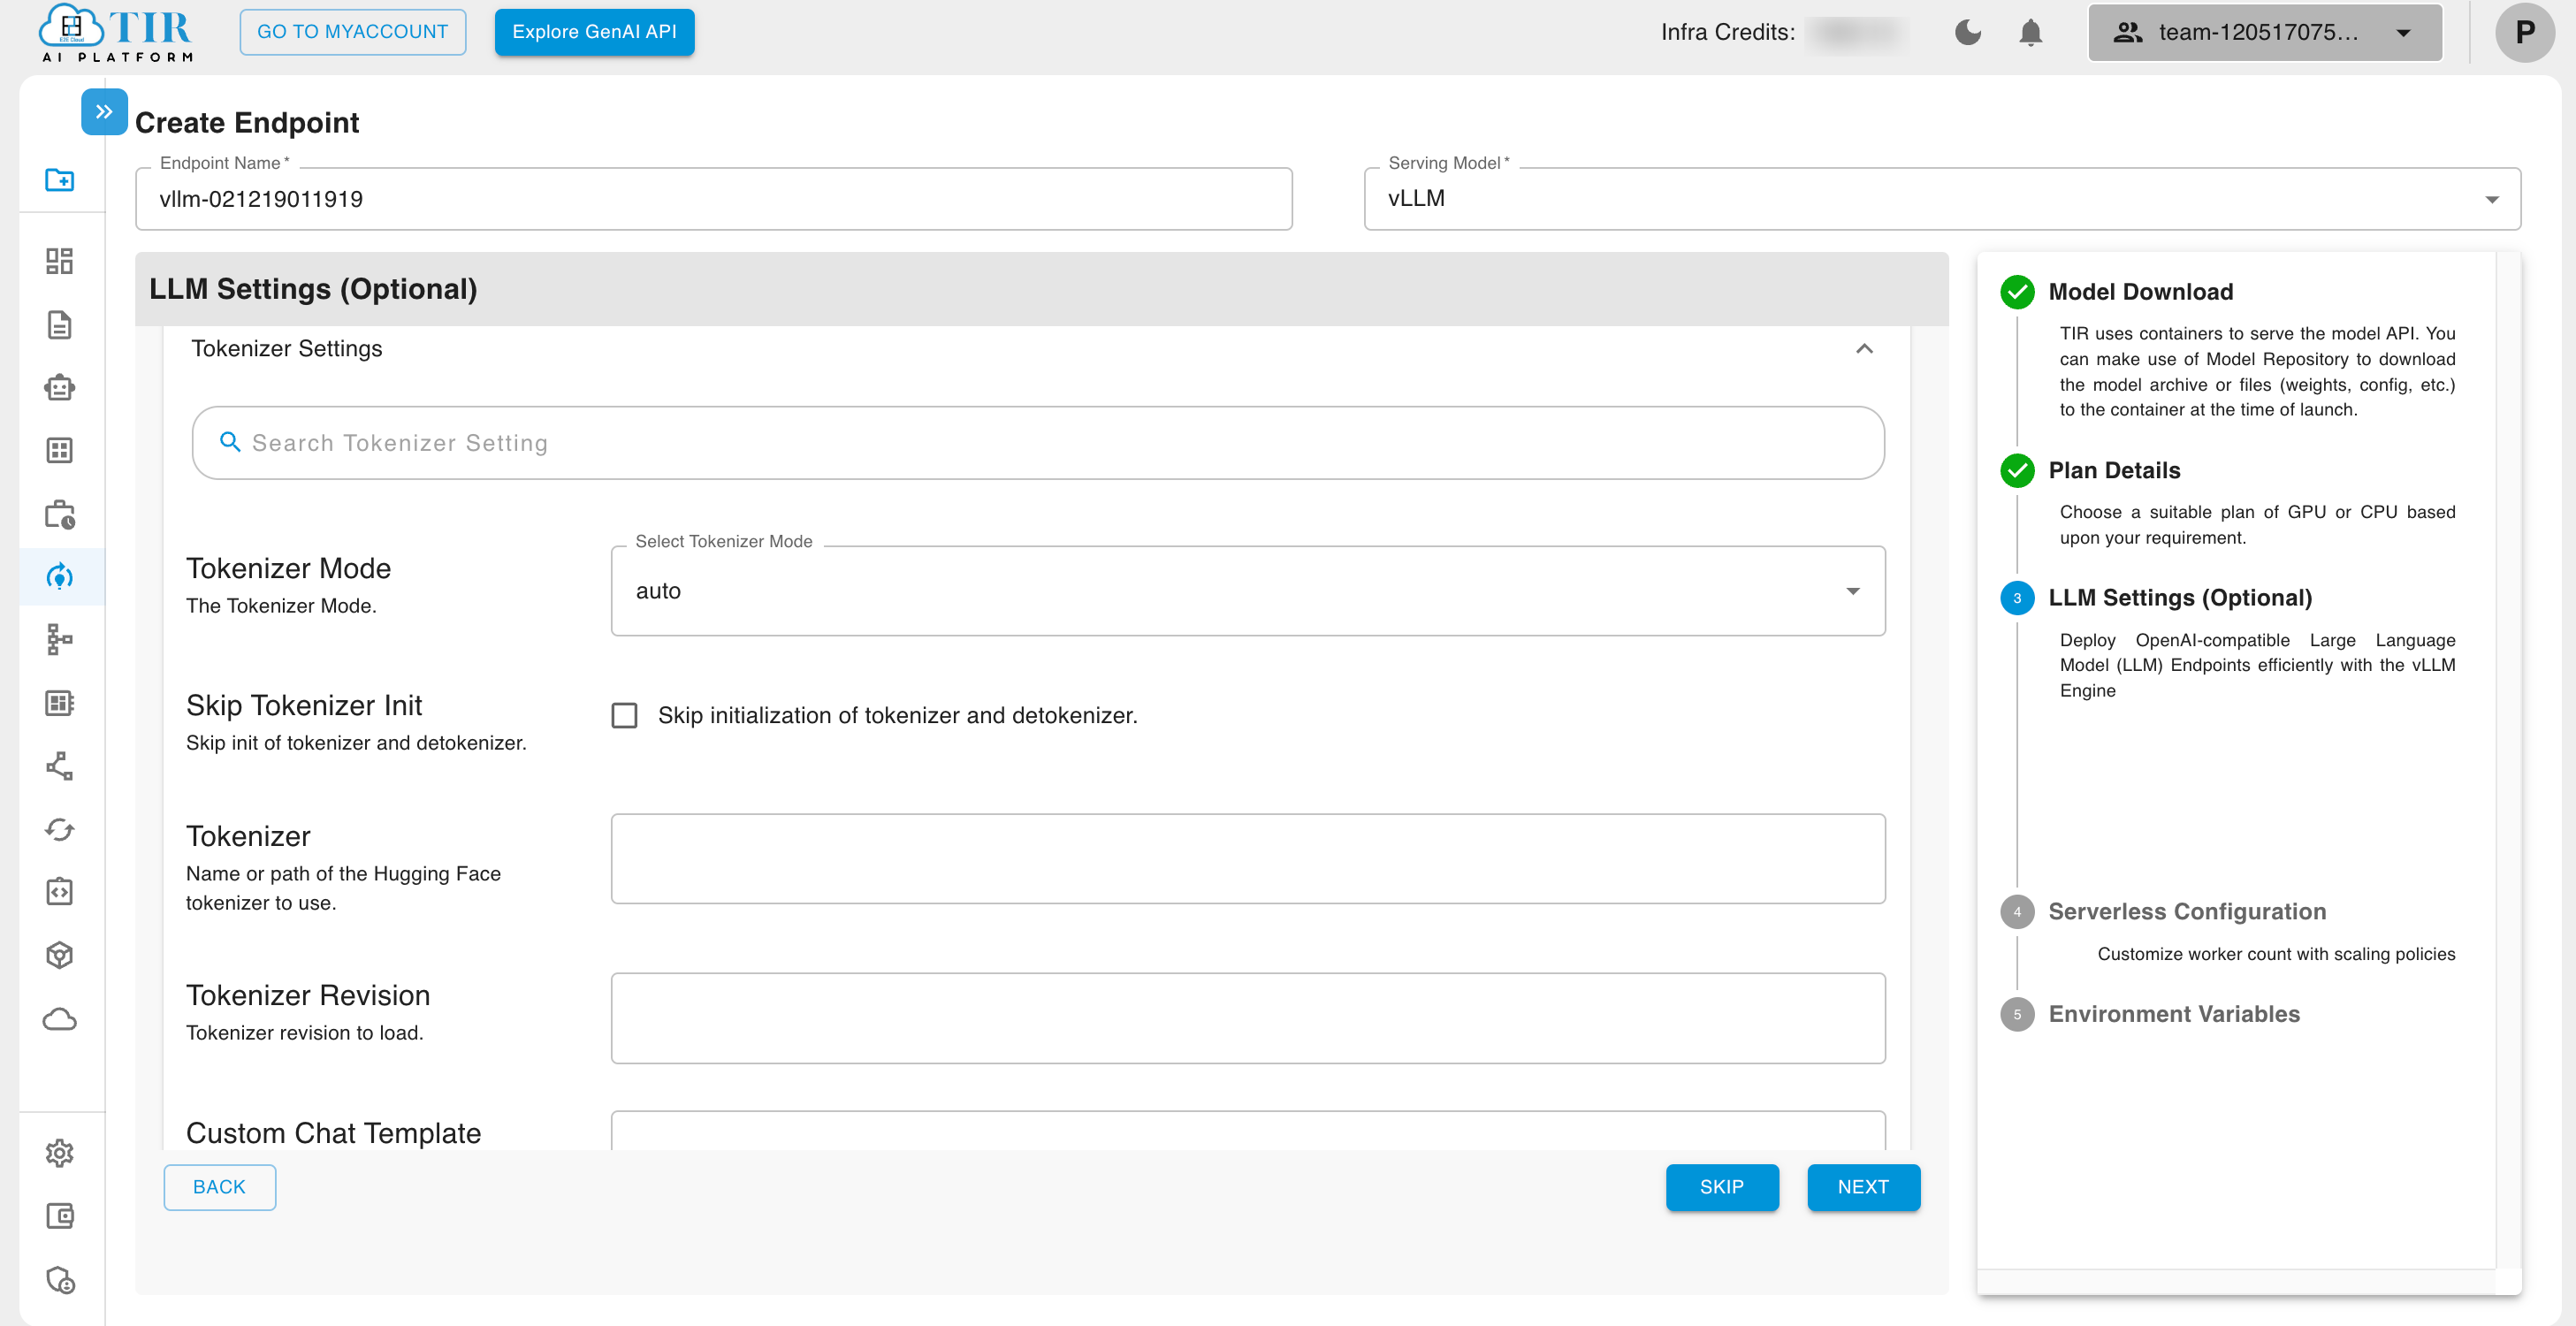
Tokenizer Settings
Tokenizer settings determine how text is split into tokens, impacting model efficiency and comprehension. Parameters such as Tokenizer, Tokenizer Revision, and Custom Chat Template influence how input text is processed and interpreted before inference.
System Settings
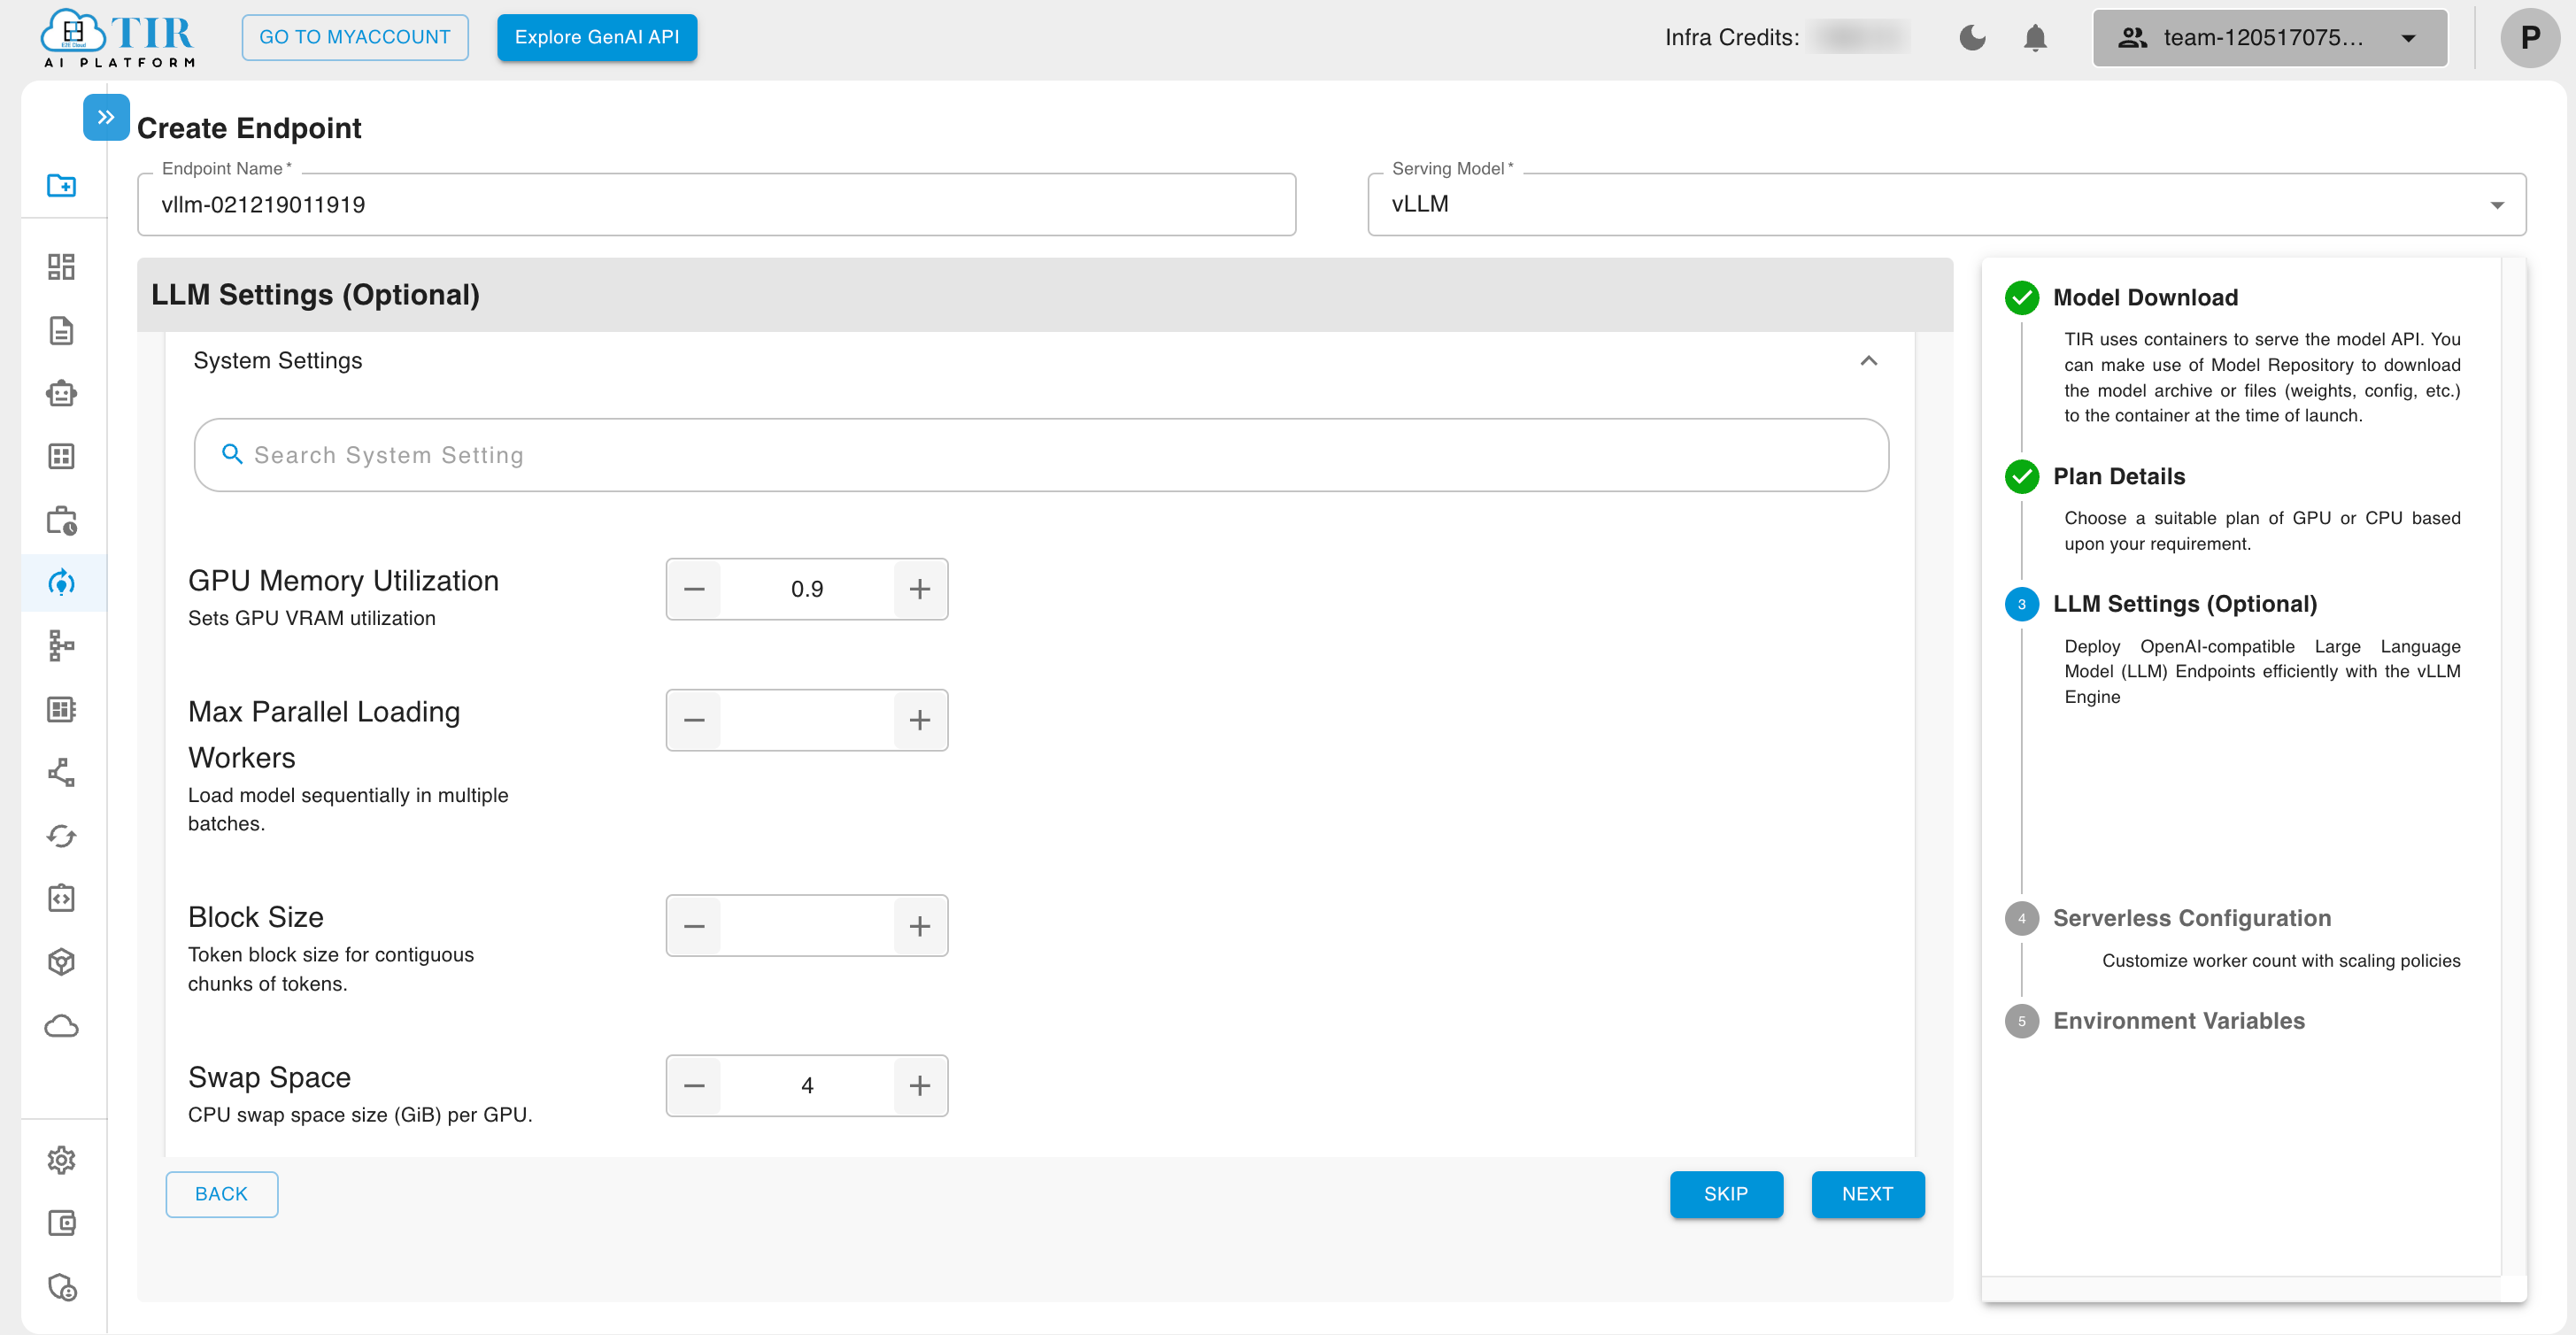
System settings manage the hardware and computational aspects of LLM deployment. These include GPU utilization, Max Parallel Loading Workers, Block Size, and Swap Space to maximize performance and cost efficiency.
Serverless Configuration
For Hourly Billed Inference, it's possible to set the Active Workers to 0. You can set the number of Active Workers to any value from 0 up to the max workers. When there are no incoming requests, the number of active workers automatically reduces to 0, ensuring that no billing is incurred for that period.
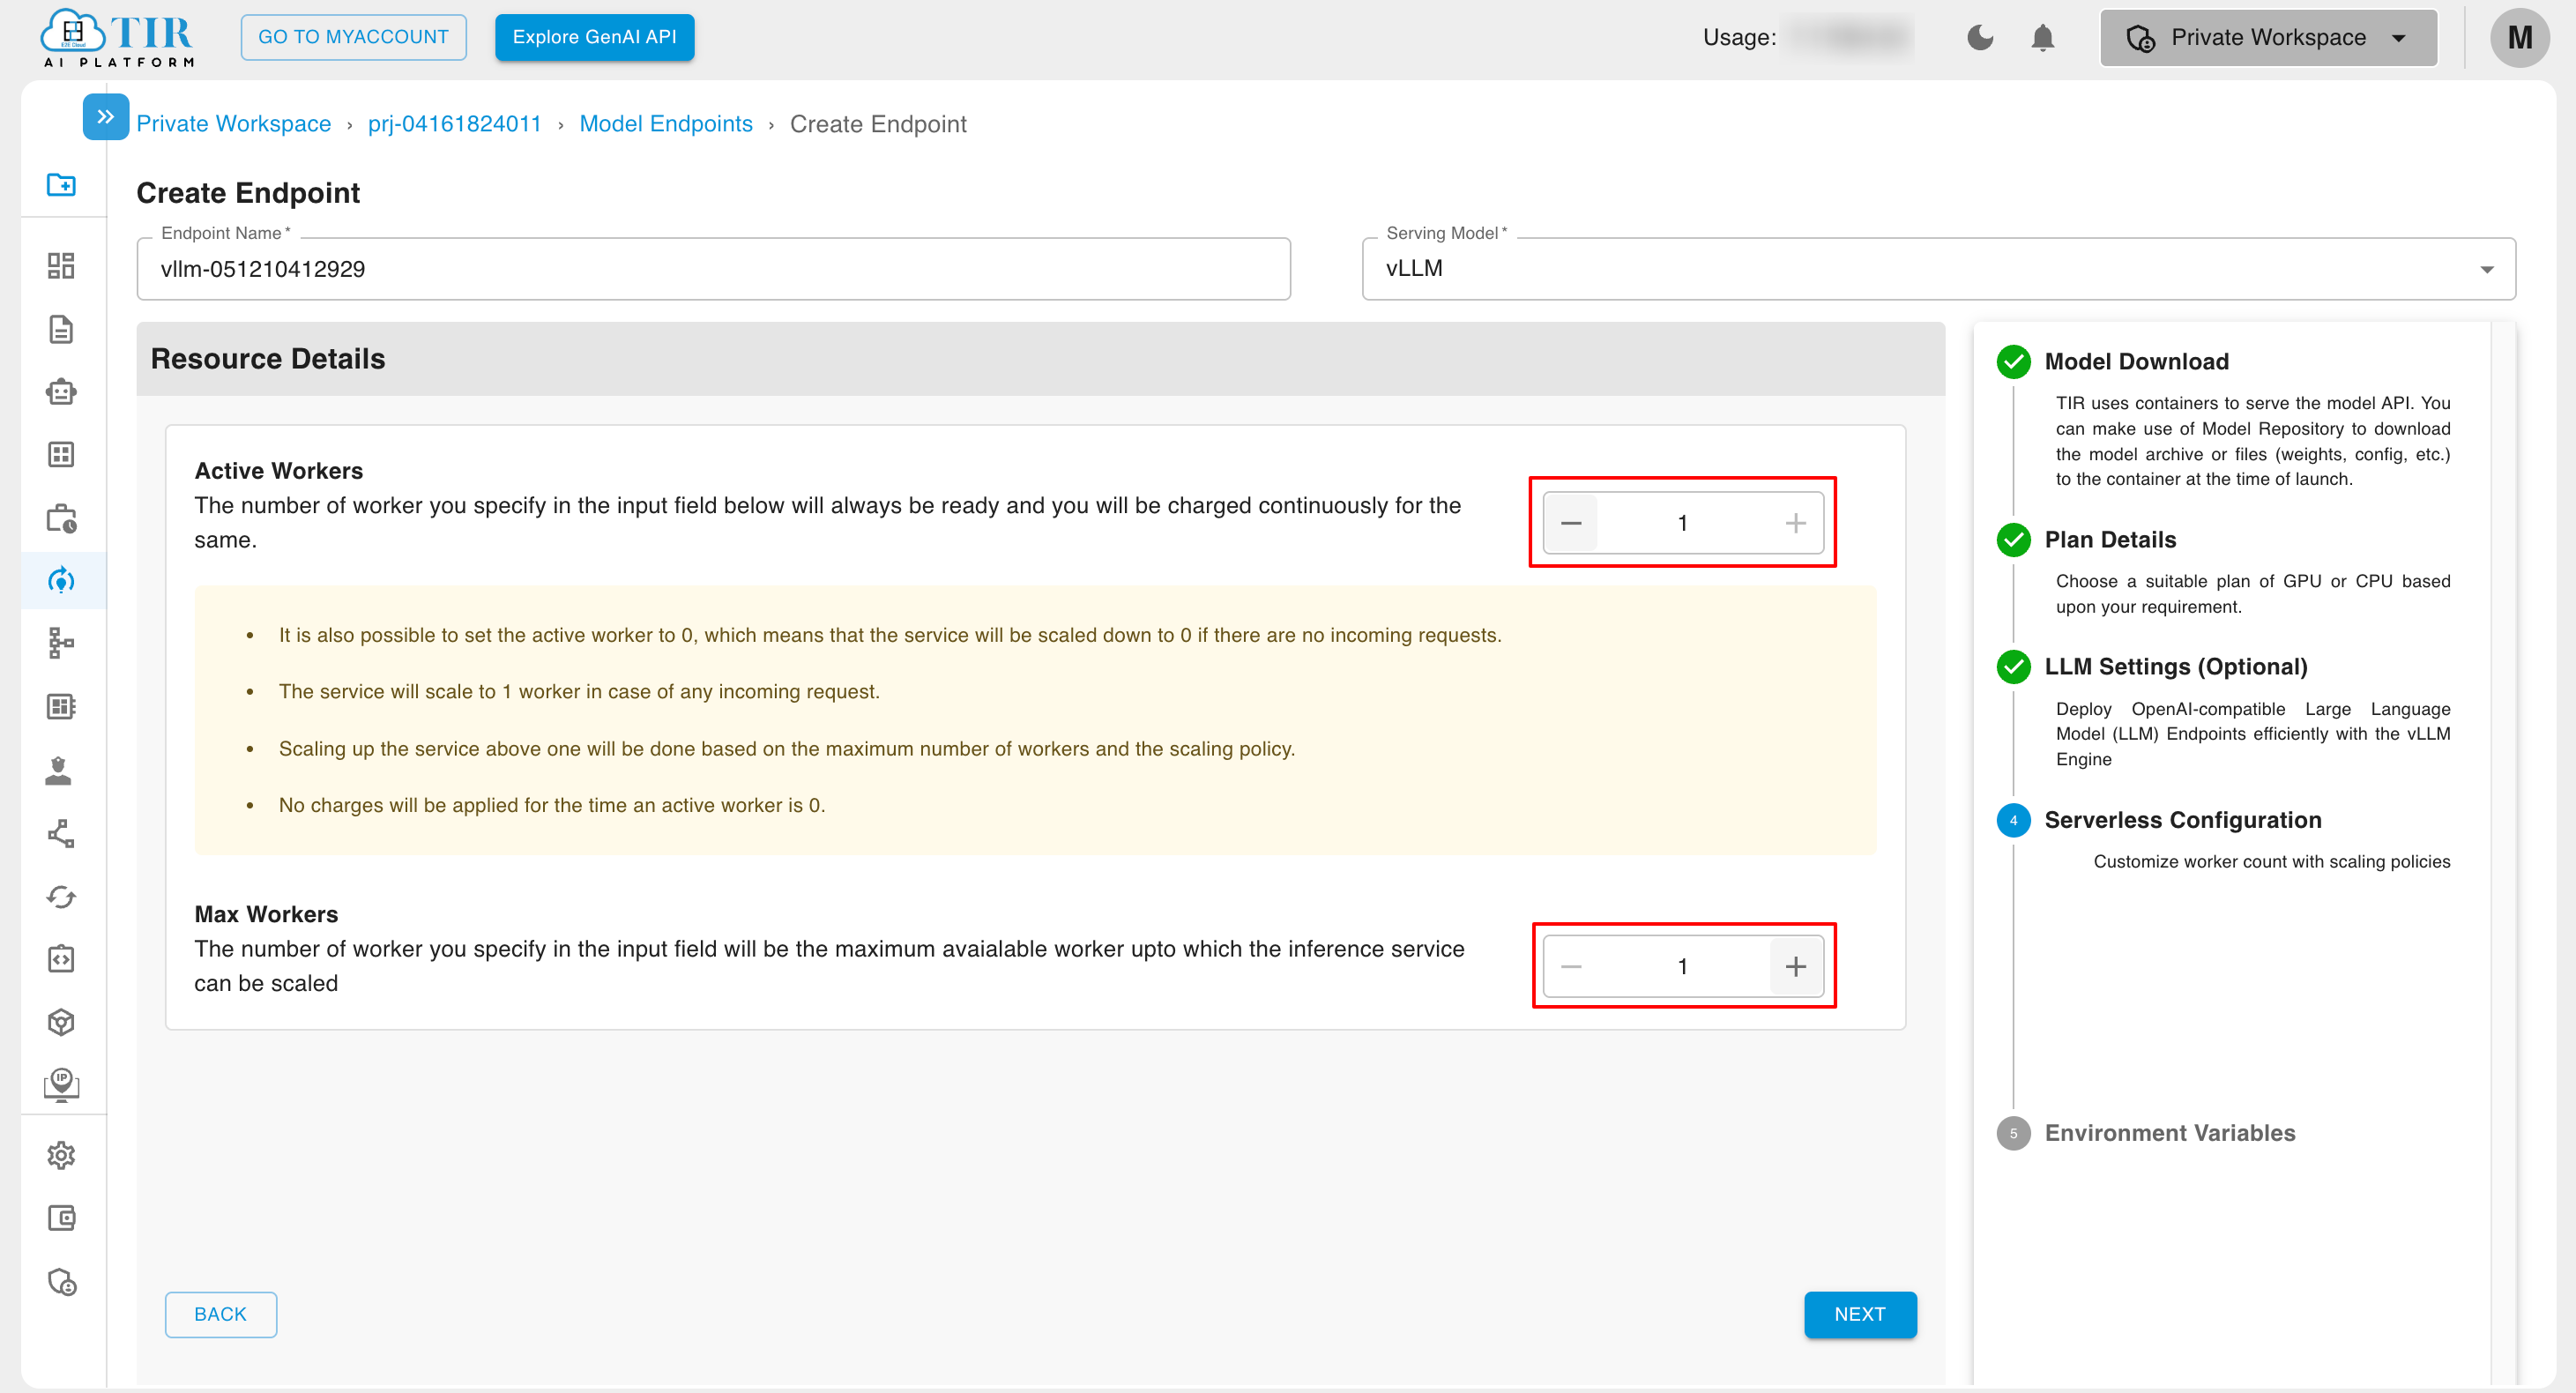
For Committed Inference, the Active Workers cannot be set to 0, and the number of active workers must always remain greater than 0, ensuring the committed nature of Inference. You can set the number of Active Workers to any value from 1 up to the max workers.
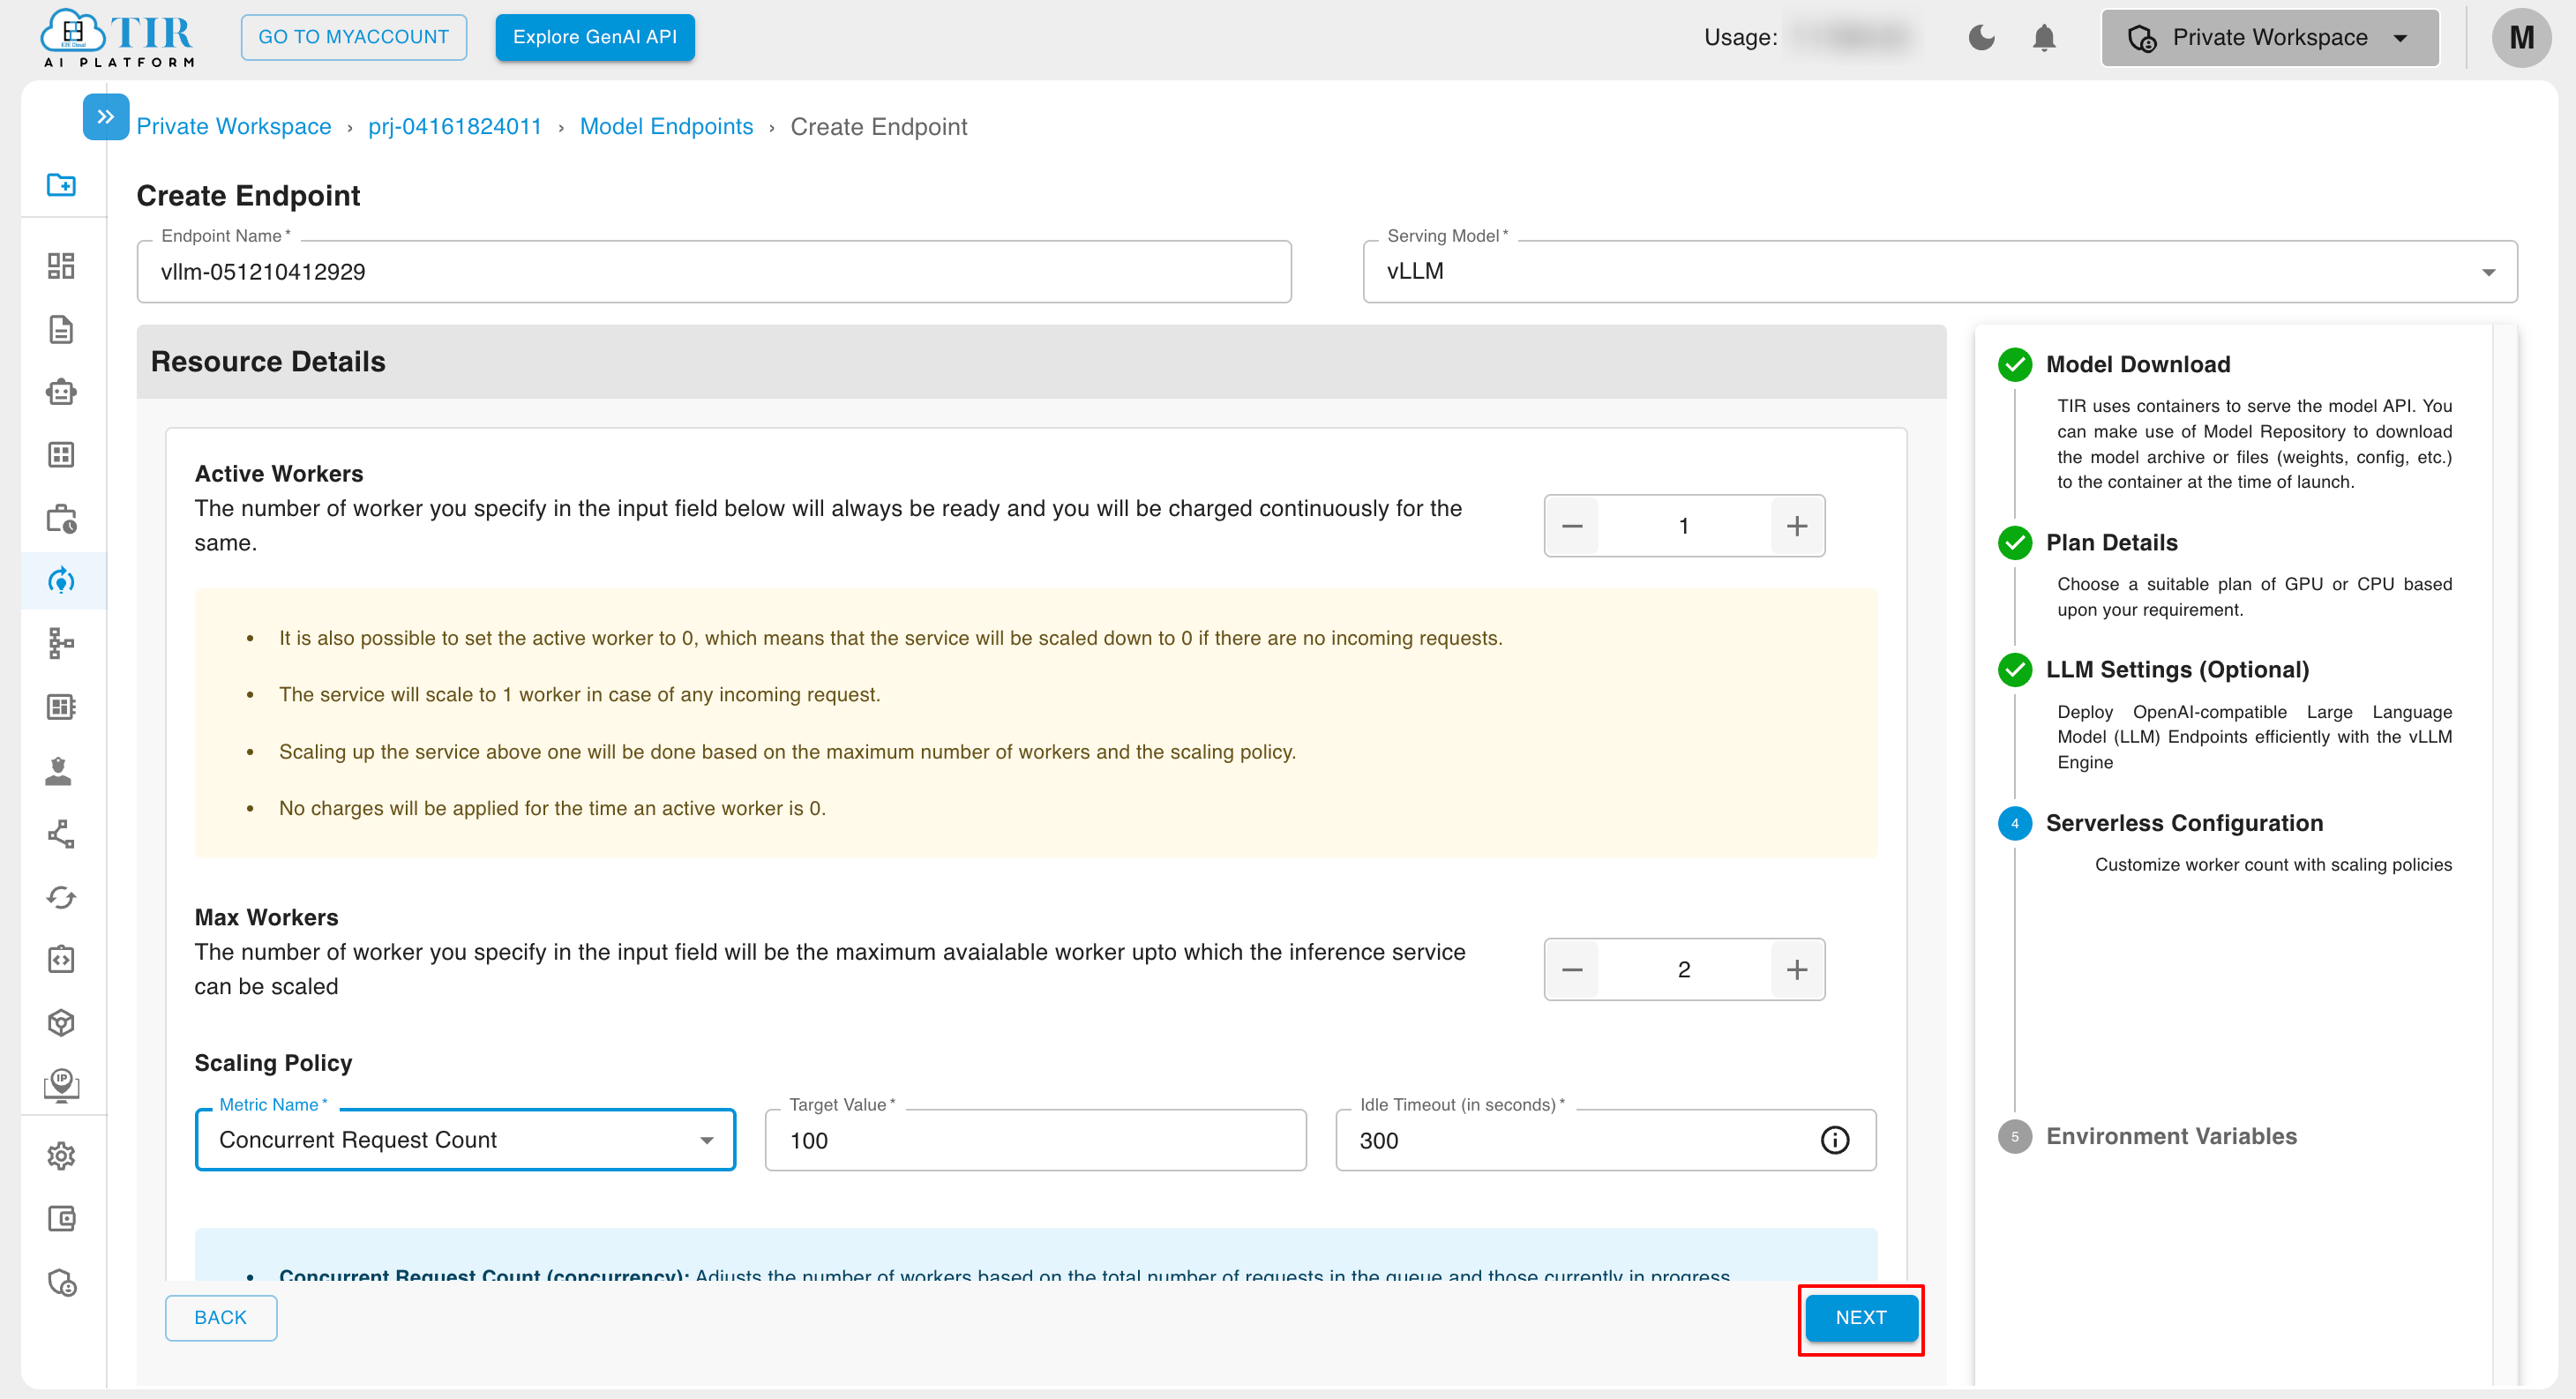
All additional inferences, which are added automatically due to the autoscaling feature, will be charged at an hourly billing rate. Similarly, if the Active Worker count is increased from a serverless configuration after the inference is created, those additional inferences will also be billed at the hourly rate.
Environment Variables
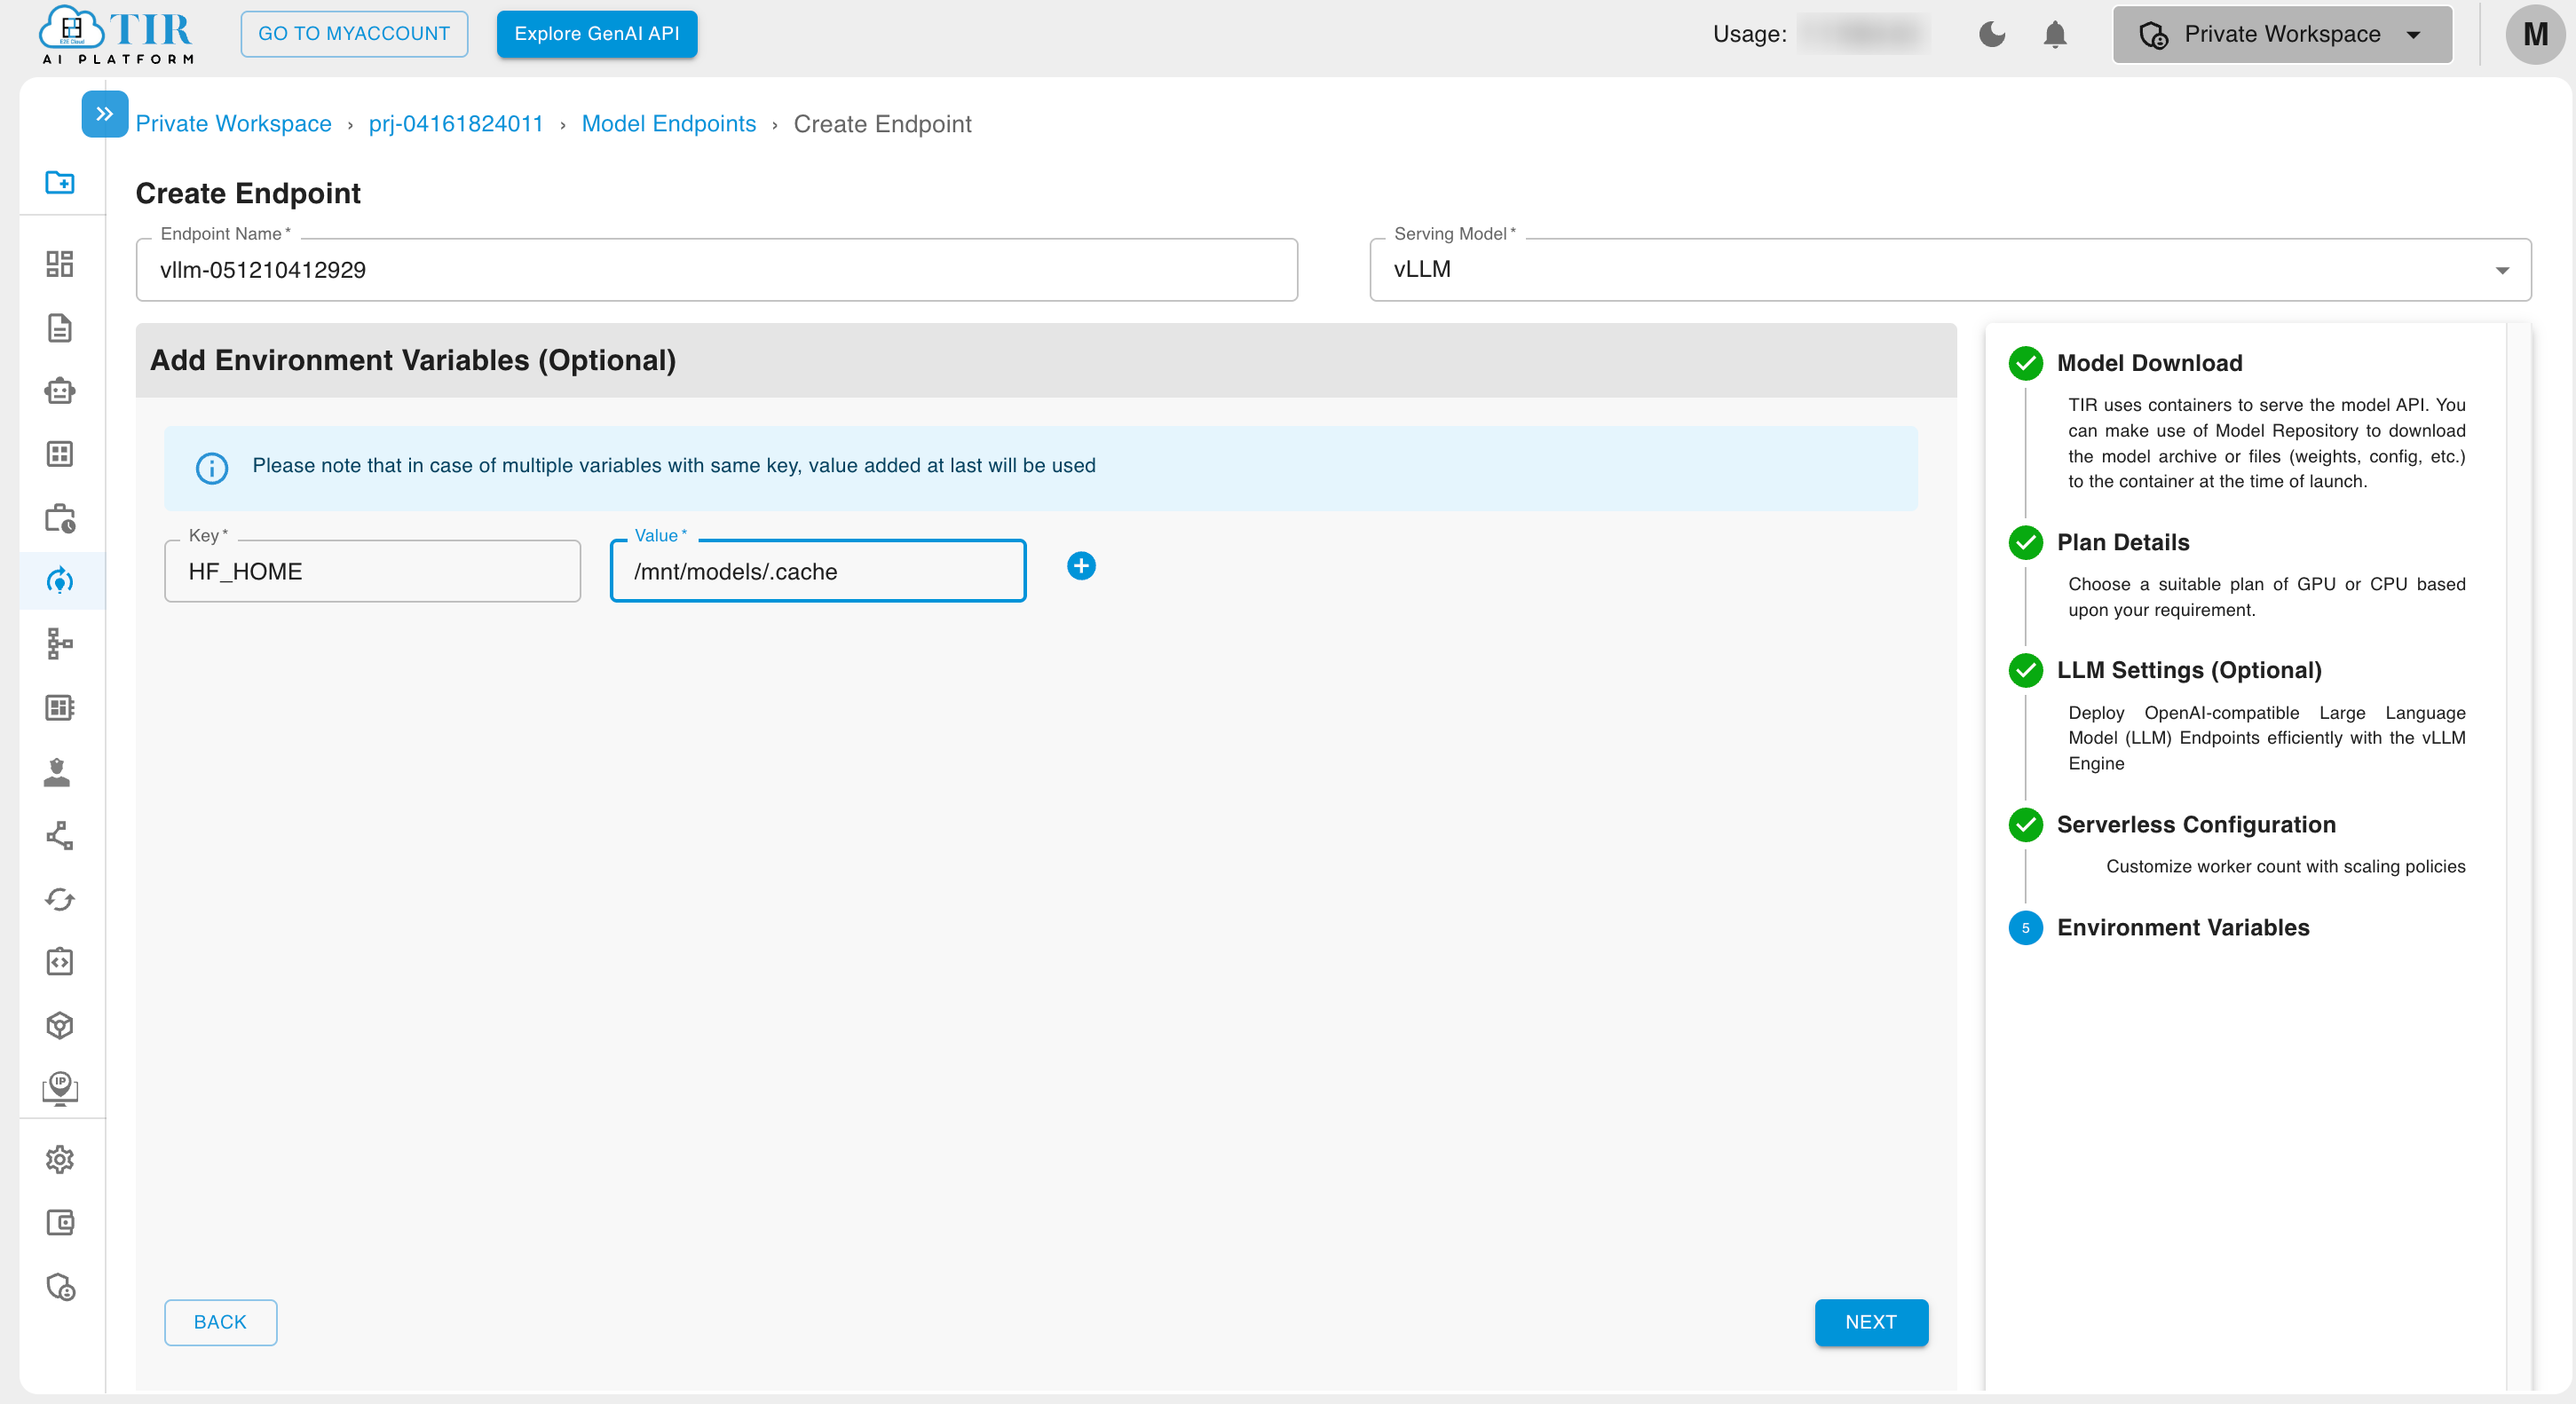
Add Variable
You can add a variable by clicking the ADD VARIABLE button.
Summary
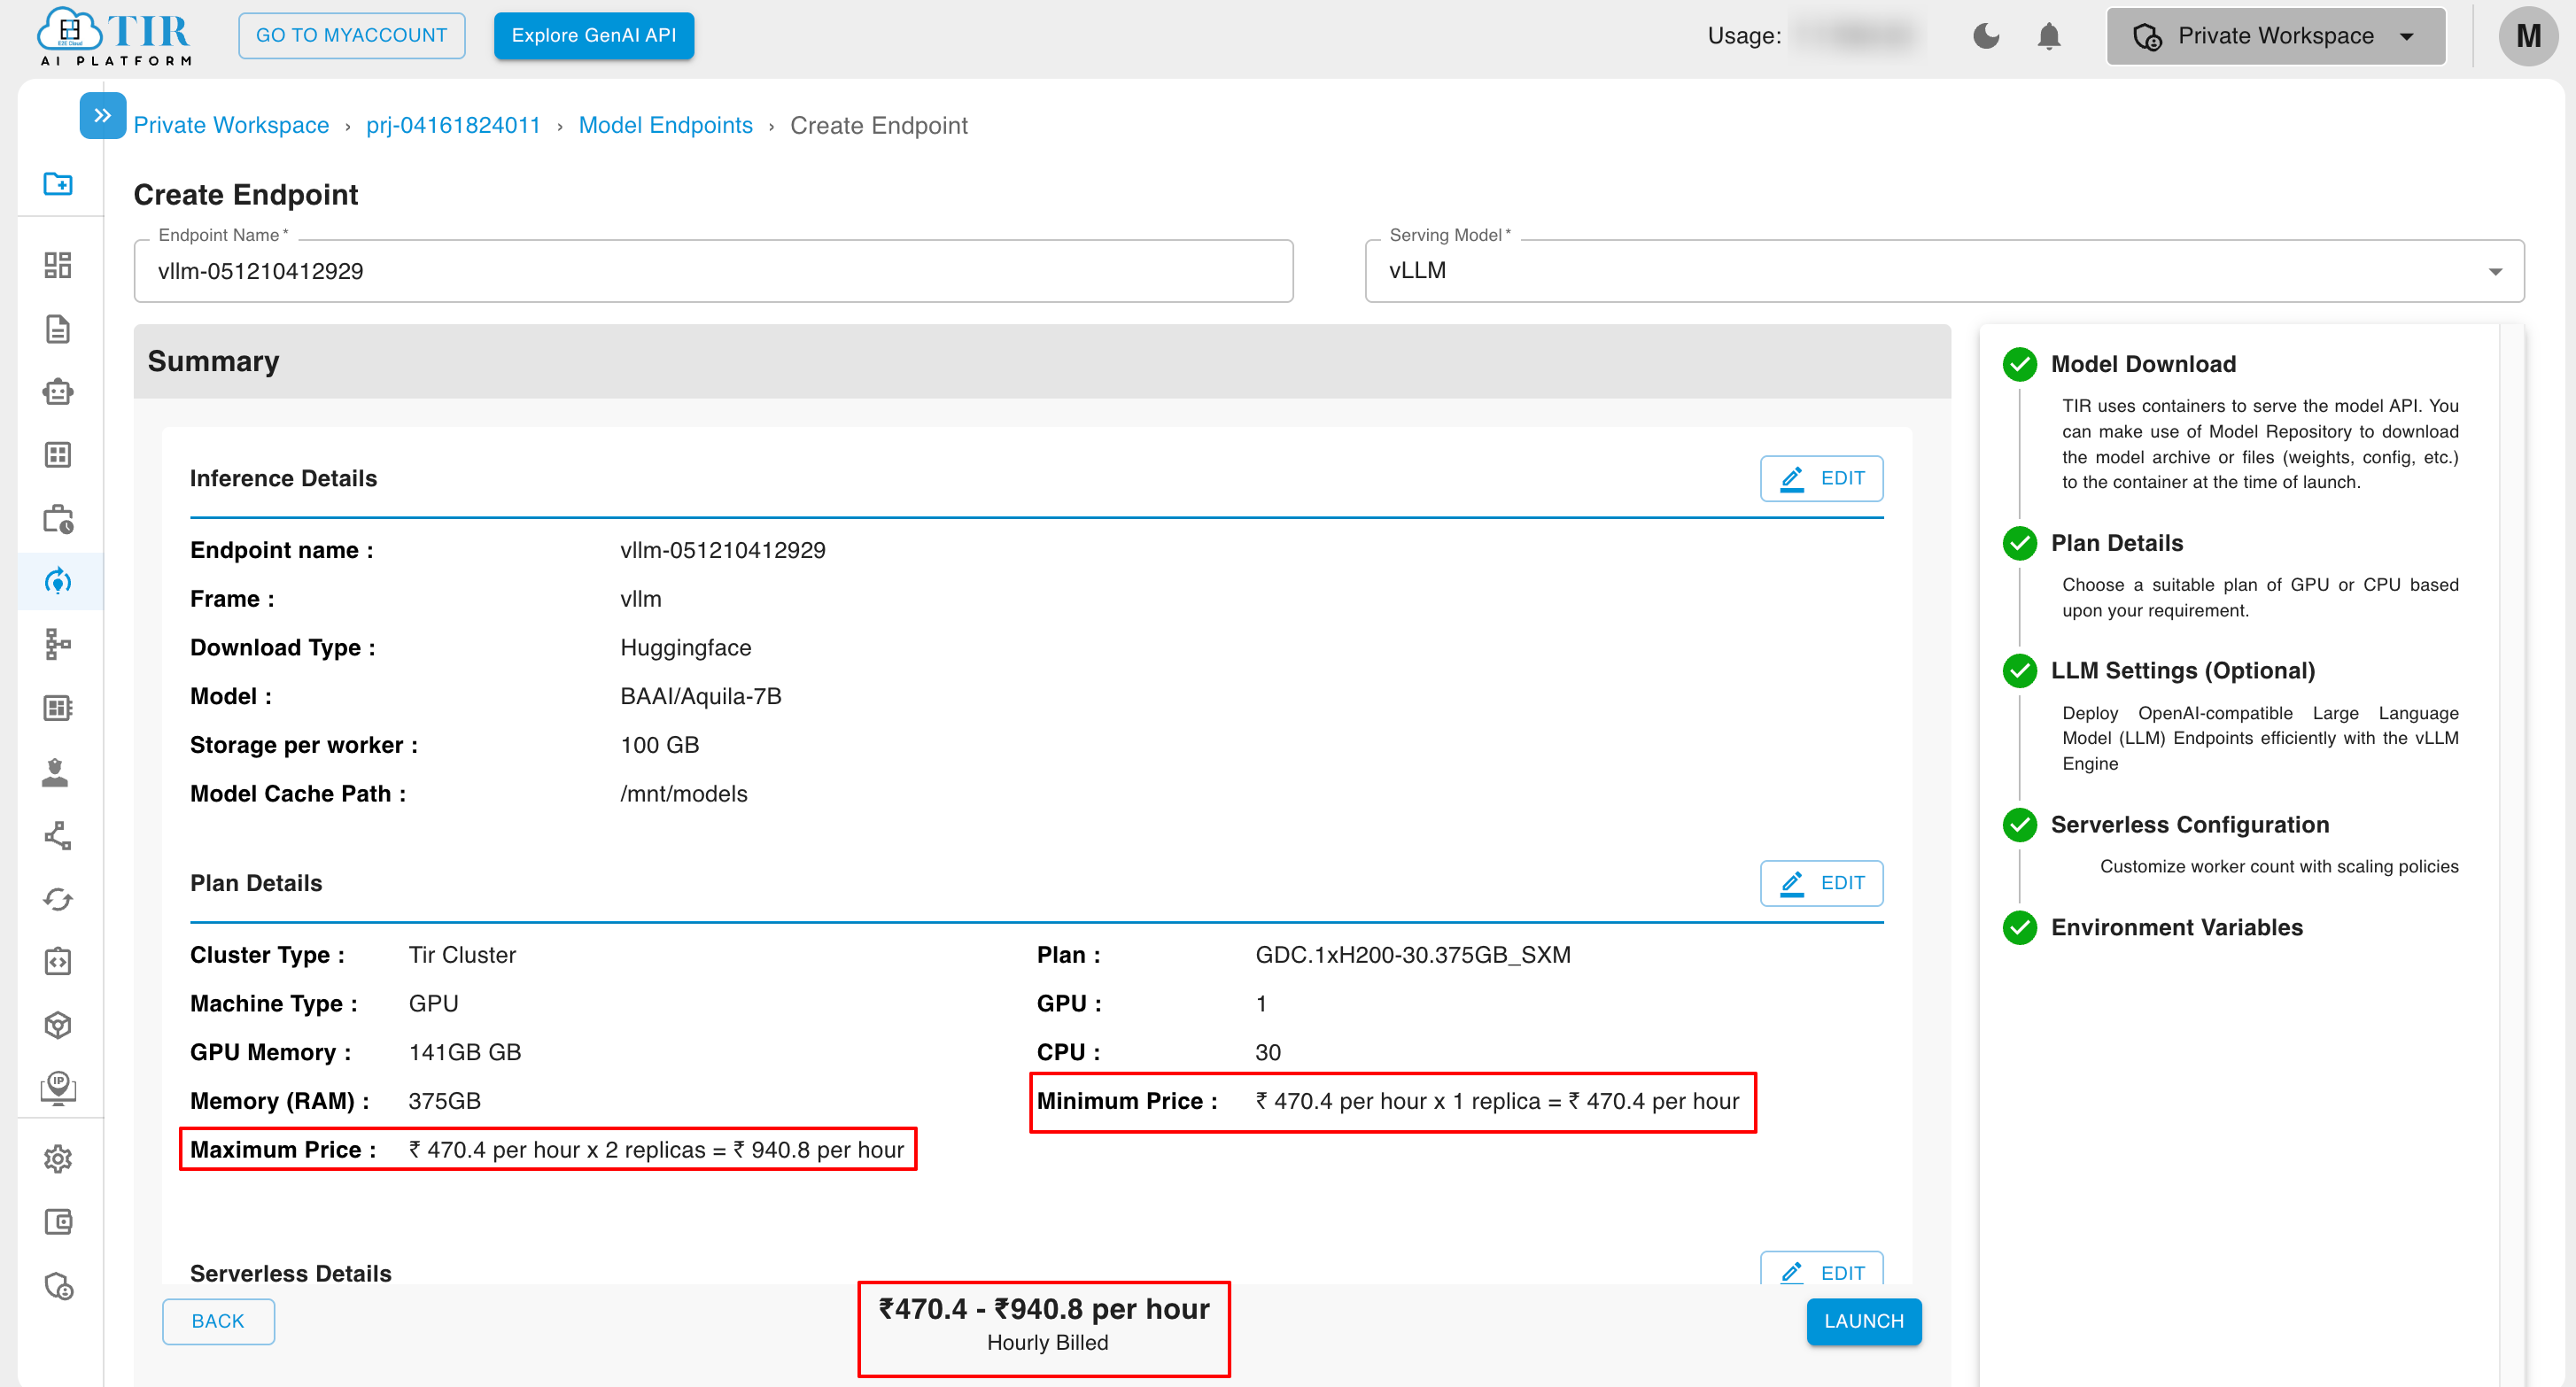
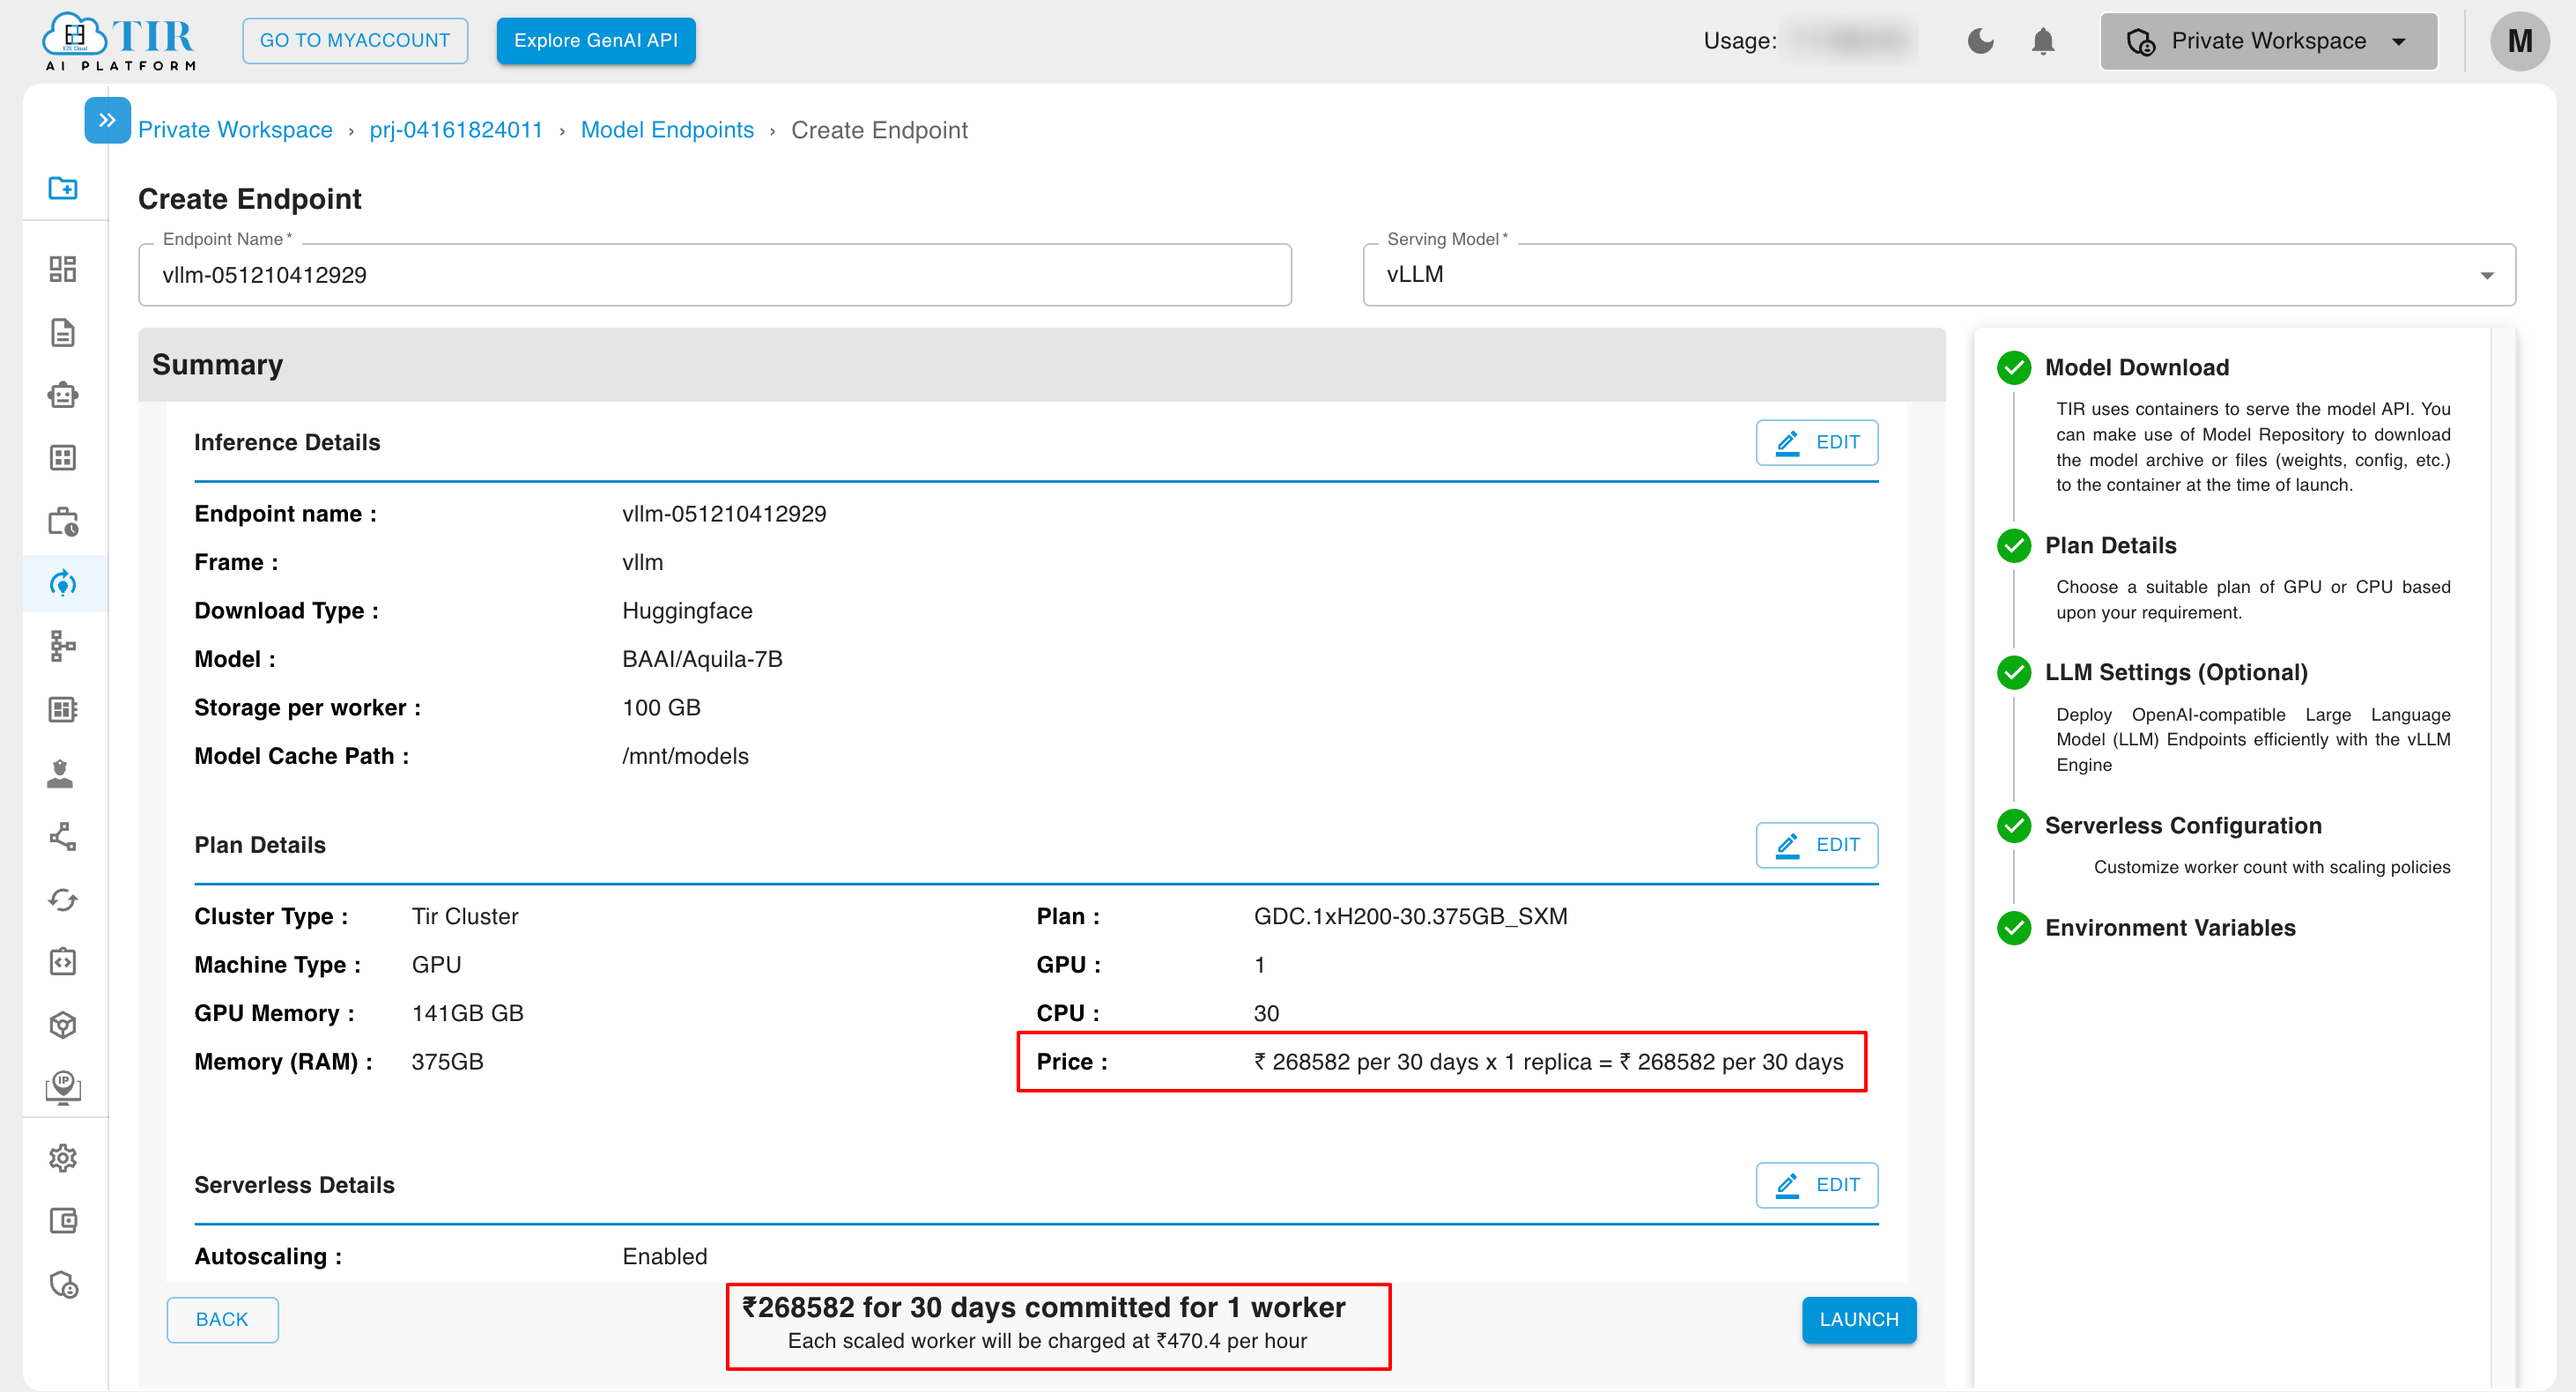
You can view the endpoint summary on the summary page, and if needed, modify any section of the inference creation process by clicking the edit button.
- In the case of Hourly Billed Inference with Active Worker not equal to Max Worker, the billing is shown as:
- In the case of Committed Inference with Active Worker not equal to Max Worker, the billing is shown as:
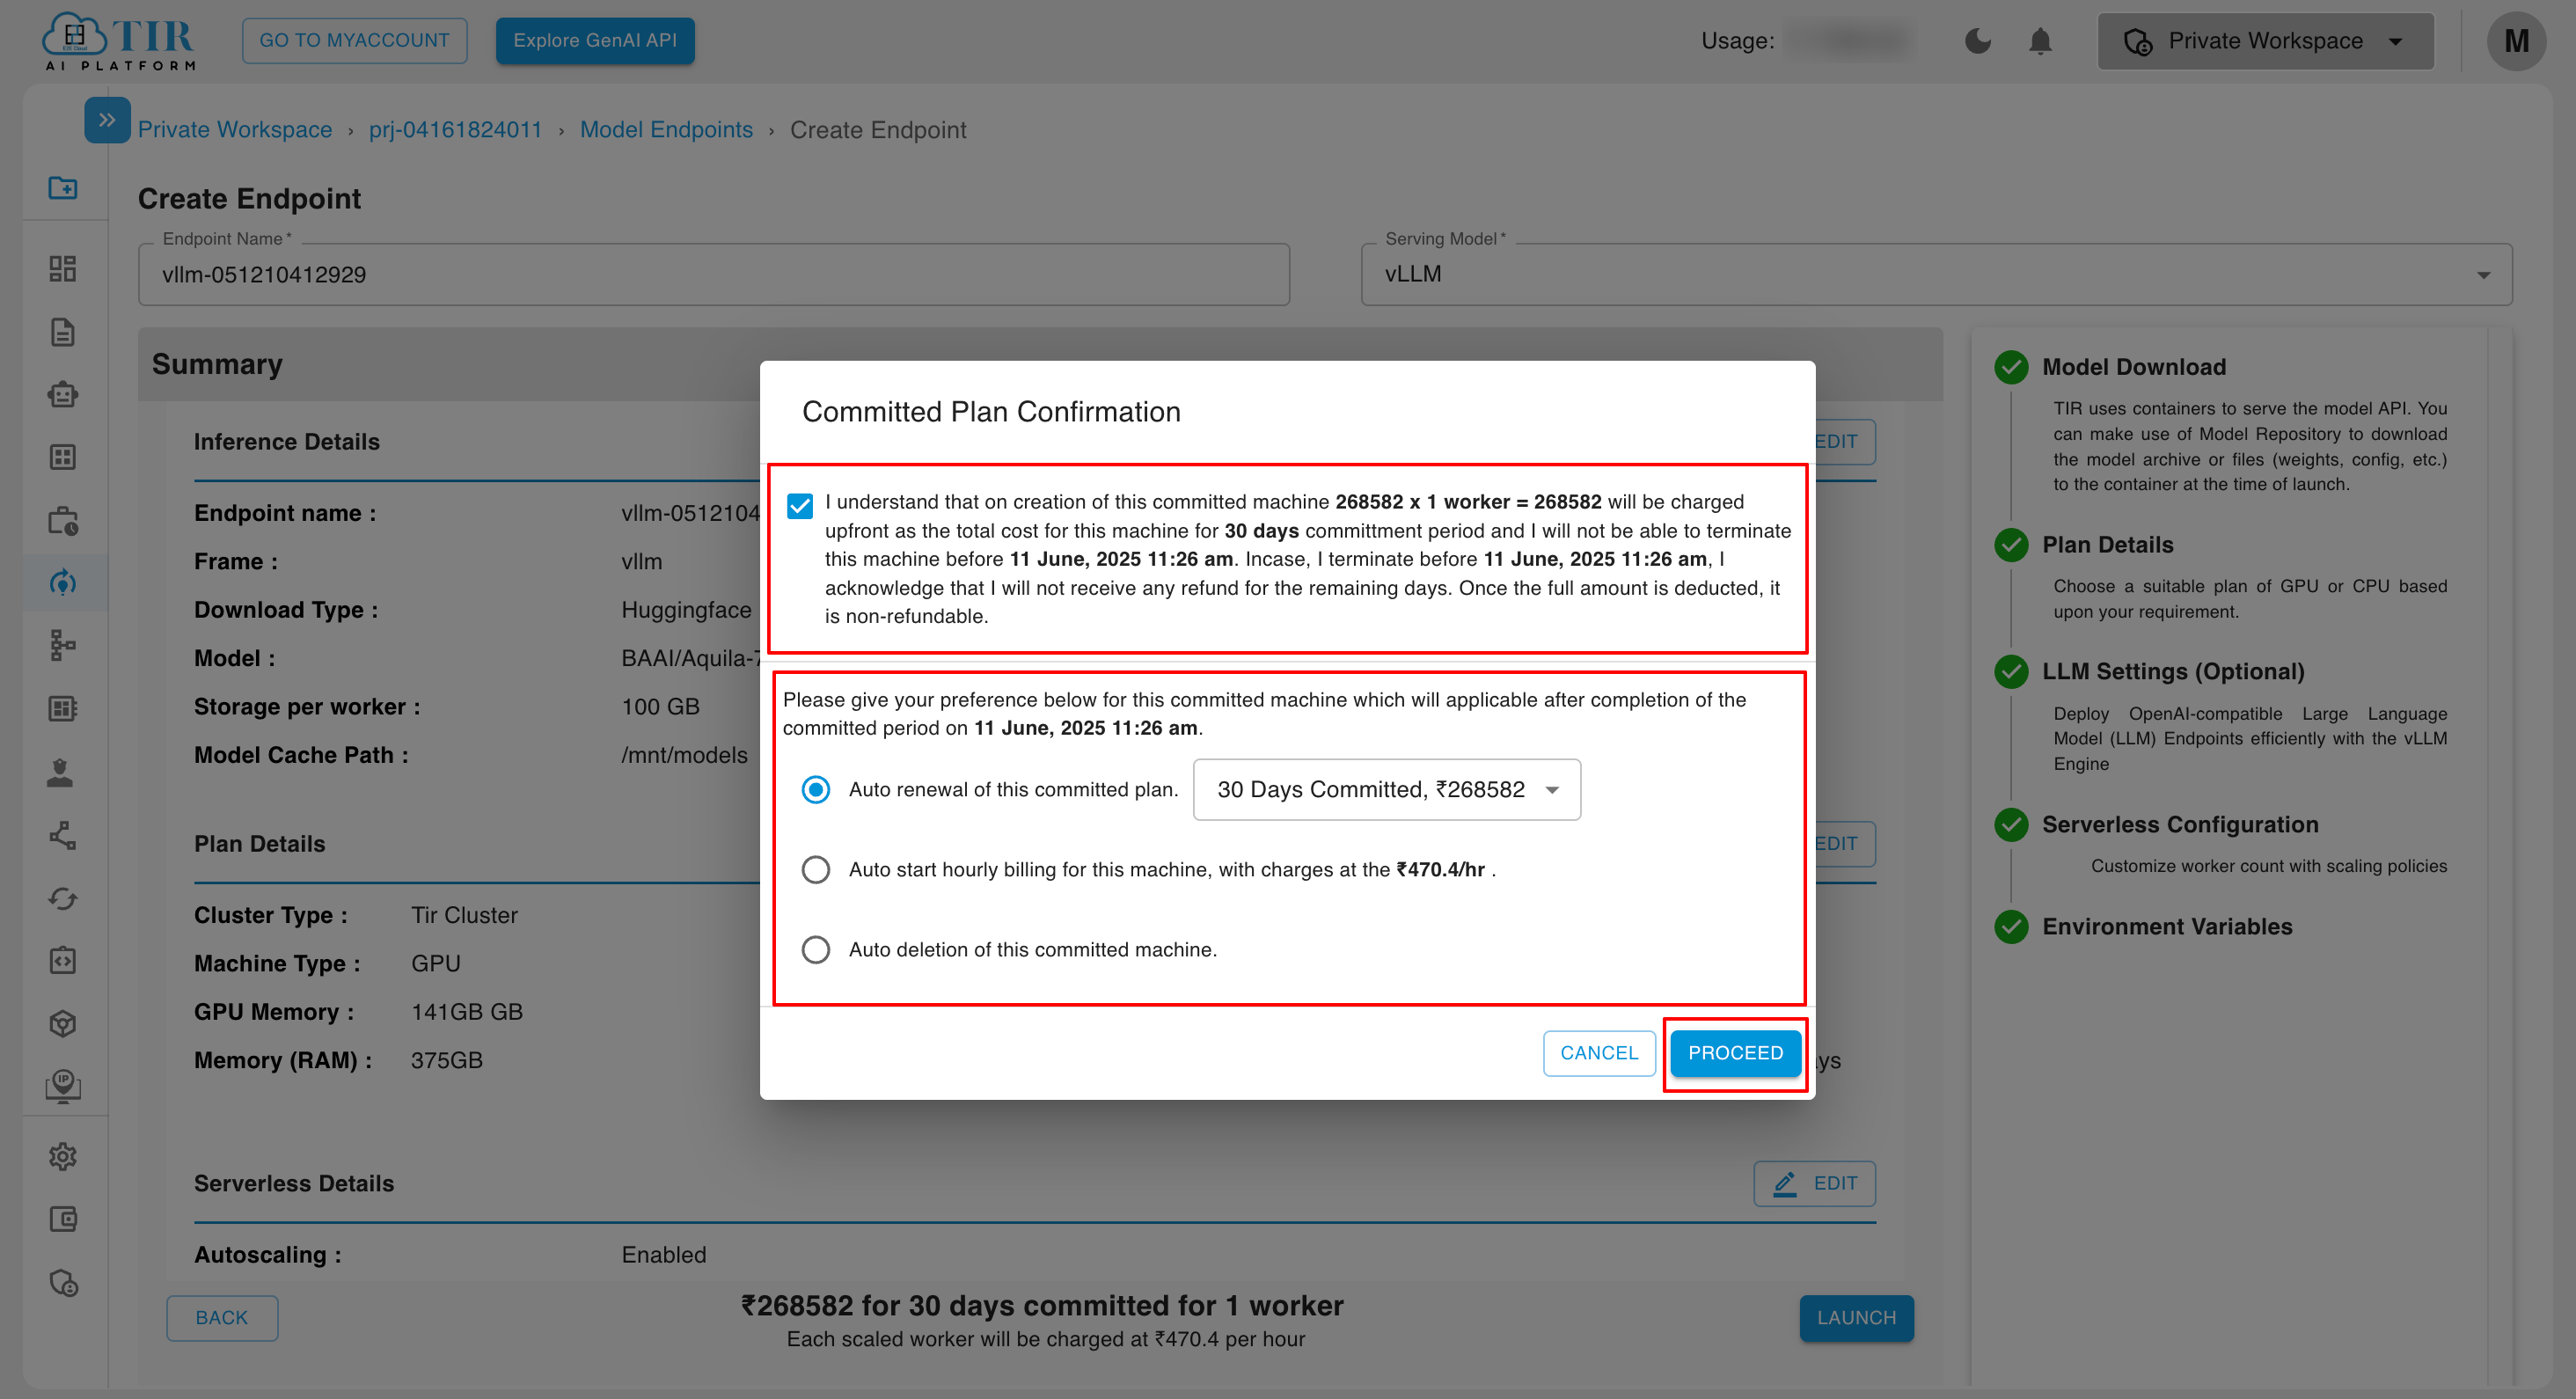
If the committed inference option is selected, a dialog box will appear asking for your preference regarding the next cycle.
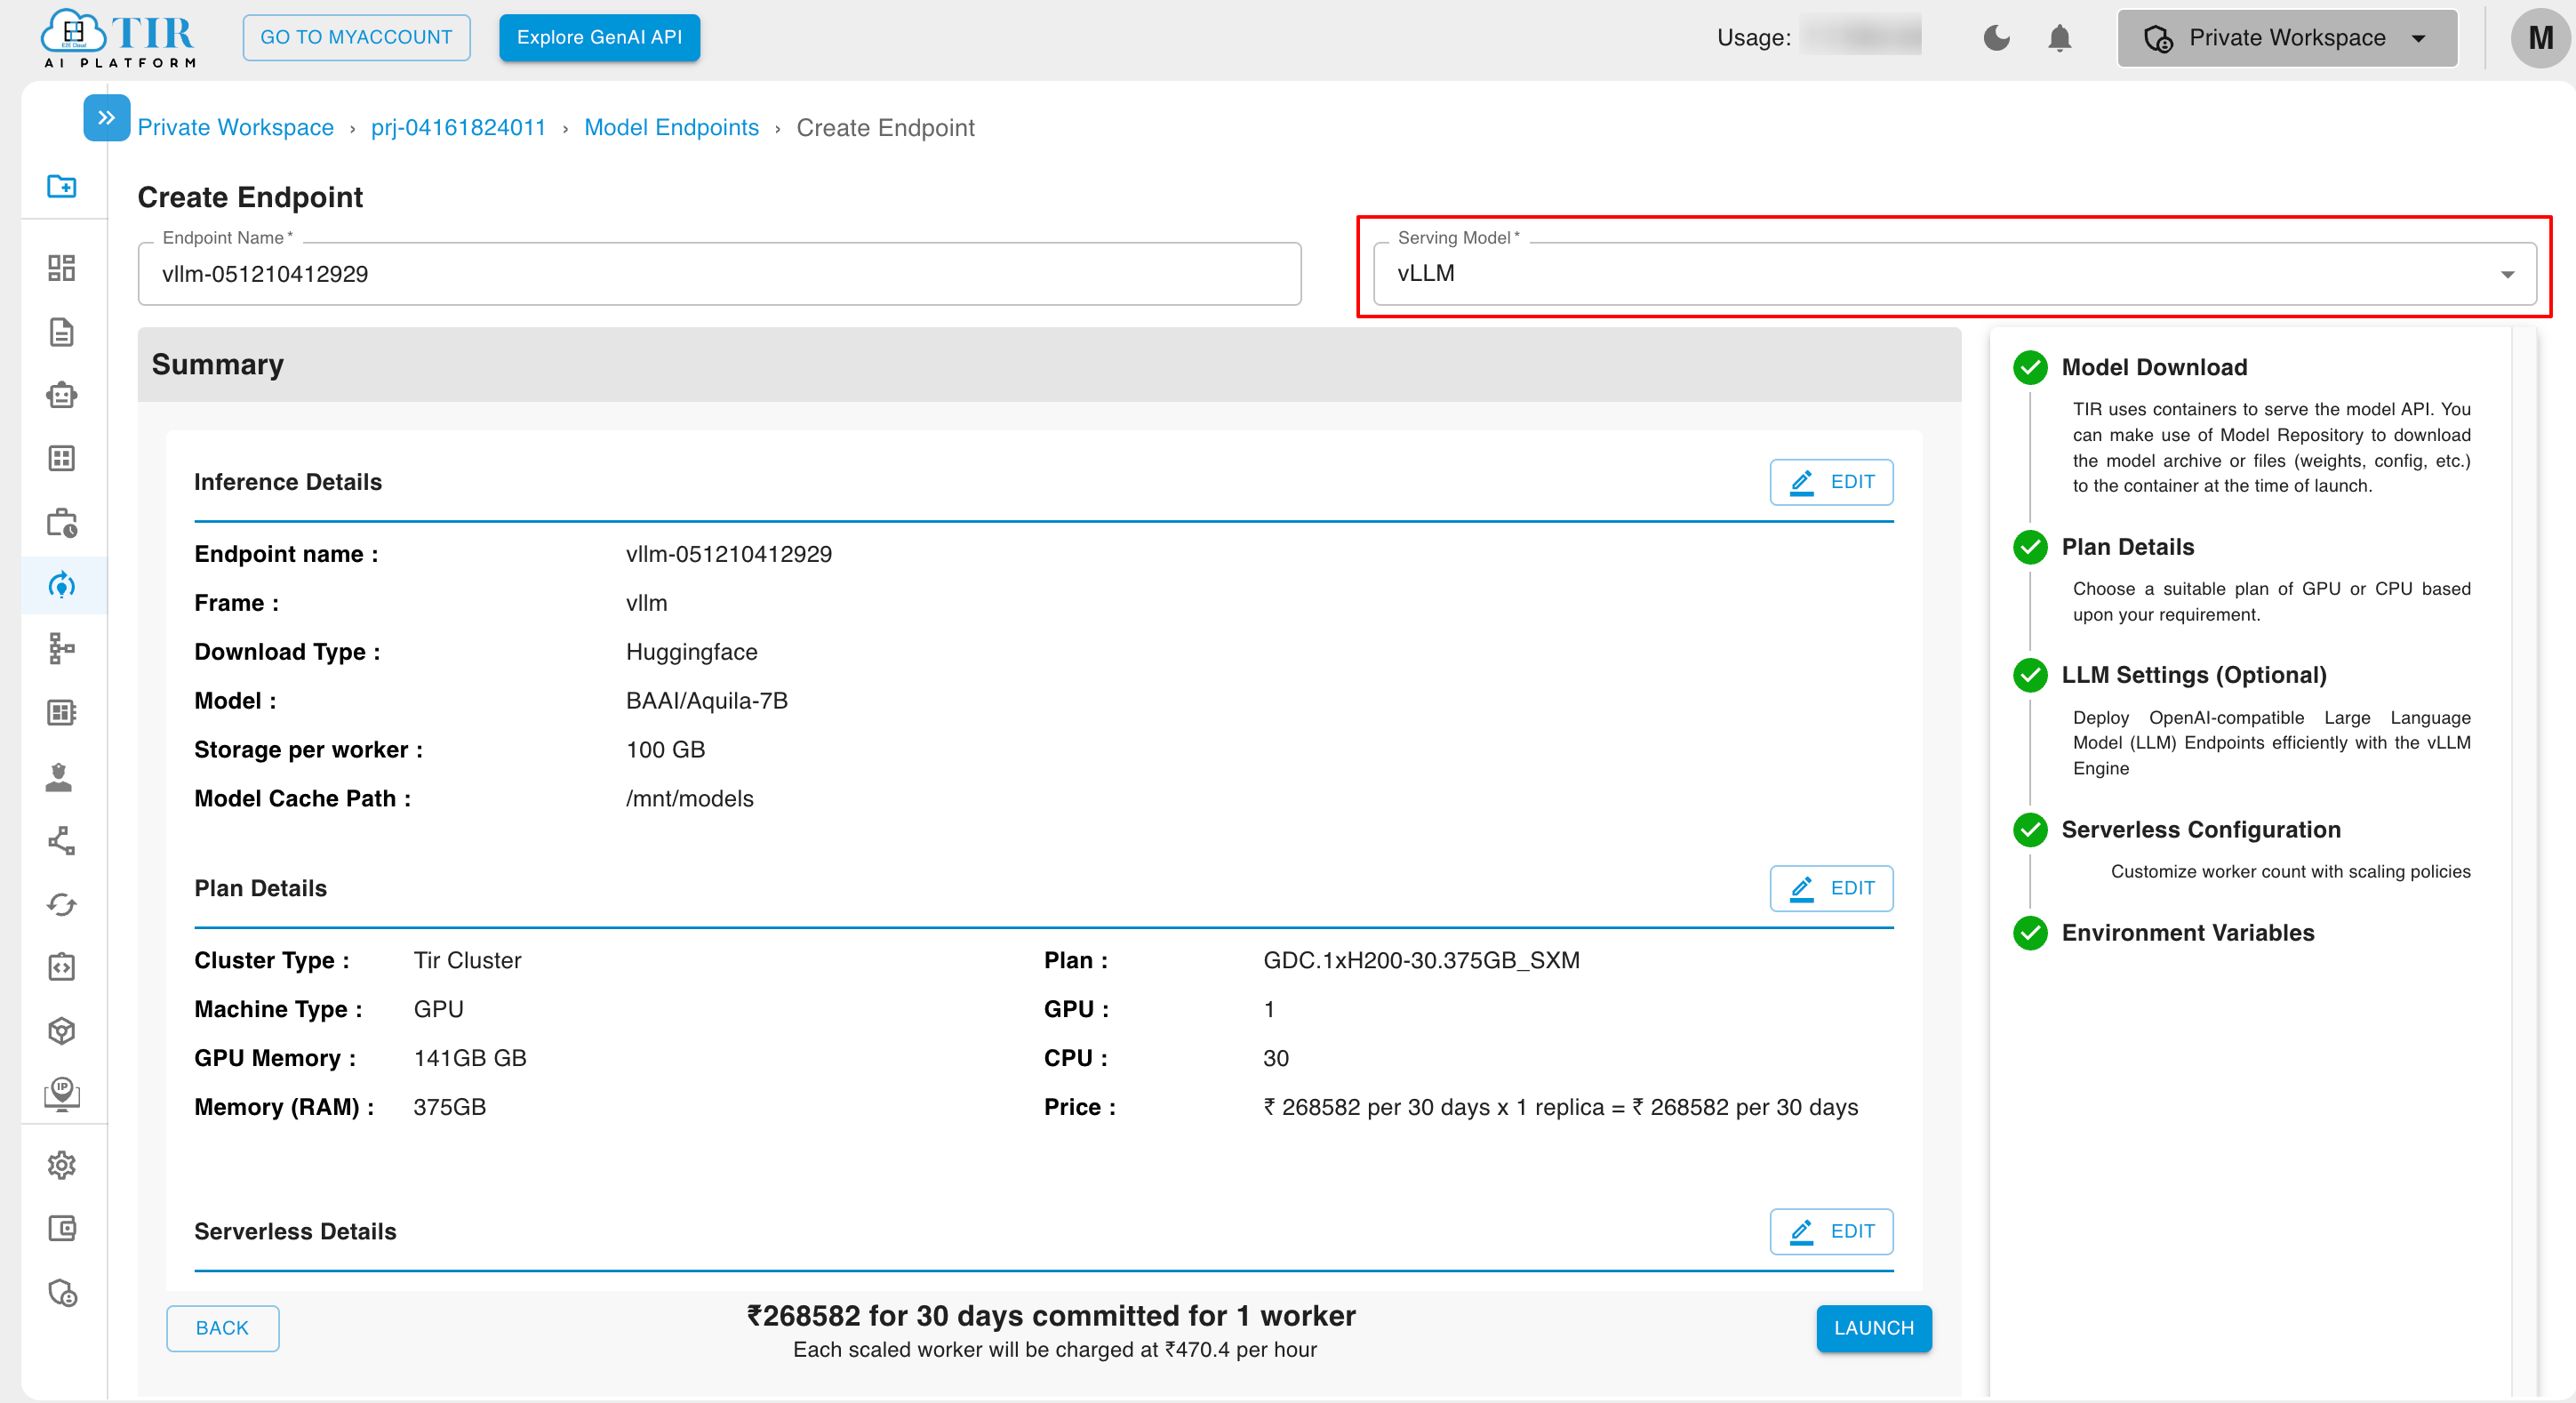
- You can change the serving model for the inference at any stage of the inference creation process.
Model Endpoint Dashboard
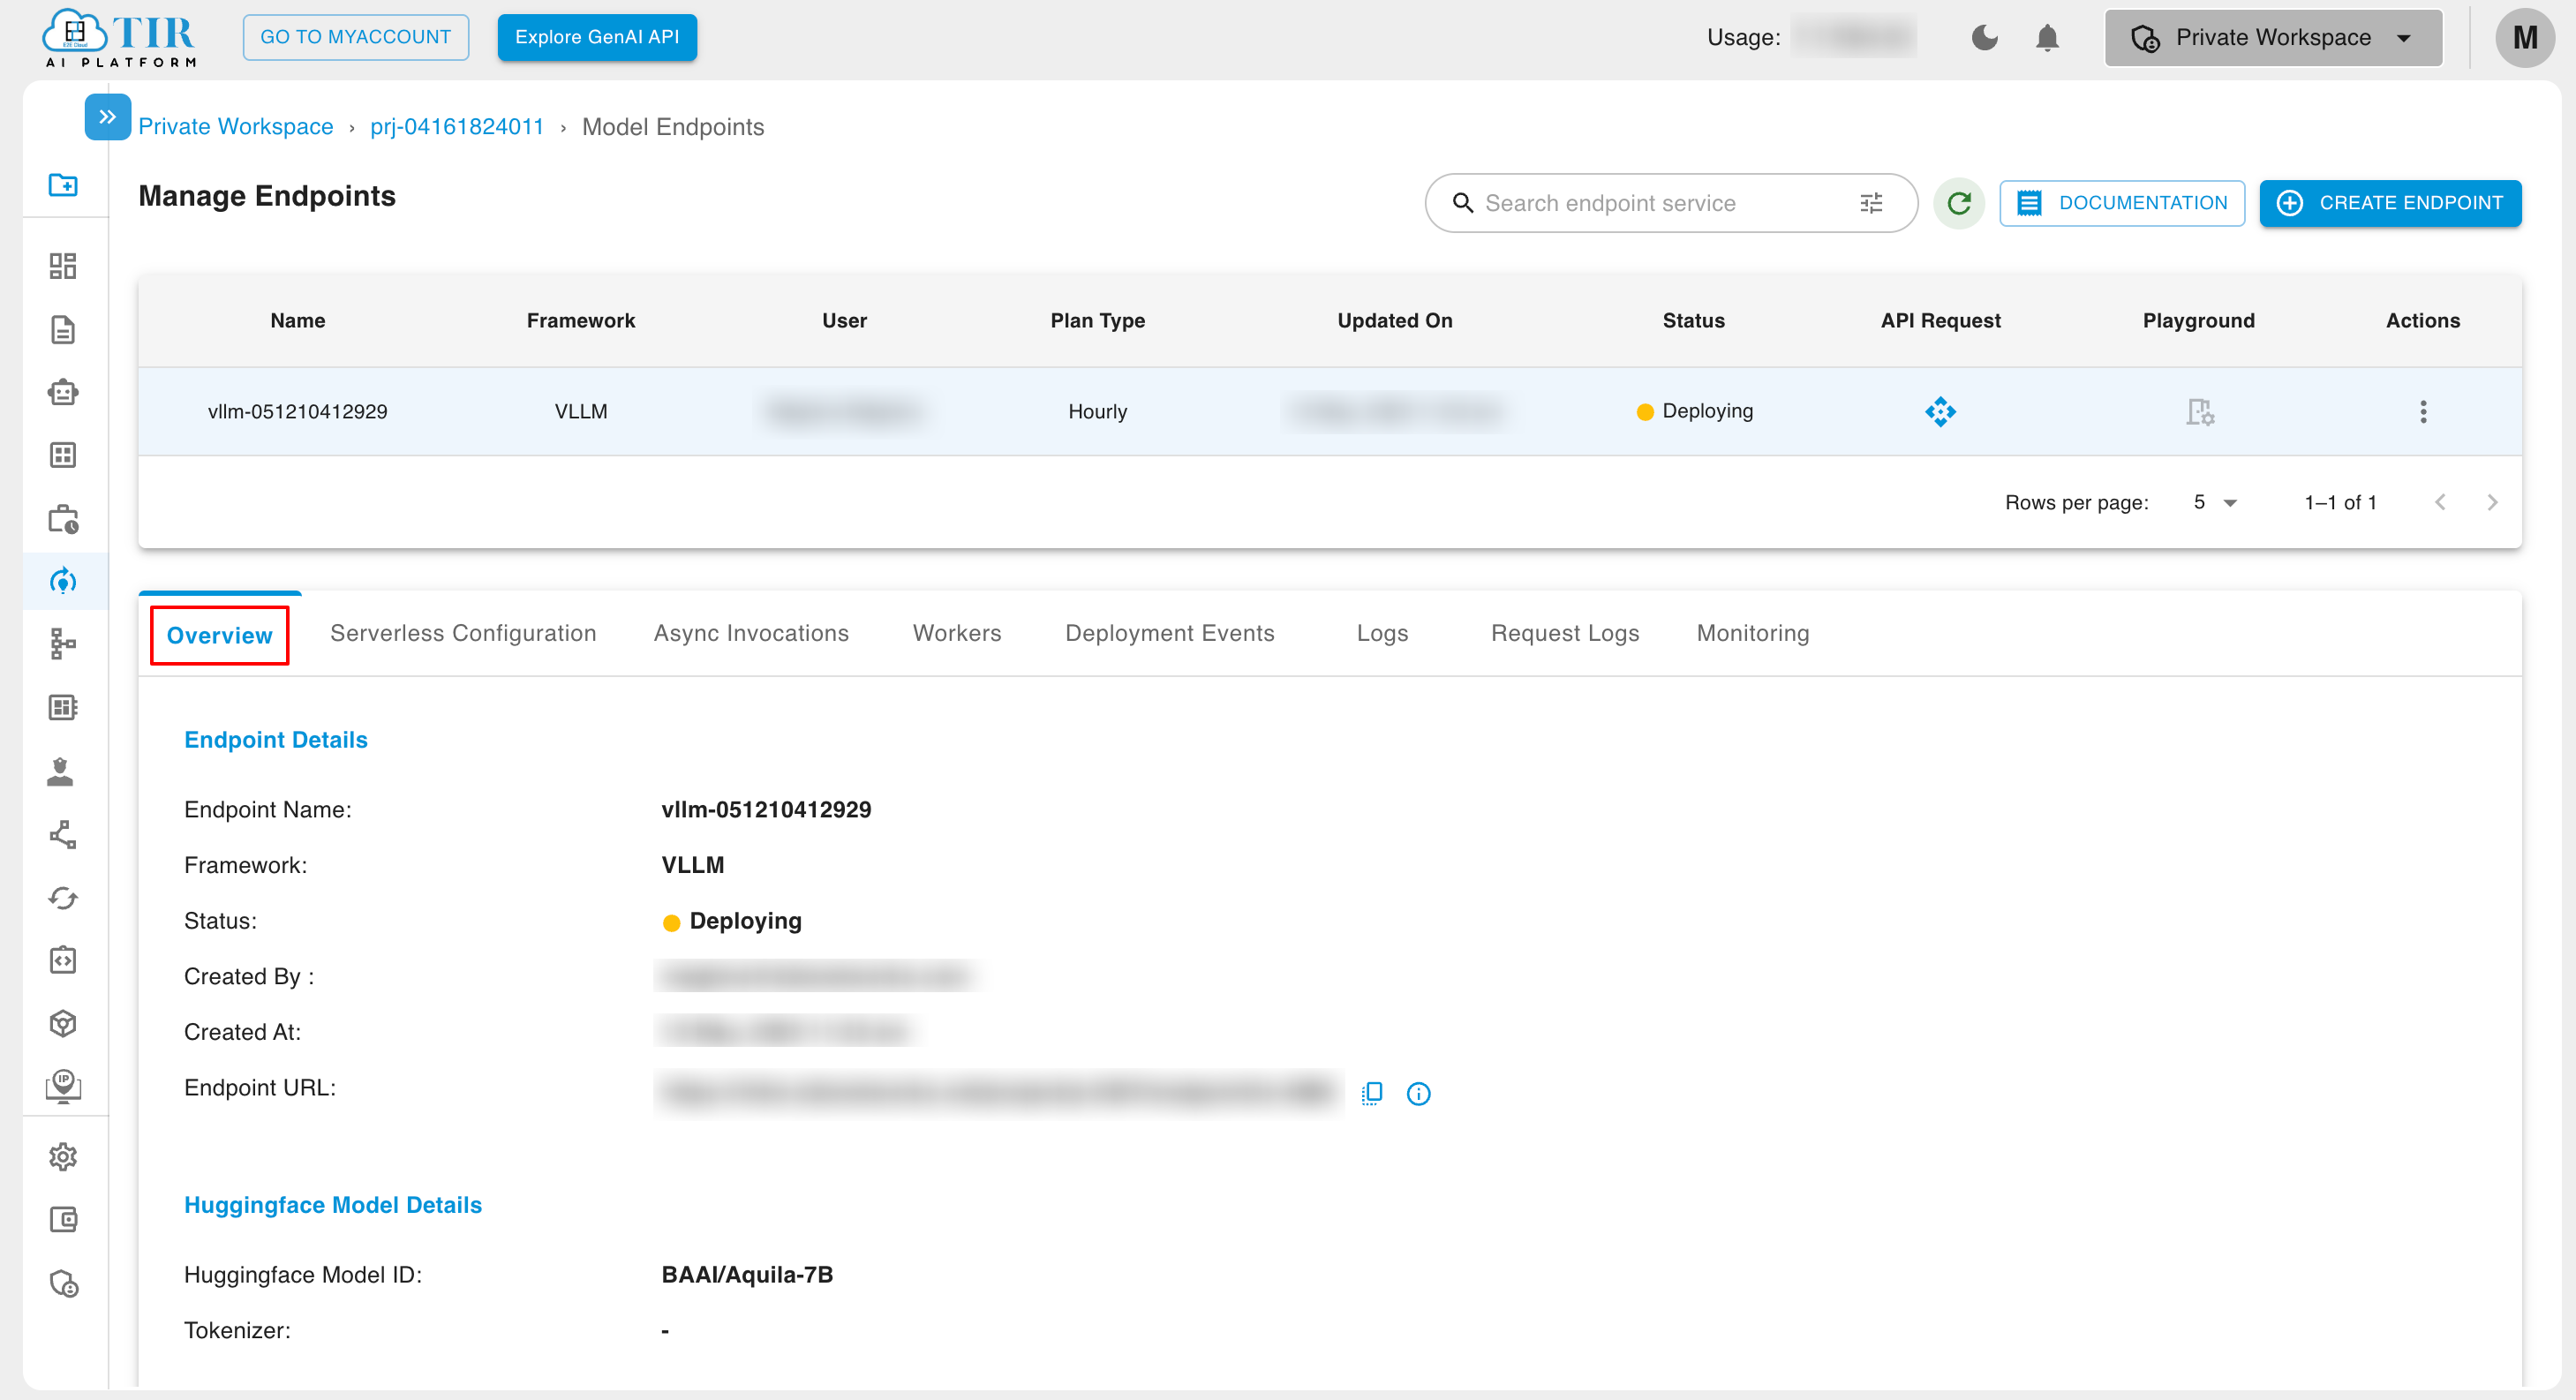
After successfully creating model endpoints, you will see the following screen.
Overview
In the overview tab, you can see the Endpoint Details and Plan Details.
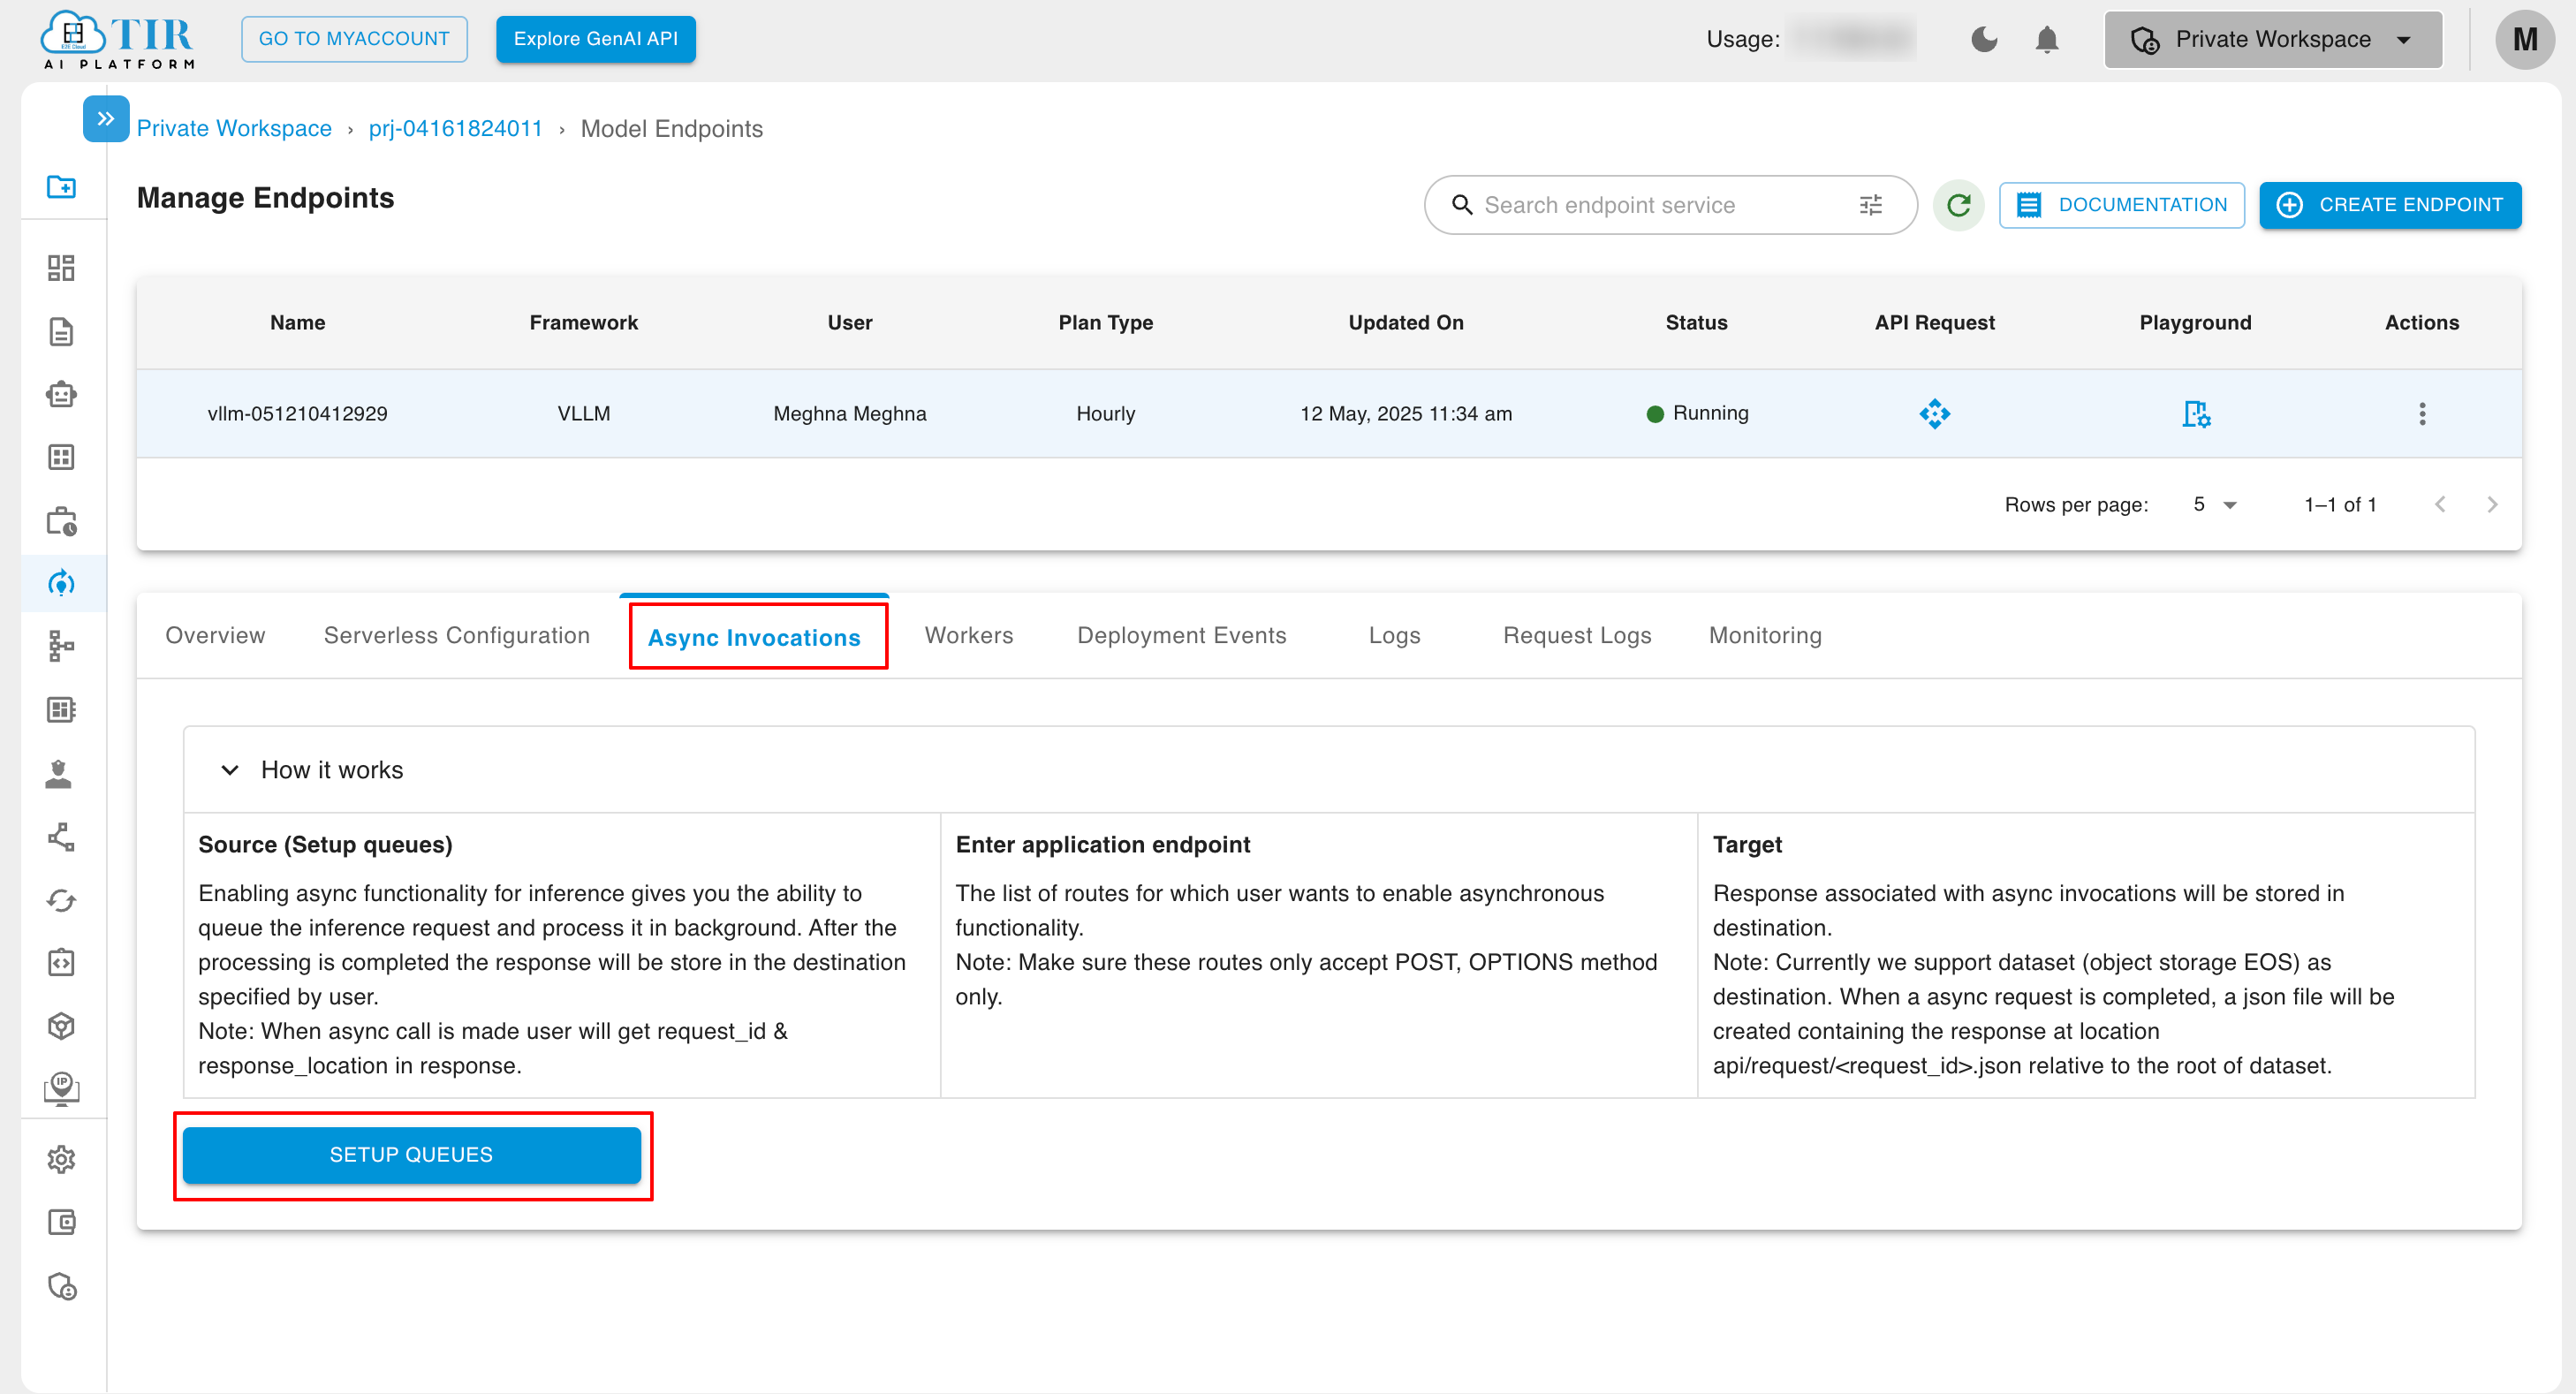
Async Invocations
In the Async Invocation tab, Users can enable asynchronous invocation for inference based on their specific requirements. This feature allows inference tasks to be processed asynchronously, ensuring seamless operation. Meanwhile, synchronous operations are prioritized for immediate processing.
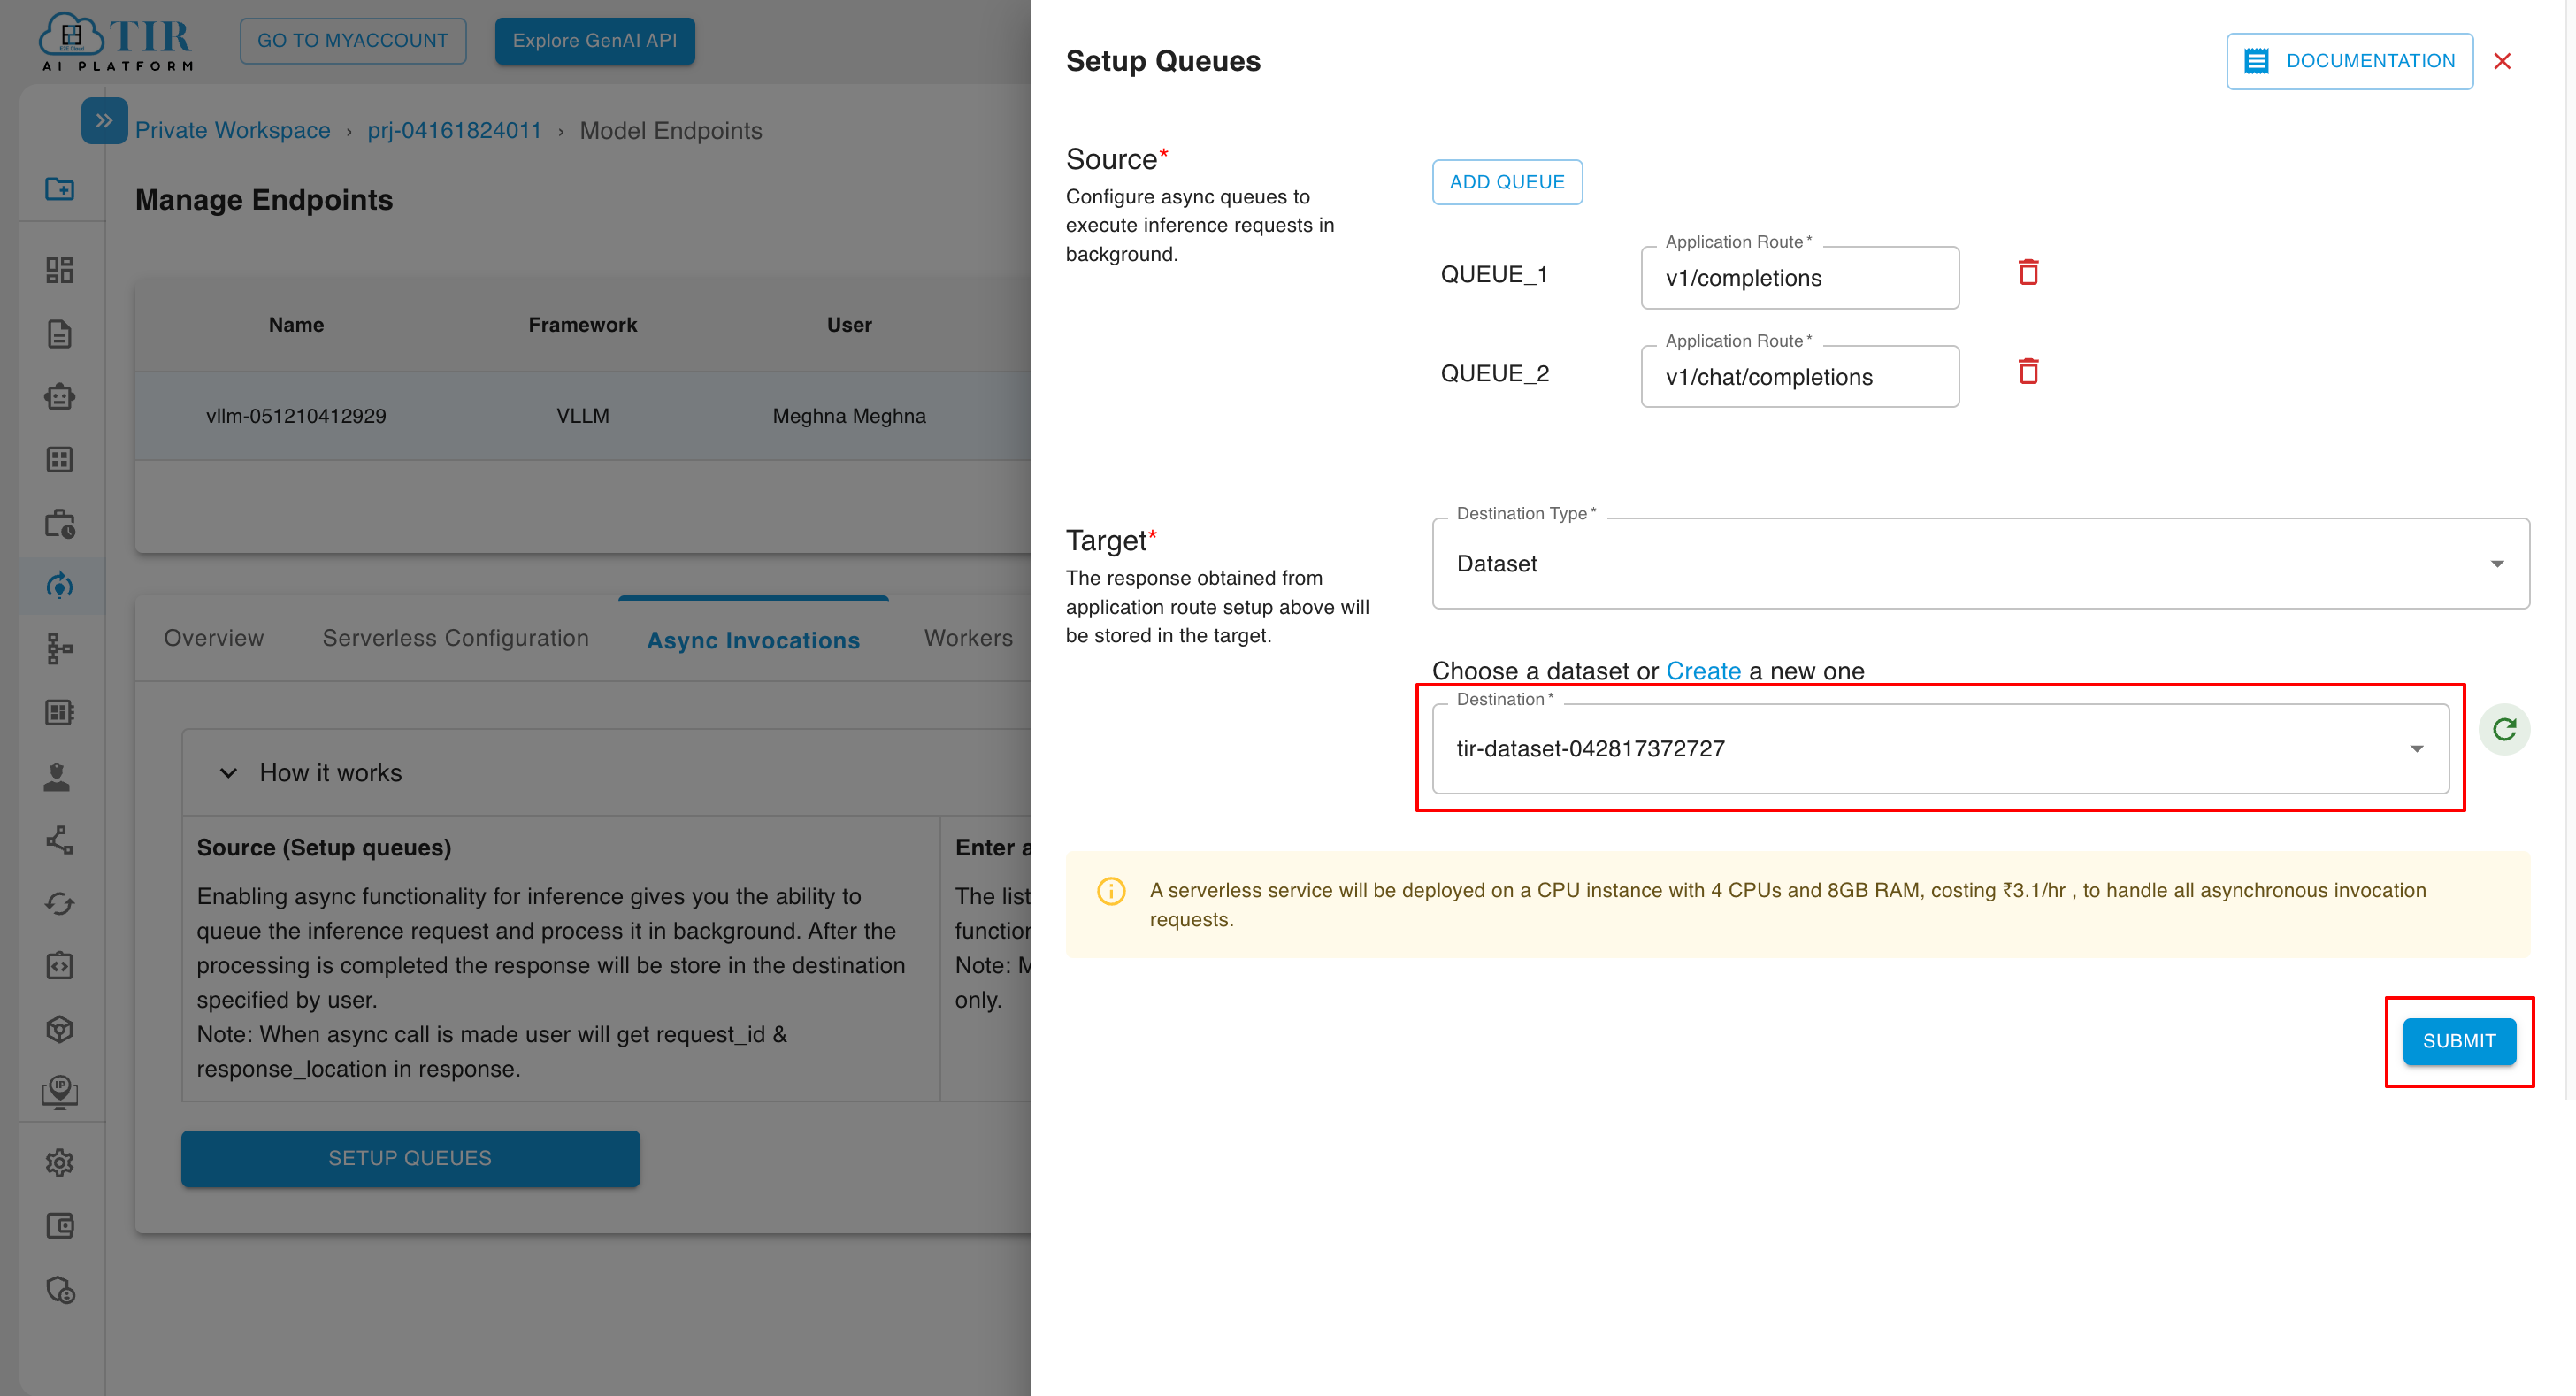
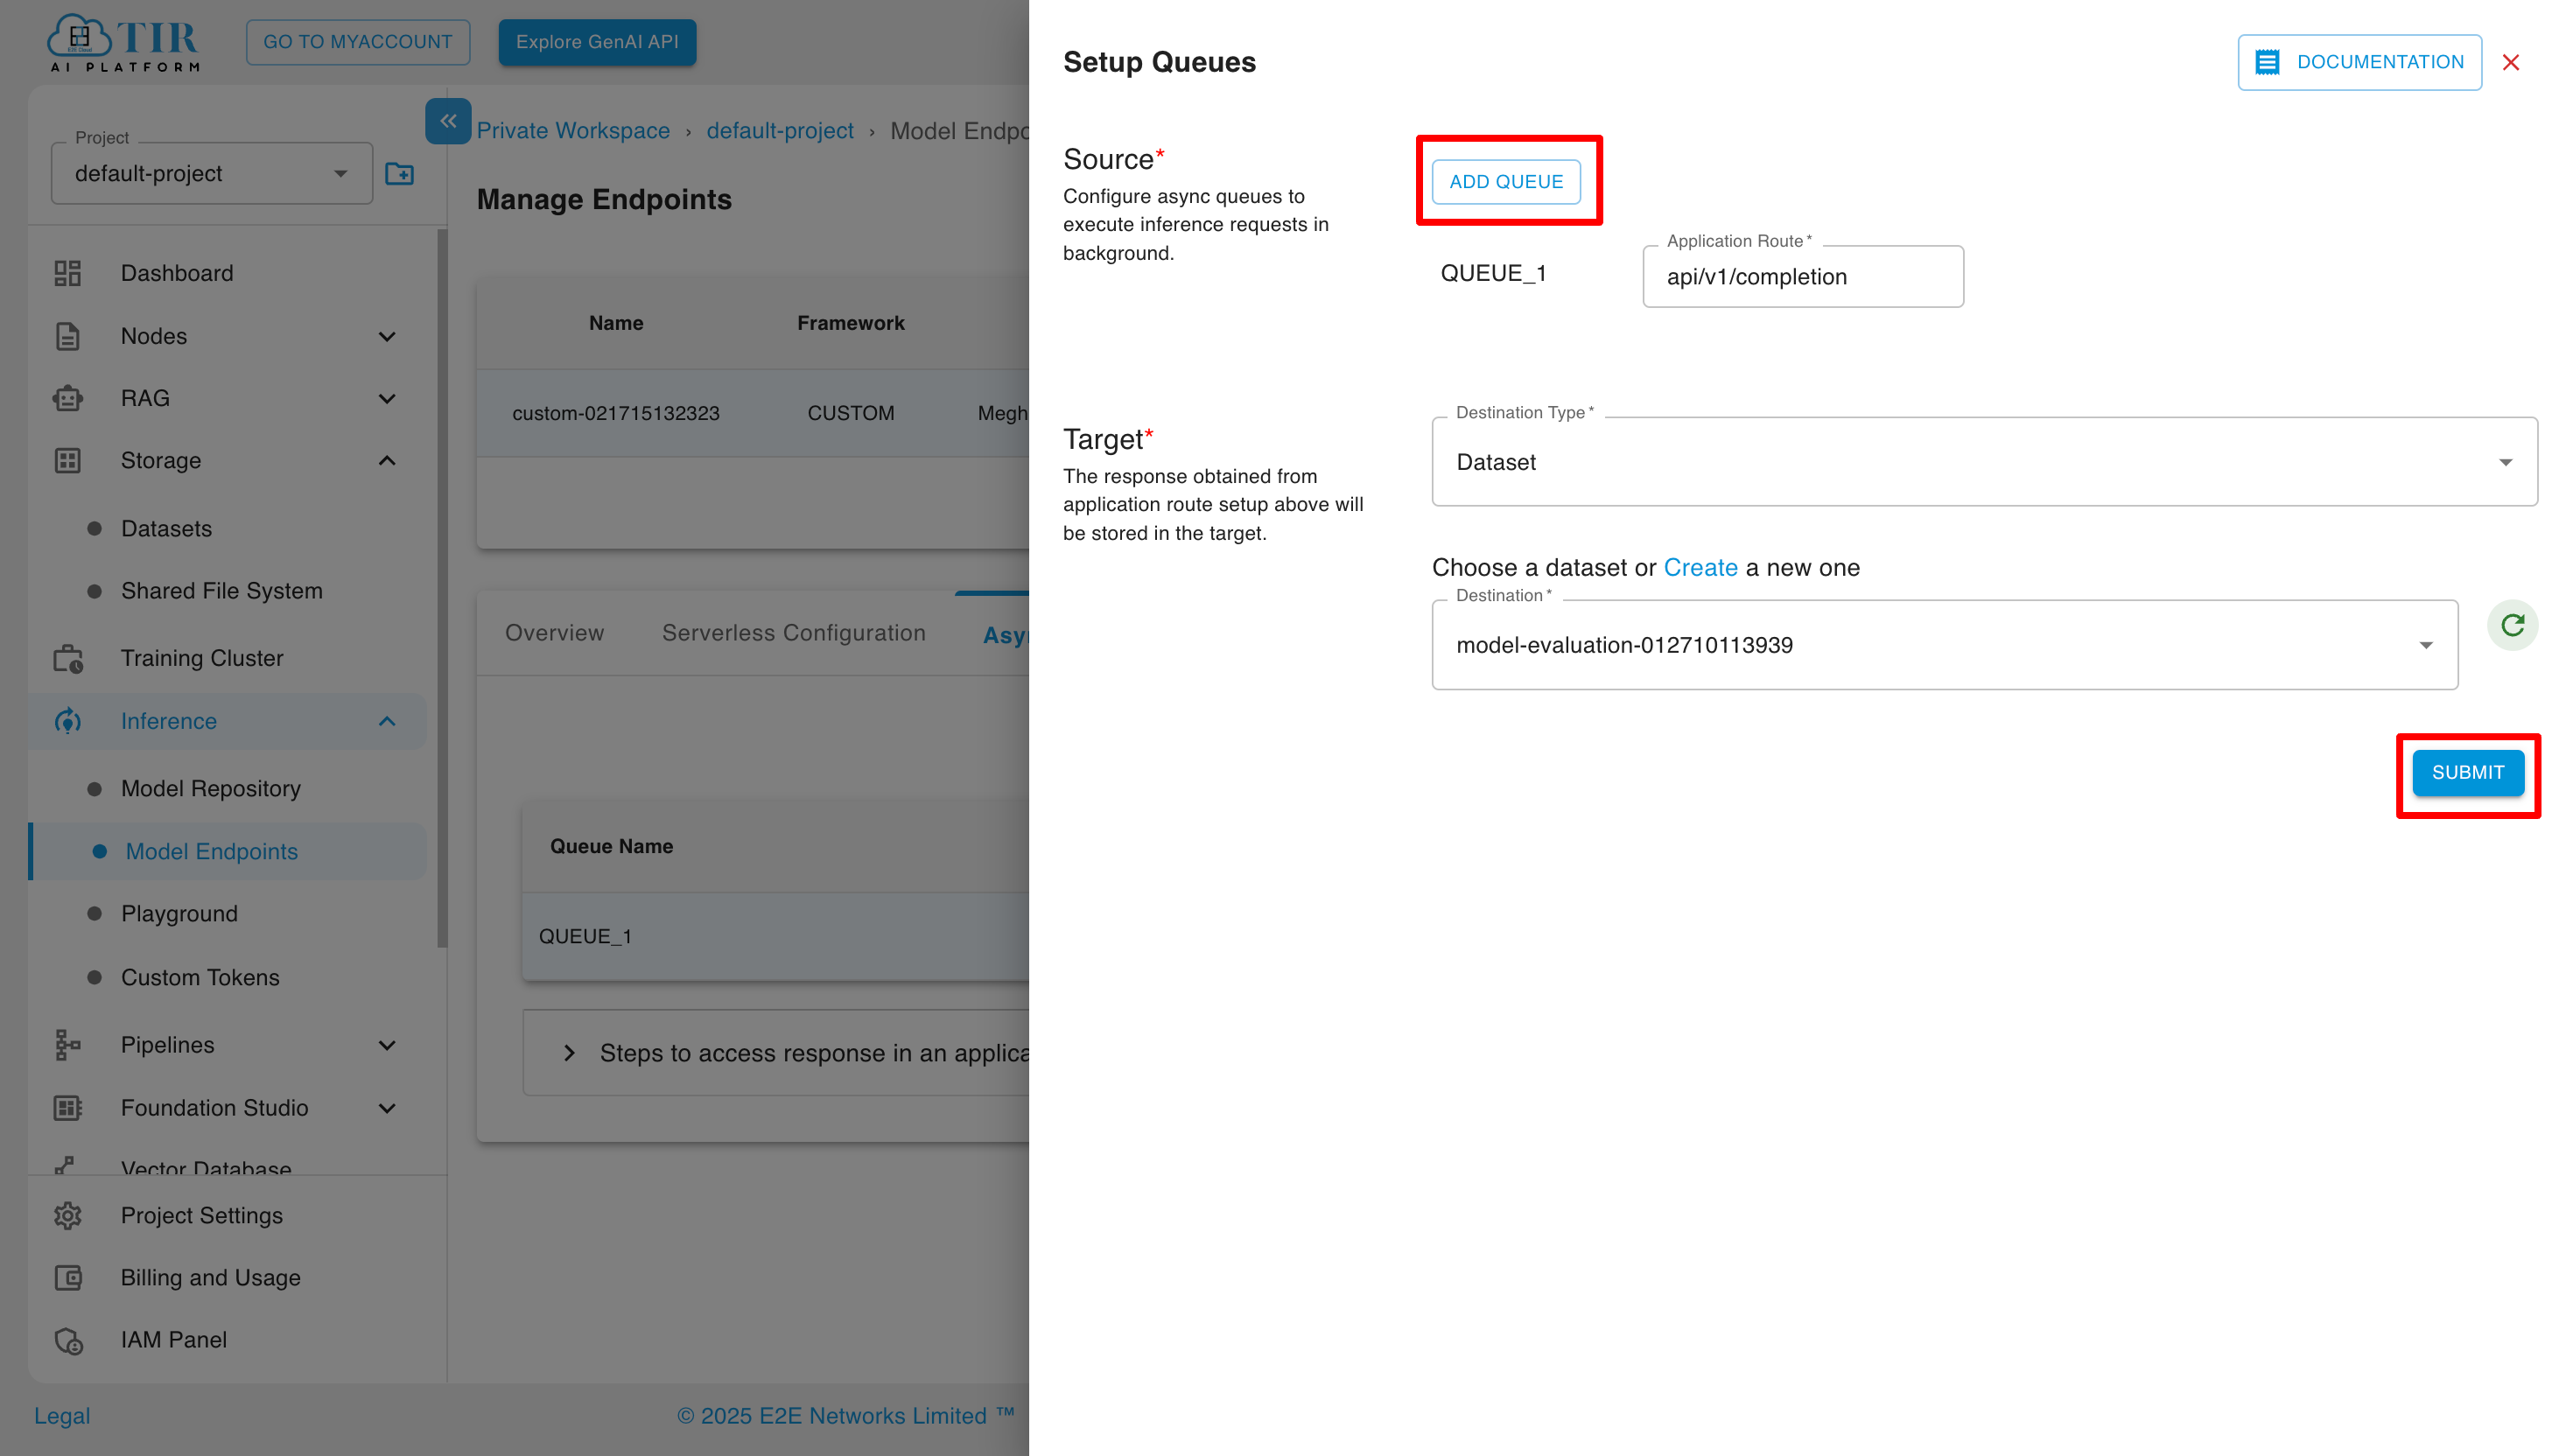
By clicking on Setup Queues, user can select the destination so that response obtained from application route setup can be stored in the target destination and click on submit.
After the Async Invocation to the selected Model Endpoint is enabled and queue is set up, then the users can view all the queues with application path under the Async Invocations tab.

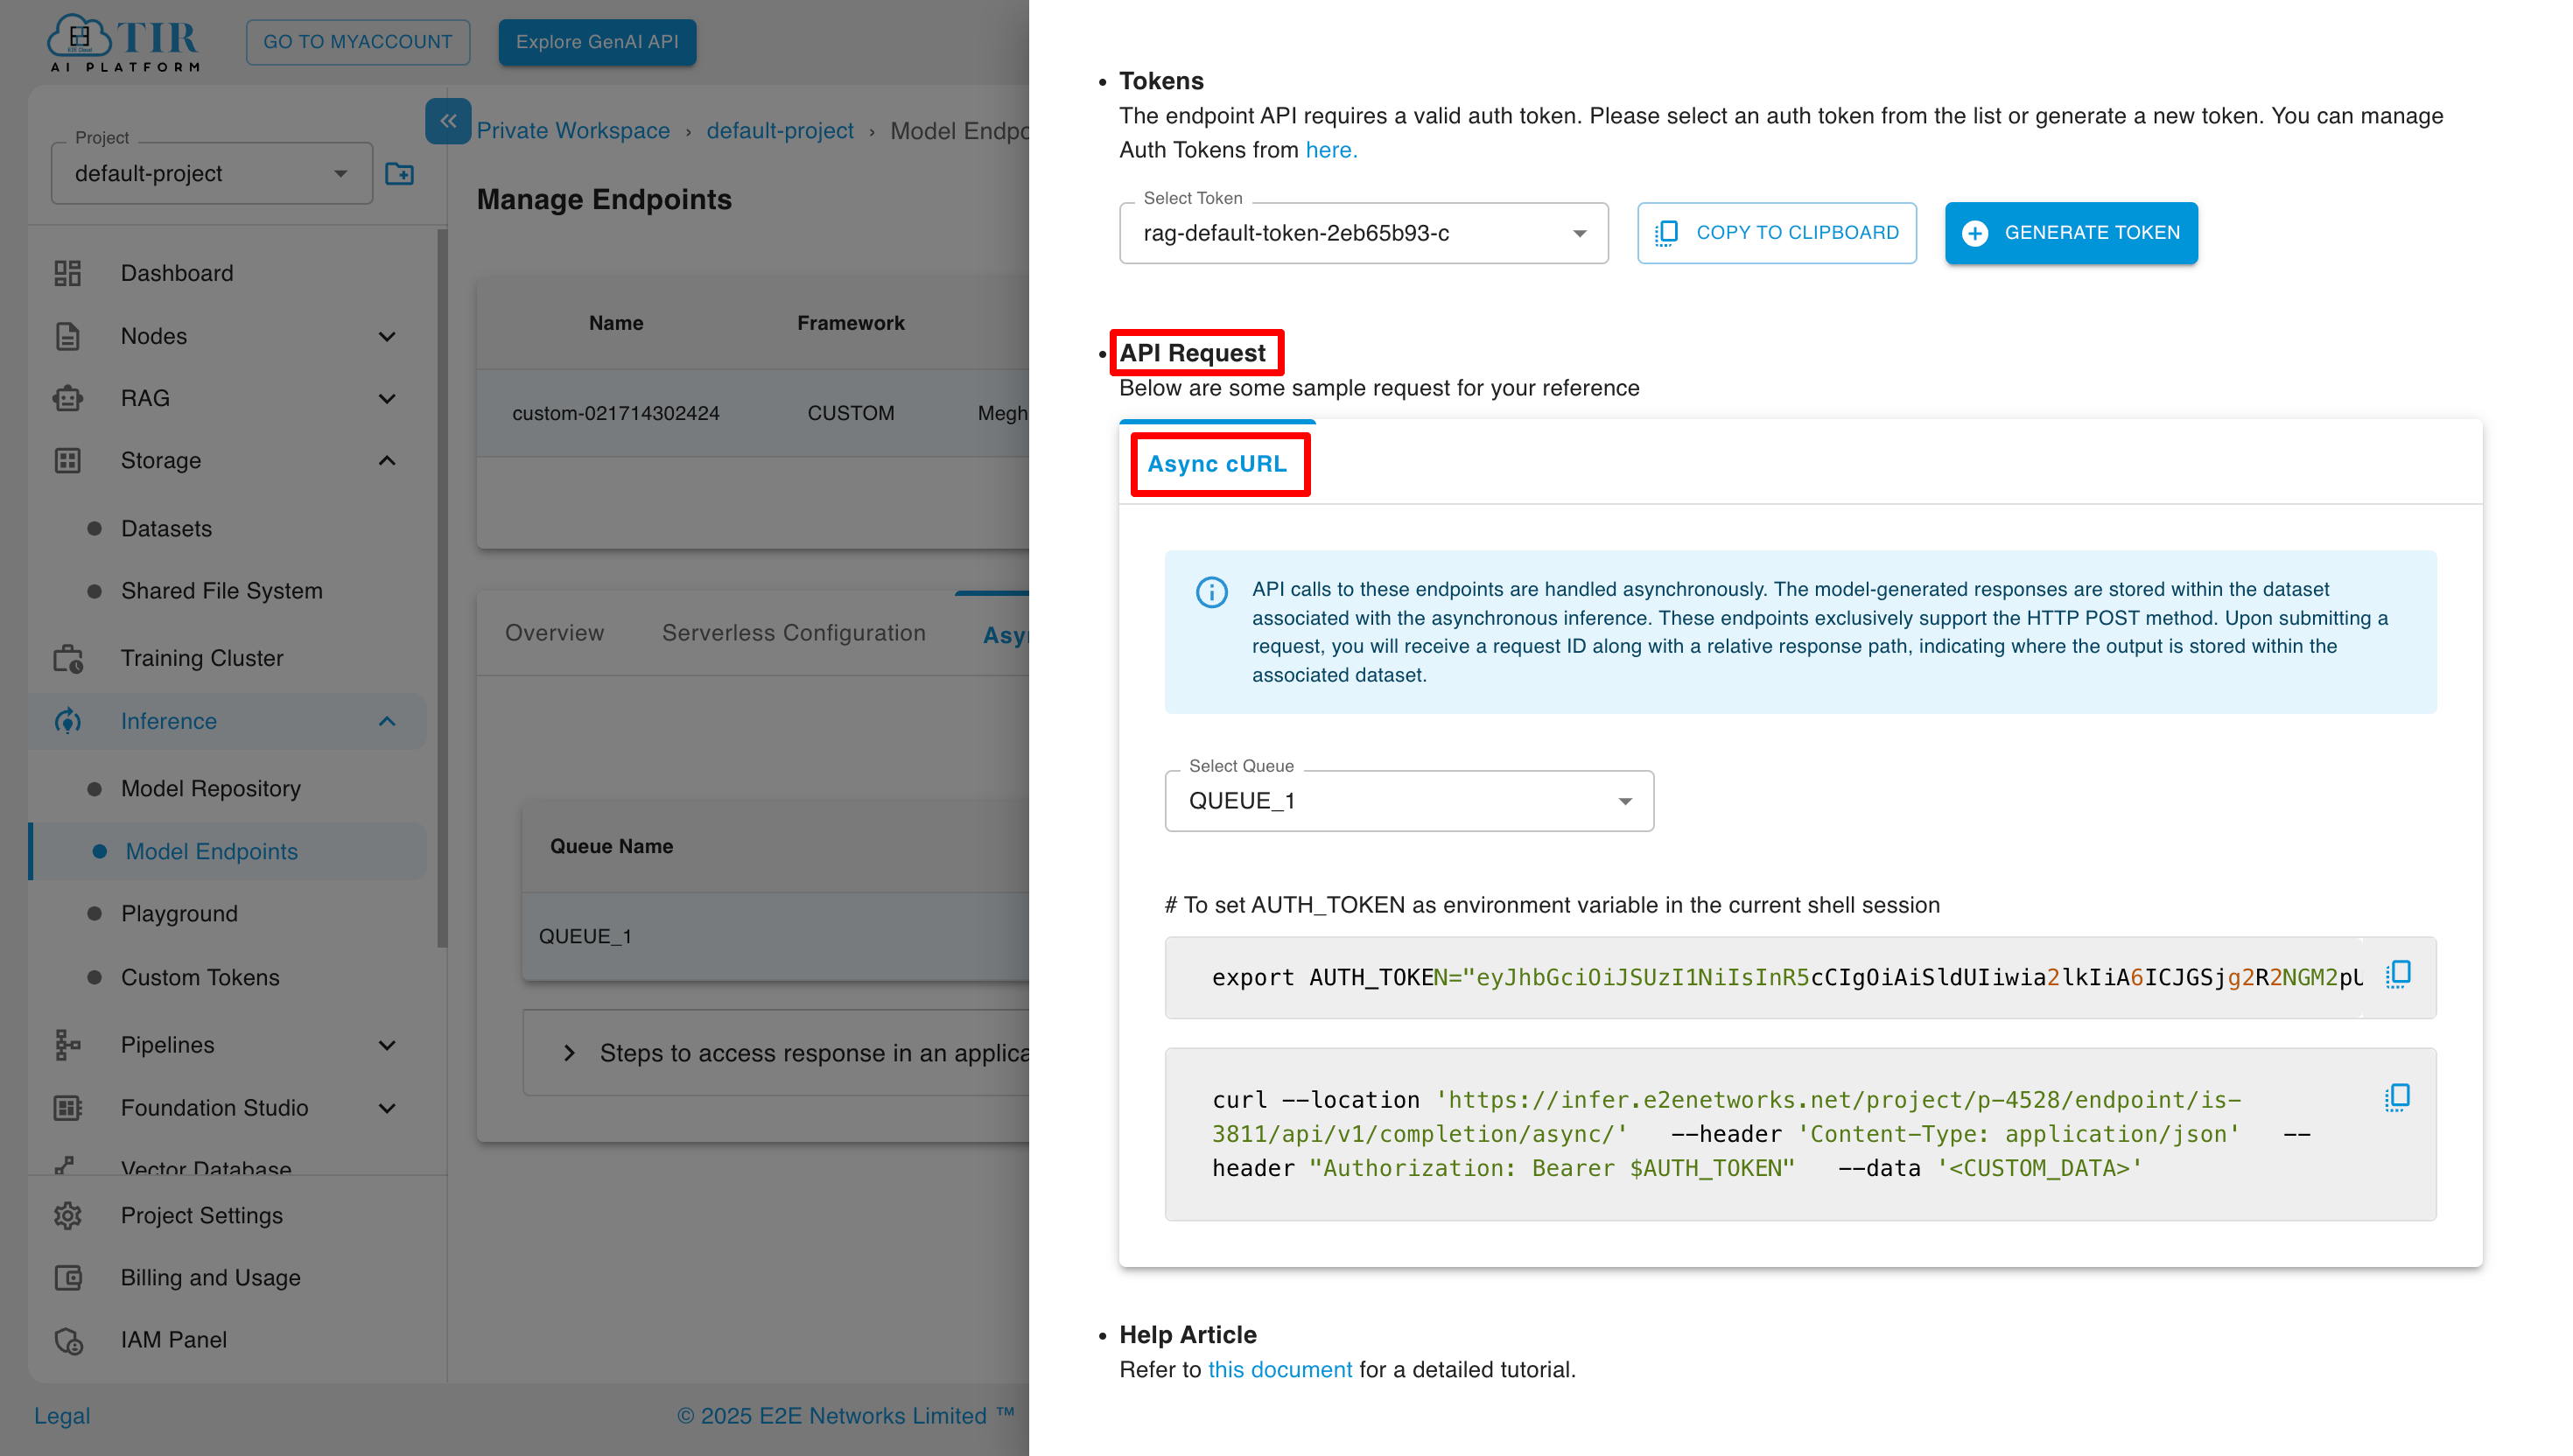
By selecting API Request, users can initiate asynchronous requests to the specified Model Endpoint.
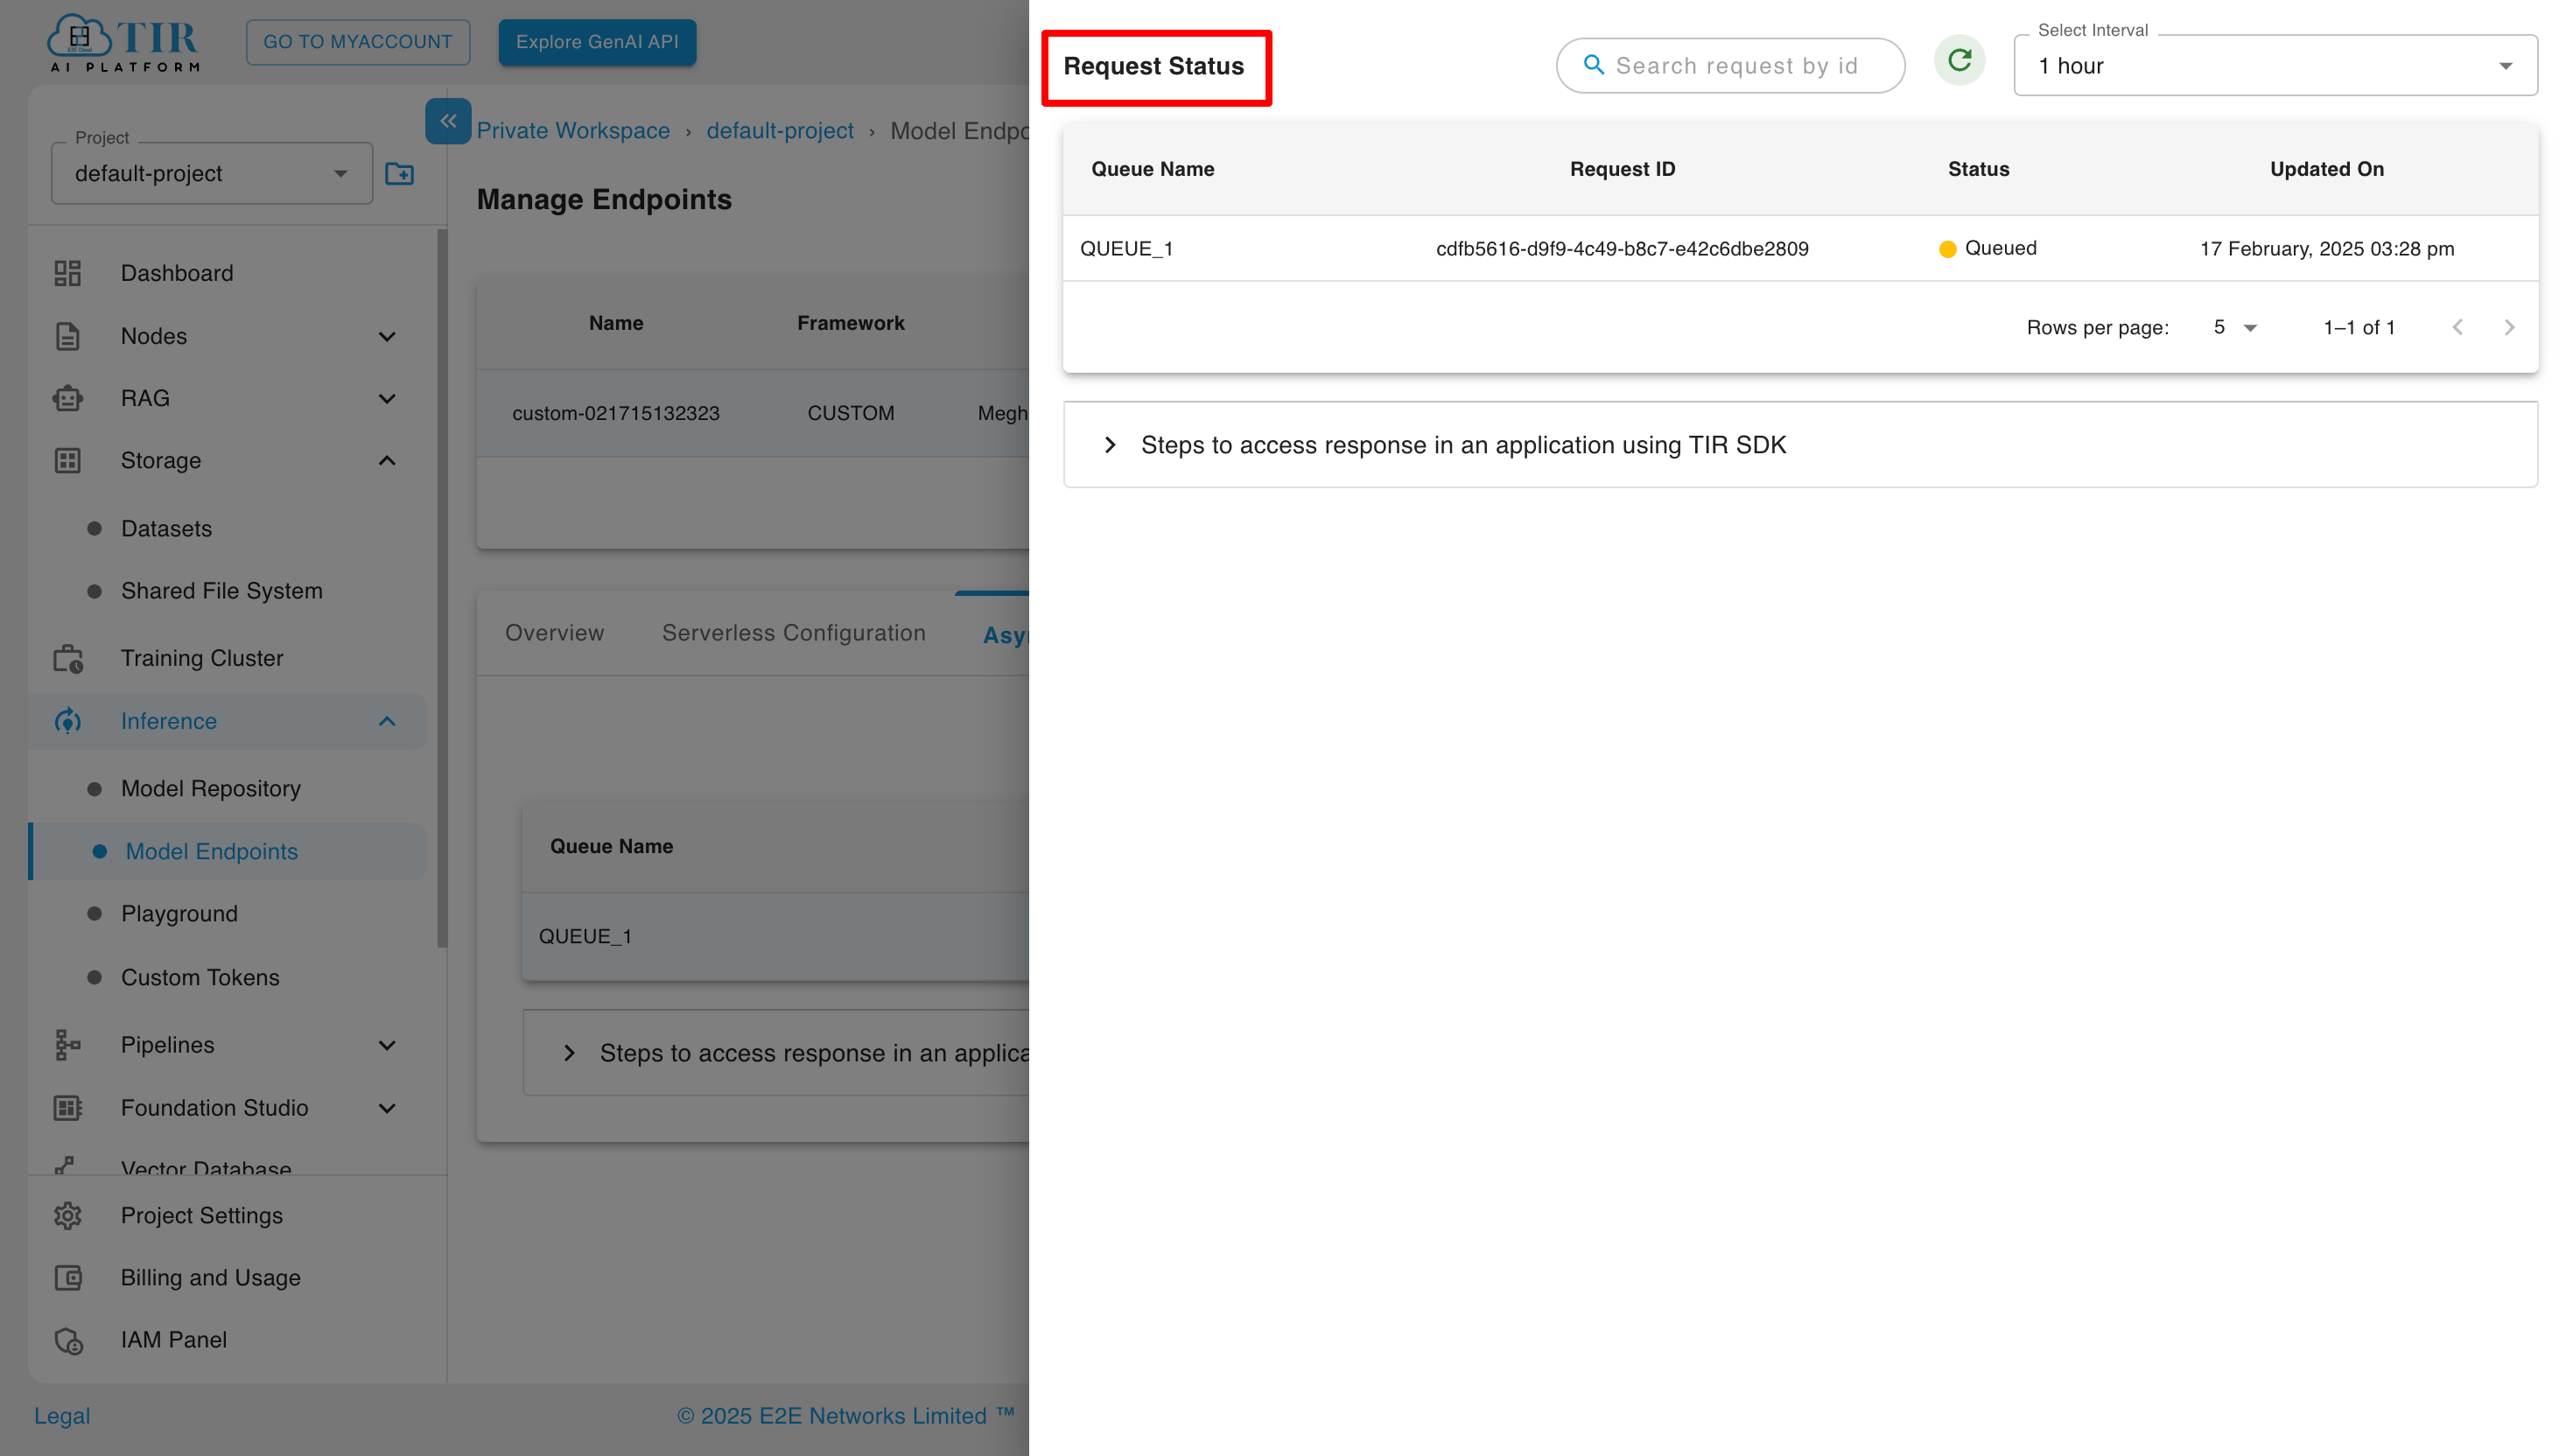
By clicking on Async Request Status, users can view all asynchronous requests made to the selected inference, along with the request IDs. These IDs can be used to match the corresponding asynchronous responses.
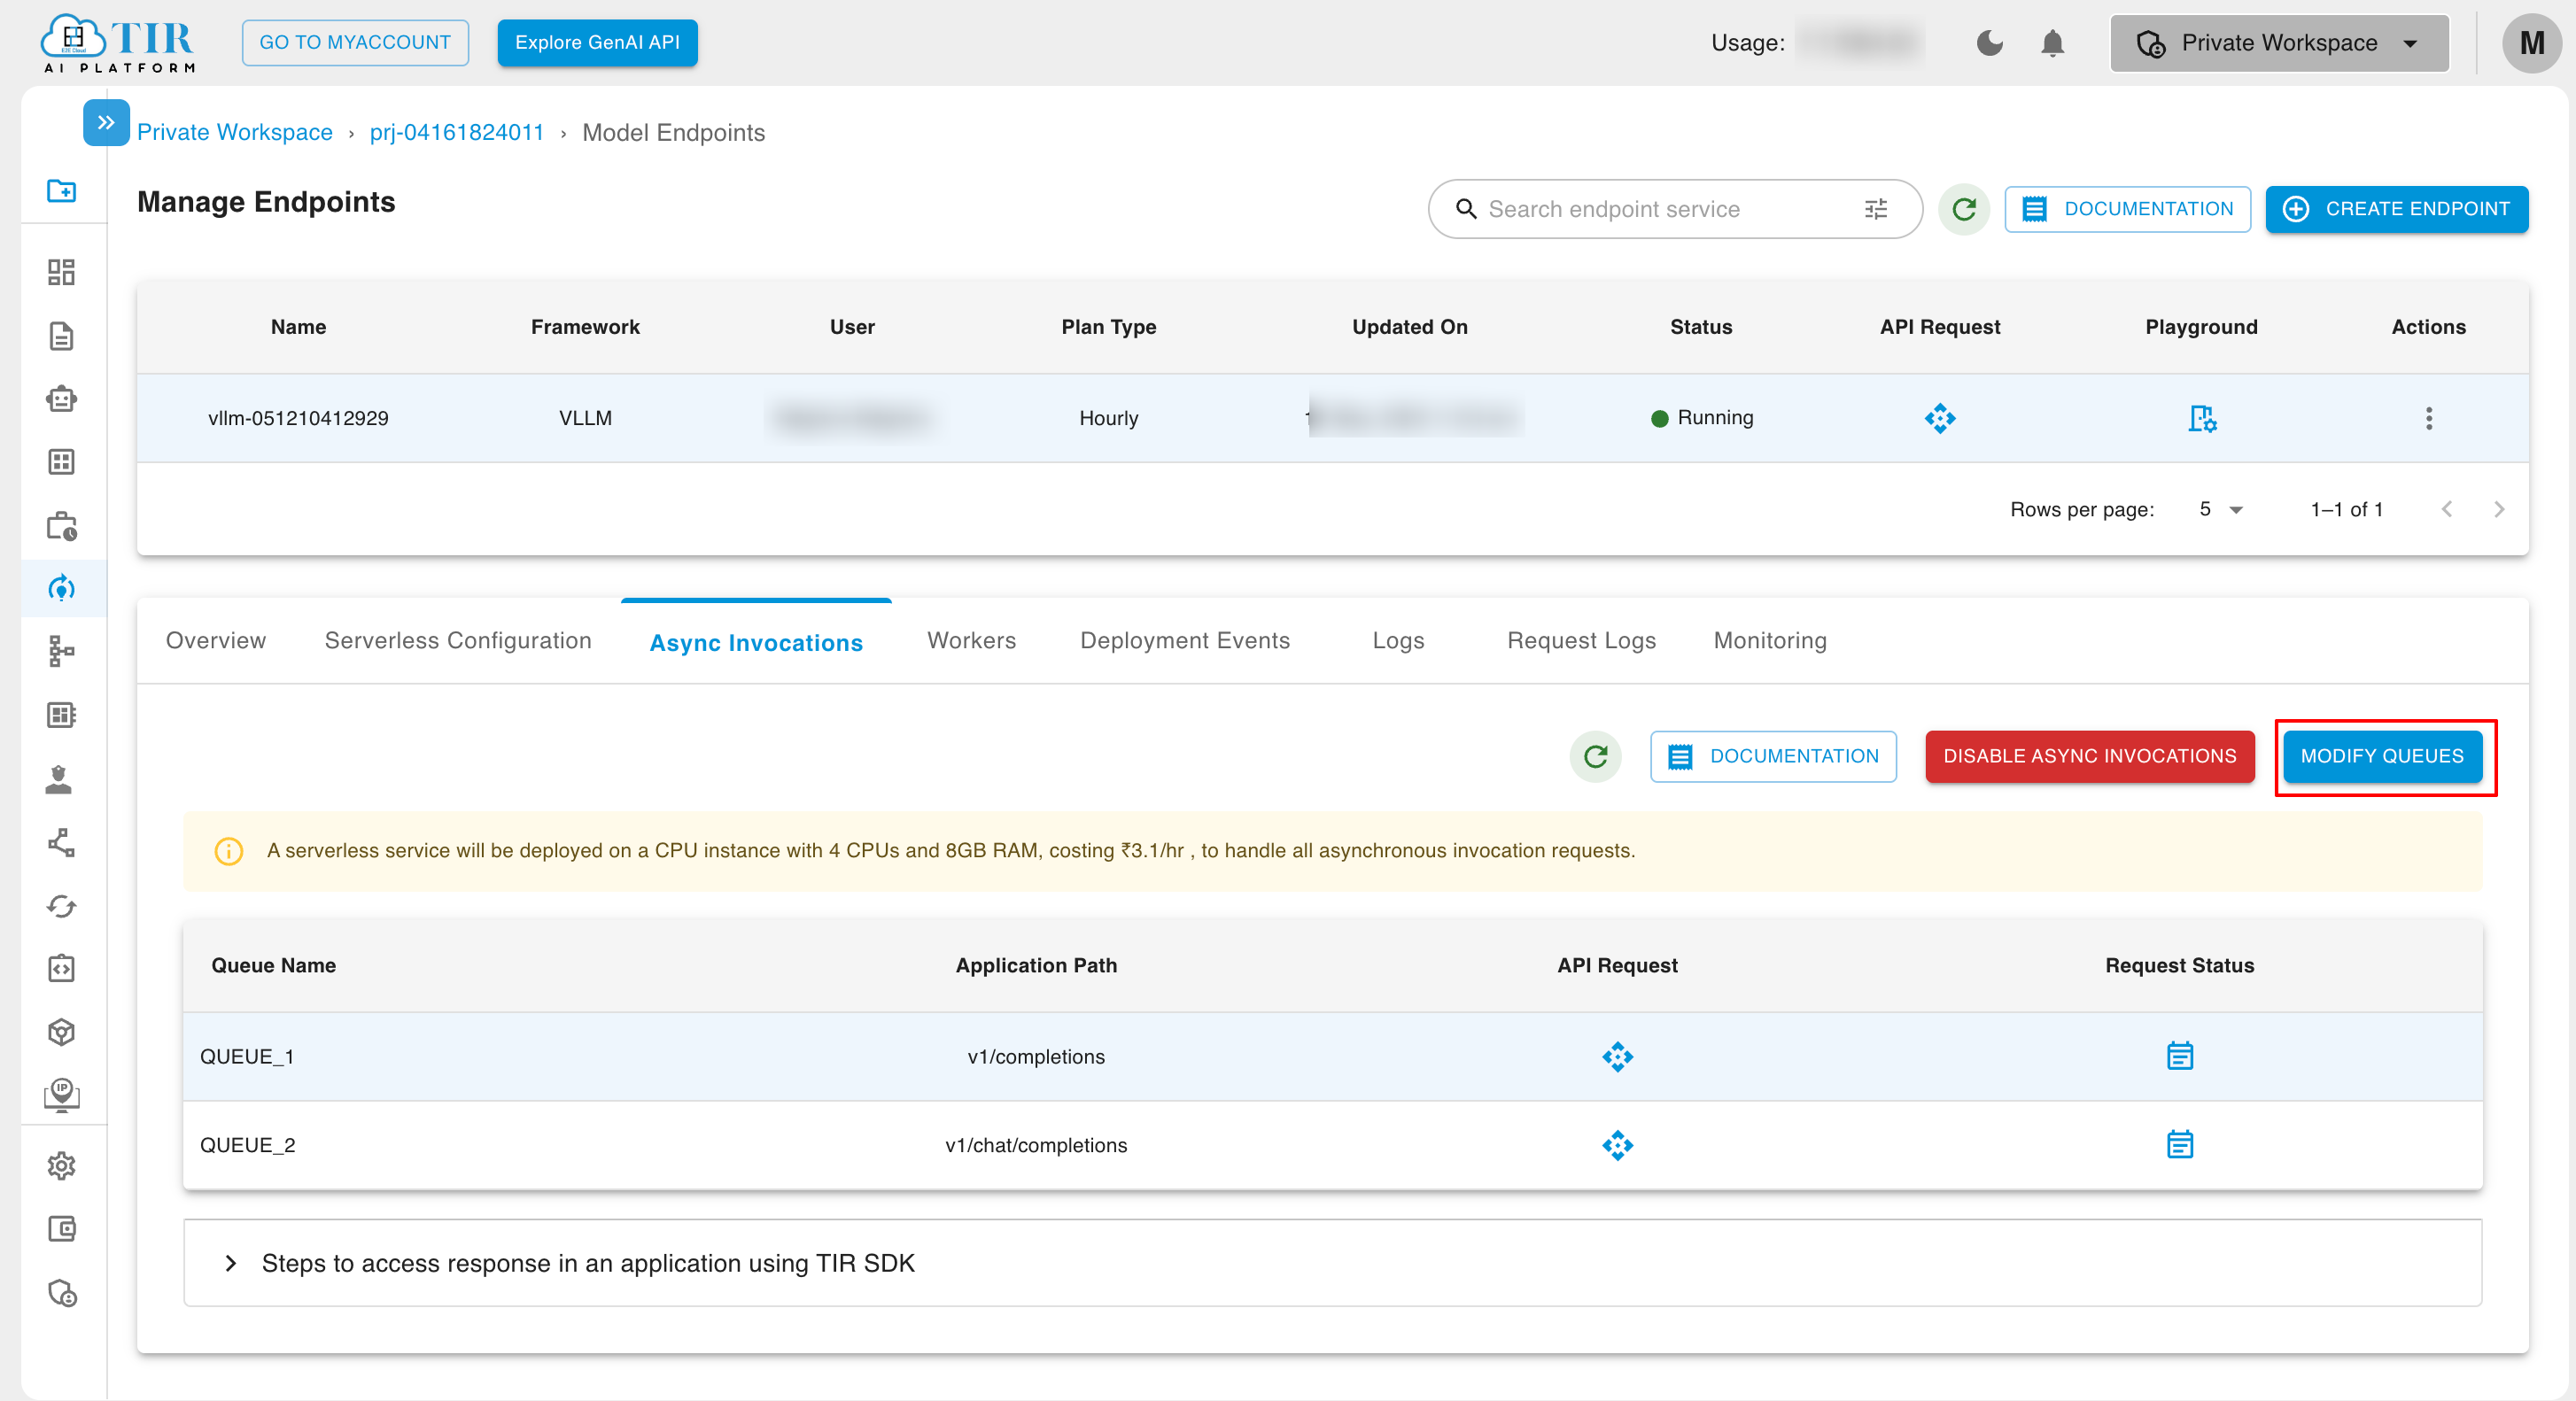
To update queues and destination, user can click on Modify Queues.
By selecting Modify Queues, users can add or delete queues and update the destination dataset.
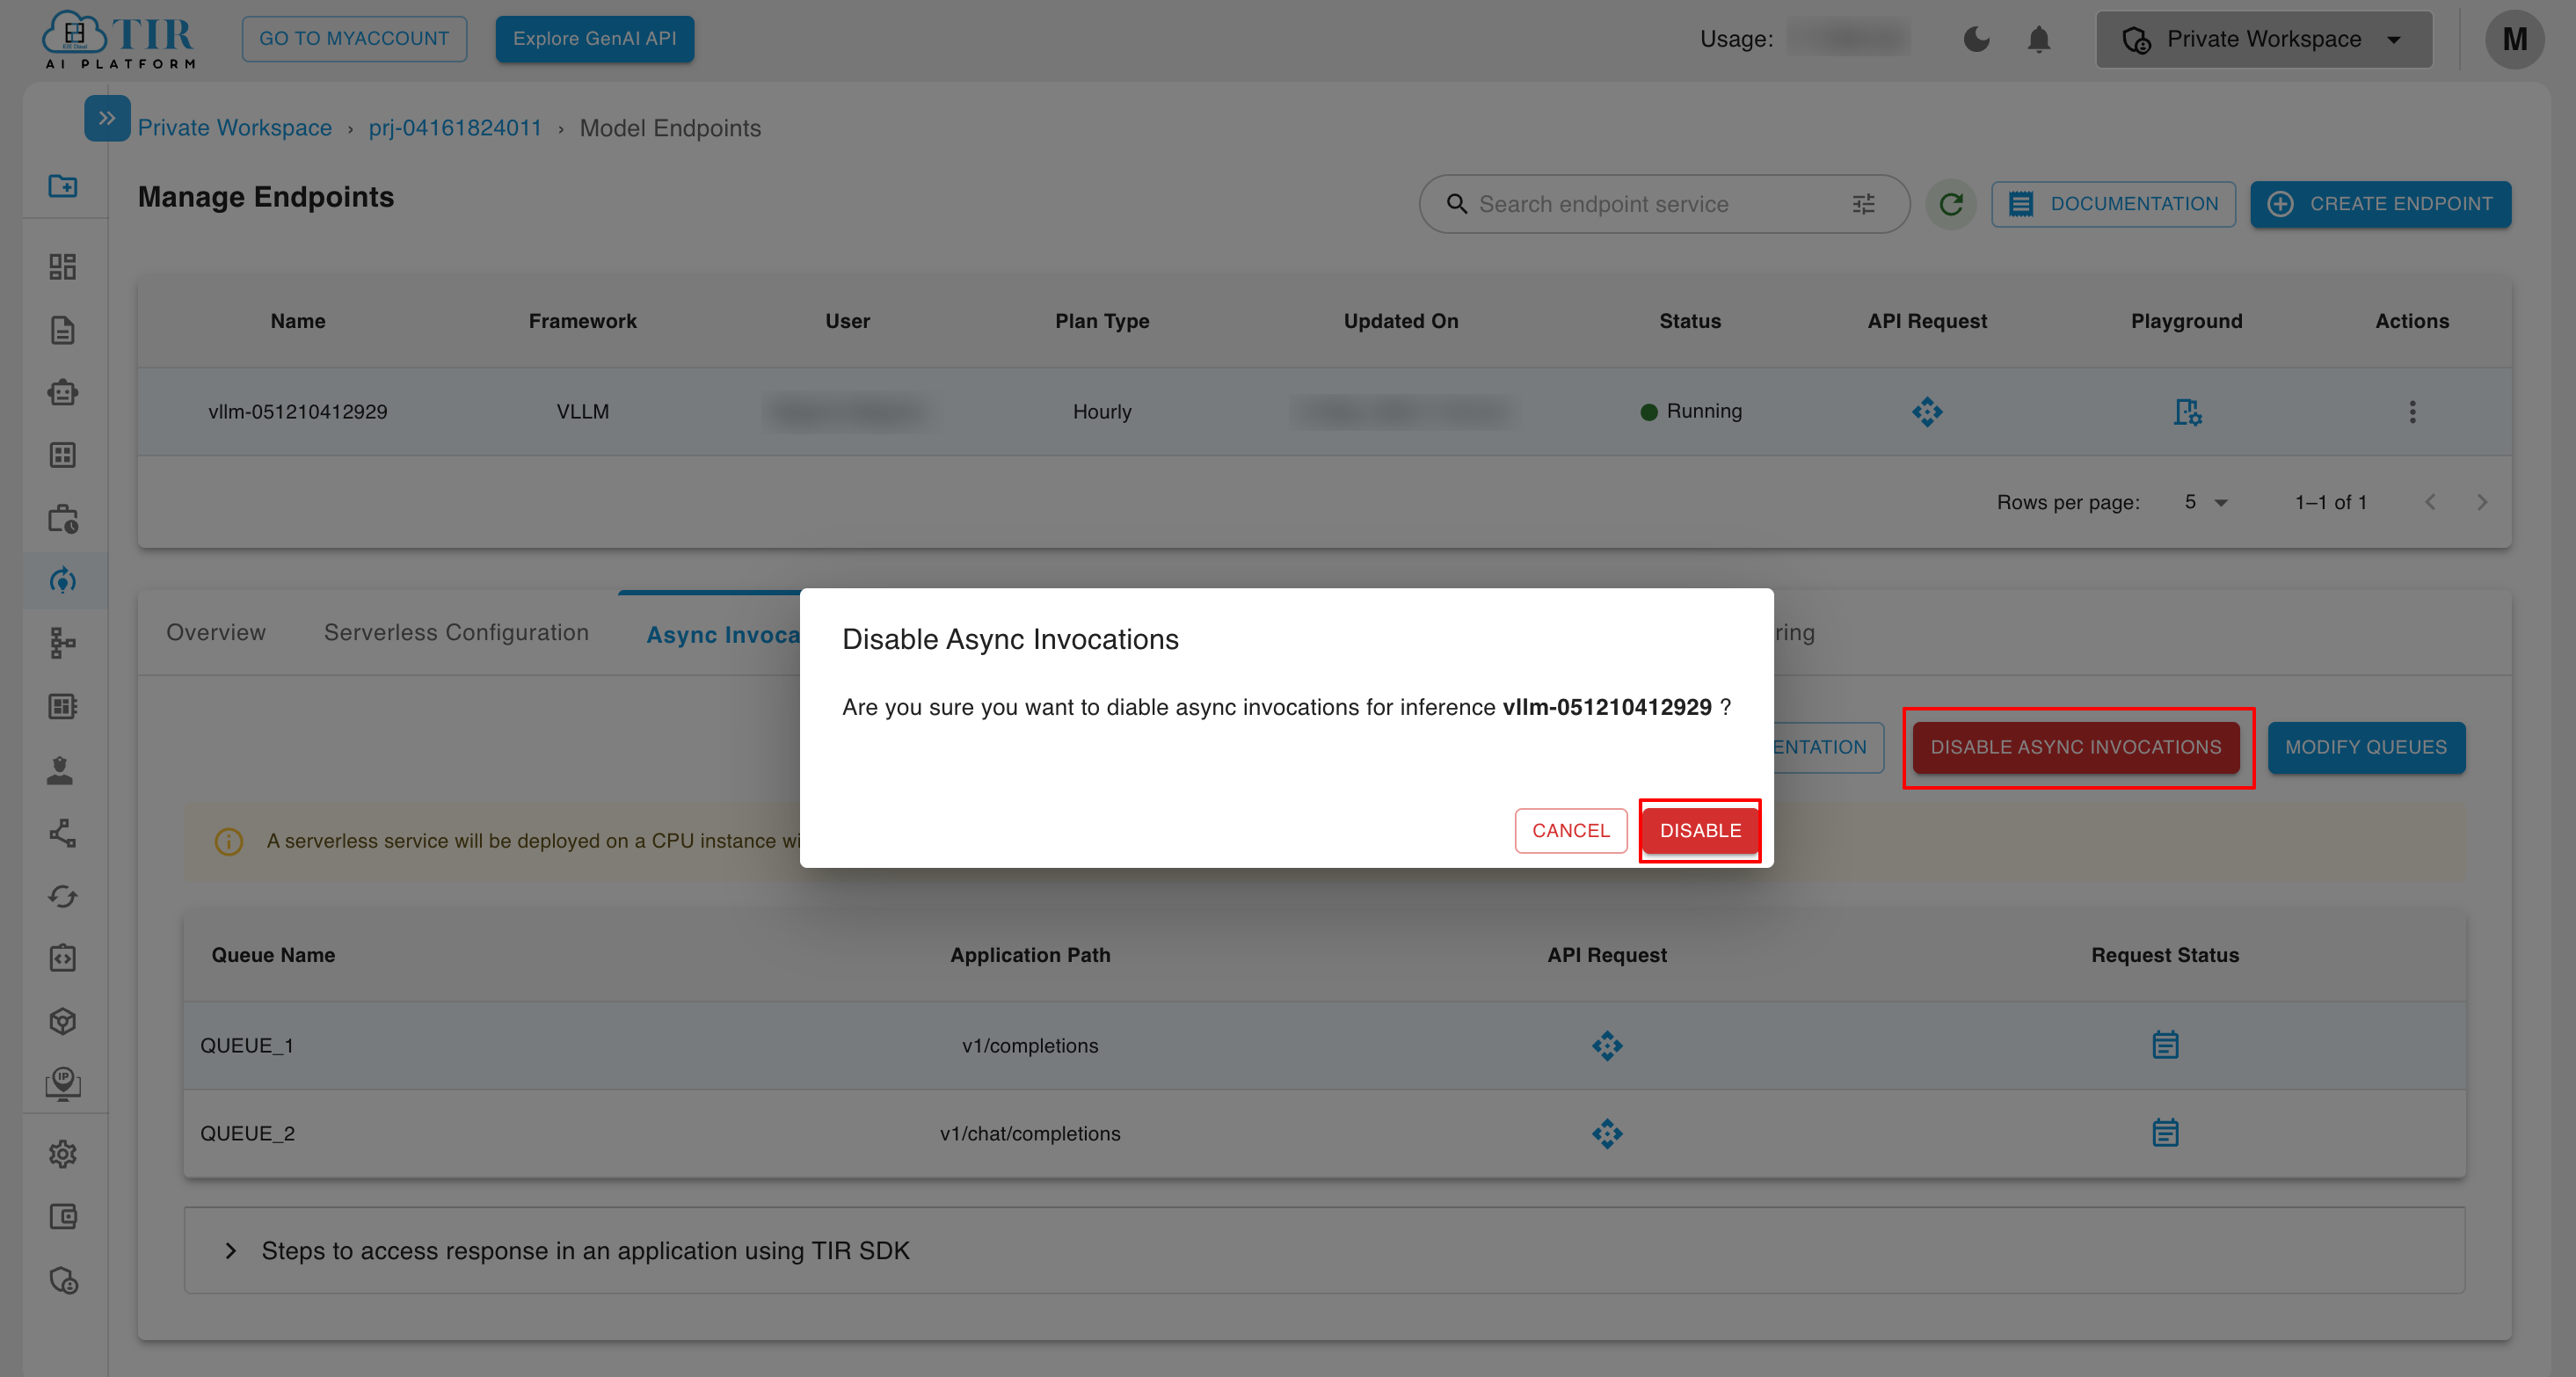
Click on Disable Async Invocation to disable Async Invocations for the created inference.
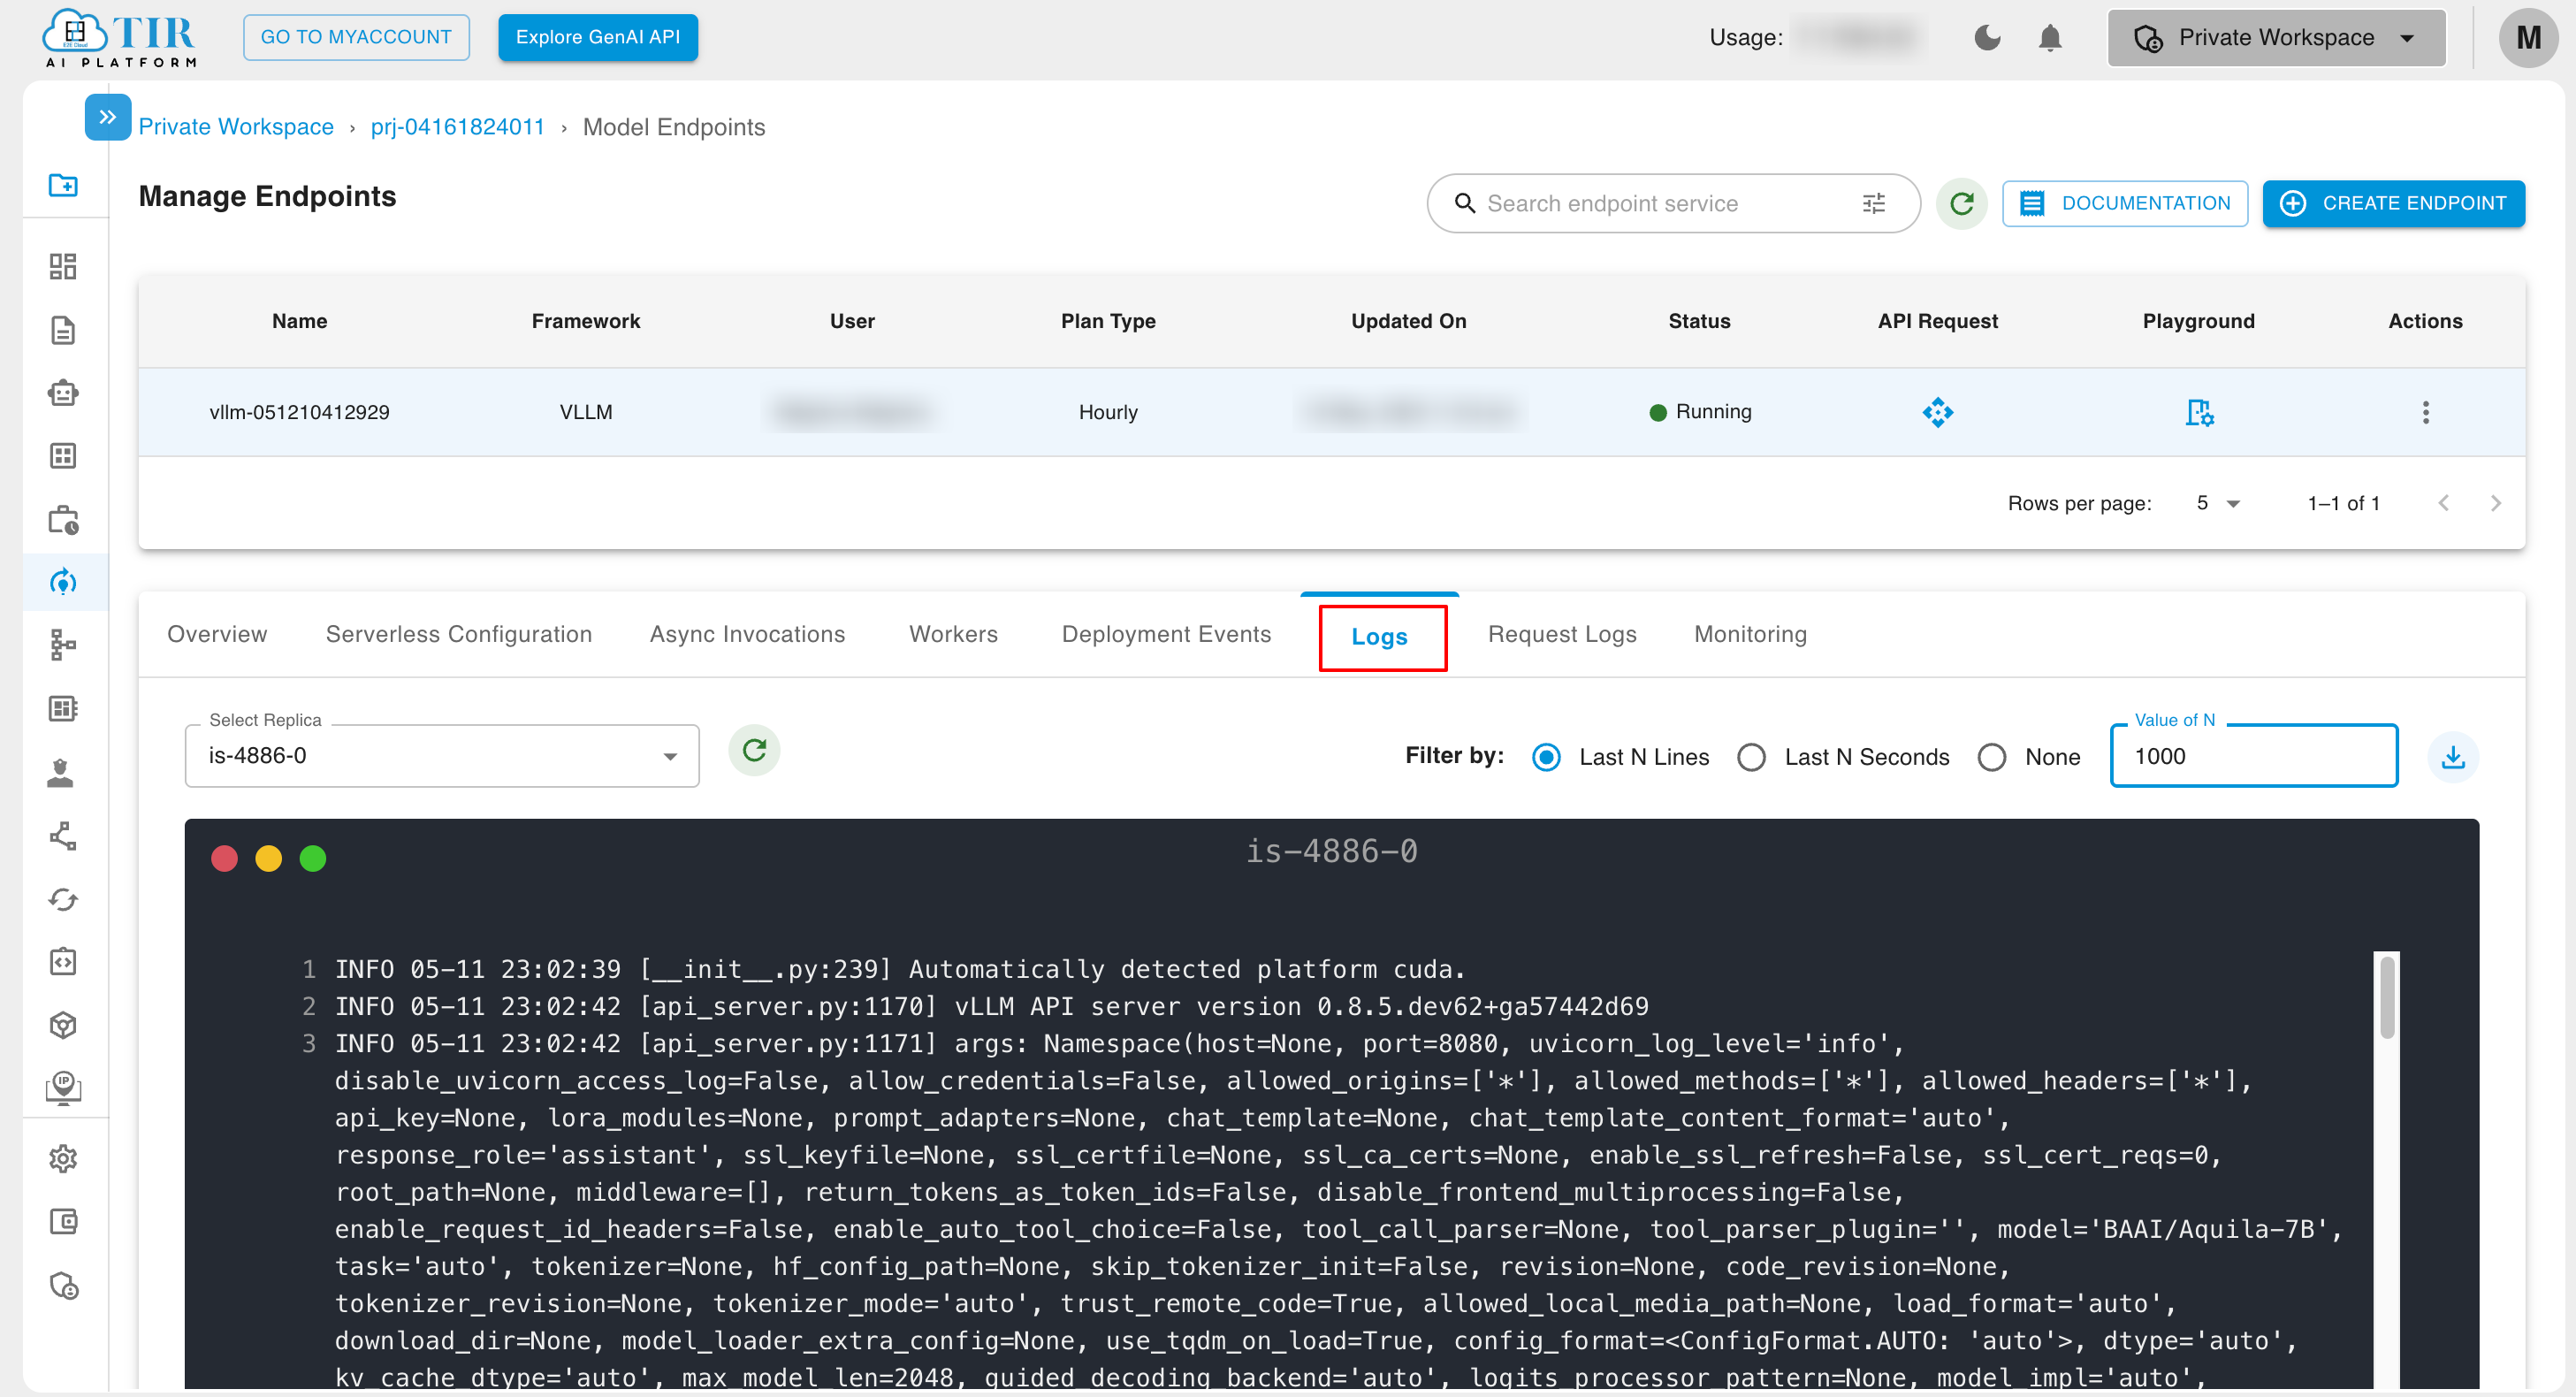
Logs
In the log tab, logs are generated, and you can view them by clicking on the log tab.
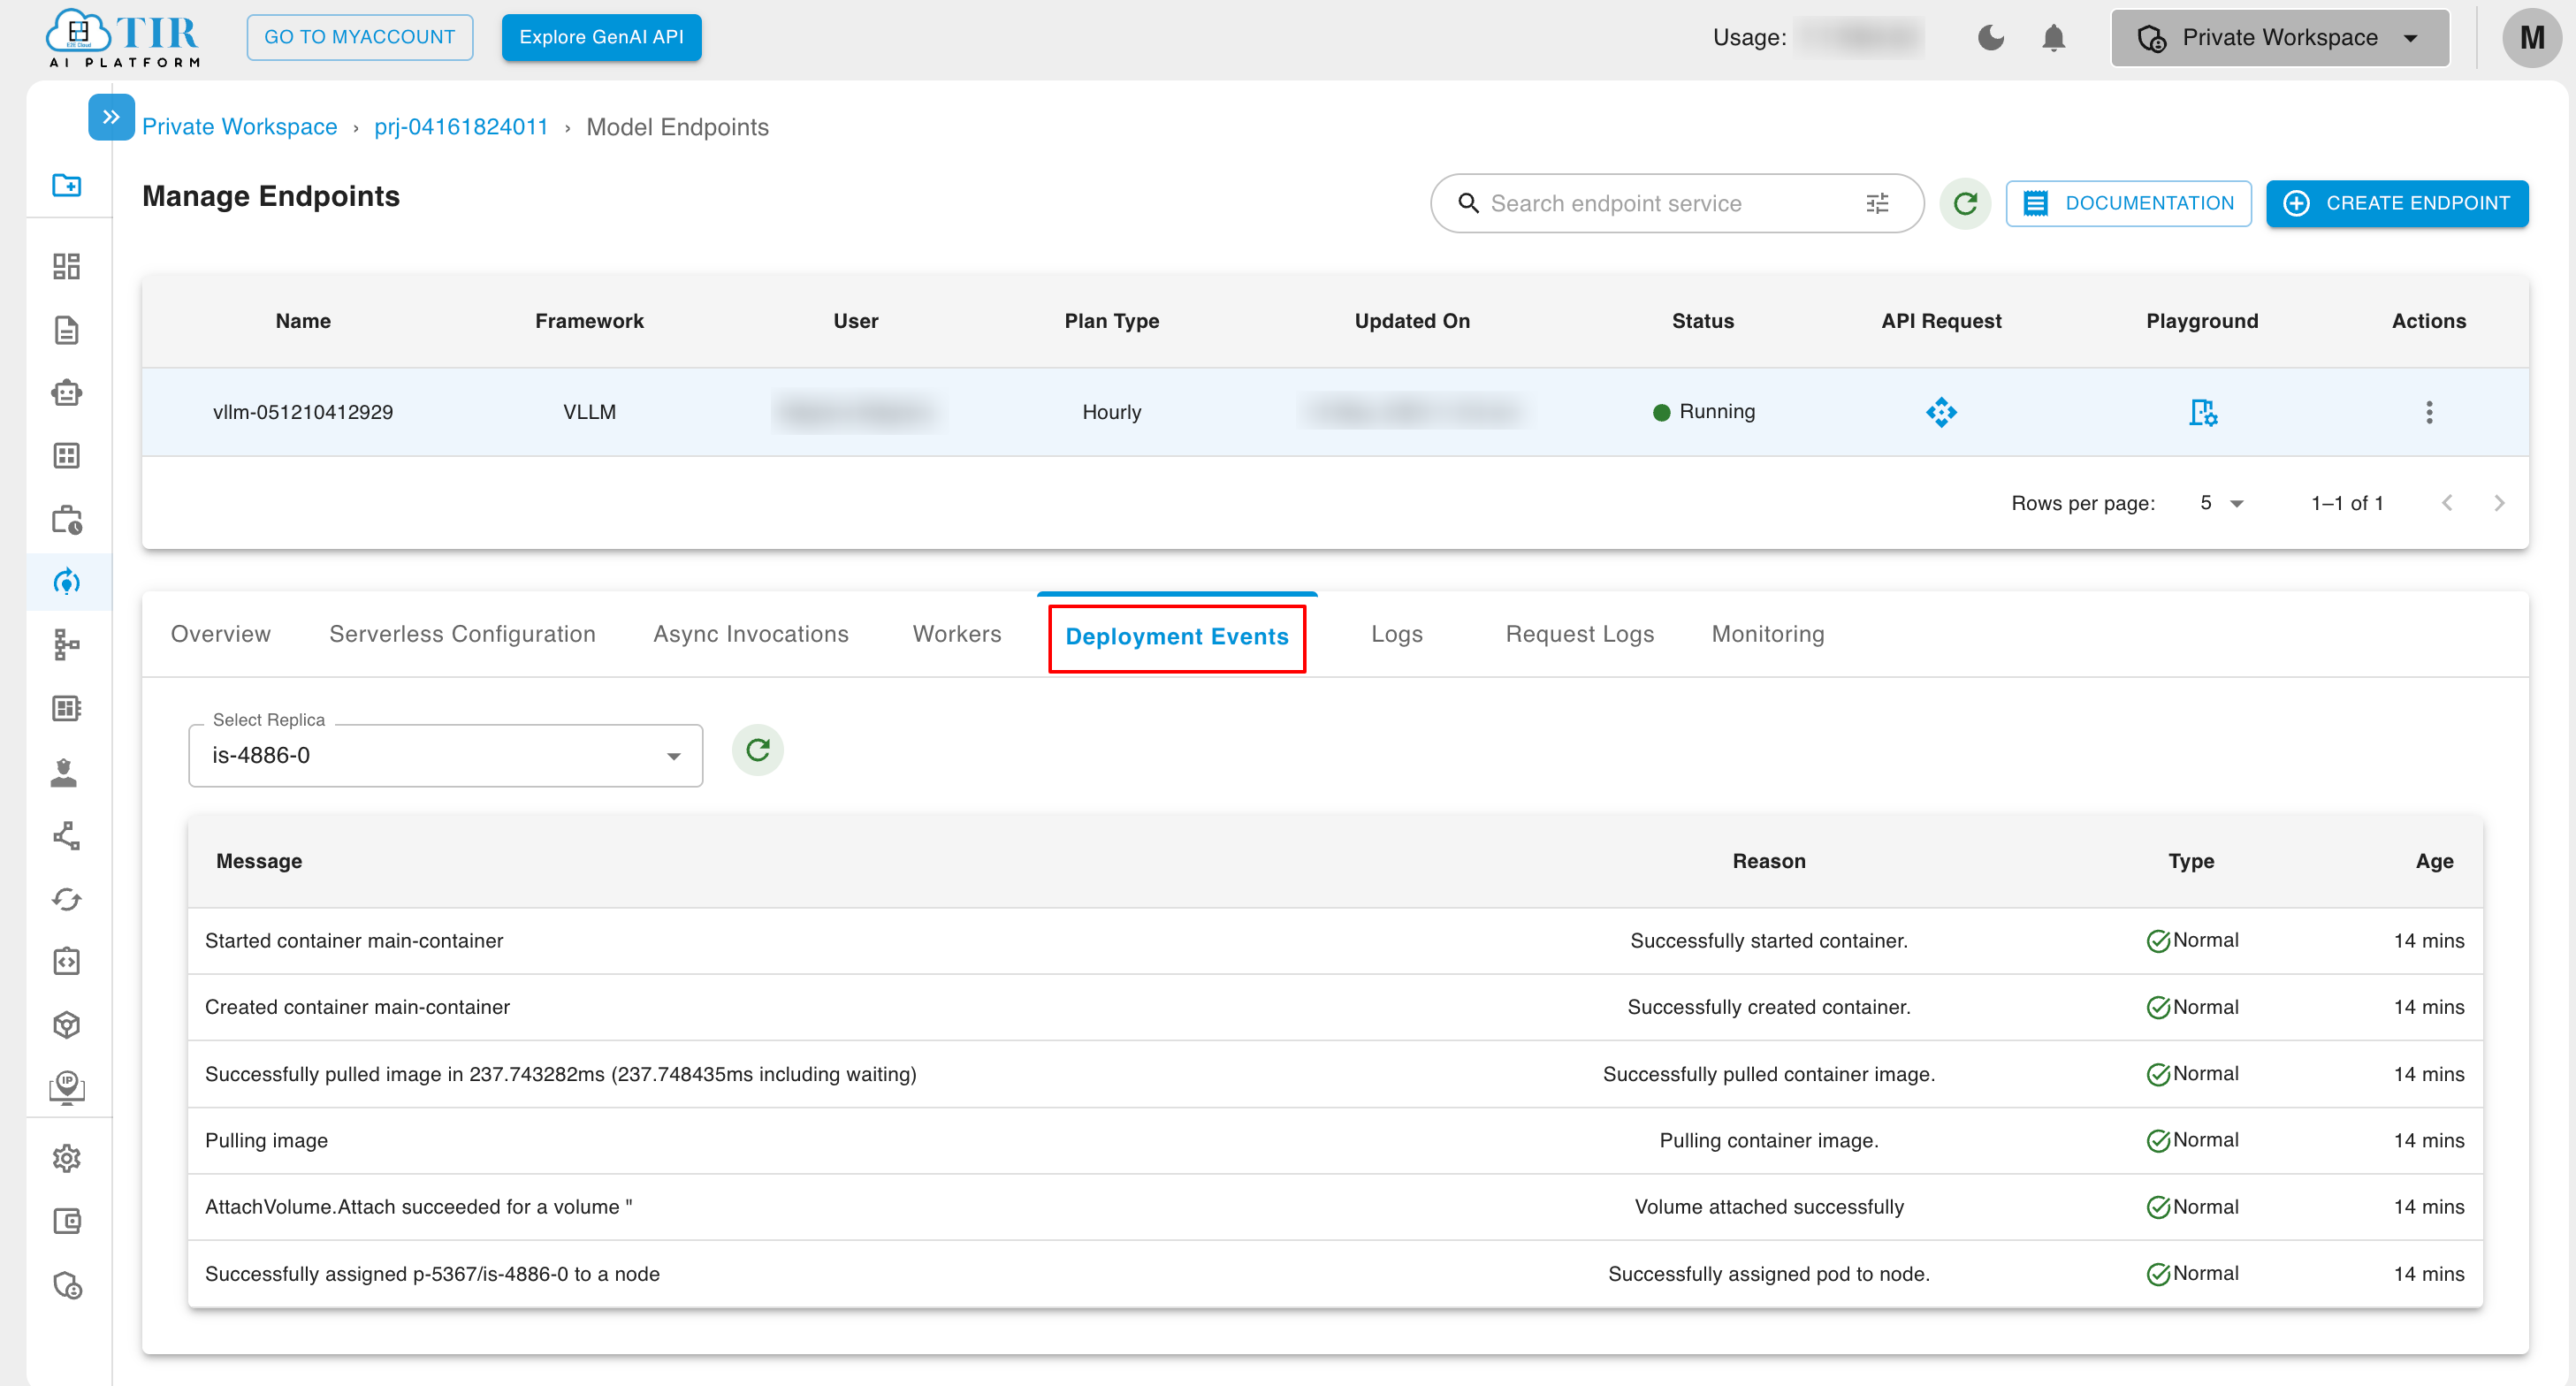
Deployment Events
In the Deployments Events tab, information about Deployment Events is provided.
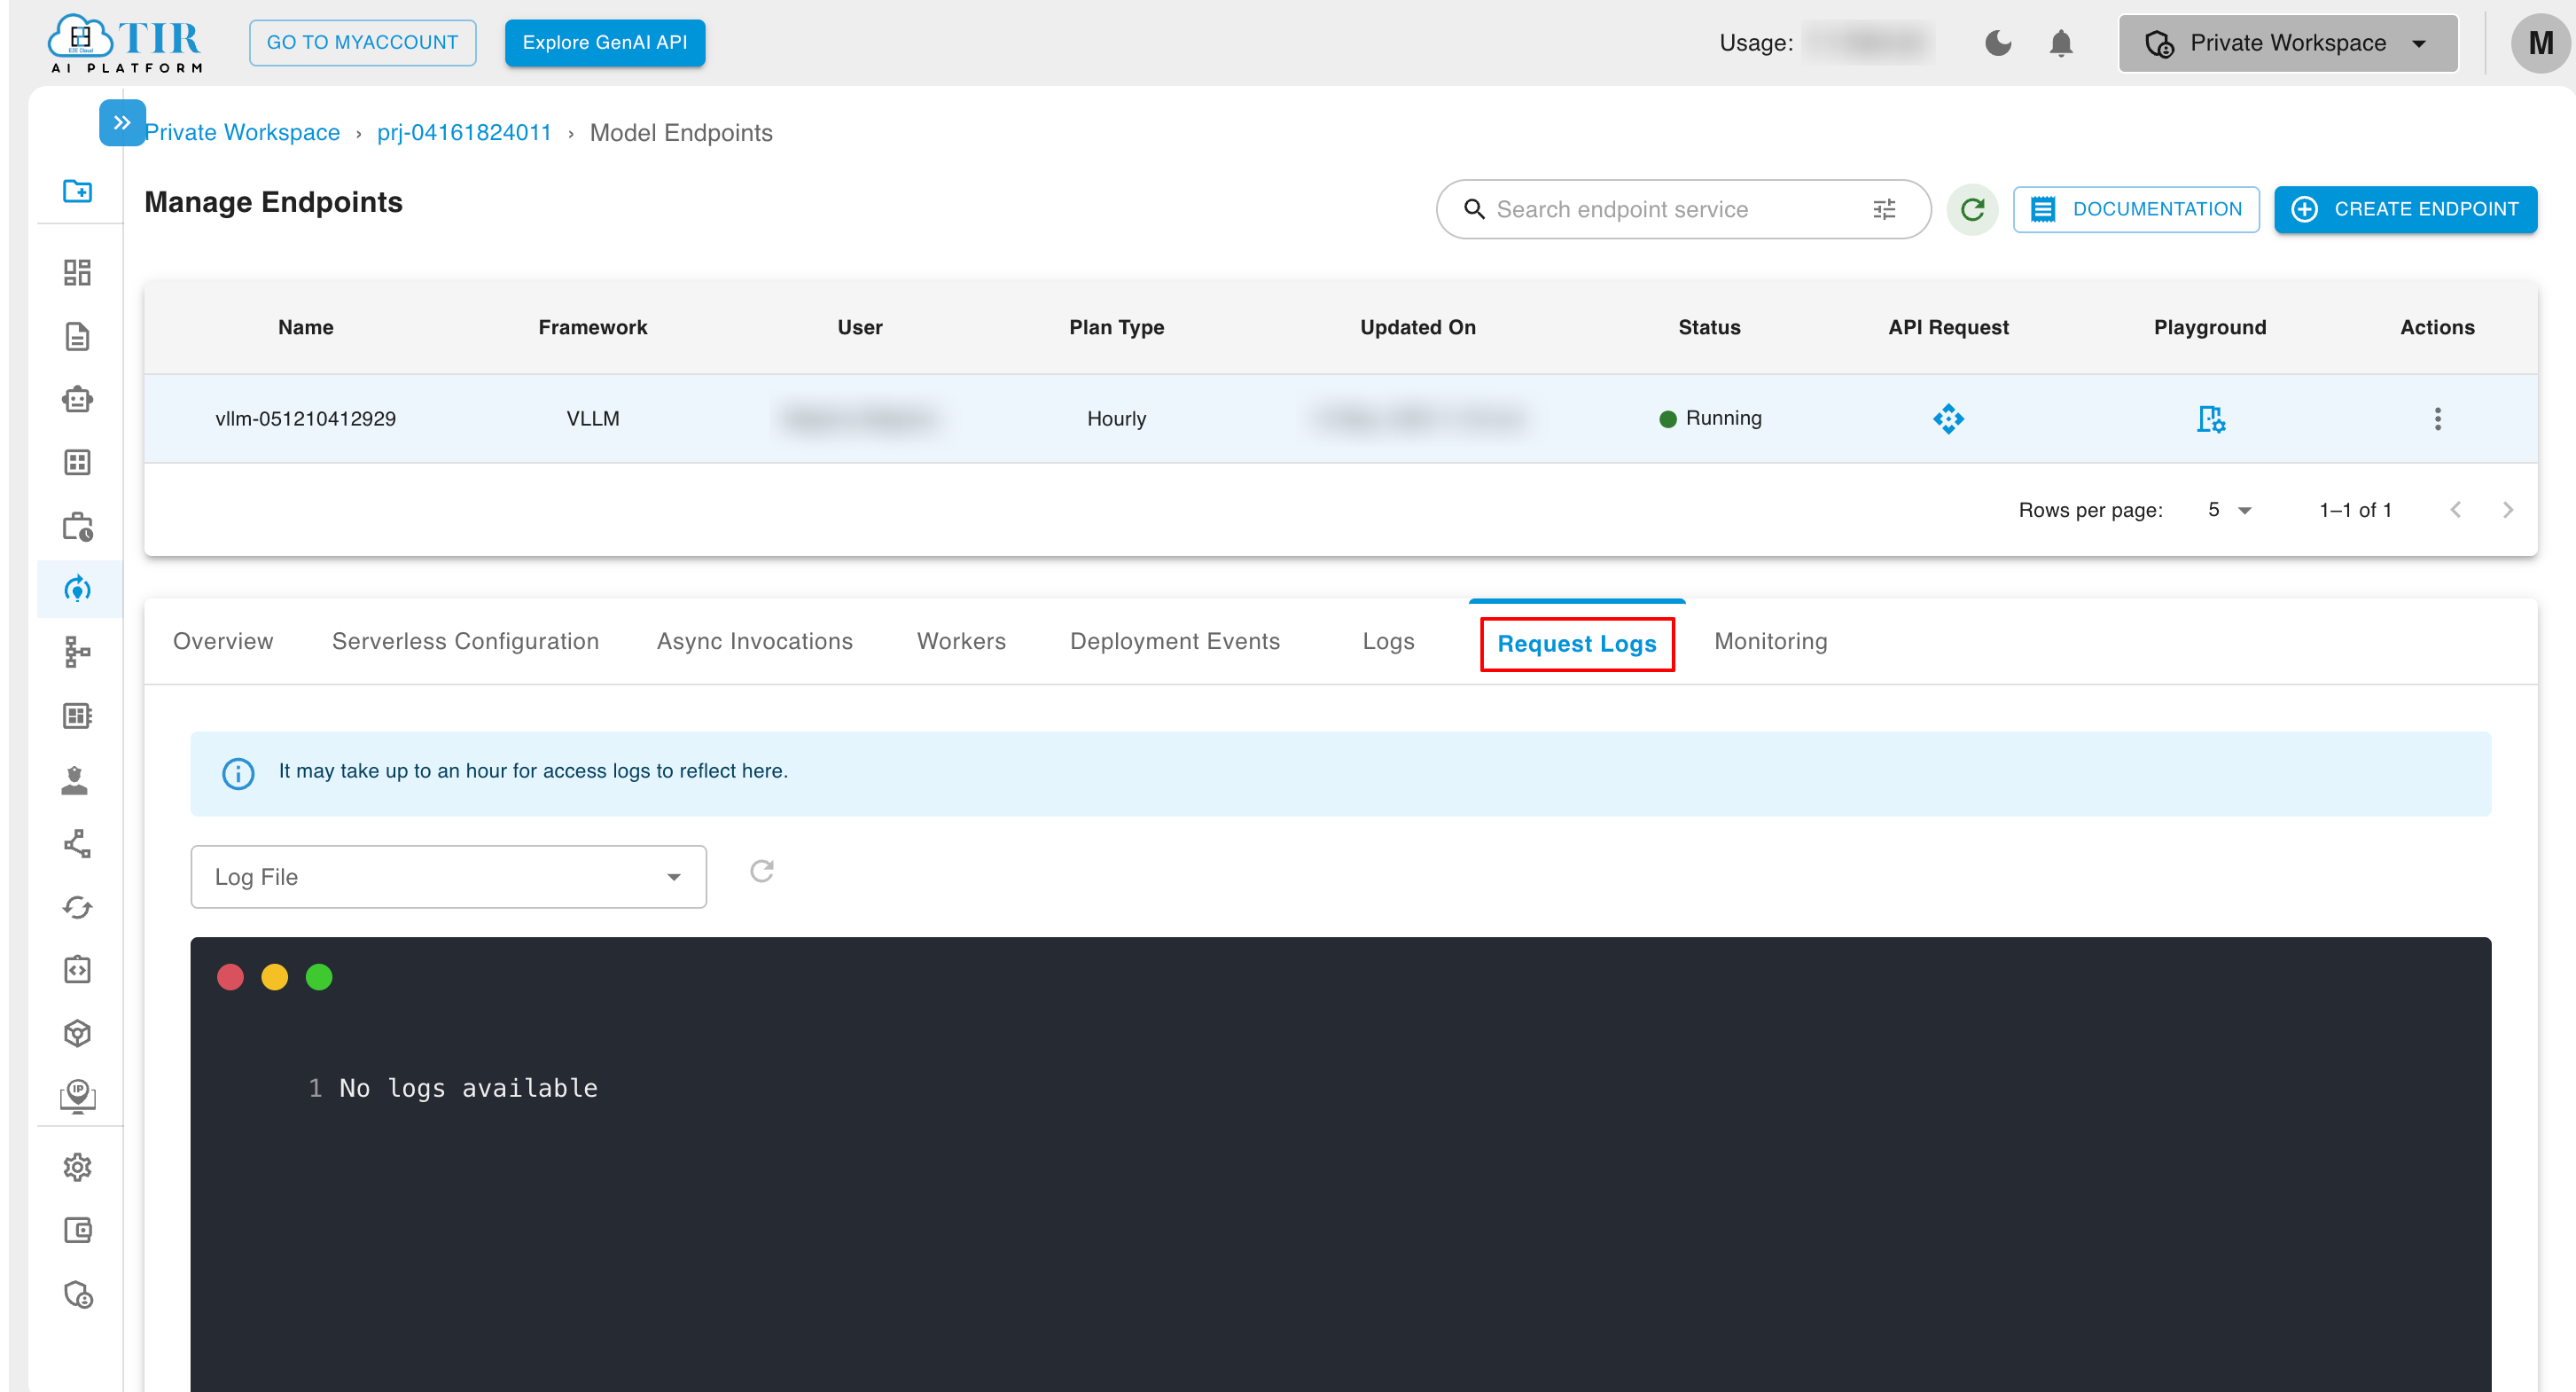
Request Logs
In the Request log tab, Request logs are generated, and you can view them by clicking on the tab.
Monitoring
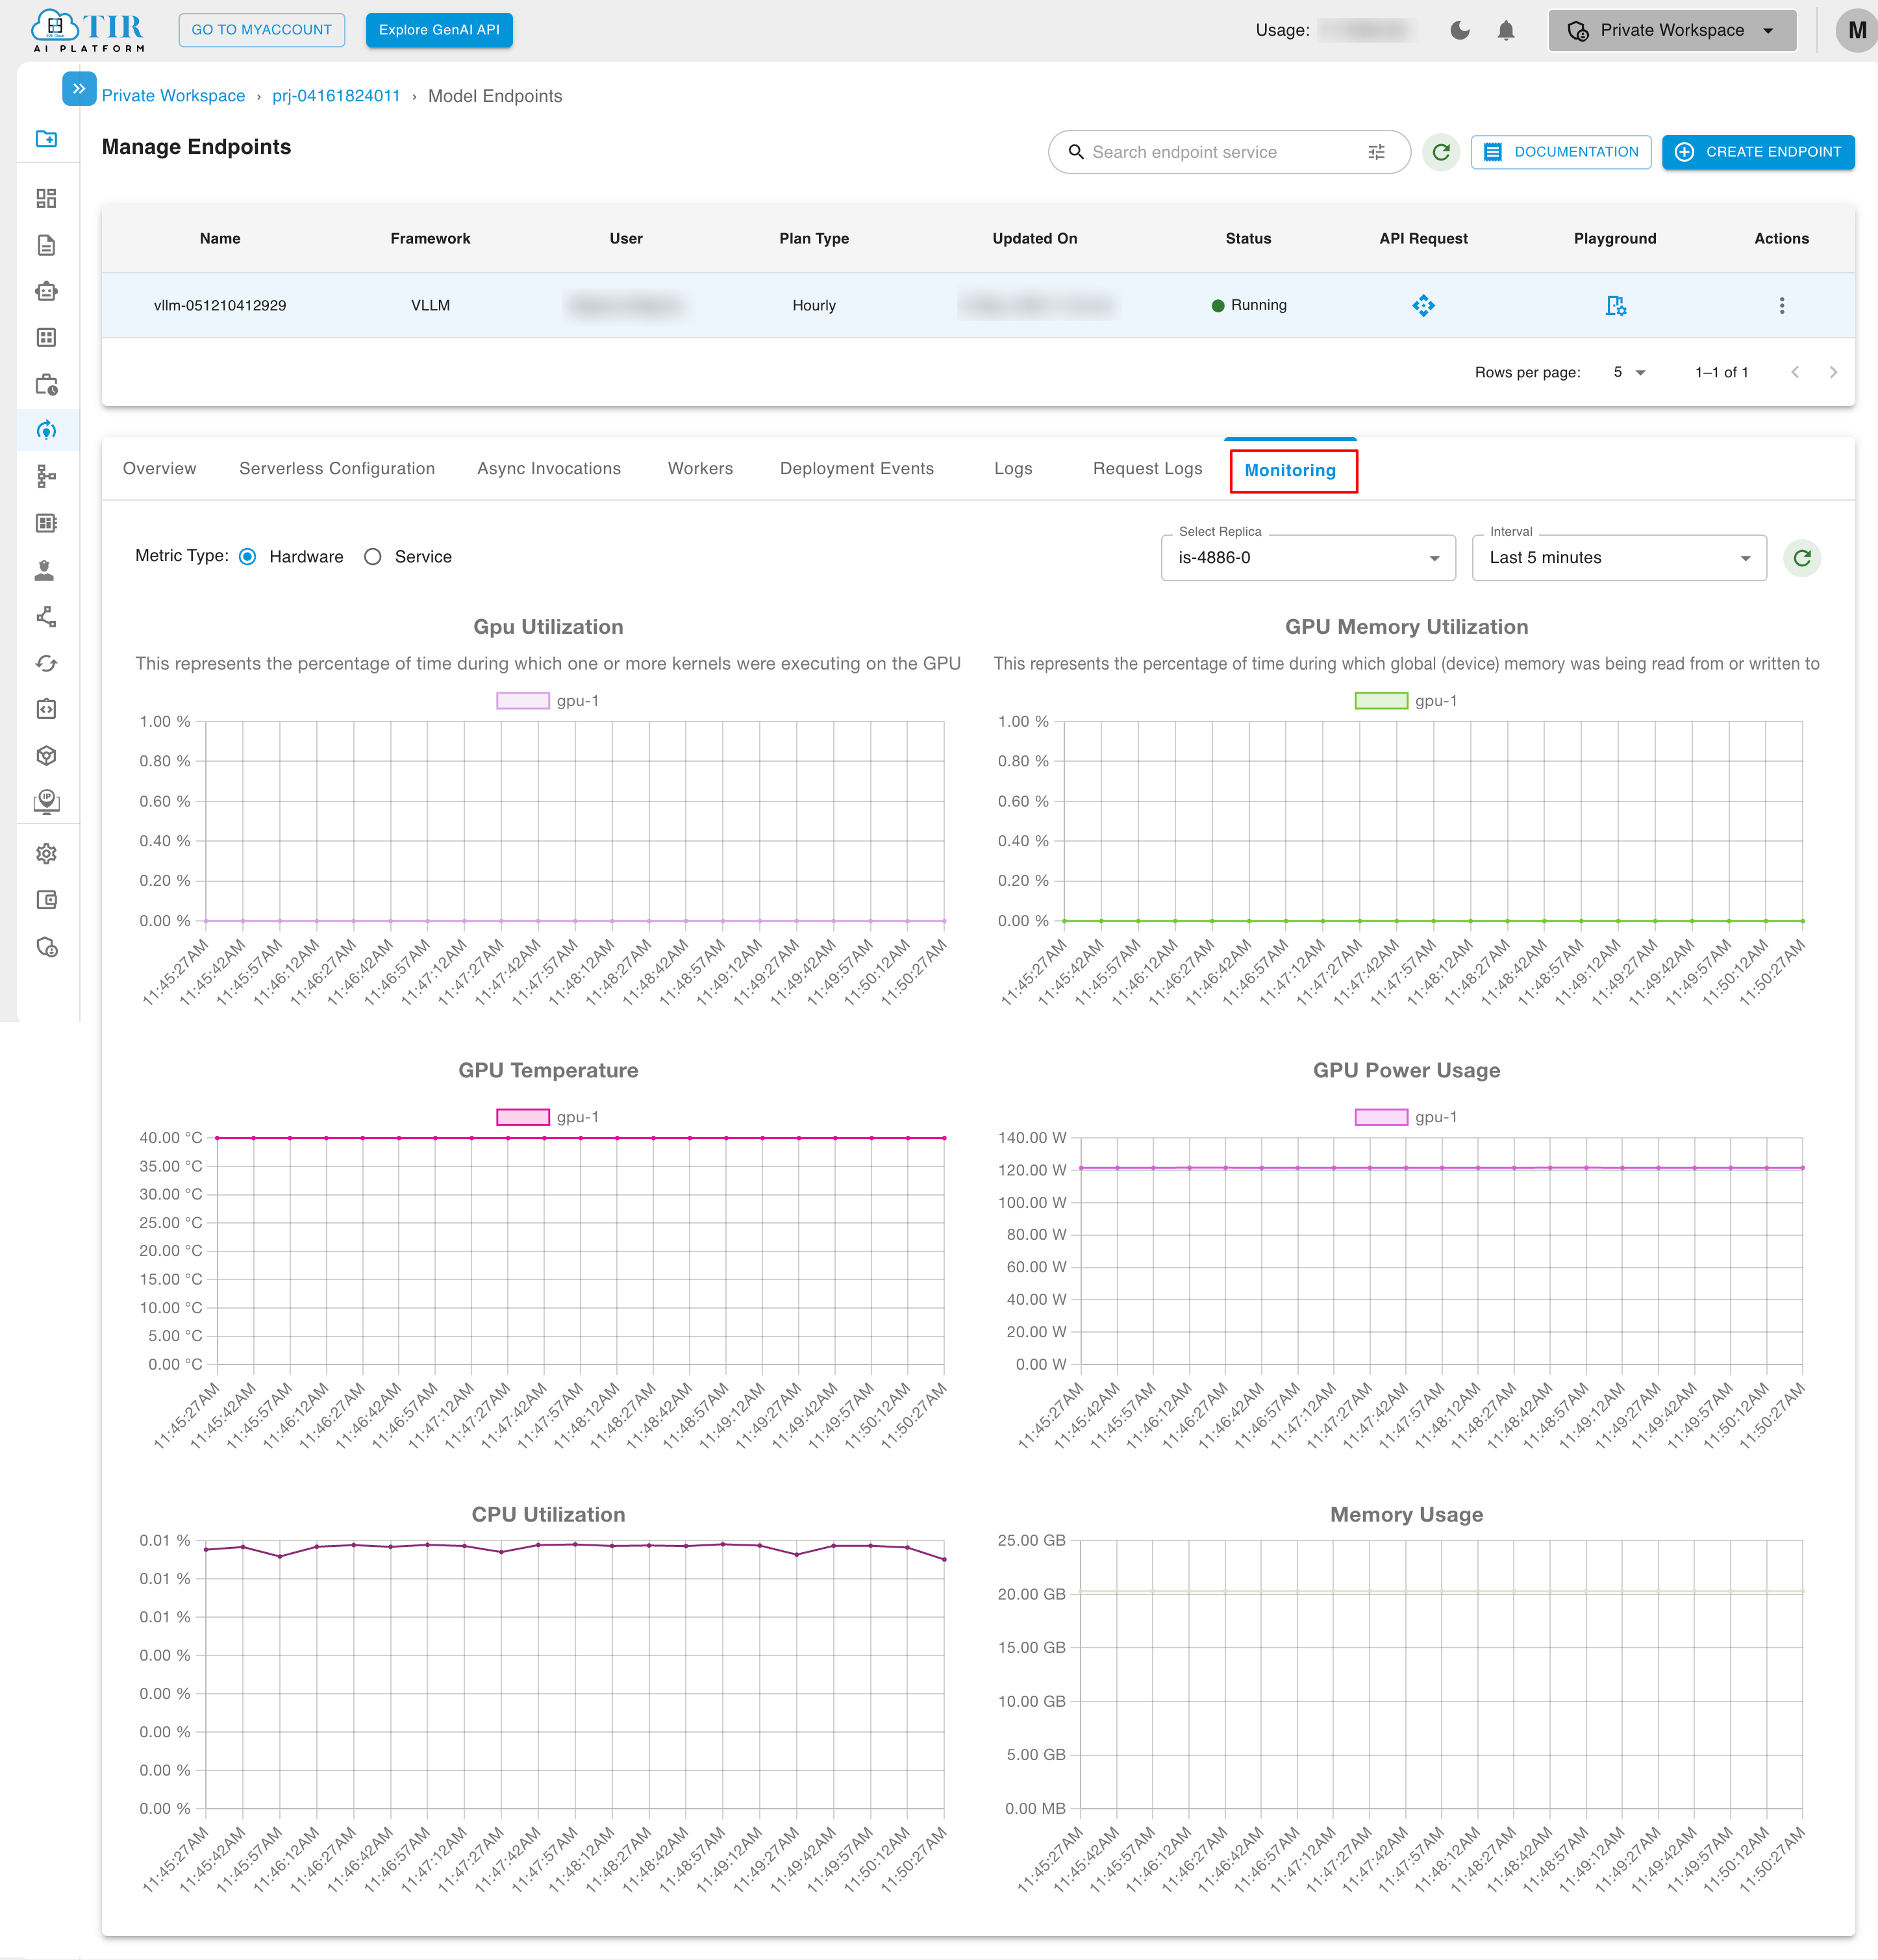
In the Monitoring tab, you can choose between Hardware and Service as metric types. Under Hardware, you'll find details like GPU Utilization, GPU Memory Utilization, GPU Temperature, GPU Power Usage, CPU Utilization, and Memory Usage.
Serverless Configuration
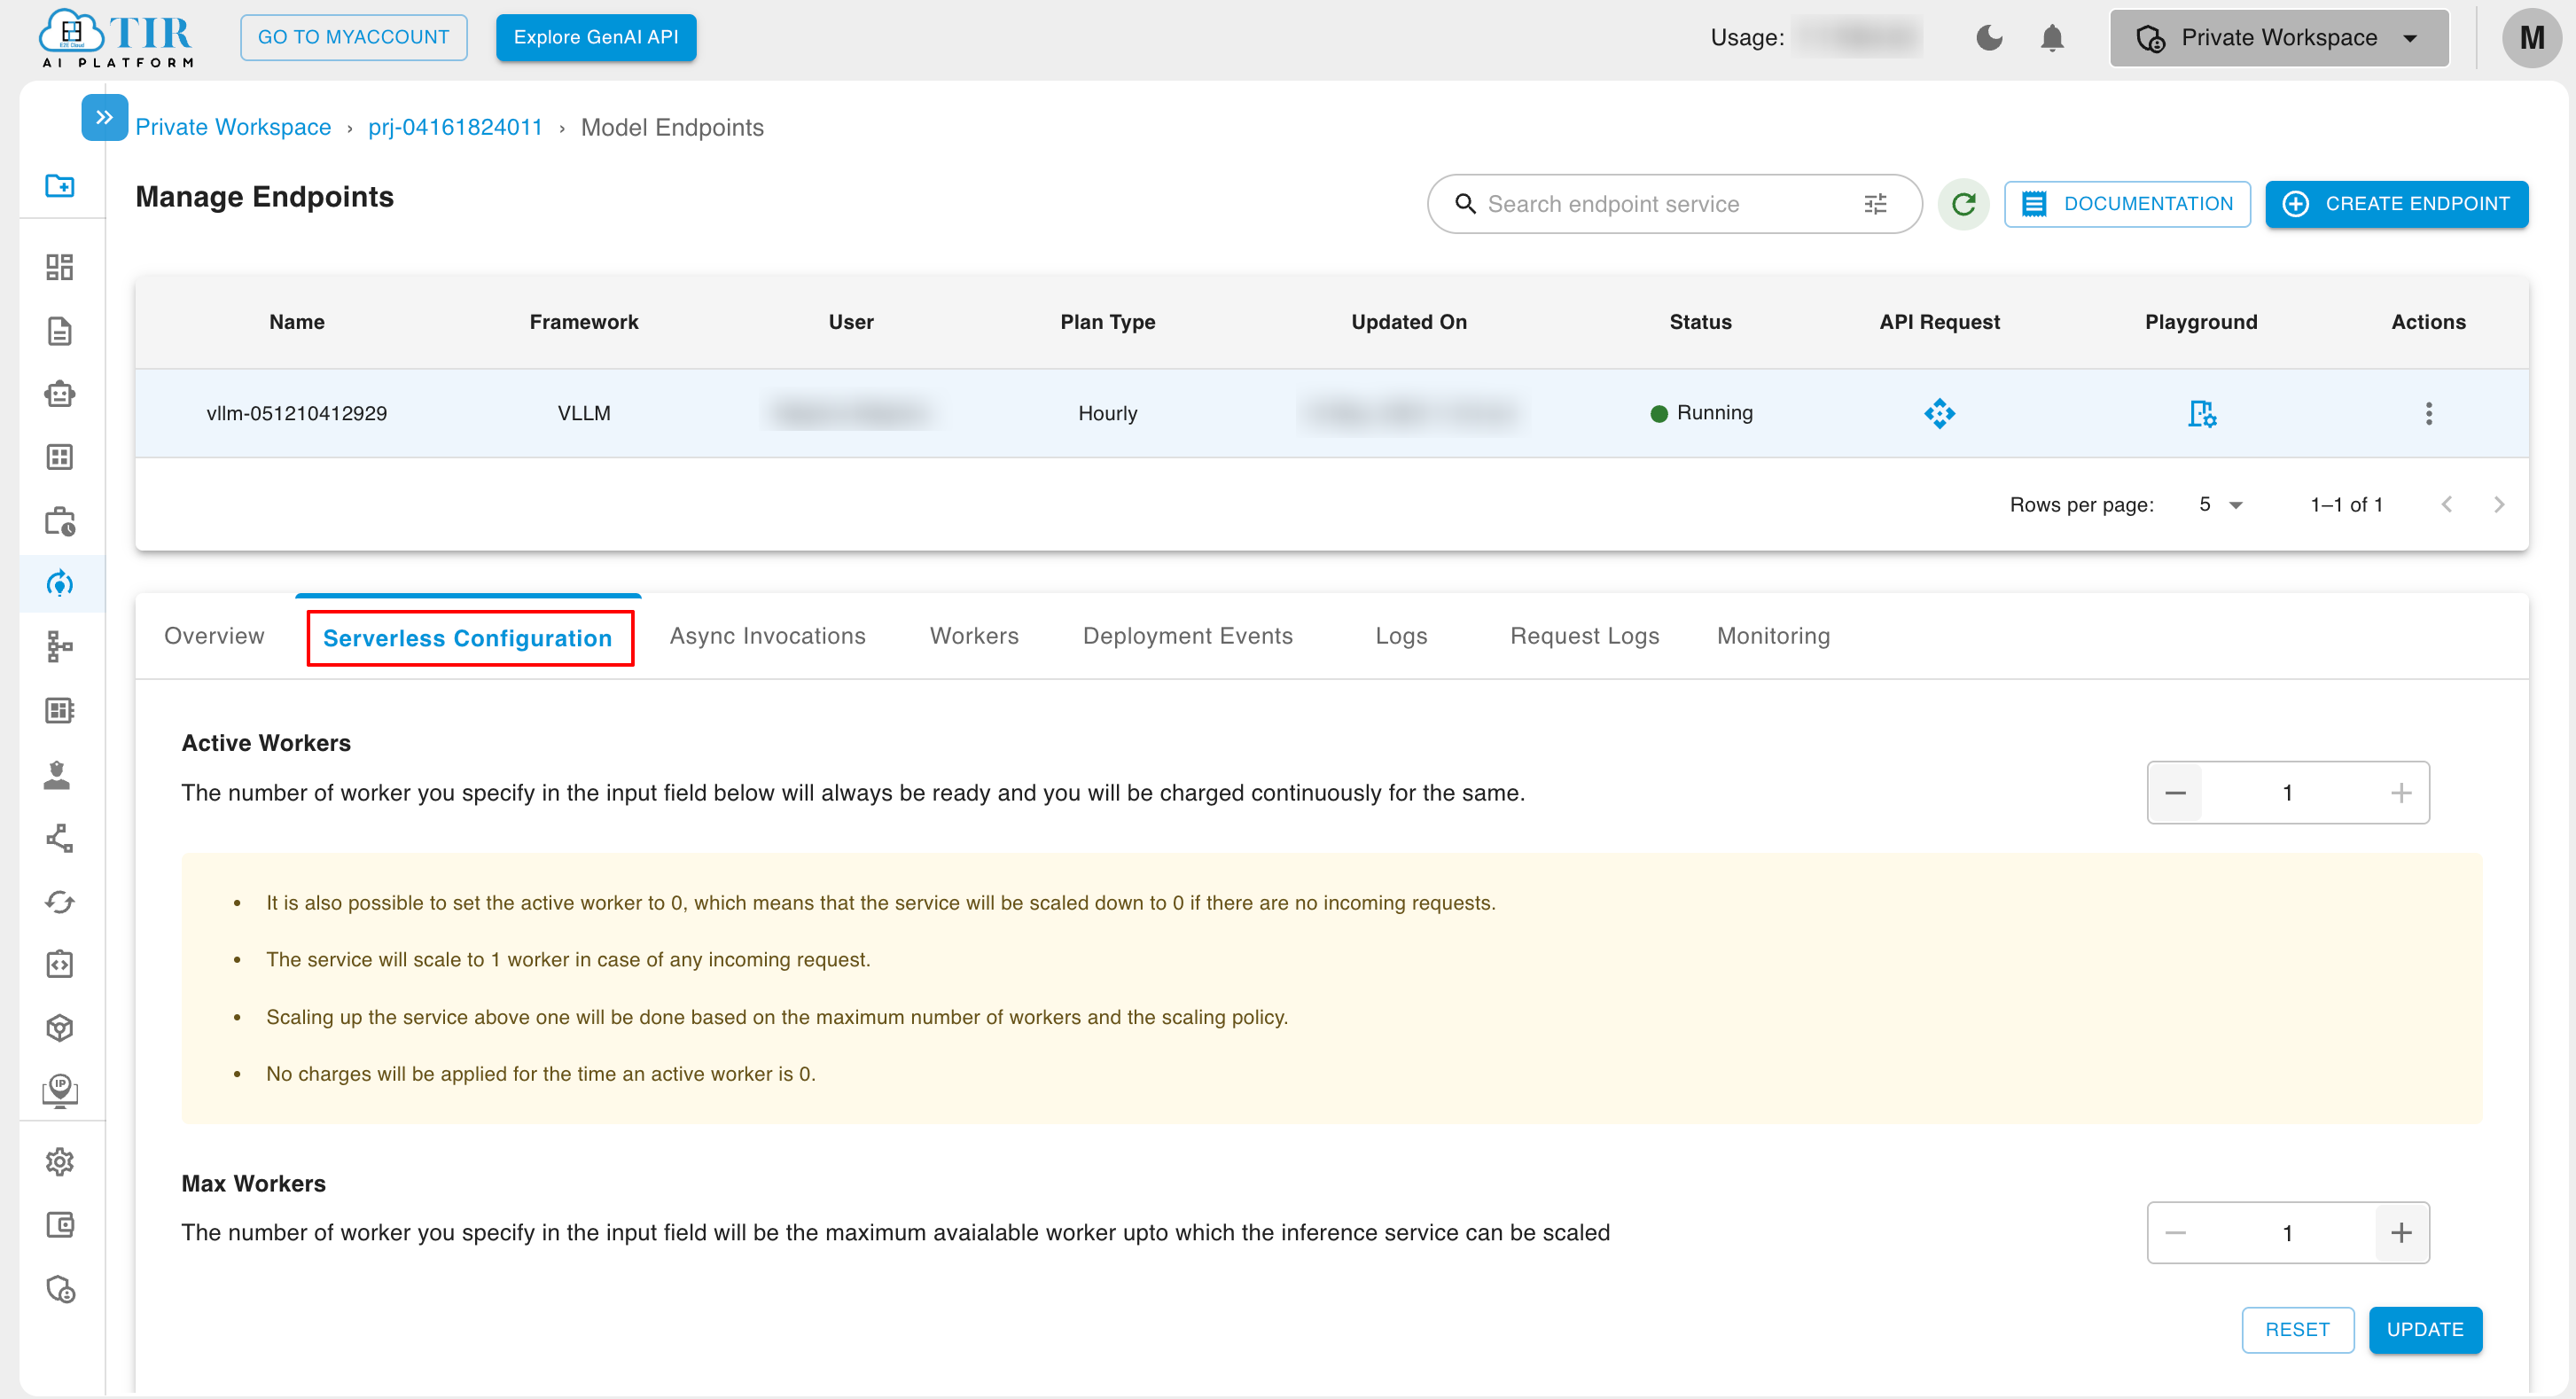
In the Serverless Configuration, you can modify both the Active Worker and Max Worker counts. If the Active Worker count is not equal to the Max Worker, autoscaling will be enabled.
Search Model Endpoint
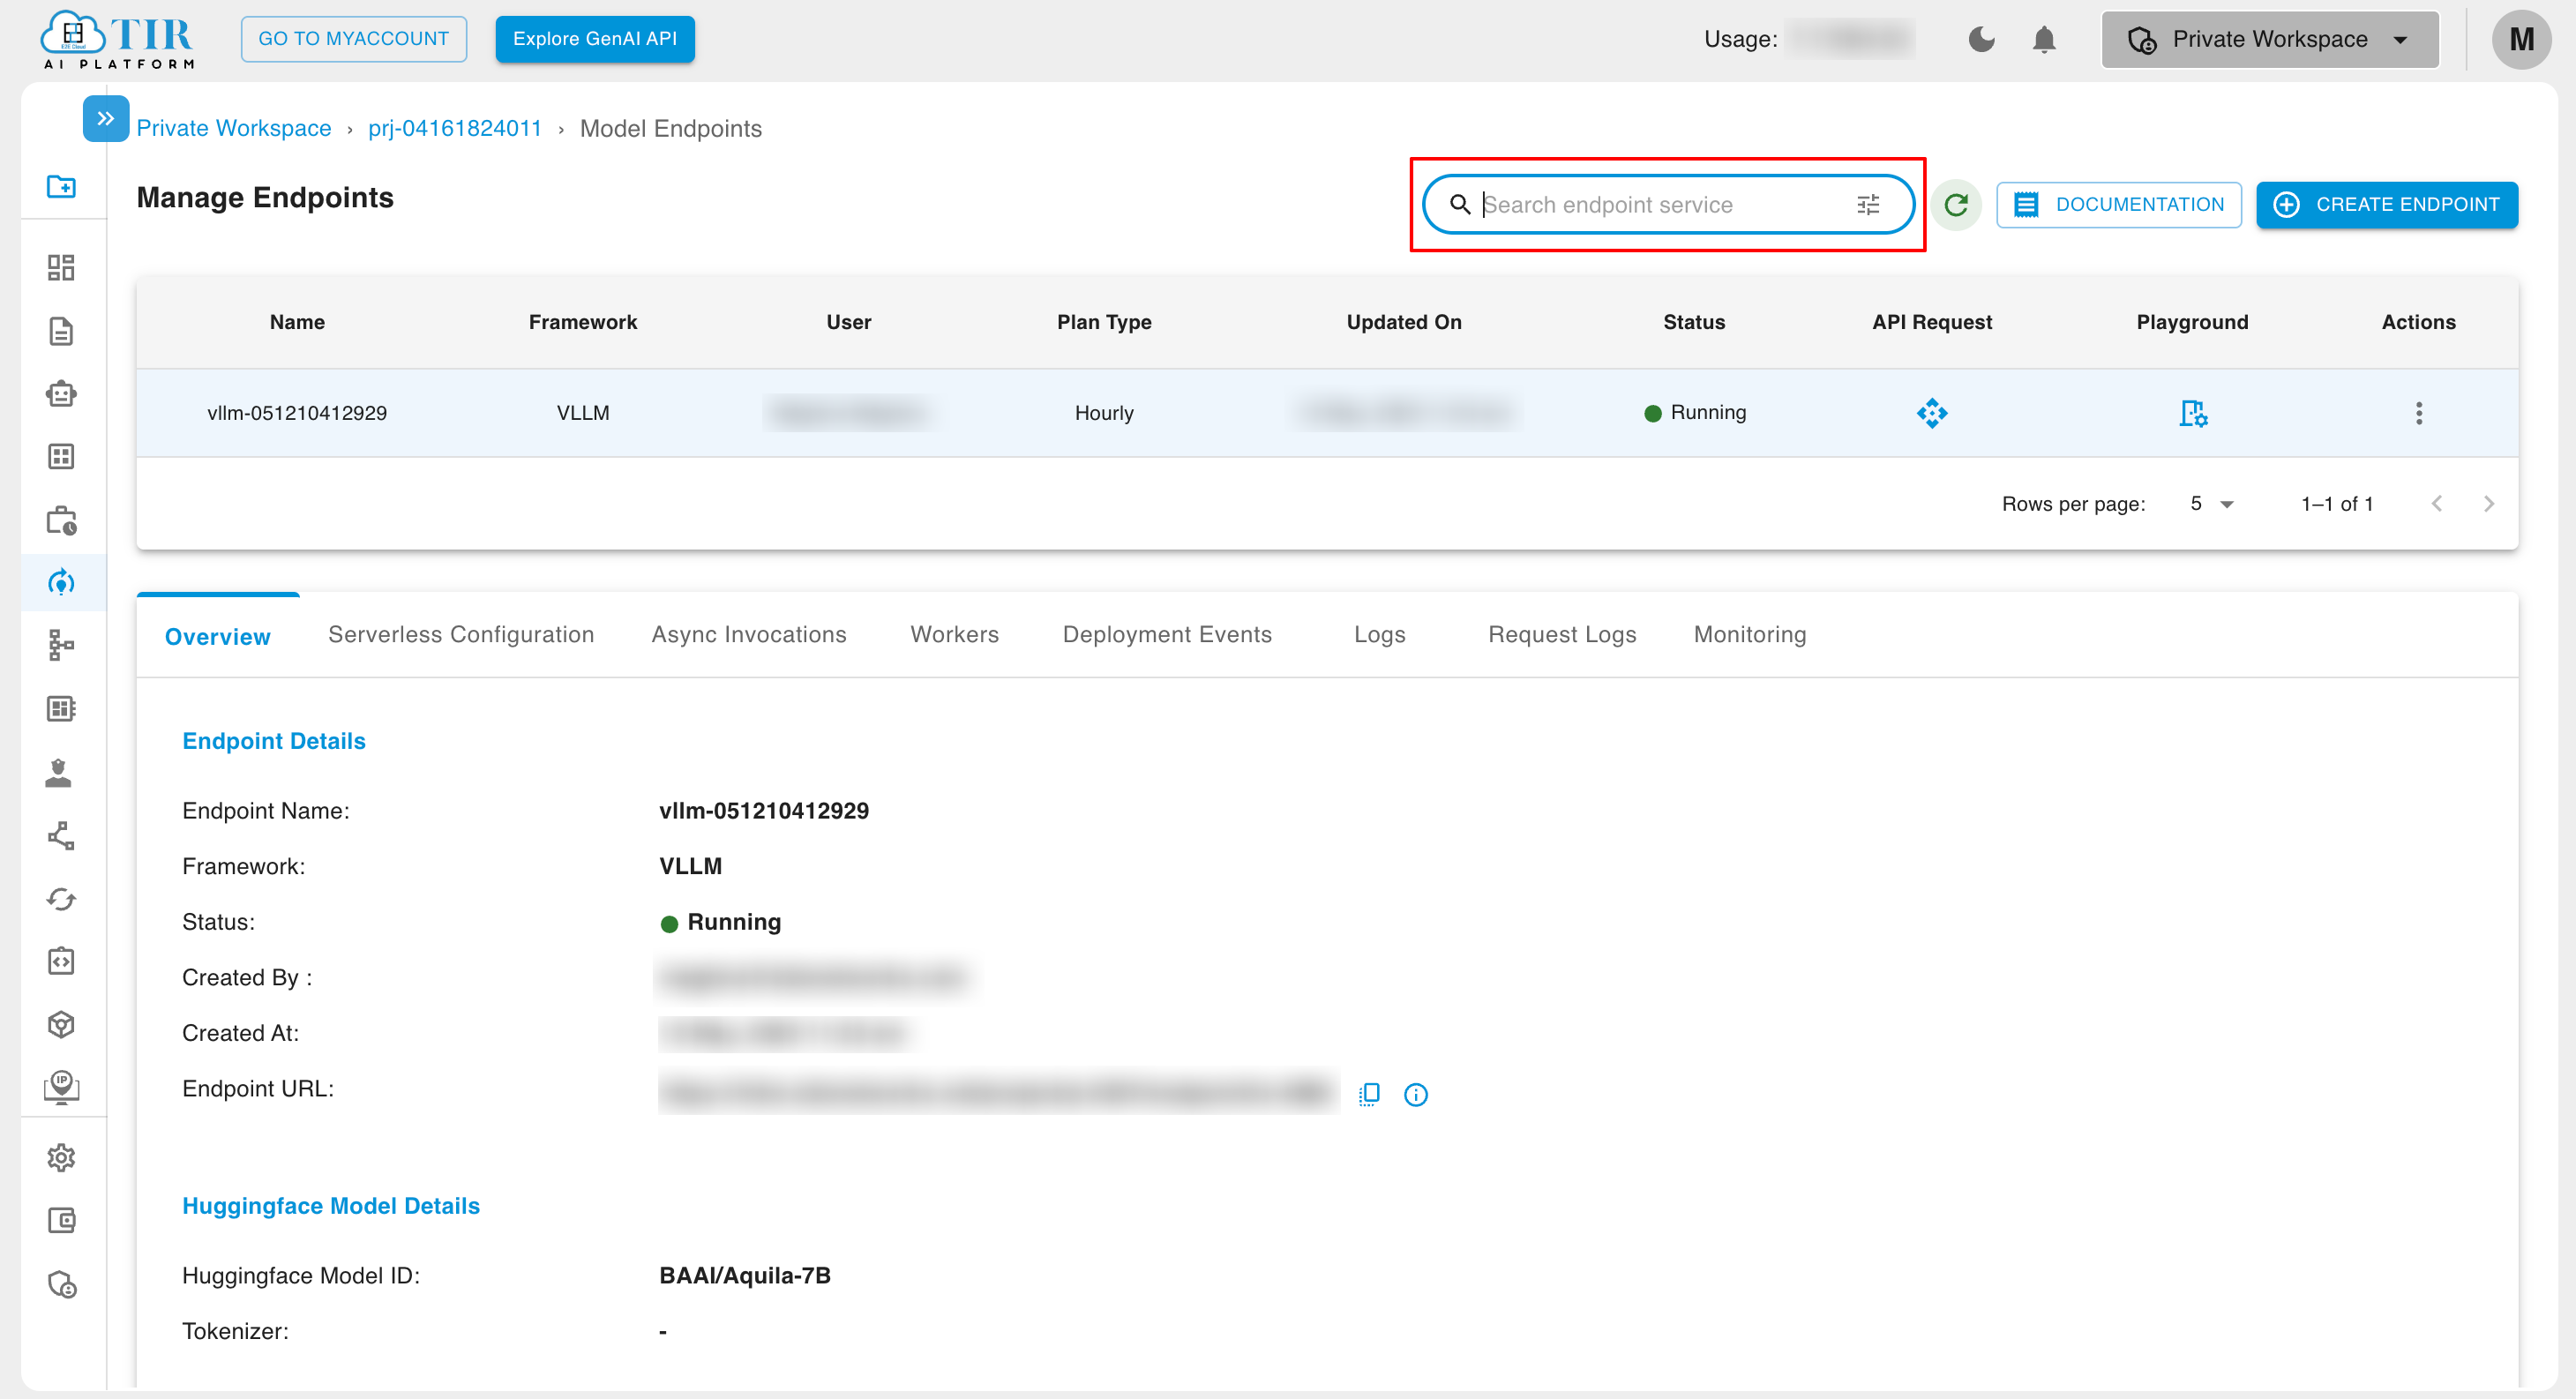
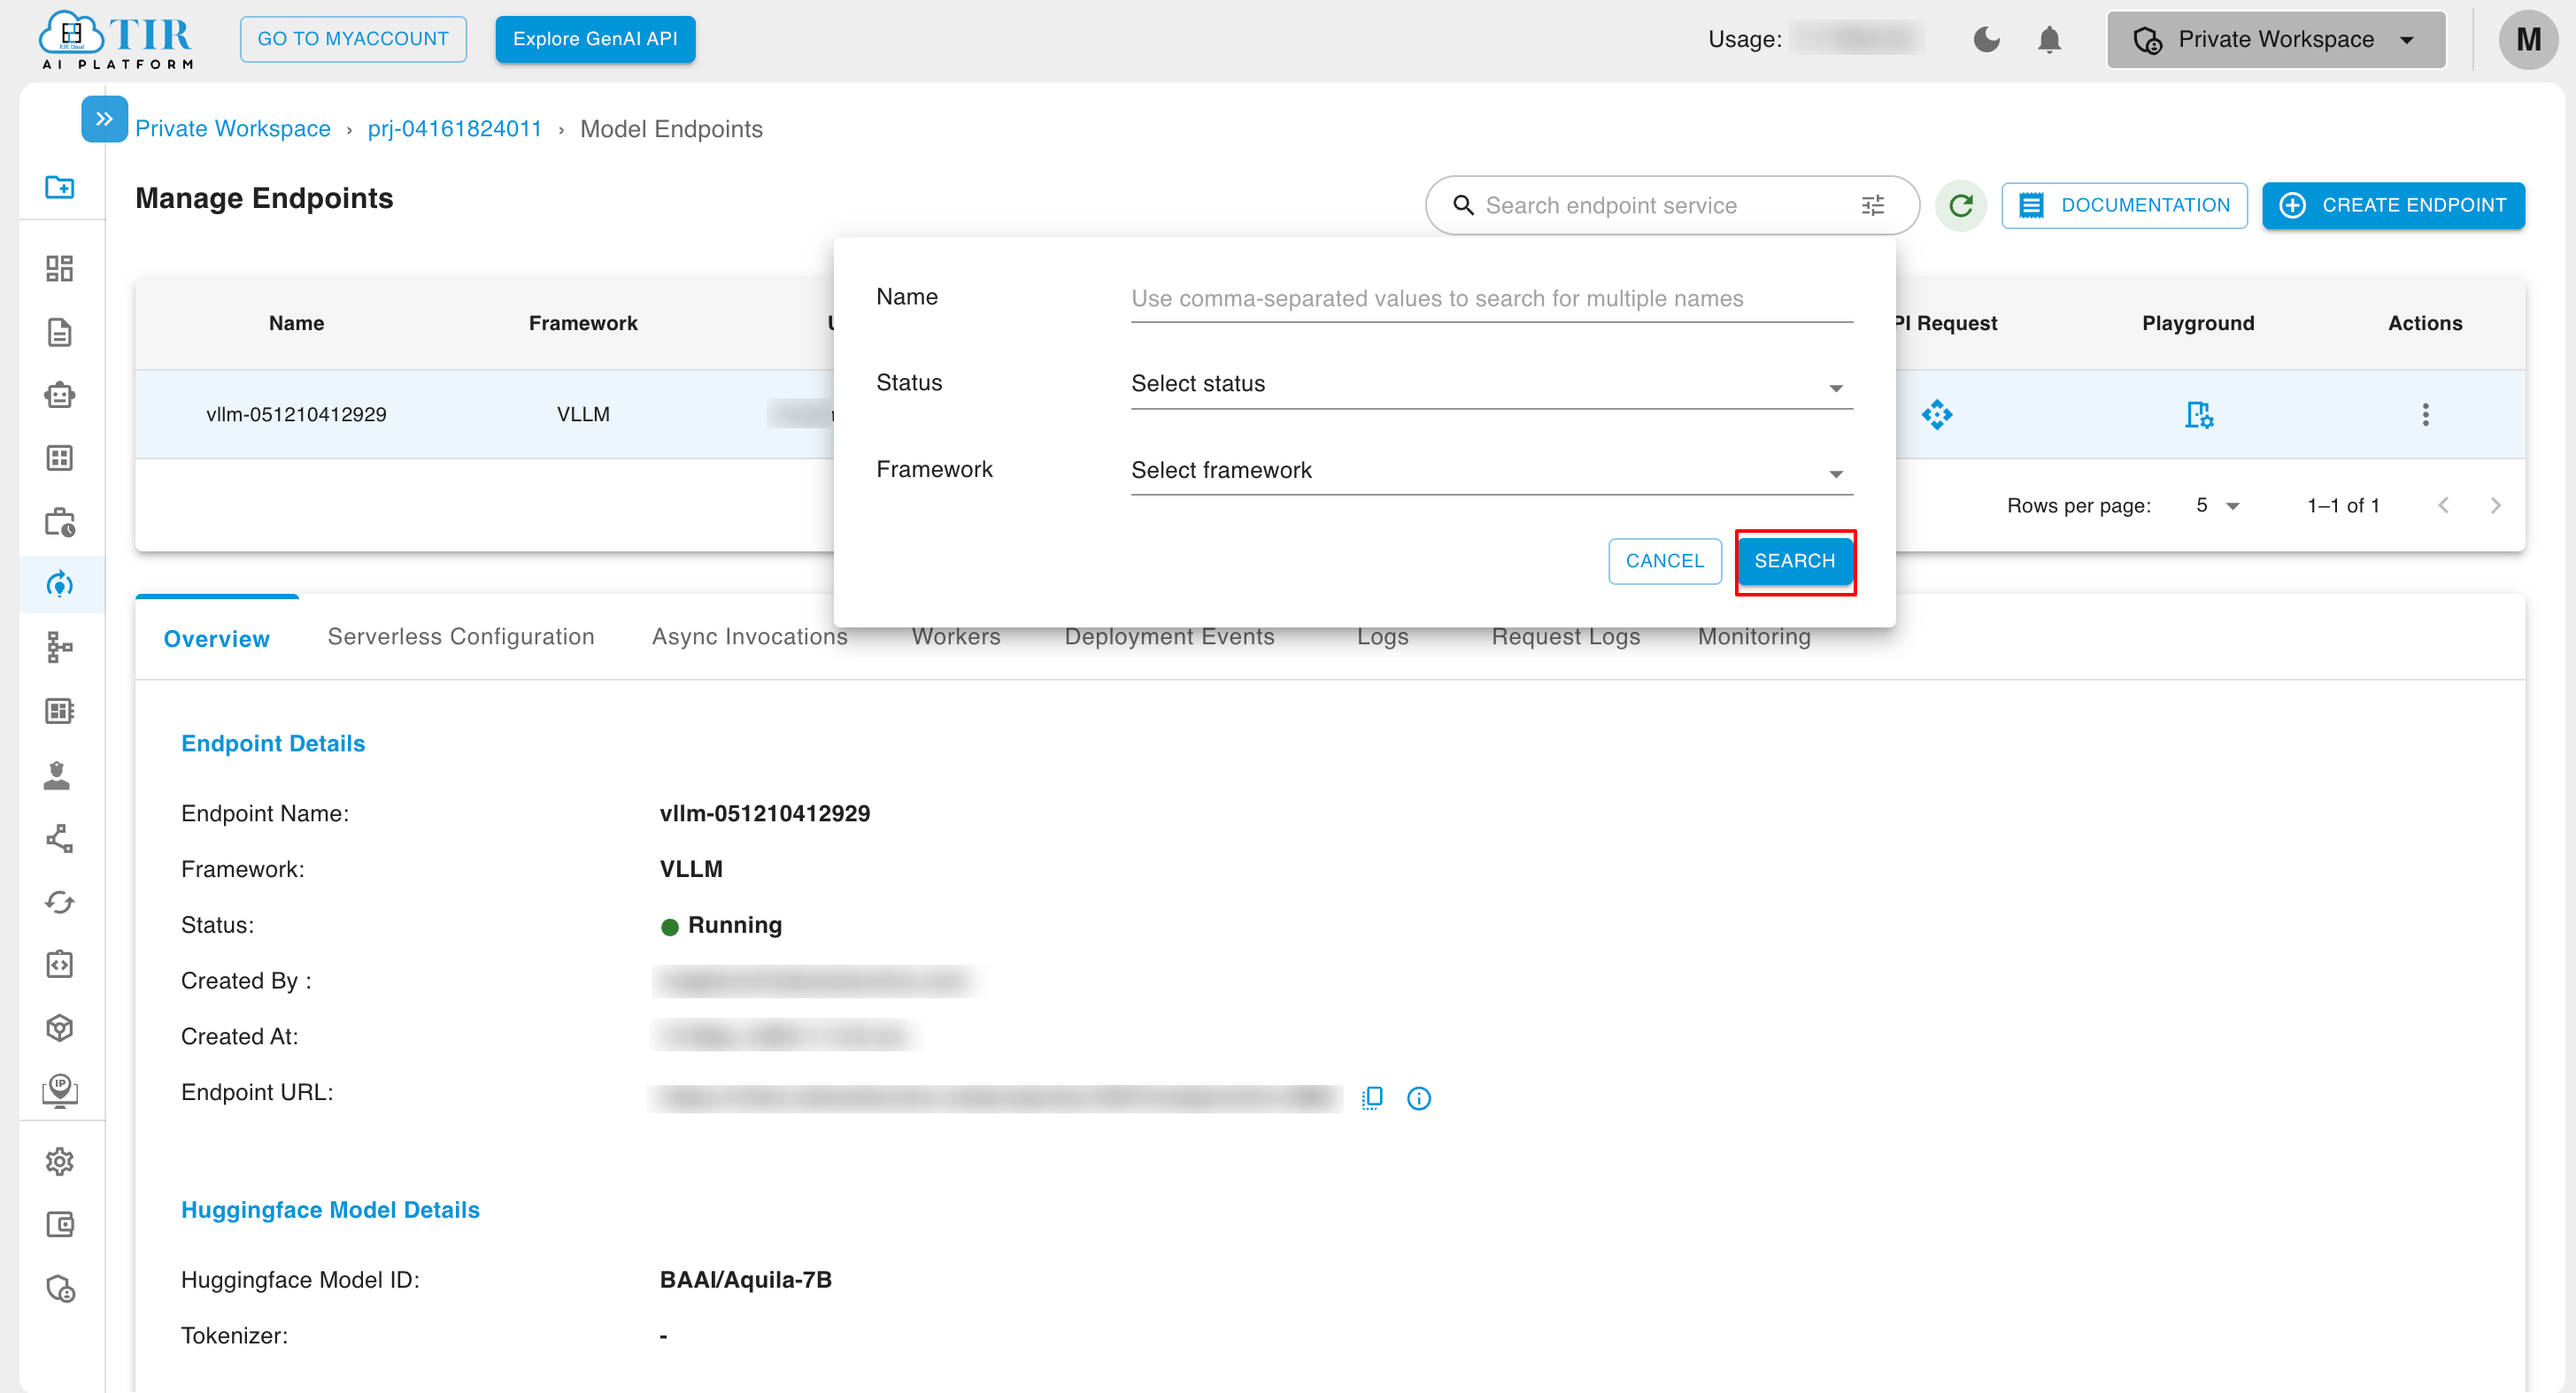
In the search model endpoint tab, you can search for the model endpoint by name and apply advanced filter configurations to refine your search criteria.
Actions
- To stop a Model Endpoint, you have to click on the stop service option.
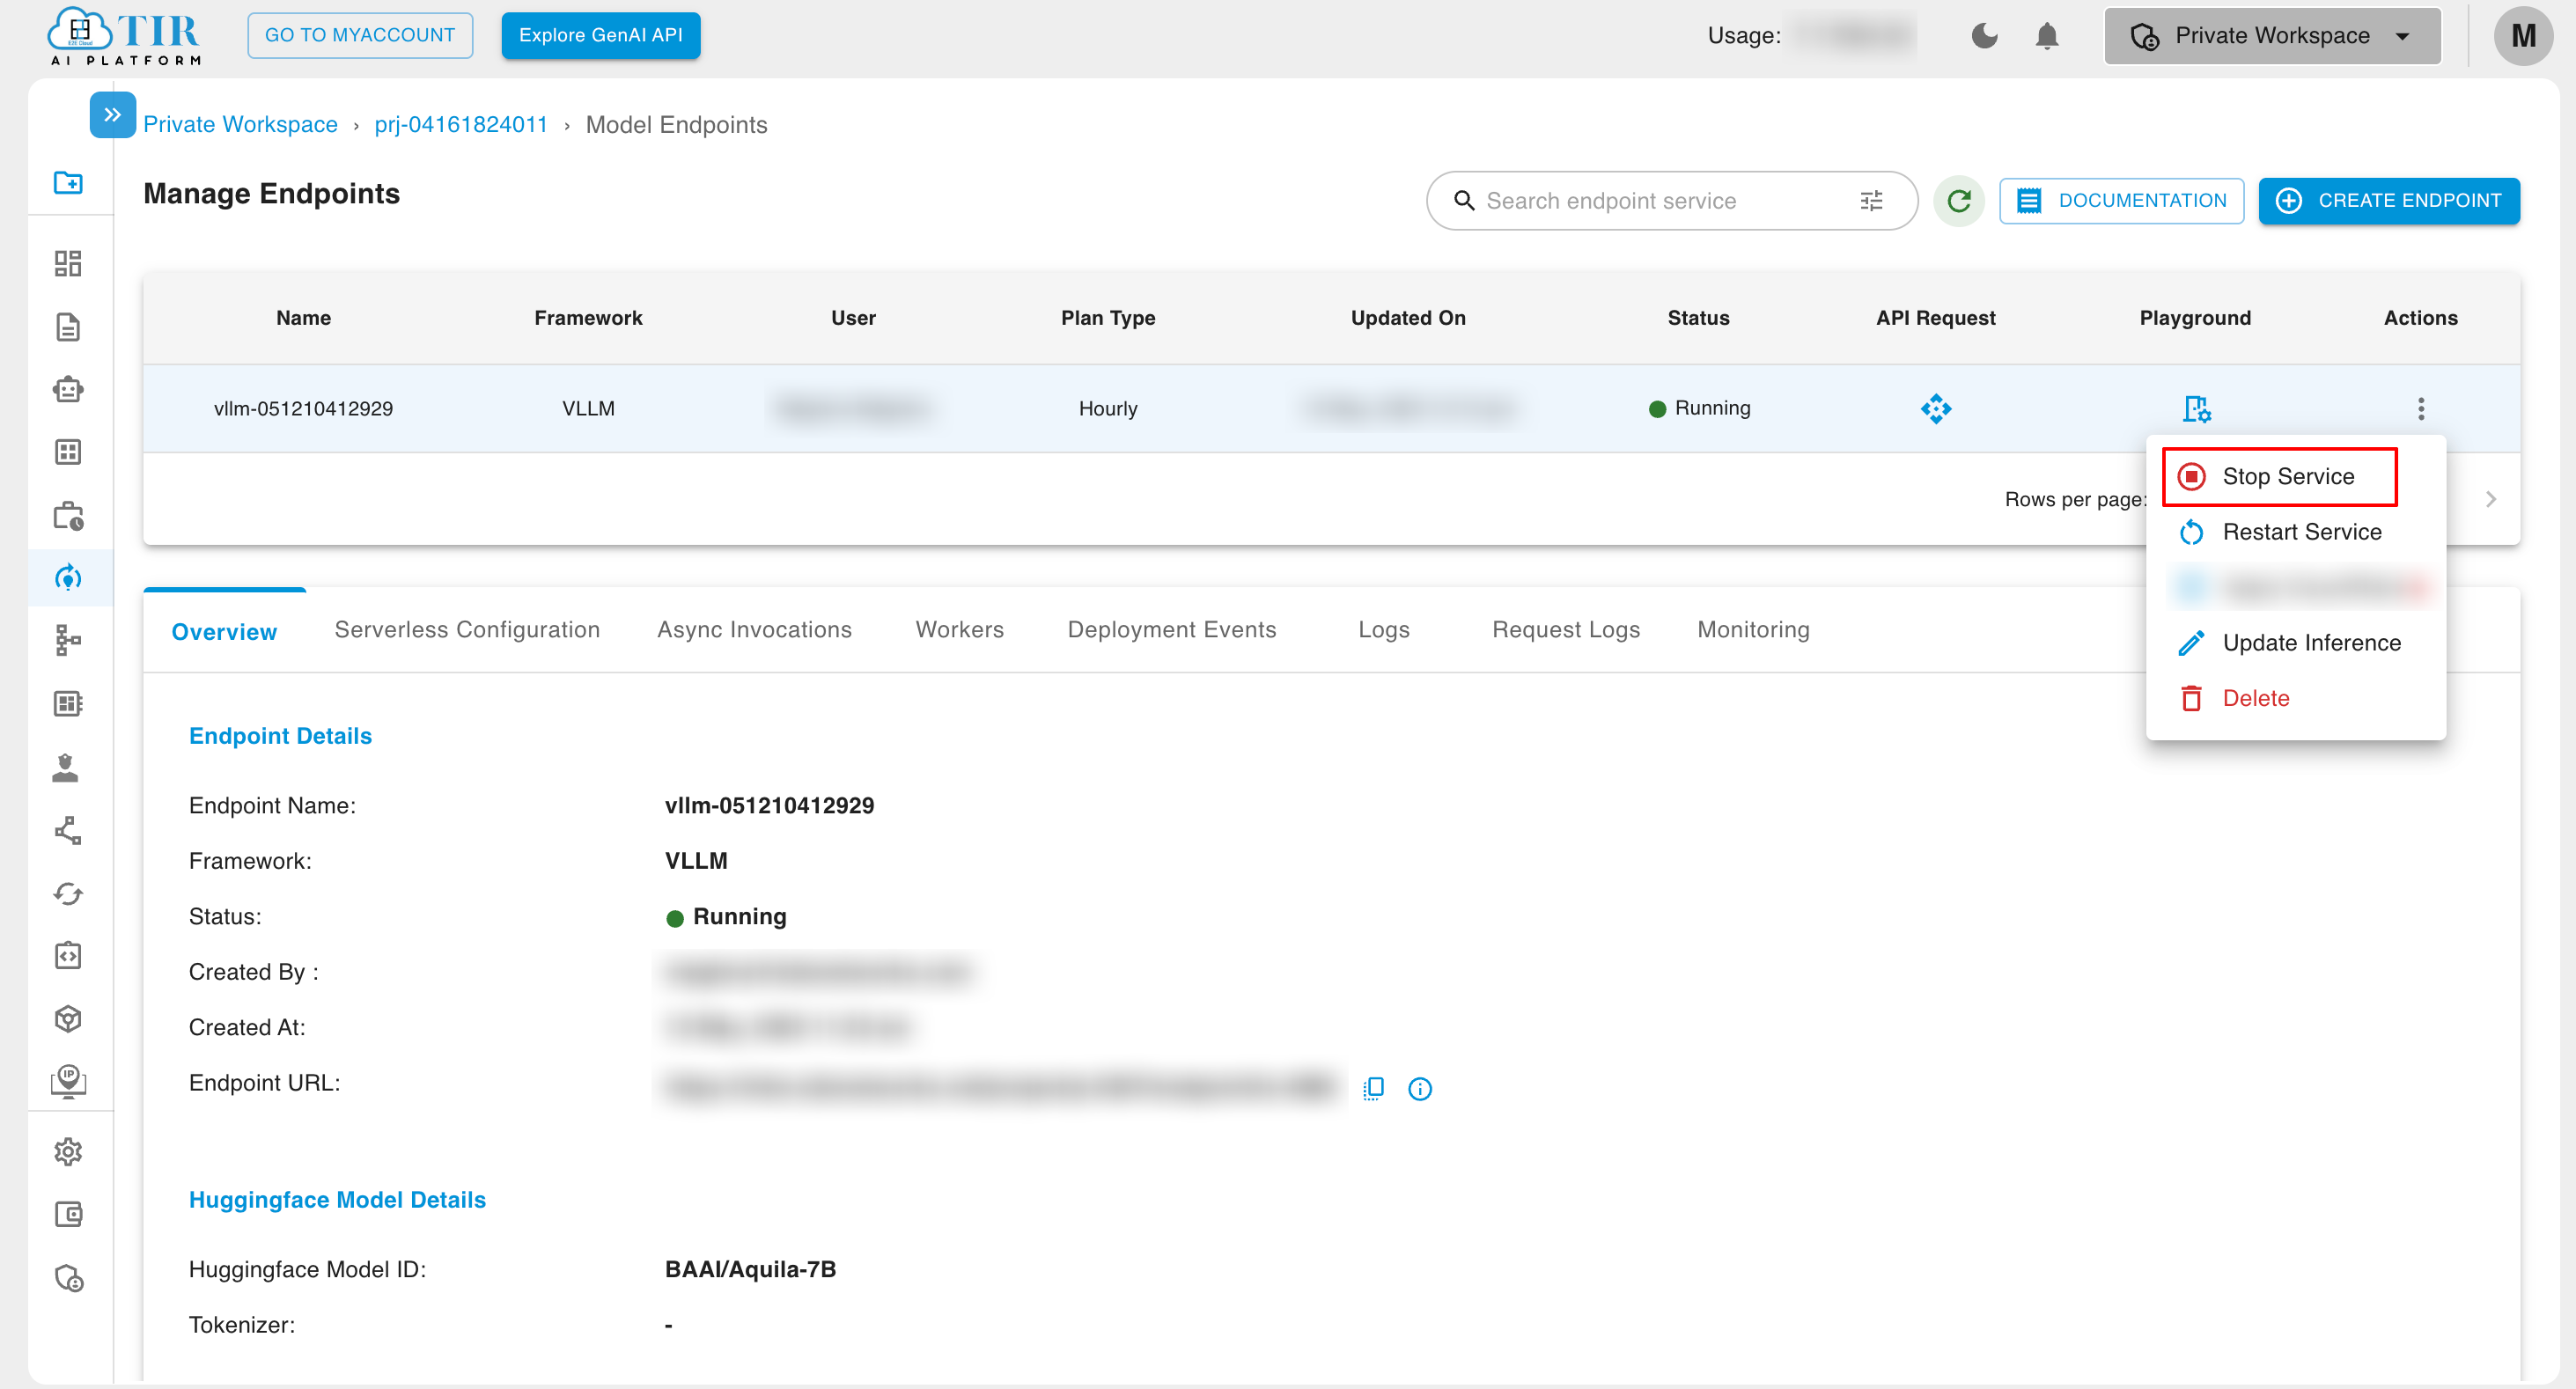
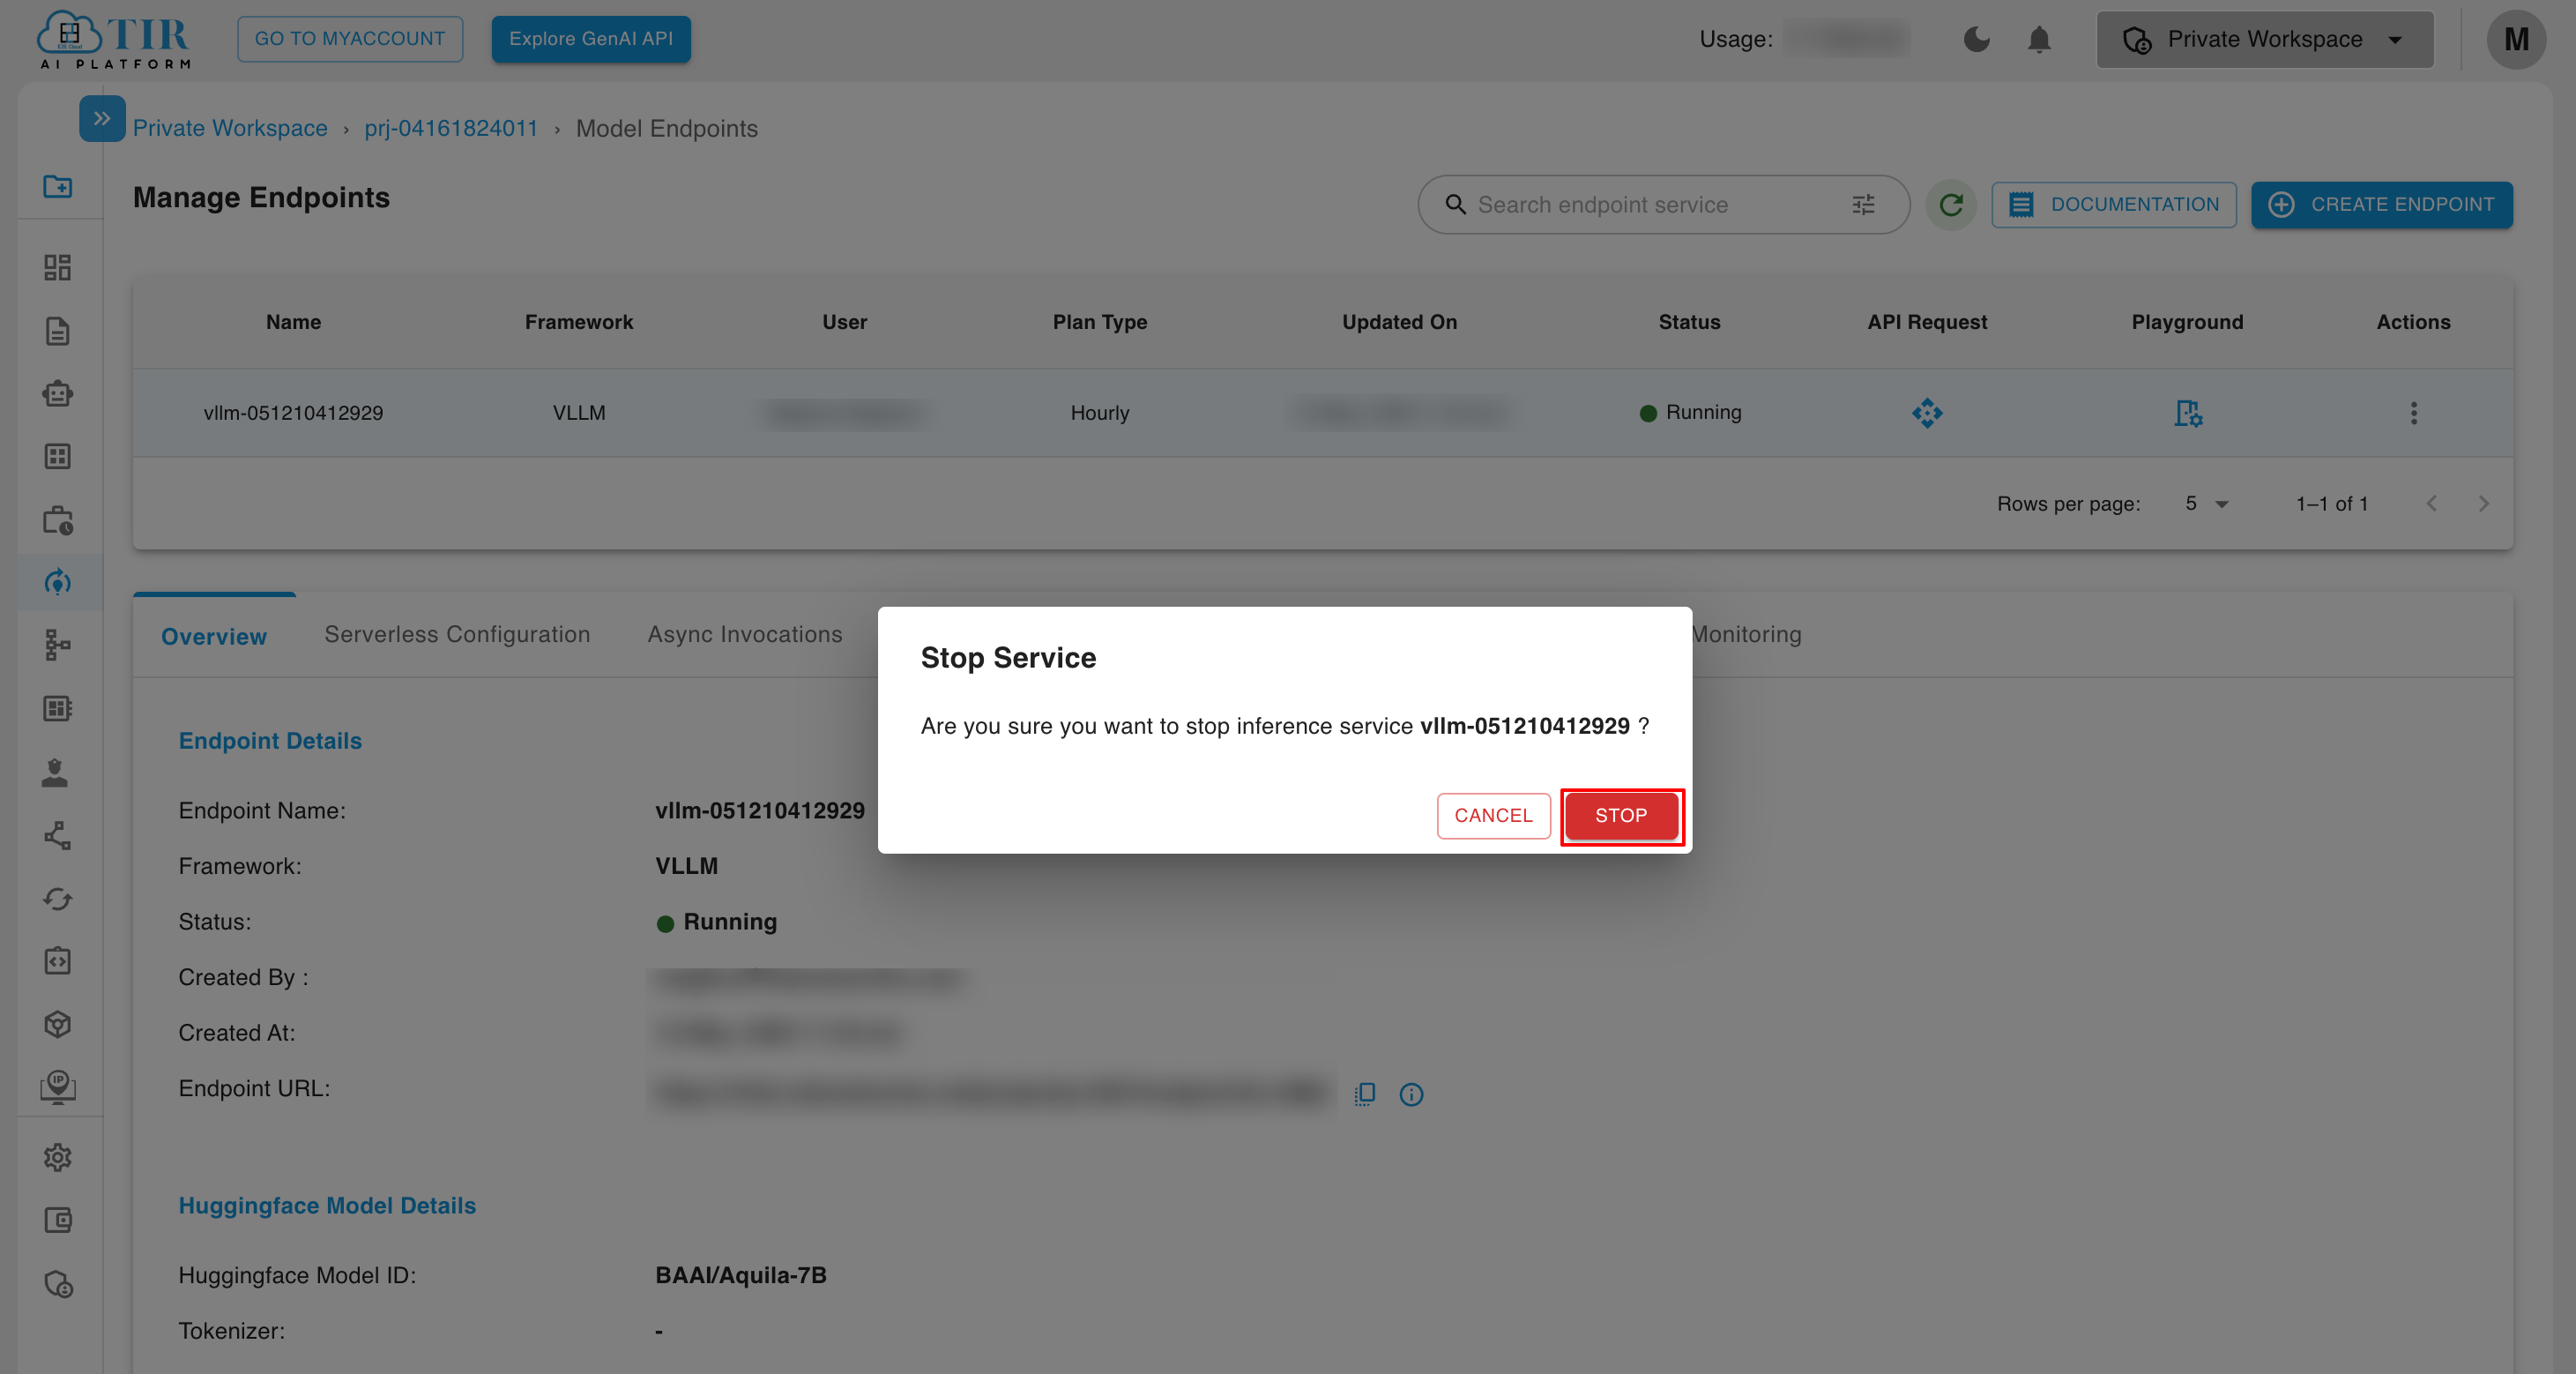
- To Start Model Endpoint service when it is in stopped status, you have to click on start service option.
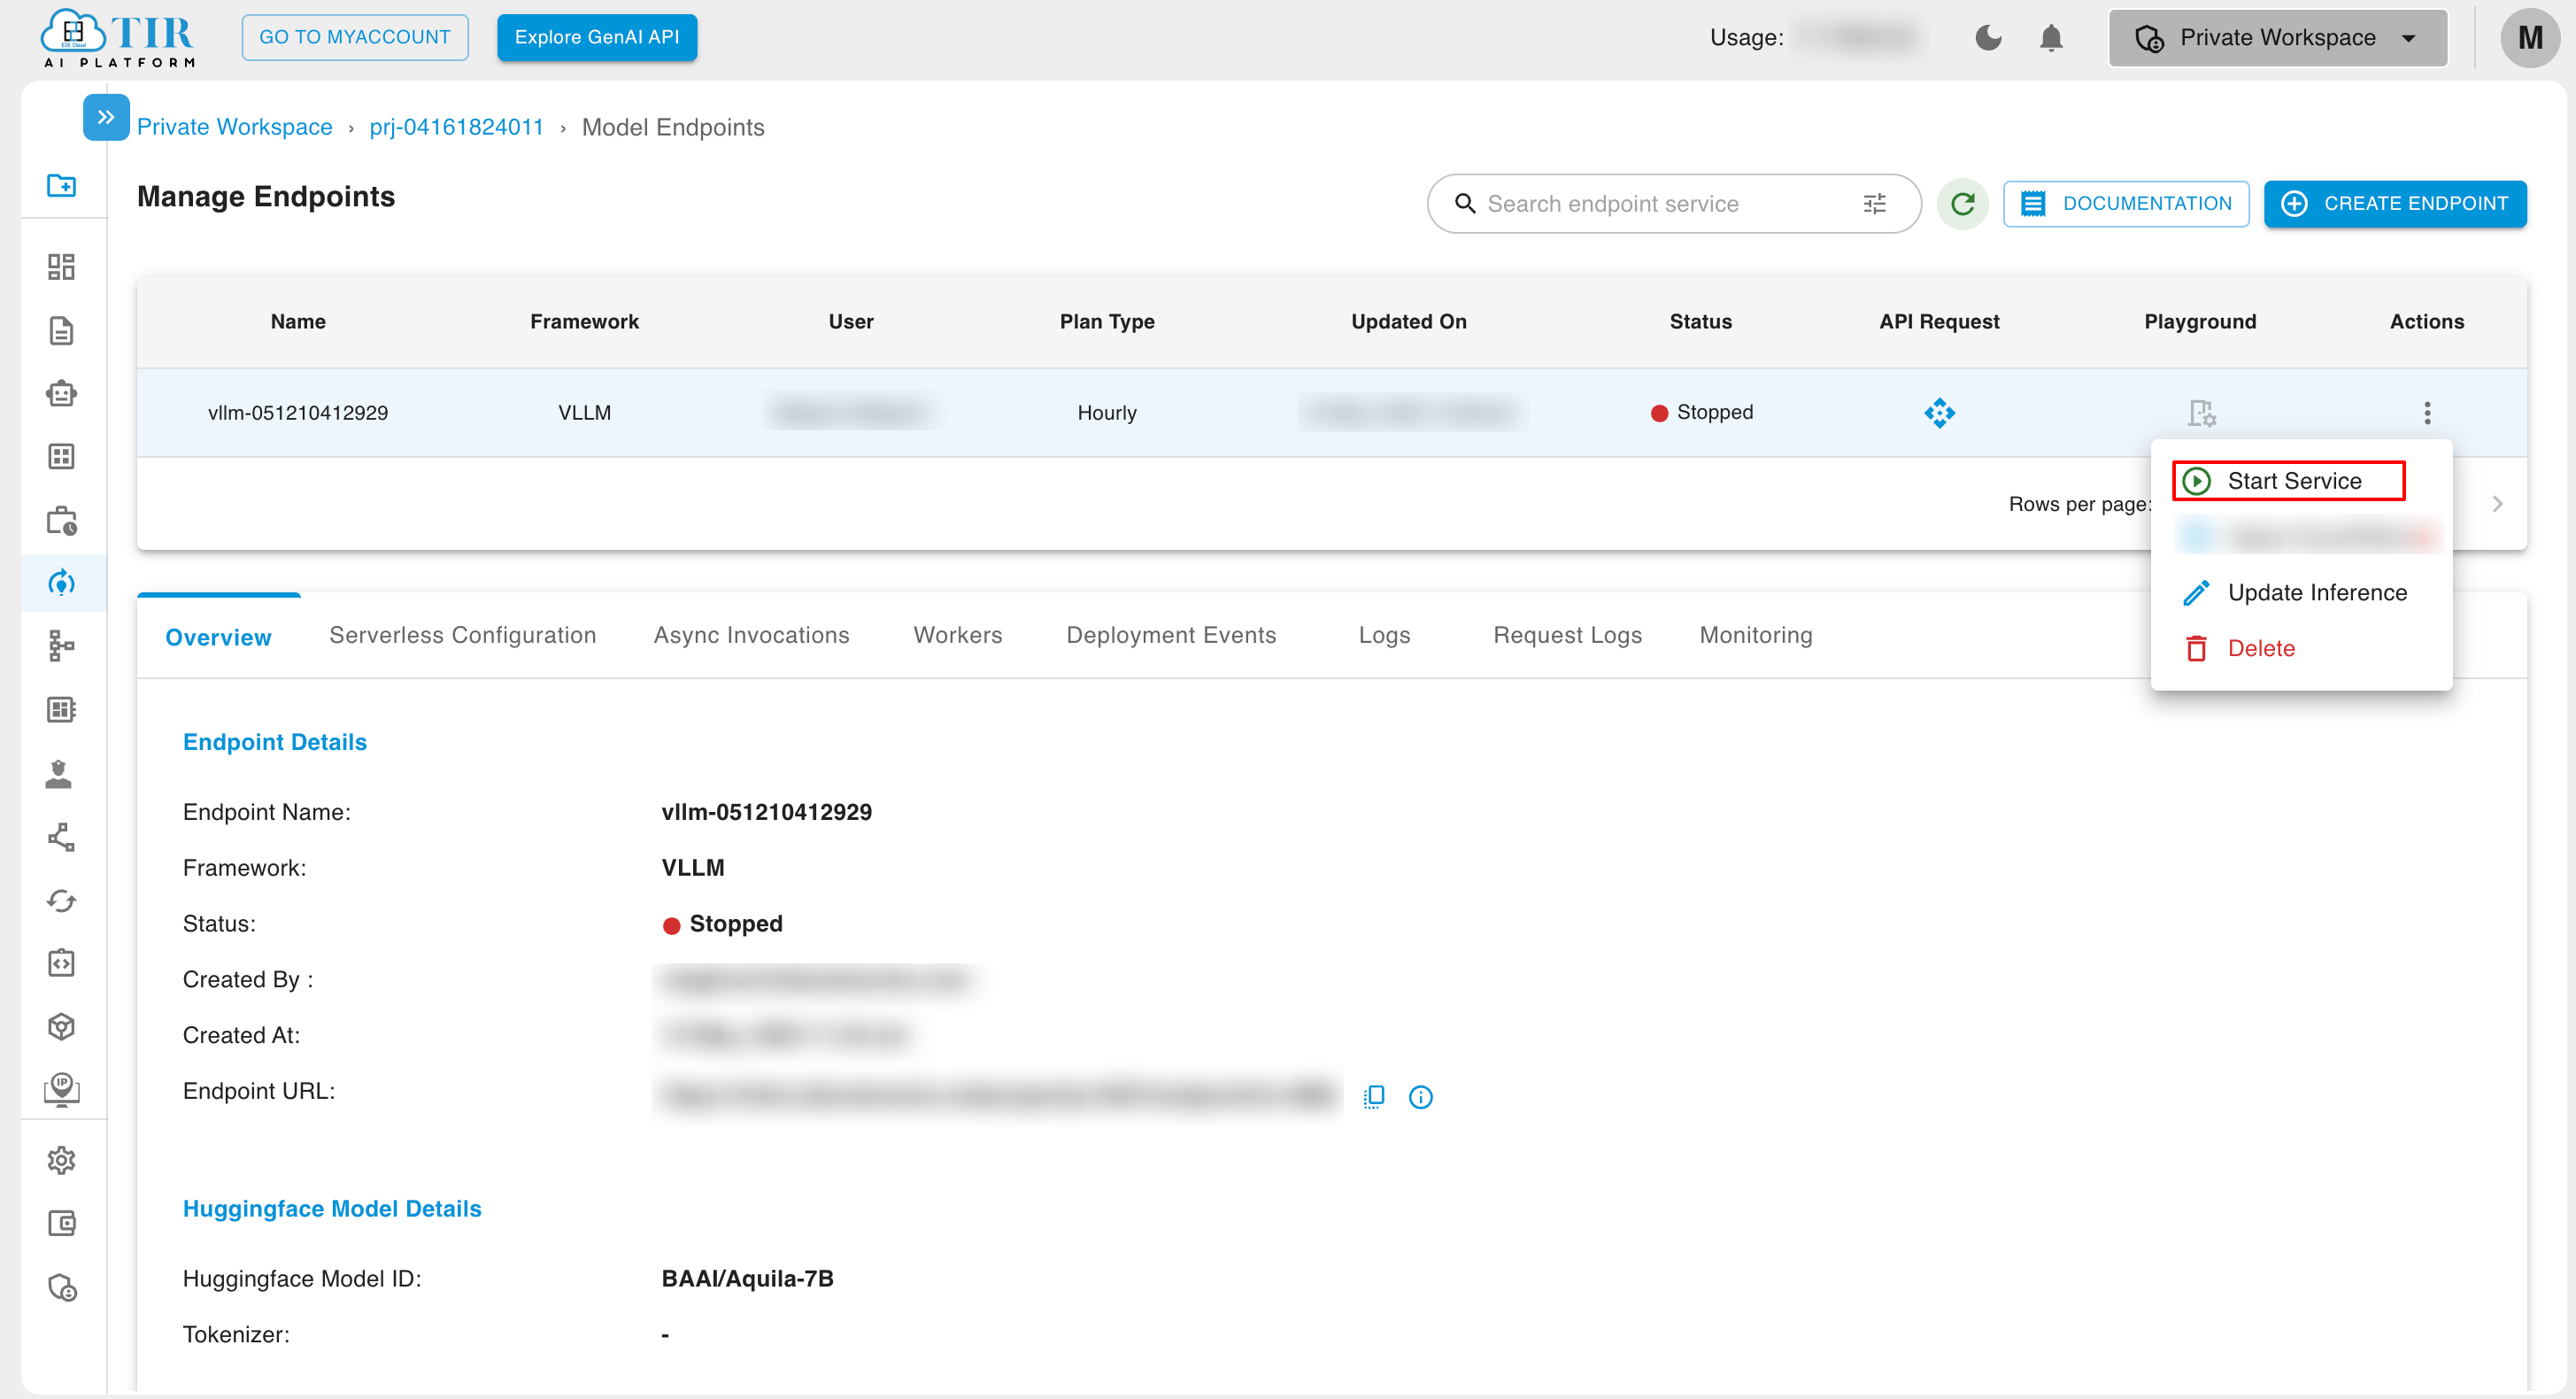
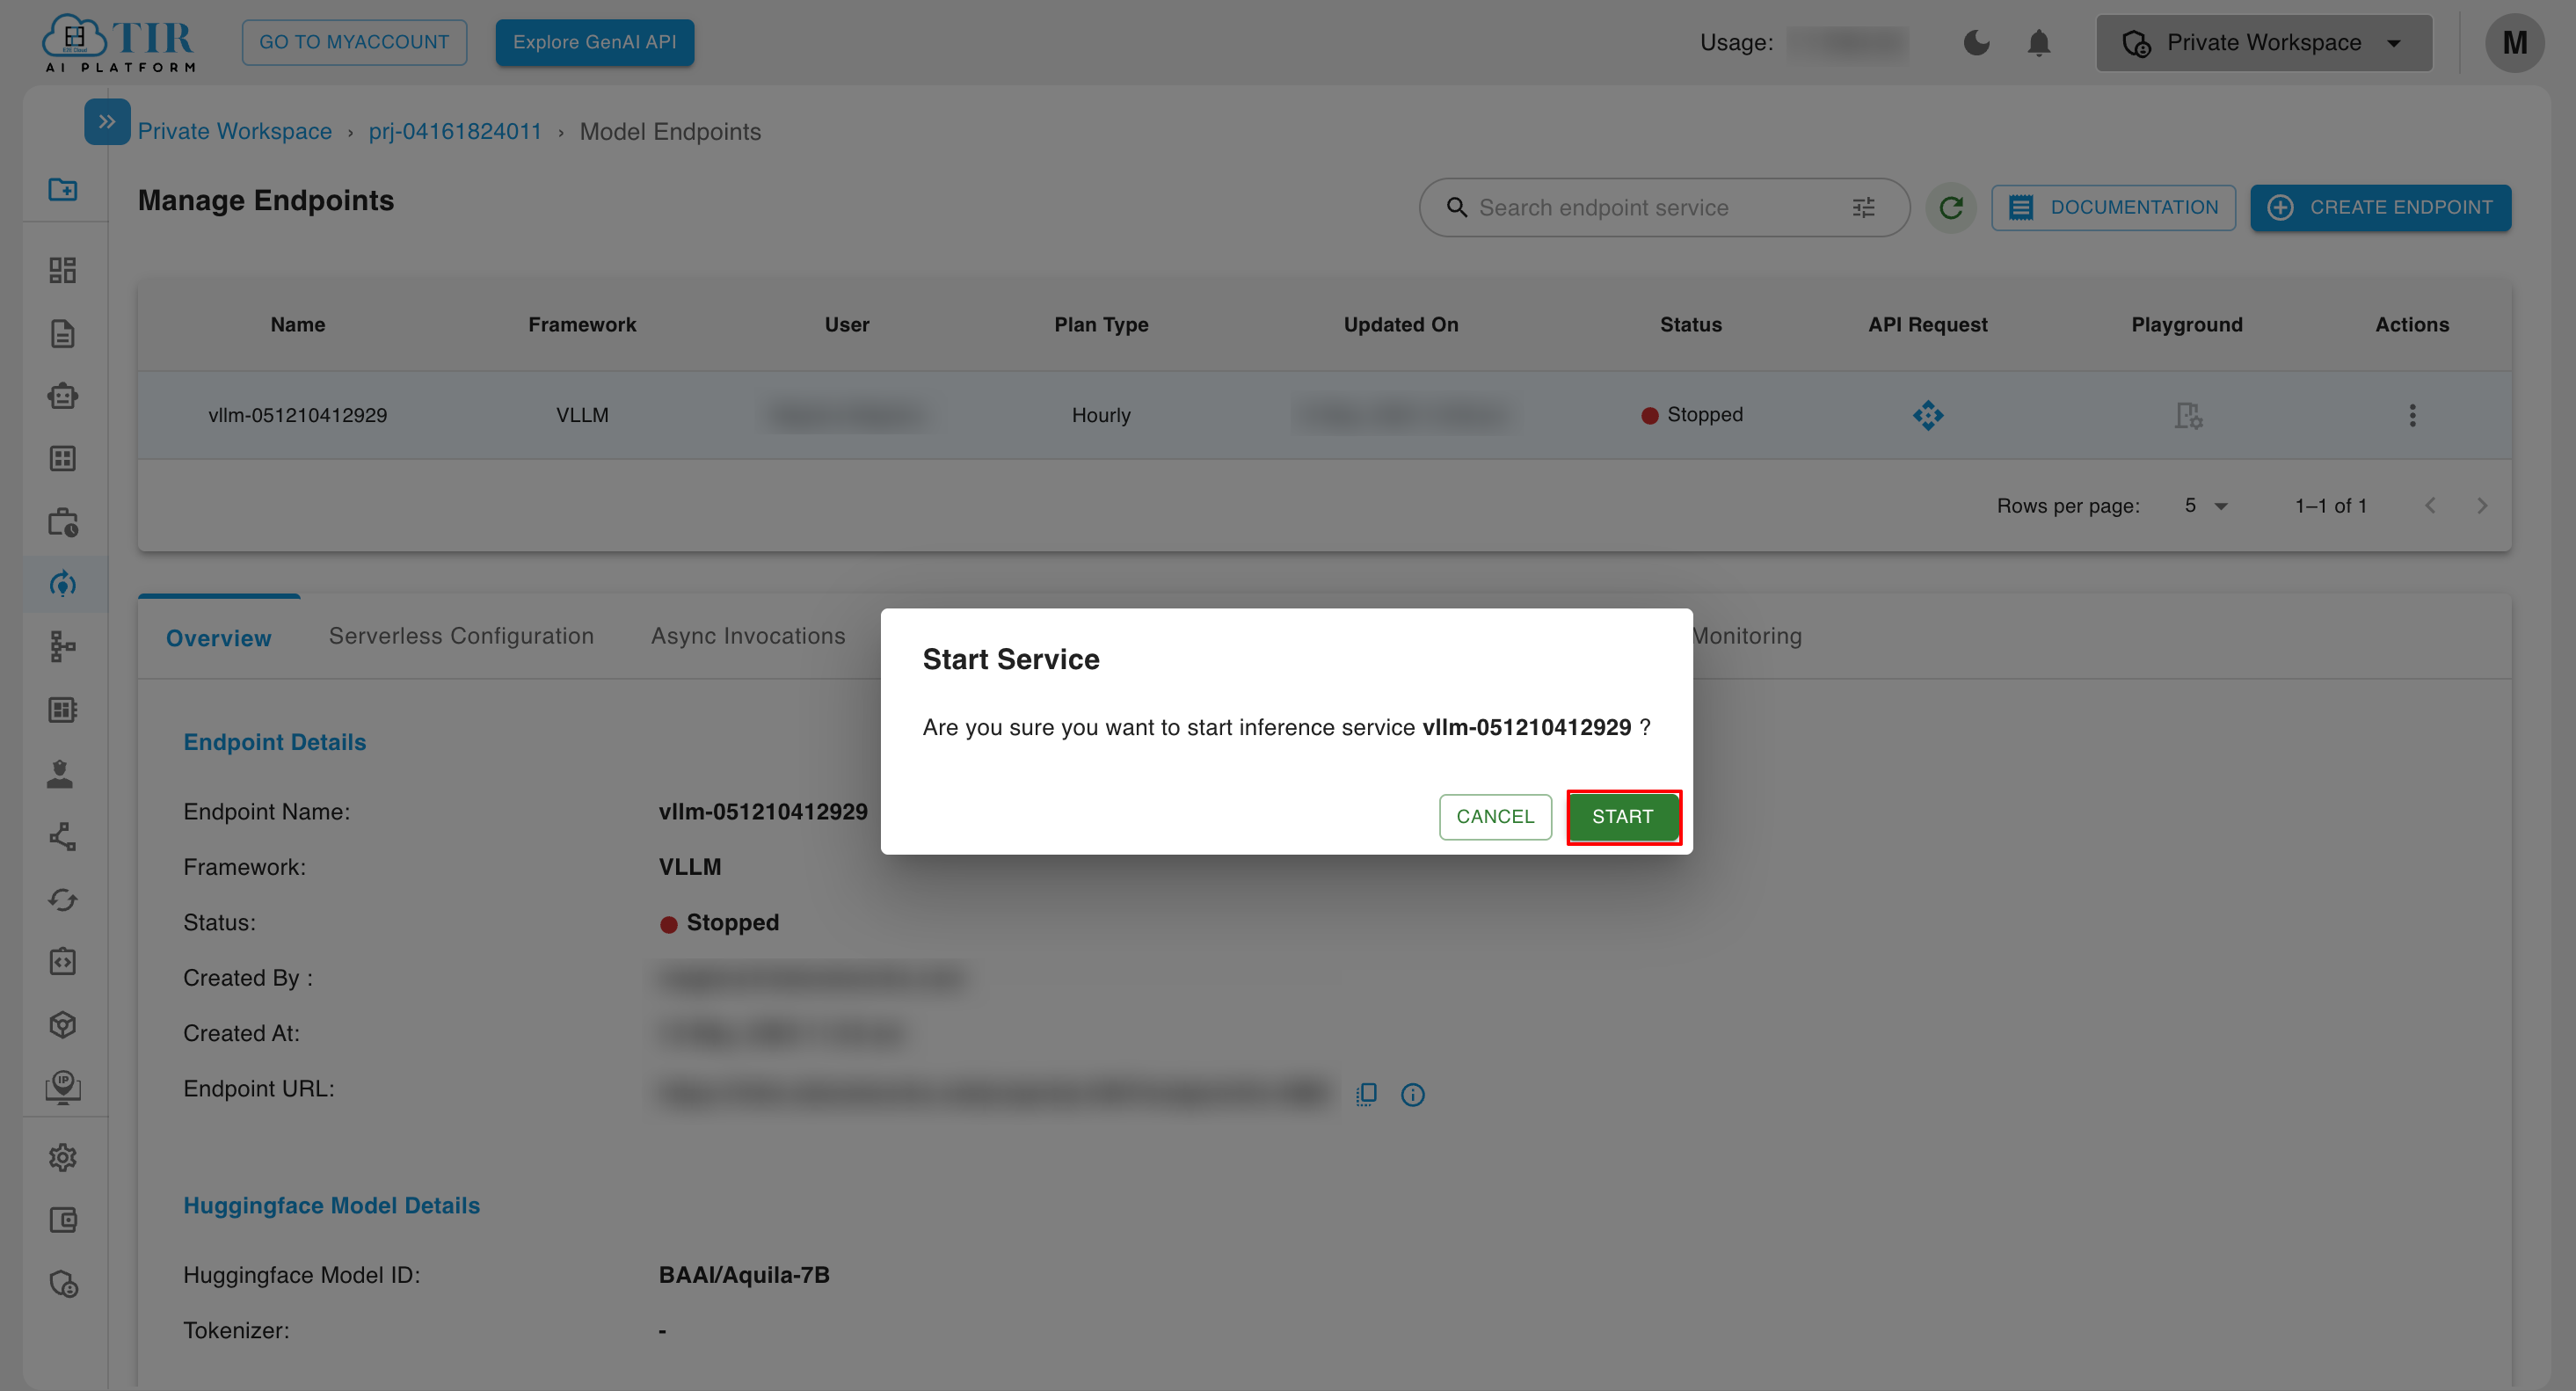
- To update model endpoint, click on Update Inference
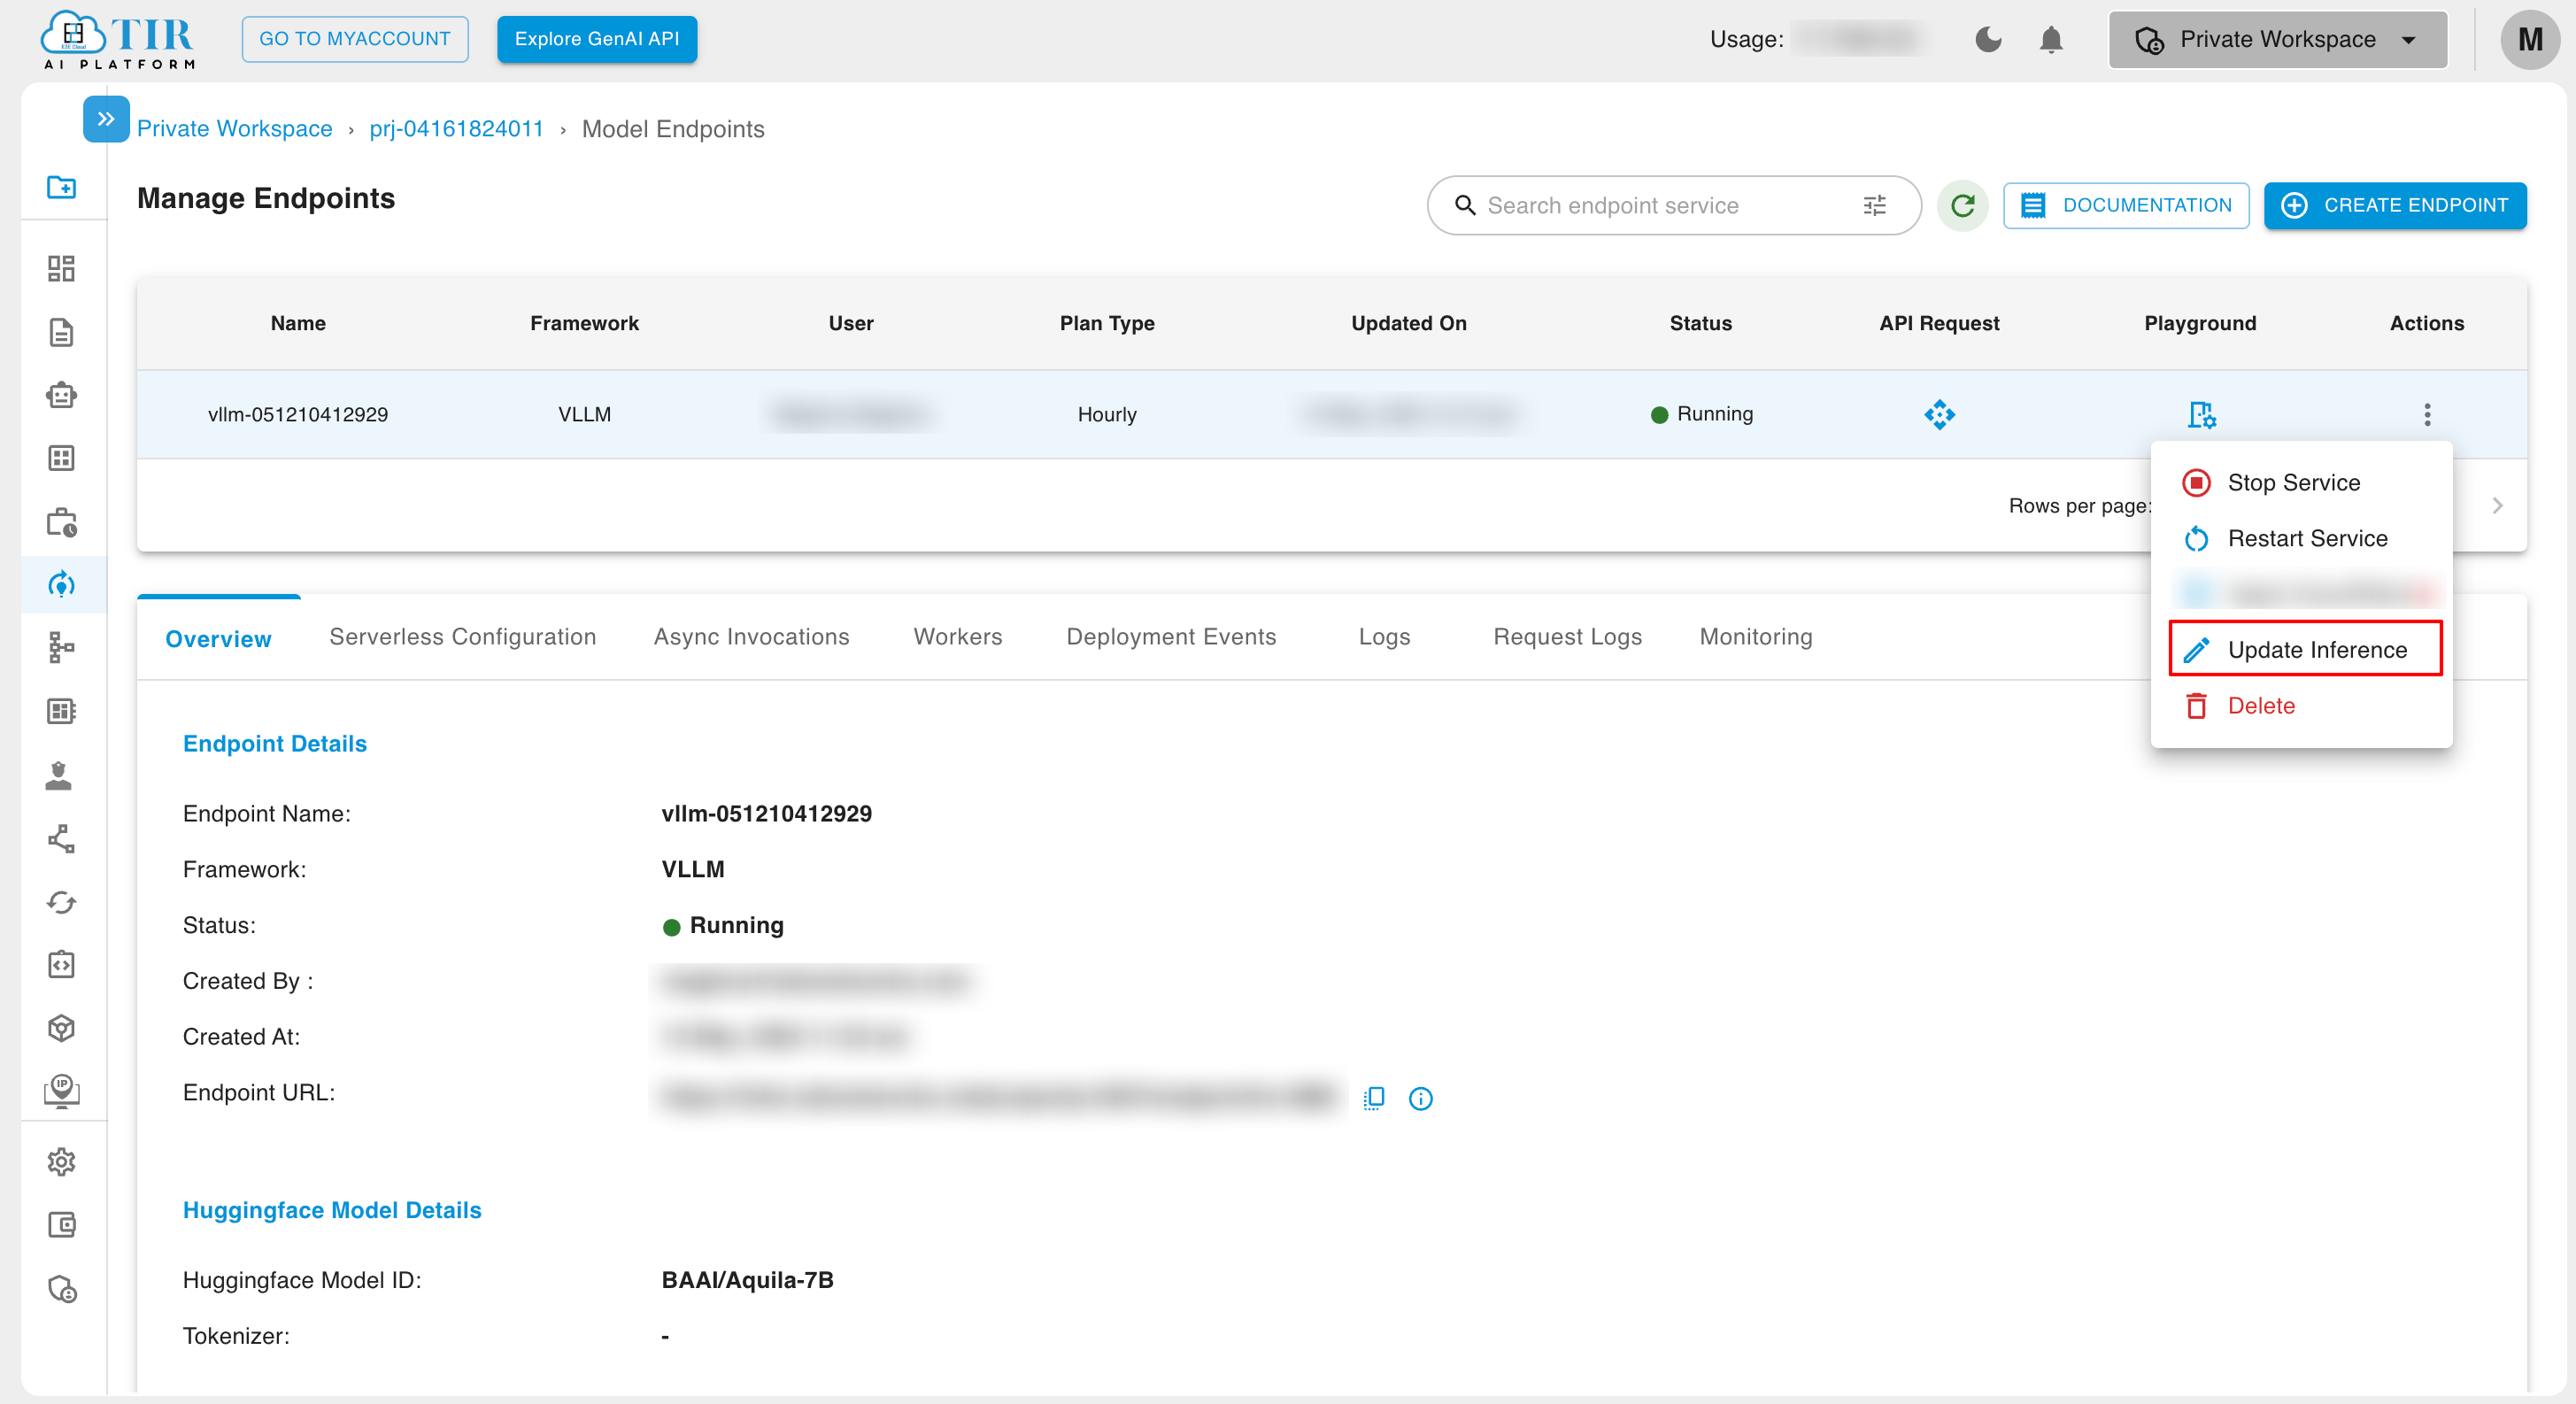
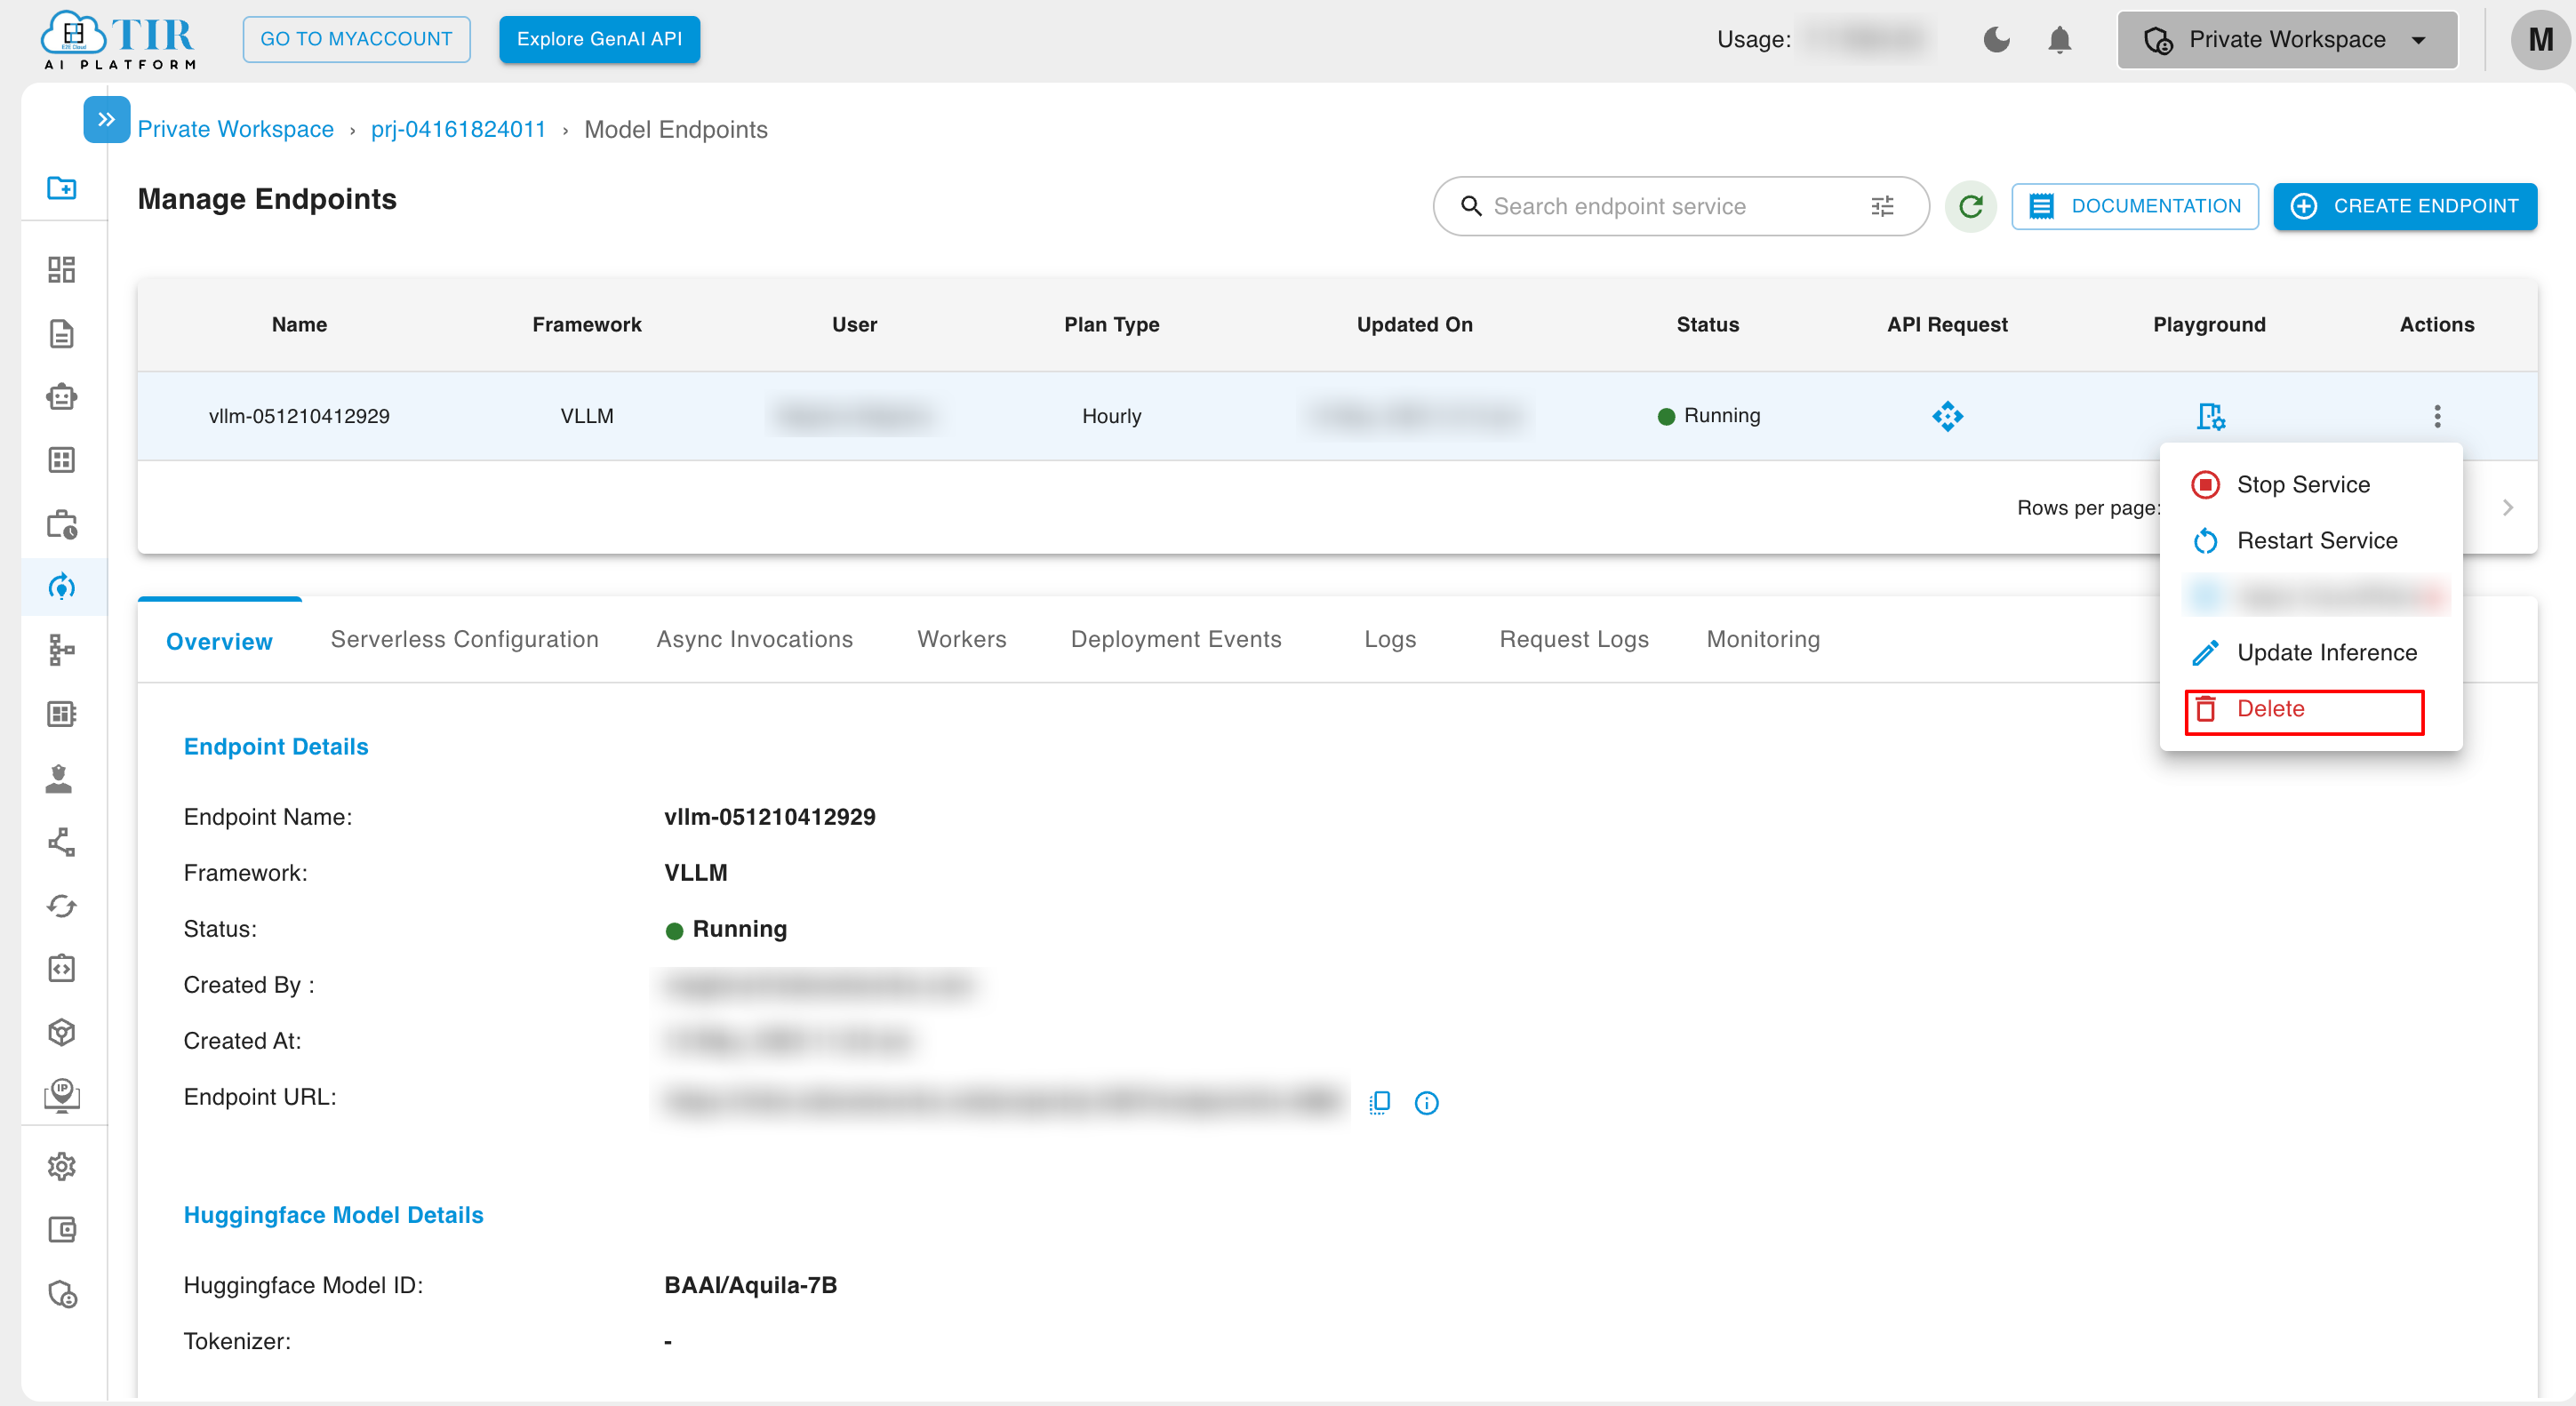
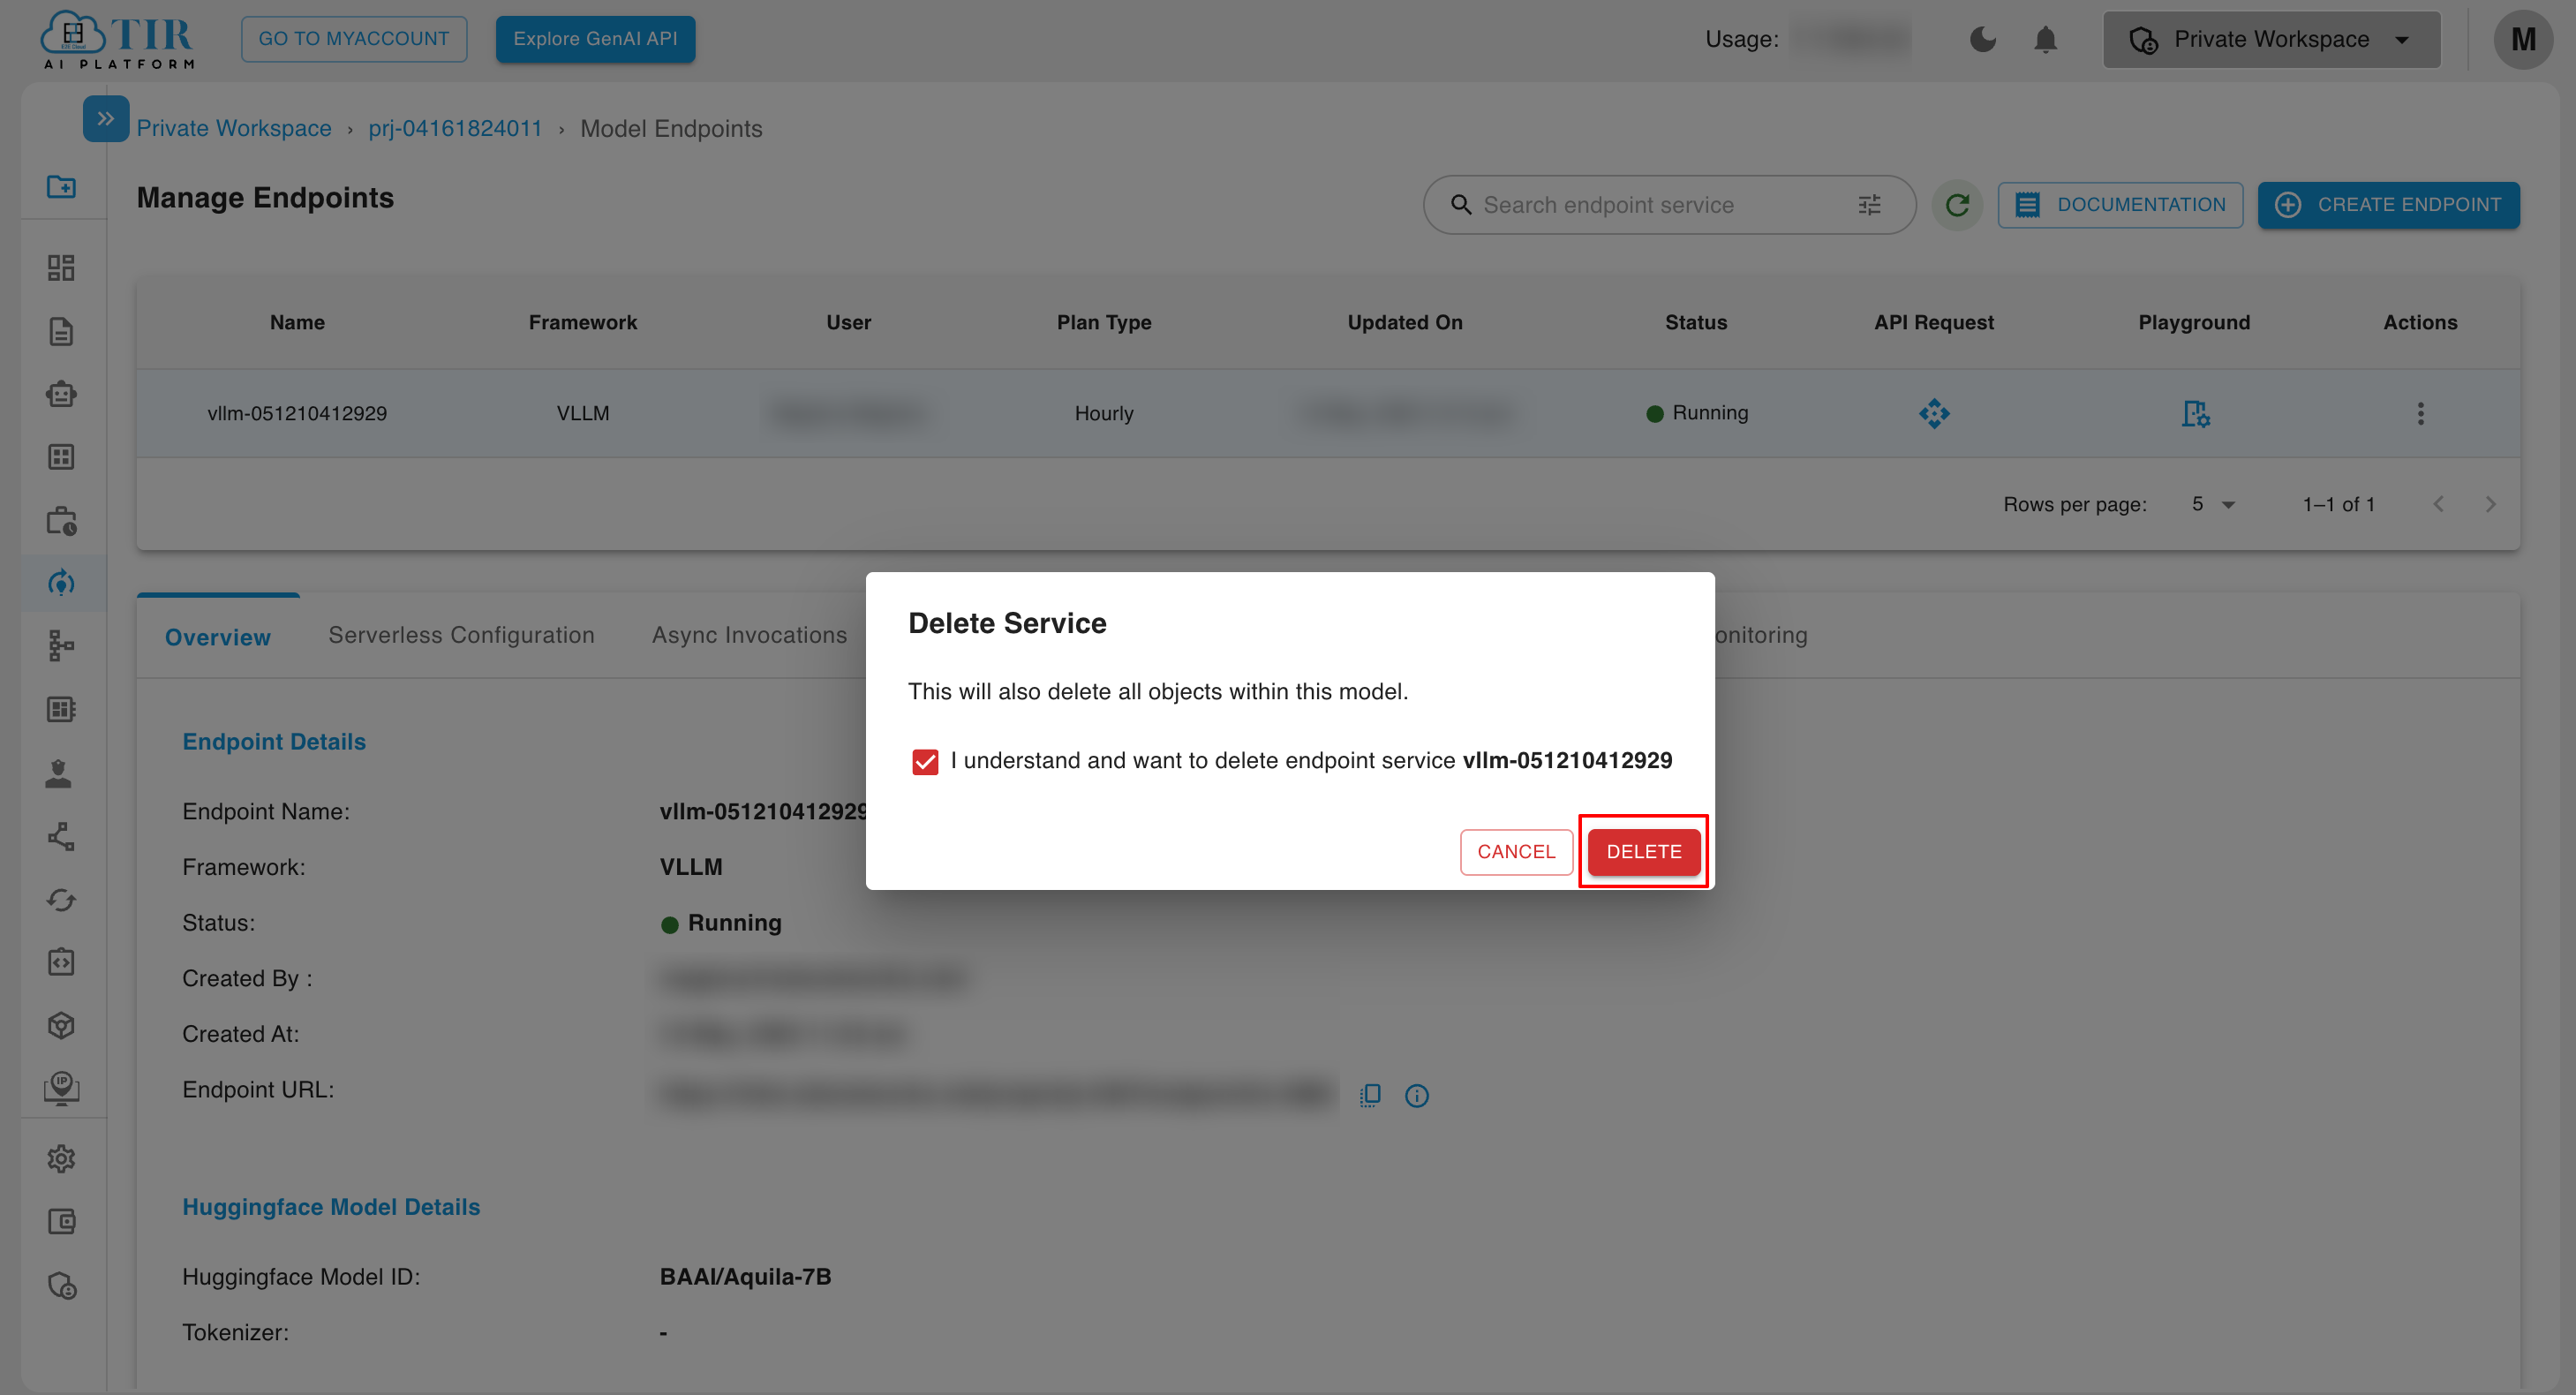
- To delete model endpoint, click on delete action.
