IAM Panel
The IAM Panel allows you to see the list of active users on their account, add others to their account, assign them different roles within various teams and projects. It also allows users to edit the roles of already added members.
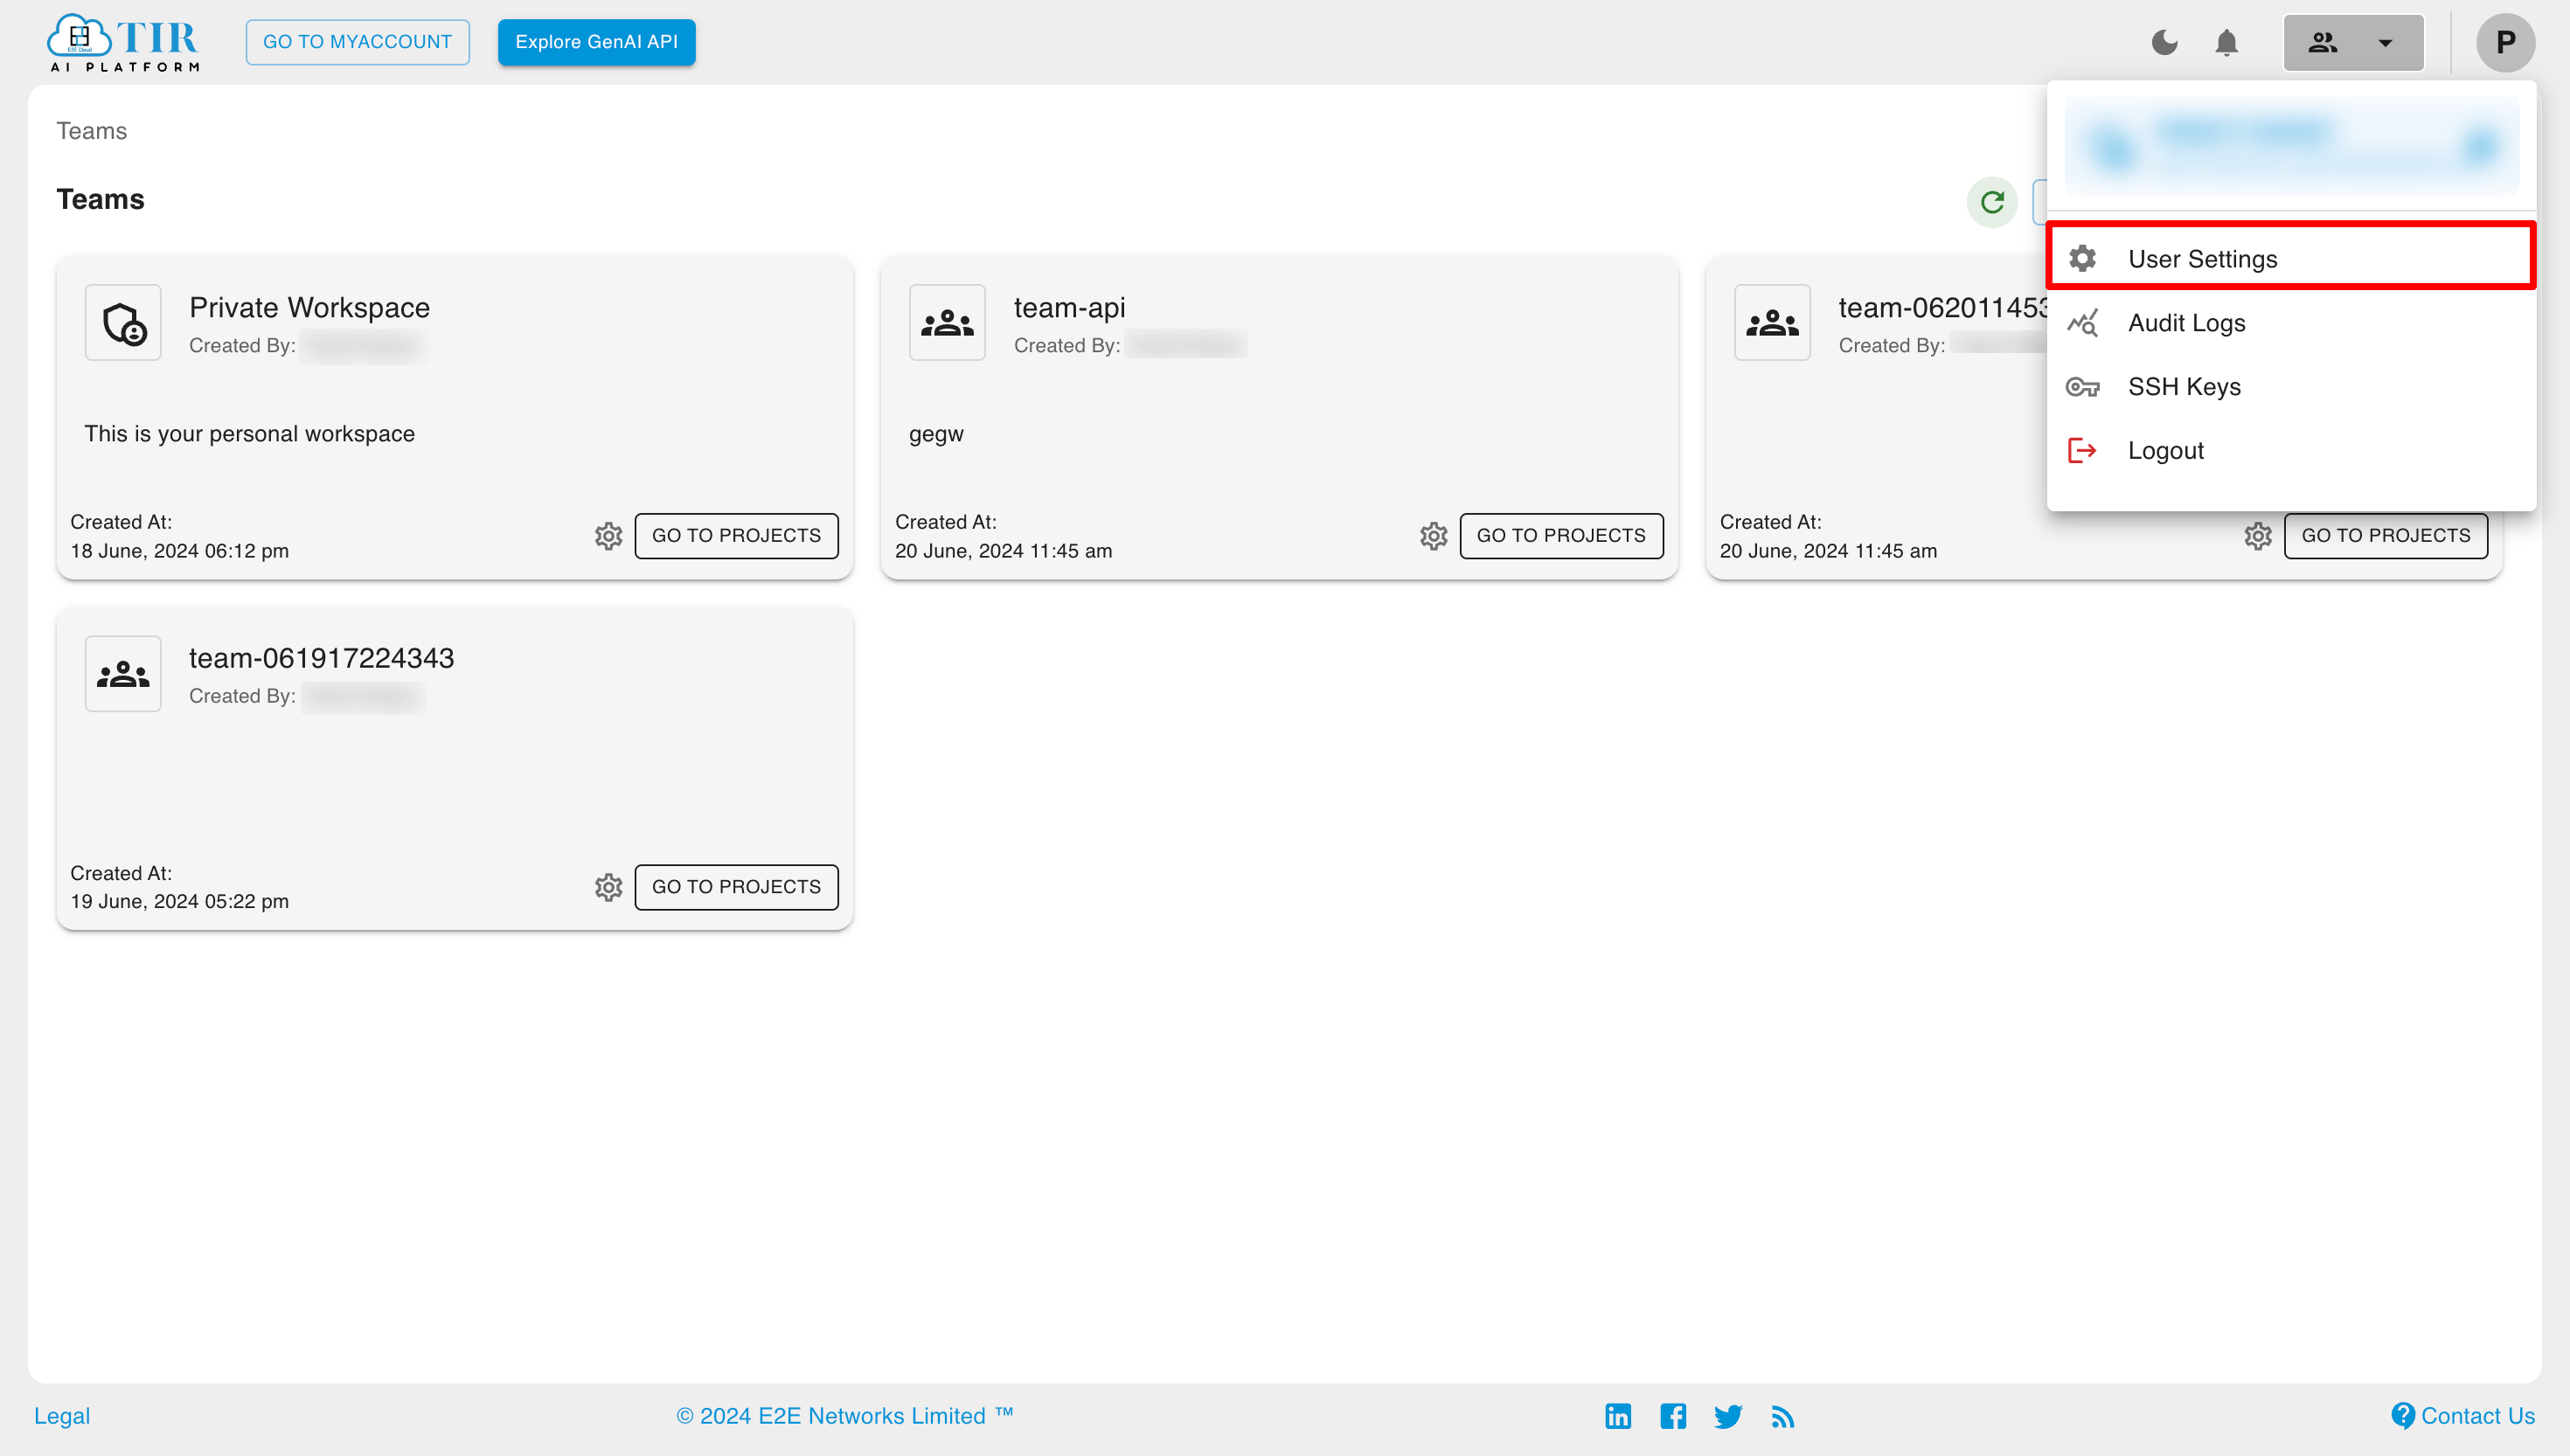
To open the IAM Panel, first click on the profile button in the top-right corner, then click on User Settings.
Add User
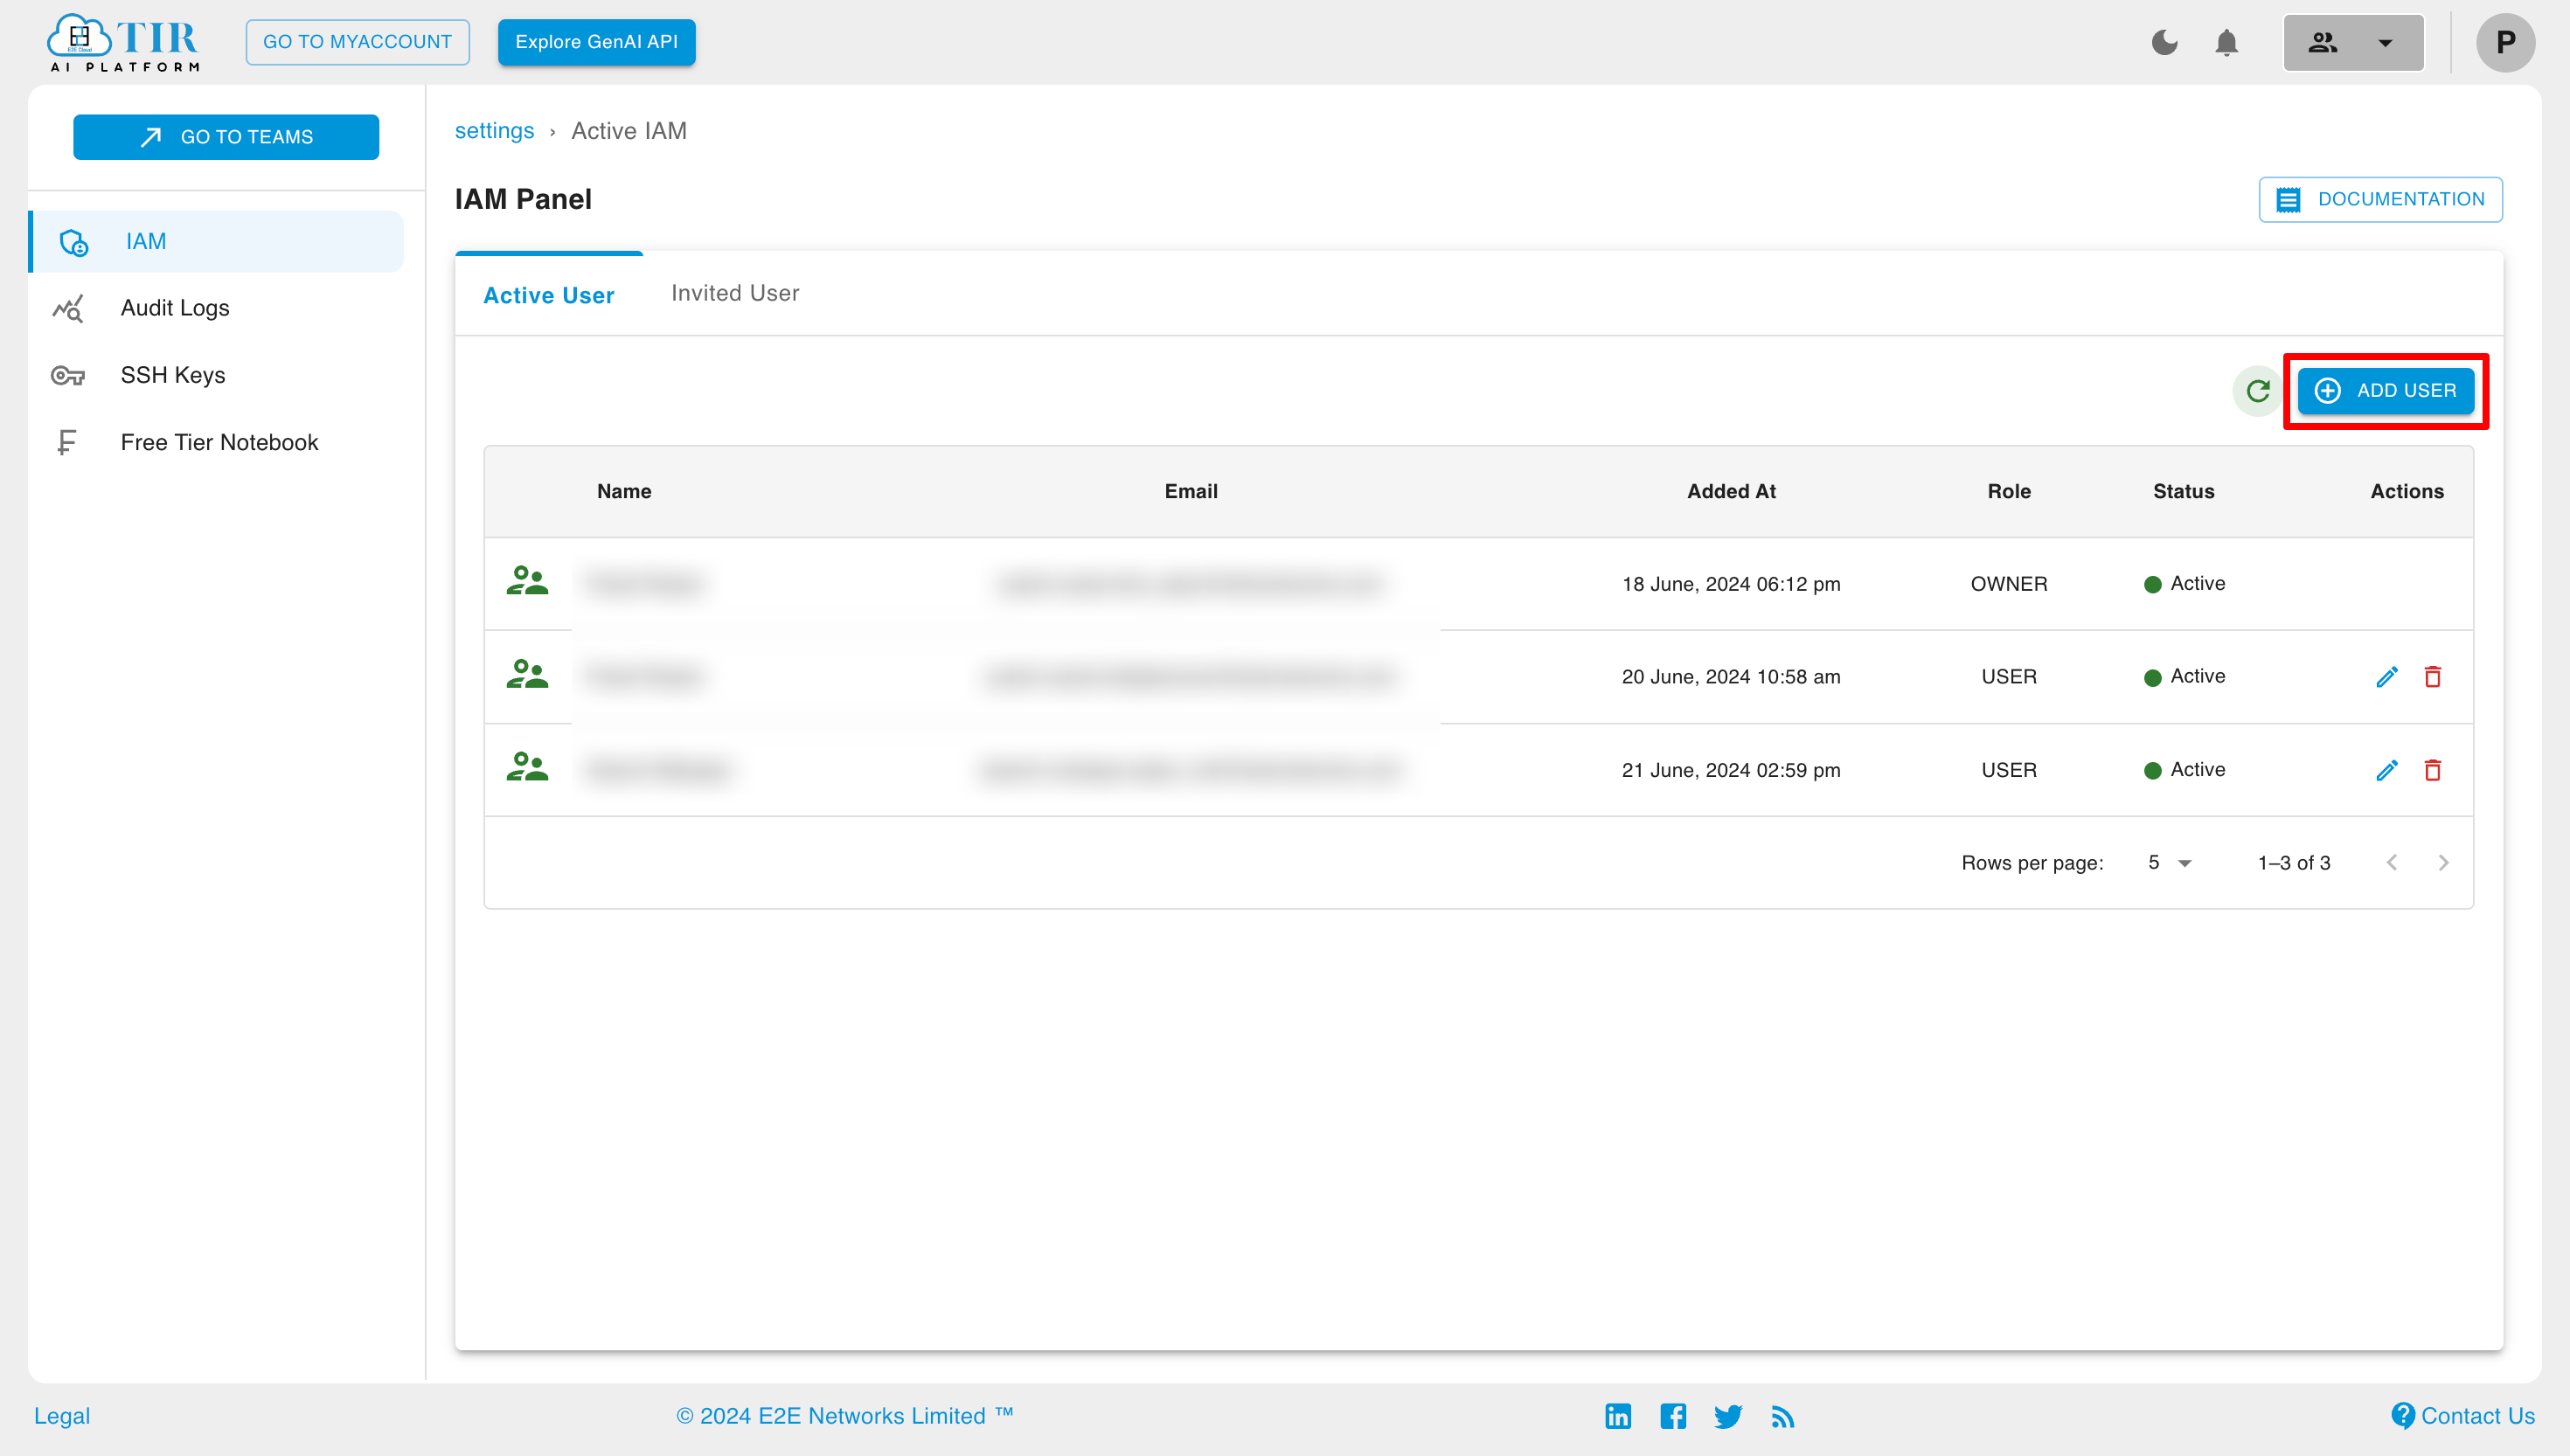
You can add users from the IAM Panel by clicking on the Add User button on the right side.
Now, select the appropriate role, teams, and projects, then click the Add User button.
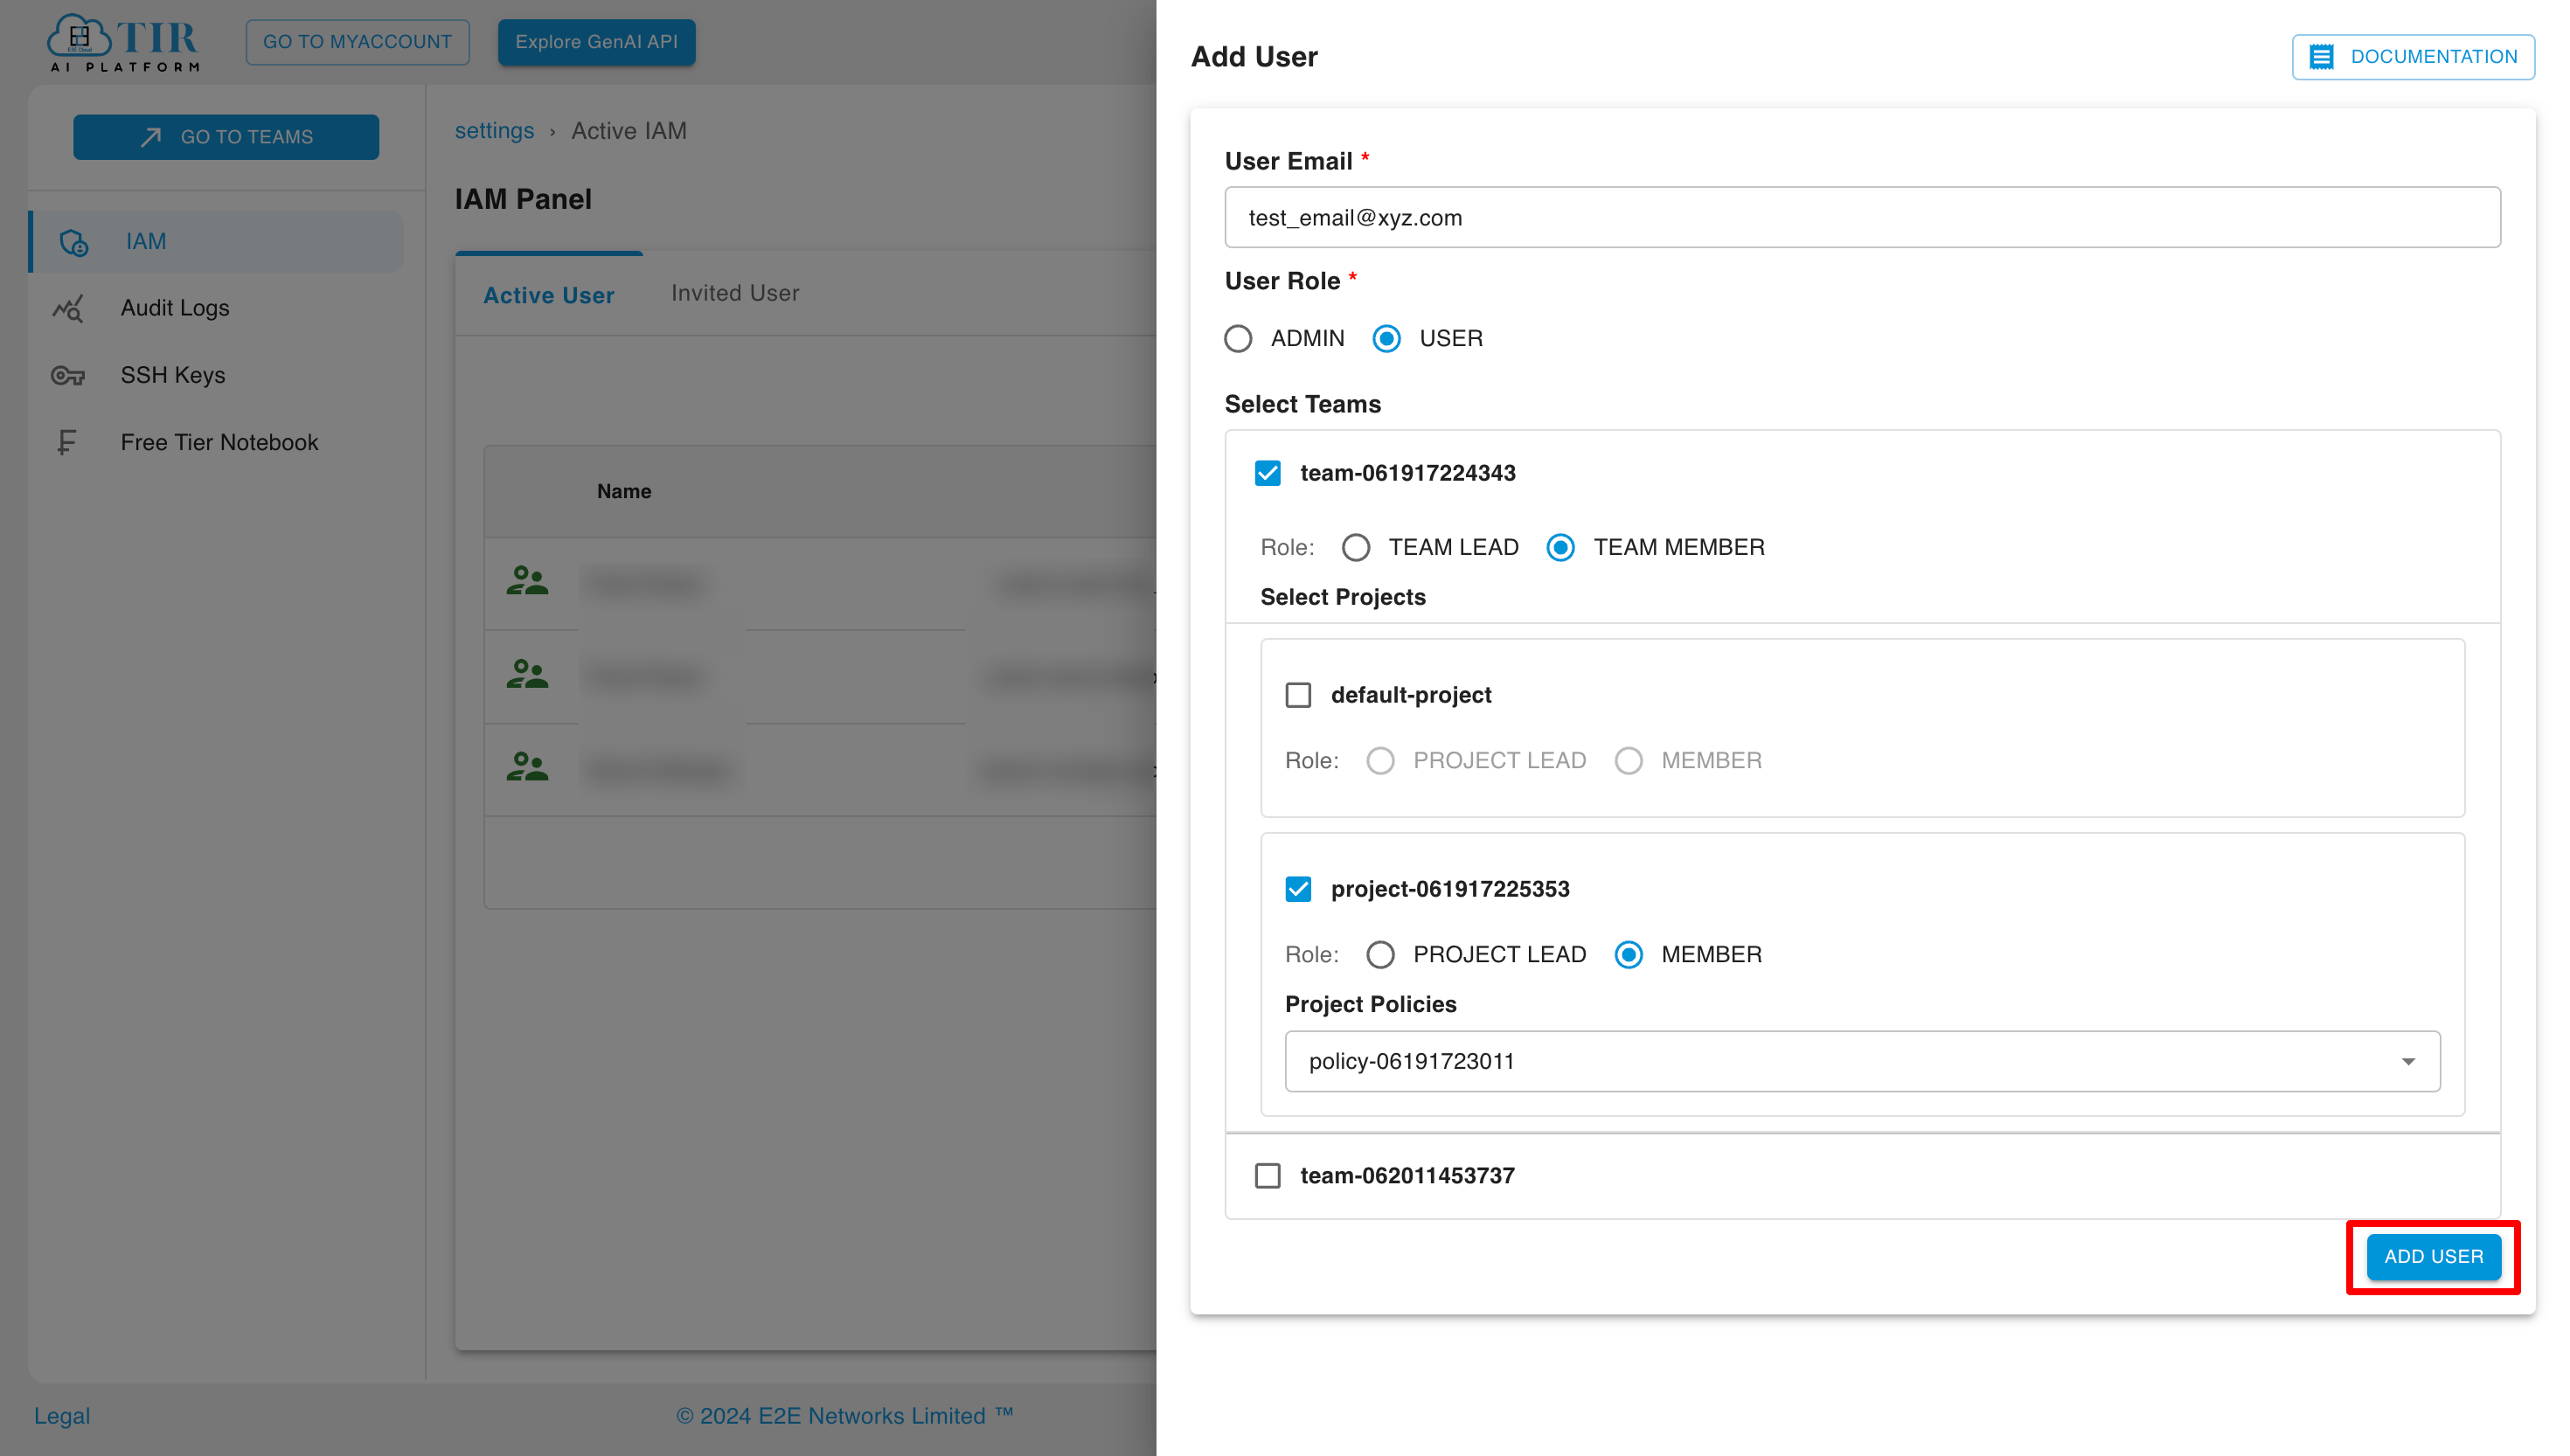
While adding a member it is mandatory to assign a policy set. To learn more on how to create a policy set, click here.
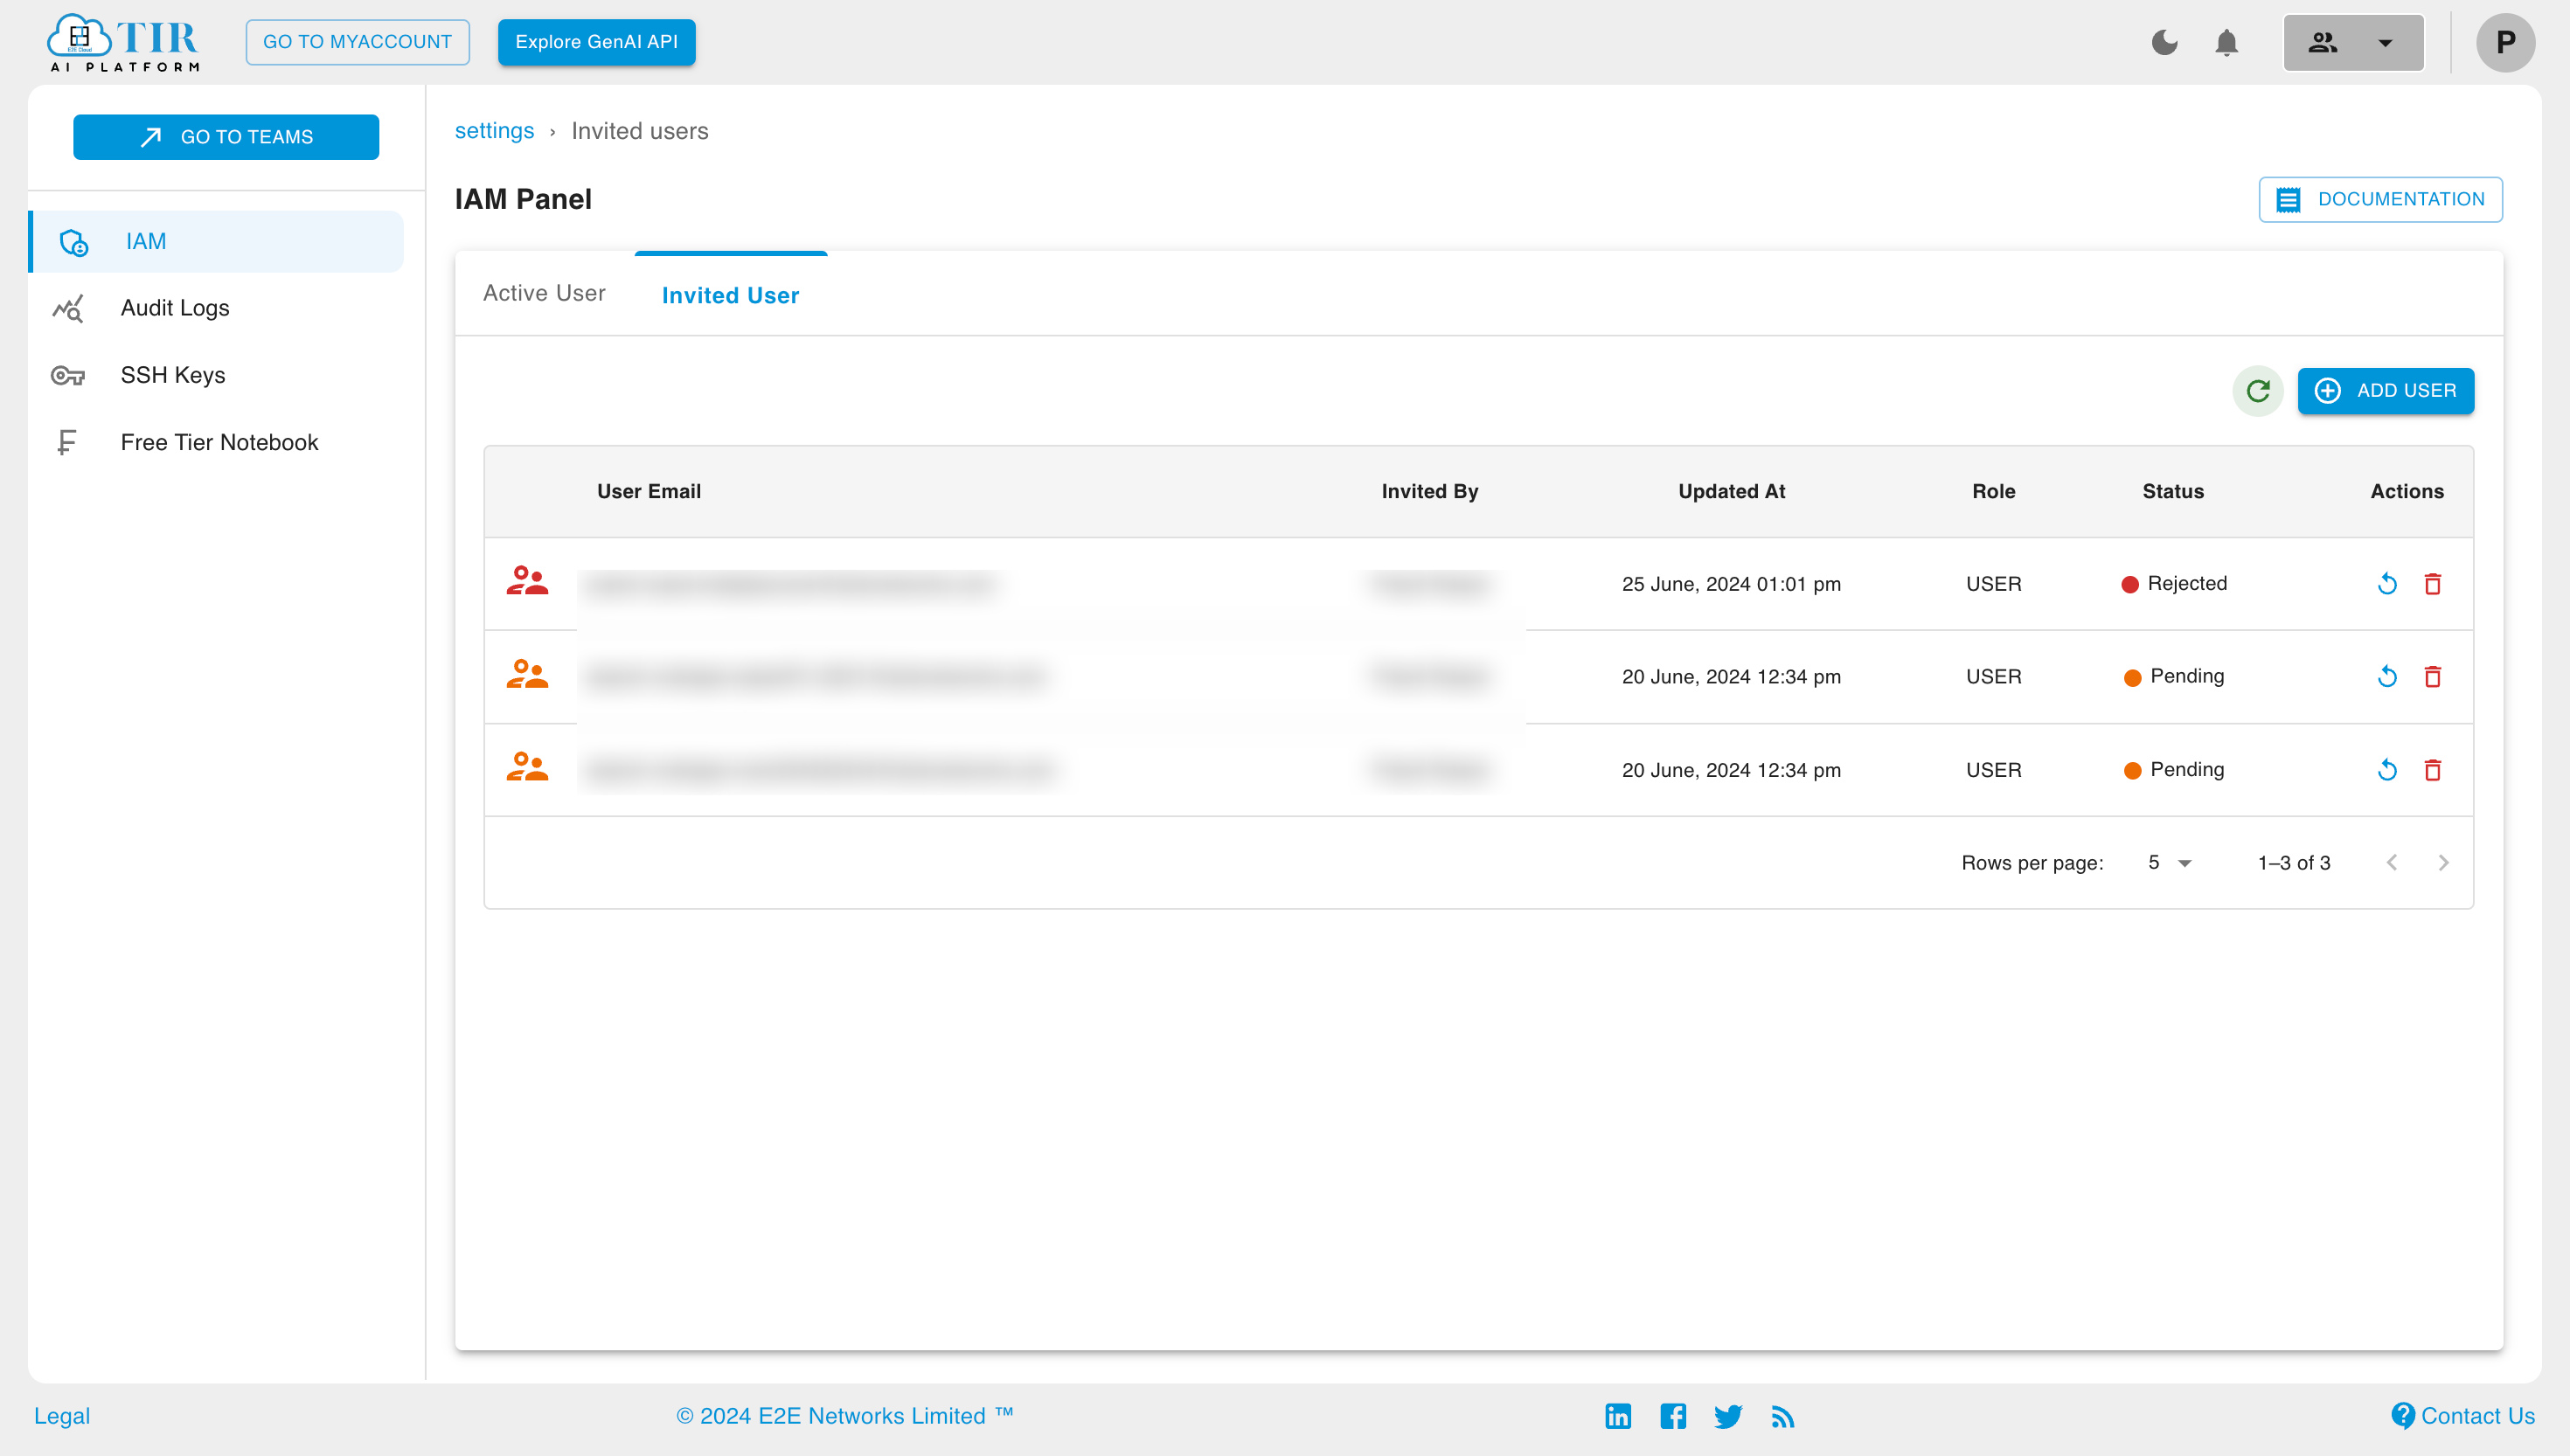
Upon selecting Add User, the user will appear in the IAM panel under the "Invited User" section with the status set as 'Pending.' Subsequently, an invitation link will be sent to the user’s email address. Upon clicking the link, a registration form will be presented for completion.
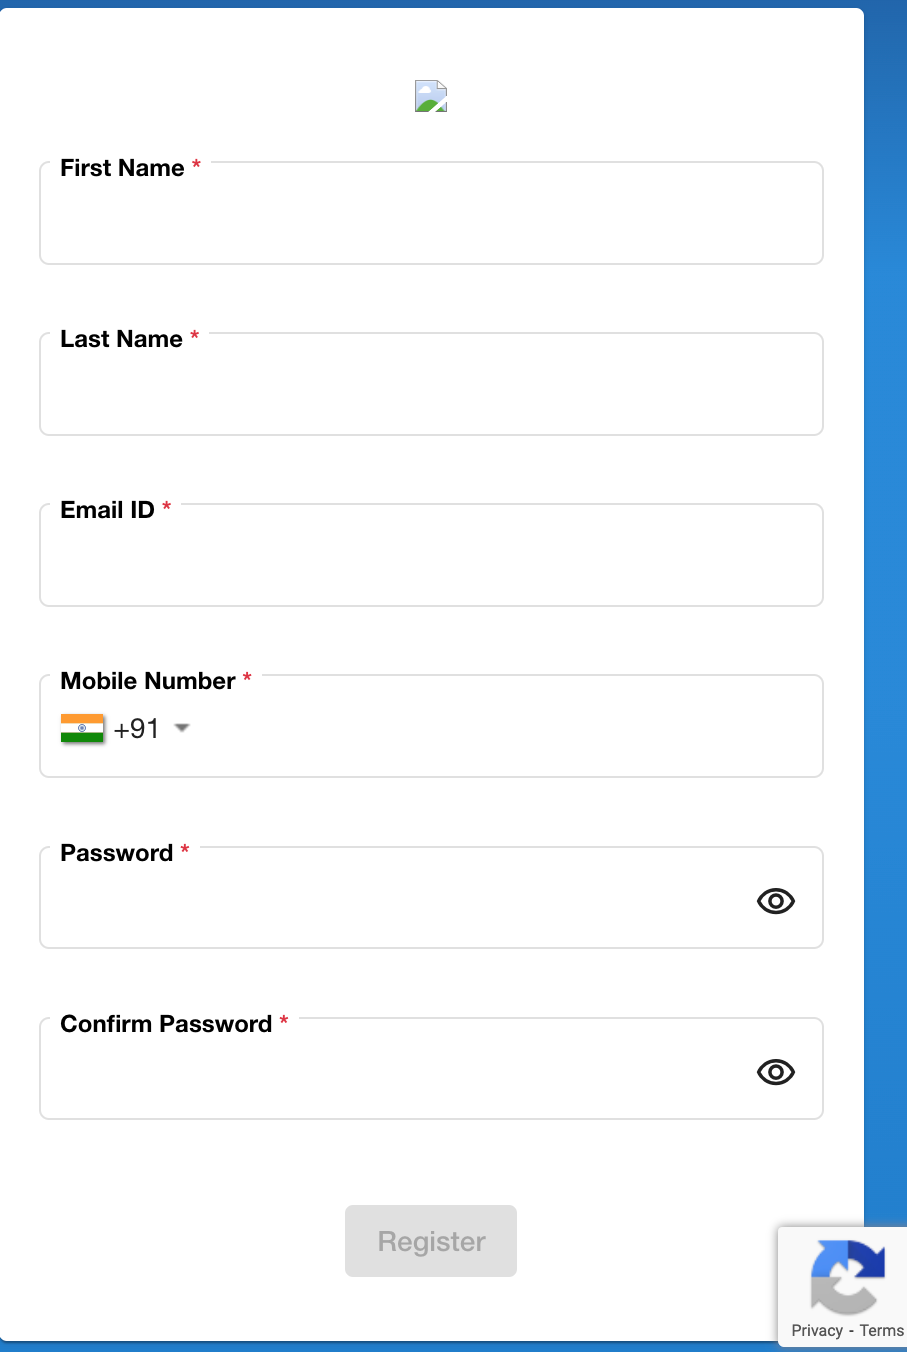
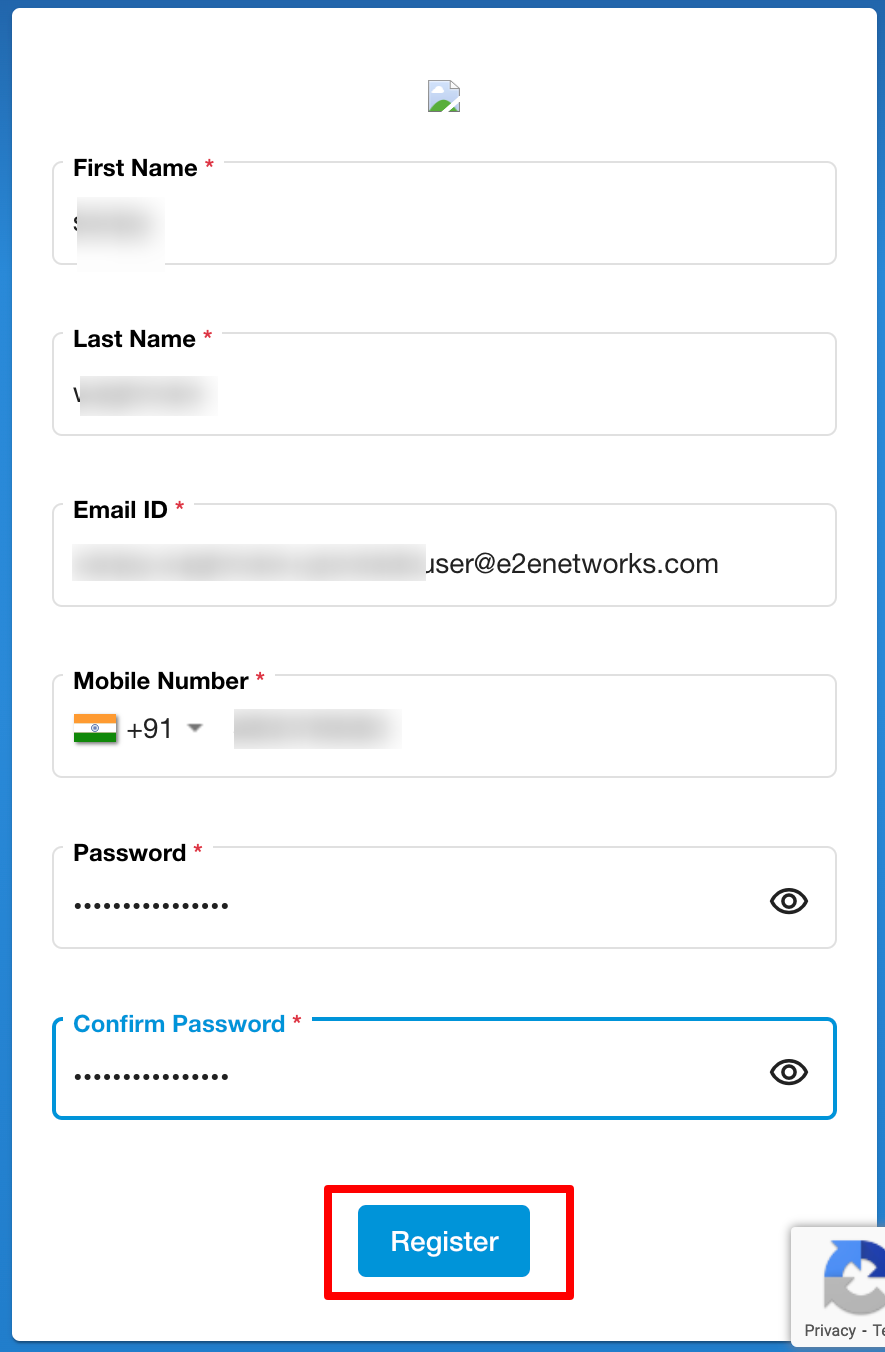
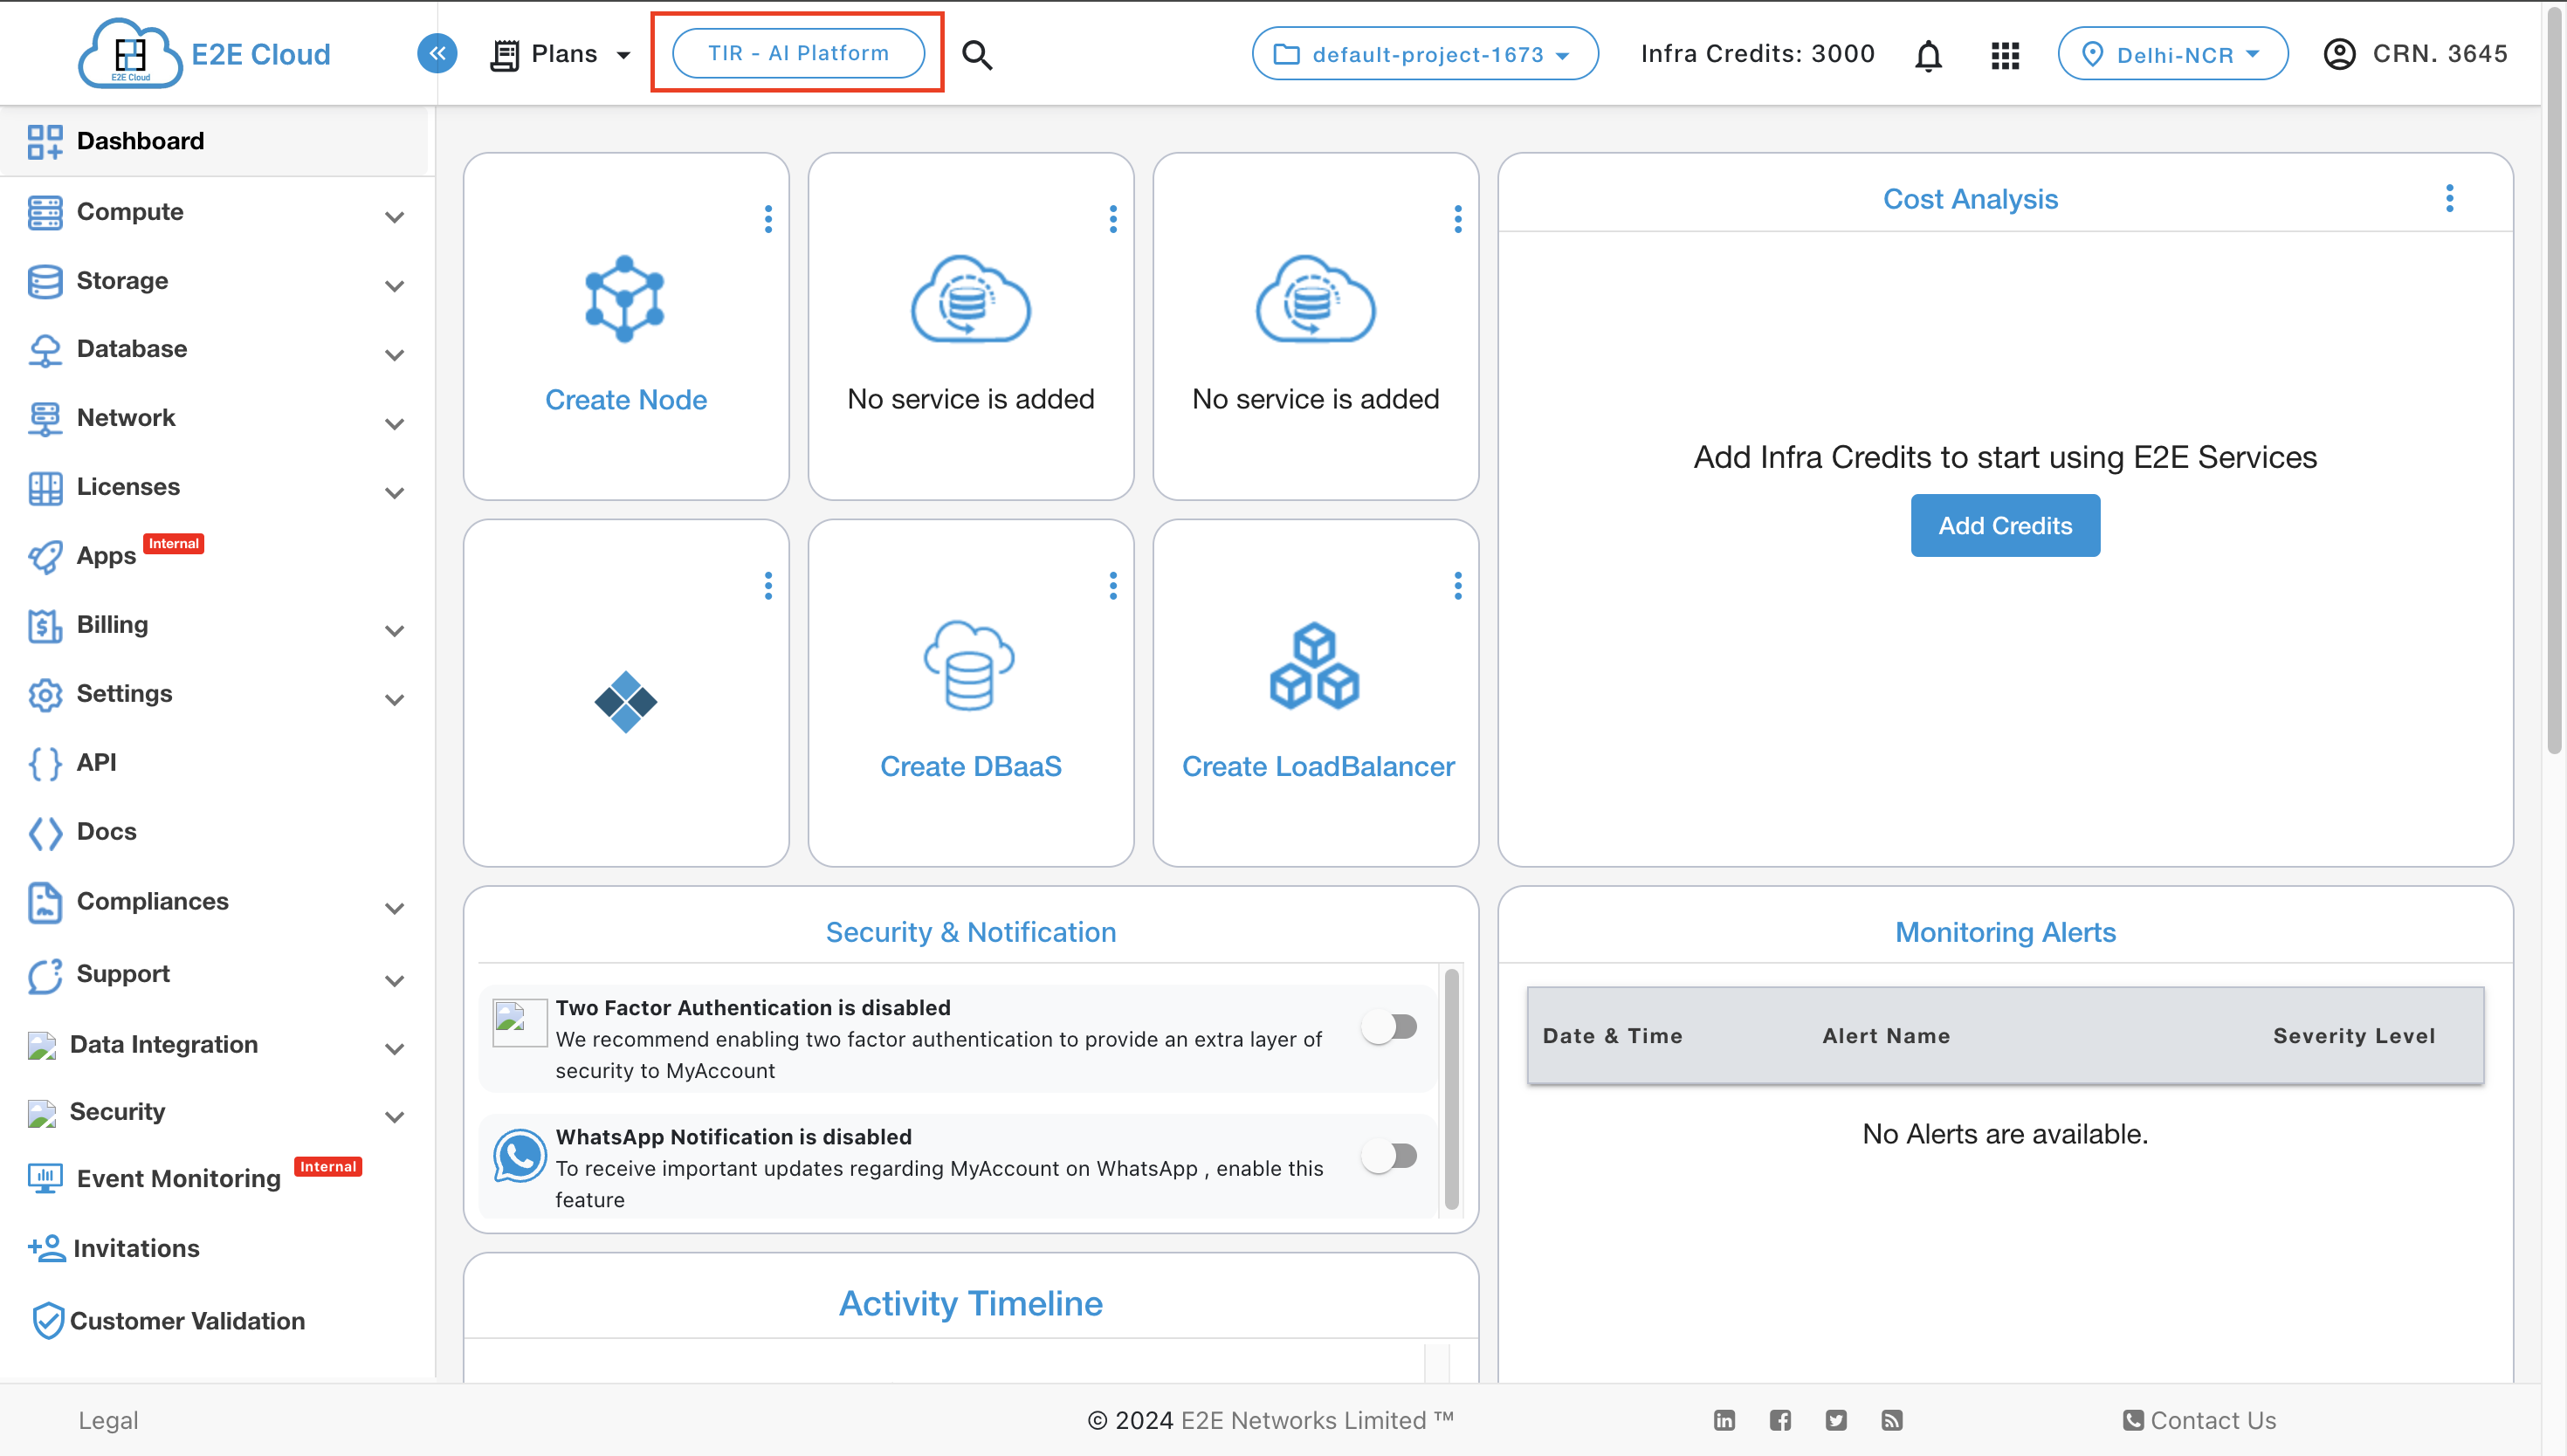
Upon completing all the required details in the registration form, the user will be successfully registered. Following registration, the customer must log in using their provided credentials. After logging in, users have to switch to TIR by clicking on the TIR-AI Platform button at the top.
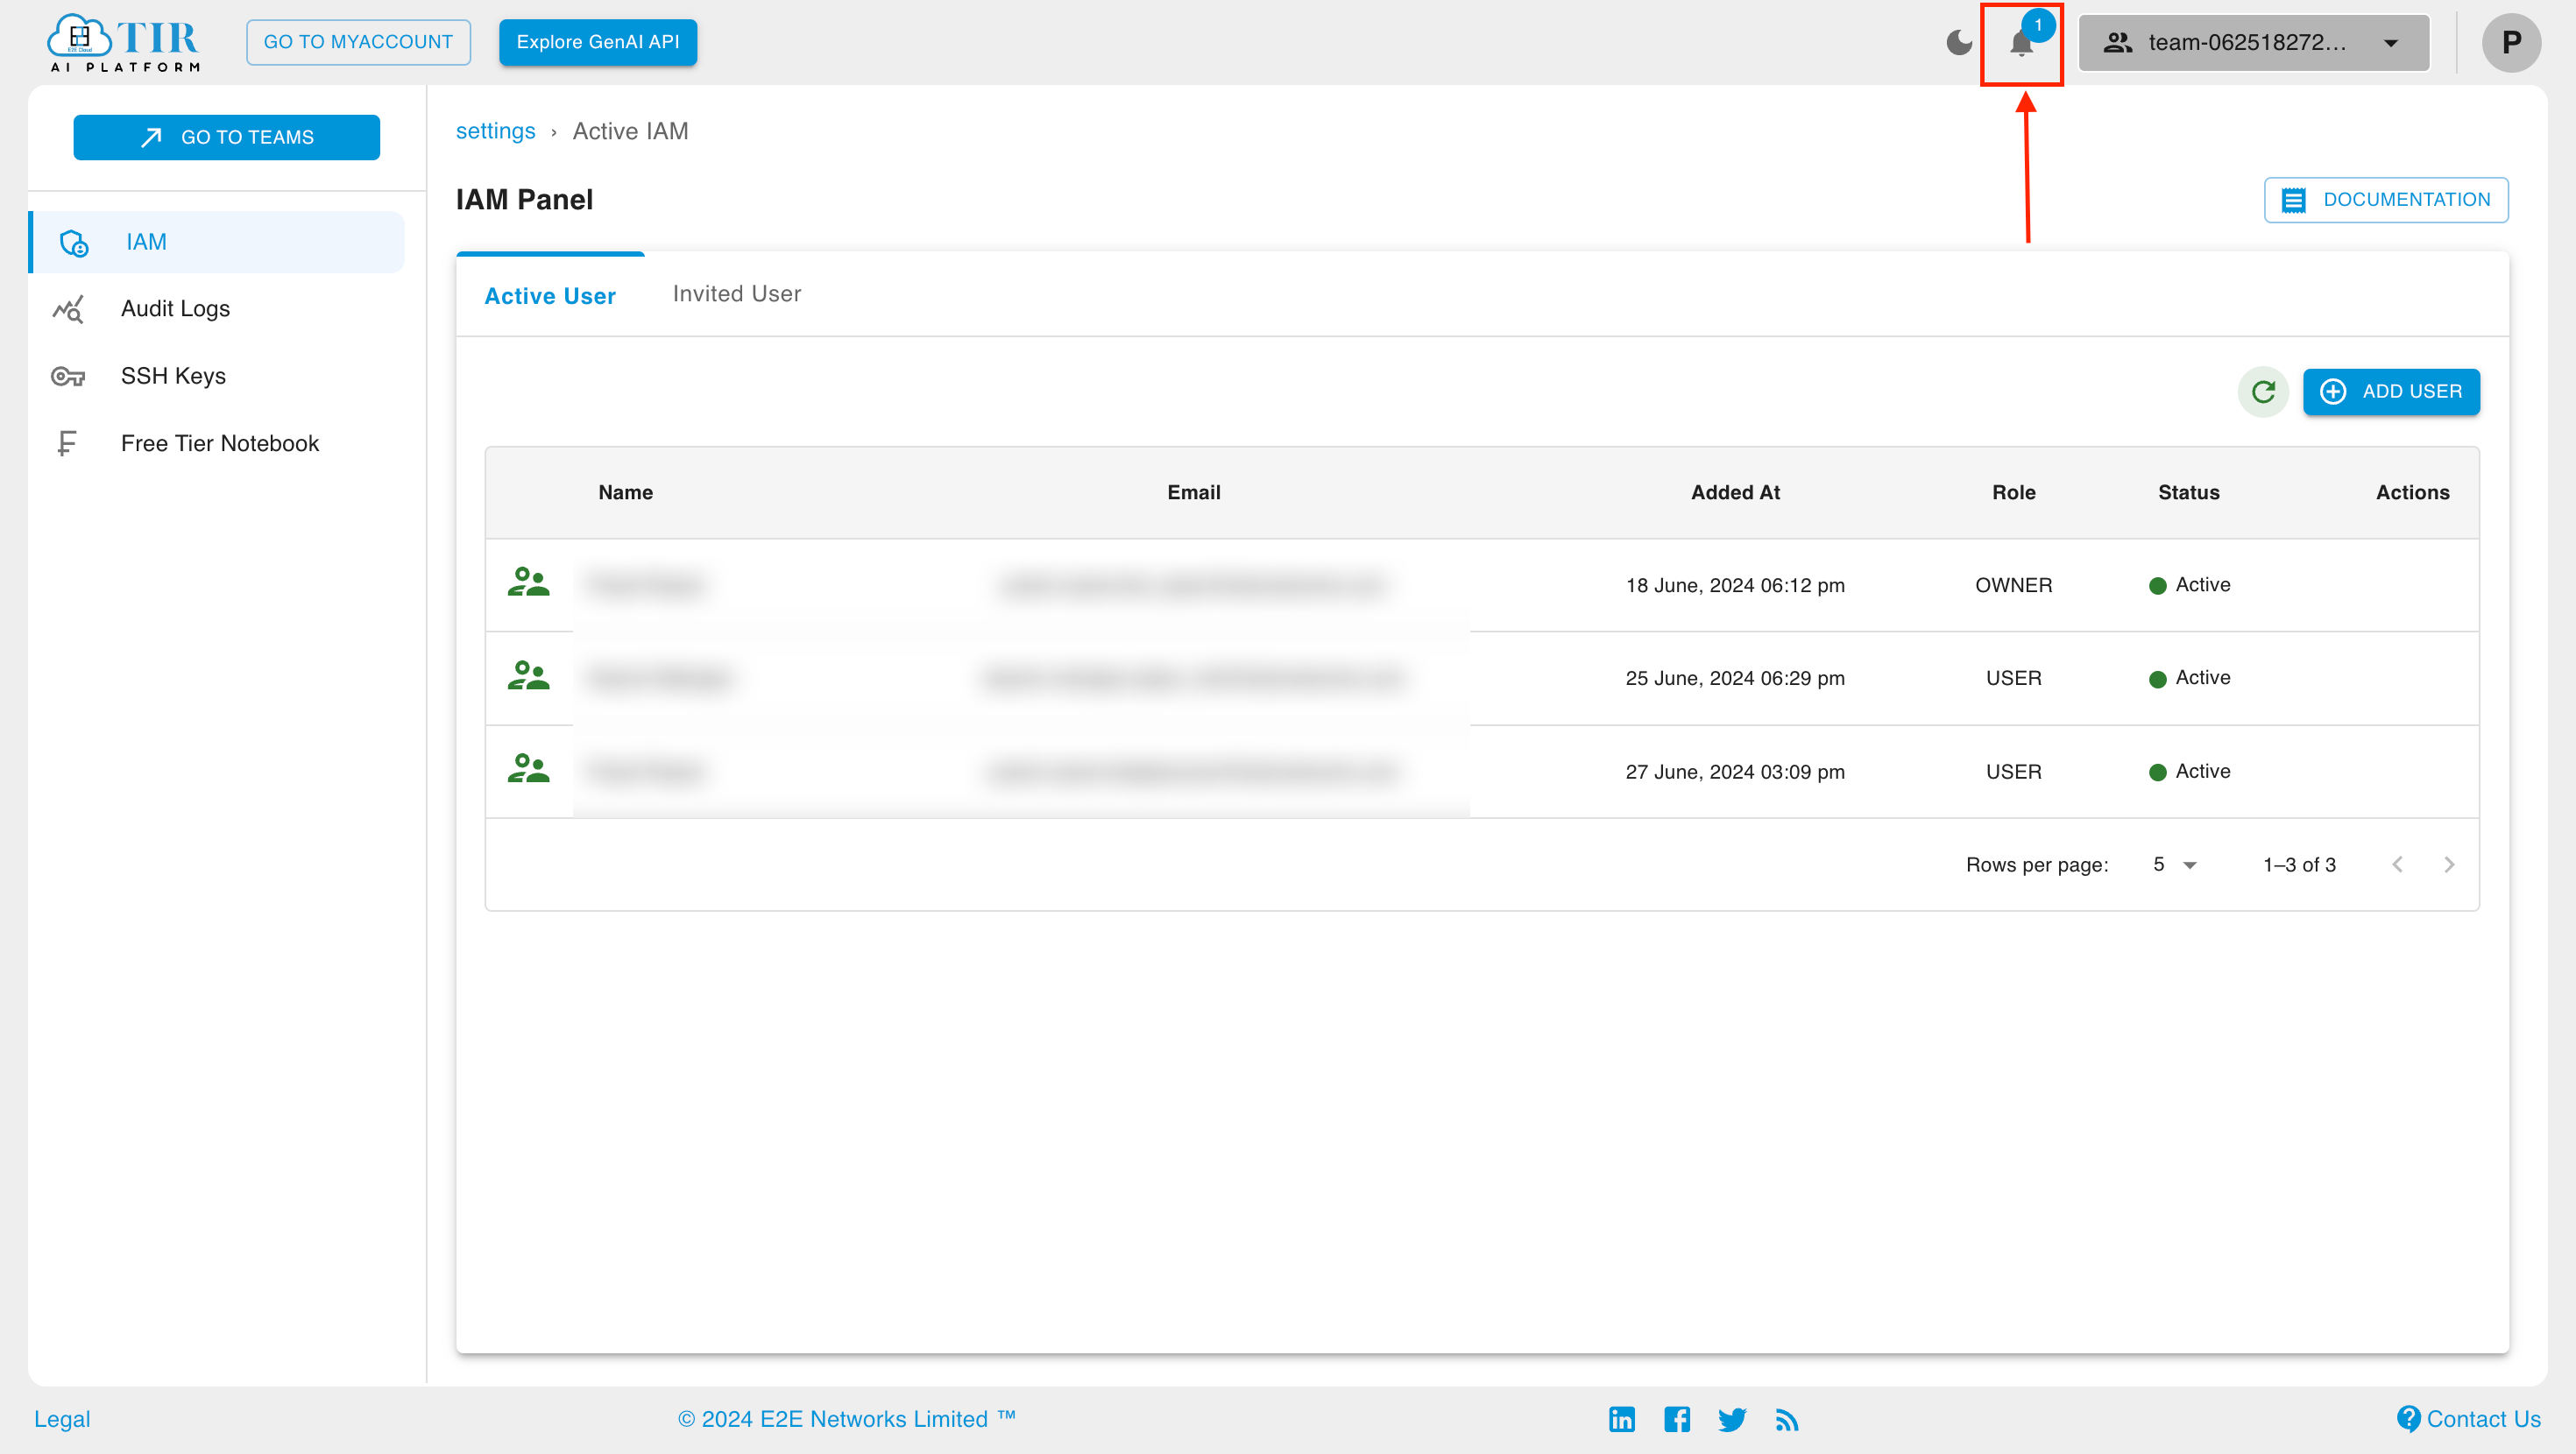
Now the user will be able to see the invitation in the notification section. To open the notification section, click on the bell icon at the top.
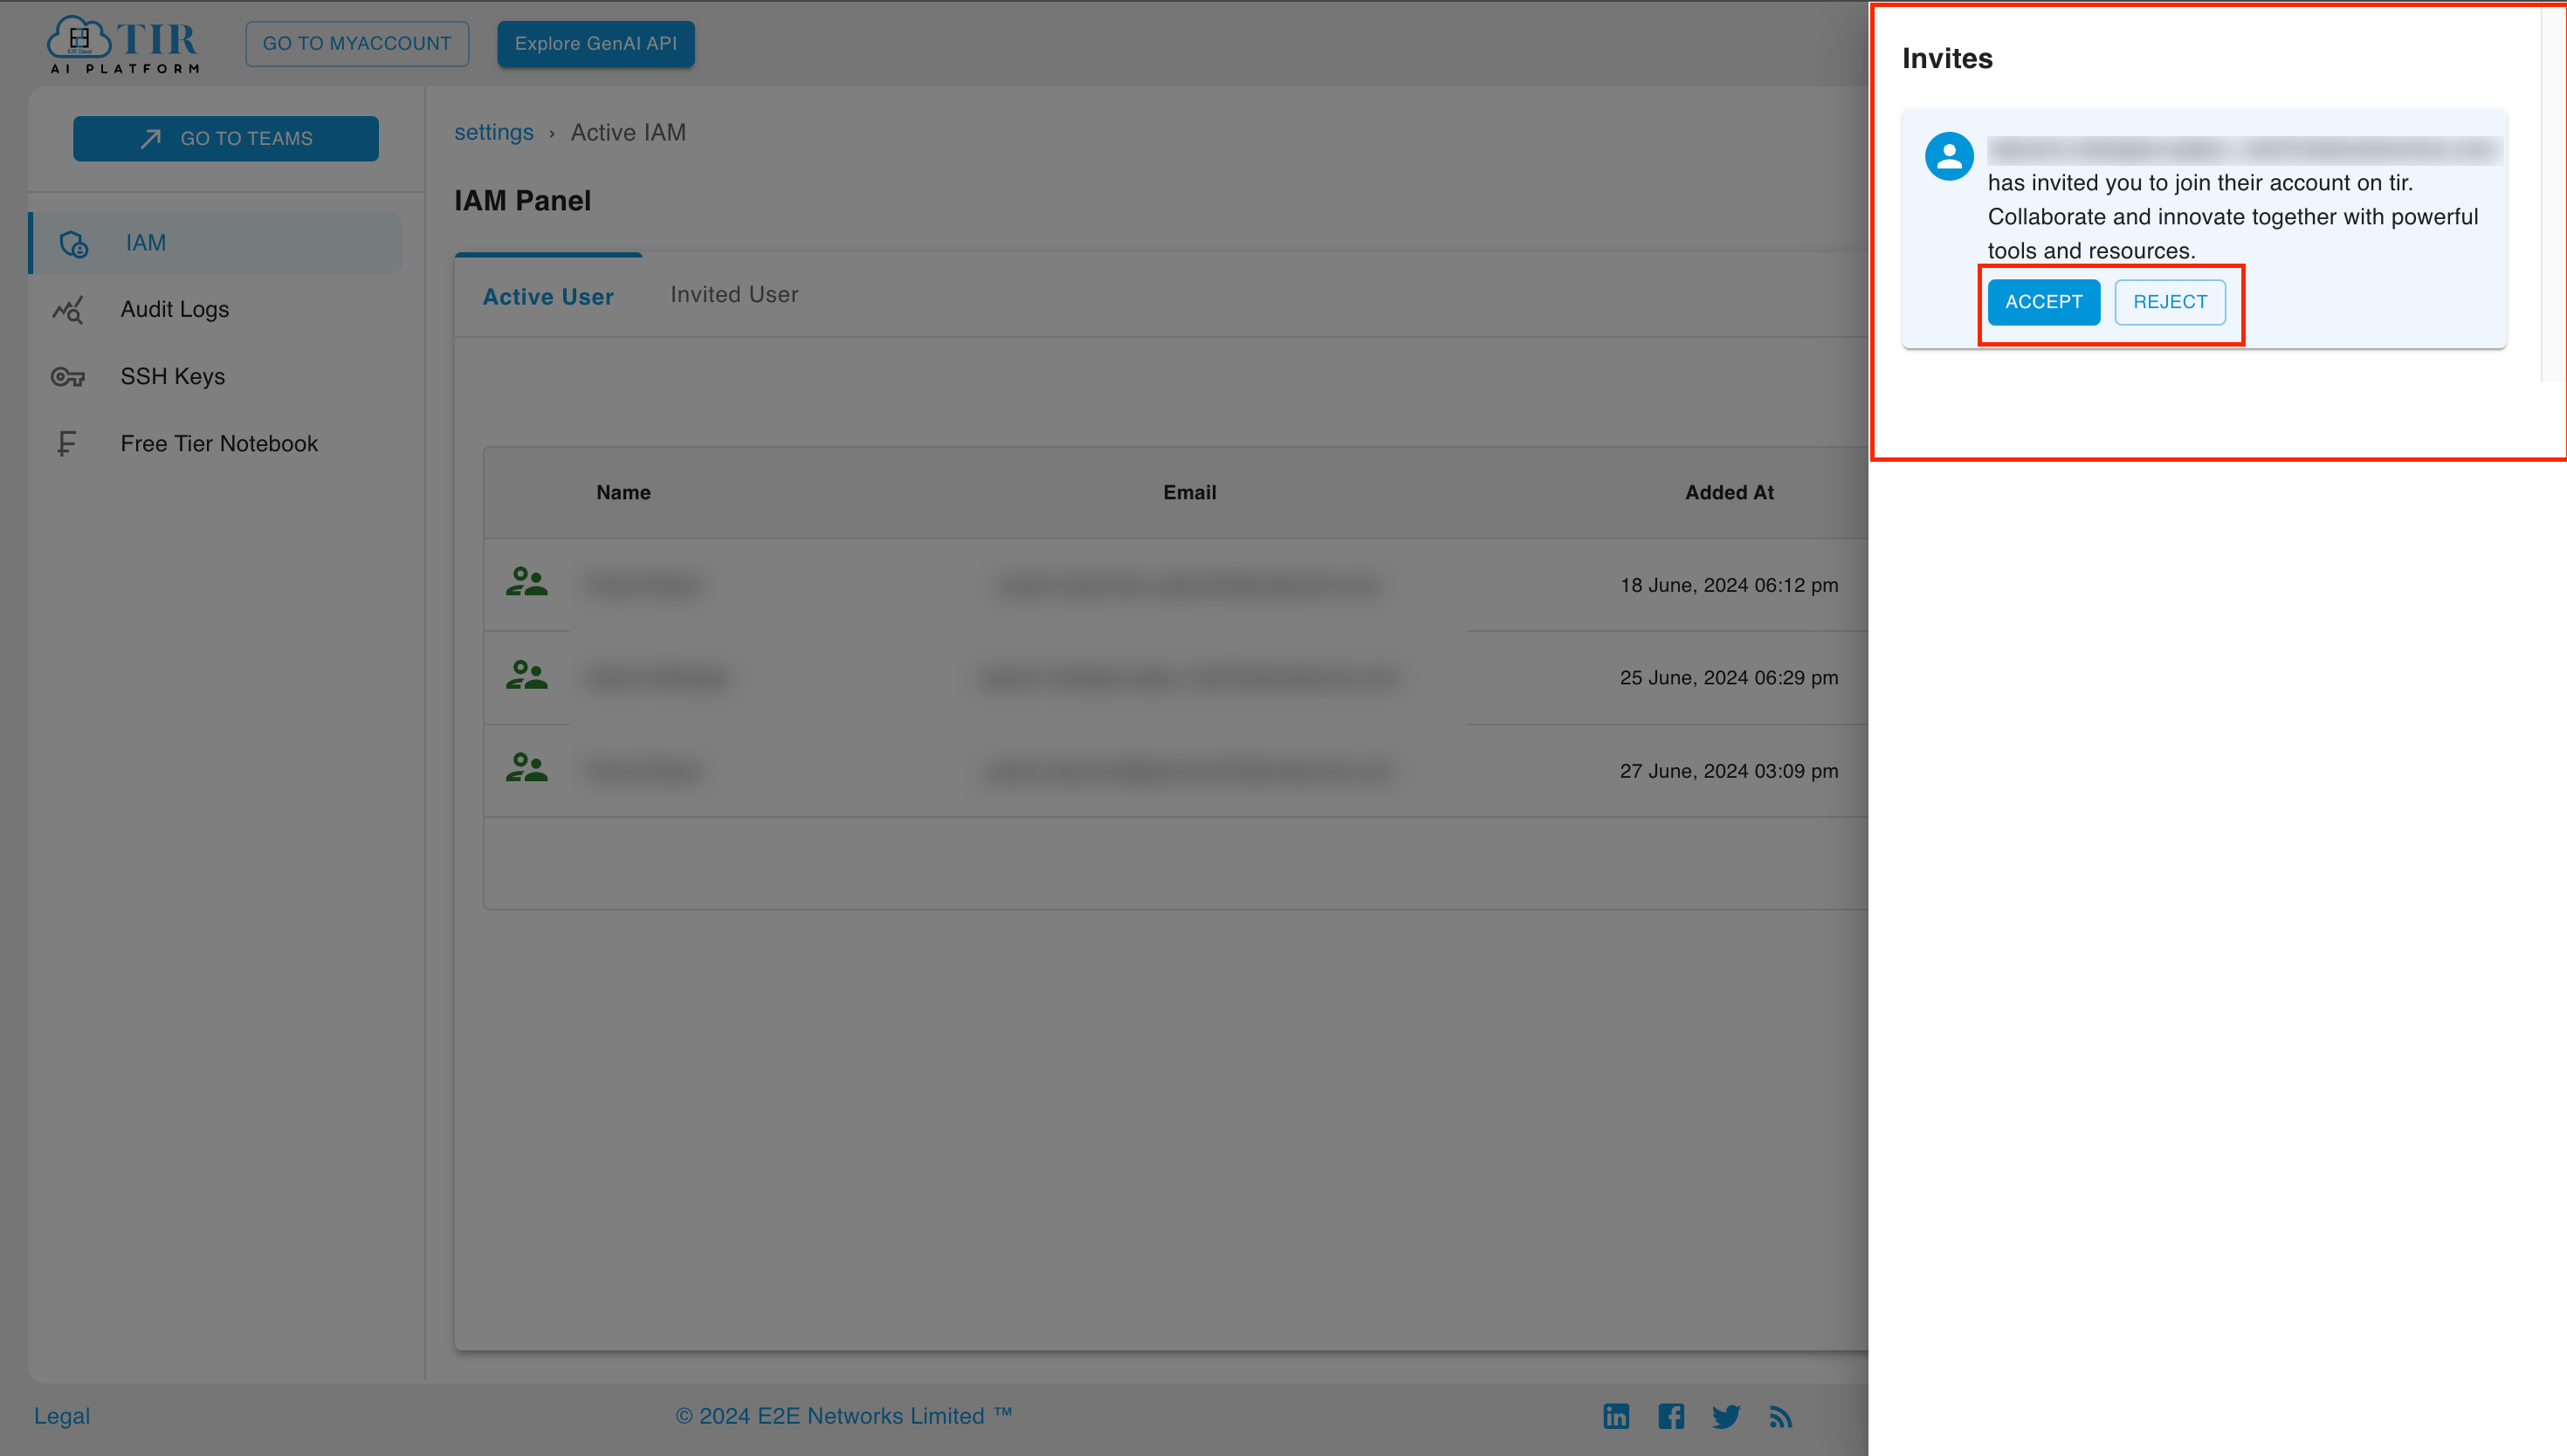
To accept or reject the invitation, click on Accept or Reject.
- . Already registered users don't need to go through the registration process; they can directly accept the invitation from their TIR account.
- . When adding an already registered user through TIR, a new CRN for the owner's account will be added to the user's myaccount section.
- We can also add users to a team from Team Settings and to a project from Project Settings.
Resend Invitation
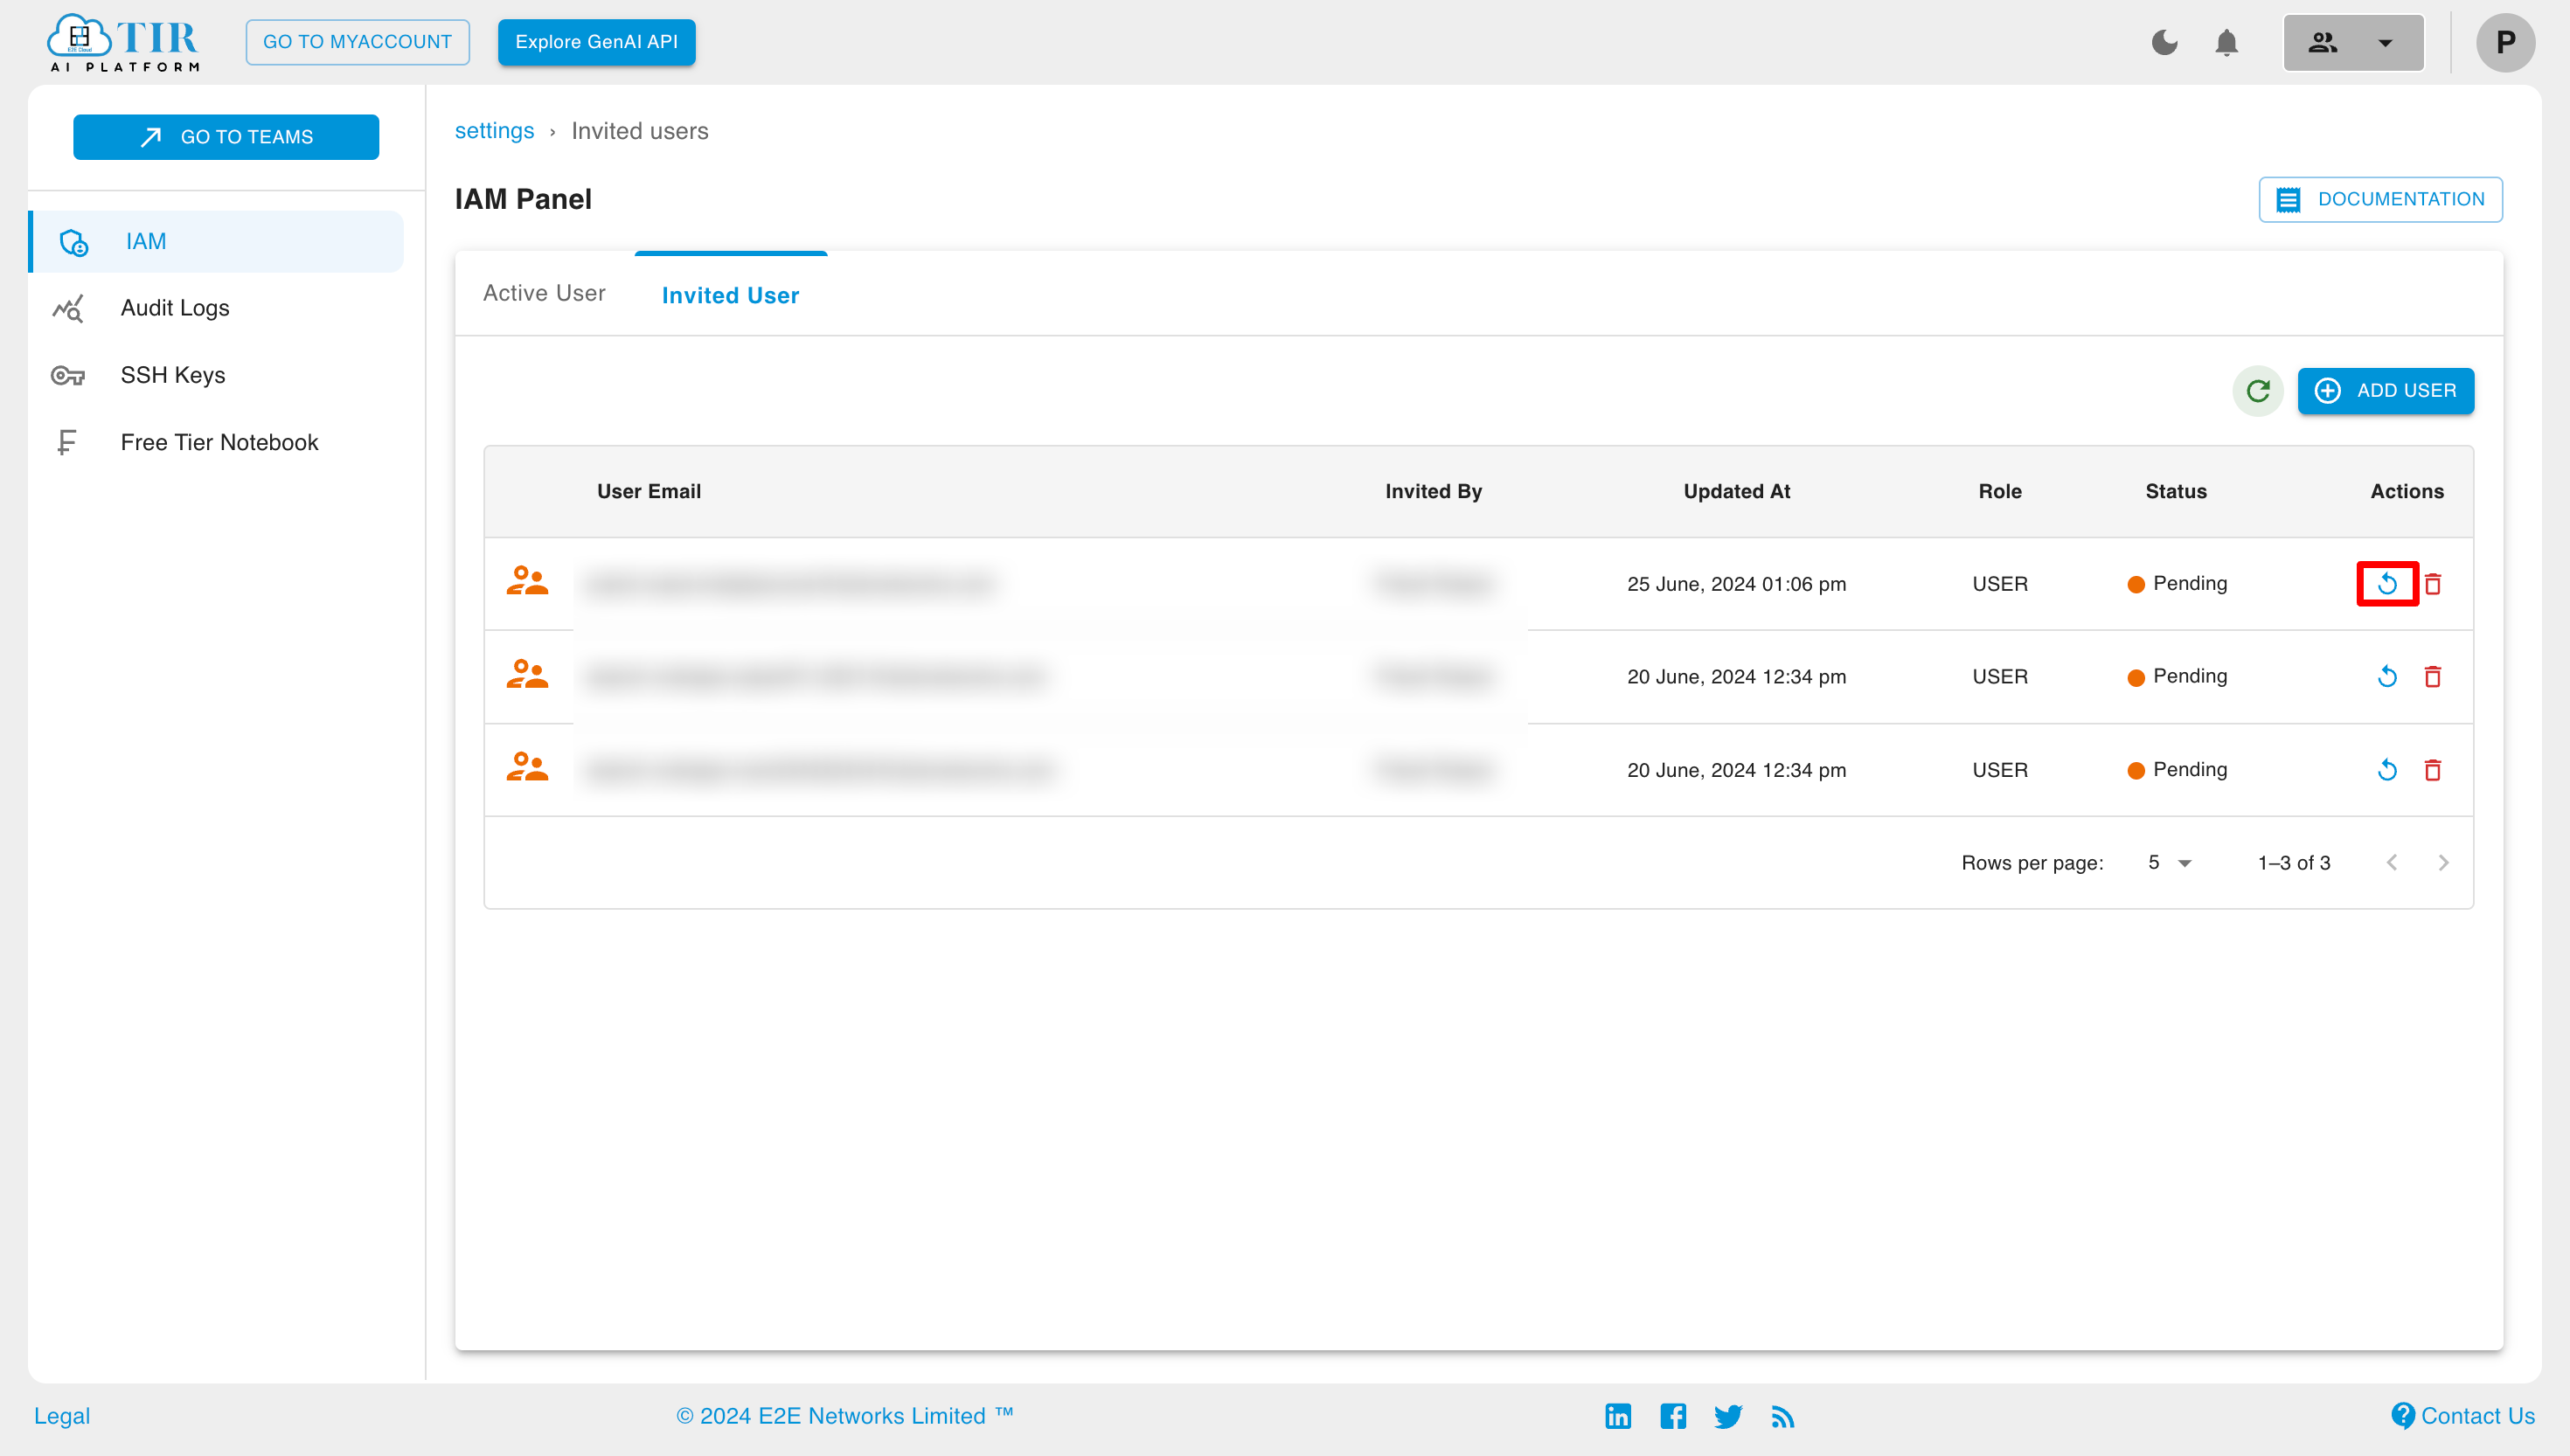
To resend the invite, click on resend invite in the actions section.
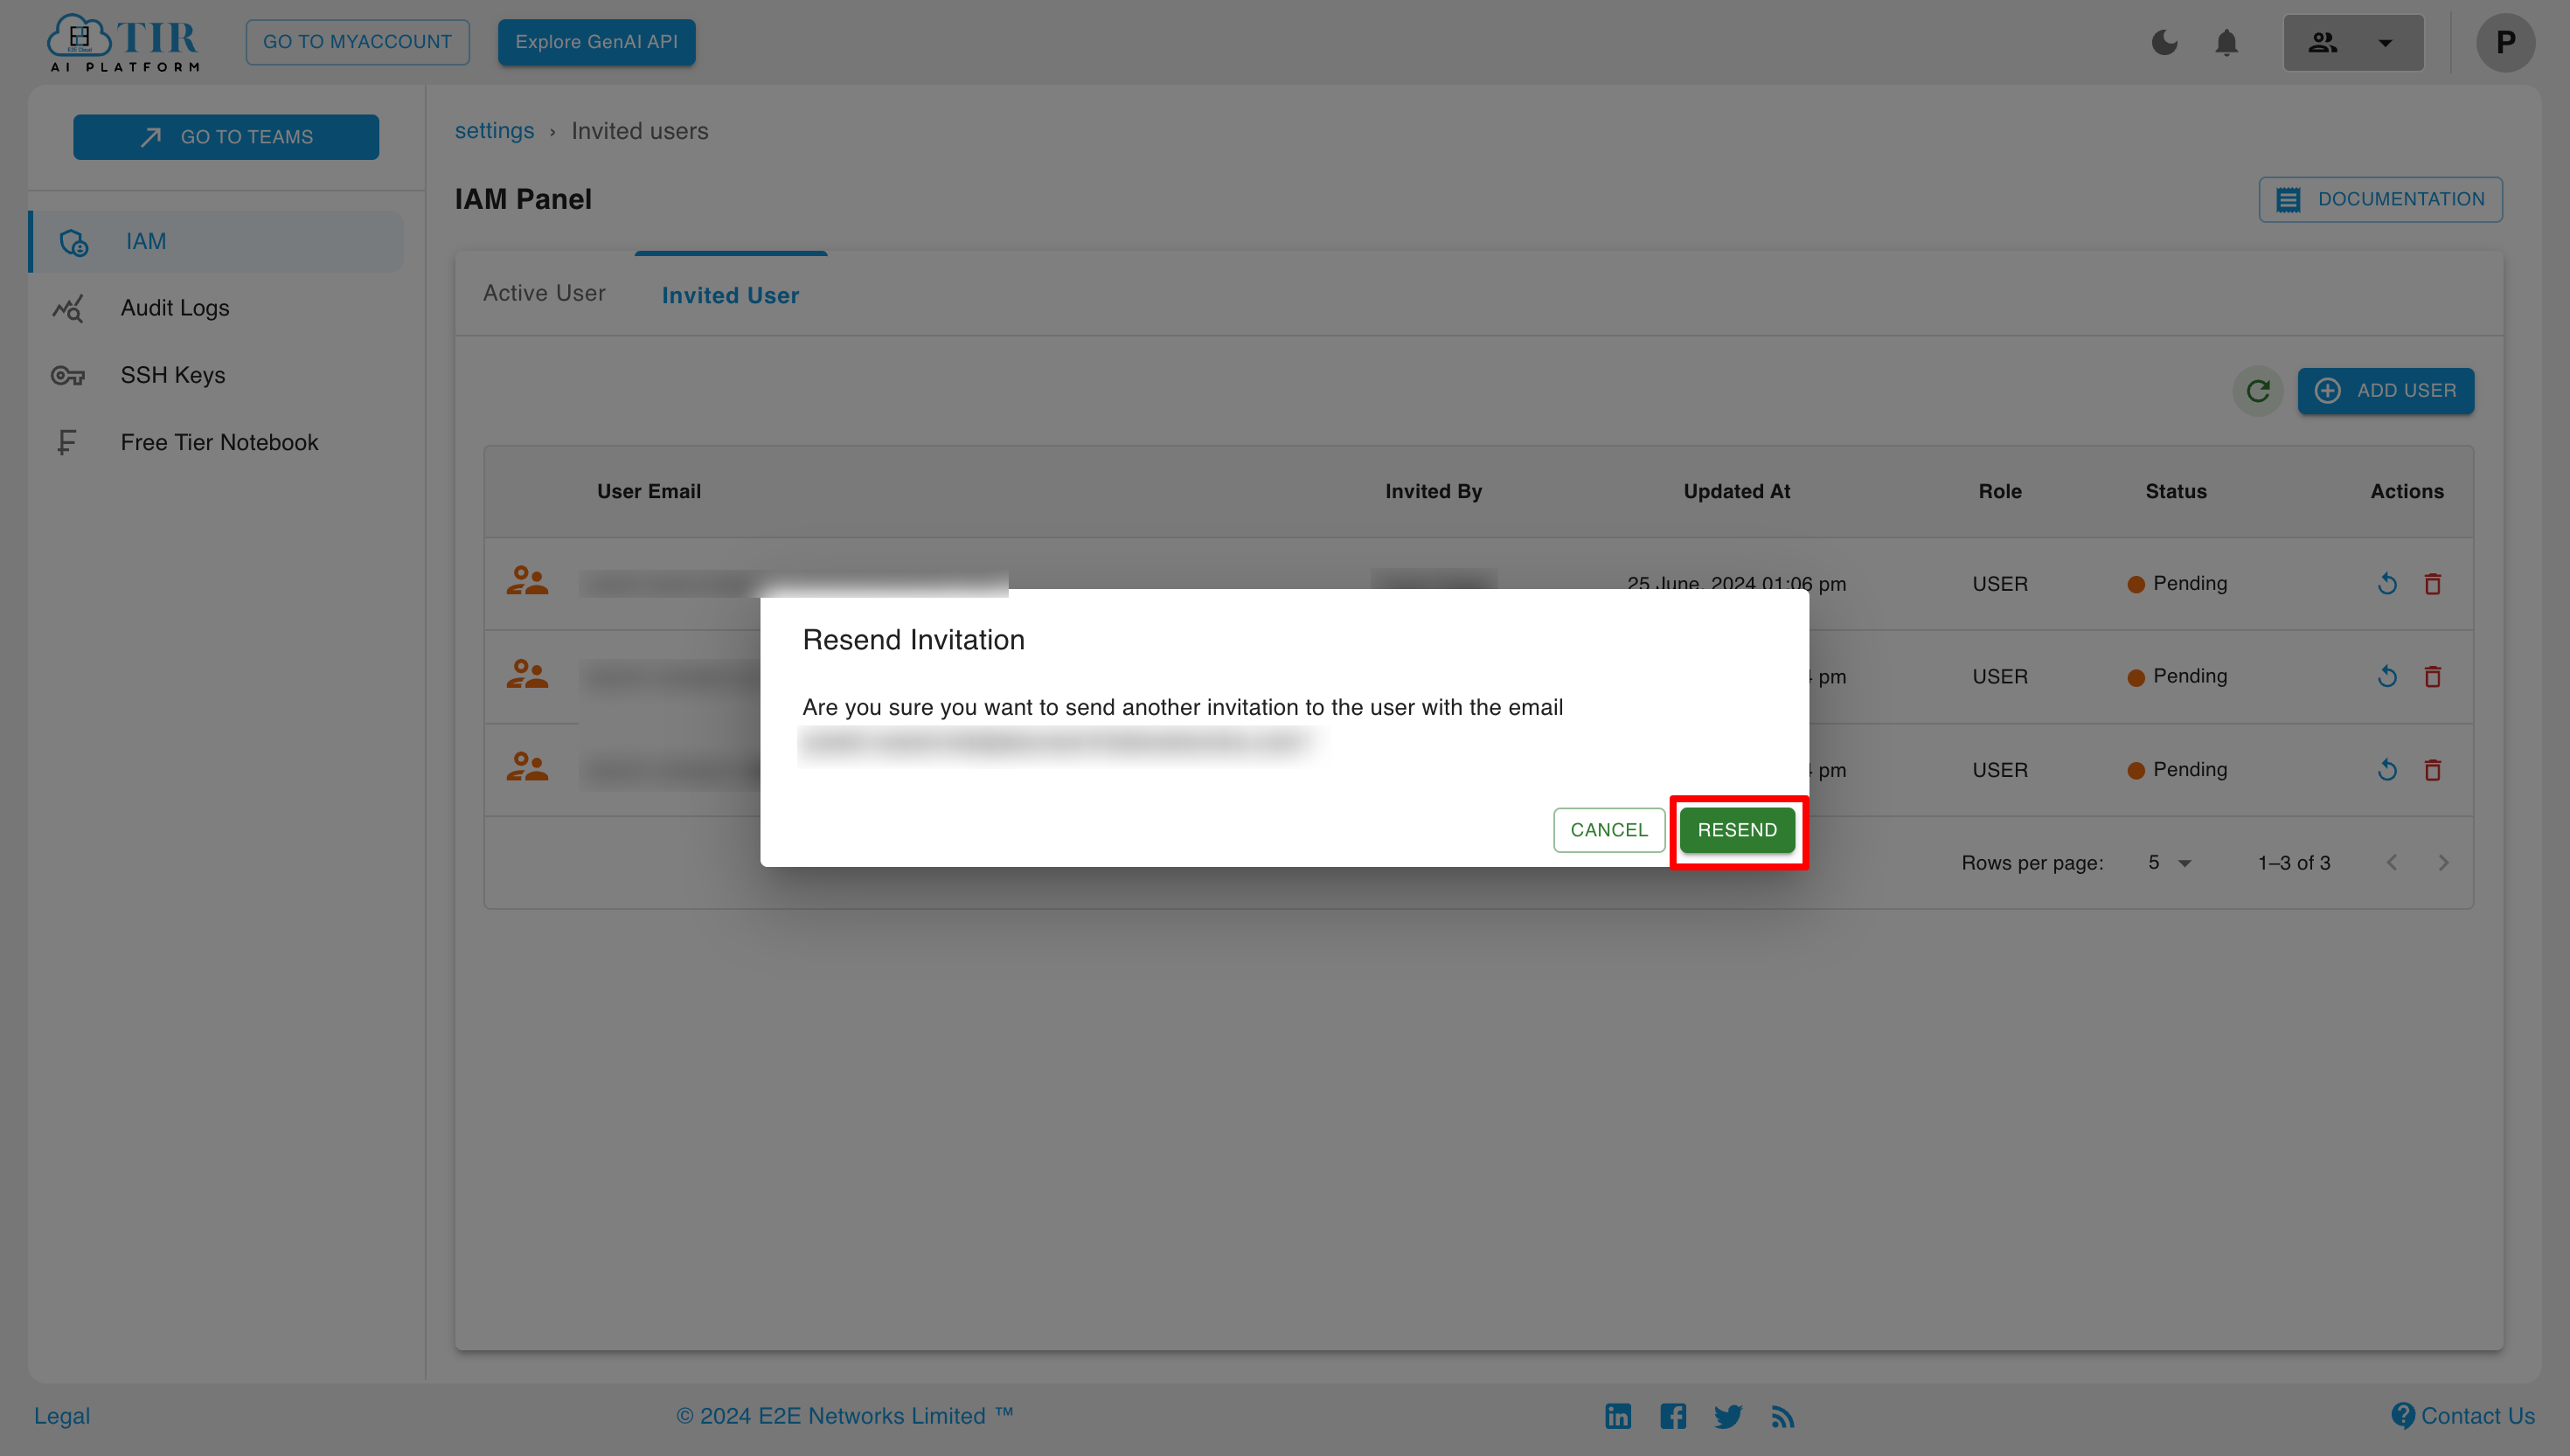
Now, click on the Resend button to send the invitation again.
Once the invitation is accepted, you can see the invited person in the Active User section.
Also, primary users (who have their own account) will see multiple account profiles in the account section.
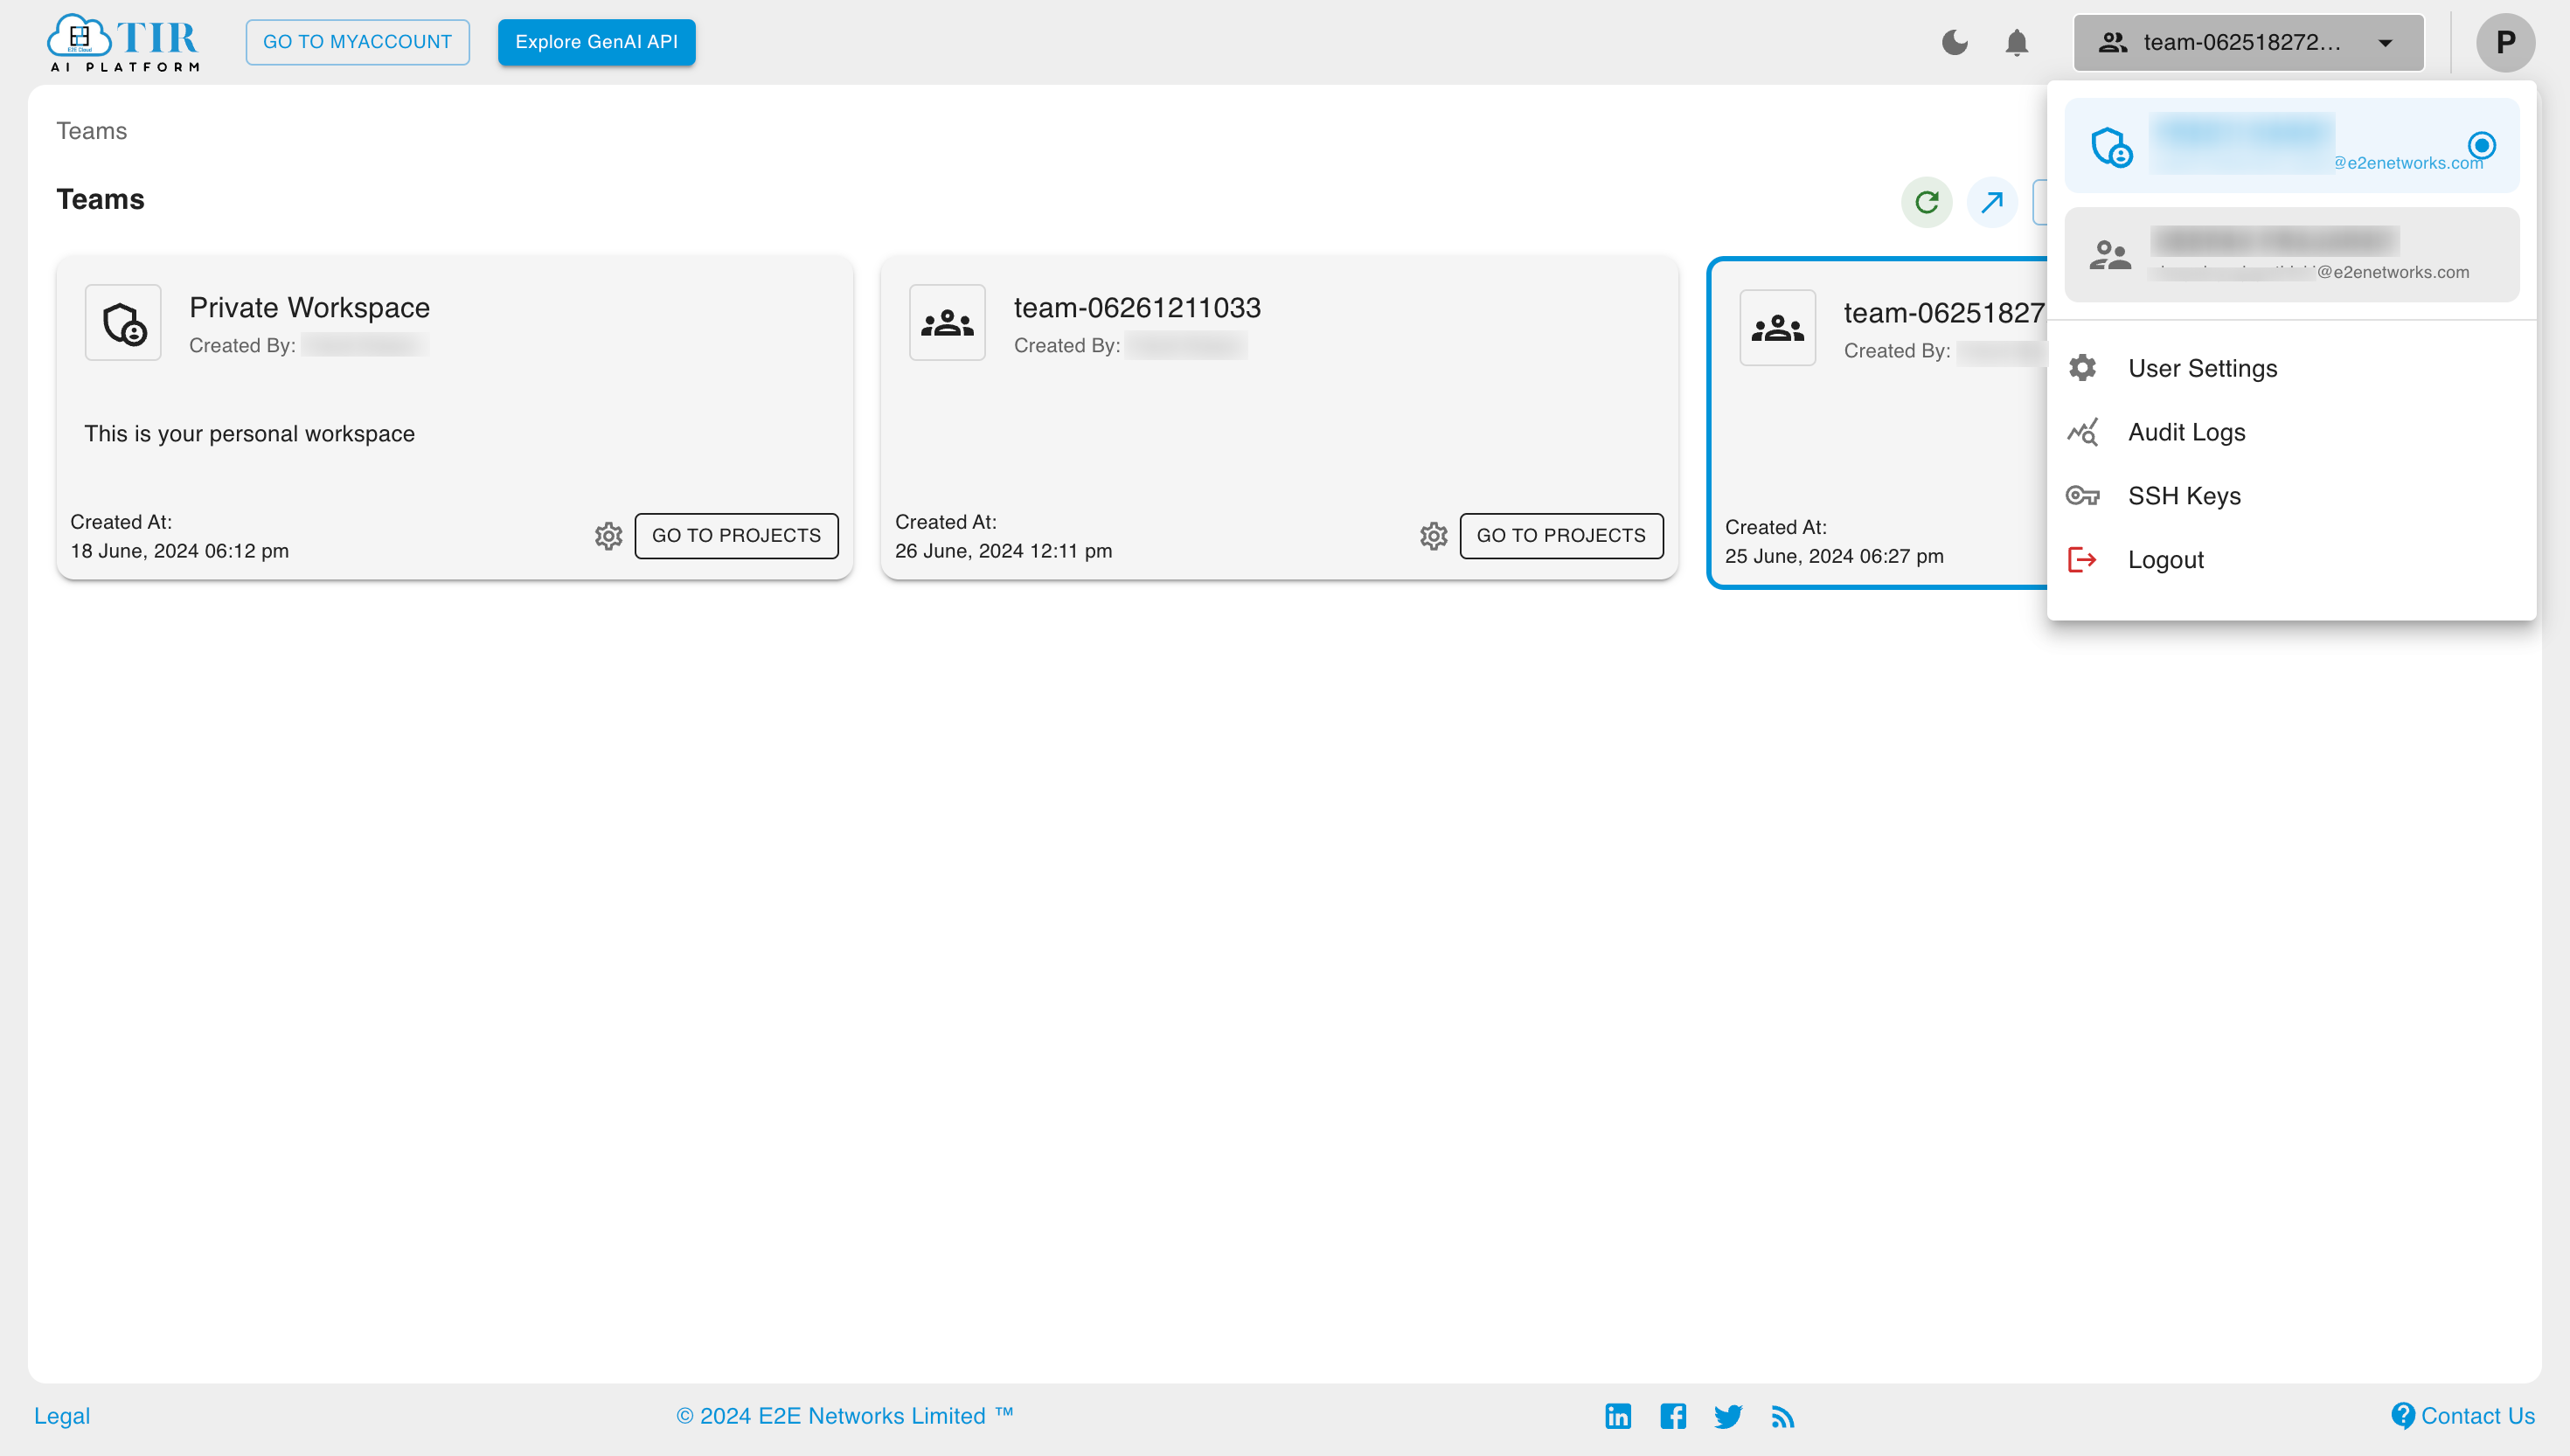
Edit User
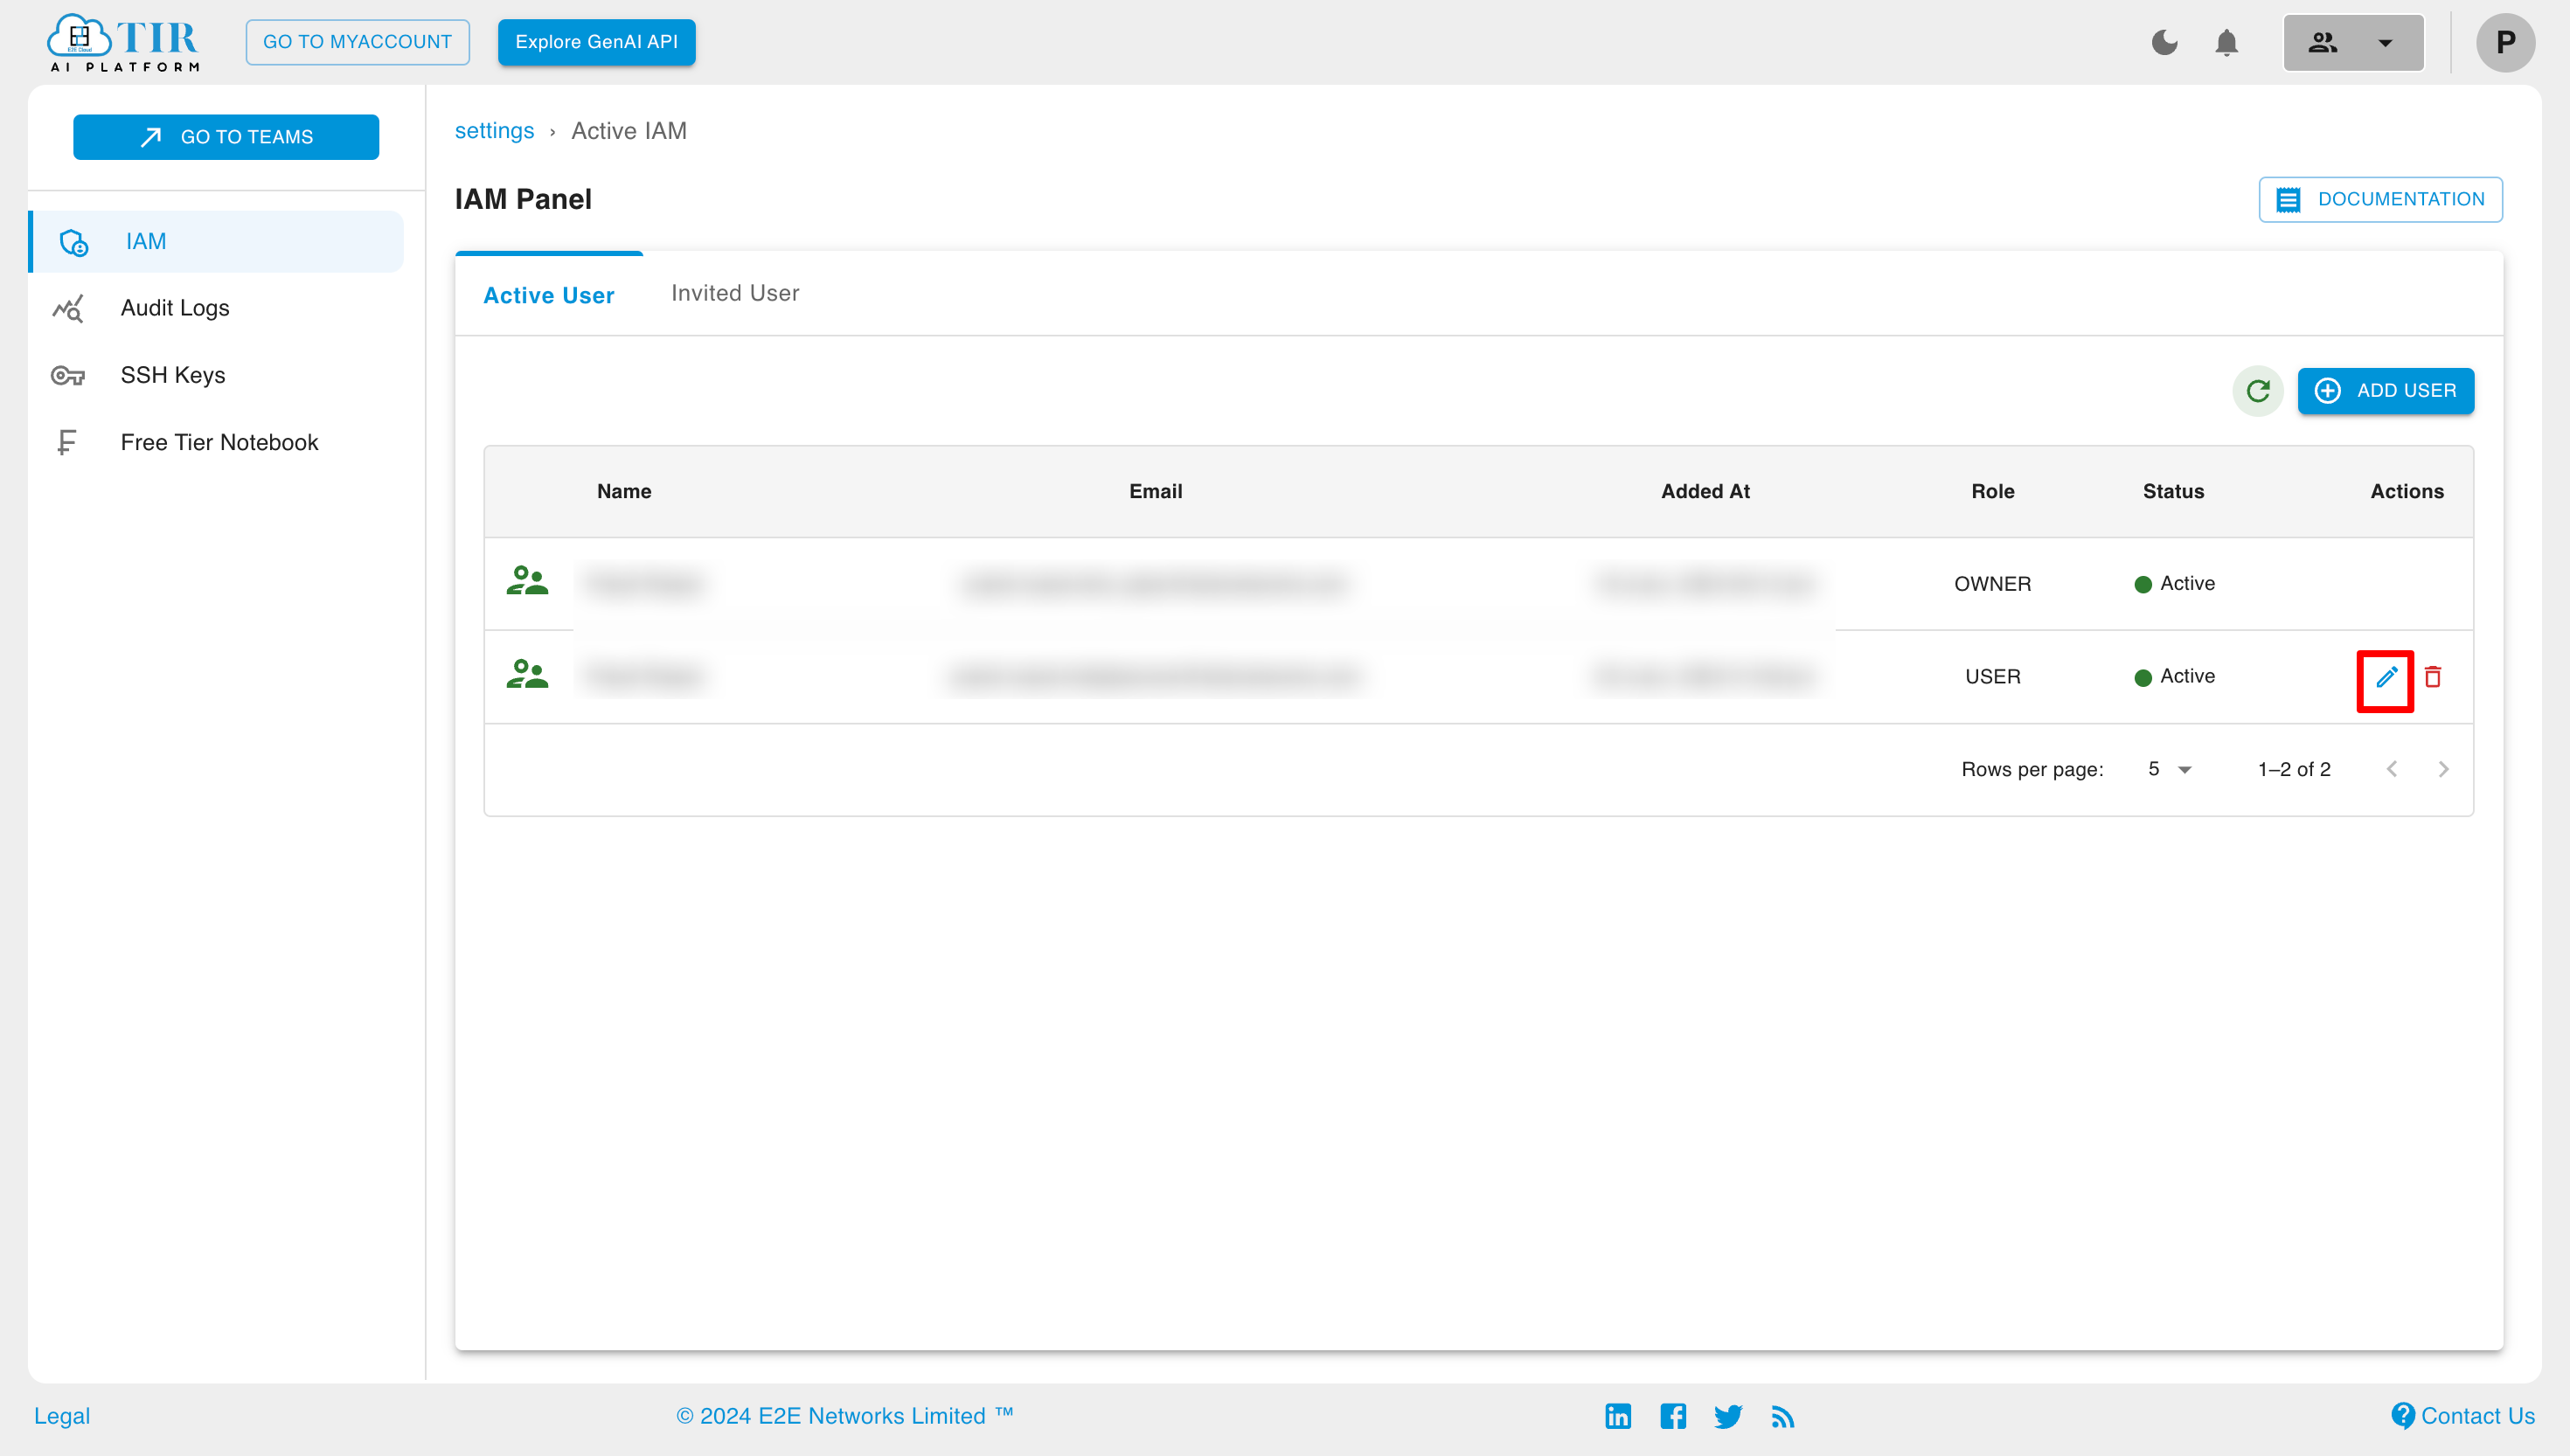
To edit the existing user's role, click on Update User Access in the actions section.
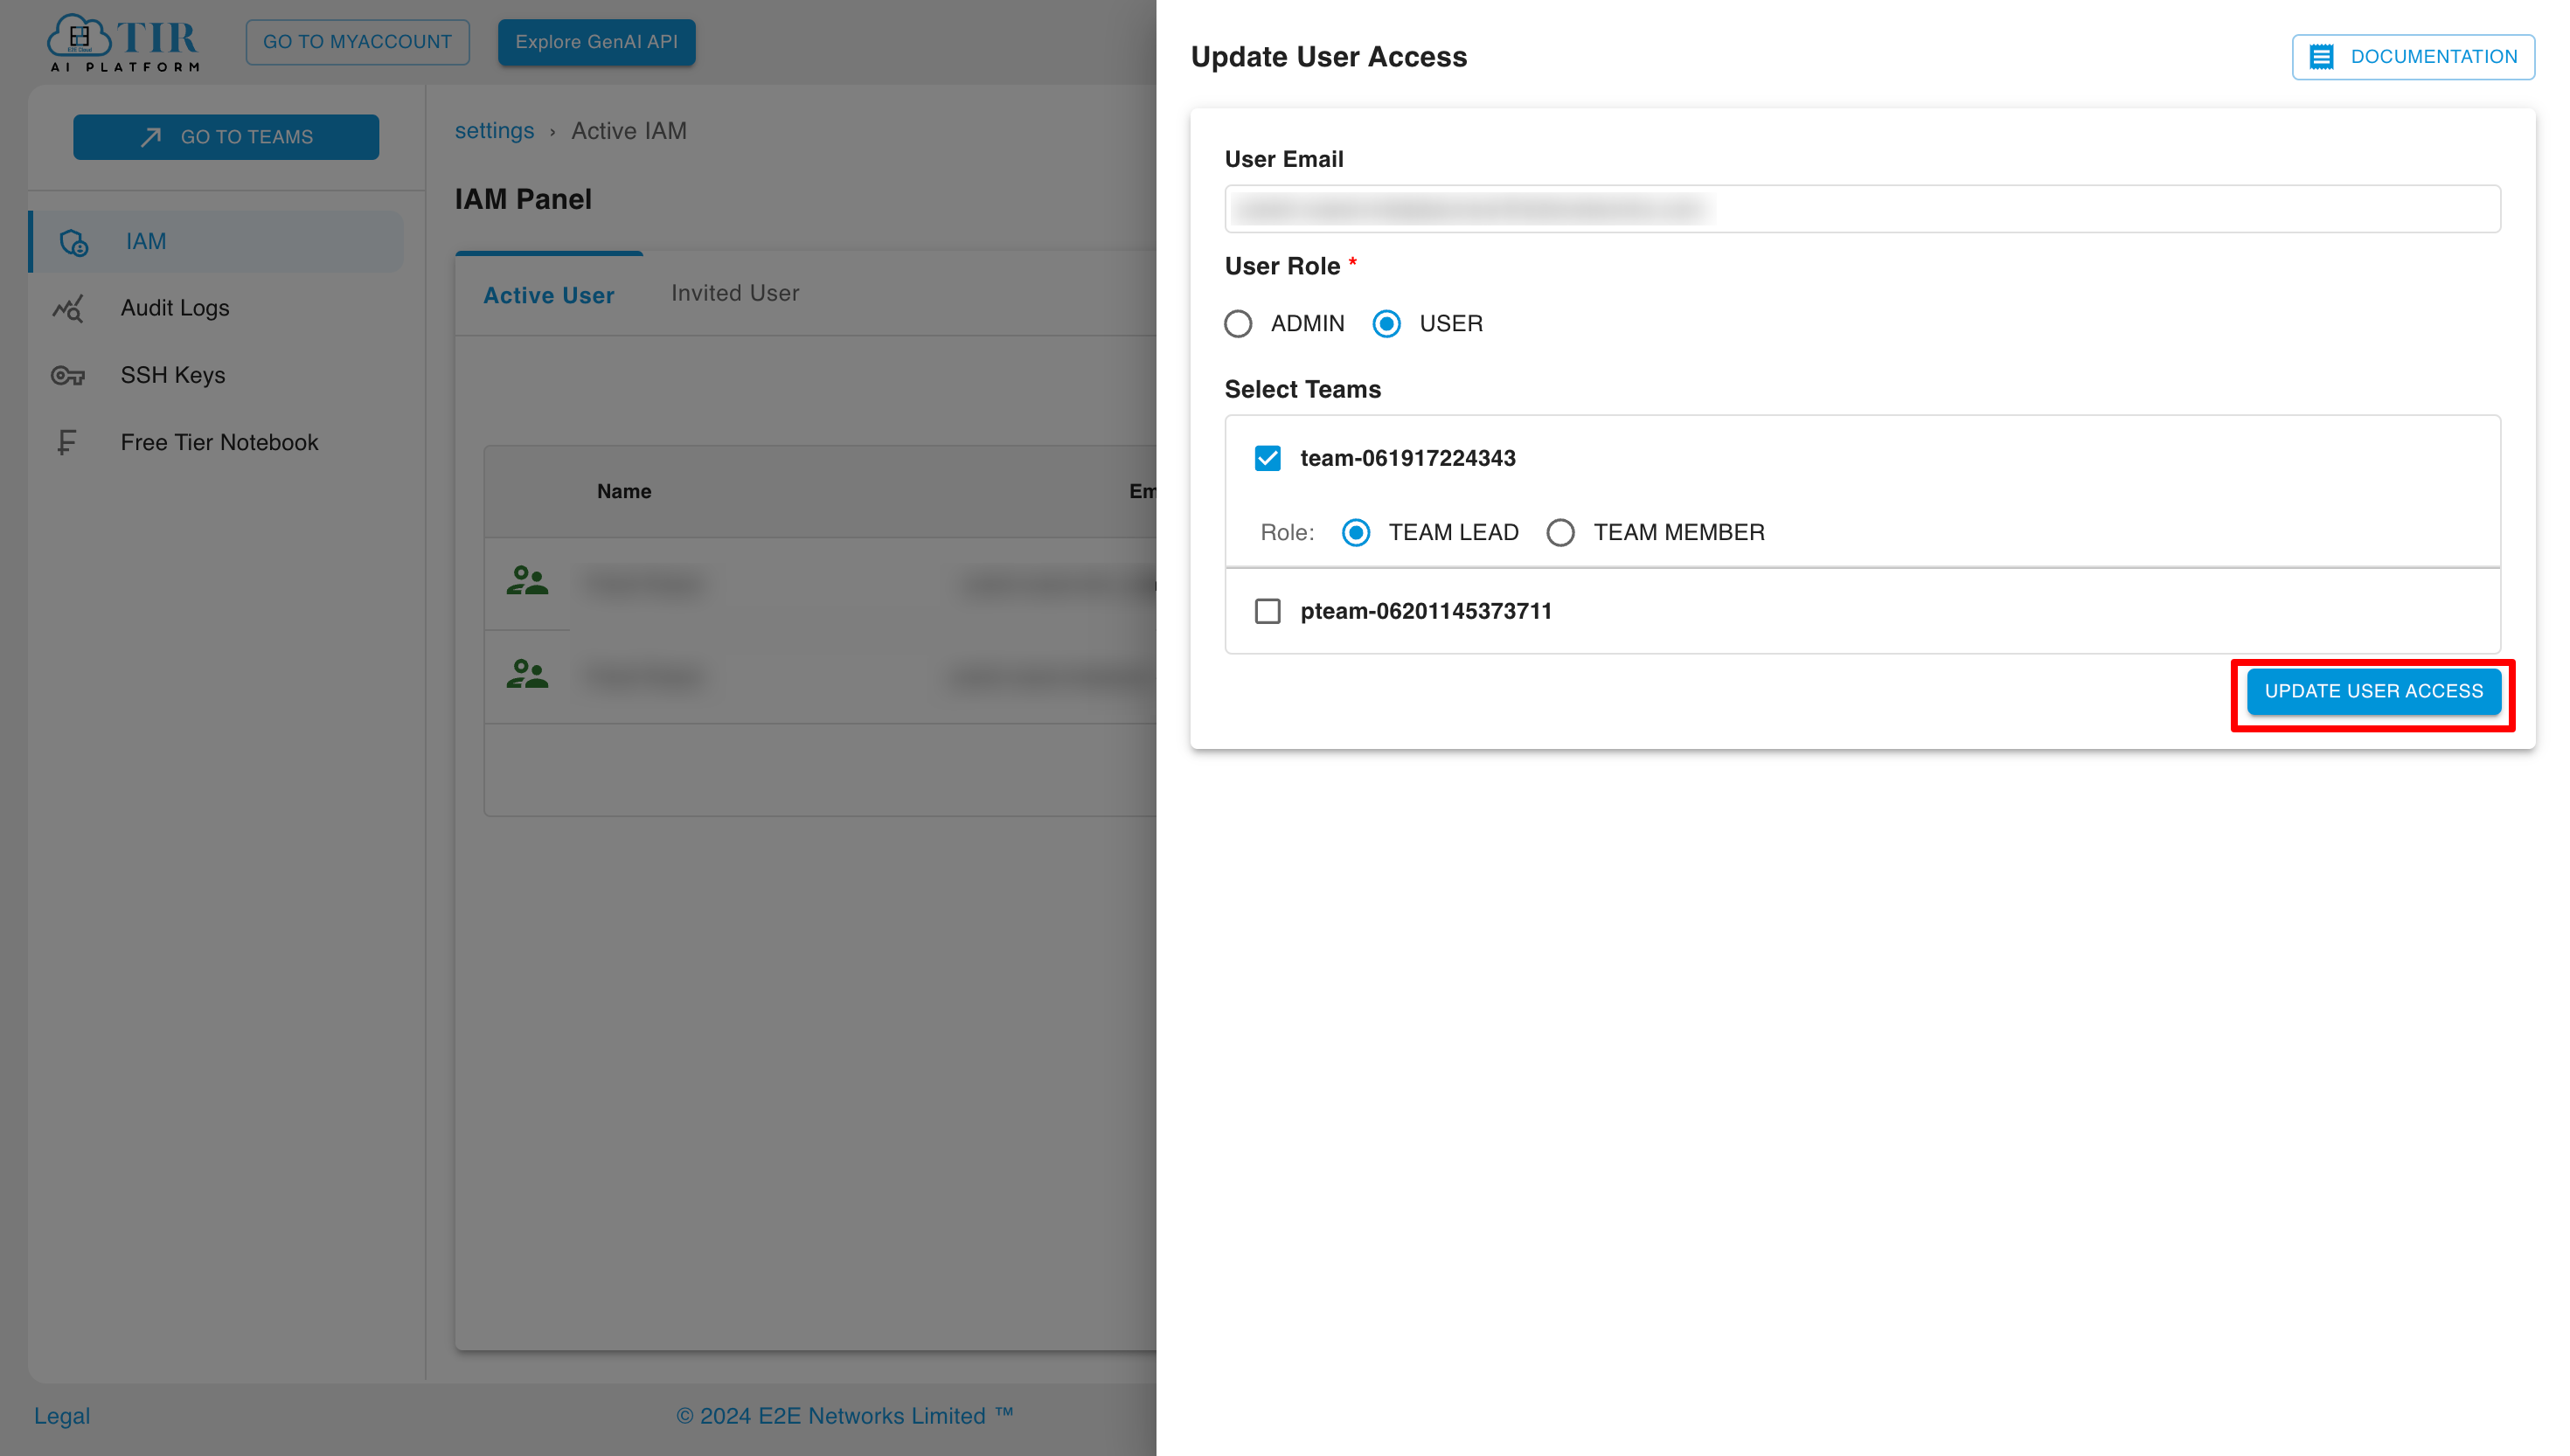
Now select the appropriate role, teams, and projects, and then click on Update User Access.
Delete User
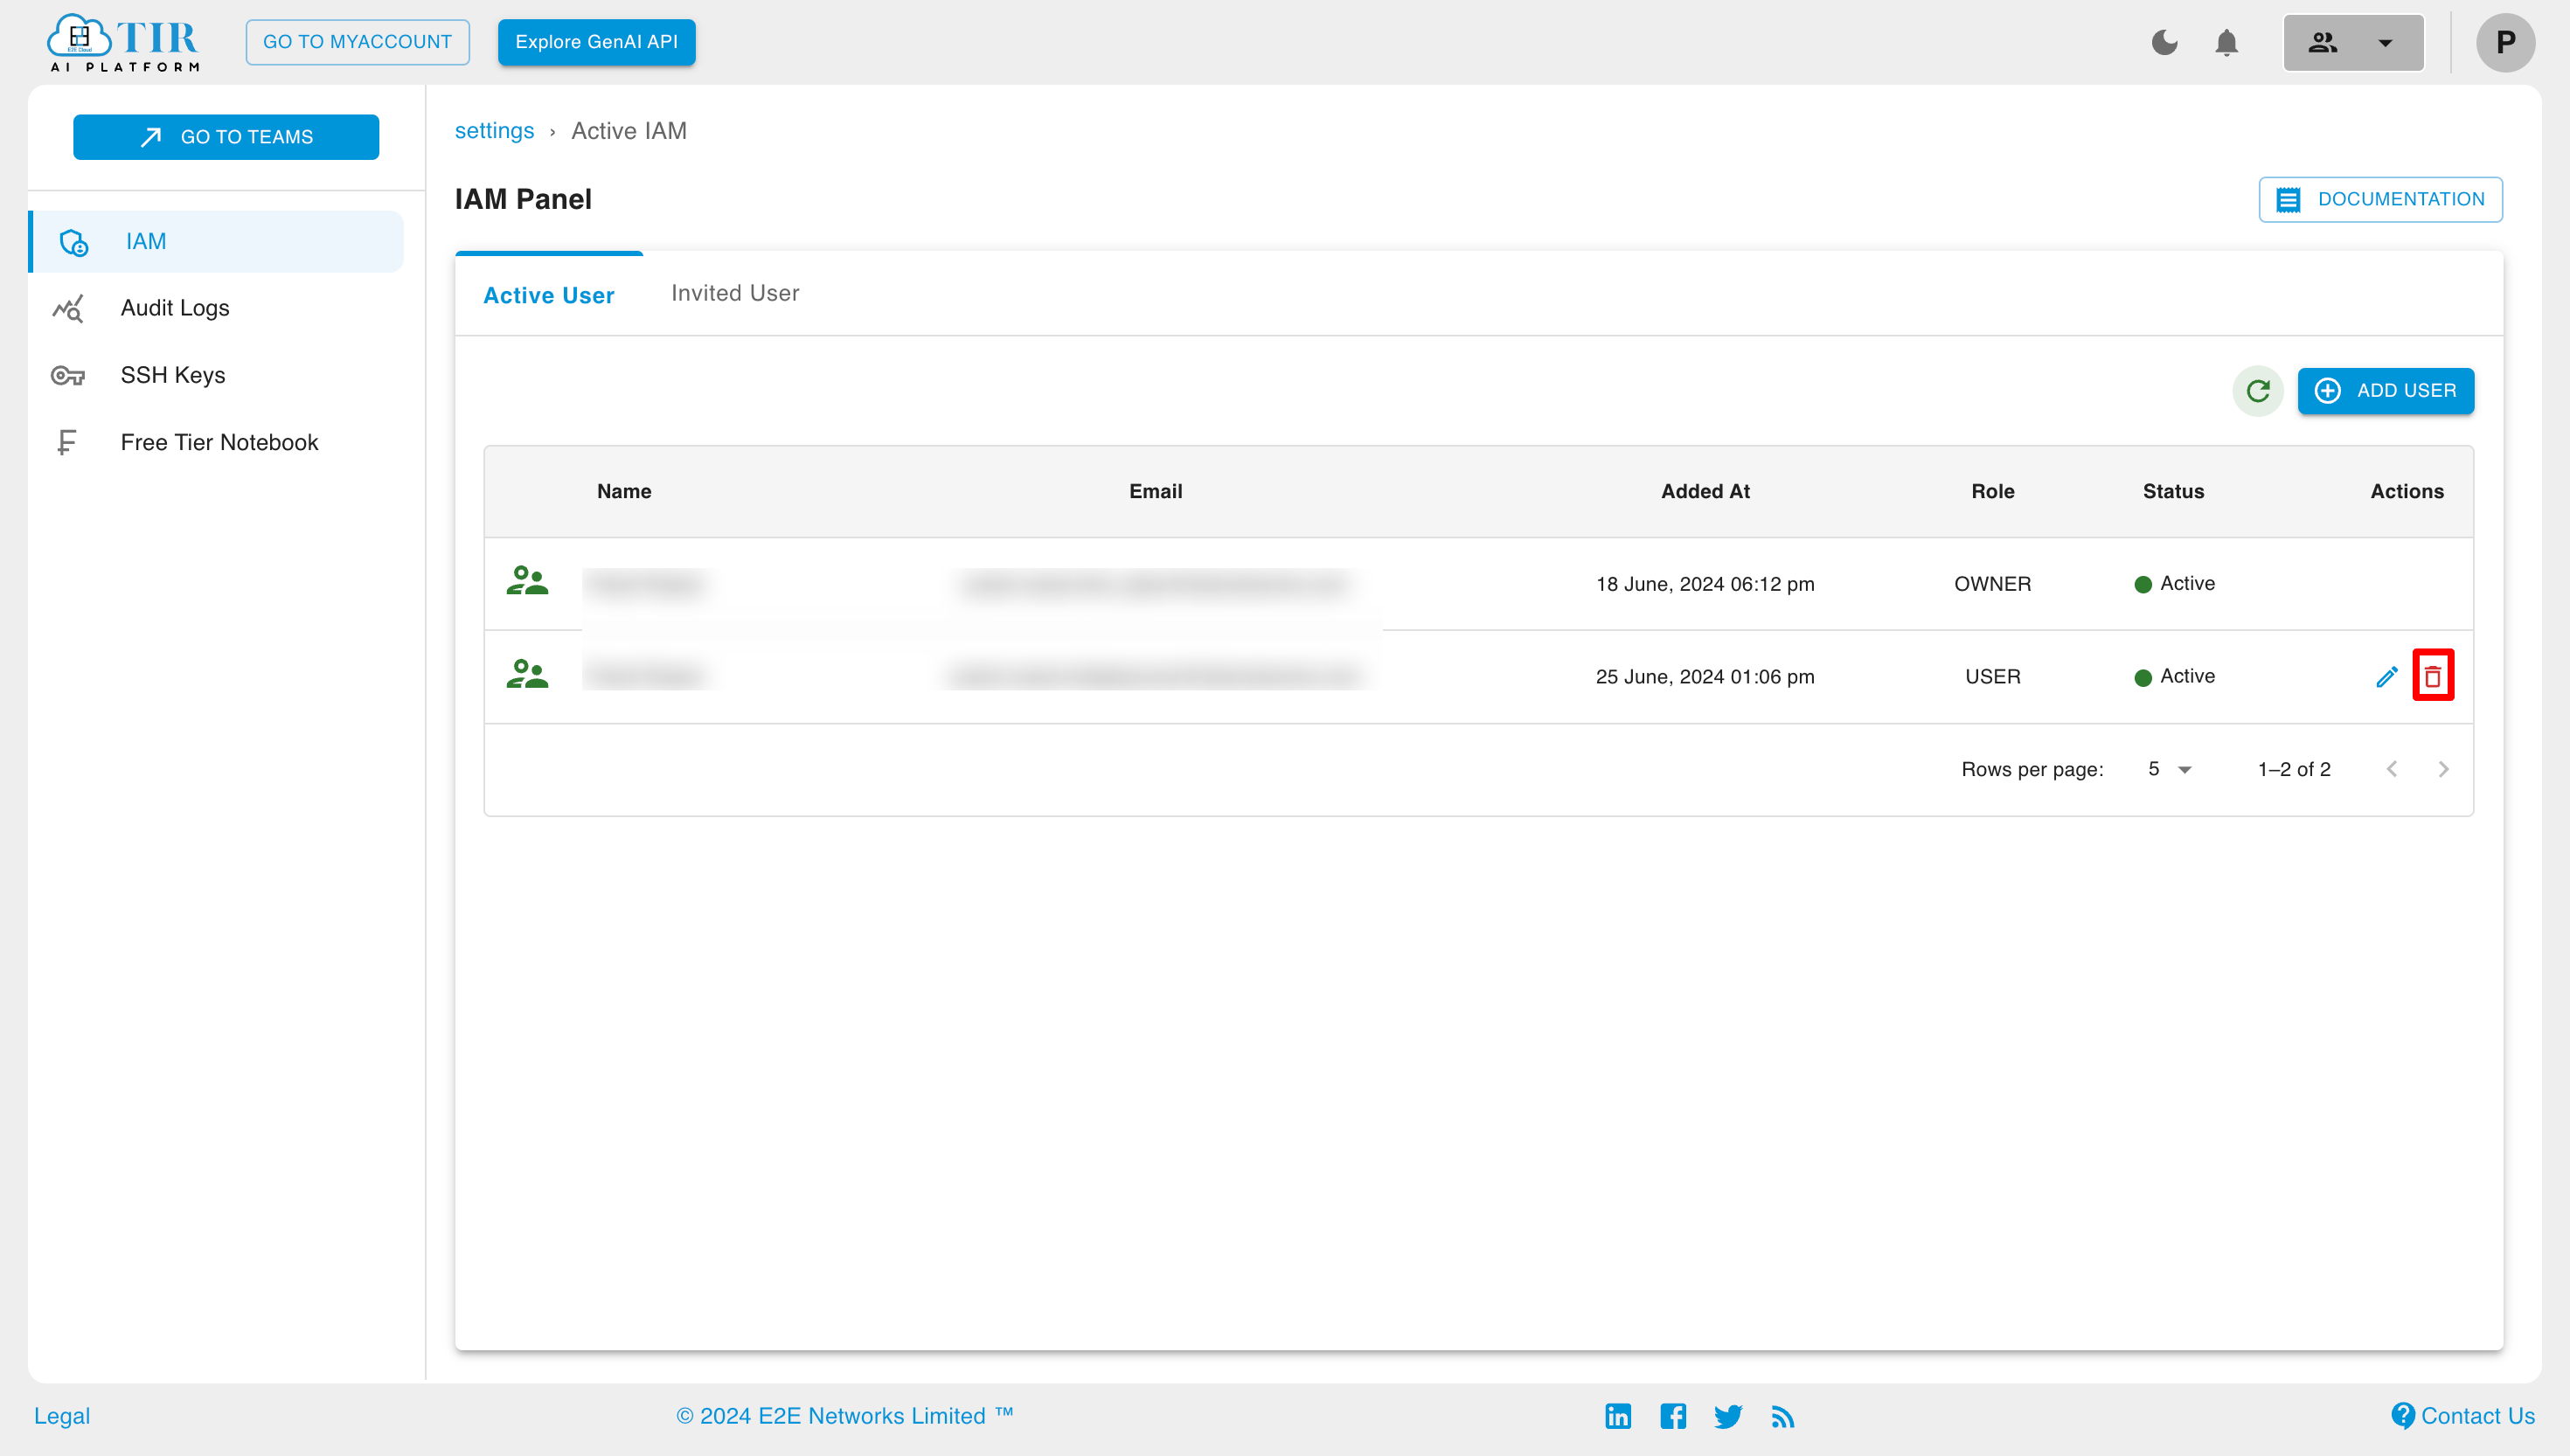
To delete an existing user, click on the Delete User button in the actions section.
Now, to delete the user, check the checkbox and click on the Delete button.
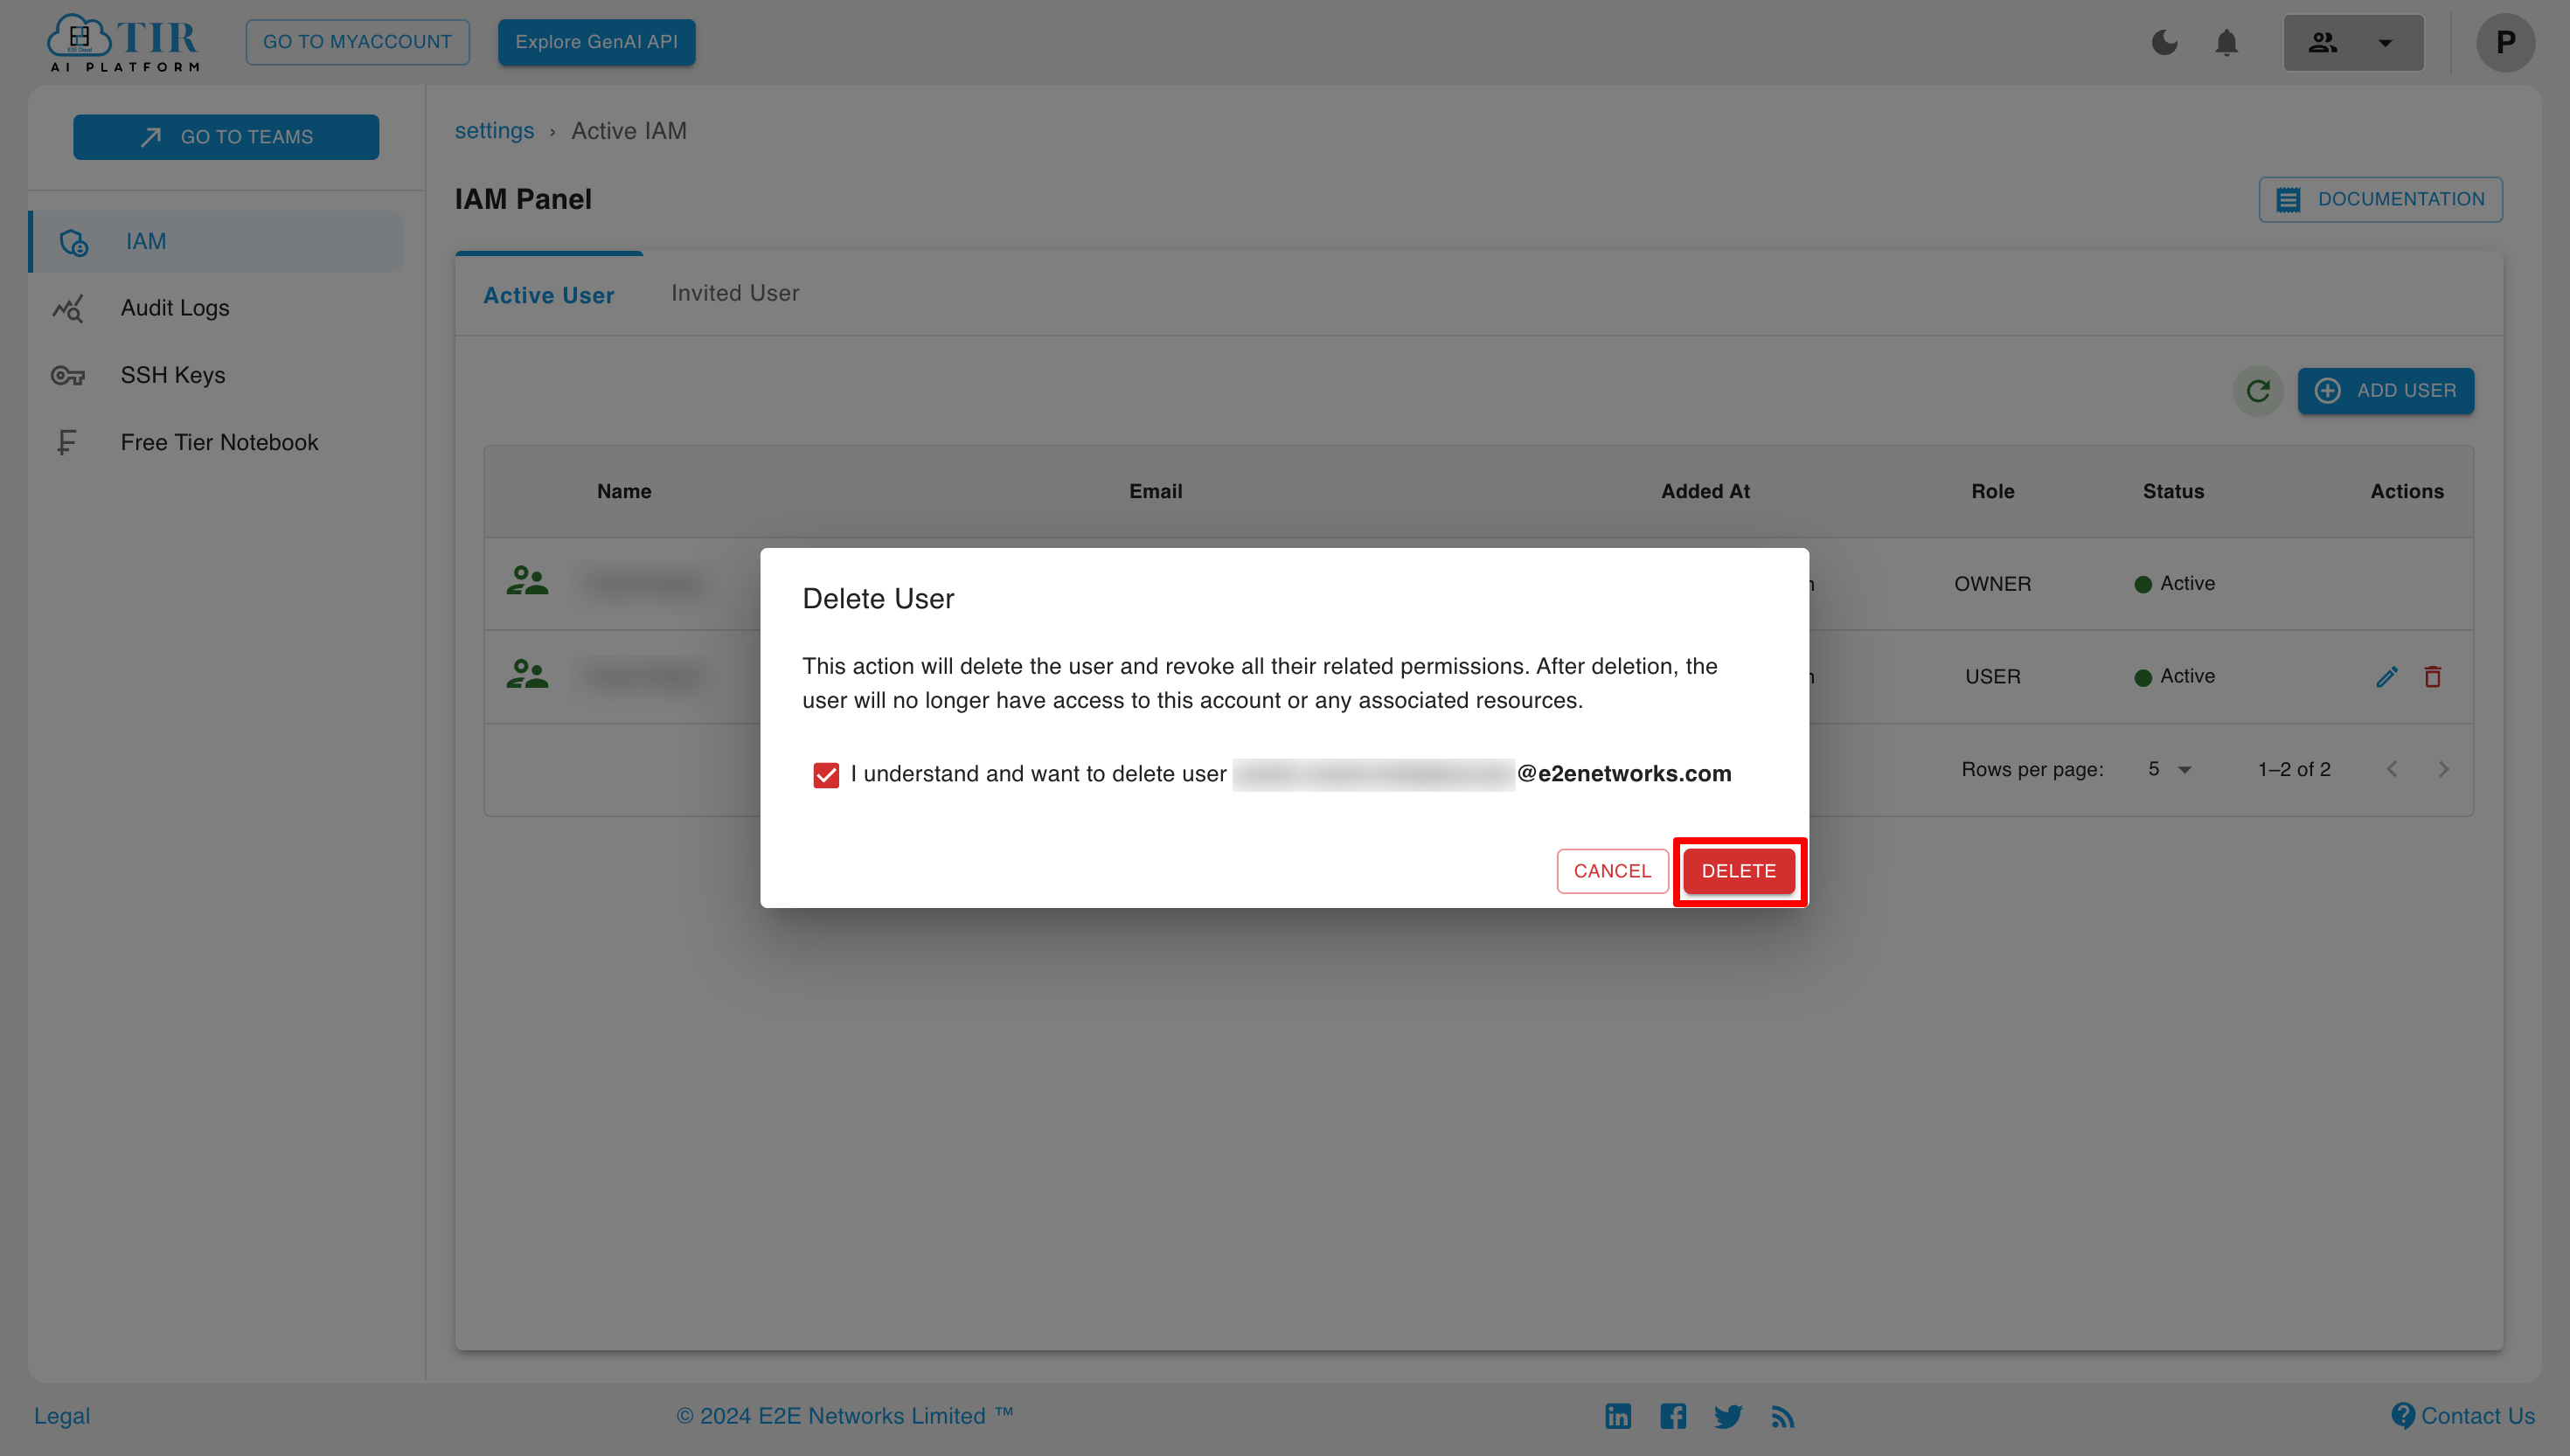
- When deleting a user from TIR, the user will be removed only from the TIR AI Platform, but not from myaccount.
- When deleting a user from myaccount, the user will be removed from both myaccount and the TIR AI Platform.
Teams Section
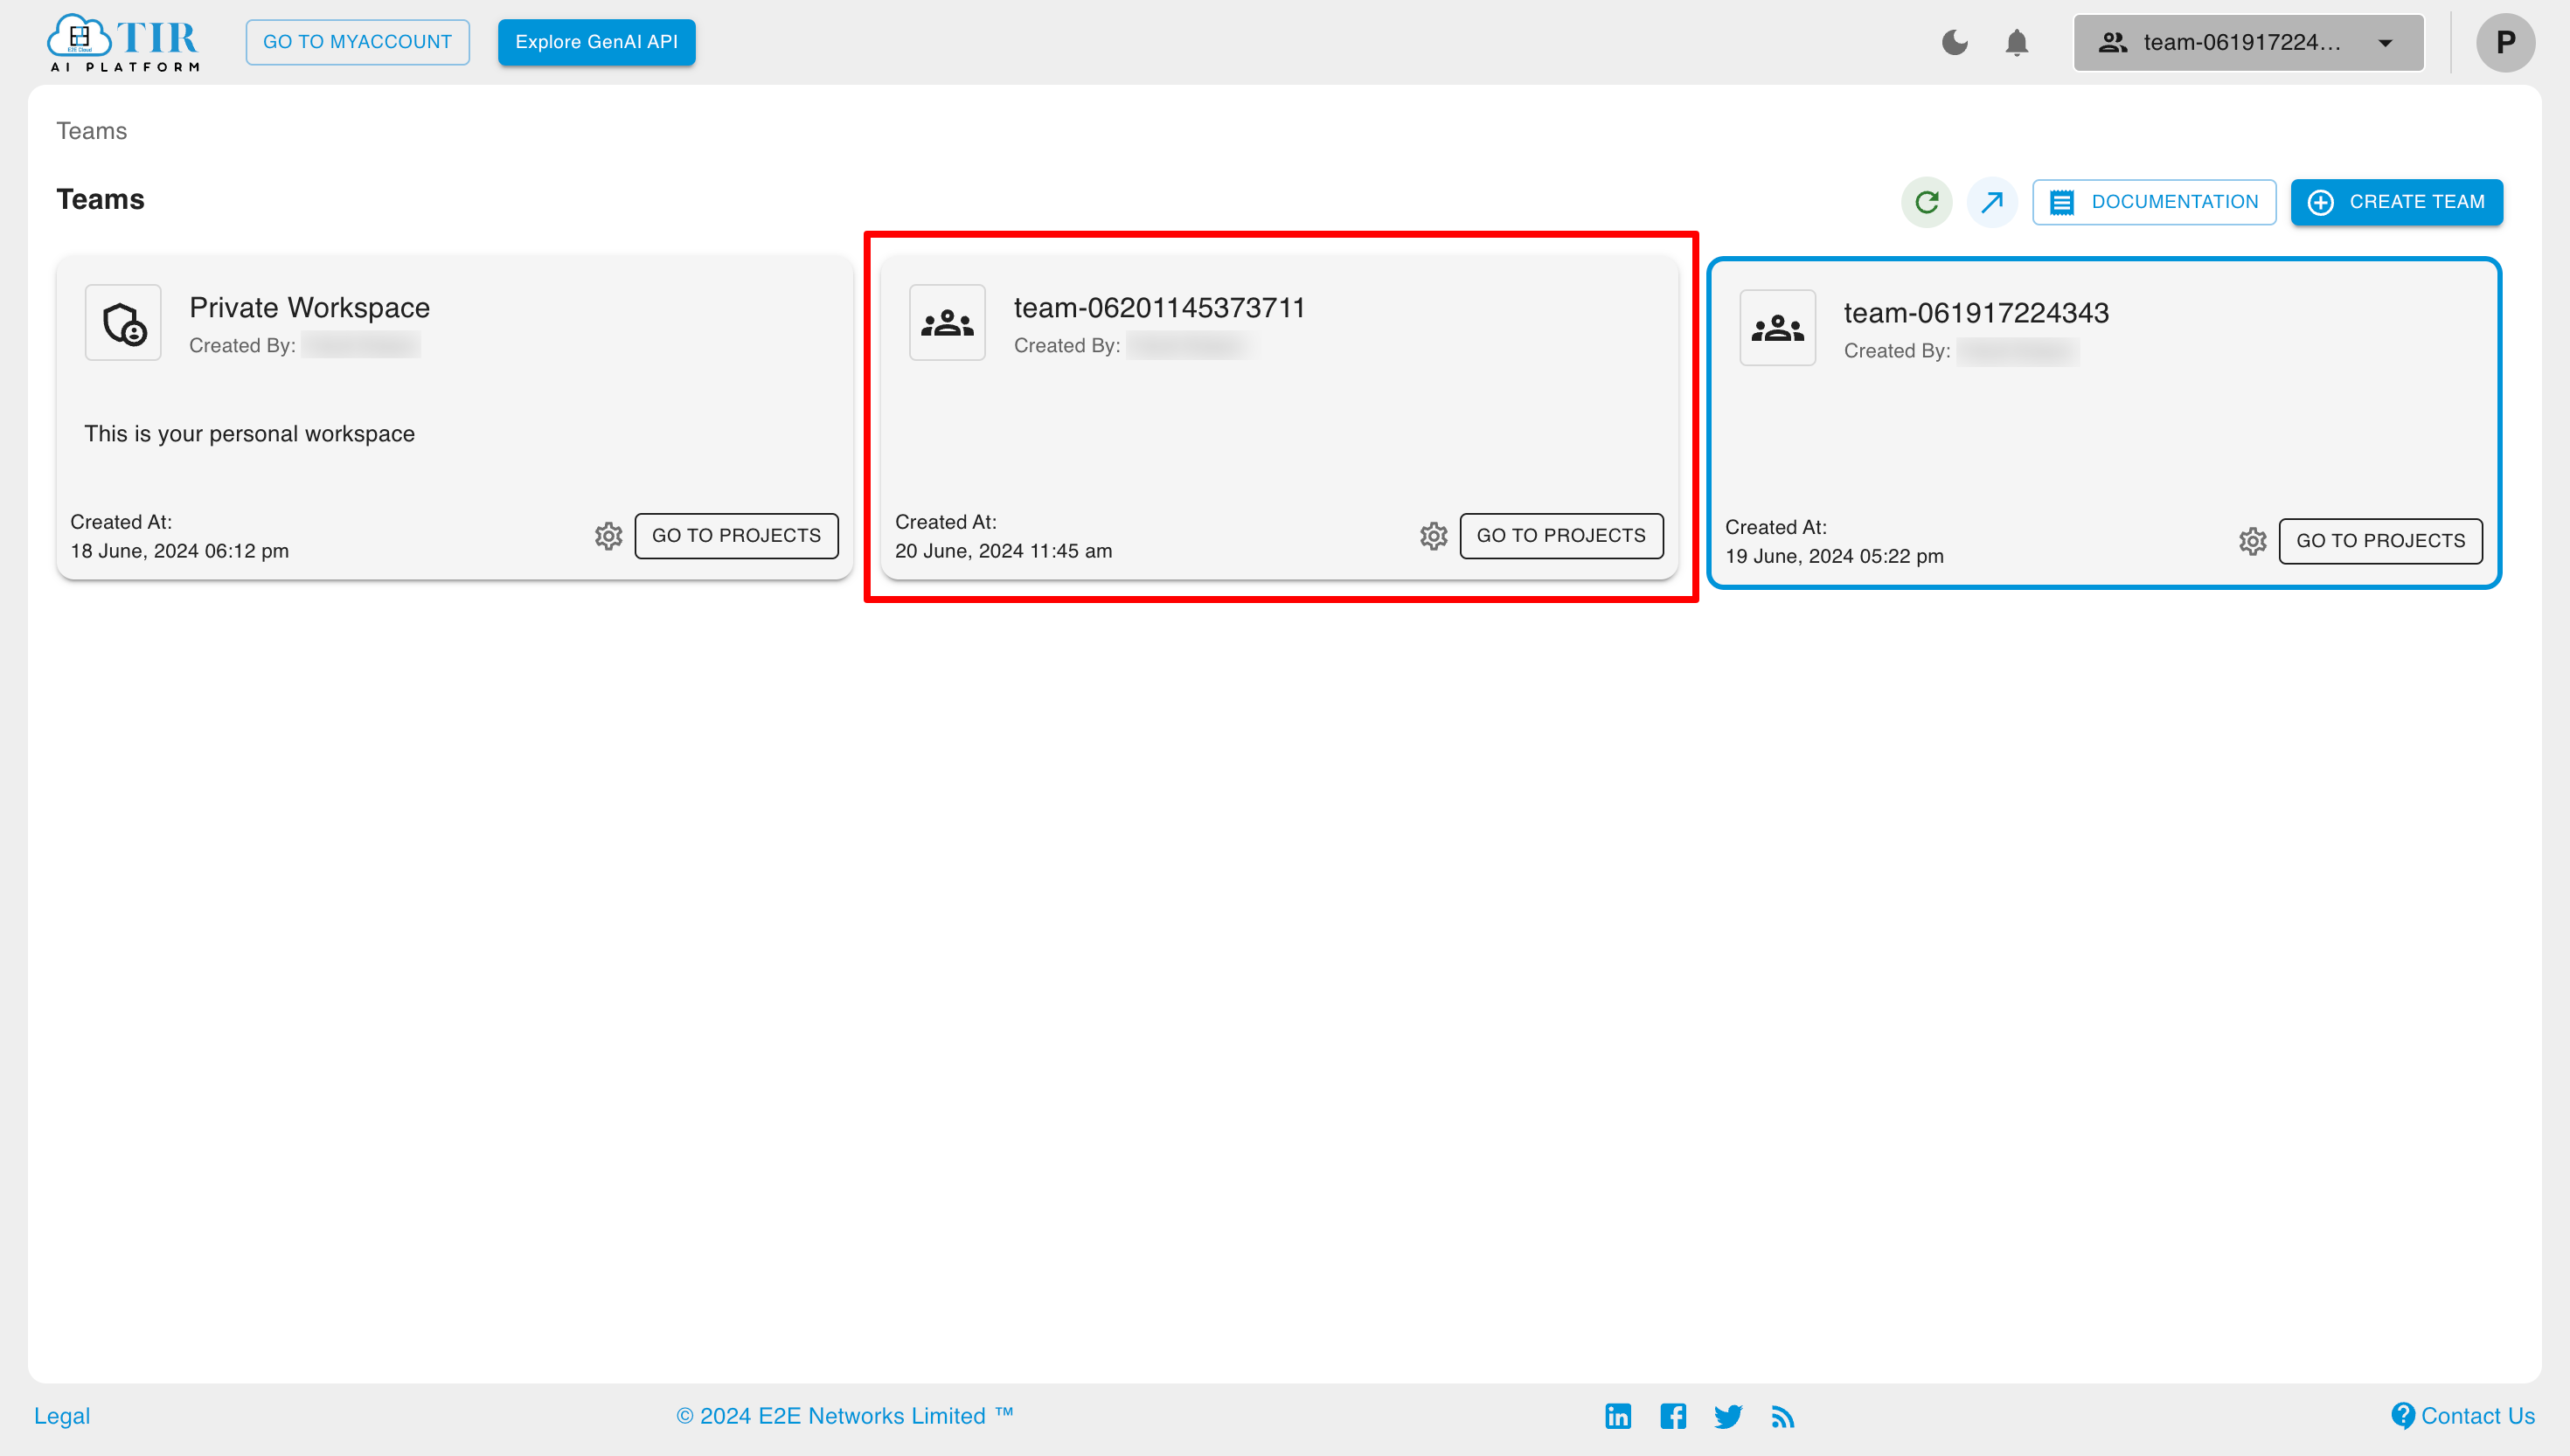
The Teams section allows users to see the list of Teams and create new teams.
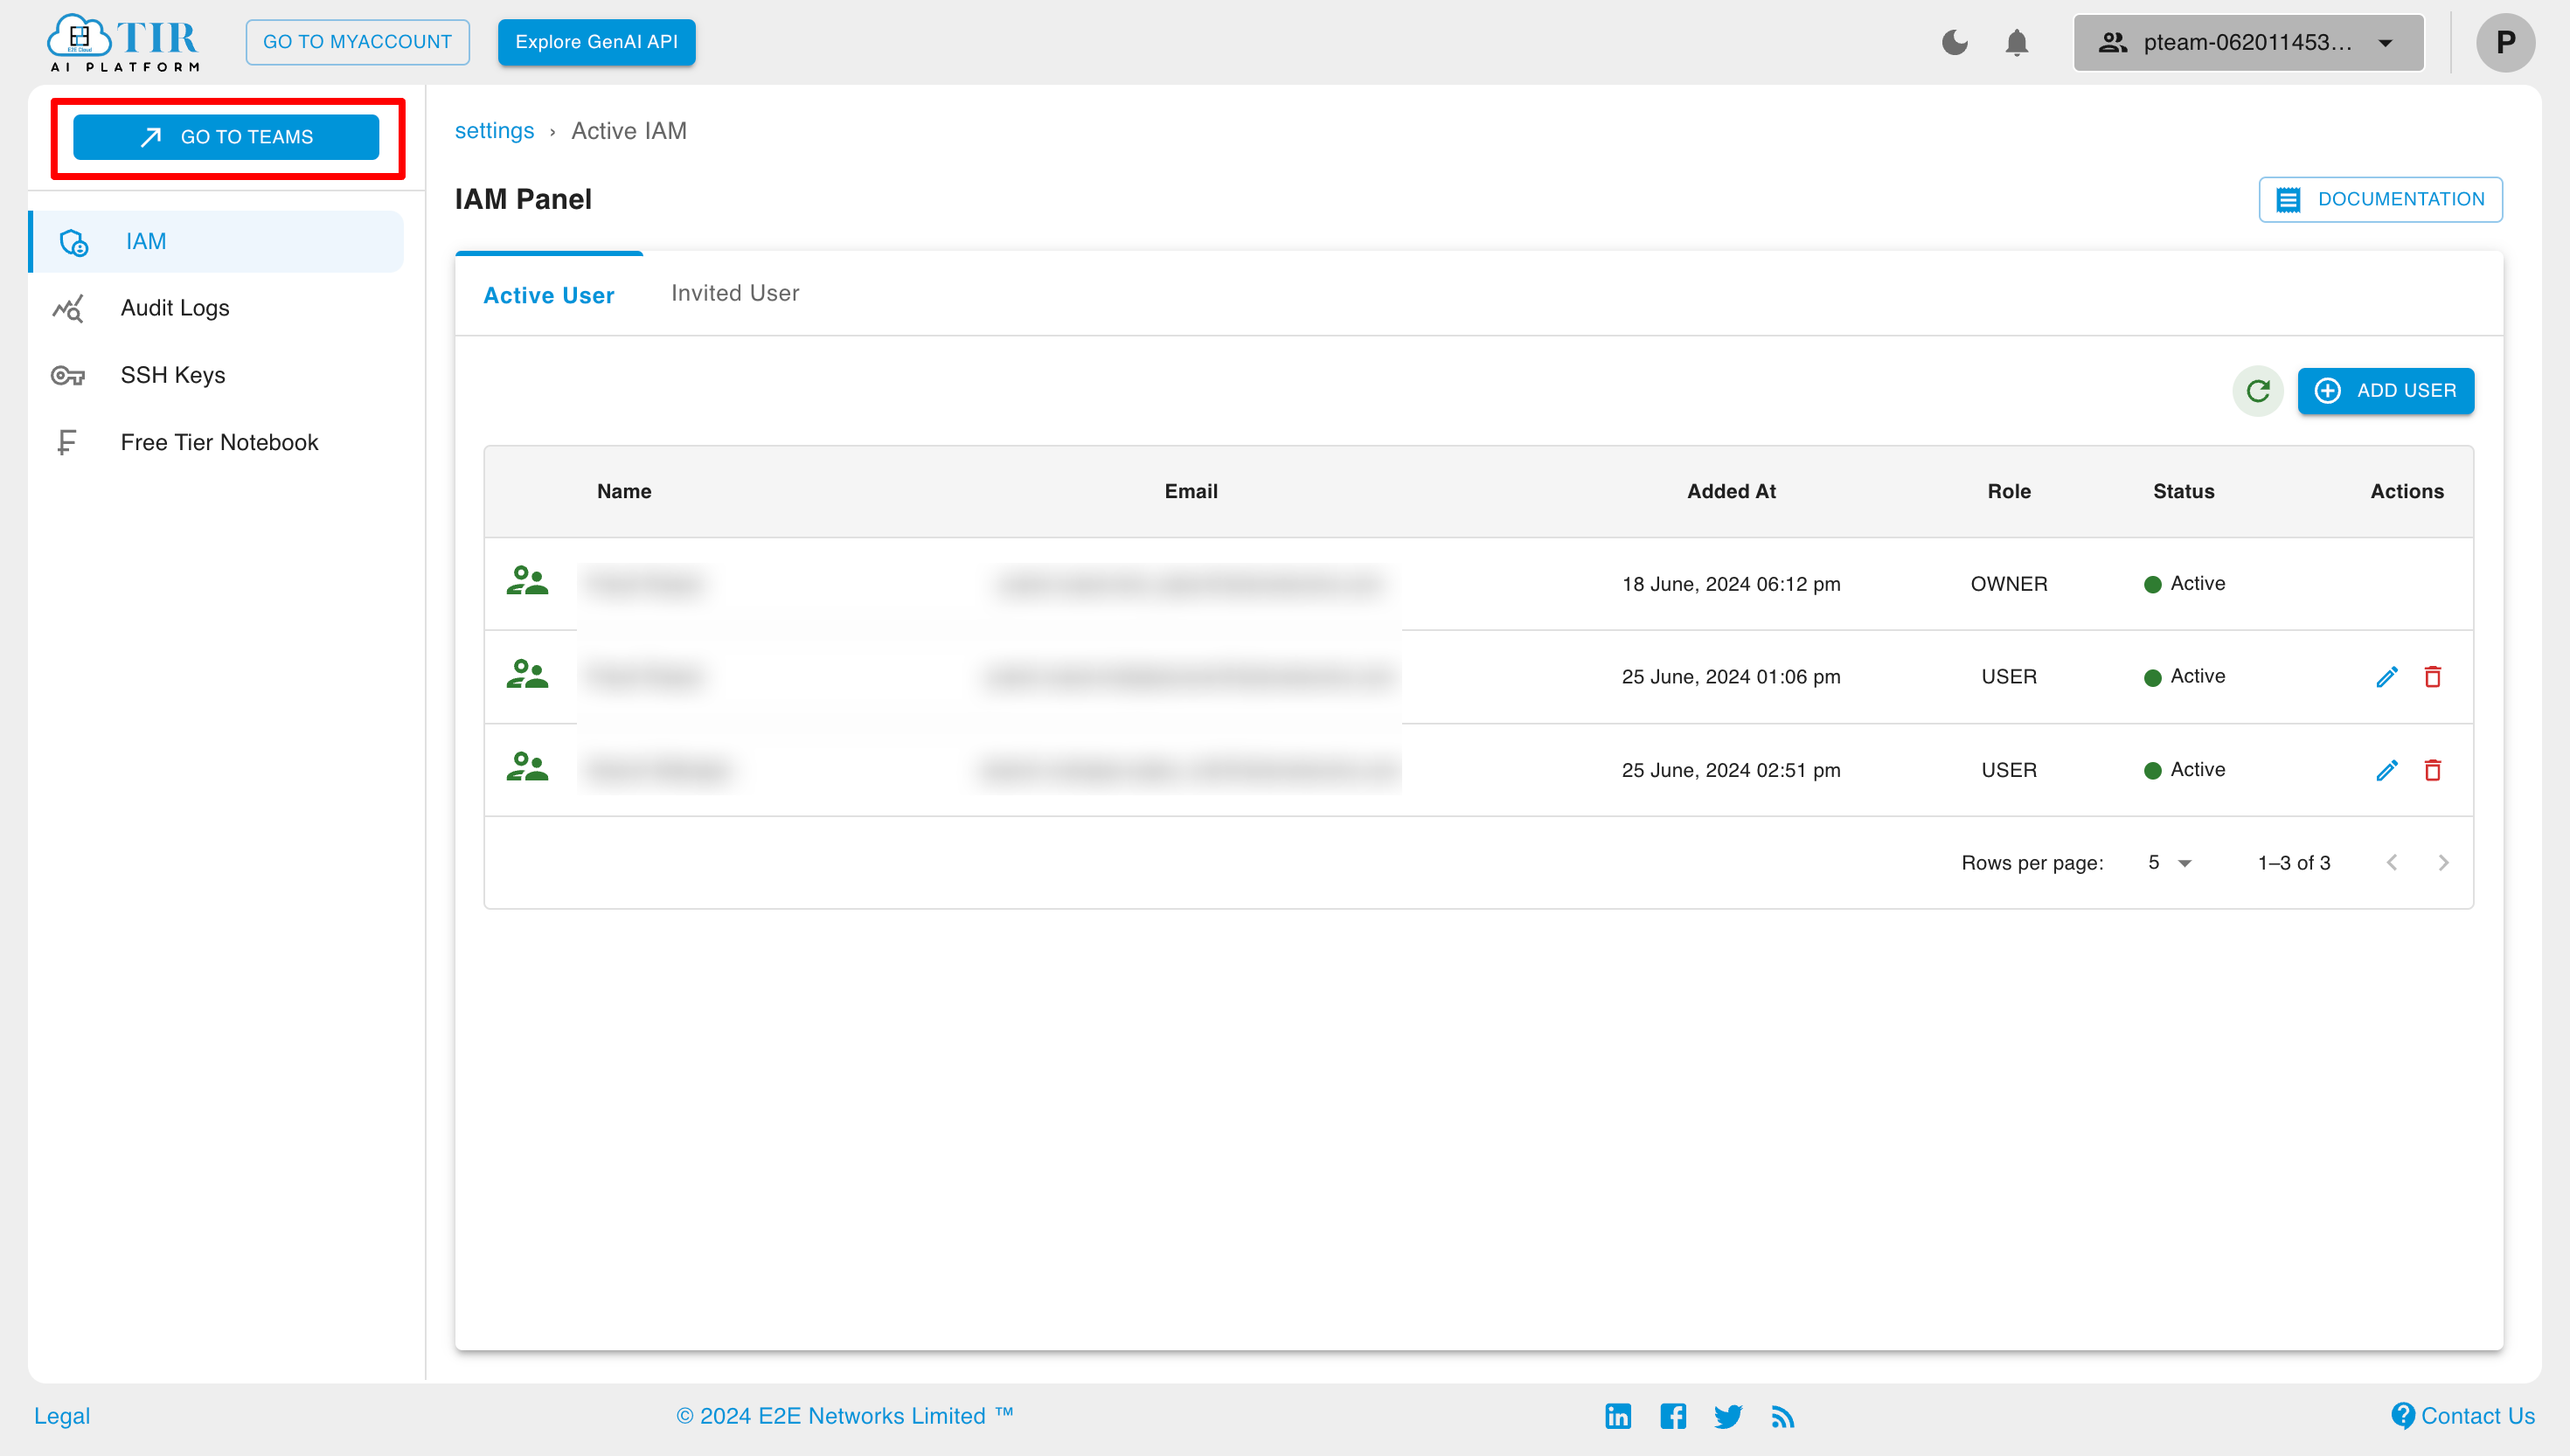
To open the Teams Section, click on Go to Teams.
You can select the team you want to access by clicking on the team's name.
Create Team
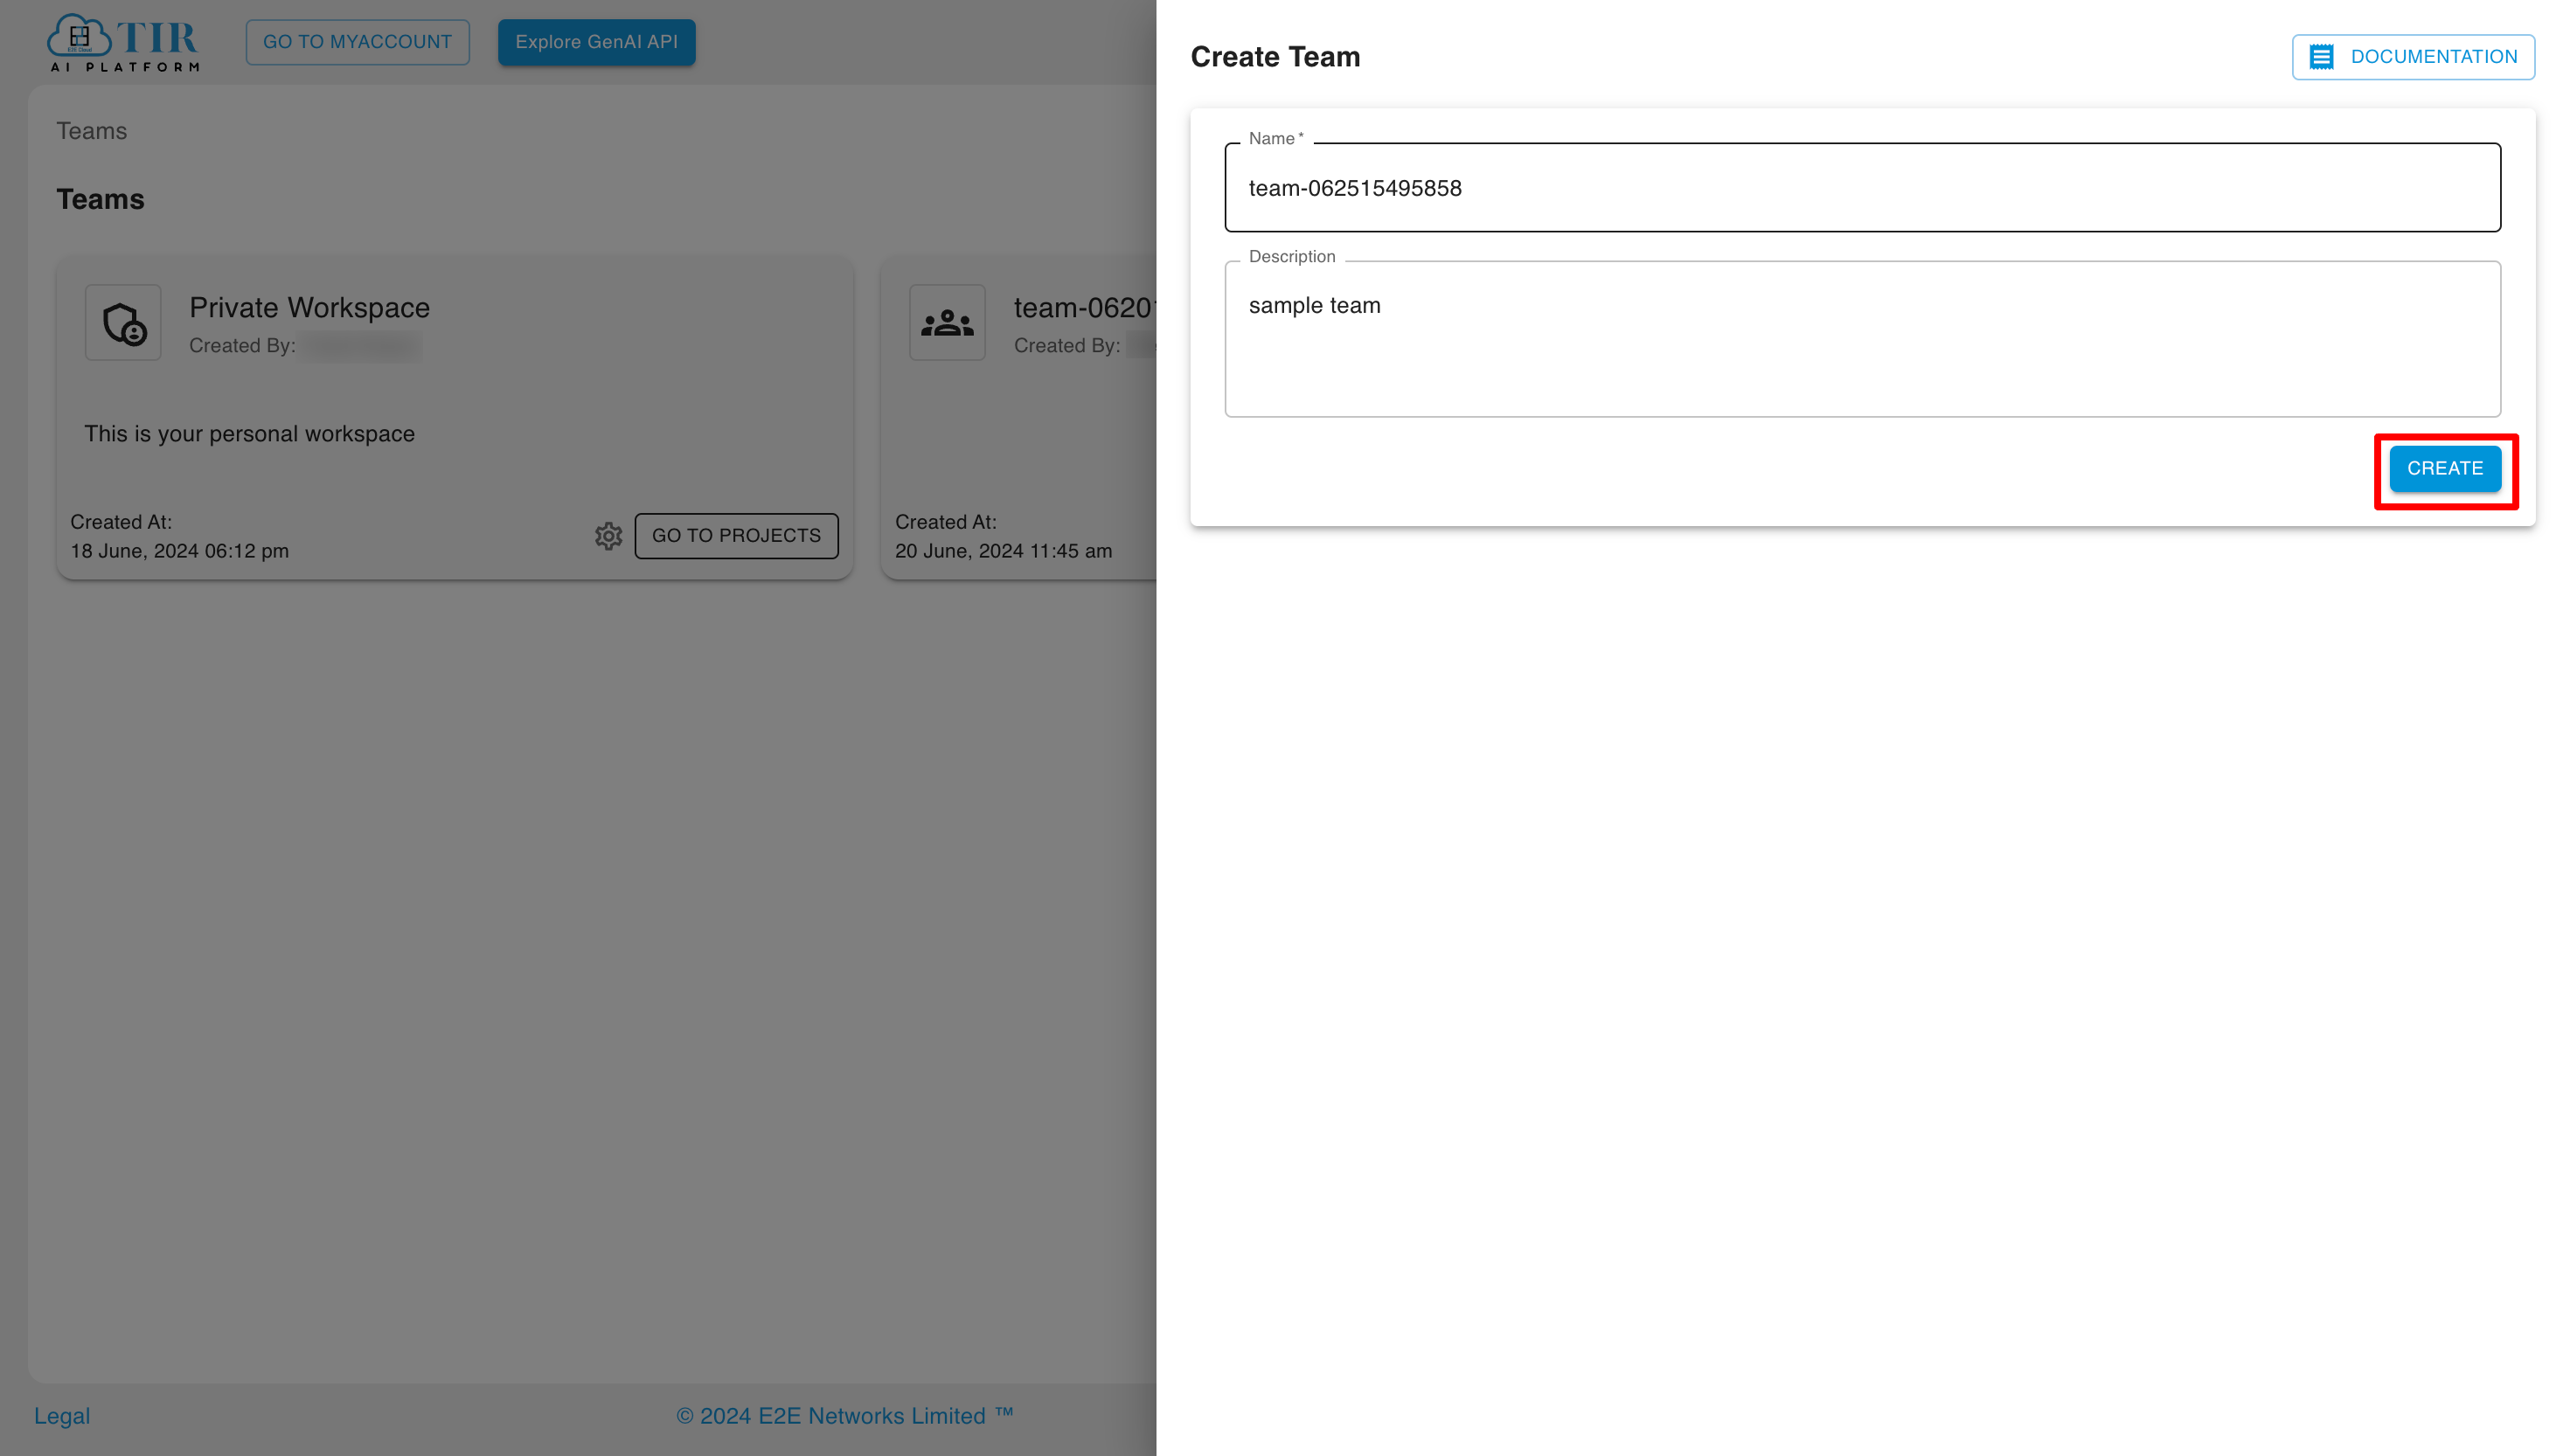
Users can create a new team by clicking on the Create Team button.
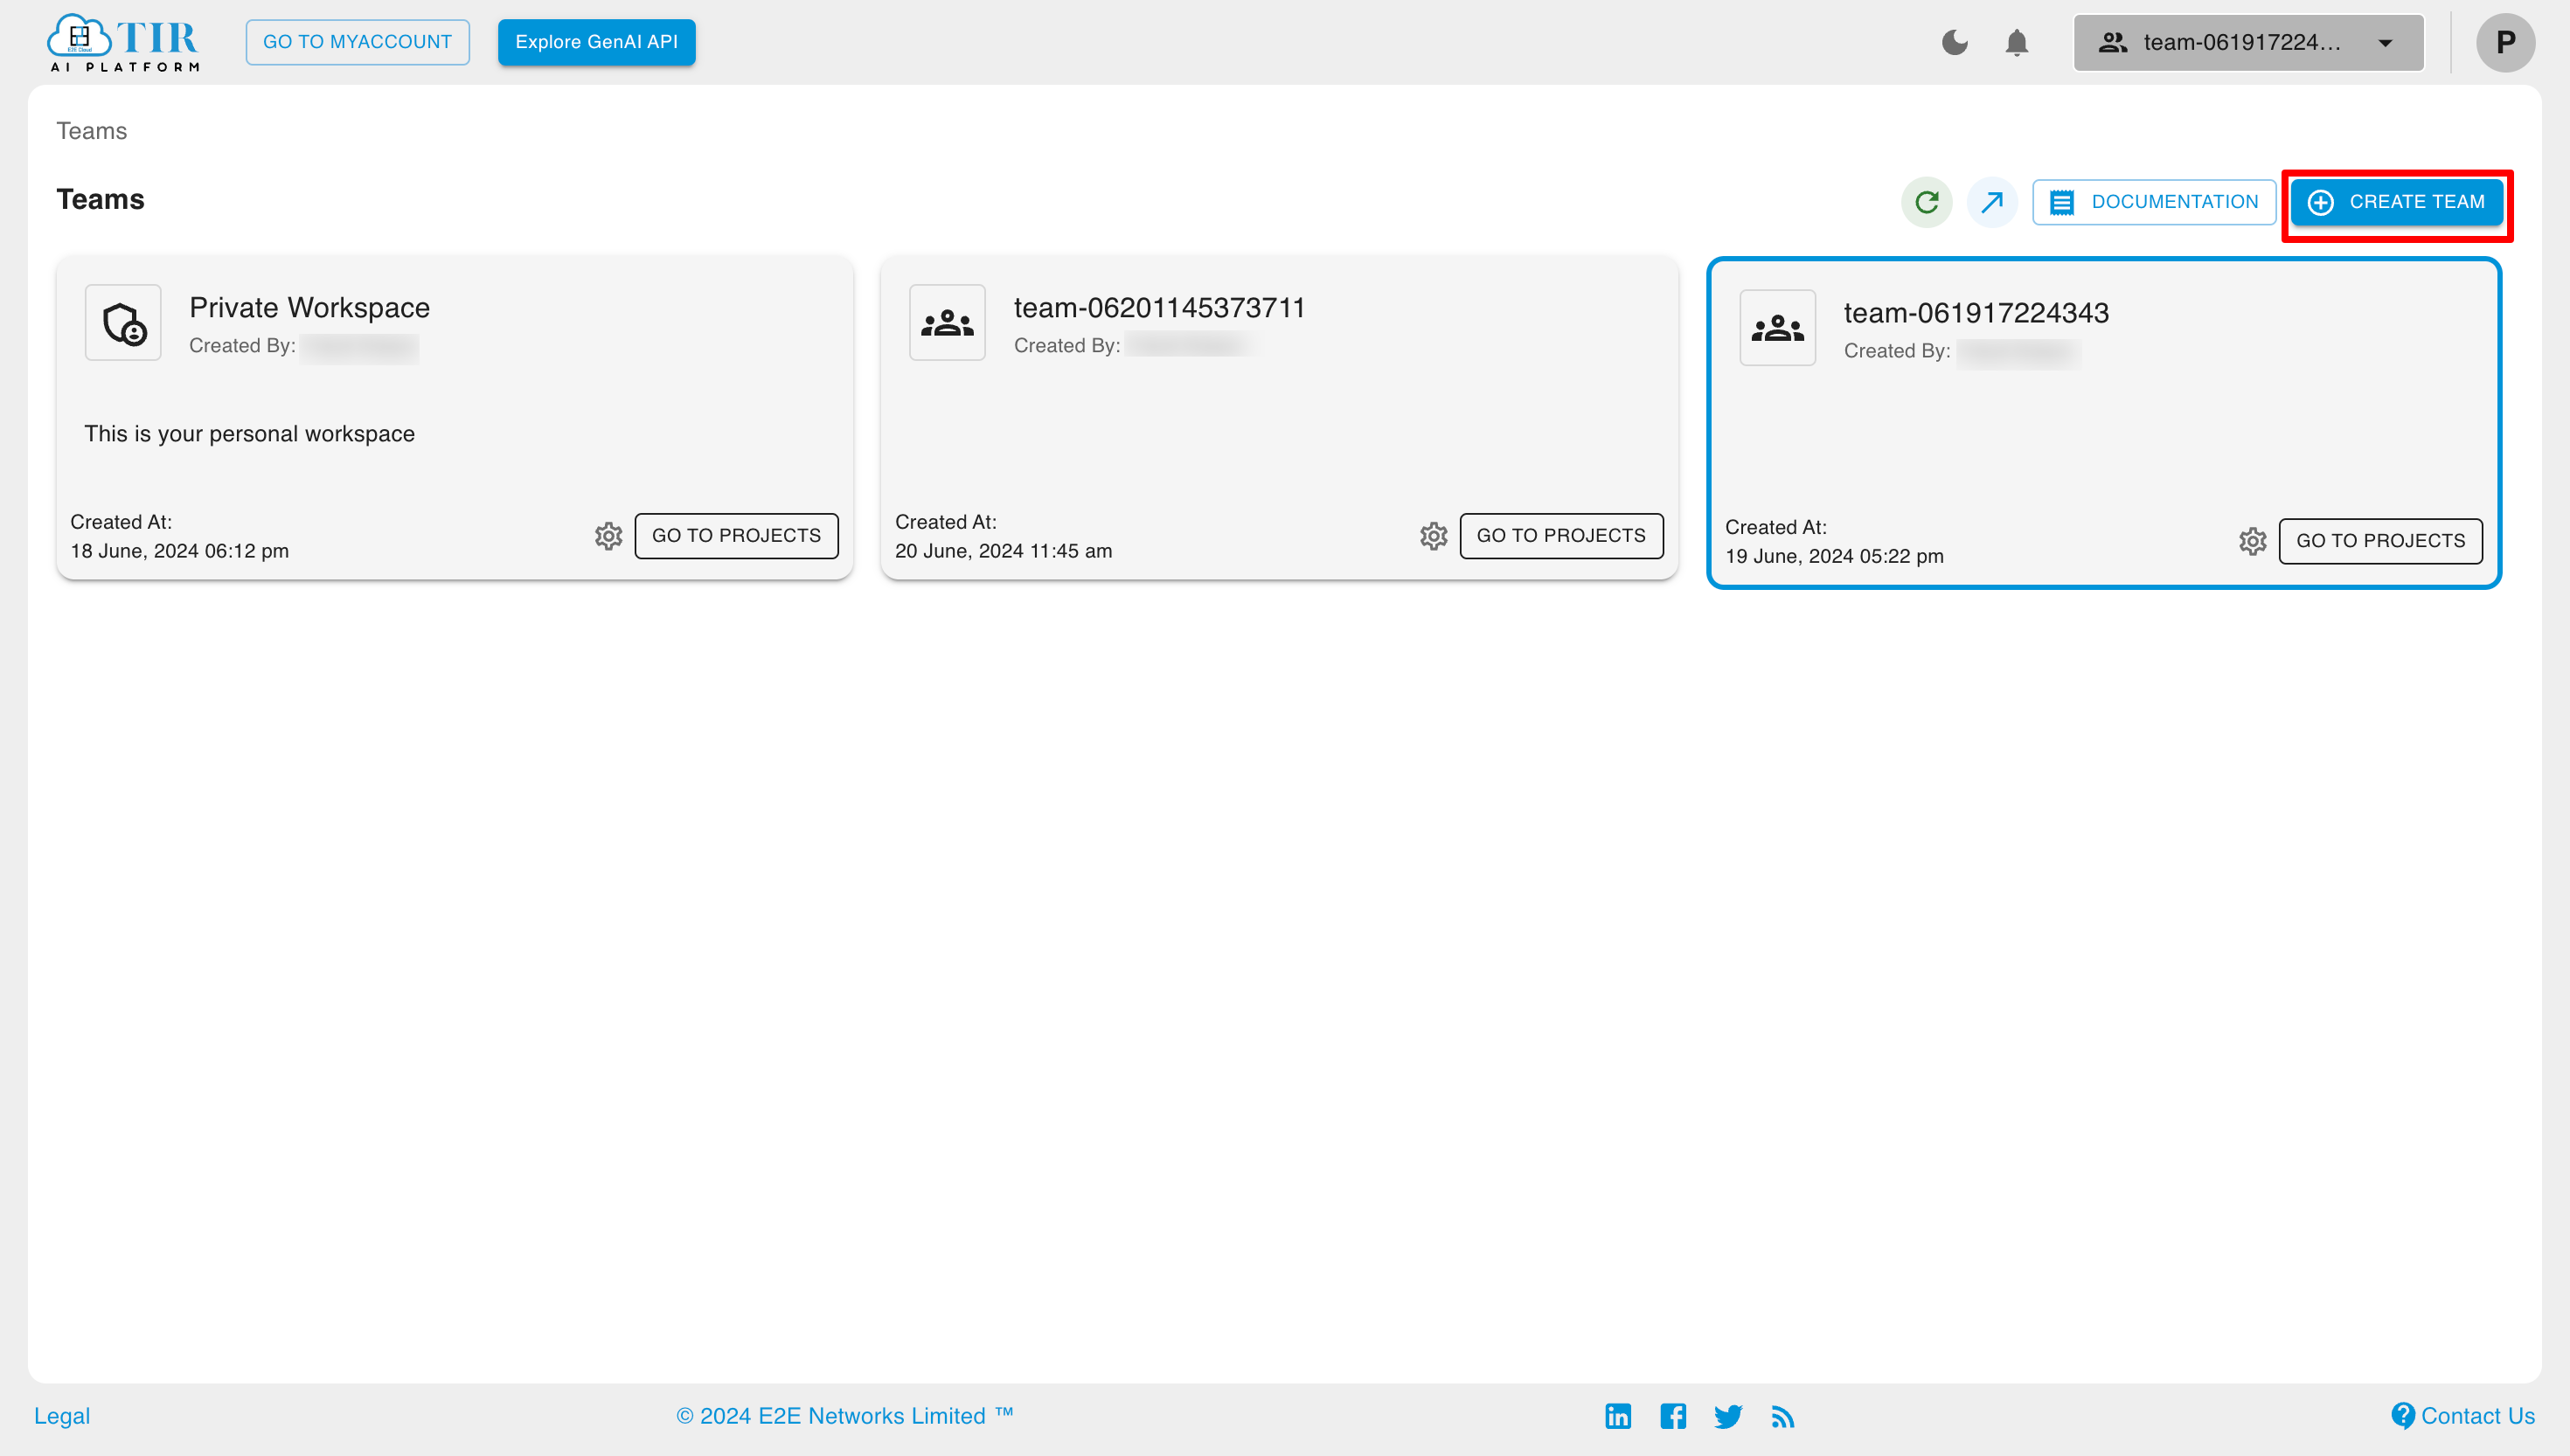
Now, add the name and description for your team, then click on the Create button.
Team Settings
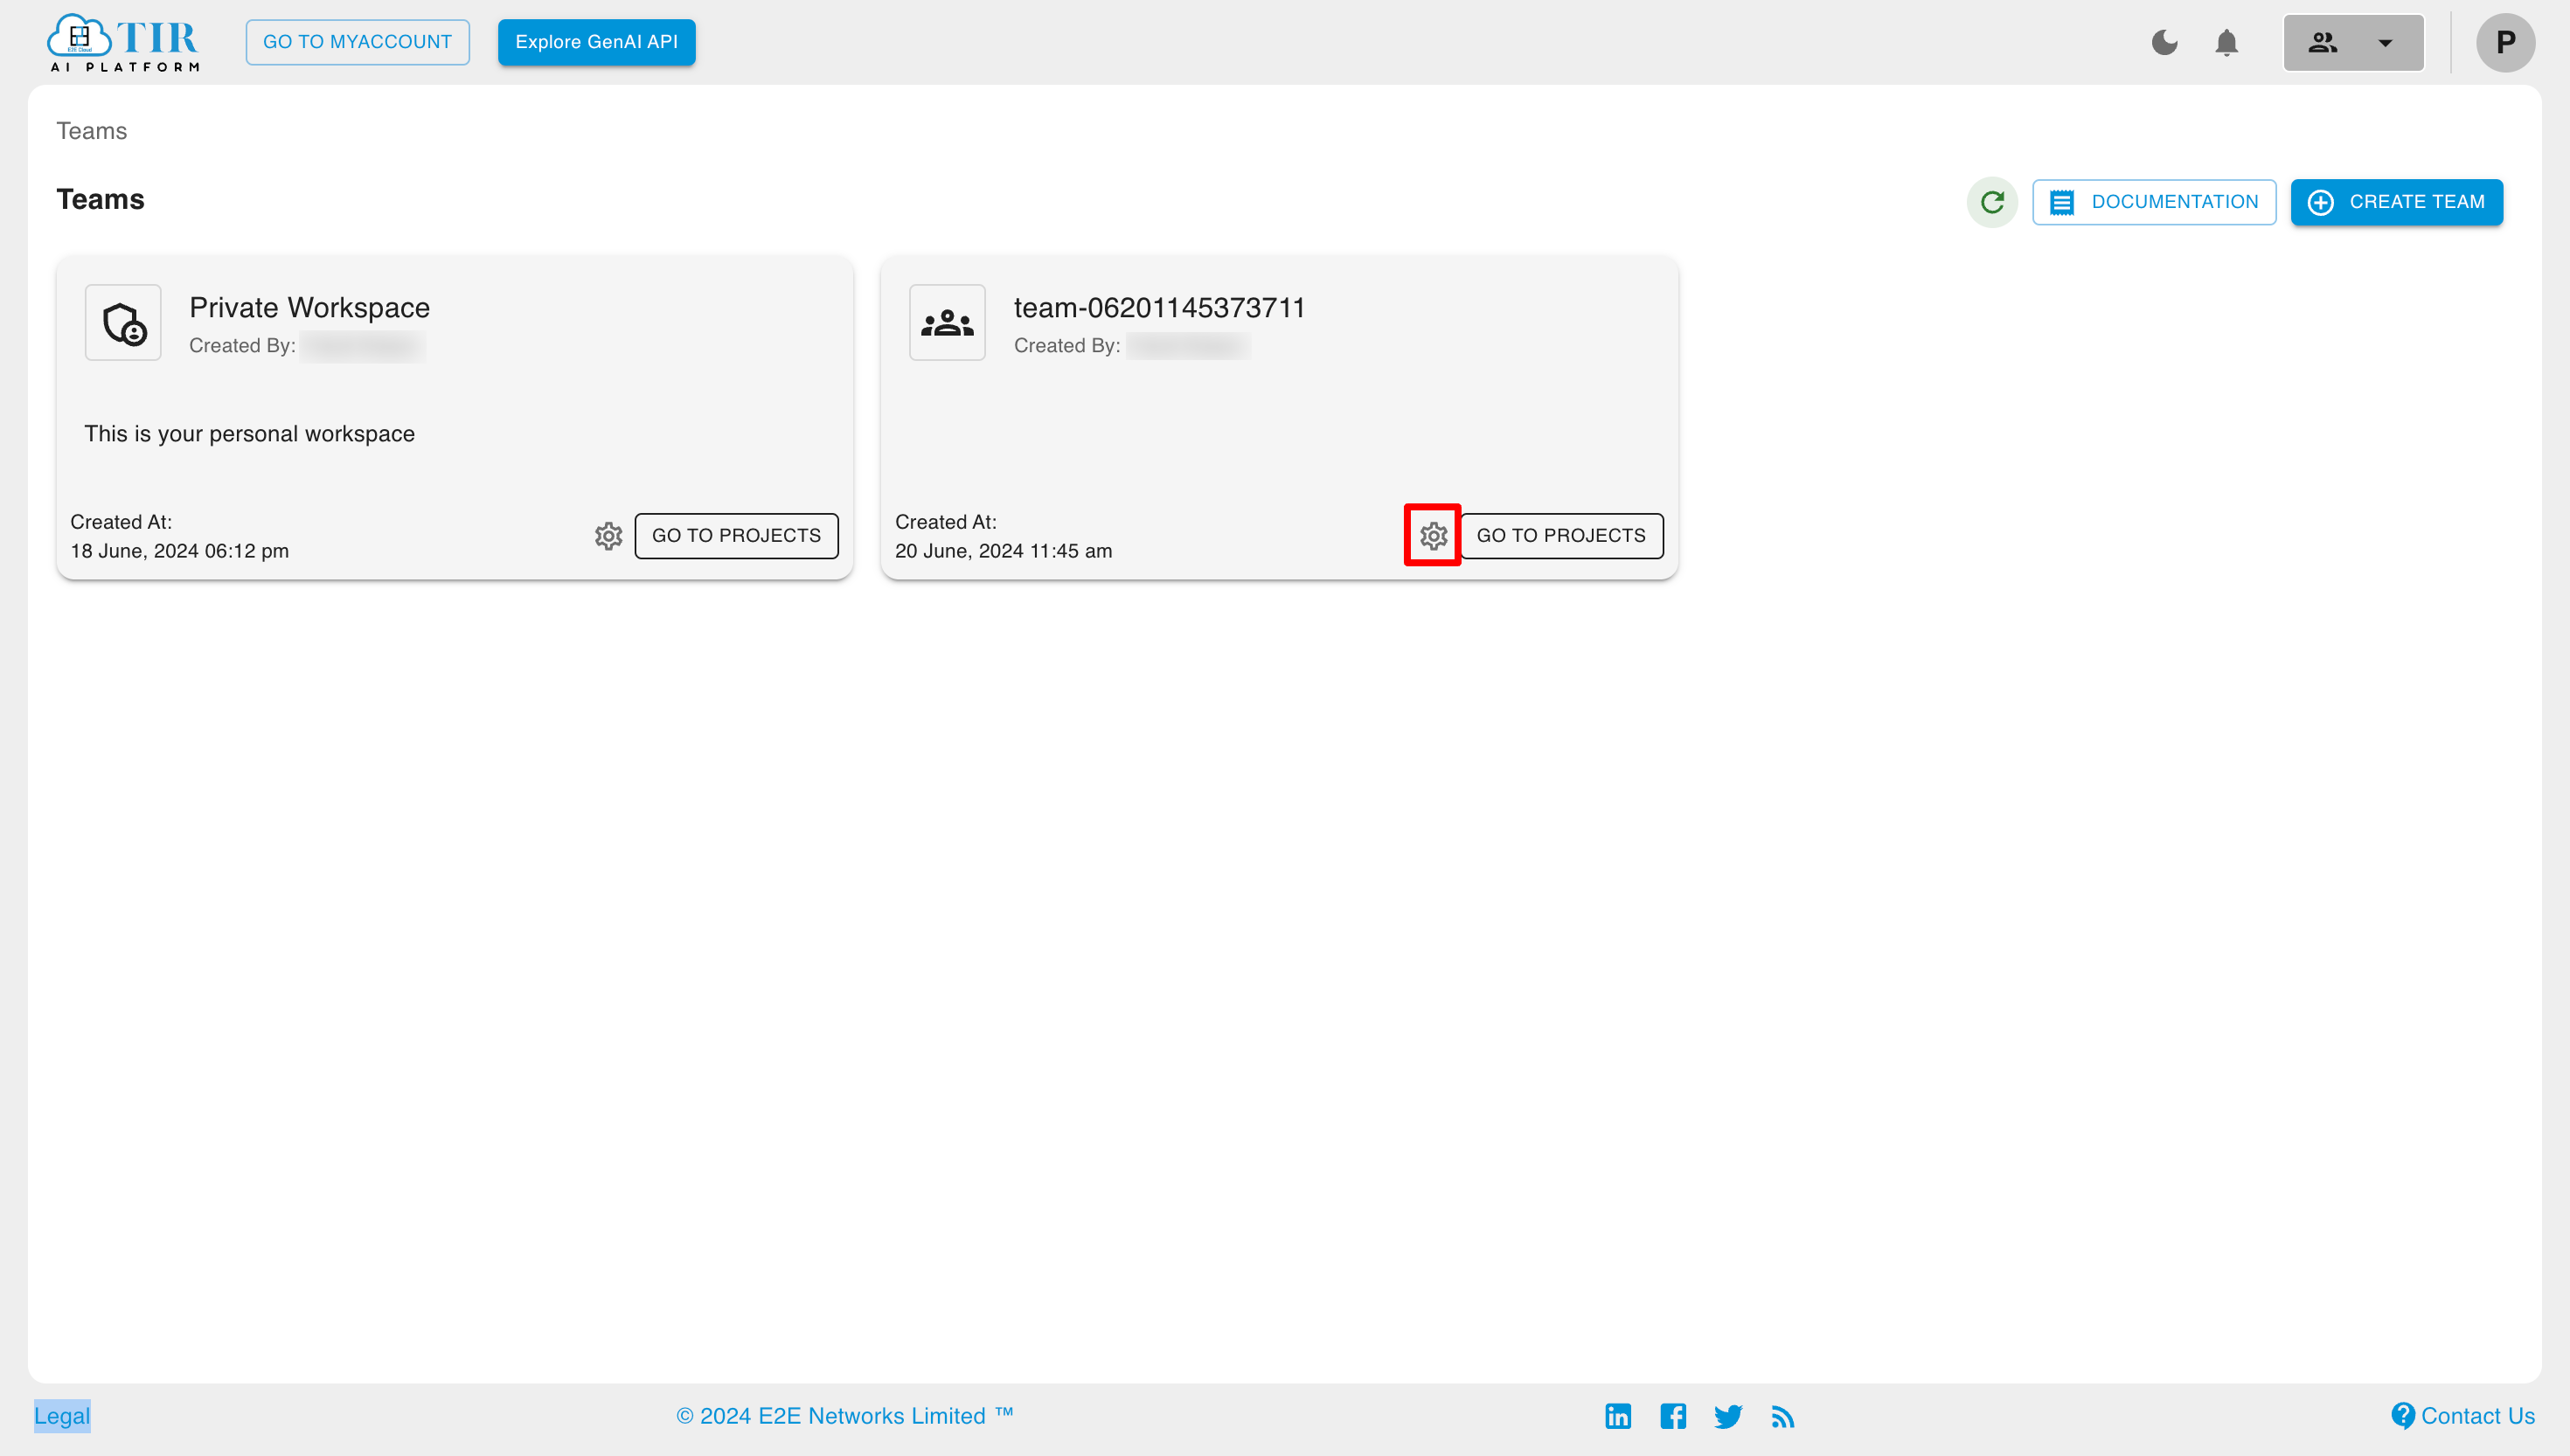
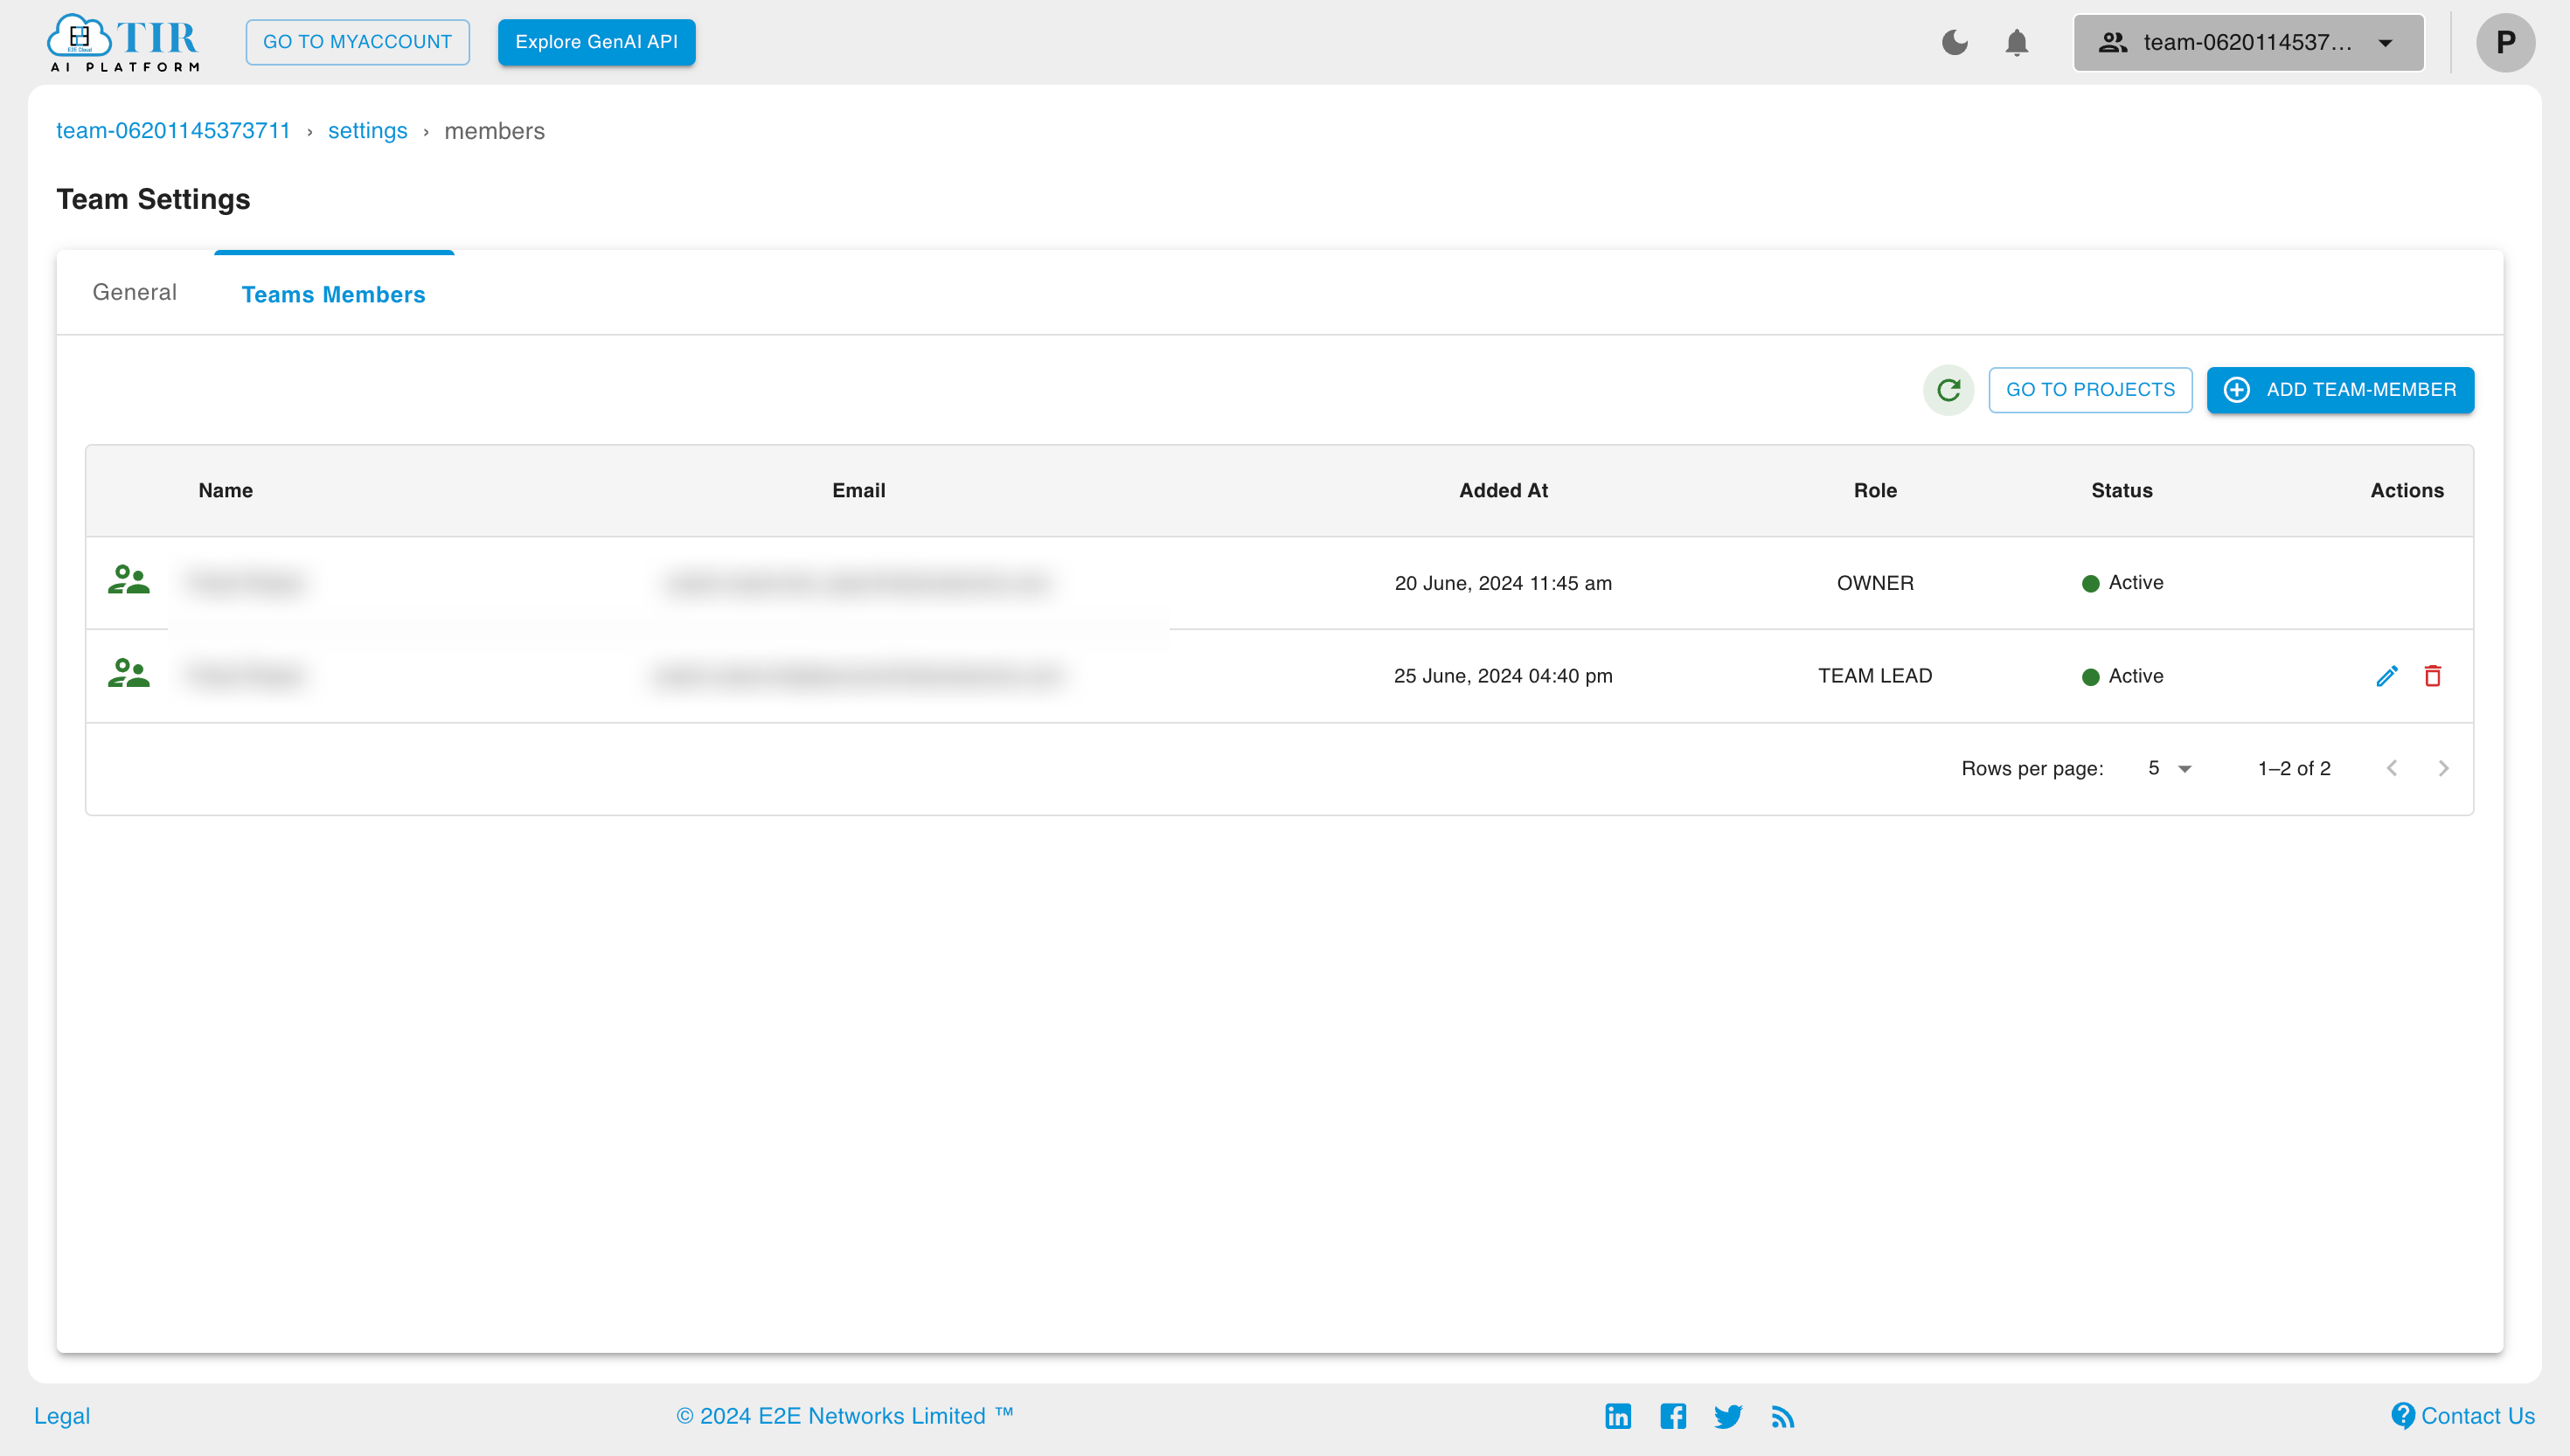
Through Team Settings, users can see the list of active team members, update team details, add team members, and edit their roles in the team.
To open Team Settings for a team, click on the settings symbol for the team.
Here you can see the list of users in the team.
To learn more about team settings, click here.
Project Section
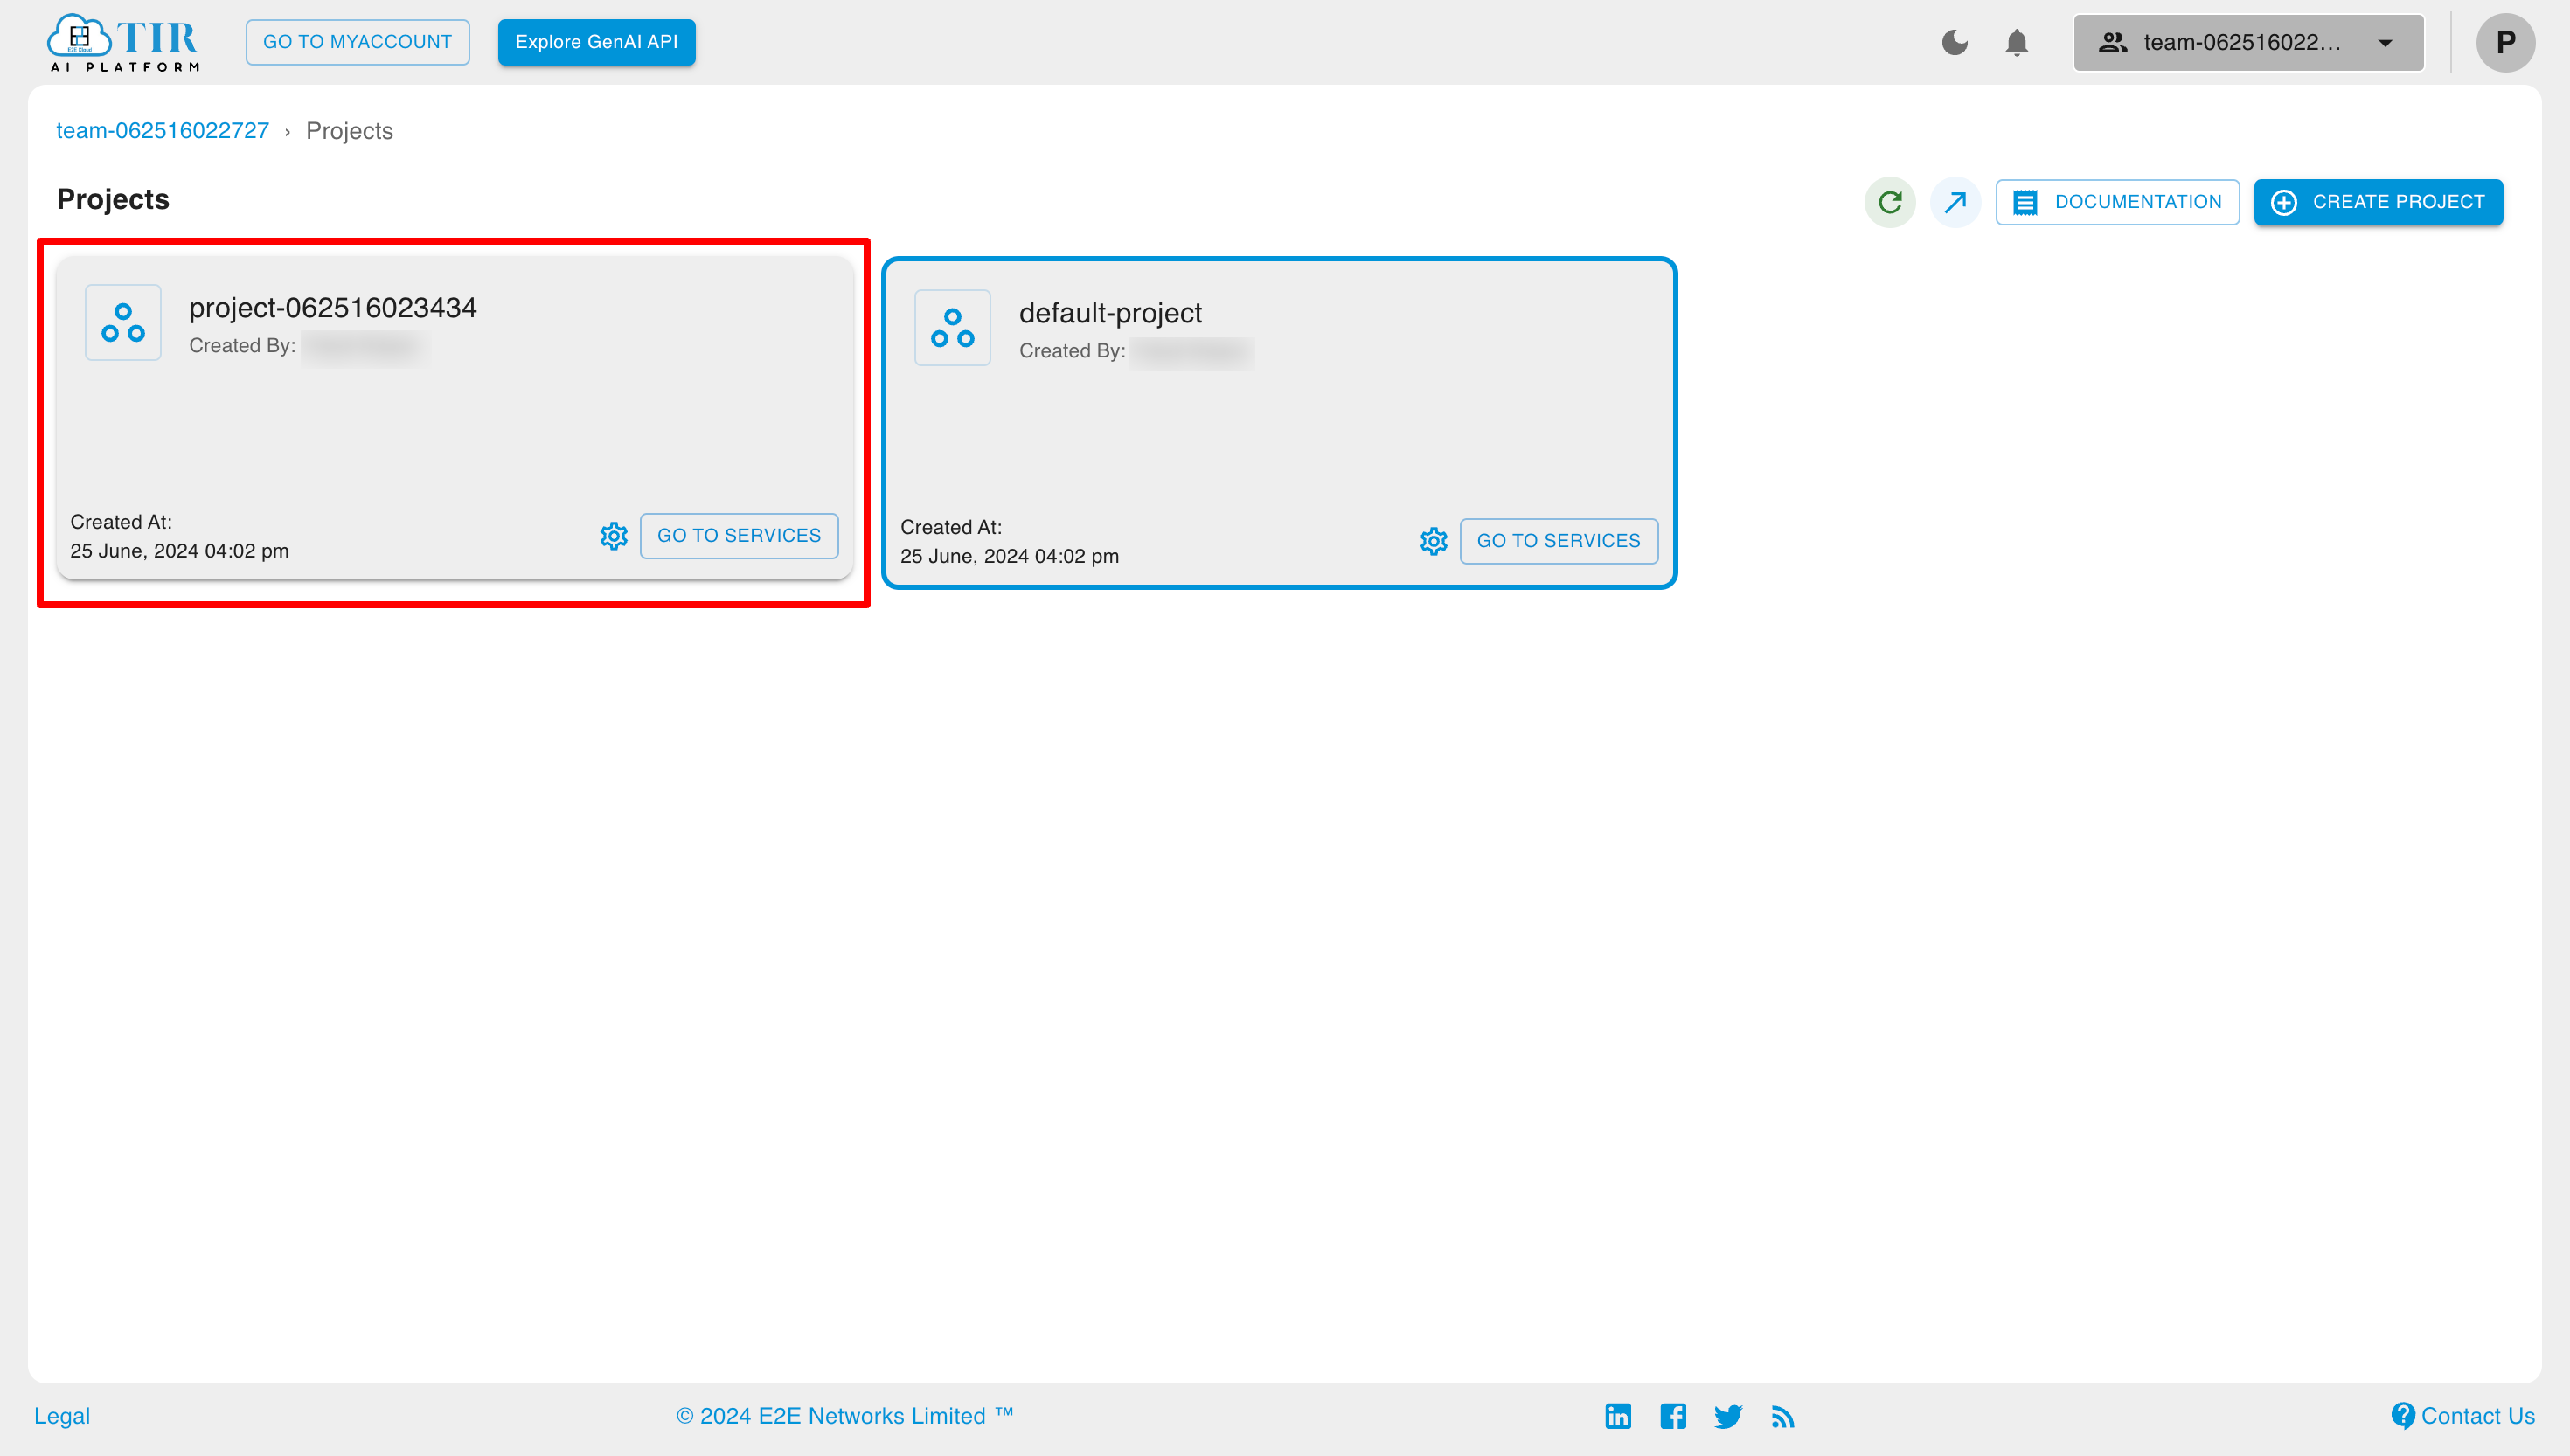
The Project Section allows users to see the list of projects in a particular team and also allows them to add new projects to the team.
To open the project section for a project, click on Go to Project for that team.
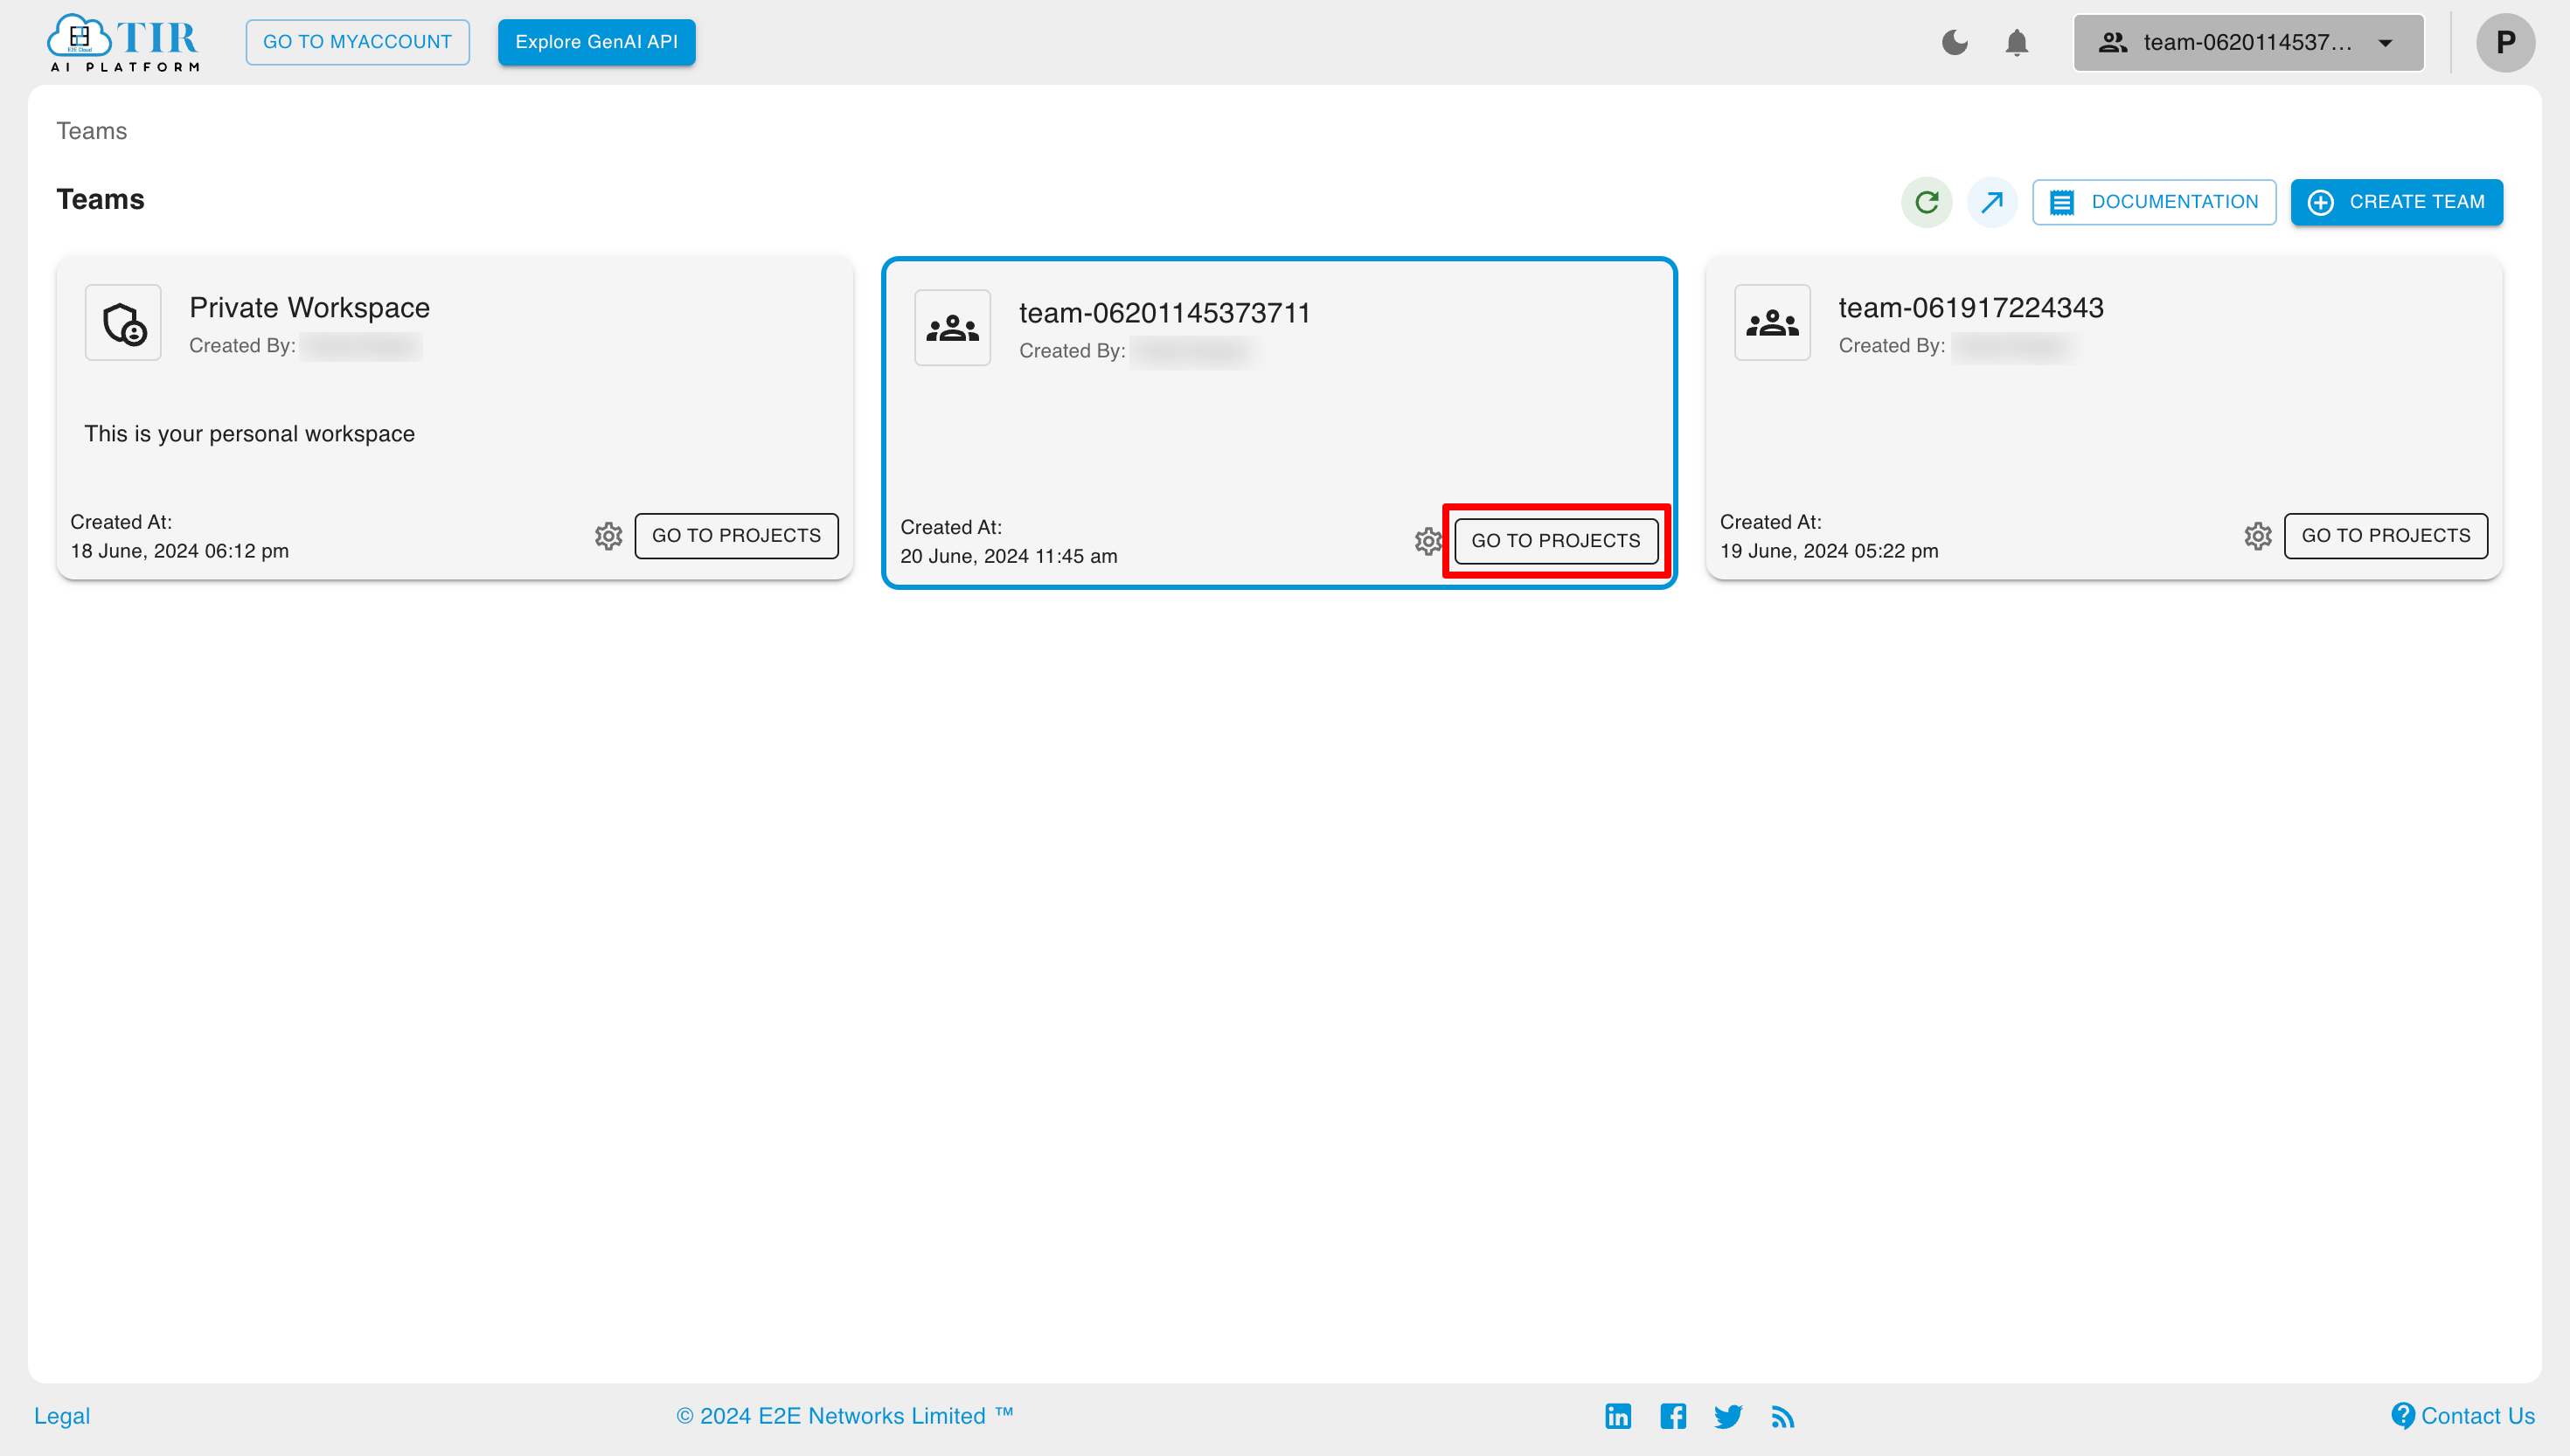
You can select the project you want to access by clicking on the project's name.
Create Project
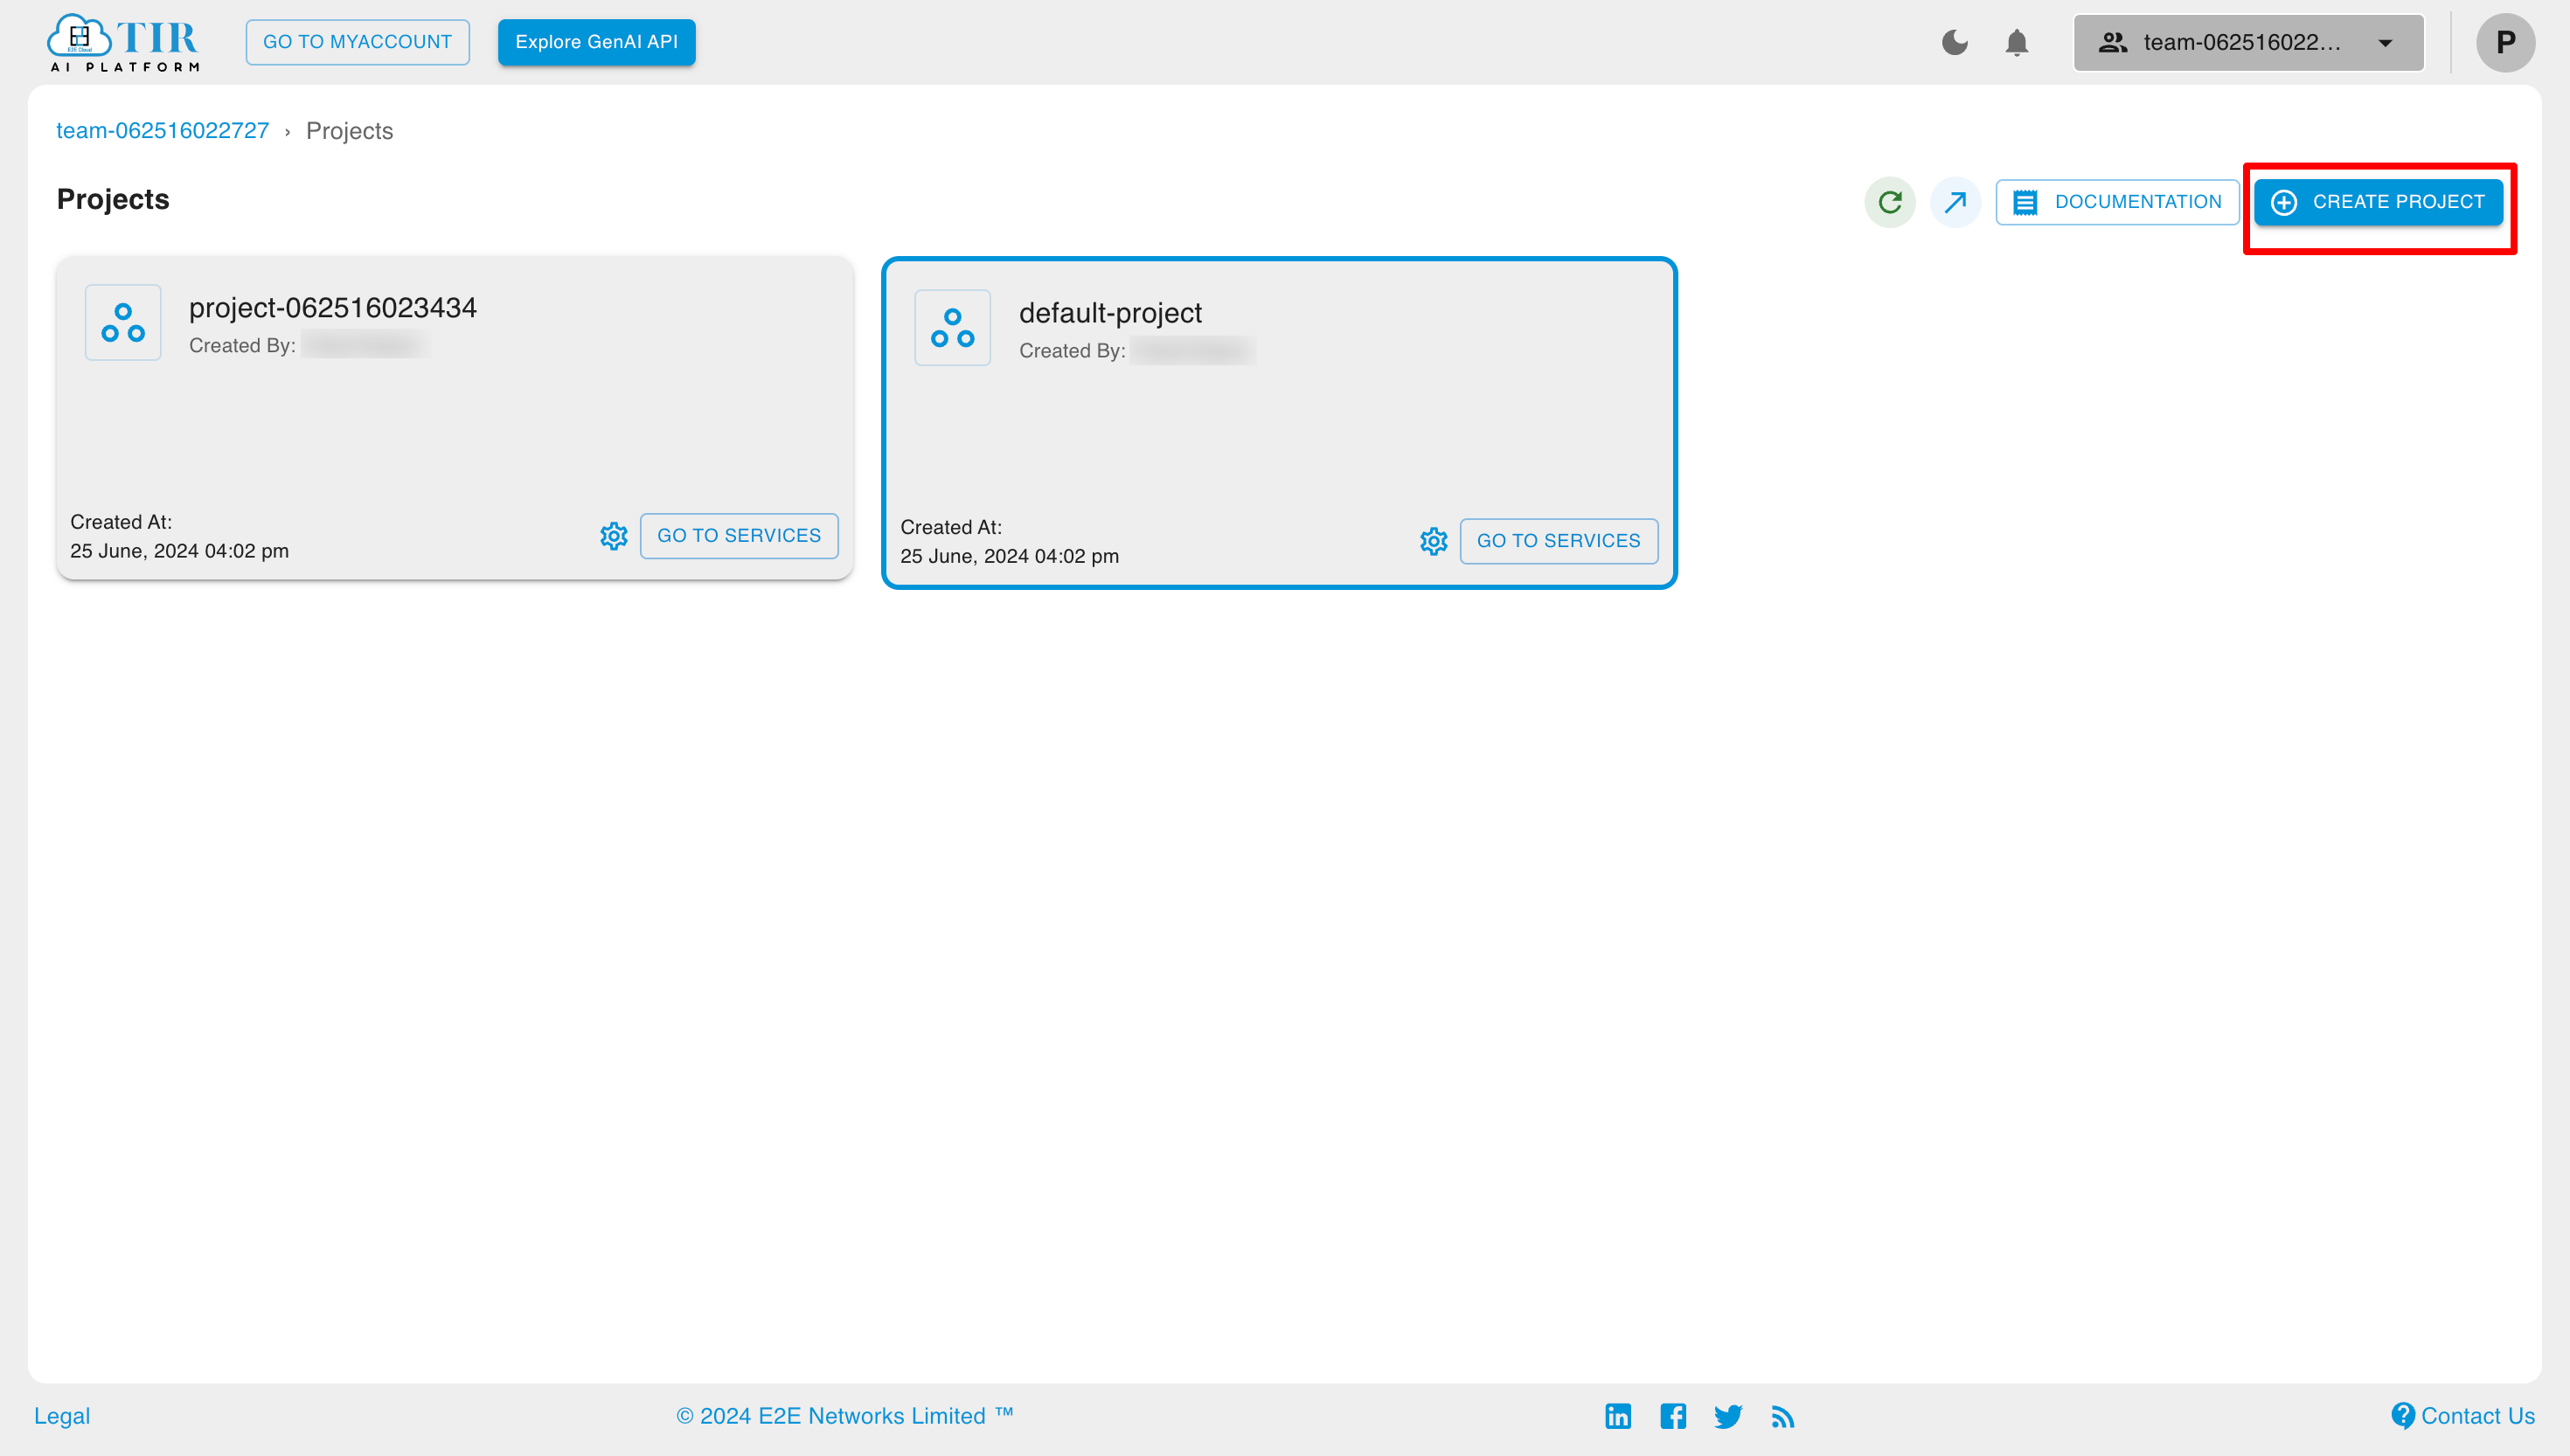
Users can create a new project by clicking the Create Project button.
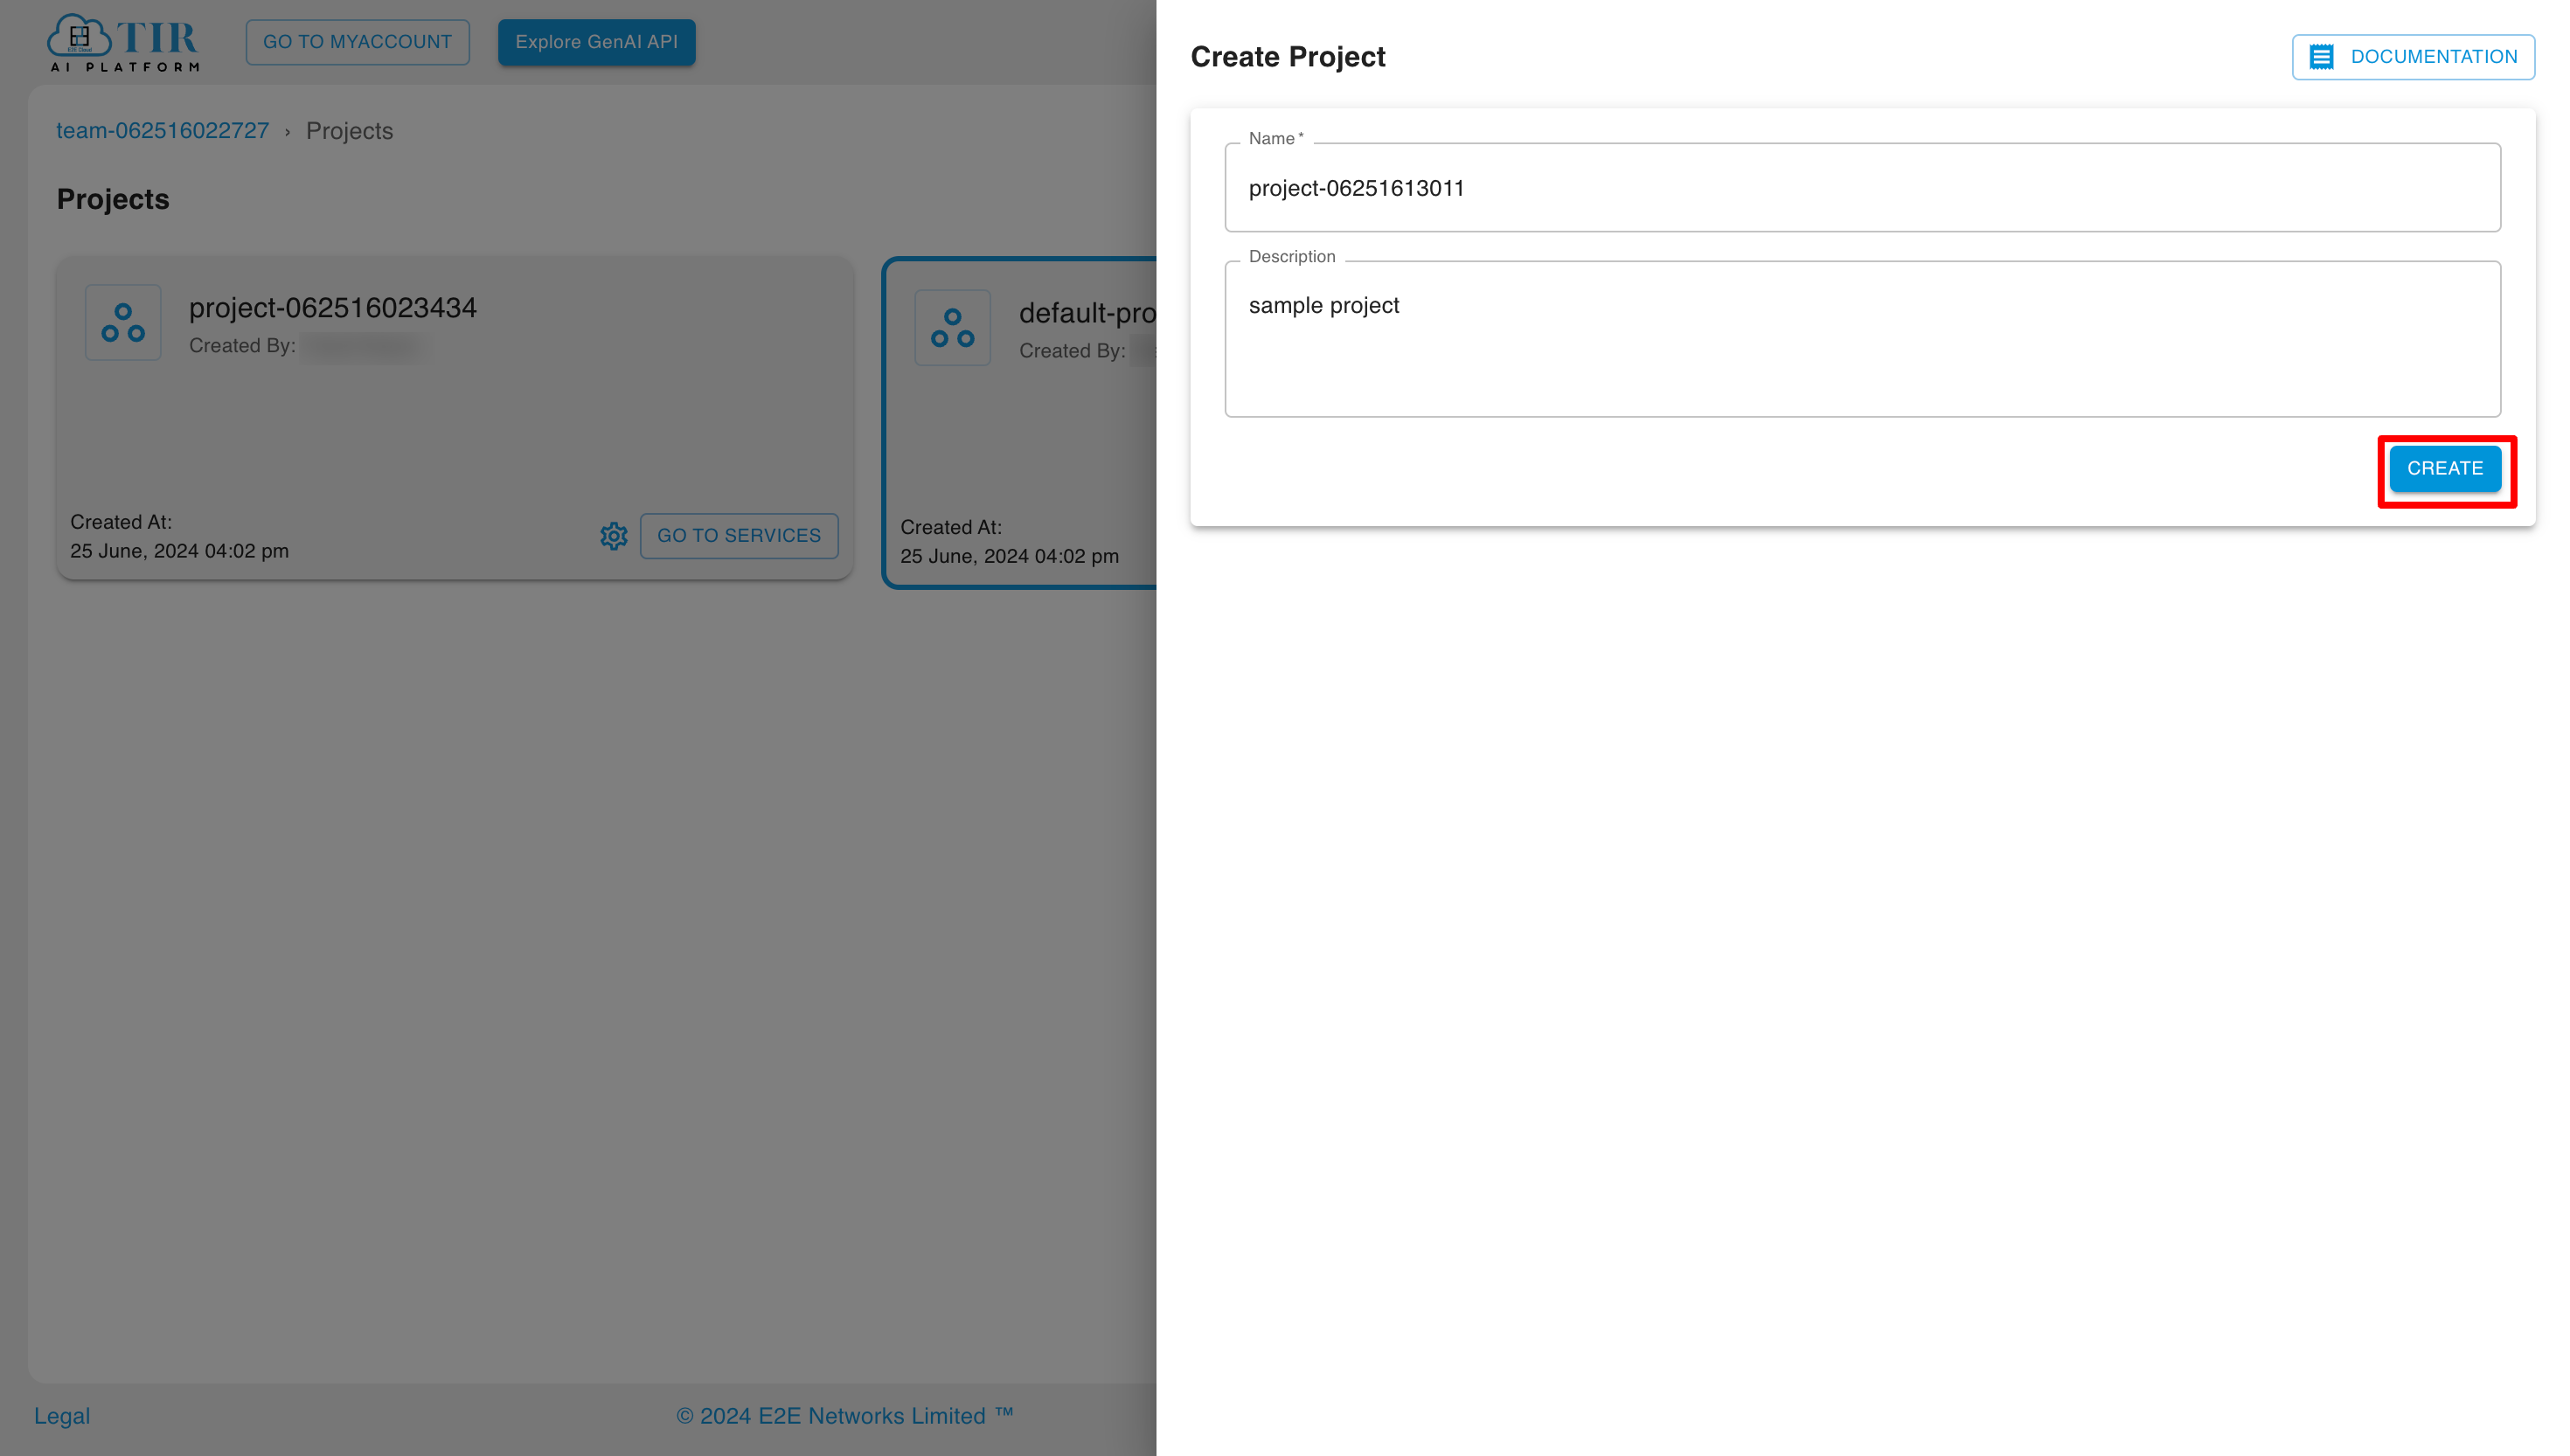
Now, add the name and description for your project, then click on the Create button.
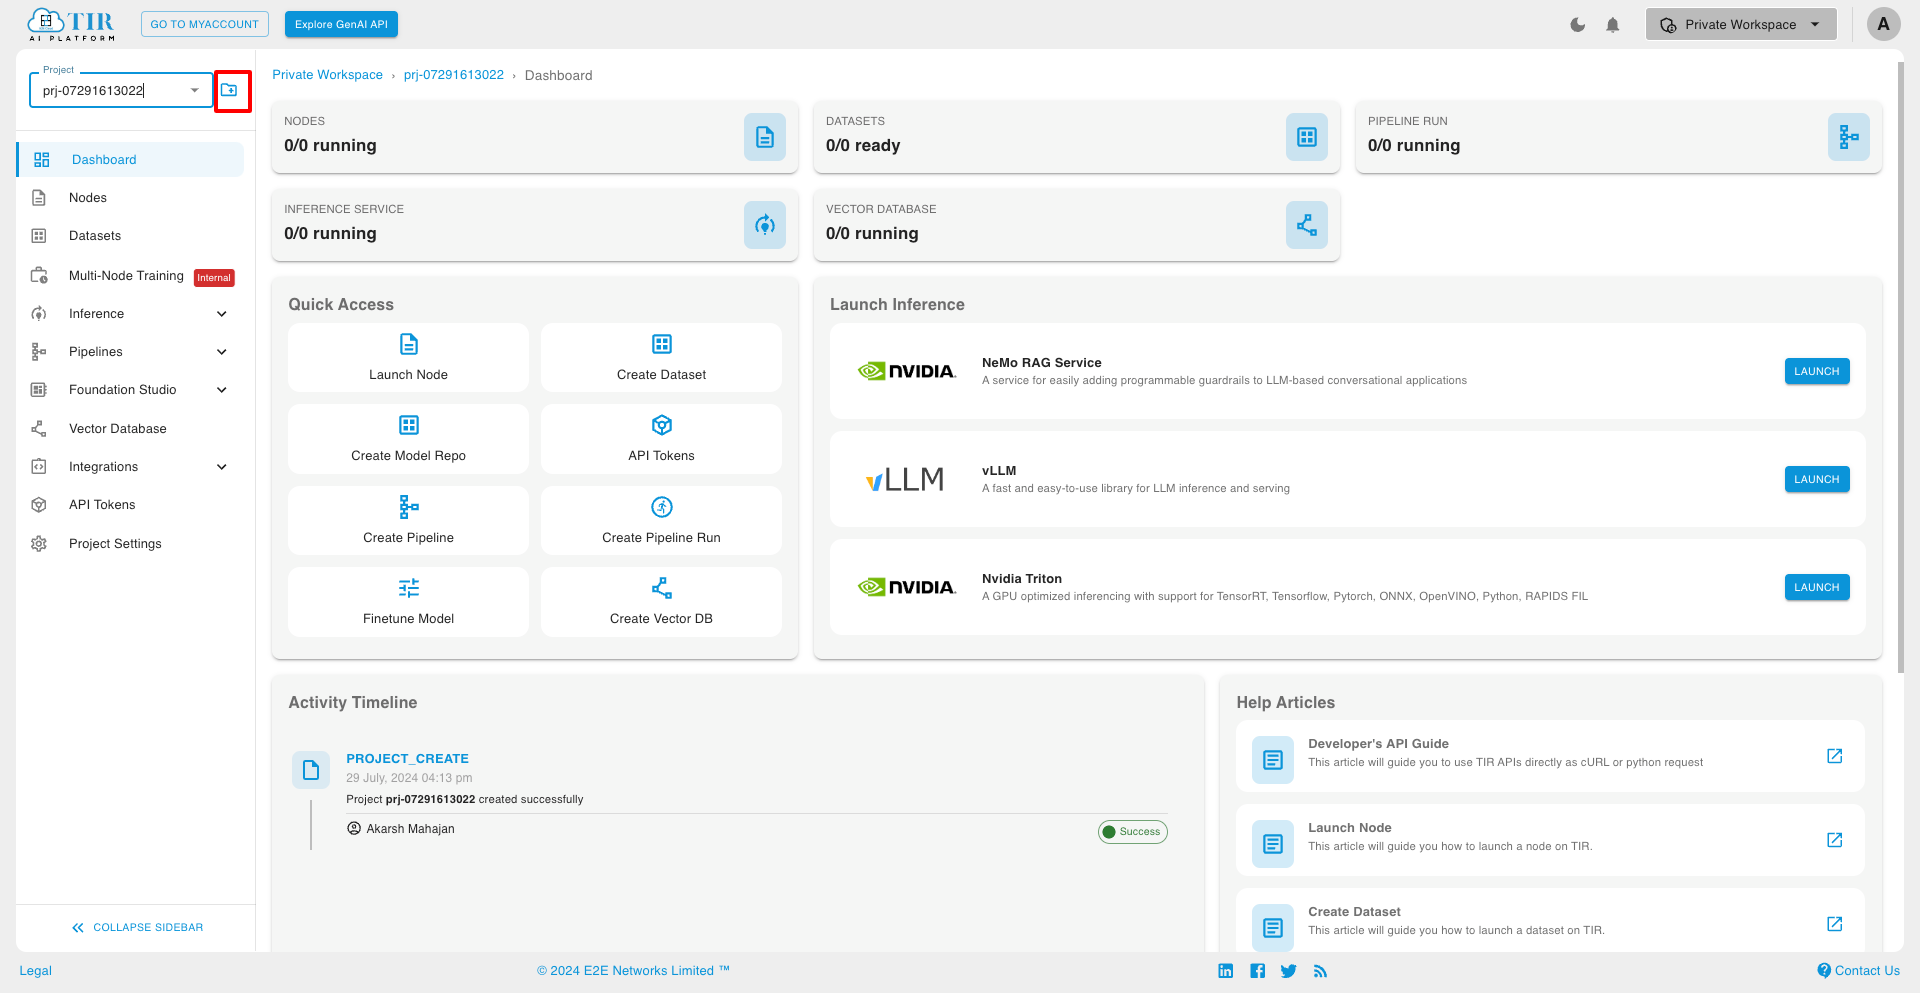
Users can also create projects from the dashboard by clicking on the create new project icon.
Project Settings
Through Project Settings, users can:
1. Update project details and delete the project.
2. View the list of active project members, add project members, and edit their roles in the project.
3. View resource usage.
4. View the activity timeline.
5. Create and edit policies.
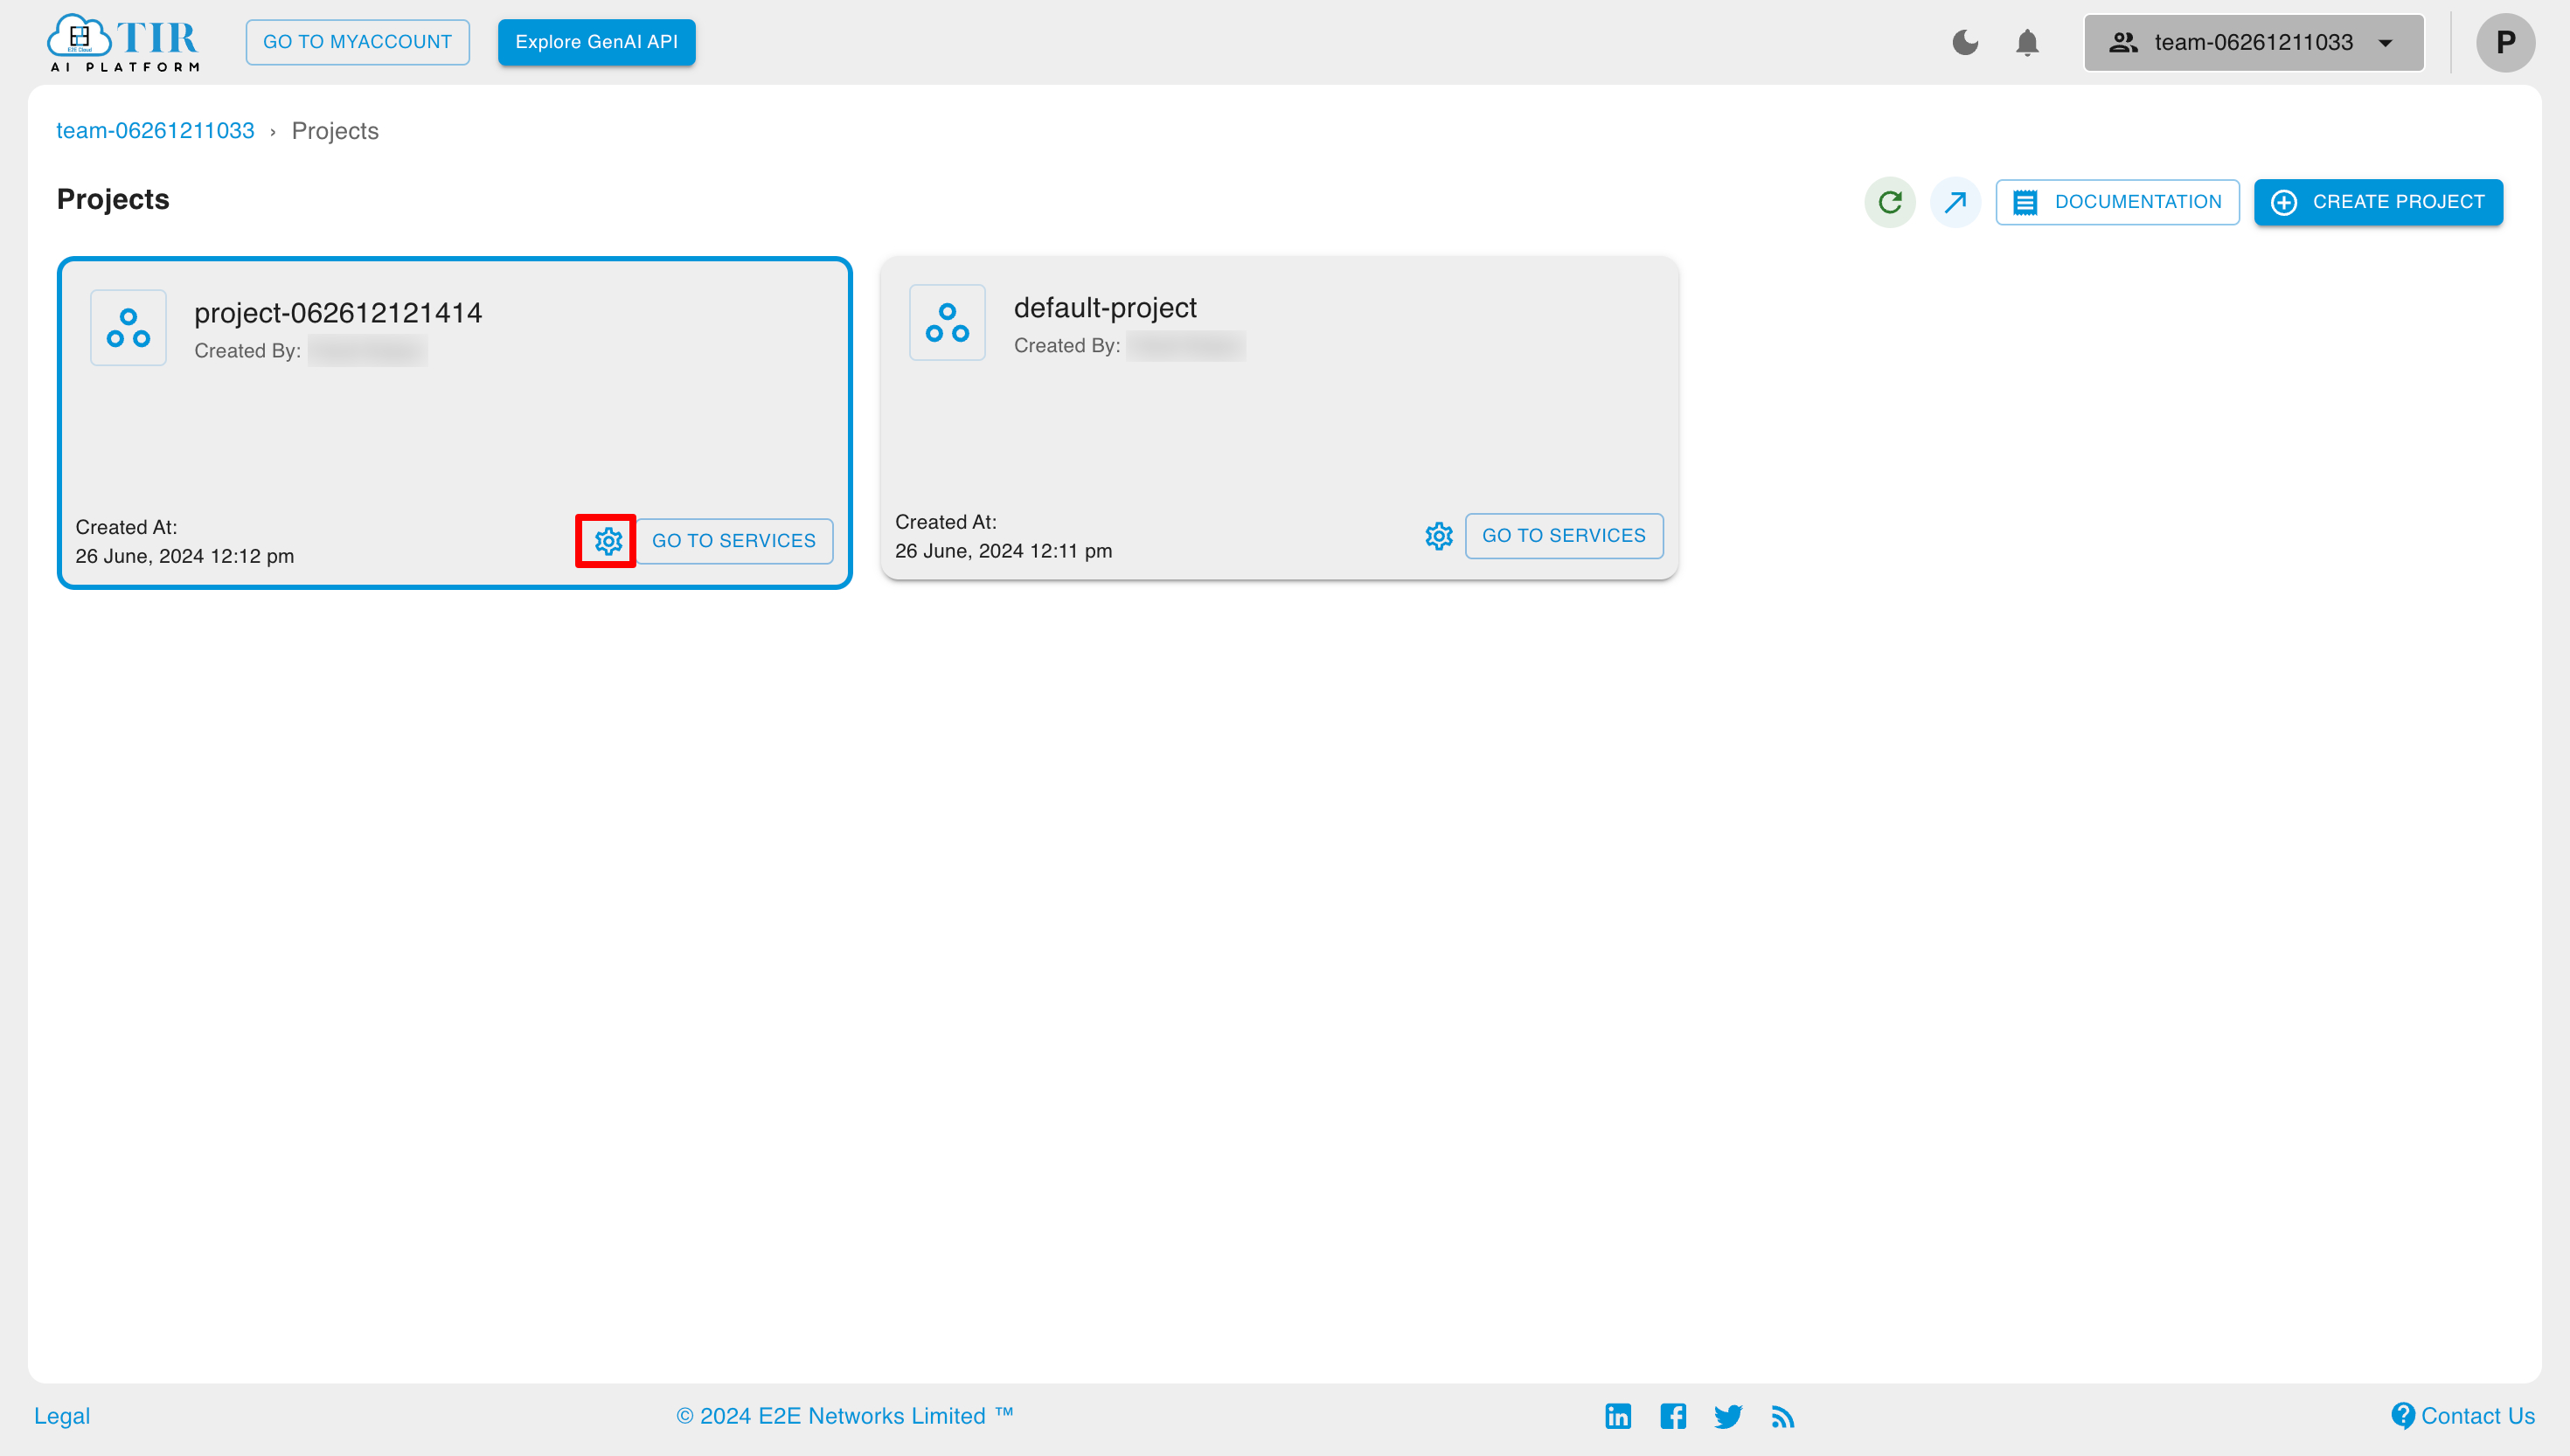
To open Project Settings for a team, click on the settings symbol for the project.
Here you can see the five sections of project settings.
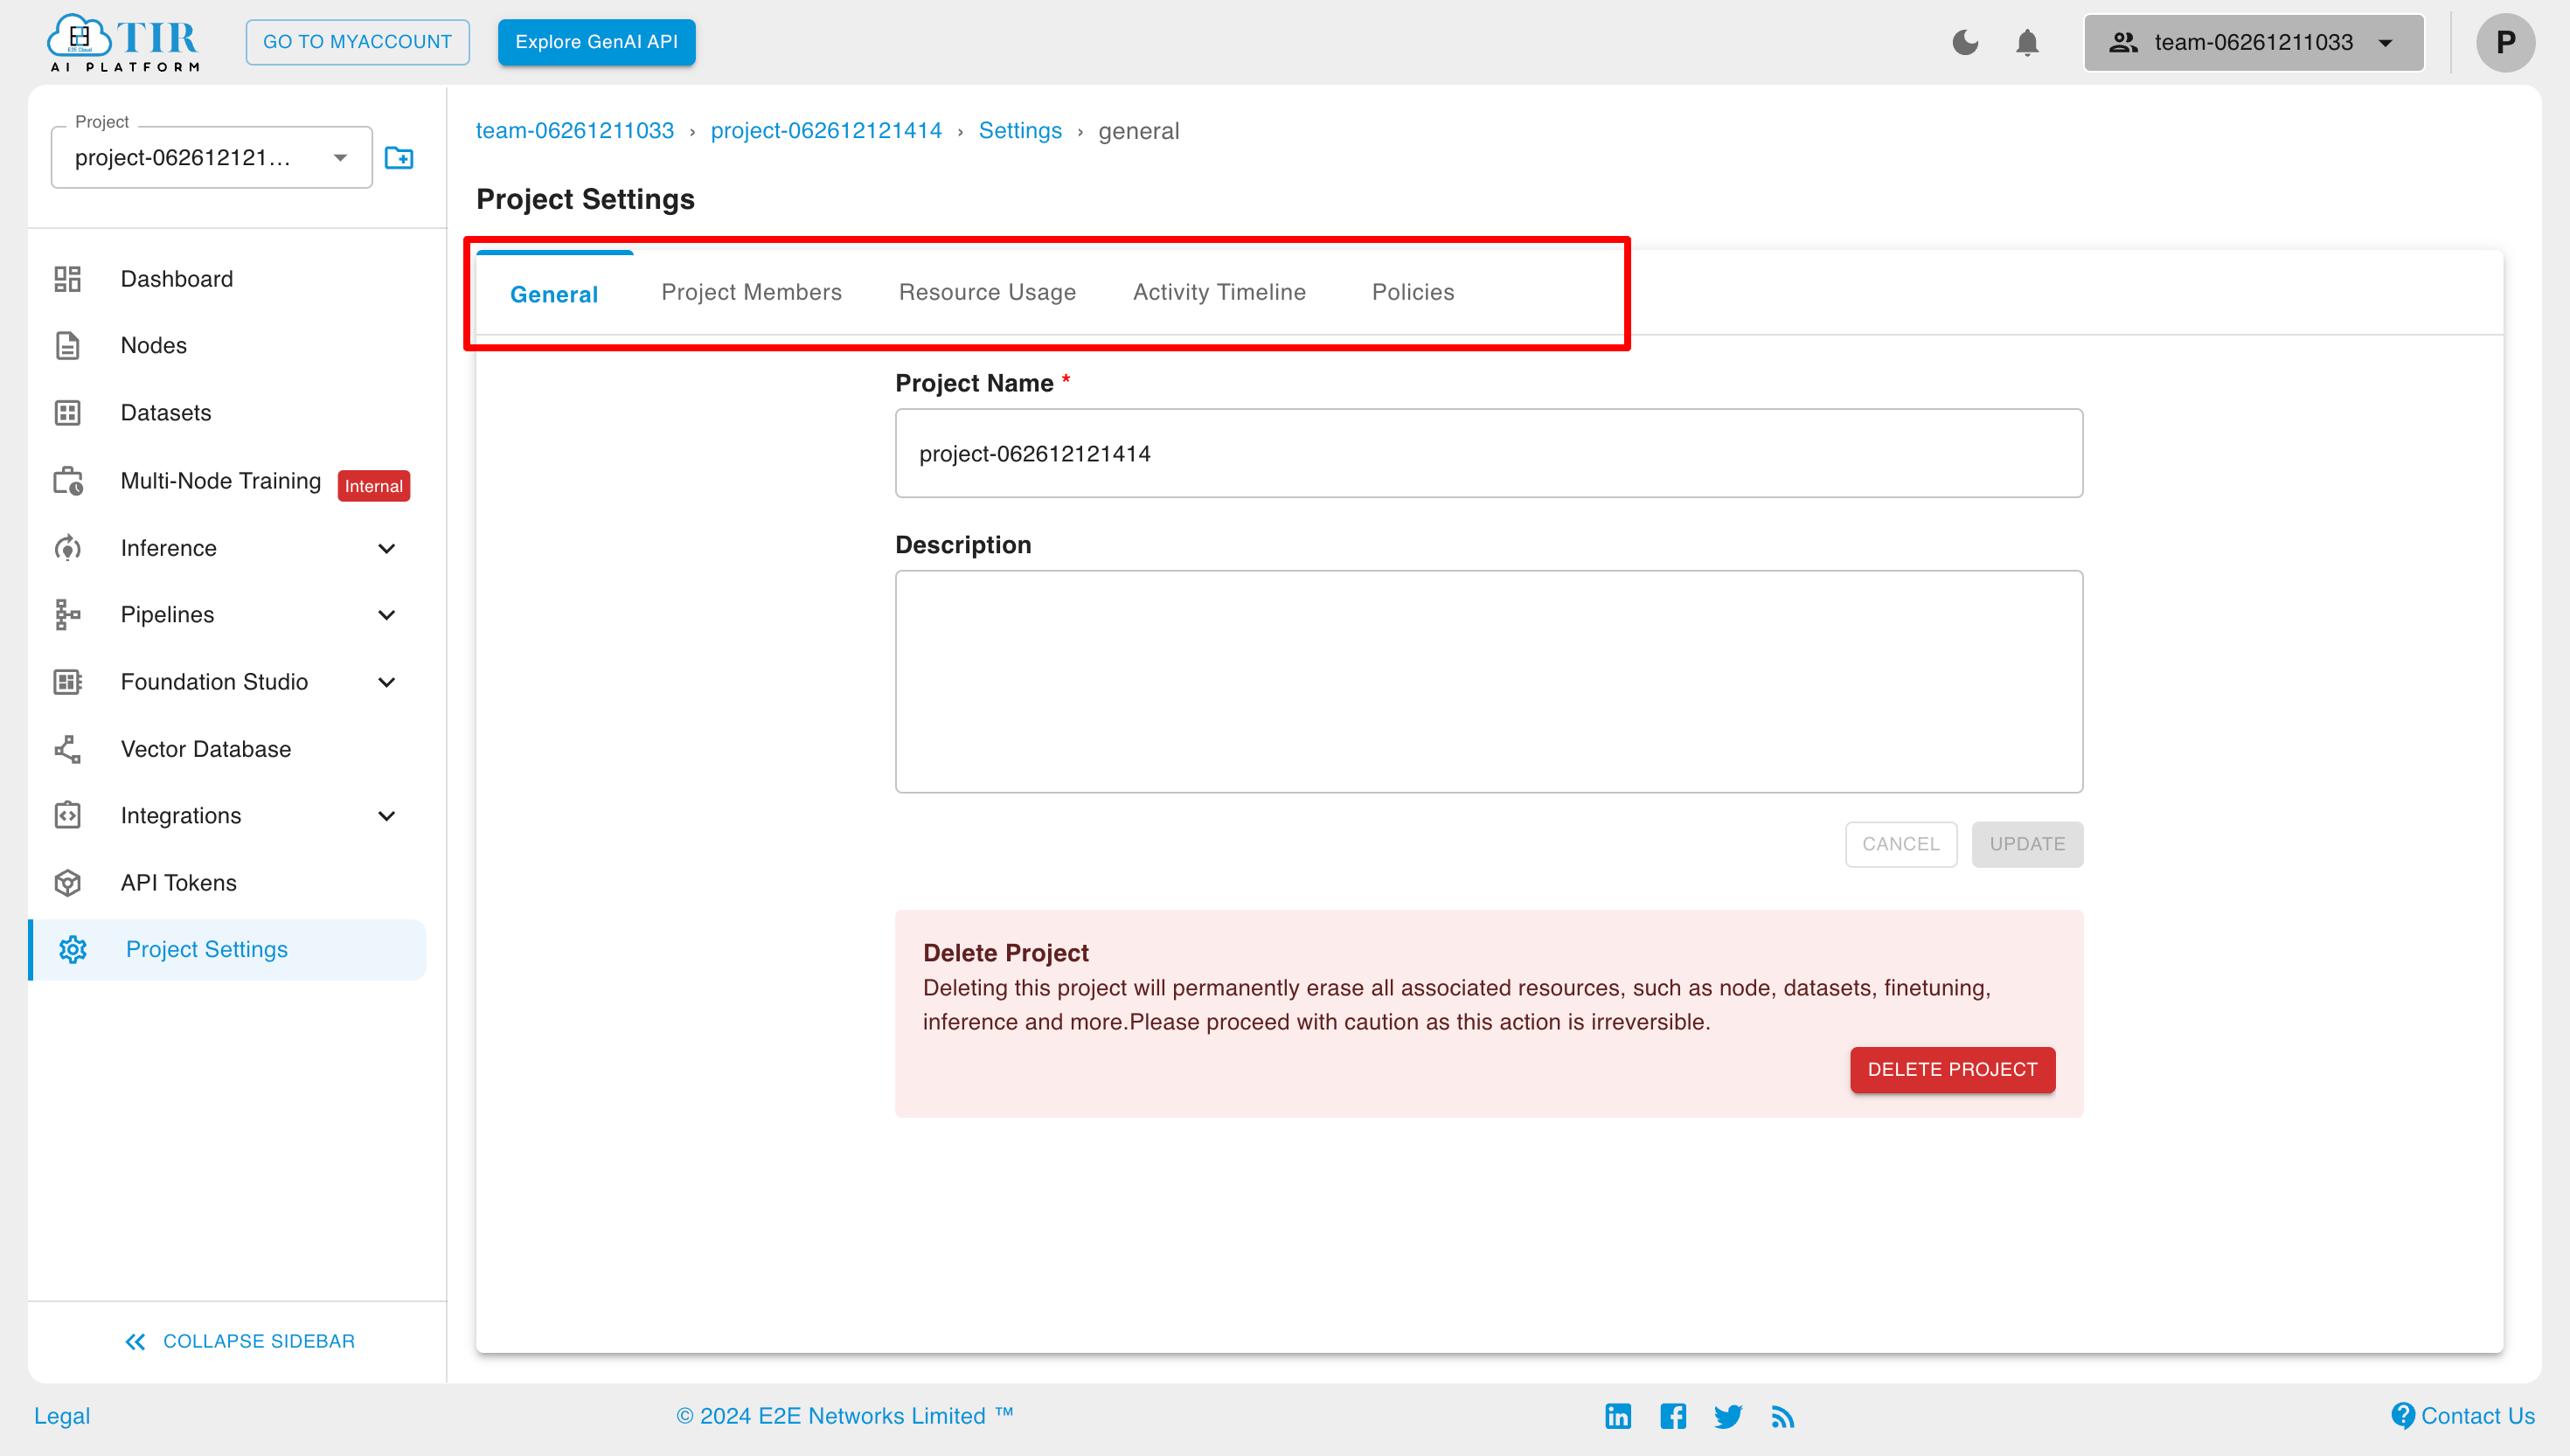
To learn more about project settings, click here.
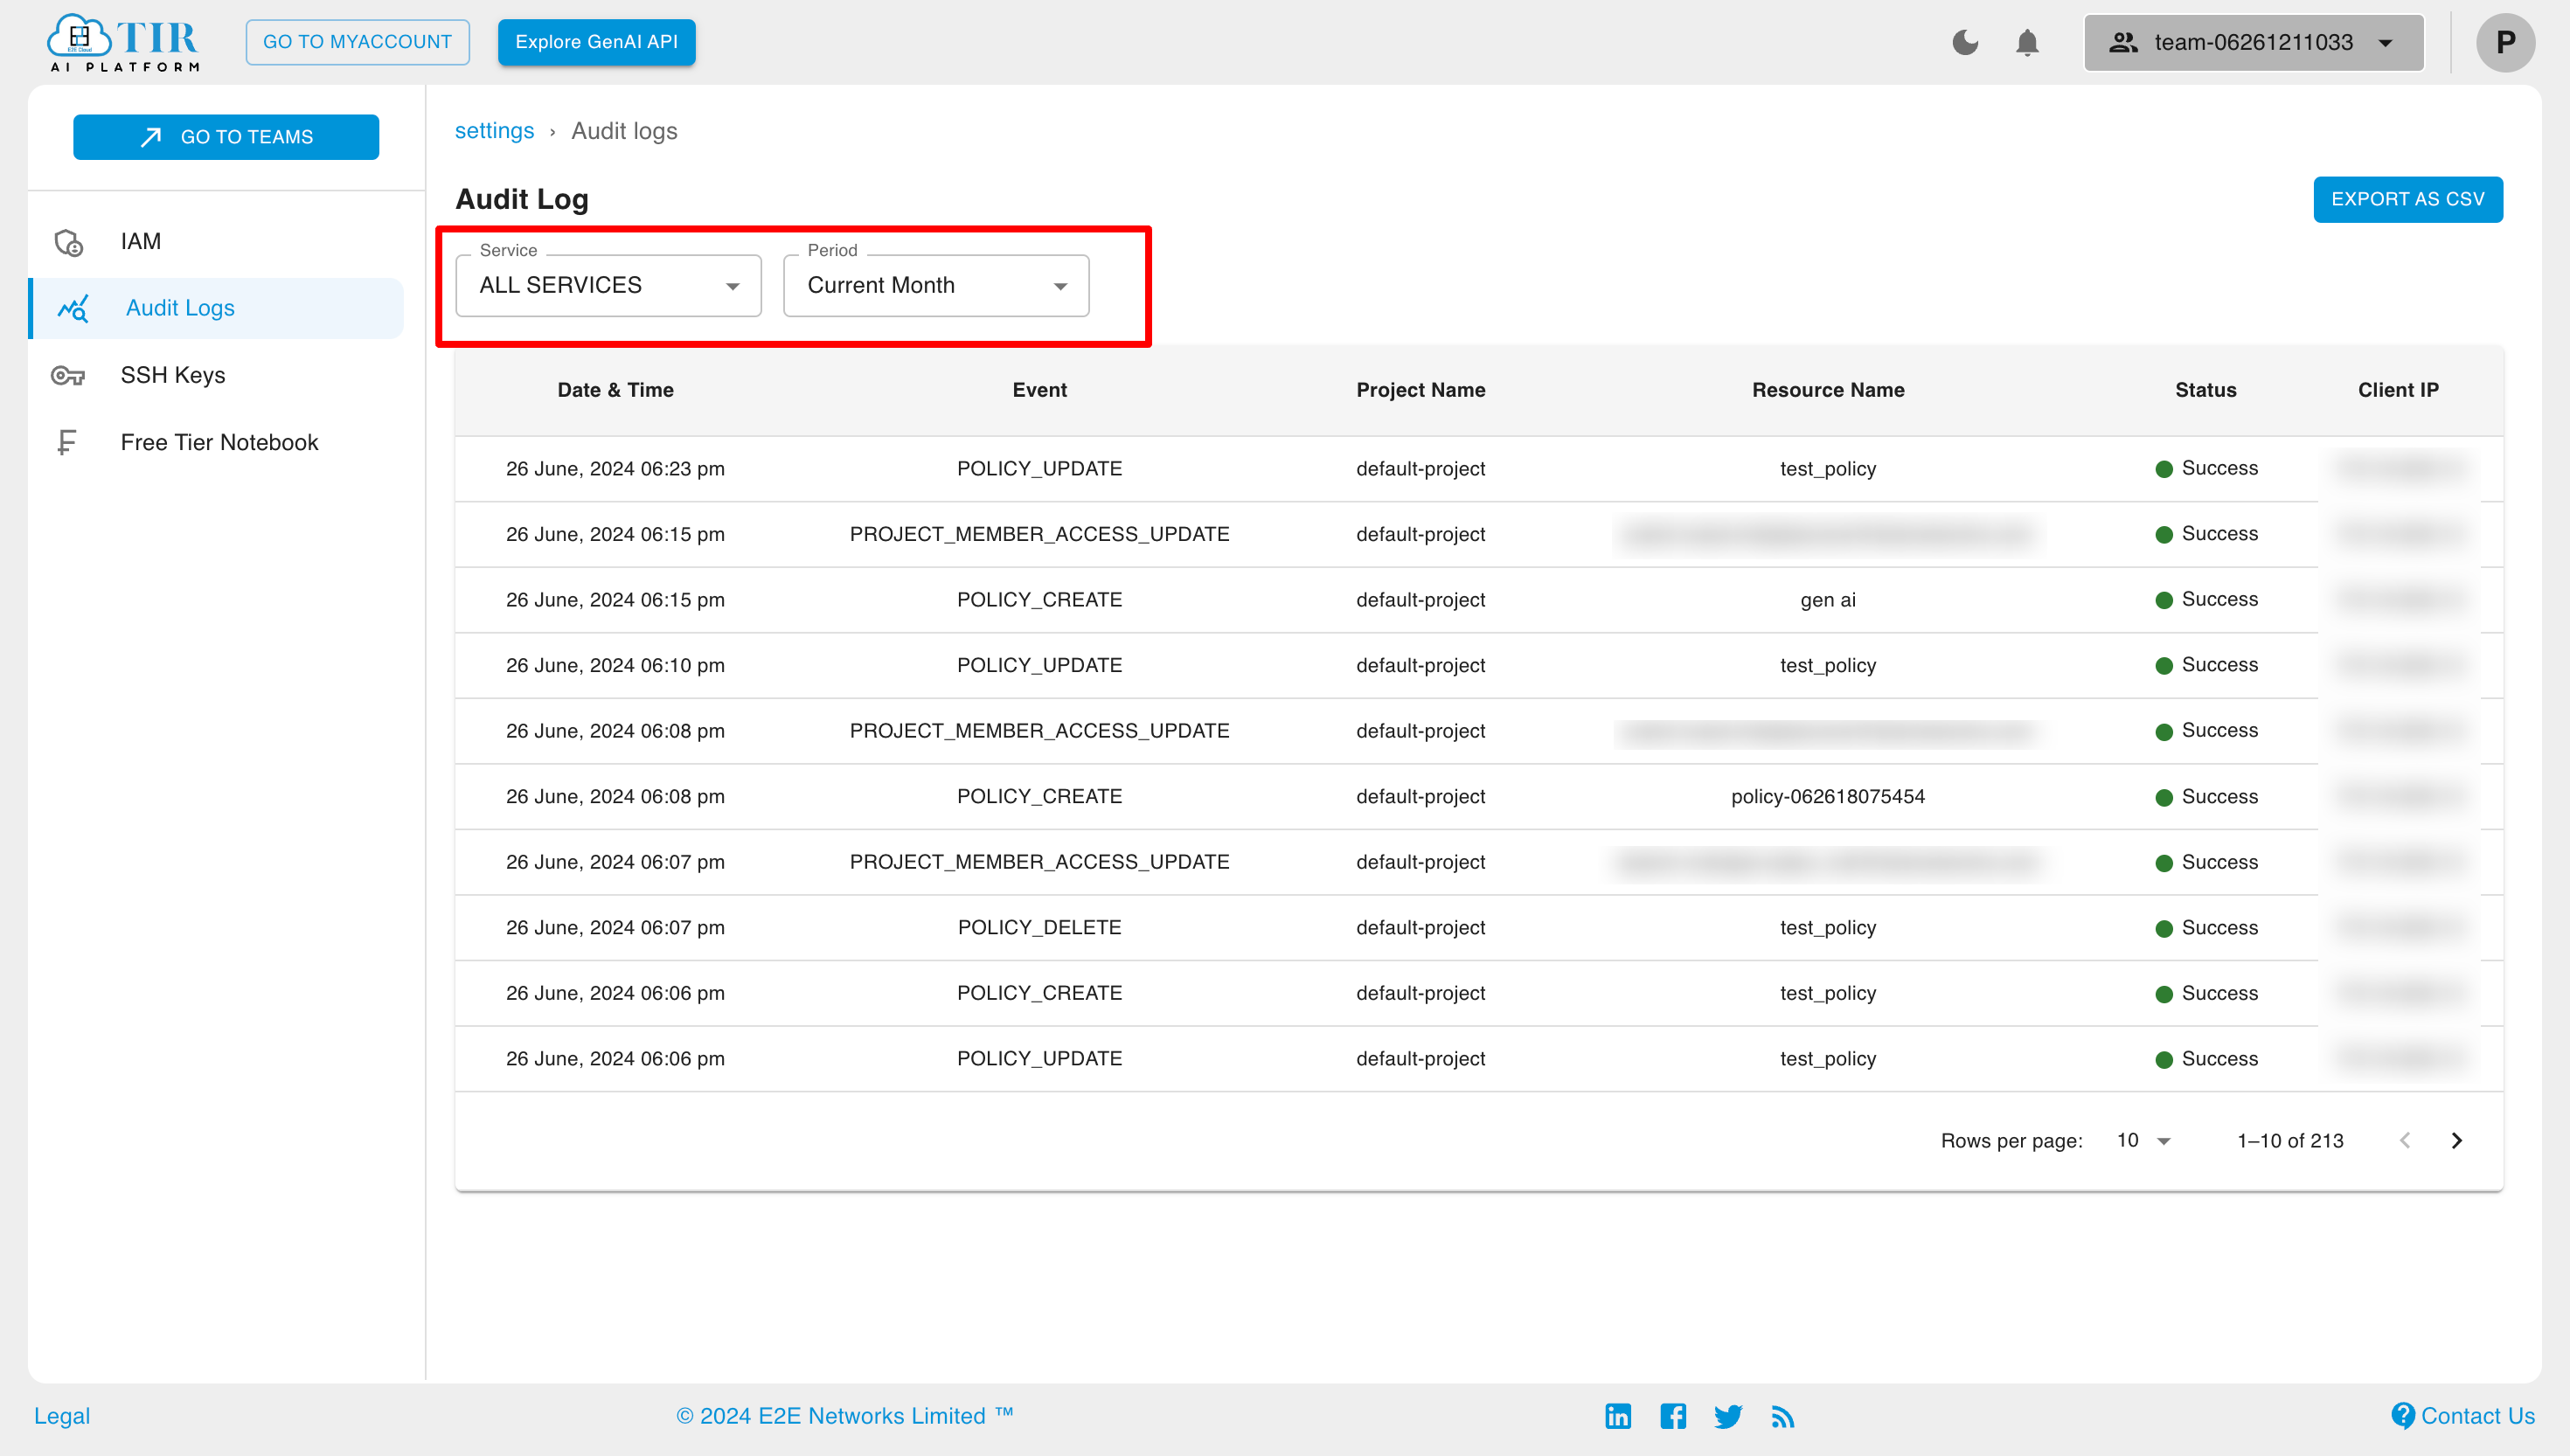
Audit Logs
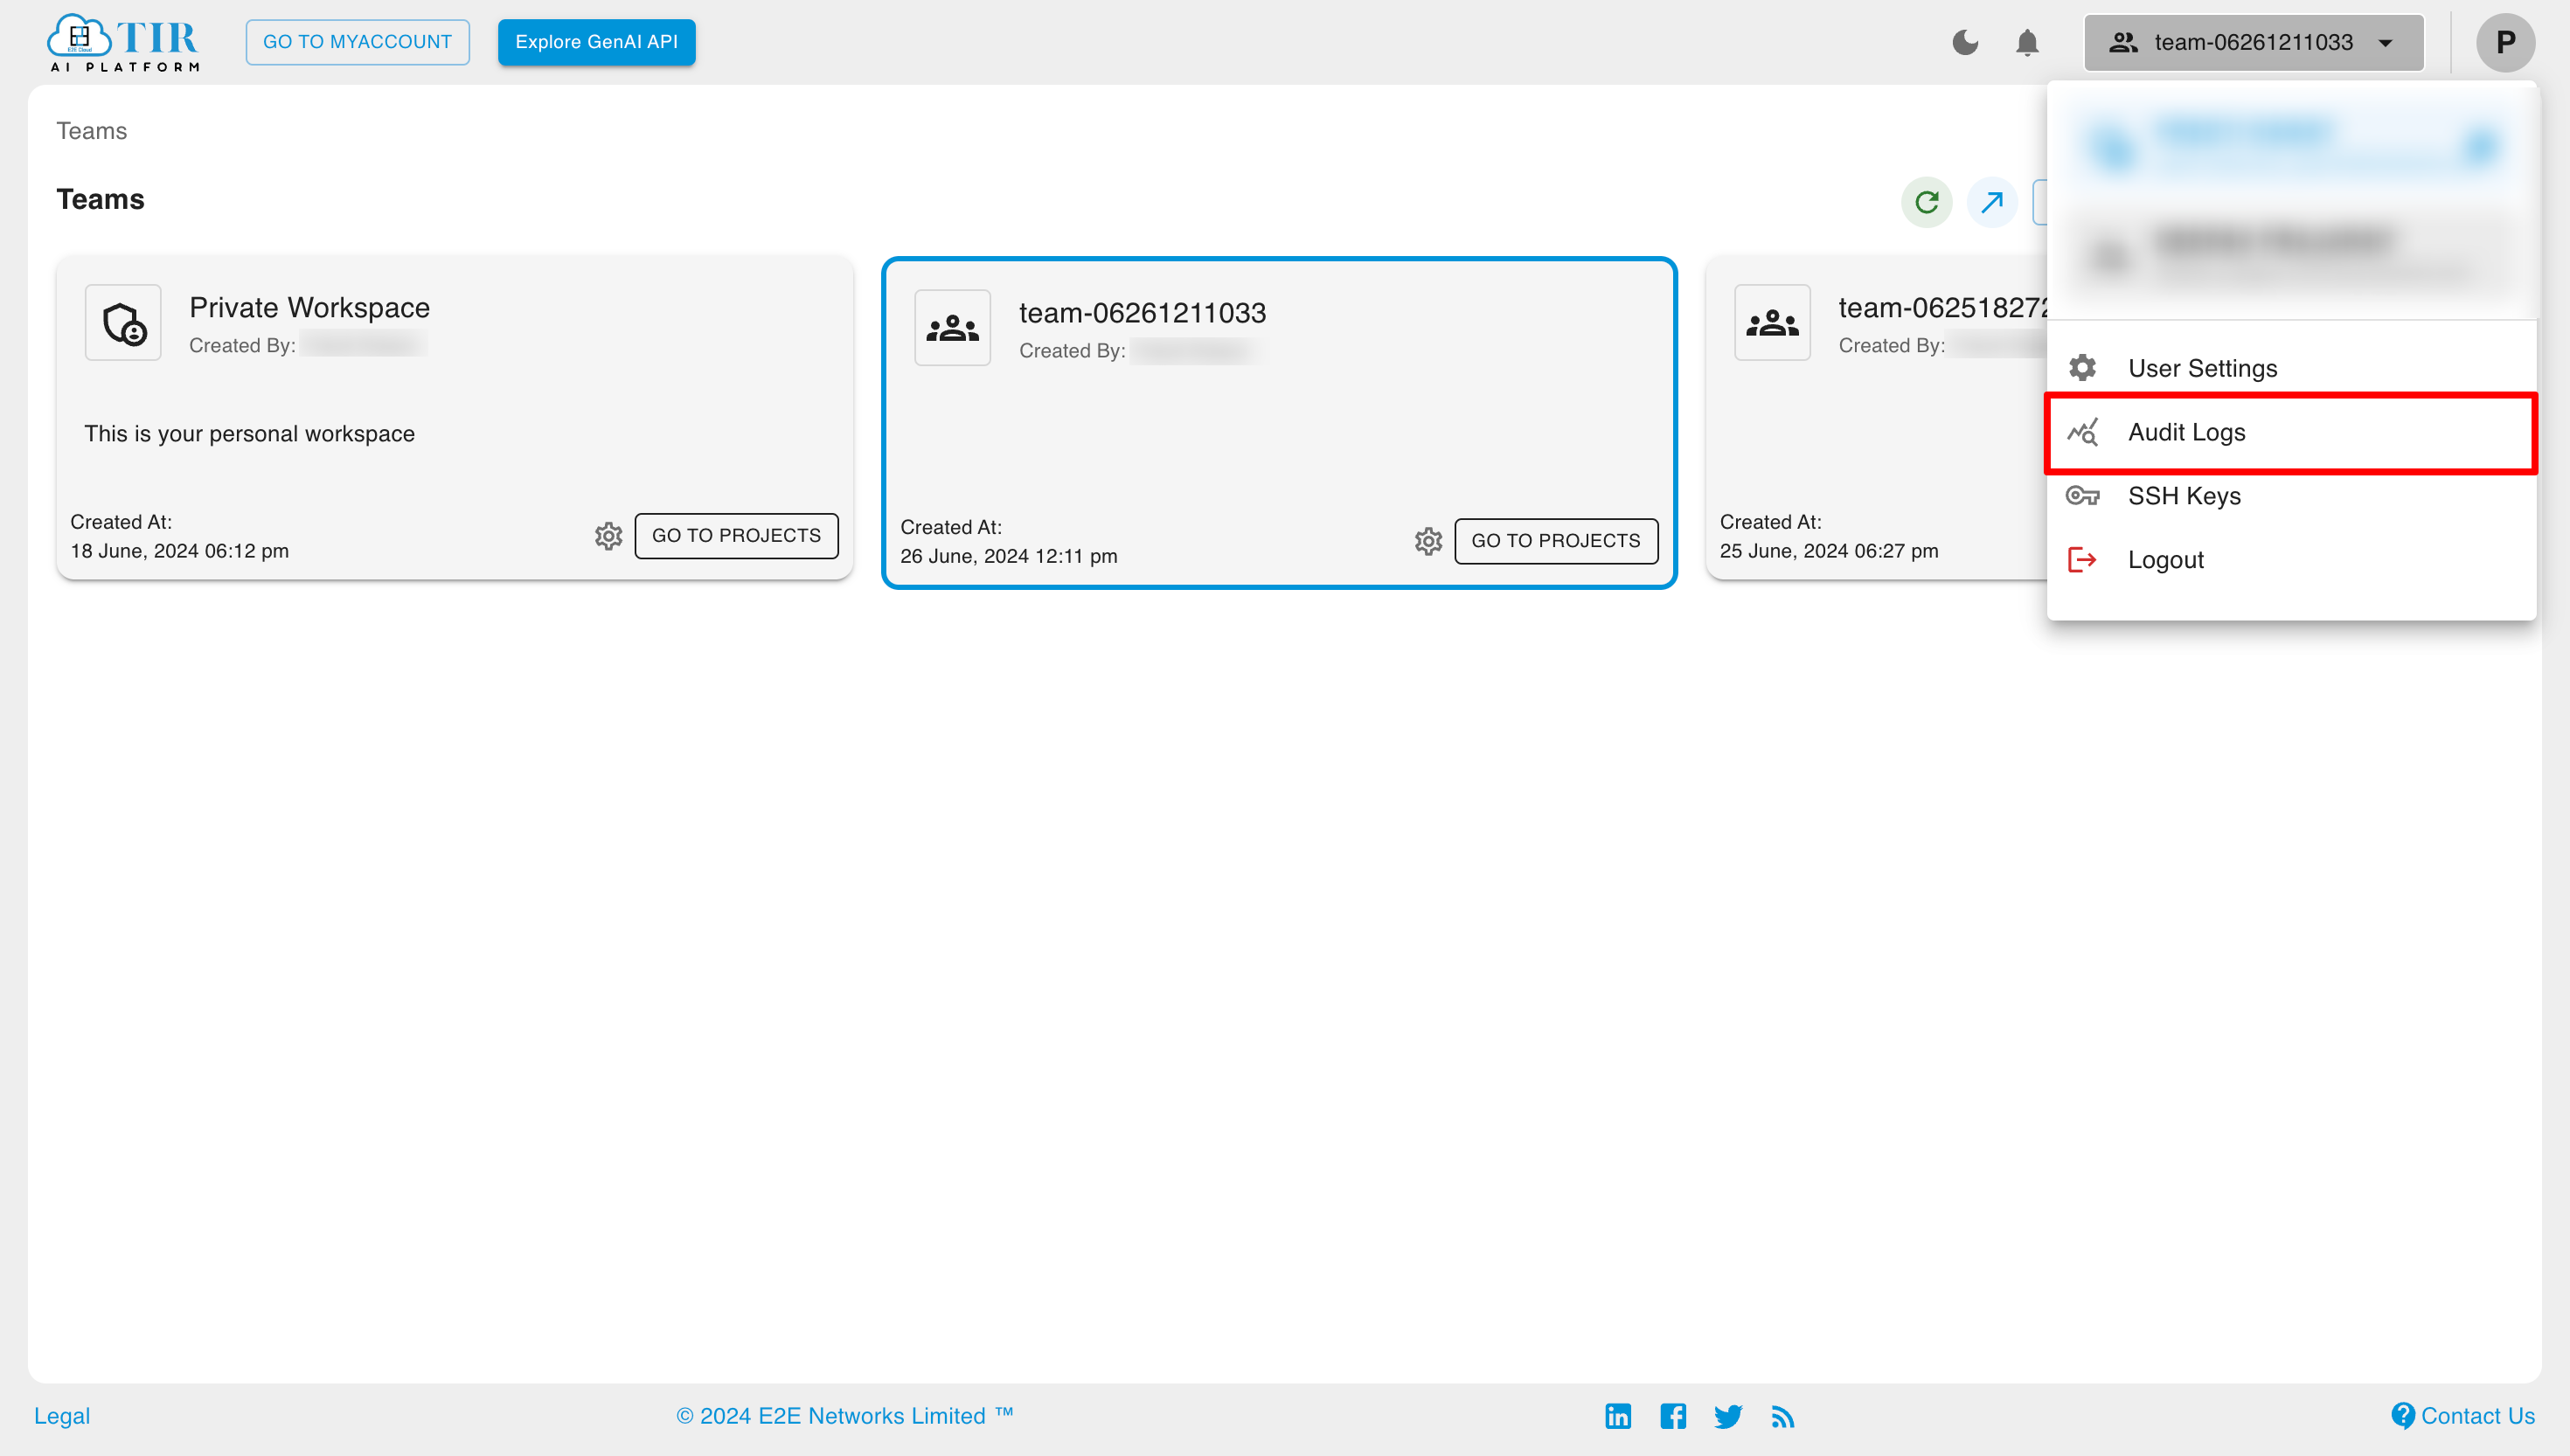
Audit Logs allow users to see the event history for all services. To view audit logs, click on Audit Logs in the sidebar.
Here you can select the service and the period for which you want to see the audit logs.
