Run Docker images with TIR Pipelines
Introduction
This documentation provides step-by-step guidance on executing a Docker image using TIR's pipeline execution feature. TIR's pipeline execution offers flexibility for both development and scheduled runs. You can easily edit the entry point to suit your requirements.
If you're new to pipelines, refer to the Pipeline Documentation for an introduction.
Running Docker image as Pipeline
To run a Docker image, navigate to TIR Dashboard >> Pipelines section.
Create Pipeline Definition
Create a YAML file with the following code on your local machine.
apiVersion: argoproj.io/v1alpha1
kind: Workflow
metadata:
  name: your-workflow-name  # Give any name of your choice
  labels:
    workflows.argoproj.io/archive-strategy: "false"
  annotations:
    # Describe the purpose of your workflow
    workflows.argoproj.io/description: |
      An example to run jobs with an entrypoint script inside the Docker Container.
spec:
  entrypoint: your-entrypoint-name
  imagePullSecrets:
    - name: your-image-pull-secret  # Enter your ImagePullSecret
  templates:
    - name: your-entrypoint-name
      container:
        image: your-docker-image-url  # Enter your Docker image URL
        command: ["sh"]  # Enter the command you want to execute
        args: ["entrypoint.sh"]  # Enter the arguments for your command
Pipeline Definition File
This is the pipeline definition file created using the Argo Workflow format. For more details on the Argo Workflow format, you can refer to the Argo workflows Documentation.
Modify the values for different keys (including image, command, args, imagePullSecret, etc.) in the YAML for your use-case.
Add the command and the arguments to the command that you wish to execute. The sample YAML file has used the sh command as an example.
If you are using a public image, you can ignore the
imagePullSecretsparameter in the YAML file.
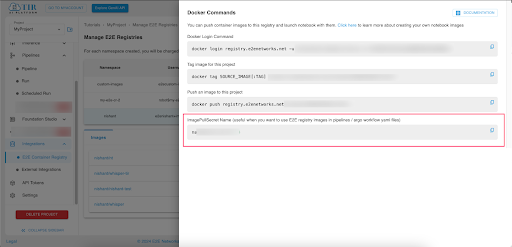
Finding your ImagePullSecret
The imagePullSecret is specific to your E2E Registry Namespace.
- Navigate to Integrations > E2E Container Registry and find your E2E Registry Namespace containing your image.
- Click on the commands option for your namespace to find the
imagePullSecretfor your registry namespace.

Creating a Pipeline
With your YAML file ready, let's now create a pipeline to execute our workflow:
- Go to TIR, select and navigate to the Pipelines section from the sidebar.
- Click on Create Pipeline. A create form will open.
- Give a suitable pipeline name and description.
- Upload the YAML file created in the previous step.
- Click on Upload.
- A pipeline with your provided details will be created.
You will be able to view a version of your pipeline. You can create different versions of the same pipeline using the Create New Version option. This way, you can keep track of all your versions and create runs using specific versions.
Creating a Run
You need to create a run for the specific pipeline (or pipeline version) to execute the workflow defined in the YAML file.

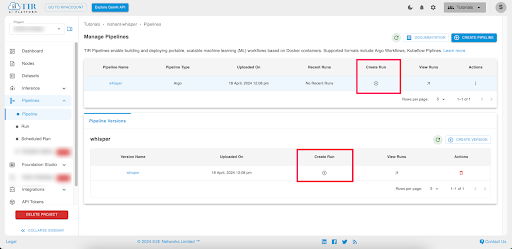
- Click on the Create Run option on the Pipeline listing page. A create form will open.
- Enter the required details.
- Create a new experiment if one doesn't exist. Consider an experiment as a container that keeps a record of all pipelines and their corresponding runs history.
- Resource Details: Select a suitable resource plan for your workflow execution and click on Finish.
- A Run with your specified details will be created and visible to you.
View Execution Details and Logs
Once you've created a run, you can view its details and logs to monitor the execution.
Viewing Execution Details and Logs
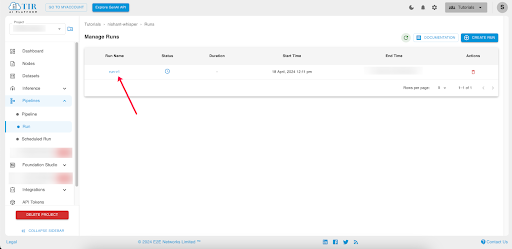
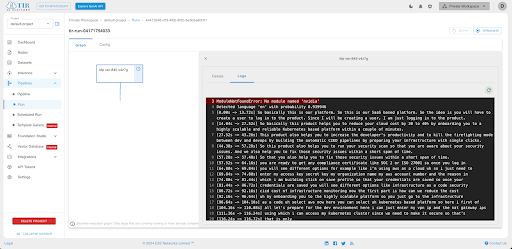
- Click on the Run Name to access the execution logs.

- Here is a preview of the execution logs.

You can also create multiple runs for a pipeline version, and the runs will be visible under the Runs section.