Getting Started with Scheduled Run
A "Scheduled Run" refers to the automation of the pipeline to execute at specific predetermined times or intervals. This scheduling helps ensure regular and timely execution of tasks within the pipeline, making it useful for various purposes, such as data processing, model training, or deployment. You can set up a scheduled run for a specific date and time. After that, the designated pipeline will automatically run at the scheduled date and time.
How to Perform a Scheduled Run
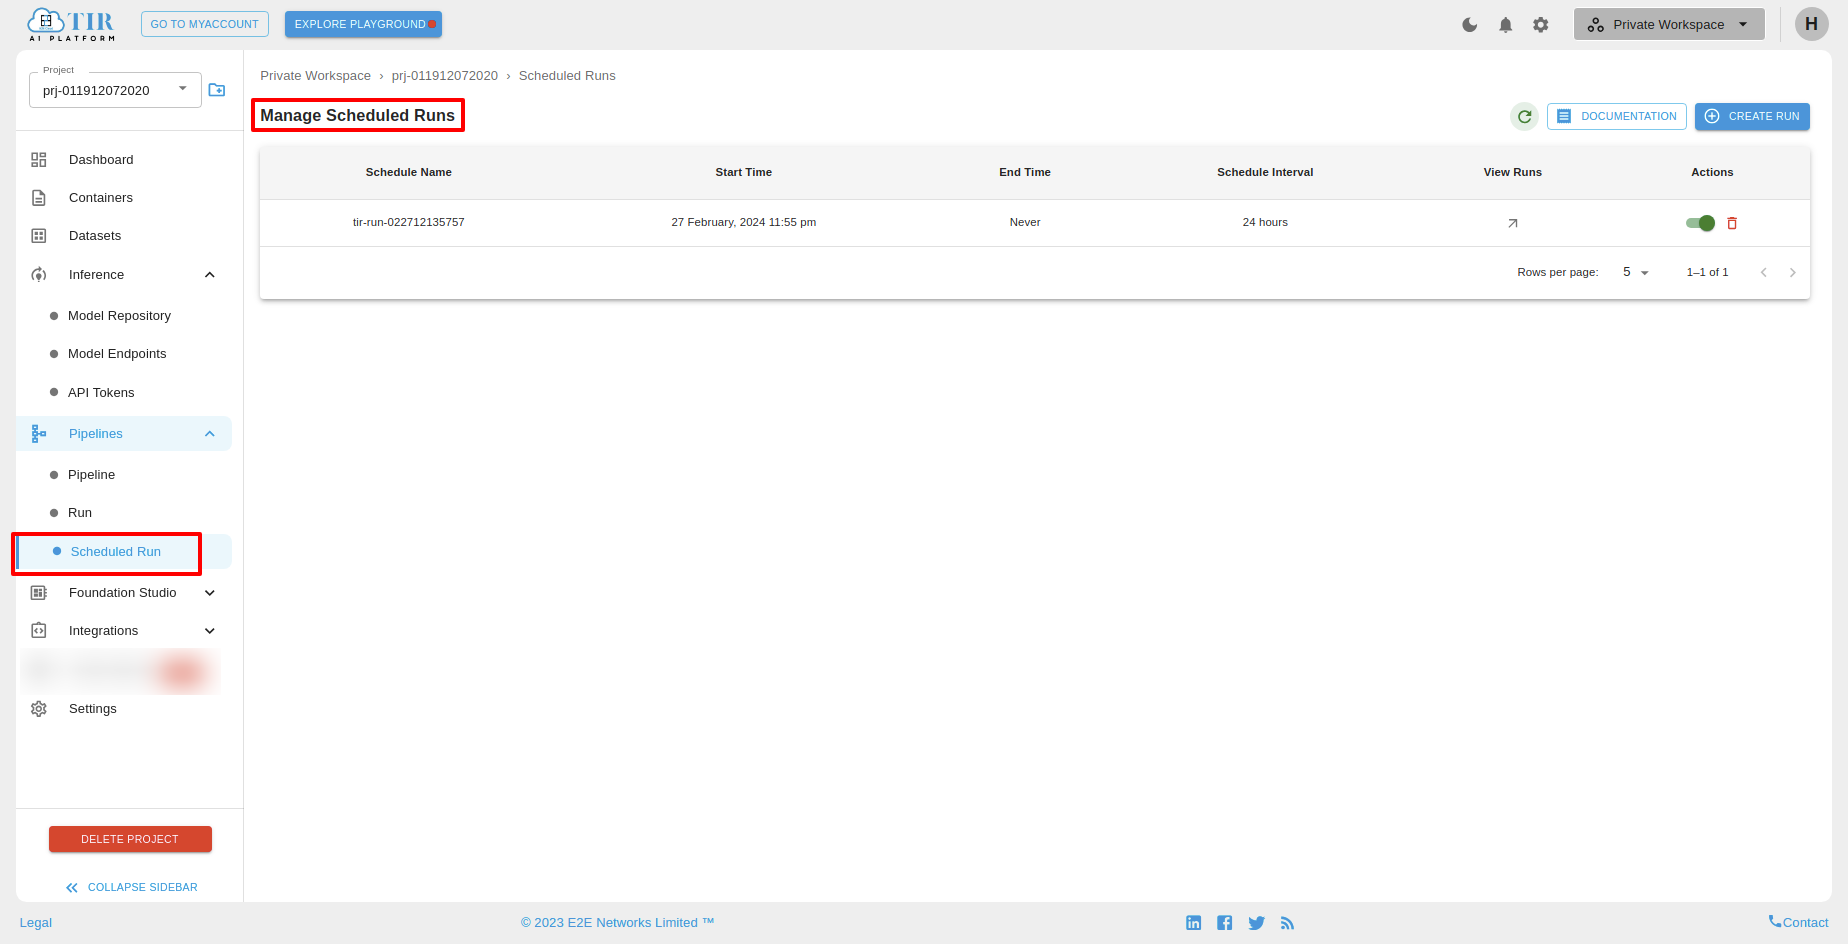
To set up a Scheduled Run, first, the user should navigate to the sidebar section and select Pipelines. Upon selecting Pipelines, a dropdown menu will appear, featuring an option labeled Scheduled Run.
Upon clicking the Scheduled Run option, the user will be directed to the Manage Scheduled Run page.
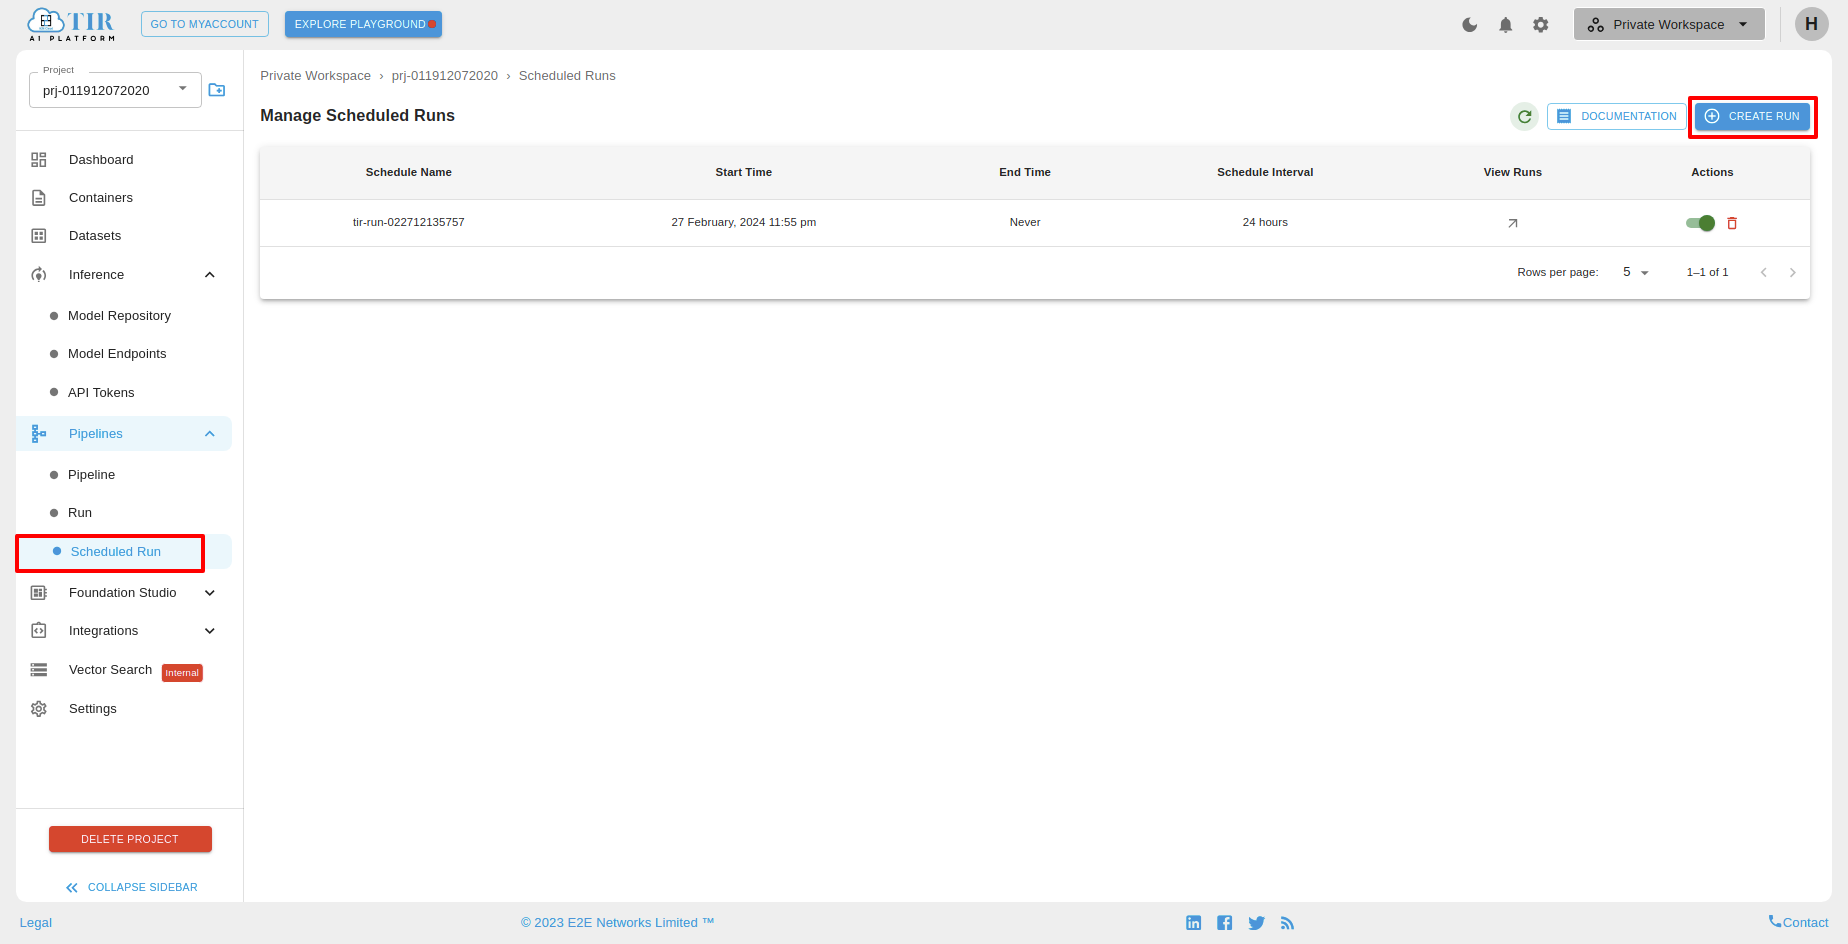
Alternatively, you can create a scheduled run by clicking the CREATE RUN button, which will redirect you to the Create Run page. On that page, there will be a Schedule Run section where you can set up the run.
Actions
Disable Schedule
You can disable a scheduled run by clicking the Disable Schedule button.
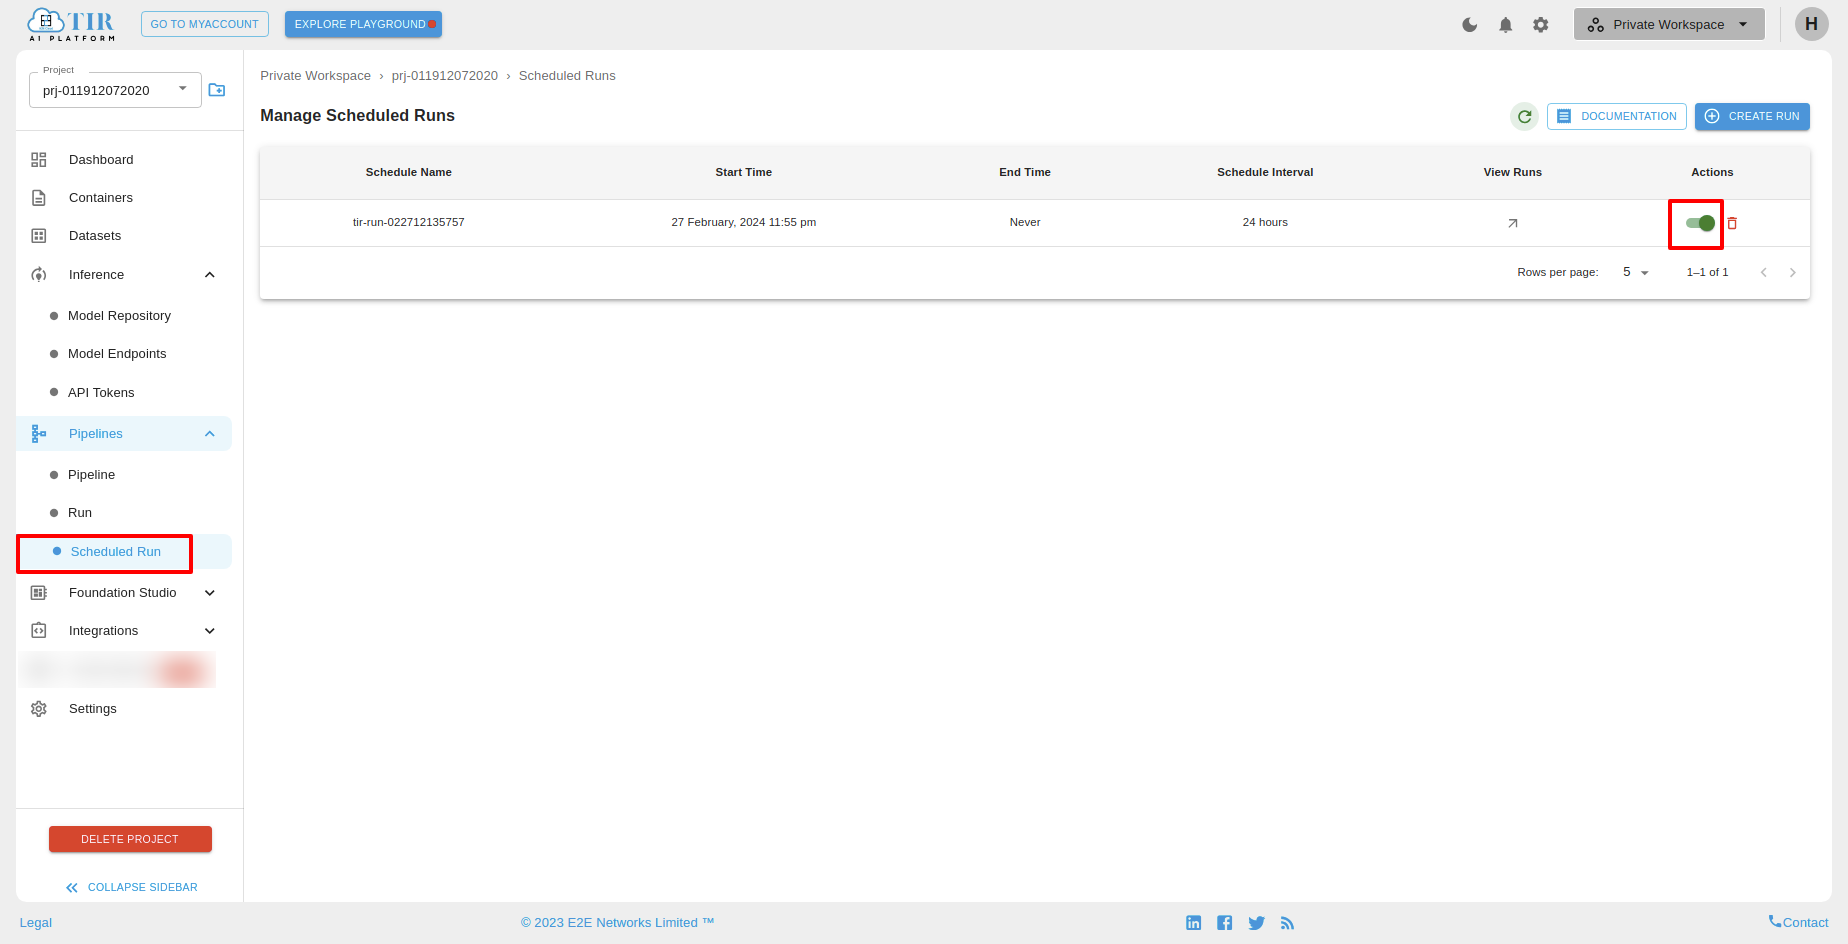
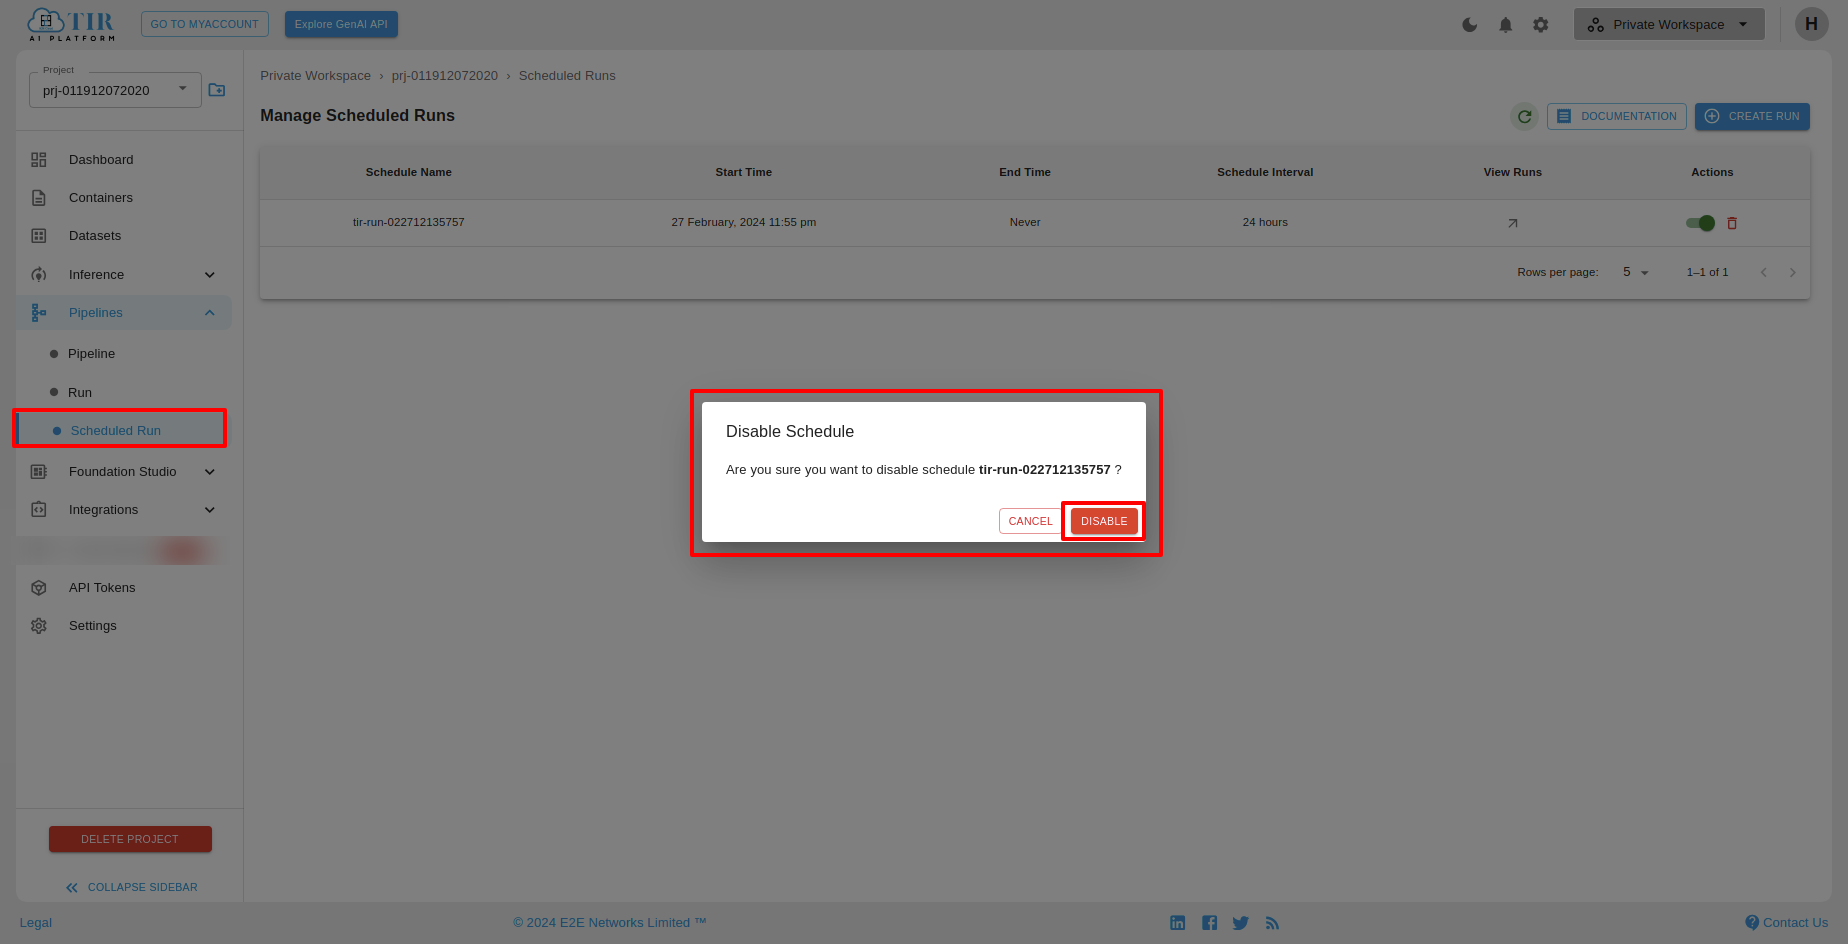
After clicking Disable Schedule, you will see a confirmation popup.
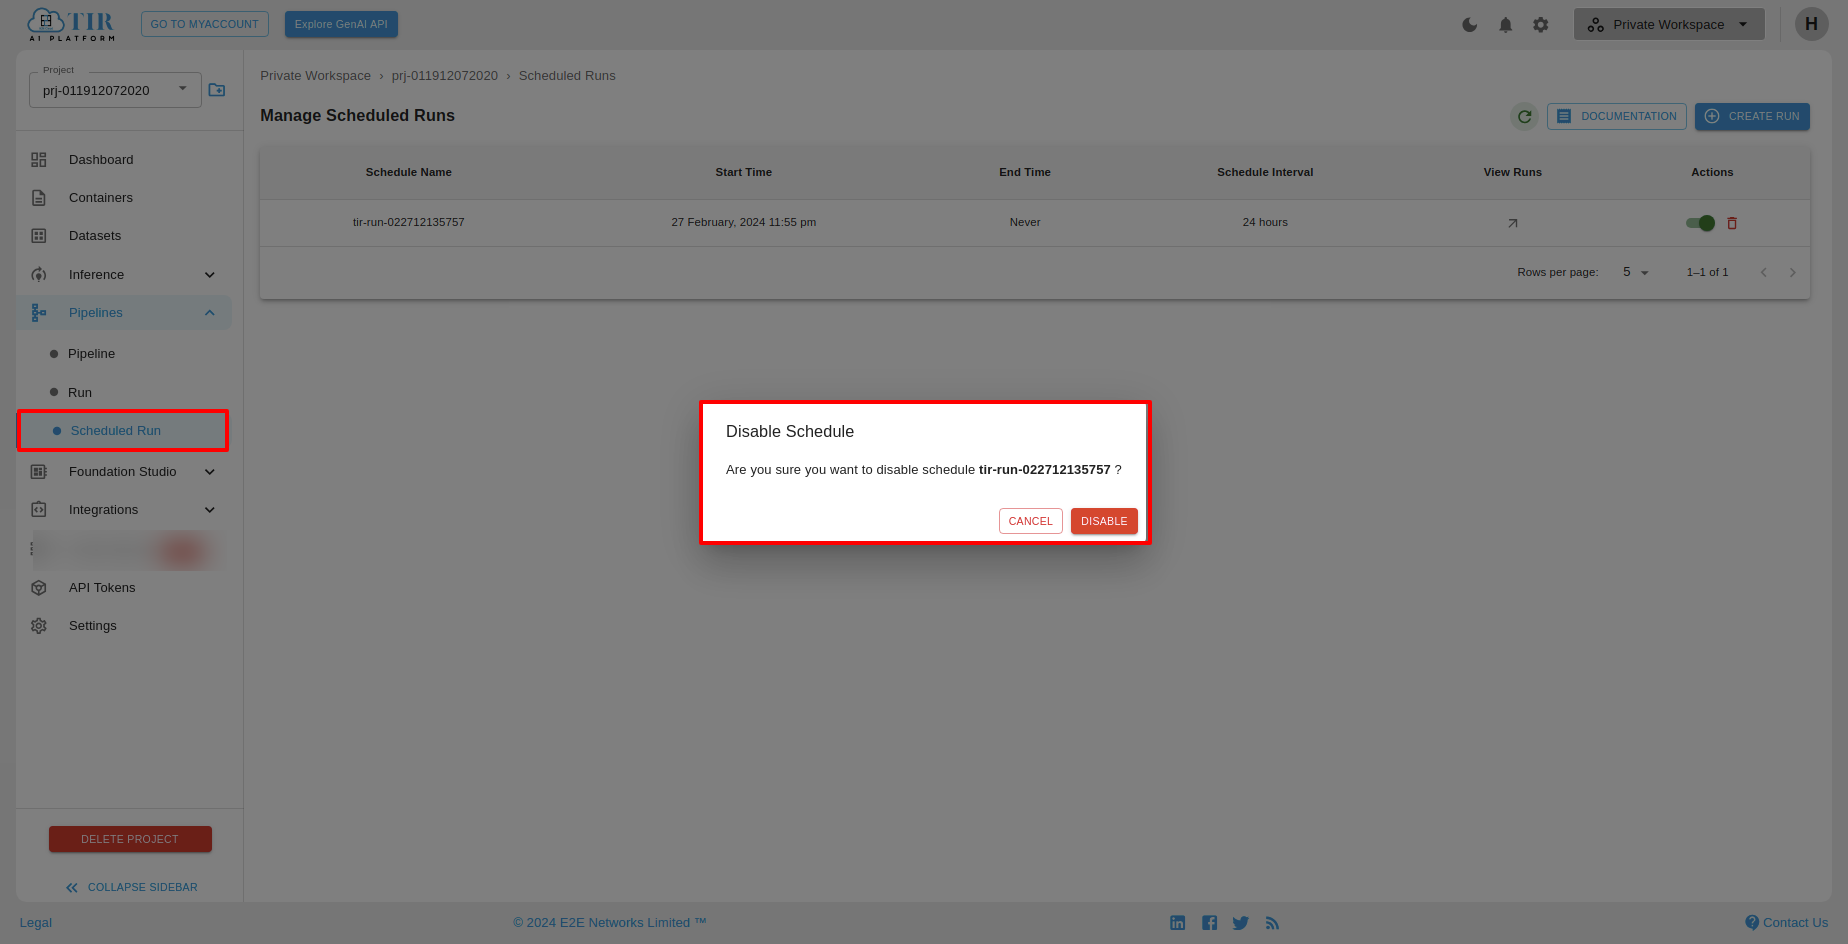
The schedule will be successfully disabled.
Delete Scheduled Run
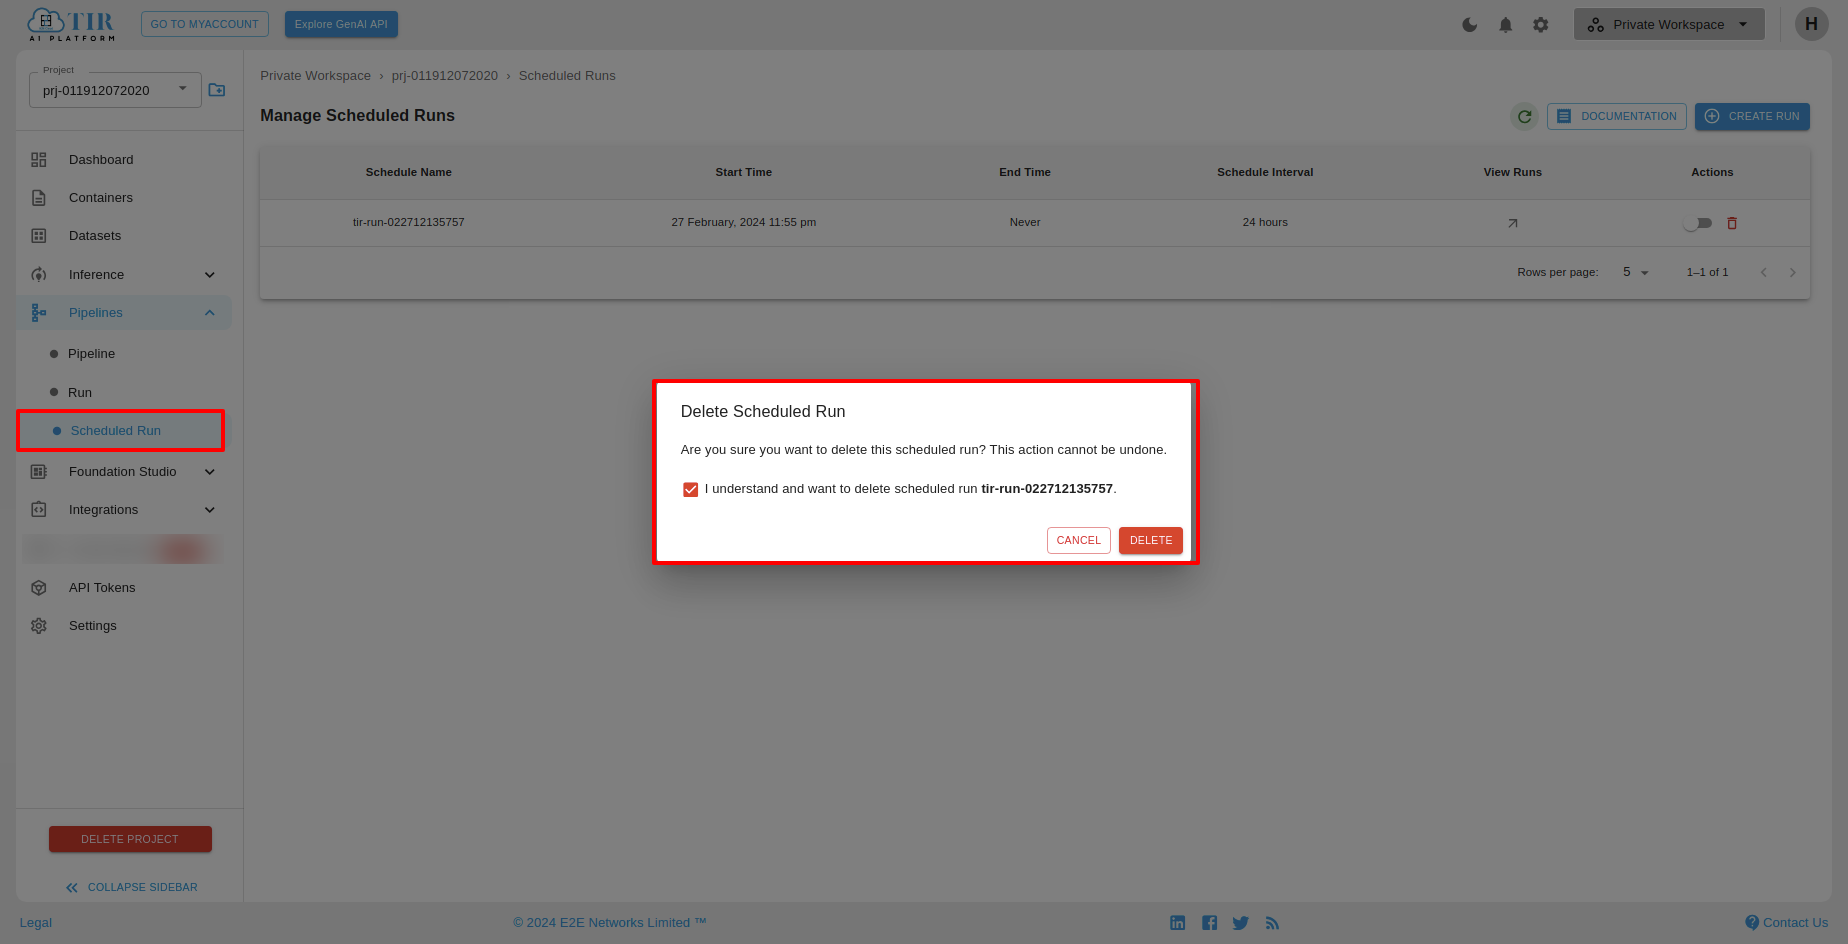
To delete a scheduled run, select a particular scheduled run and click on the Delete icon.
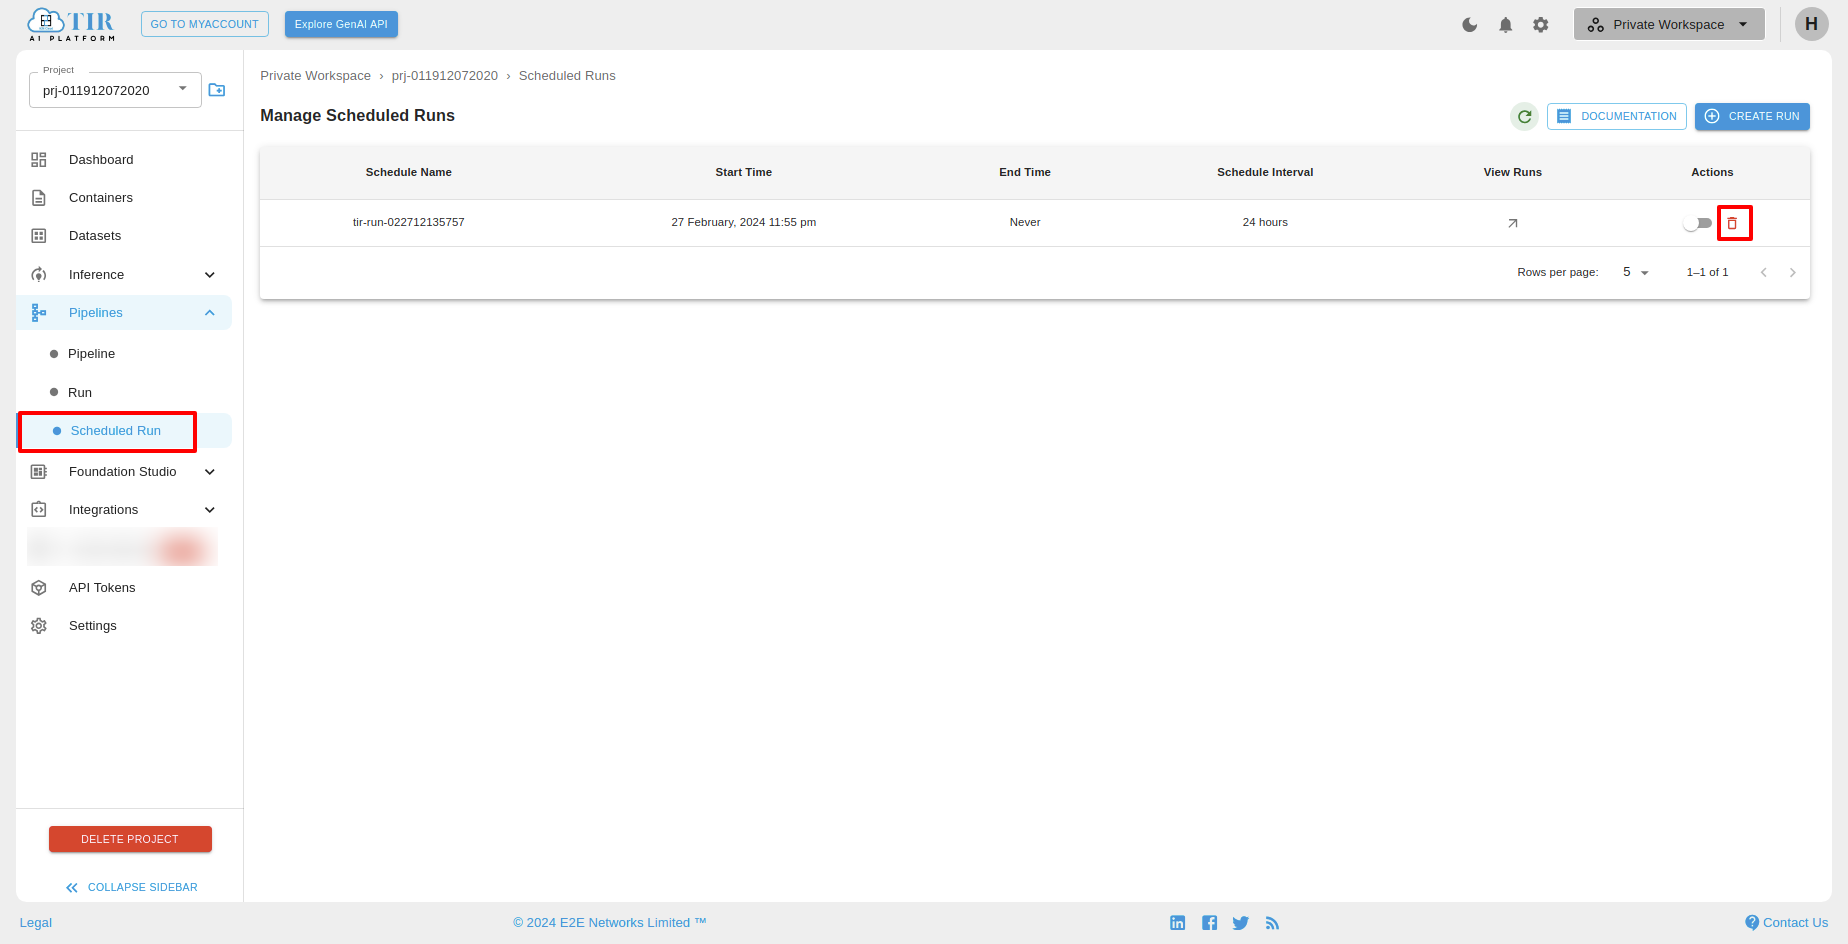
After clicking the Delete icon, a confirmation popup will appear. Click on Delete to confirm.
