Active Directory
Promoting Your Server to a Domain Controller
Open Server Manager
If closed, relaunch "Server Manager". Check for a yellow triangle warning sign near the menu bar, indicating that Active Directory Domain Services was installed.
Access Post-Deployment Configuration
Click on the warning sign. A dropdown list with required actions ("post-deployment configuration") will appear.
Choose "Promote this Server"
Look for the option "Promote this server to a domain controller". Click on it to initiate the promotion process.
Add A Forest
At this checkpoint, a configuration wizard will open on your screen, which will guide you throughout your deployment configuration. The first step of the deployment configuration is to add a new forest.
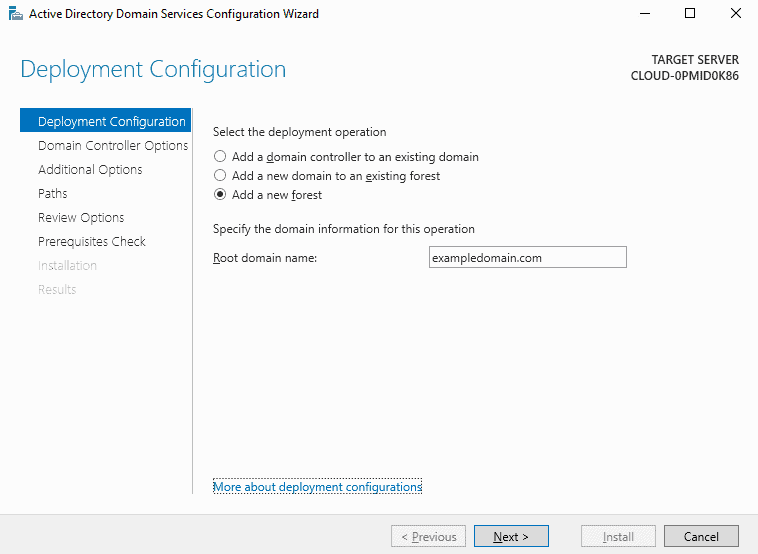
Deployment Configuration
Select "Add a New Forest": At the "Deployment Configuration" checkpoint, choose the radio button labeled "Add a new forest".
Enter Root Domain Name: Input your desired root domain name into the provided field.
Proceed to Next Step: Click on the "Next" button to move forward in the setup process.
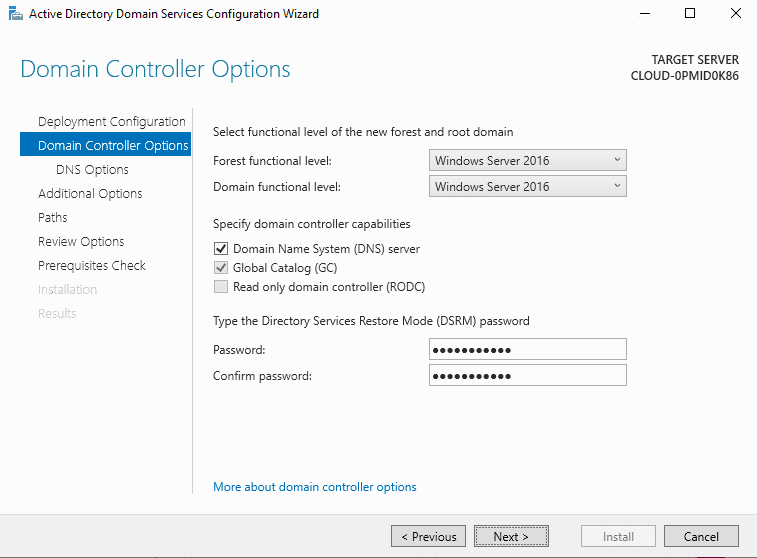
Setting Domain Controller Options
Proceed to "Domain Controller Options": Move ahead in the setup process.
Leave Settings Untouched: Do not make any changes to the existing settings; keep them as they are.
Set and Confirm Password: Enter your desired password and confirm it in the respective fields. Remember to keep a note of this password, as changing it later can be inconvenient.
Configuring DNS Options
Navigate to DNS Options: Move to the DNS Options page in the setup process.
Ignore Error Message: Encounter an error message stating there's no parent zone found and no delegation for your DNS server could be created.
Click "Next": Disregard the error message and proceed by clicking the "Next" button.
Leave Settings Unchanged: Do not make any alterations to the settings at this checkpoint.

Configure Additional Options
Enter your desired NetBIOS domain name in the given textbox. Click “Next”.

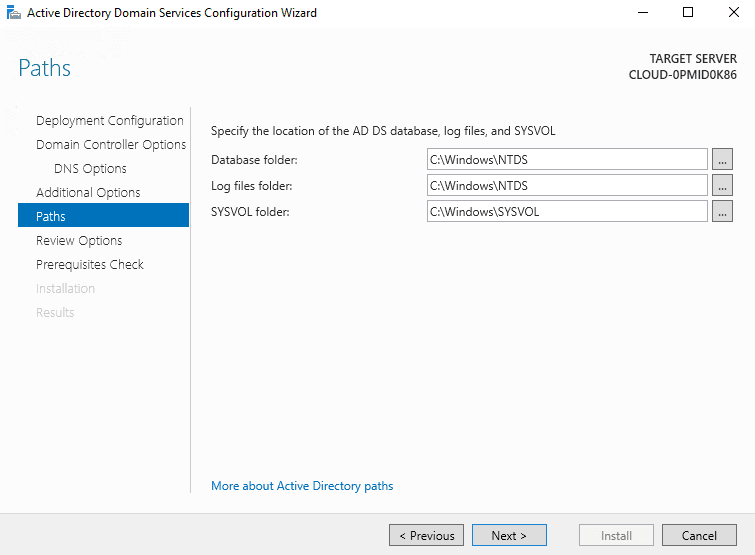
Confirm Preselected Paths
Three or more paths will be listed on your screen. Do not change these paths. You’re not required to keep a note of these paths either. Click “next”.
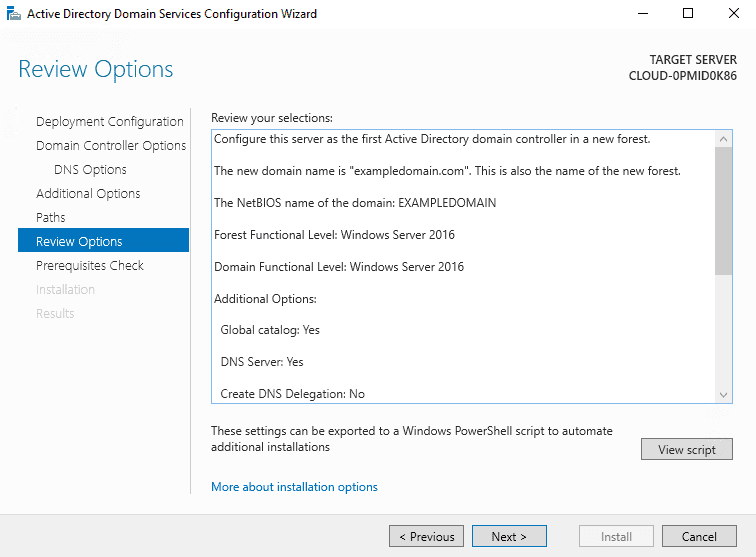
Review Your Selections
Check Selected Options: Look at the options listed on the configuration wizard at the "Review Options" checkpoint.
Navigate Back if Needed: If changes are necessary, use the "Previous" button to go back to relevant checkpoints and make desired adjustments.
Ensure Satisfaction: Confirm that you are satisfied with the selected options.
Proceed to "Review Options": Once content with the choices, click the "Next" button on the "Review Options" section.
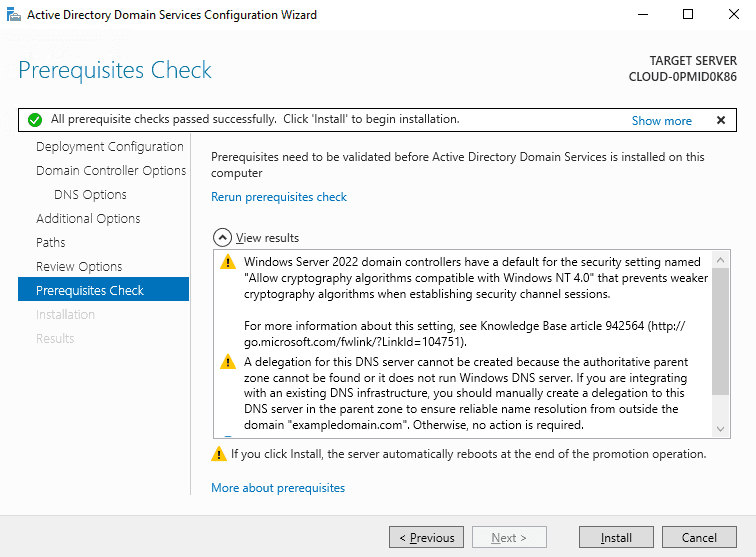
Run Prerequisites Check
Go to "Prerequisites Check": Navigate to the "Prerequisites Check" checkpoint.
Check Completion Status: Verify if all prerequisite checks were successfully completed.
Identify Errors (If Any): If errors are present, a list of errors will be displayed.
Fix Errors: Go to the stated checkpoint for each error and make necessary fixes.
Verify Success: Once errors are fixed, a green check mark with a success message will be displayed.
Initiate Installation
Click the "Install" button to commence the installation process.
Congratulations! You have successfully set up Active Directory on your Windows Server 2022. Next, your server machine will need to be restarted once the promotion is successfully complete.
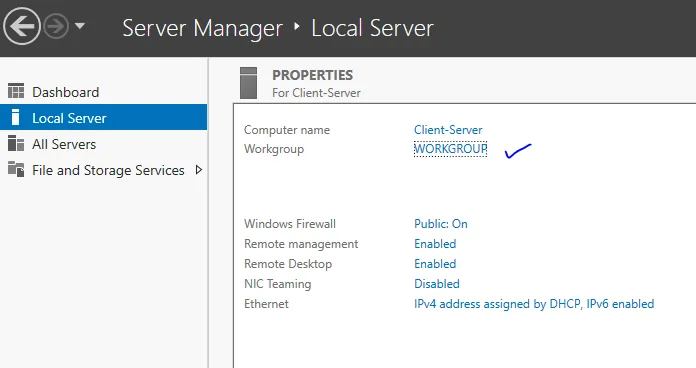
How to Connect a Client-Server to a Domain Controller
Navigate to Connect Client Server VM → Start → Server Manager → Local Server → Click on WORKGROUP.
Now Click on Change
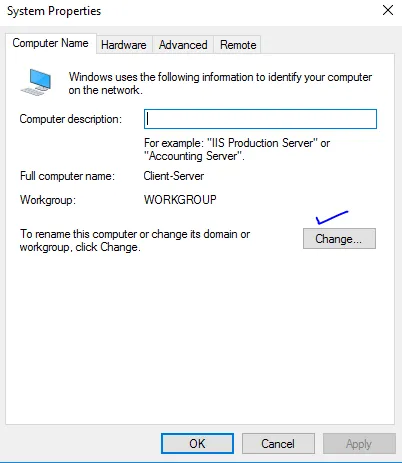
Add the Domain Name
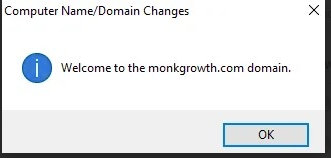
Now, add the domain name that you promoted as a server in the Domain Controller server and click OK.

Click OK in the Computer Name/Domain Changes dialog box, and then restart the computer.
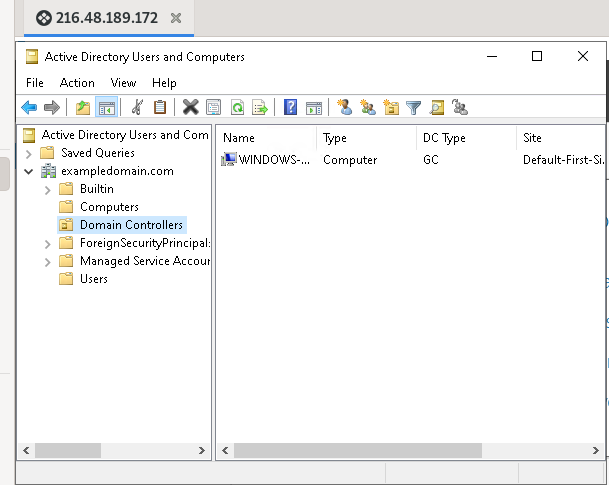
Once you have configured the client machine to the controller machine, you can verify the same on the controller machine using the provided path.
Navigate to Server Manager → Tools → Active Directory Users and Computers → Domain Controller.
To verify the same in the client machine, access the client machine and navigate to the Network & Internet settings.
