Email Change Process for Owner Account
Introduction
This document details the steps and procedures for initiating an email change process for the Owner user account. The workflow ensures change to complete verification by confirming the user's current email address, mobile number, and new email address before proceeding with the update. Additionally, it includes a notification system to inform the user about upcoming changes and offers an option to cancel the process within a specified timeframe. This process is designed to enhance security and maintain the integrity of user information during the email change procedure.
Step 1: Navigate to the IAM Section
Go to the IAM section on the Dashboard. The All Users section will display Owner users and contact person details. Click on the three dots in front of the Owner's action section.
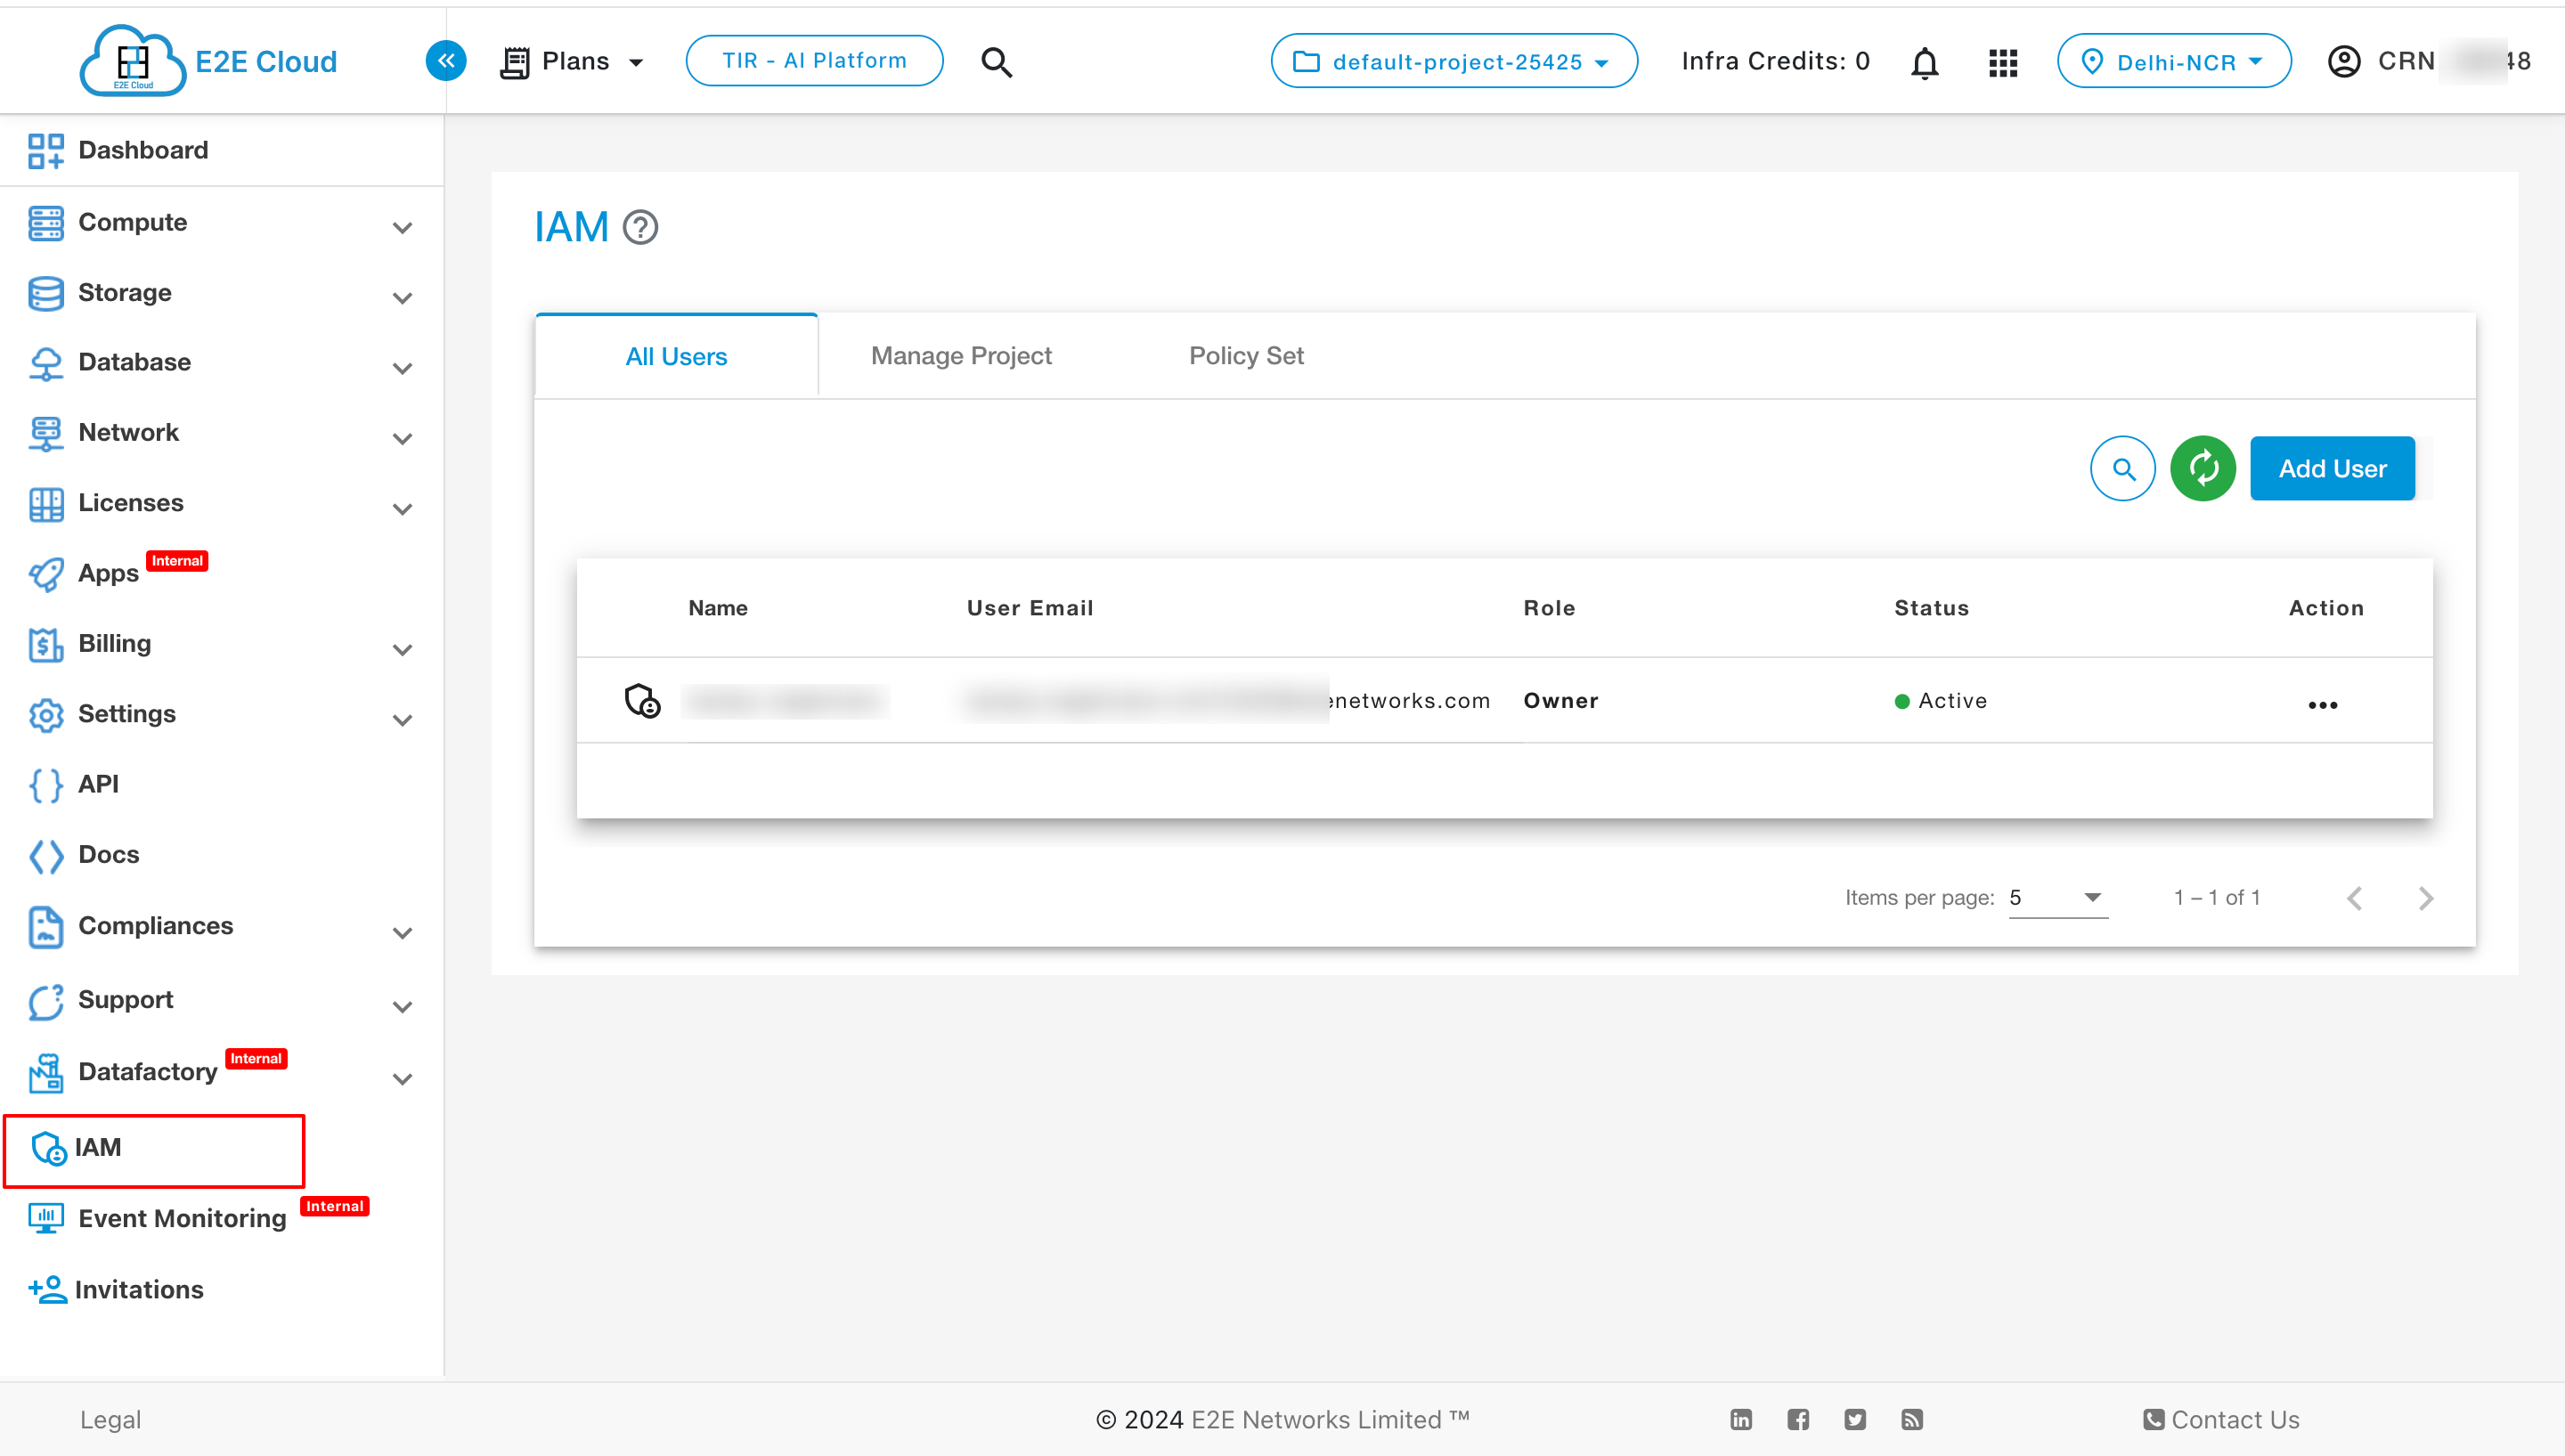
To change the email for your account, the user must meet the following conditions:
- The account must be at least 30 days old.
- The mobile number & Email Address should not have been changed within the last 30 days.
- The customer's MyAccount infra credits must be positive.
- For postpaid customers, there should be no outstanding amount.
Click on the "Change Email Address" option.
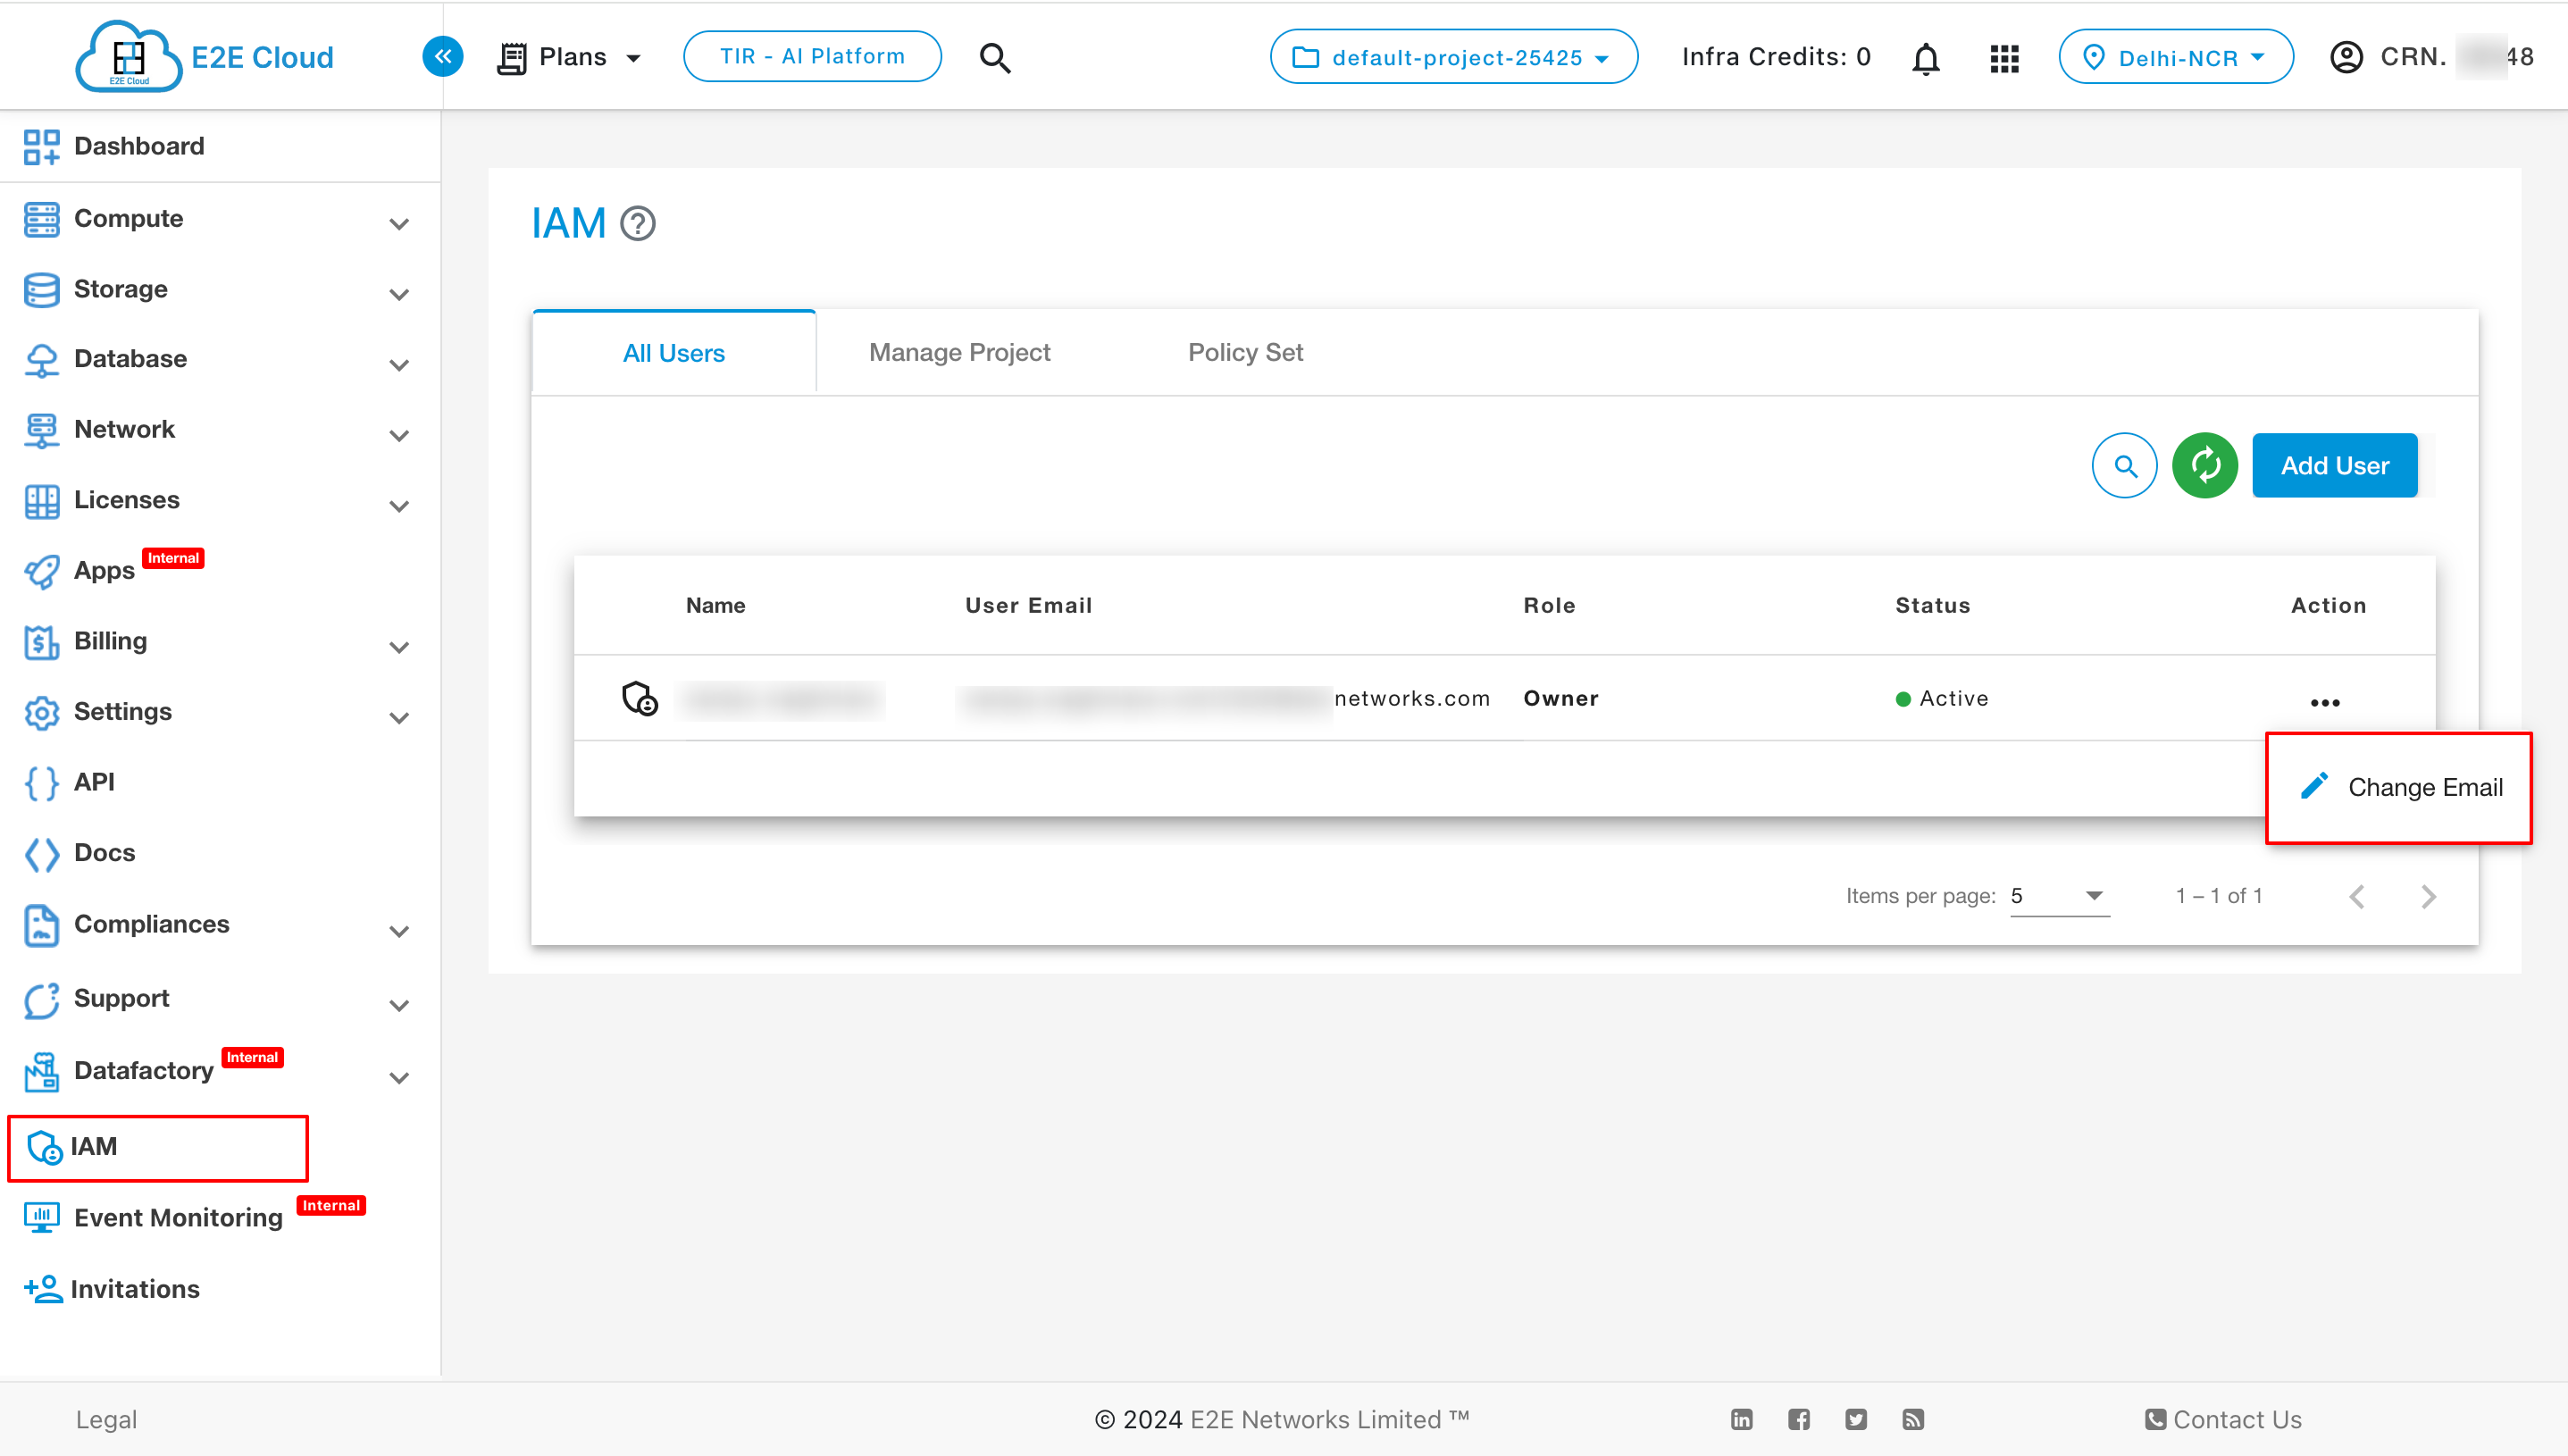
- If you don't see the Change Email option, it is likely that you are not signed in as the root user for your account. You can't modify account settings while signing in as an IAM user or role.
Step 2: Verify Existing Email Address
Check the user's existing email address displayed in the field and click on the "Send OTP" button.
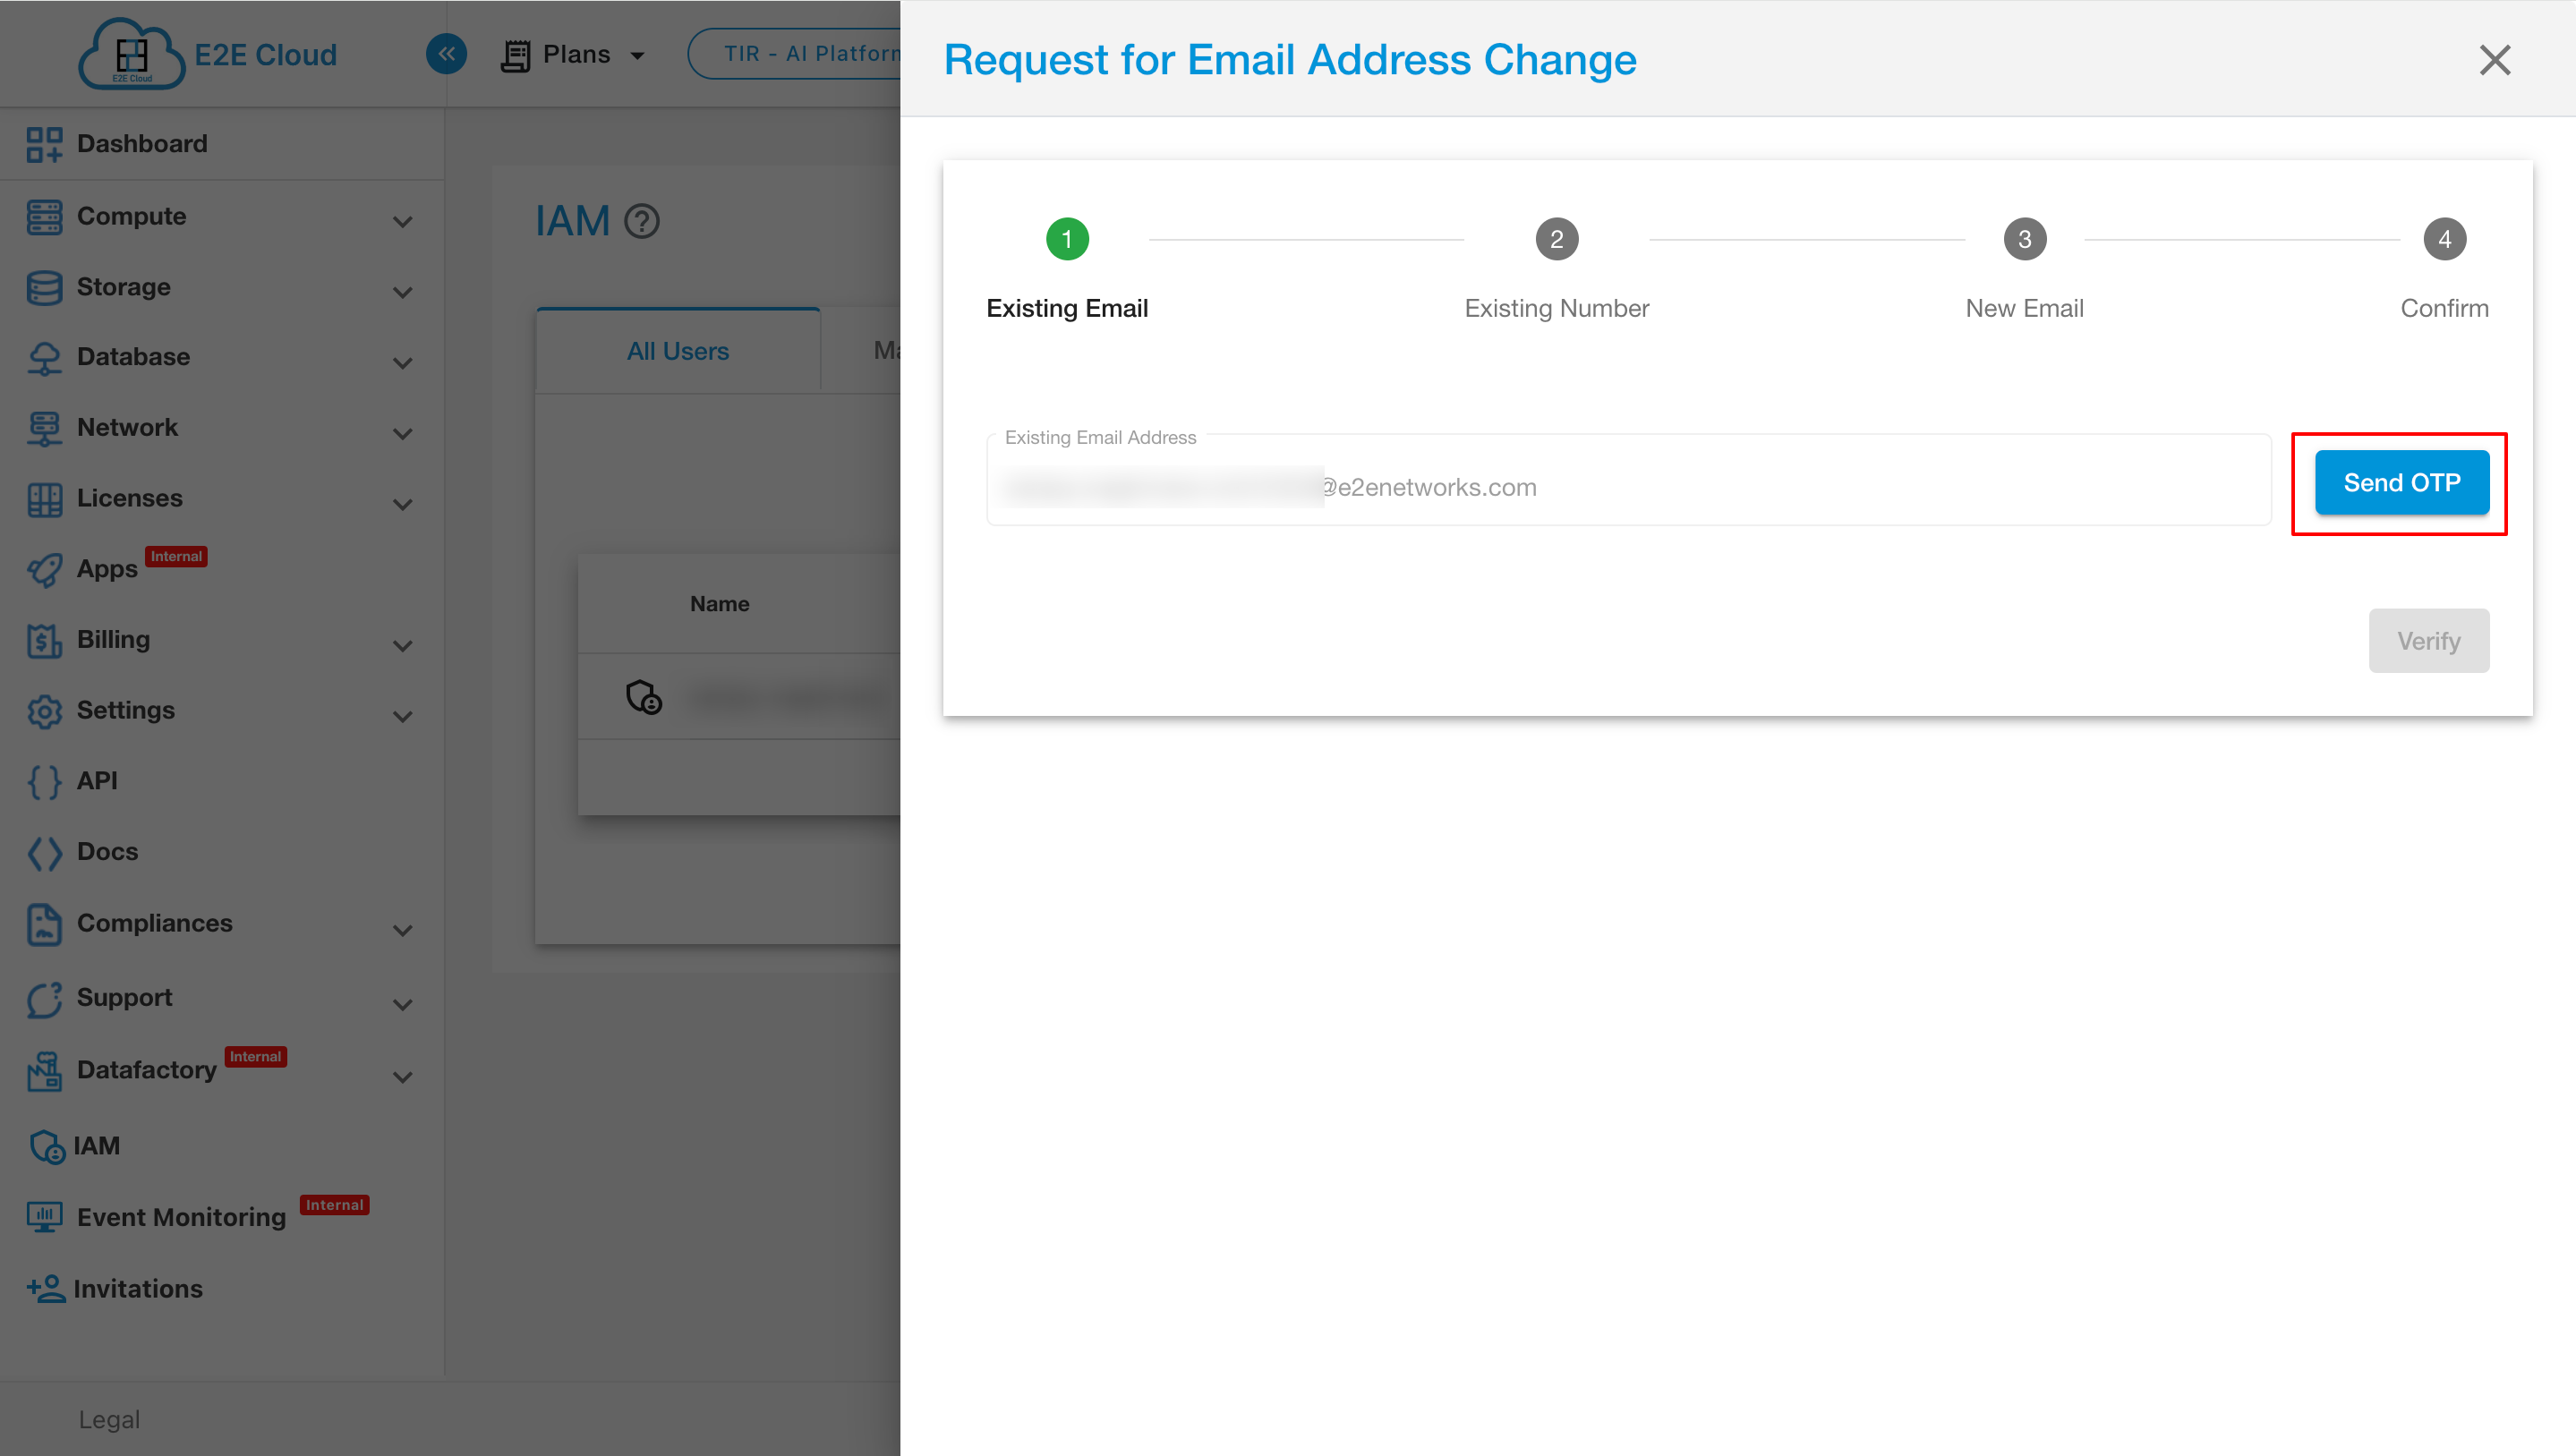
The user will receive an OTP on their email address. Enter the OTP in the provided field and click the "Verify" button.
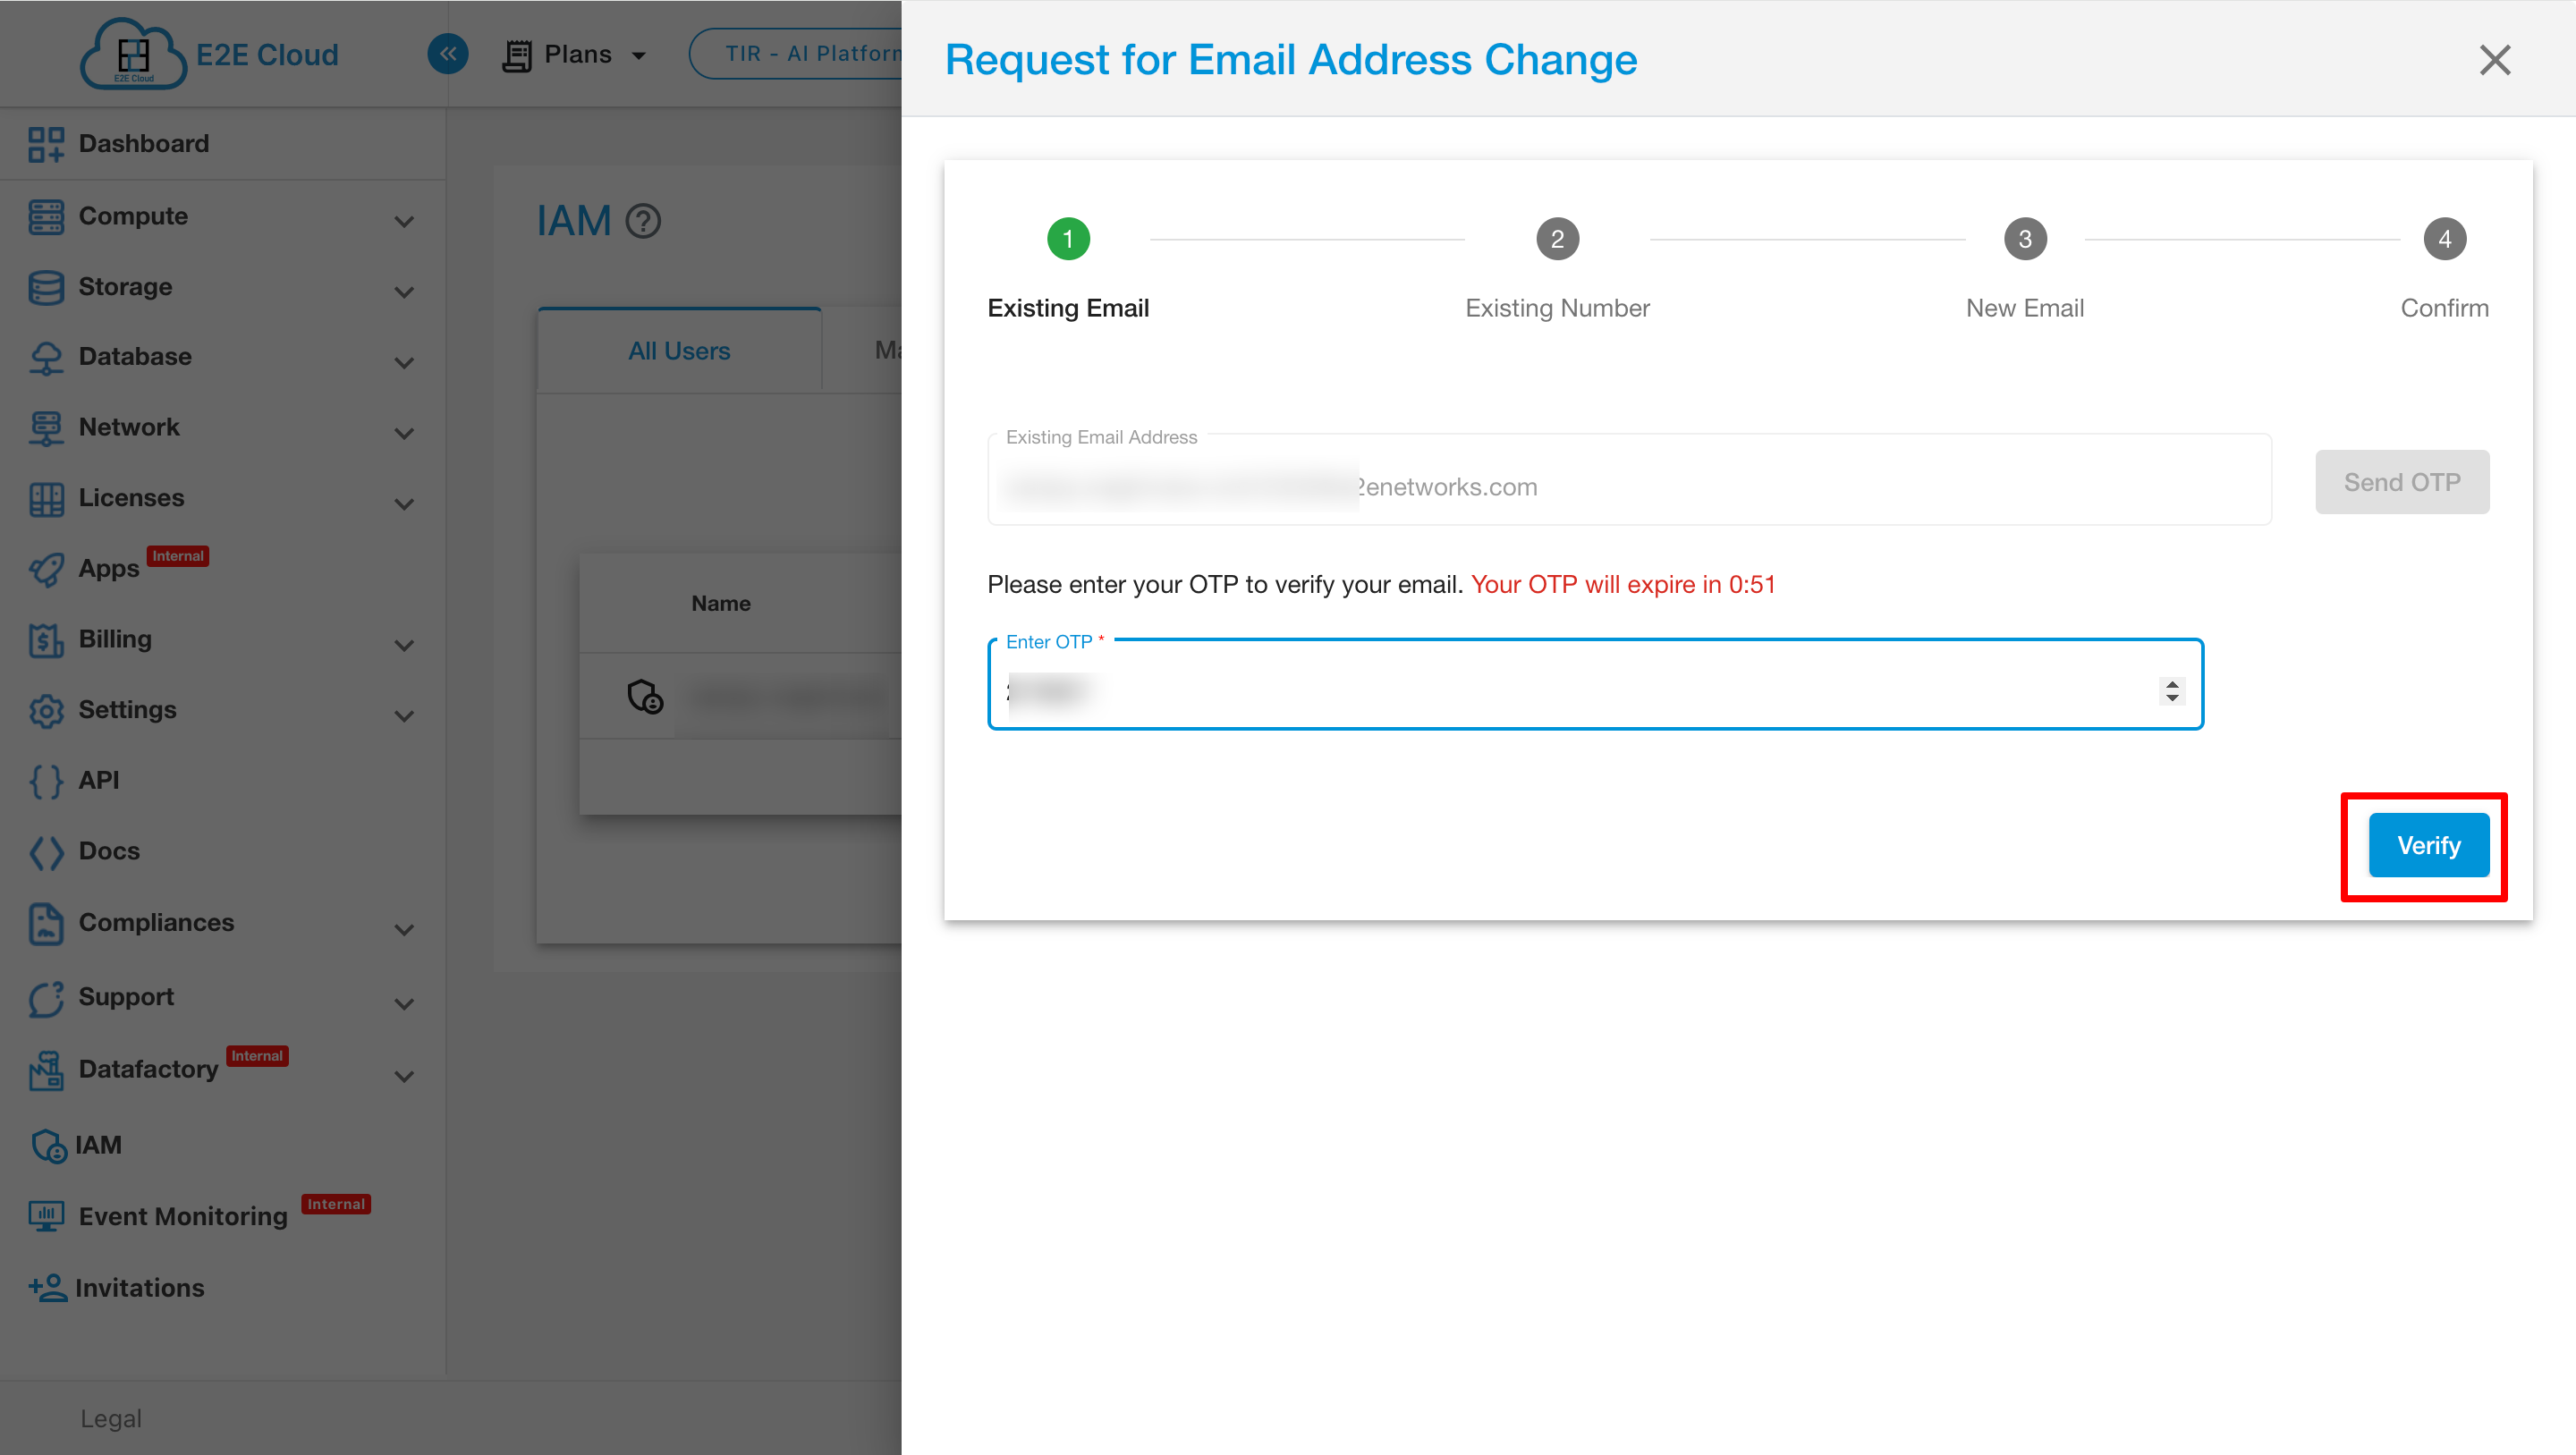
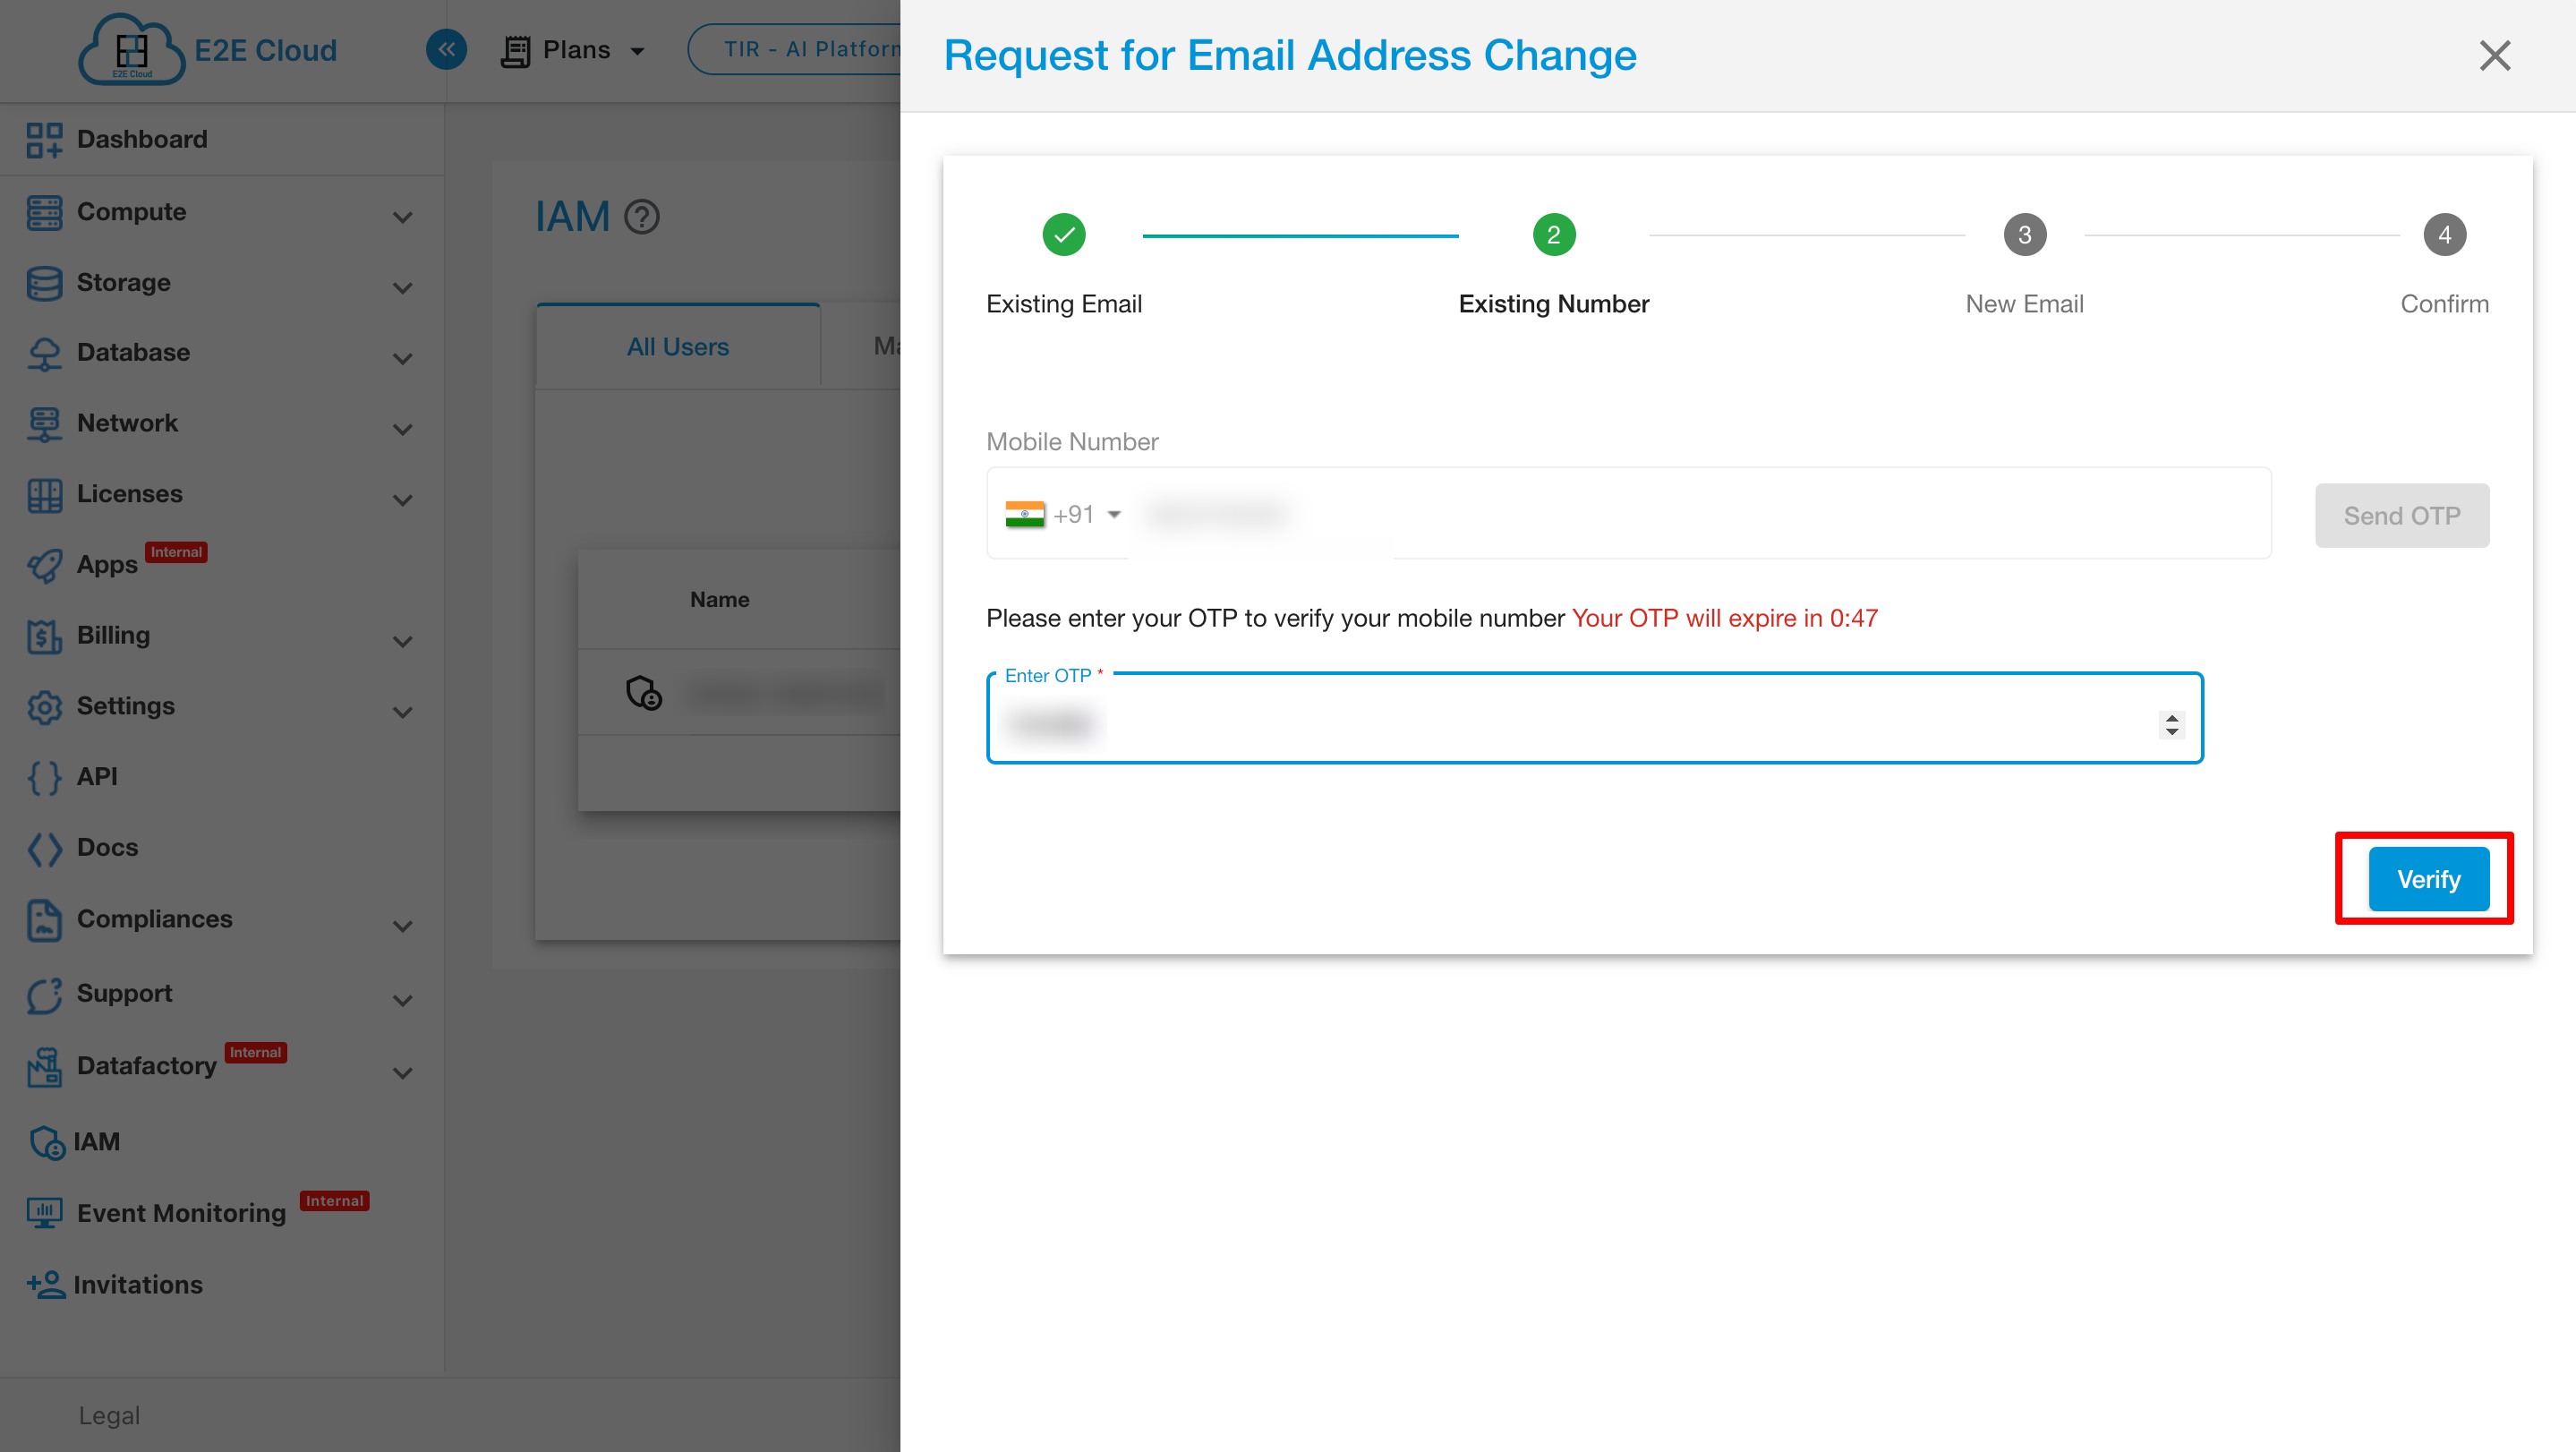
Step 3: Verify Mobile Number
Click on the "Send OTP" button to verify the mobile number.
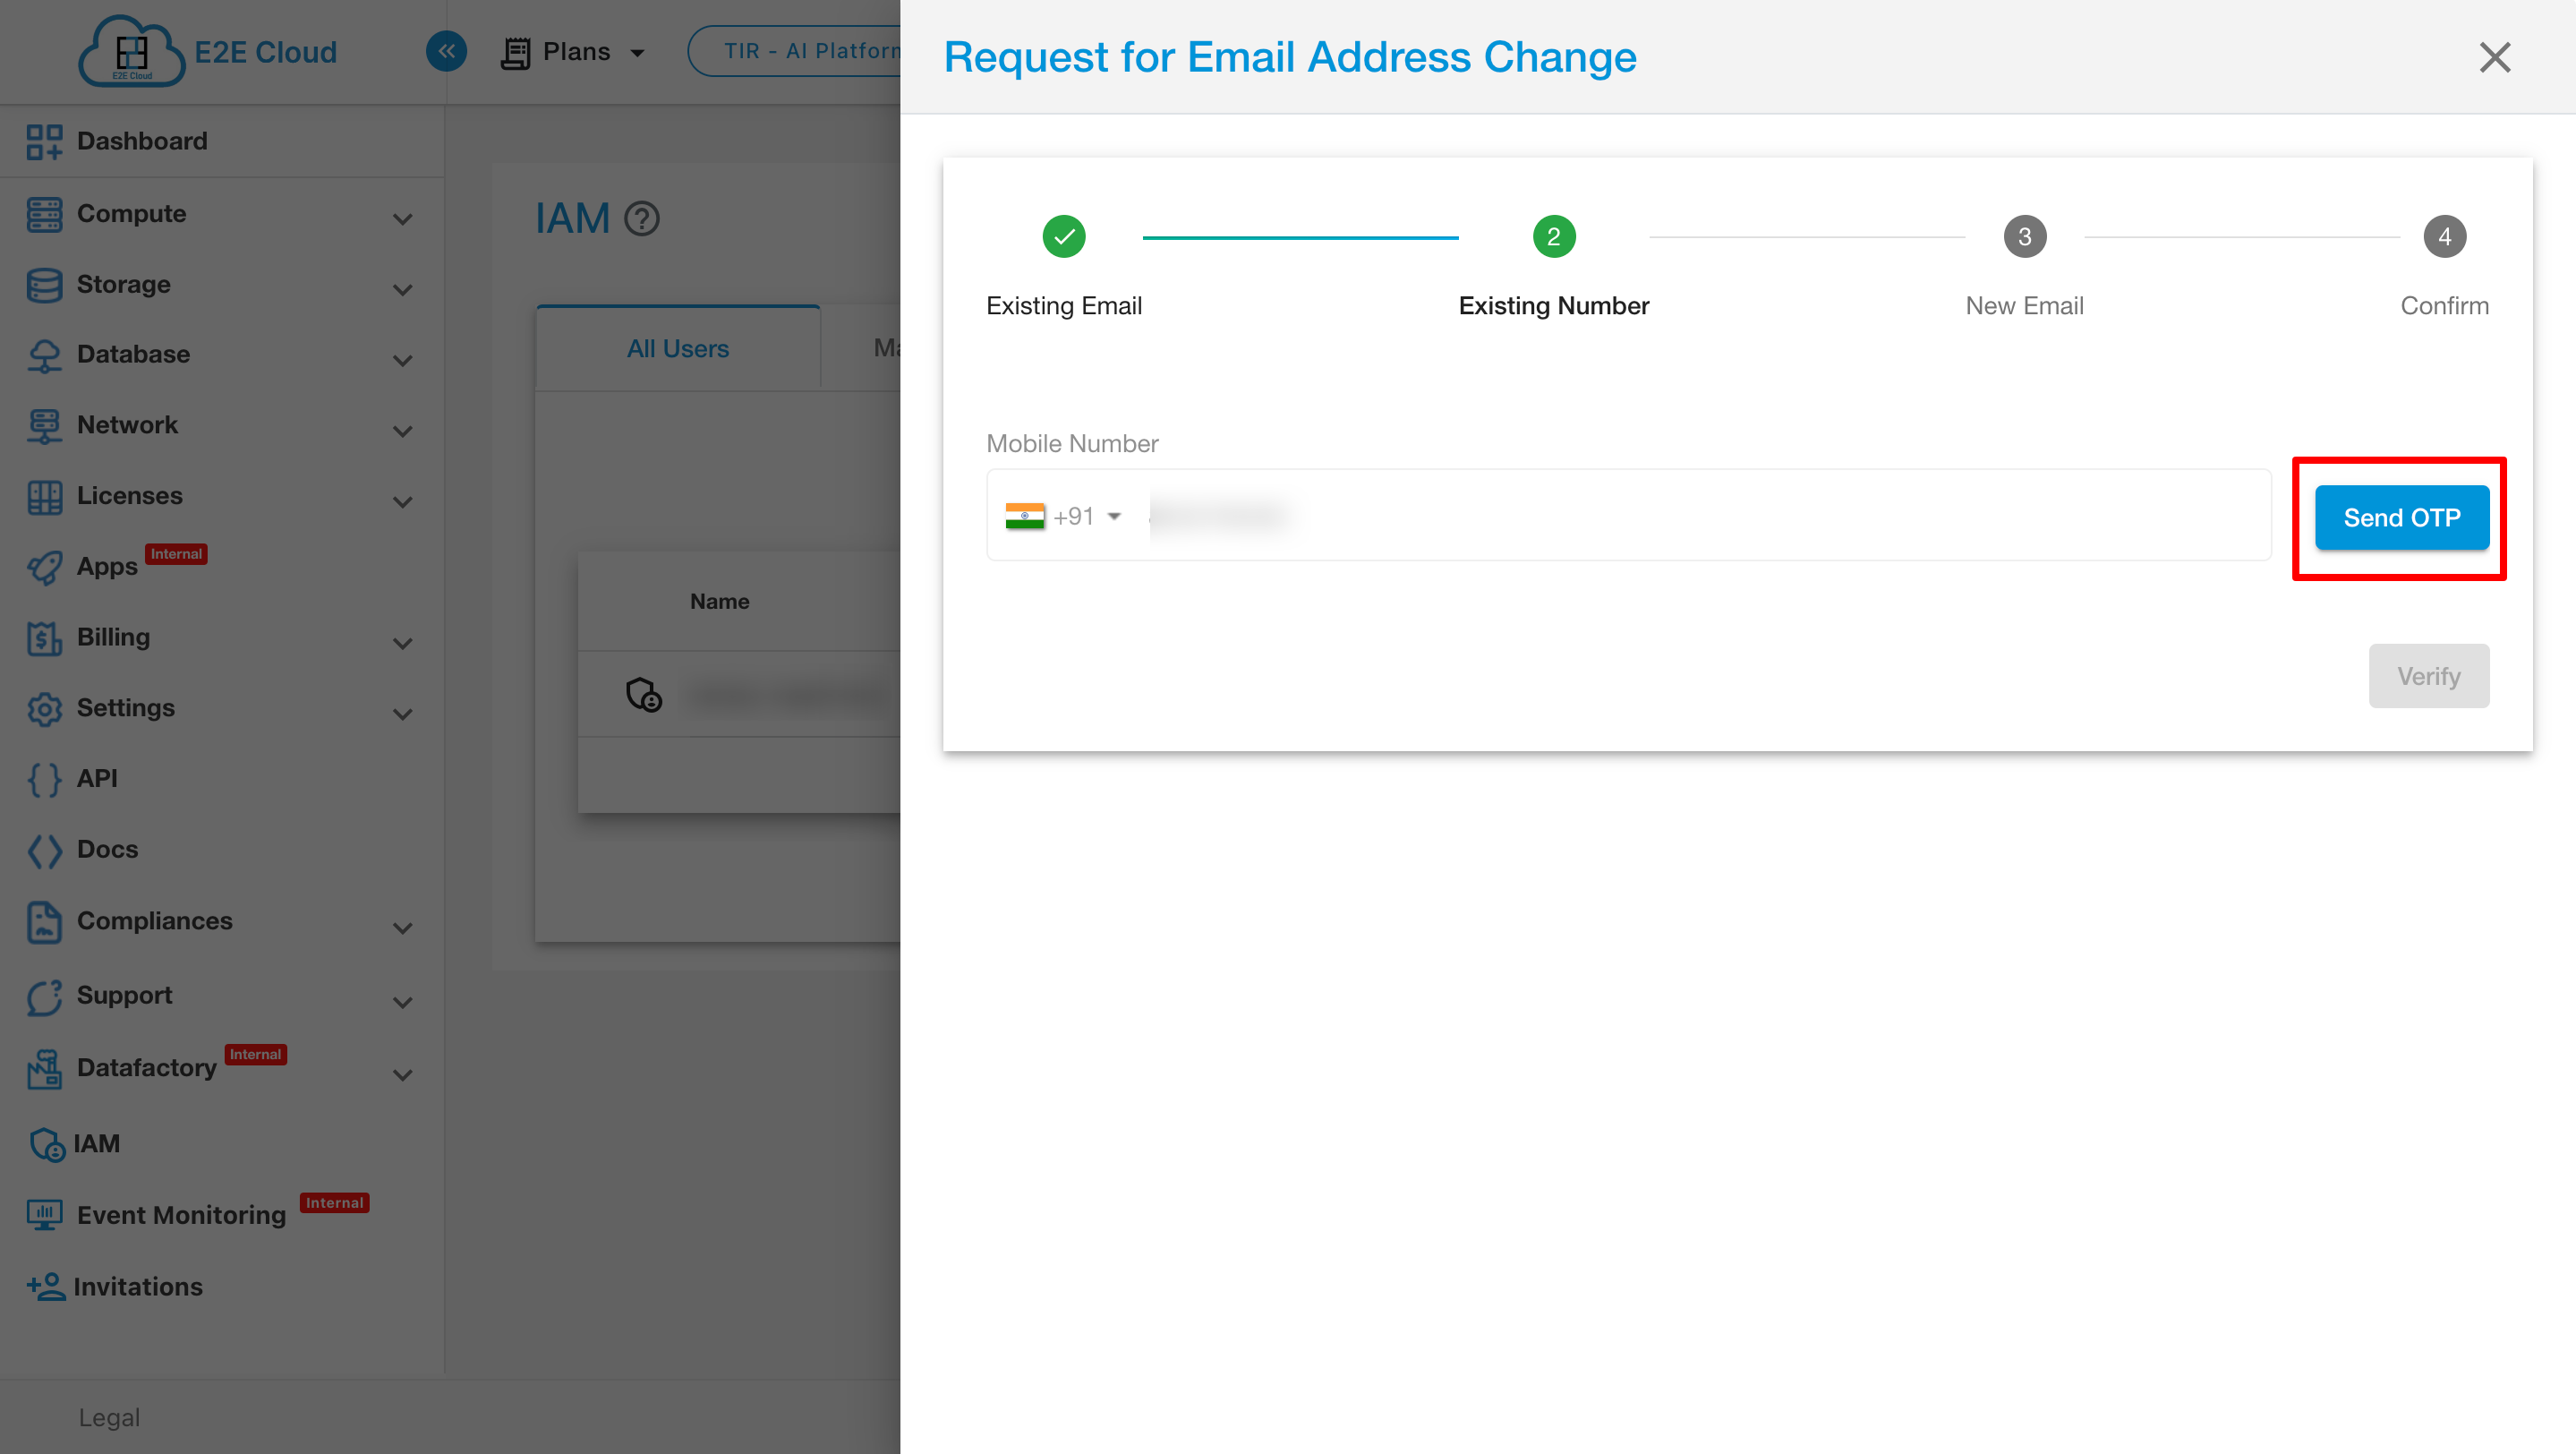
The user will receive an OTP on their mobile number. Enter the OTP in the provided field and click the "Verify" button.
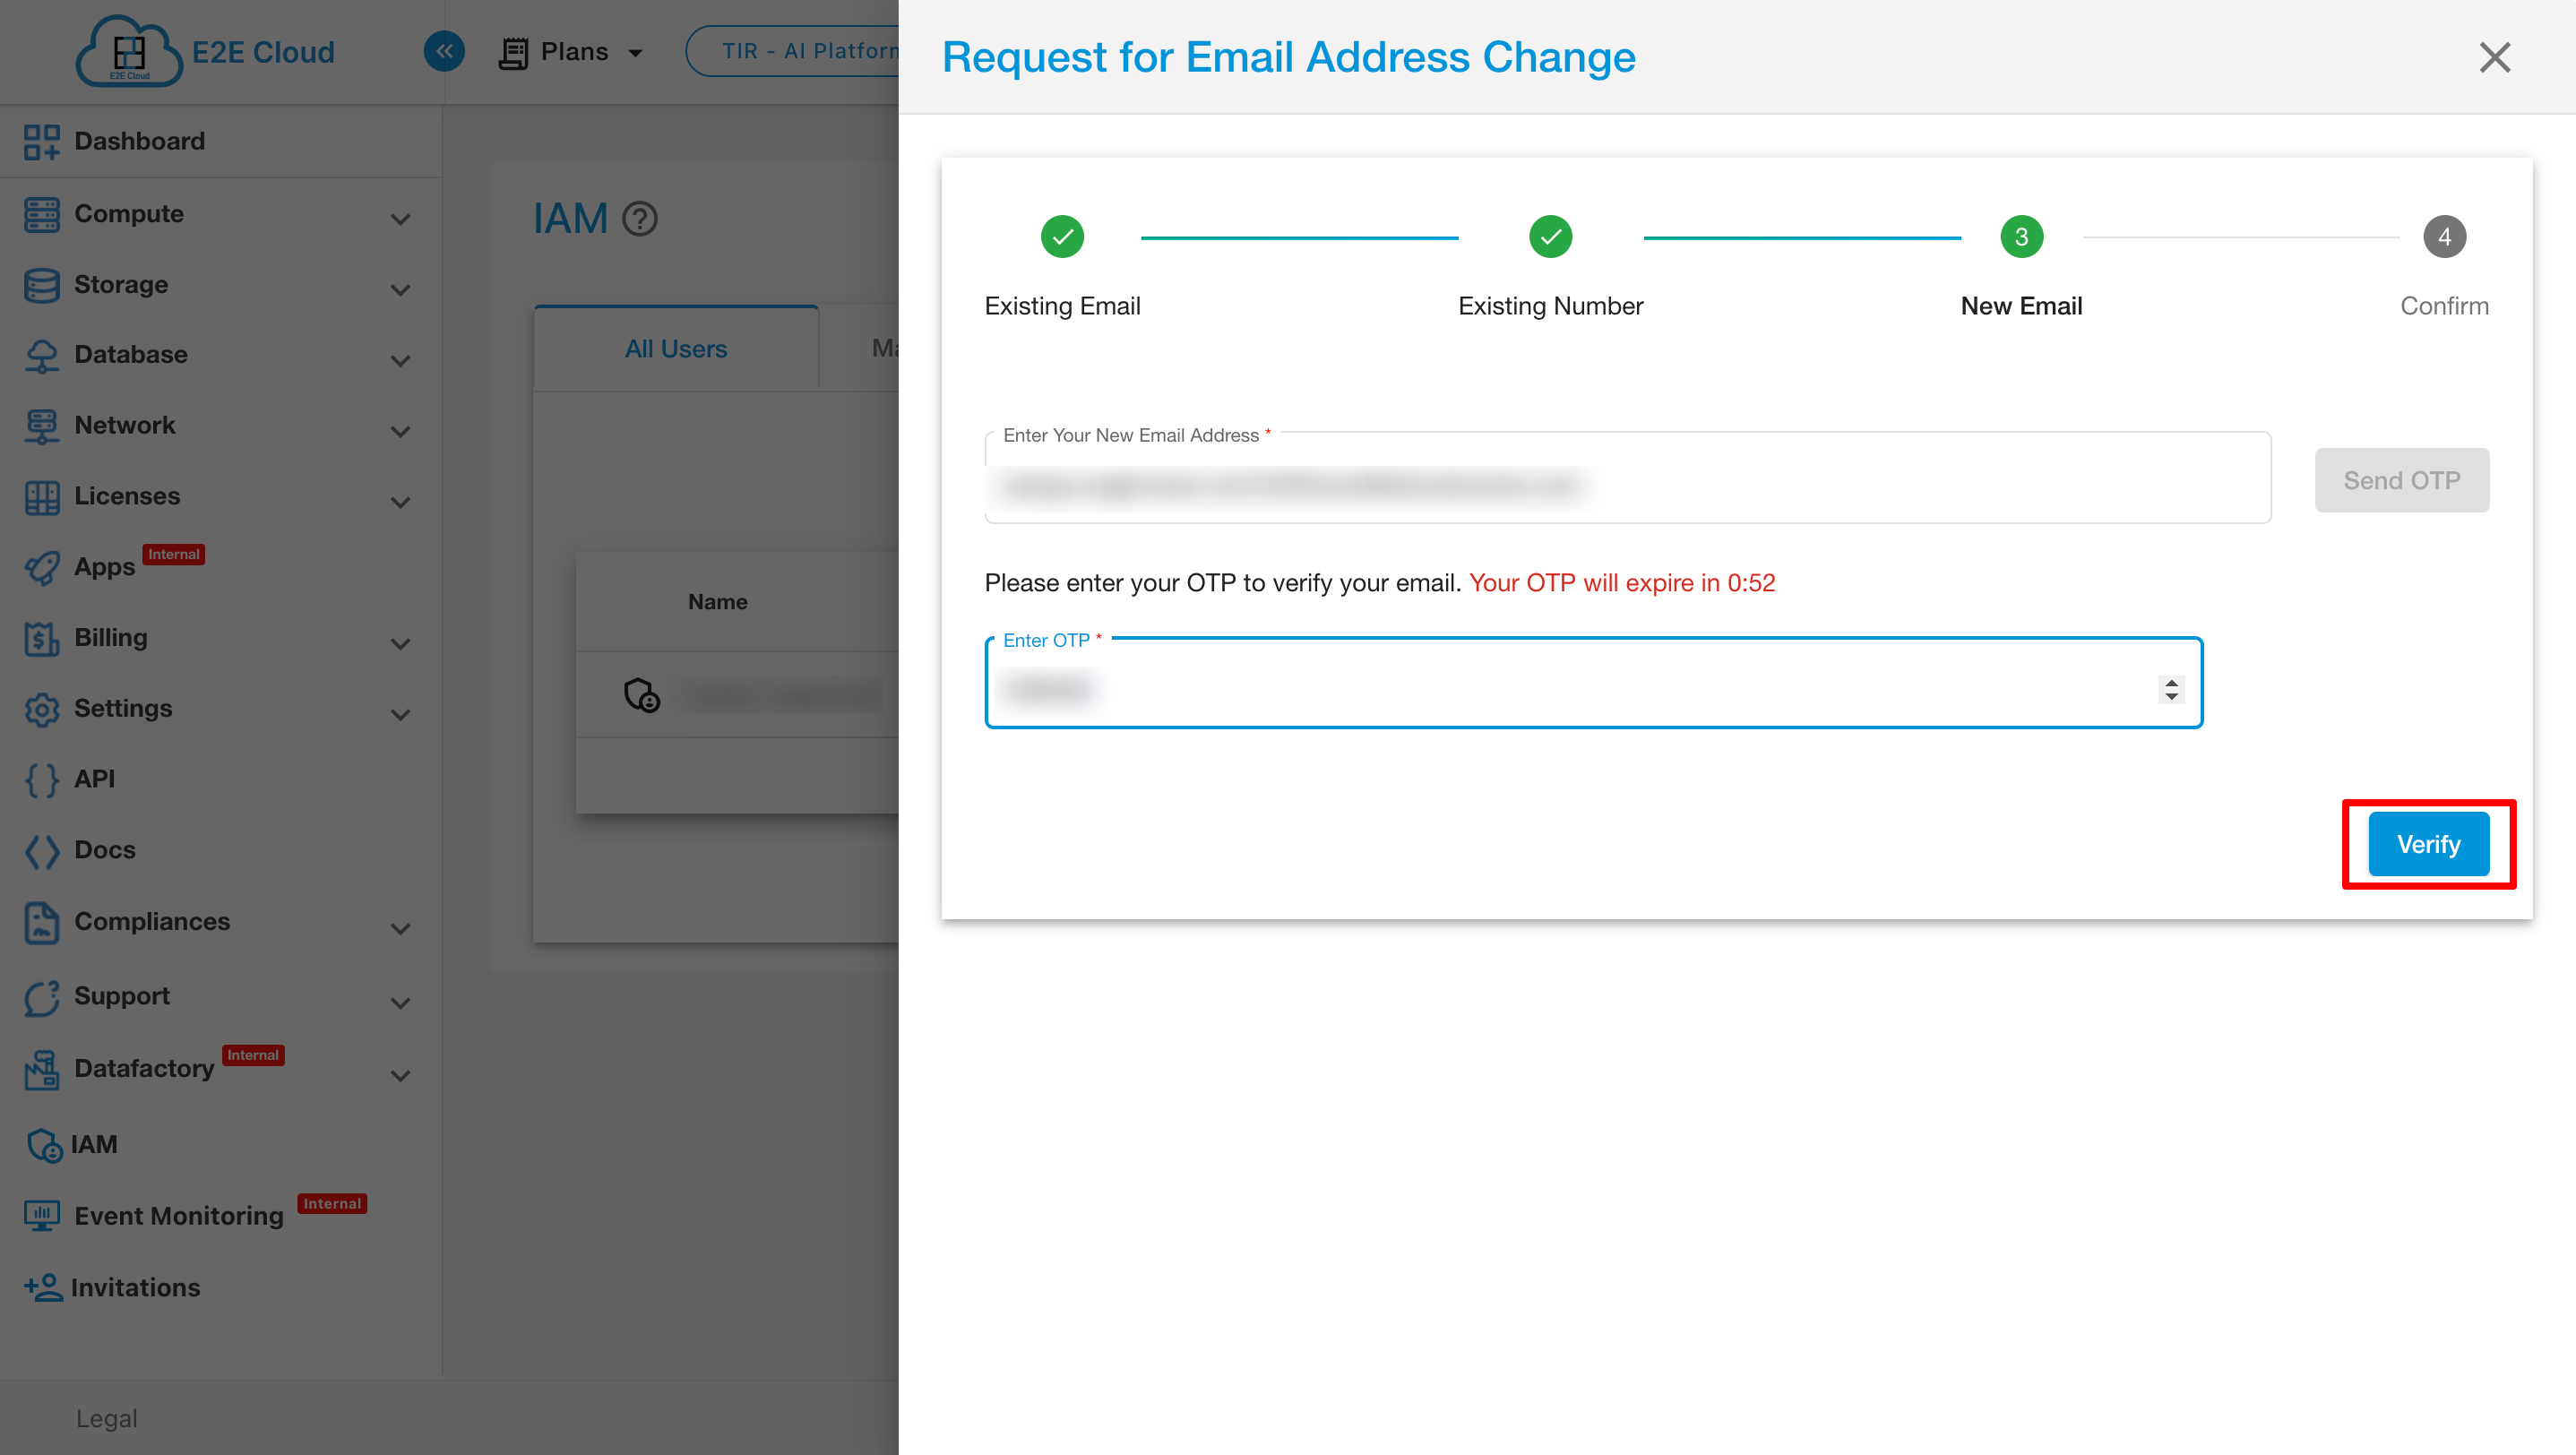
Step 4: Verify New Email Address
Enter the new email address in the provided field and click on the "Send OTP" button.
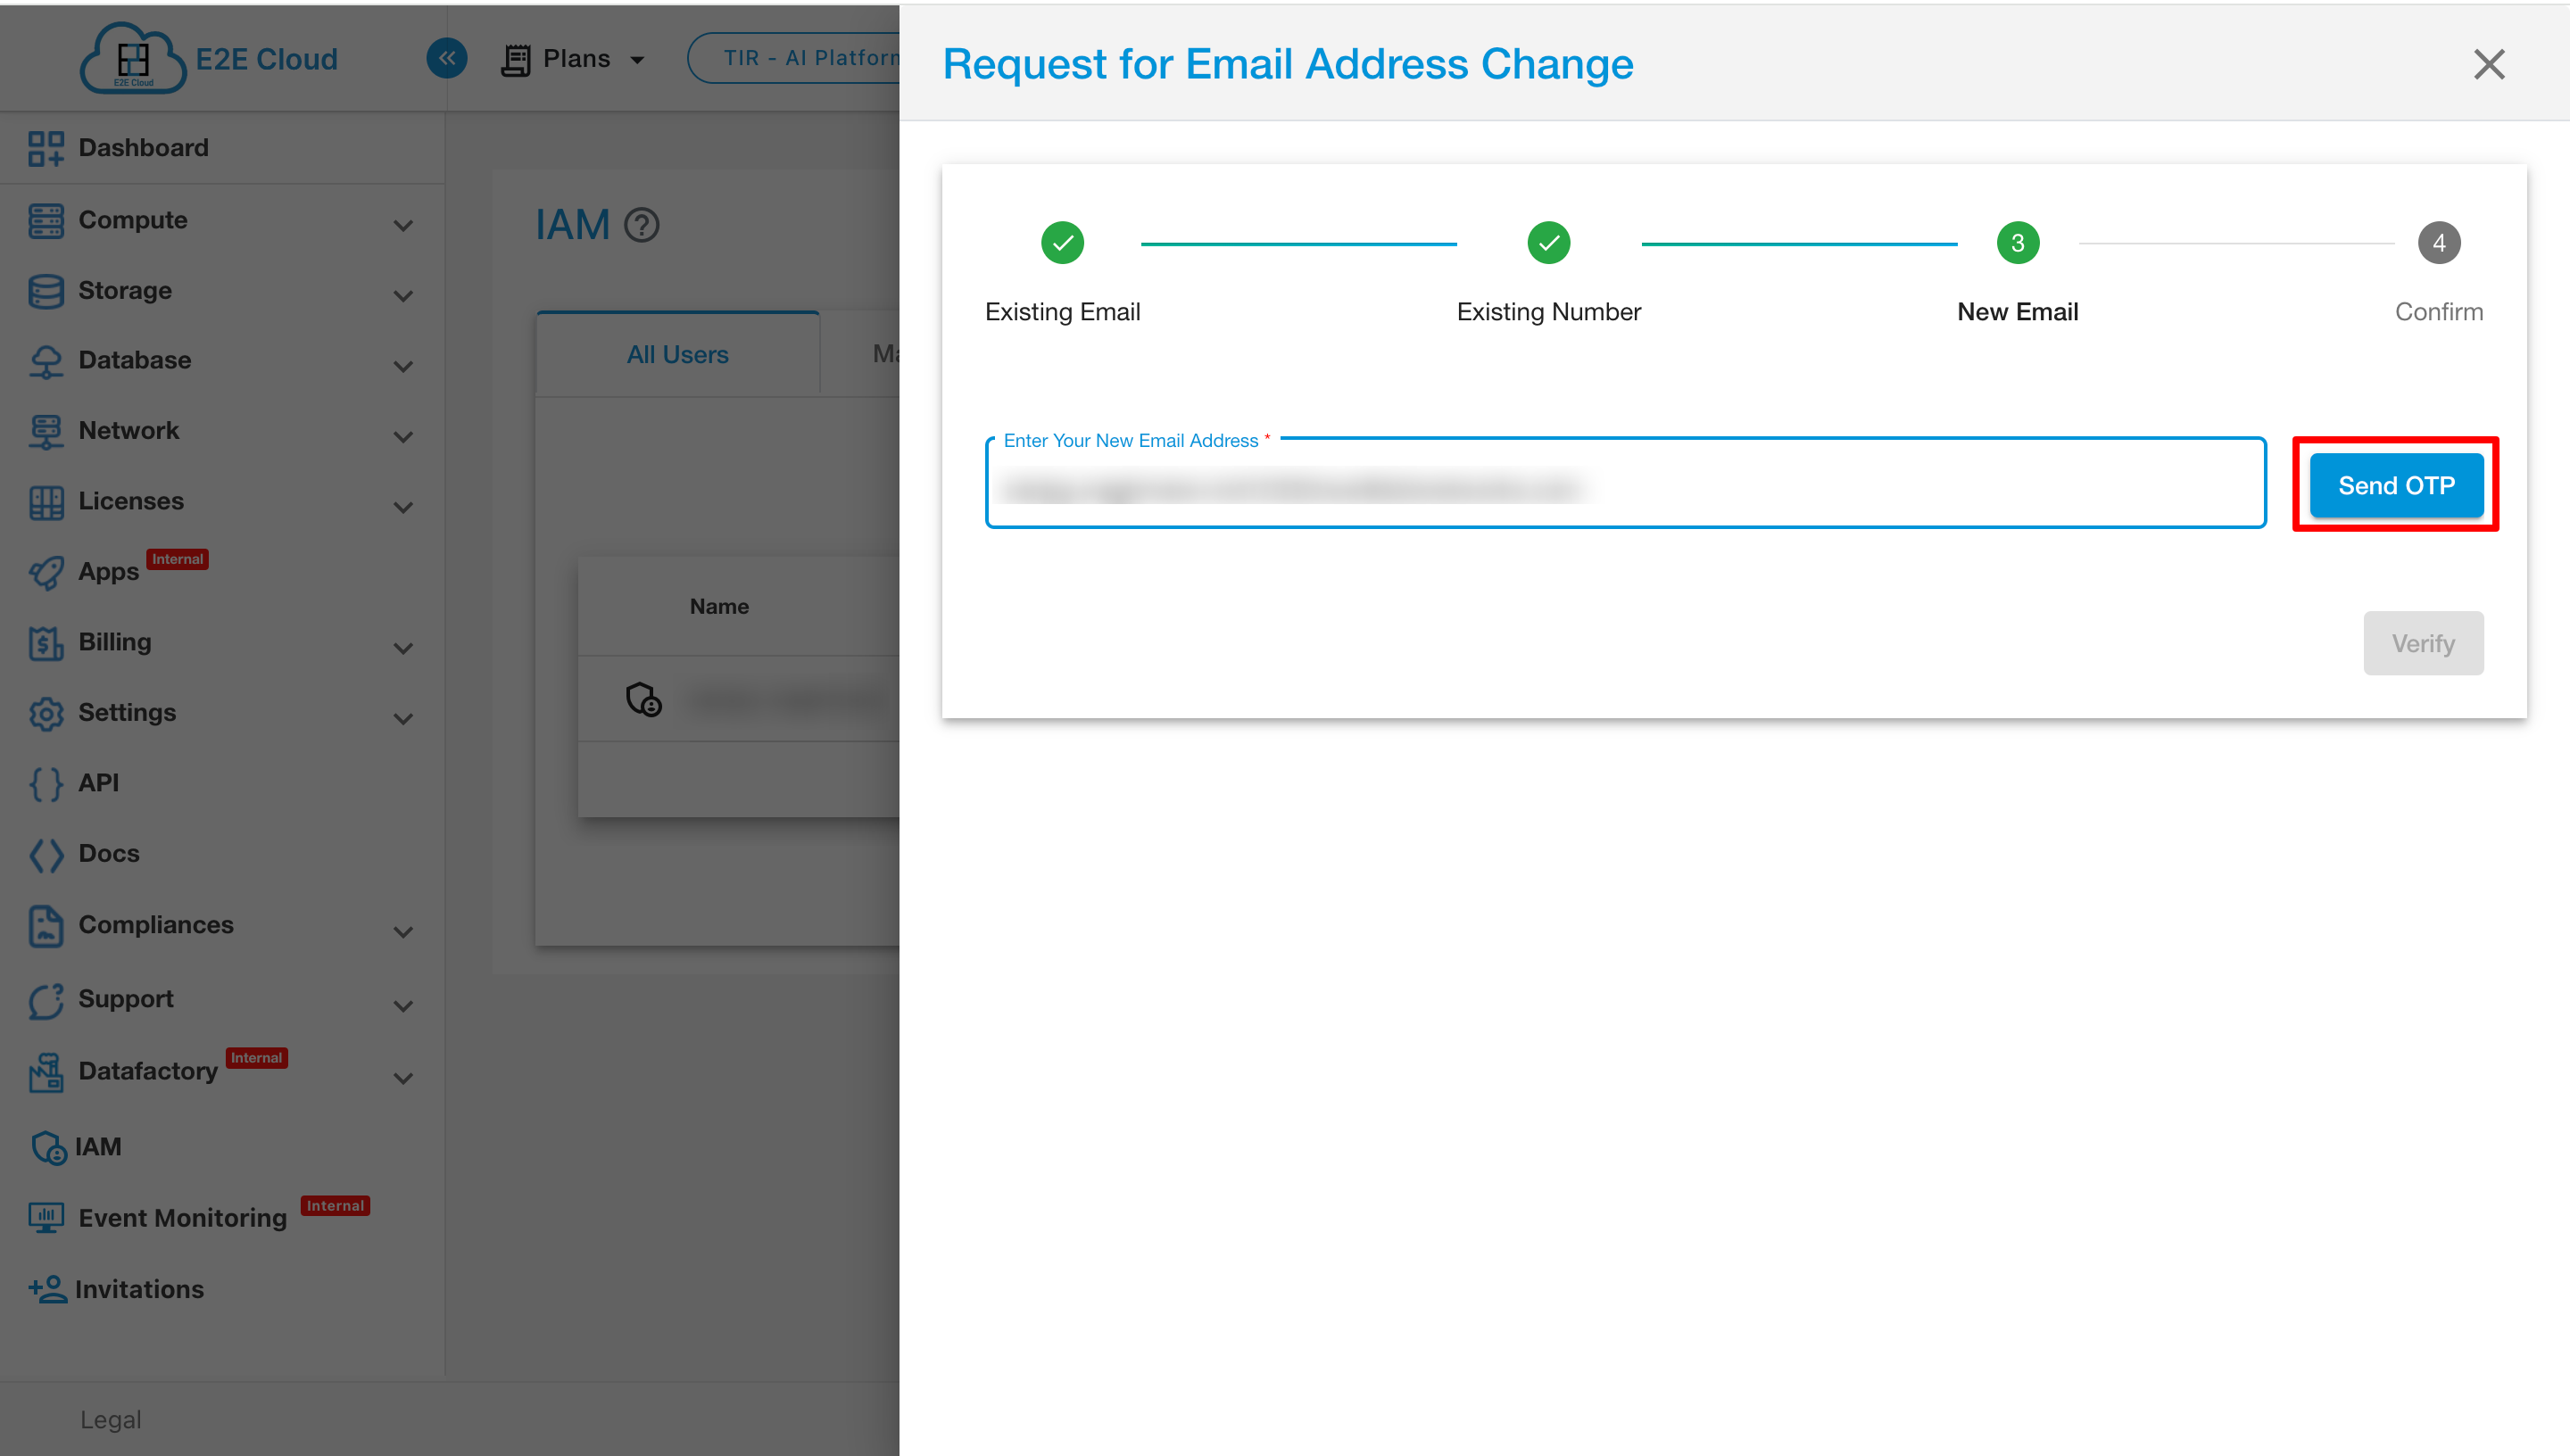
The user will receive an OTP on their new email address. Enter the OTP in the provided field and click the "Verify" button.
- You can't use an email address already in use on another E2E MyAccount.
Step 5: Confirmation and Notification
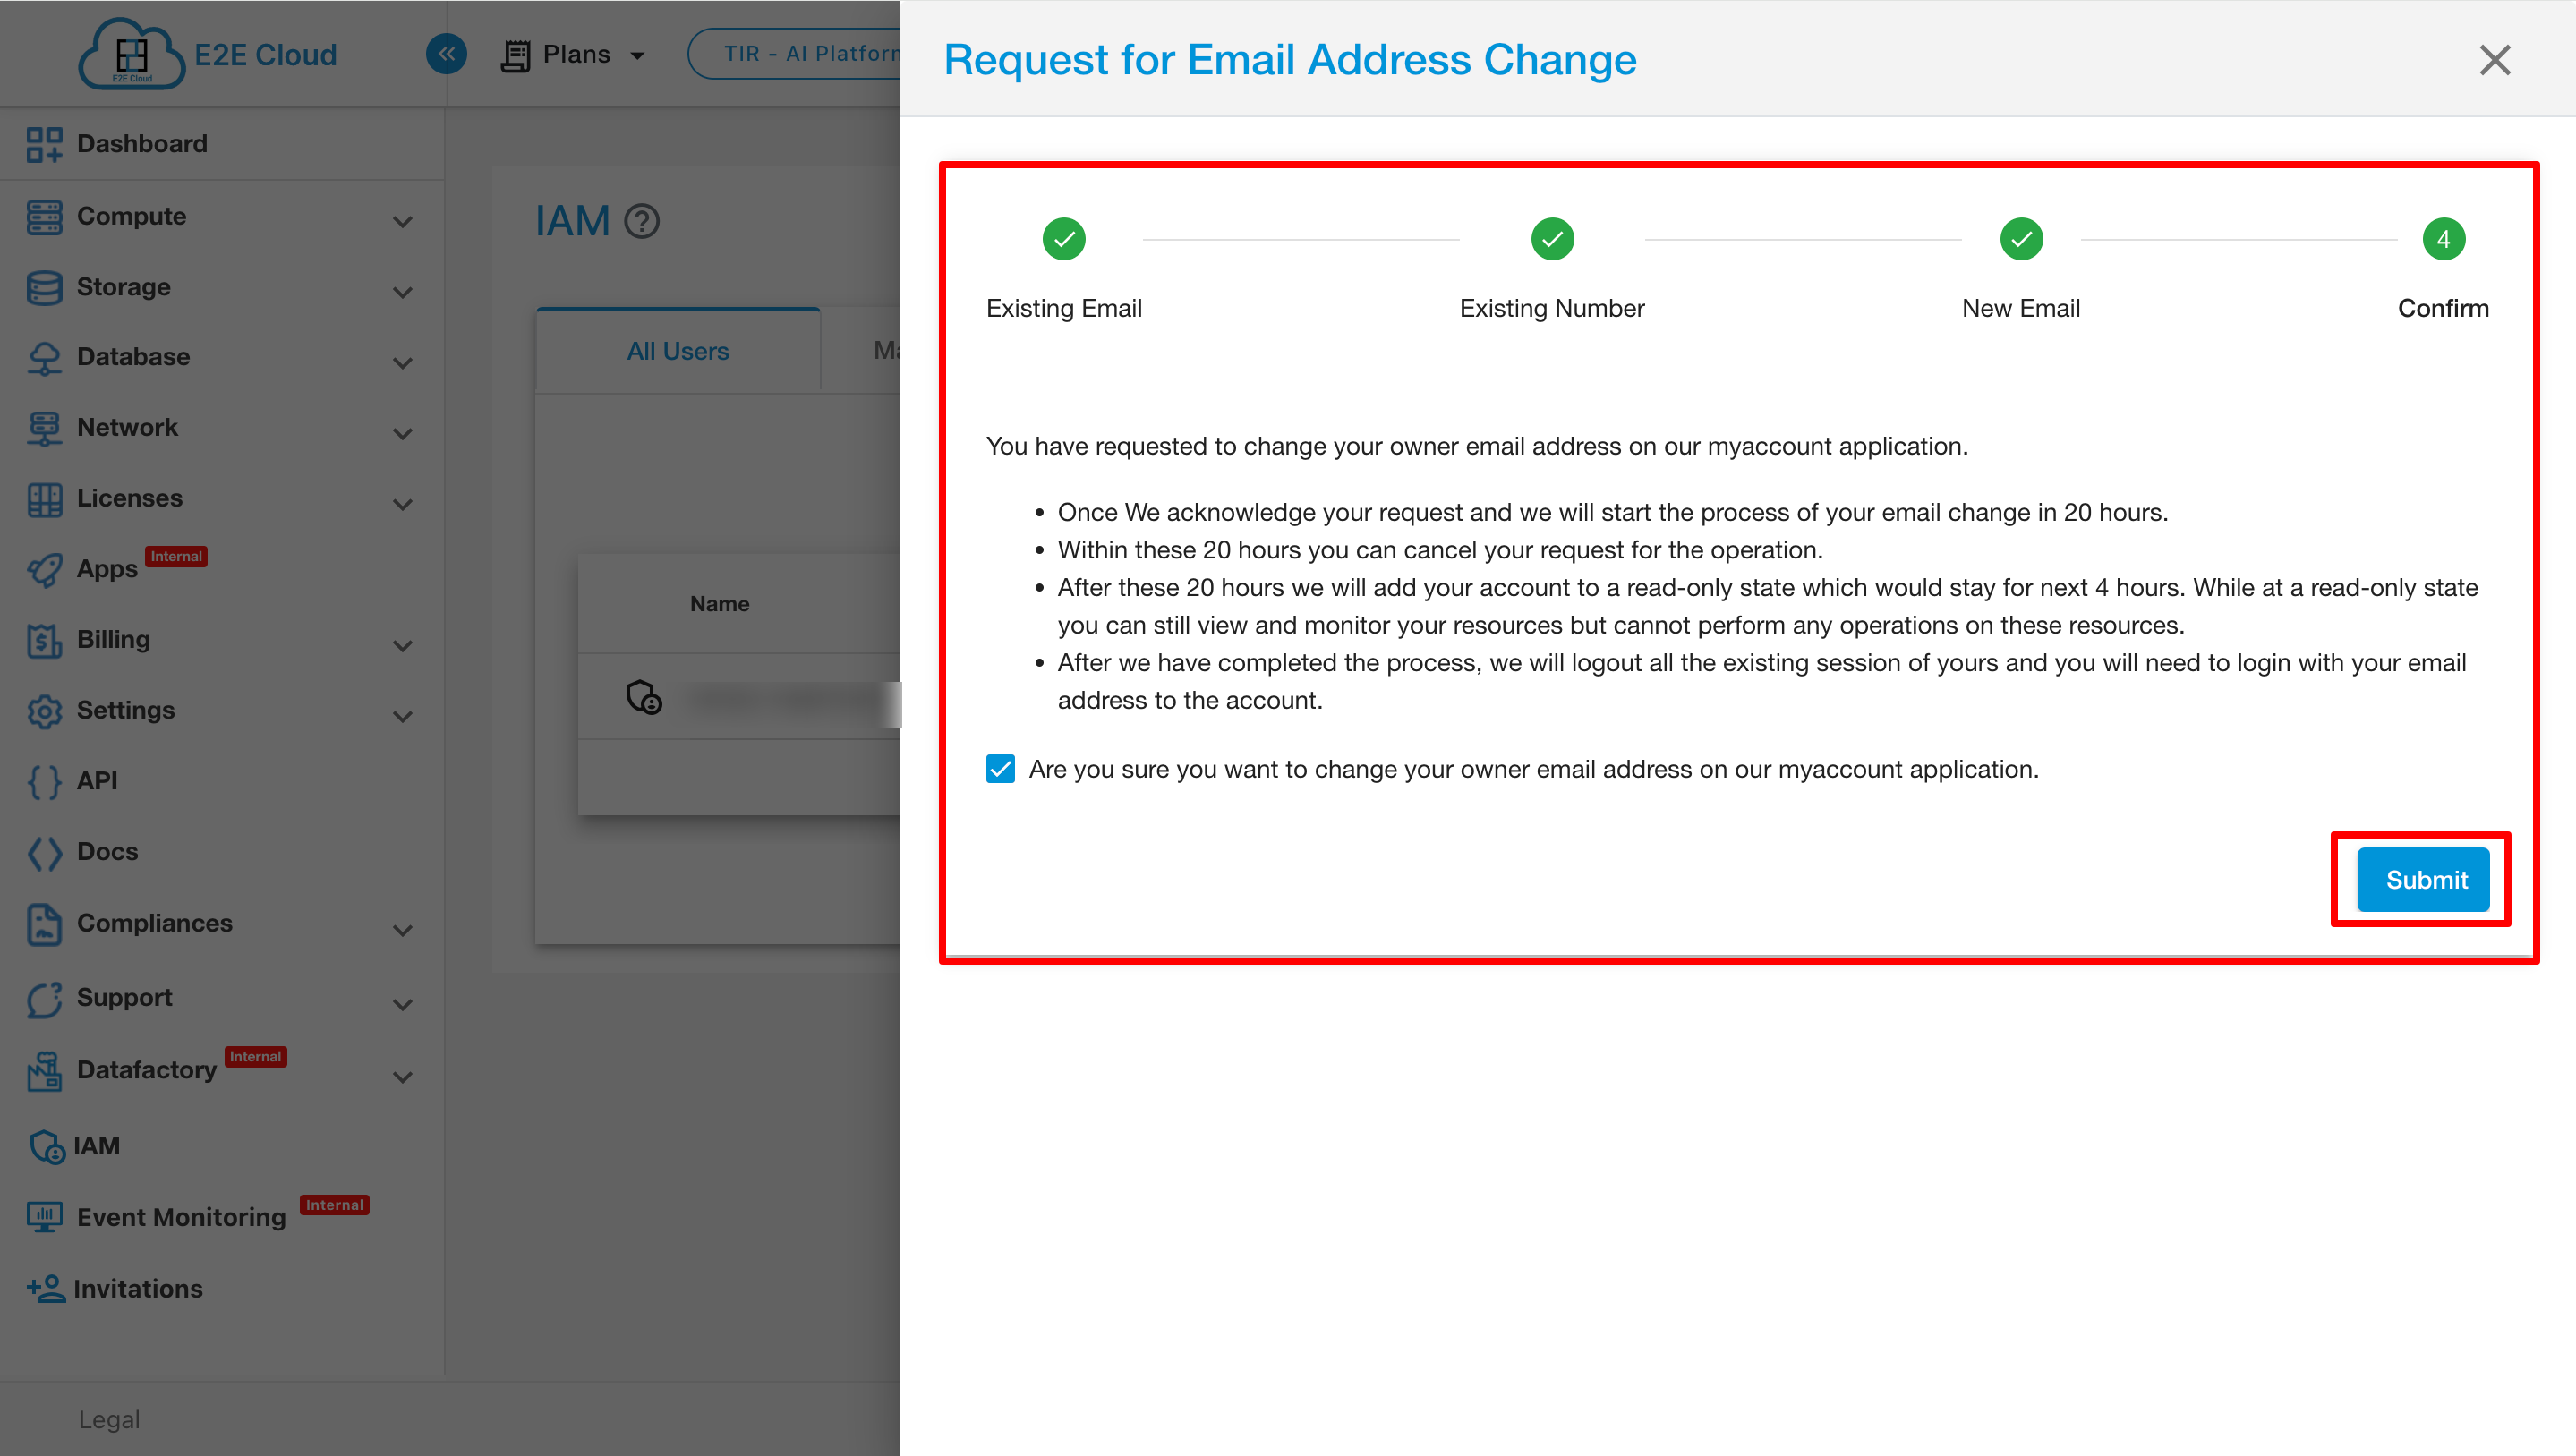
After verifying the new email address, the user will see details about the process and must confirm to change the email address.
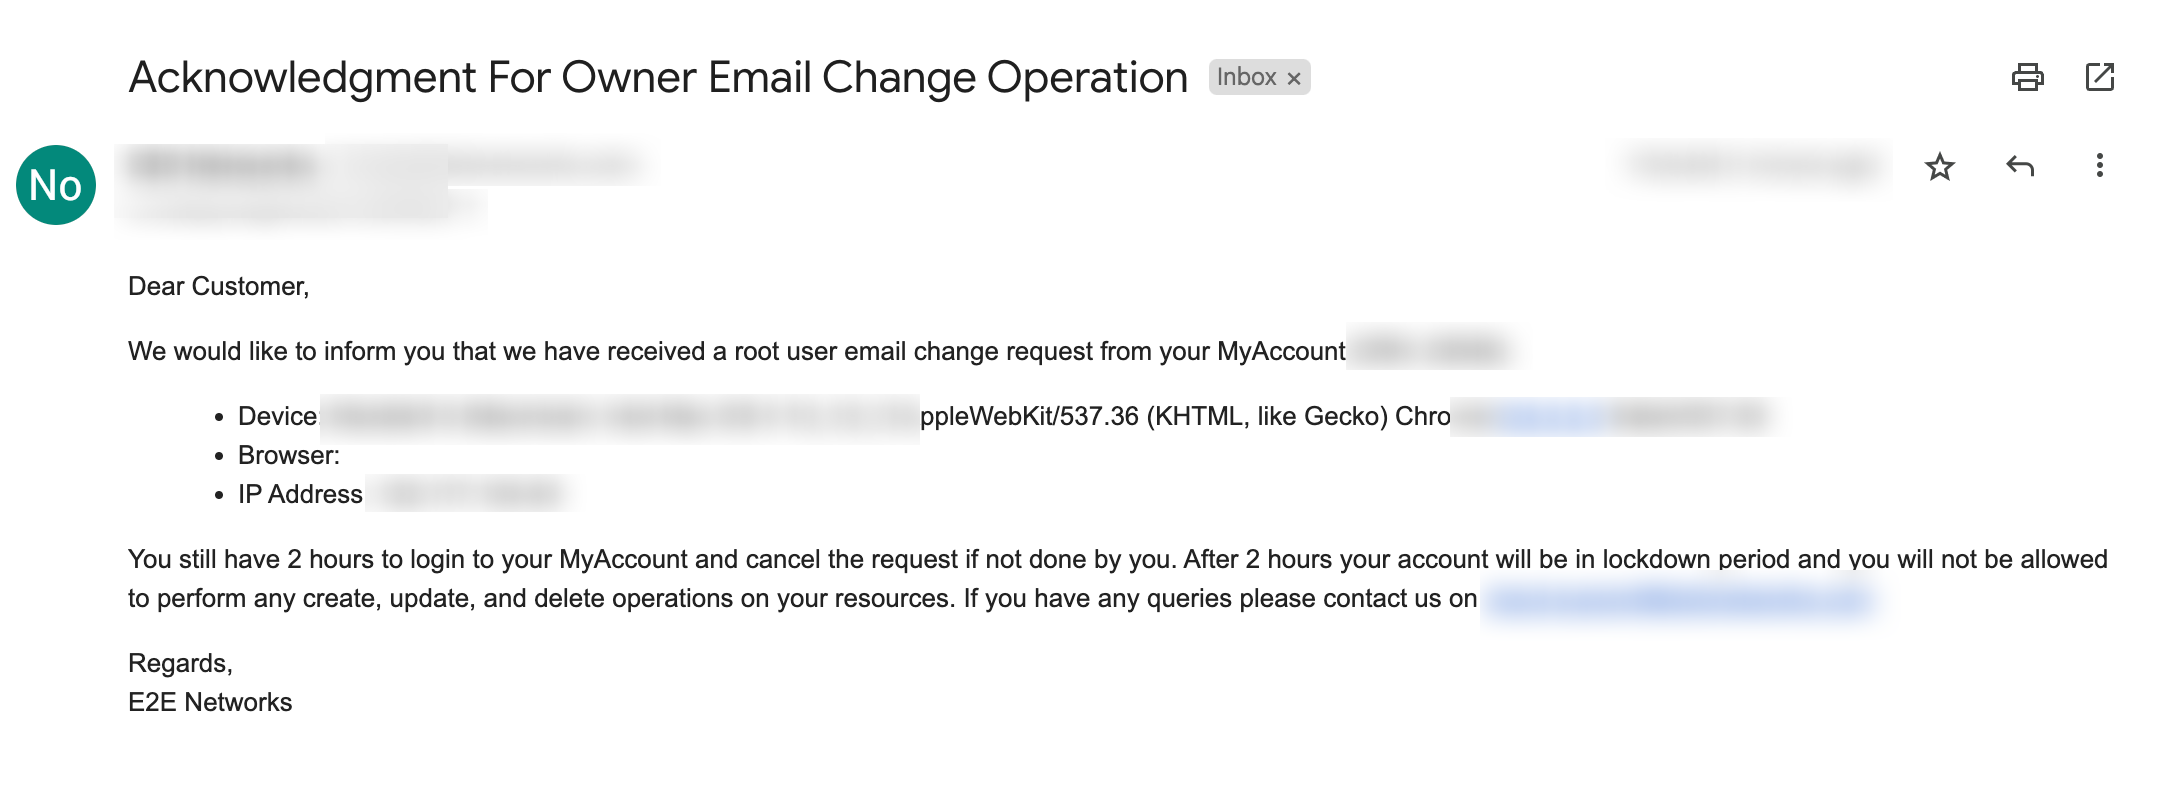
Once the verification process is completed, a confirmation email will be sent to the user’s existing email, acknowledging the request for an email change.
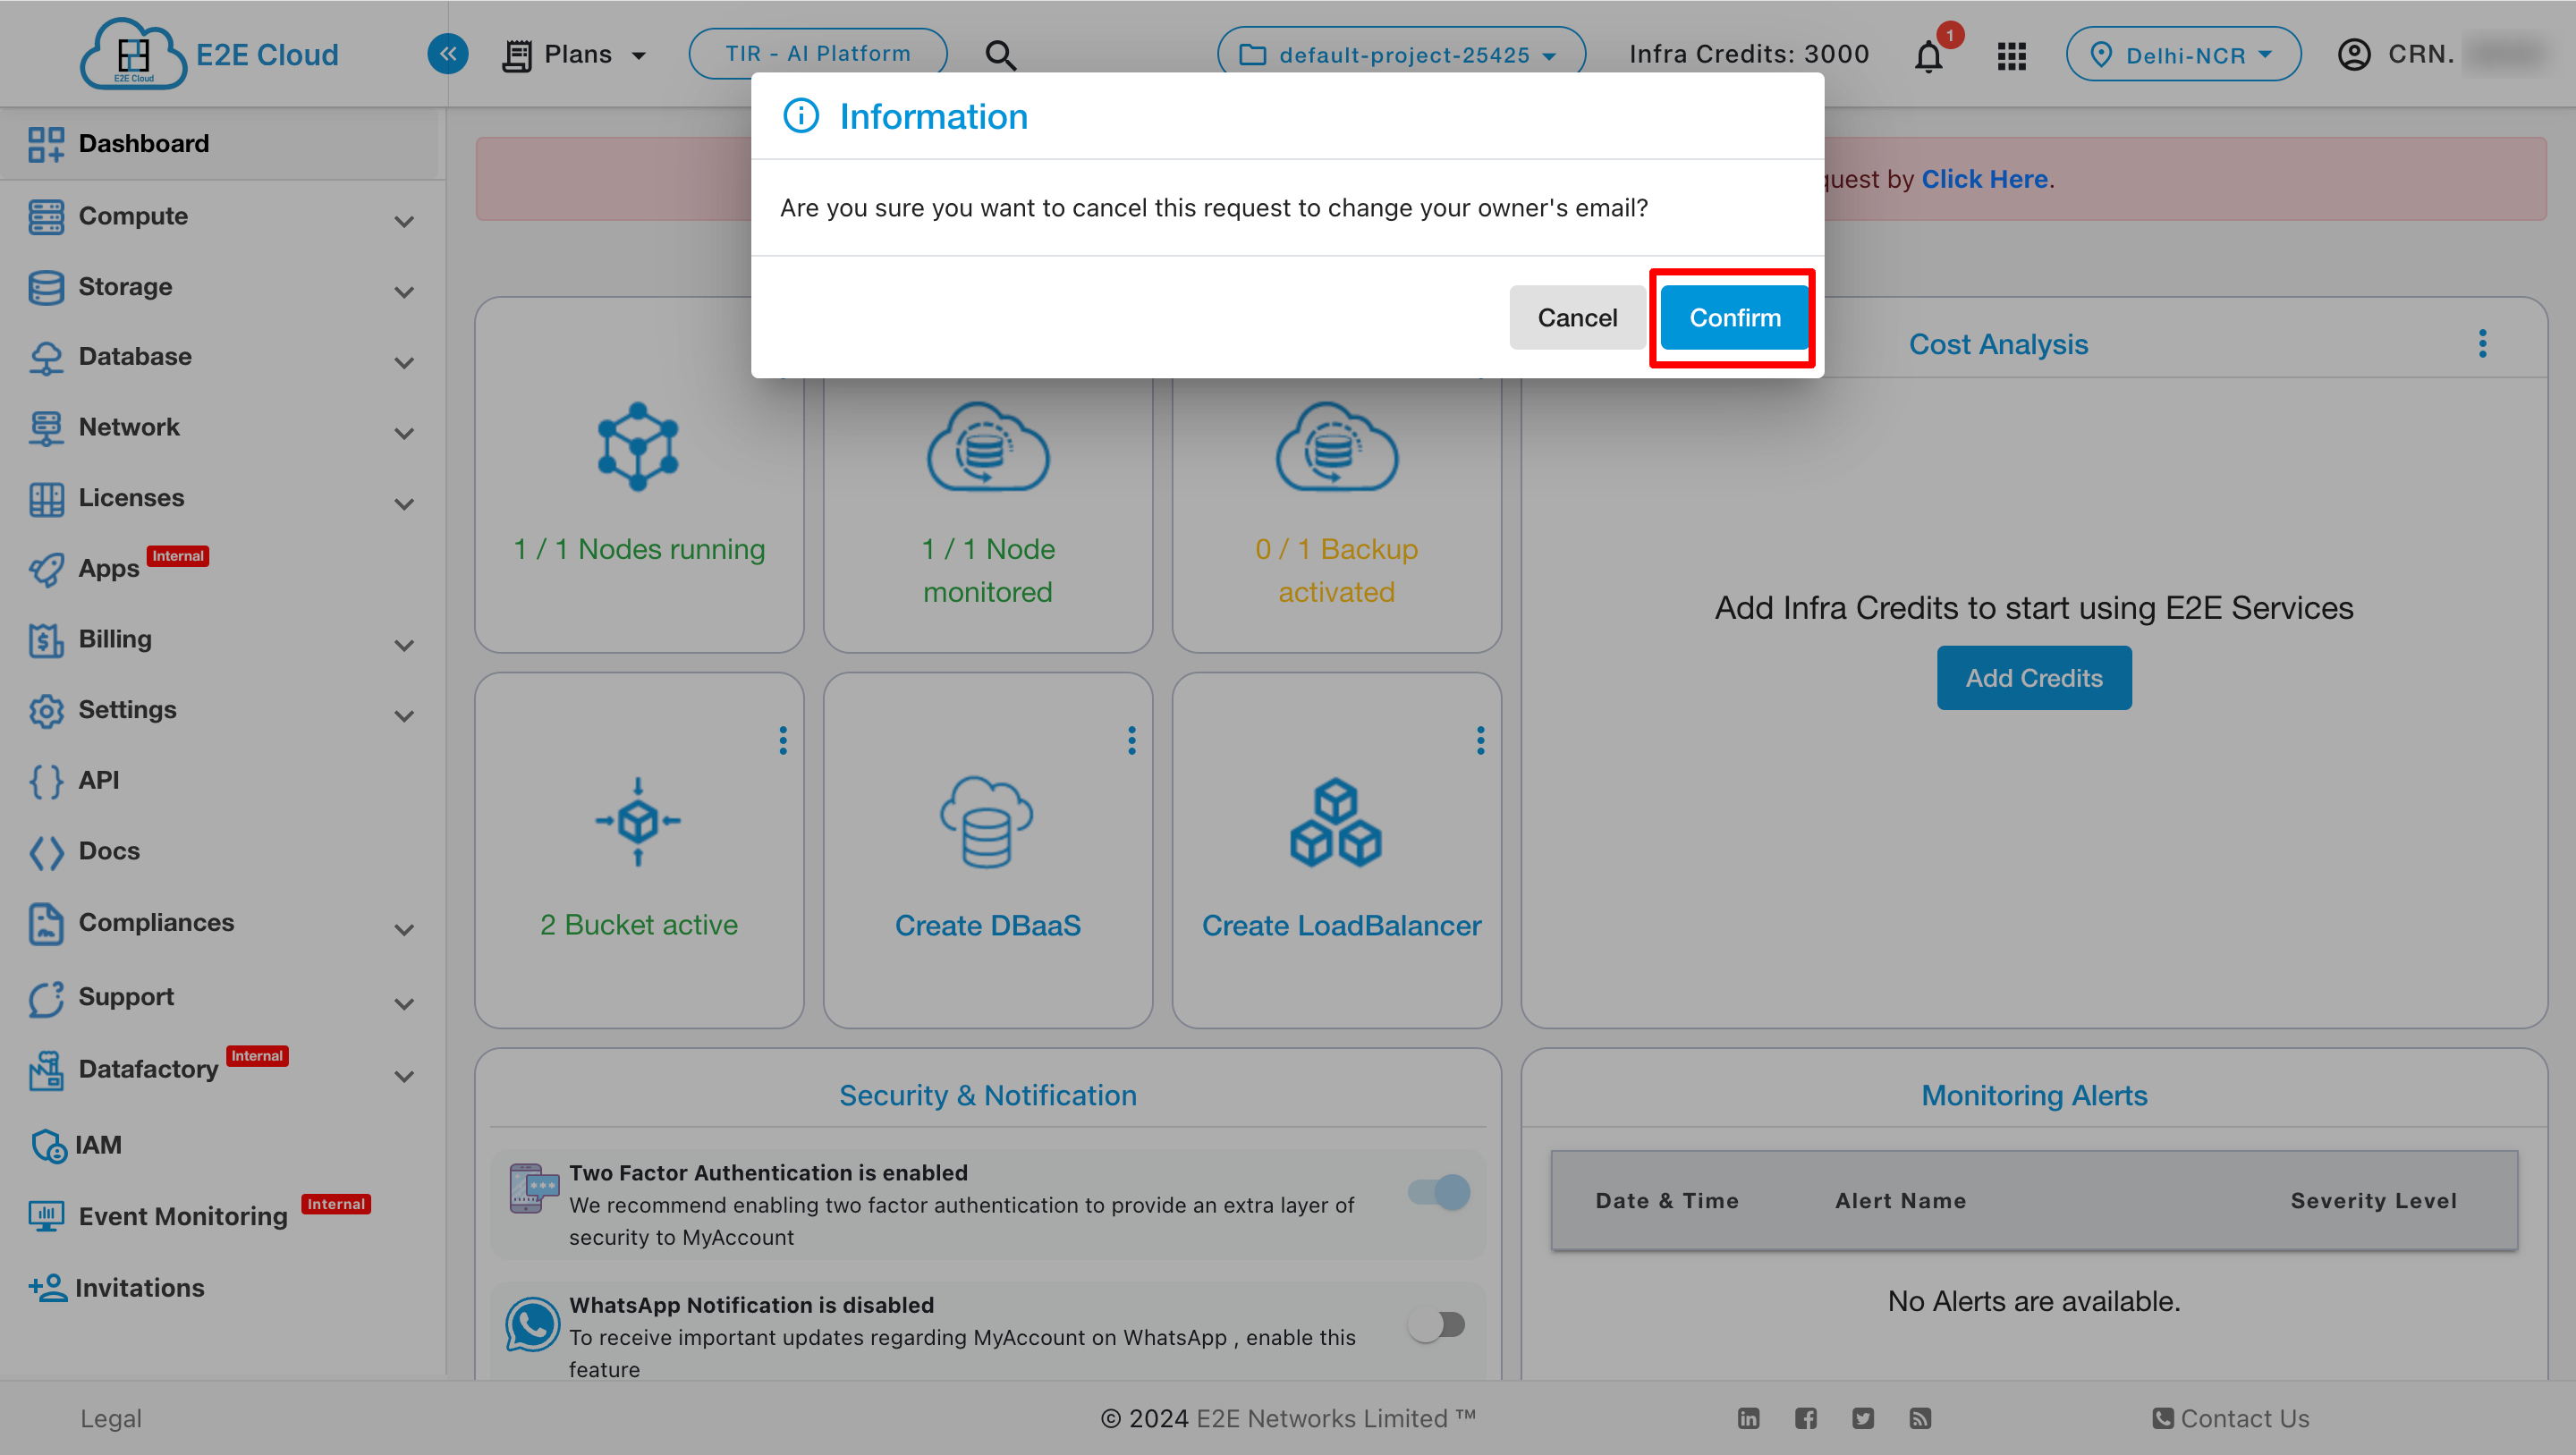
The cancellation link will be shown with a proper message on the top header of MyAccount.
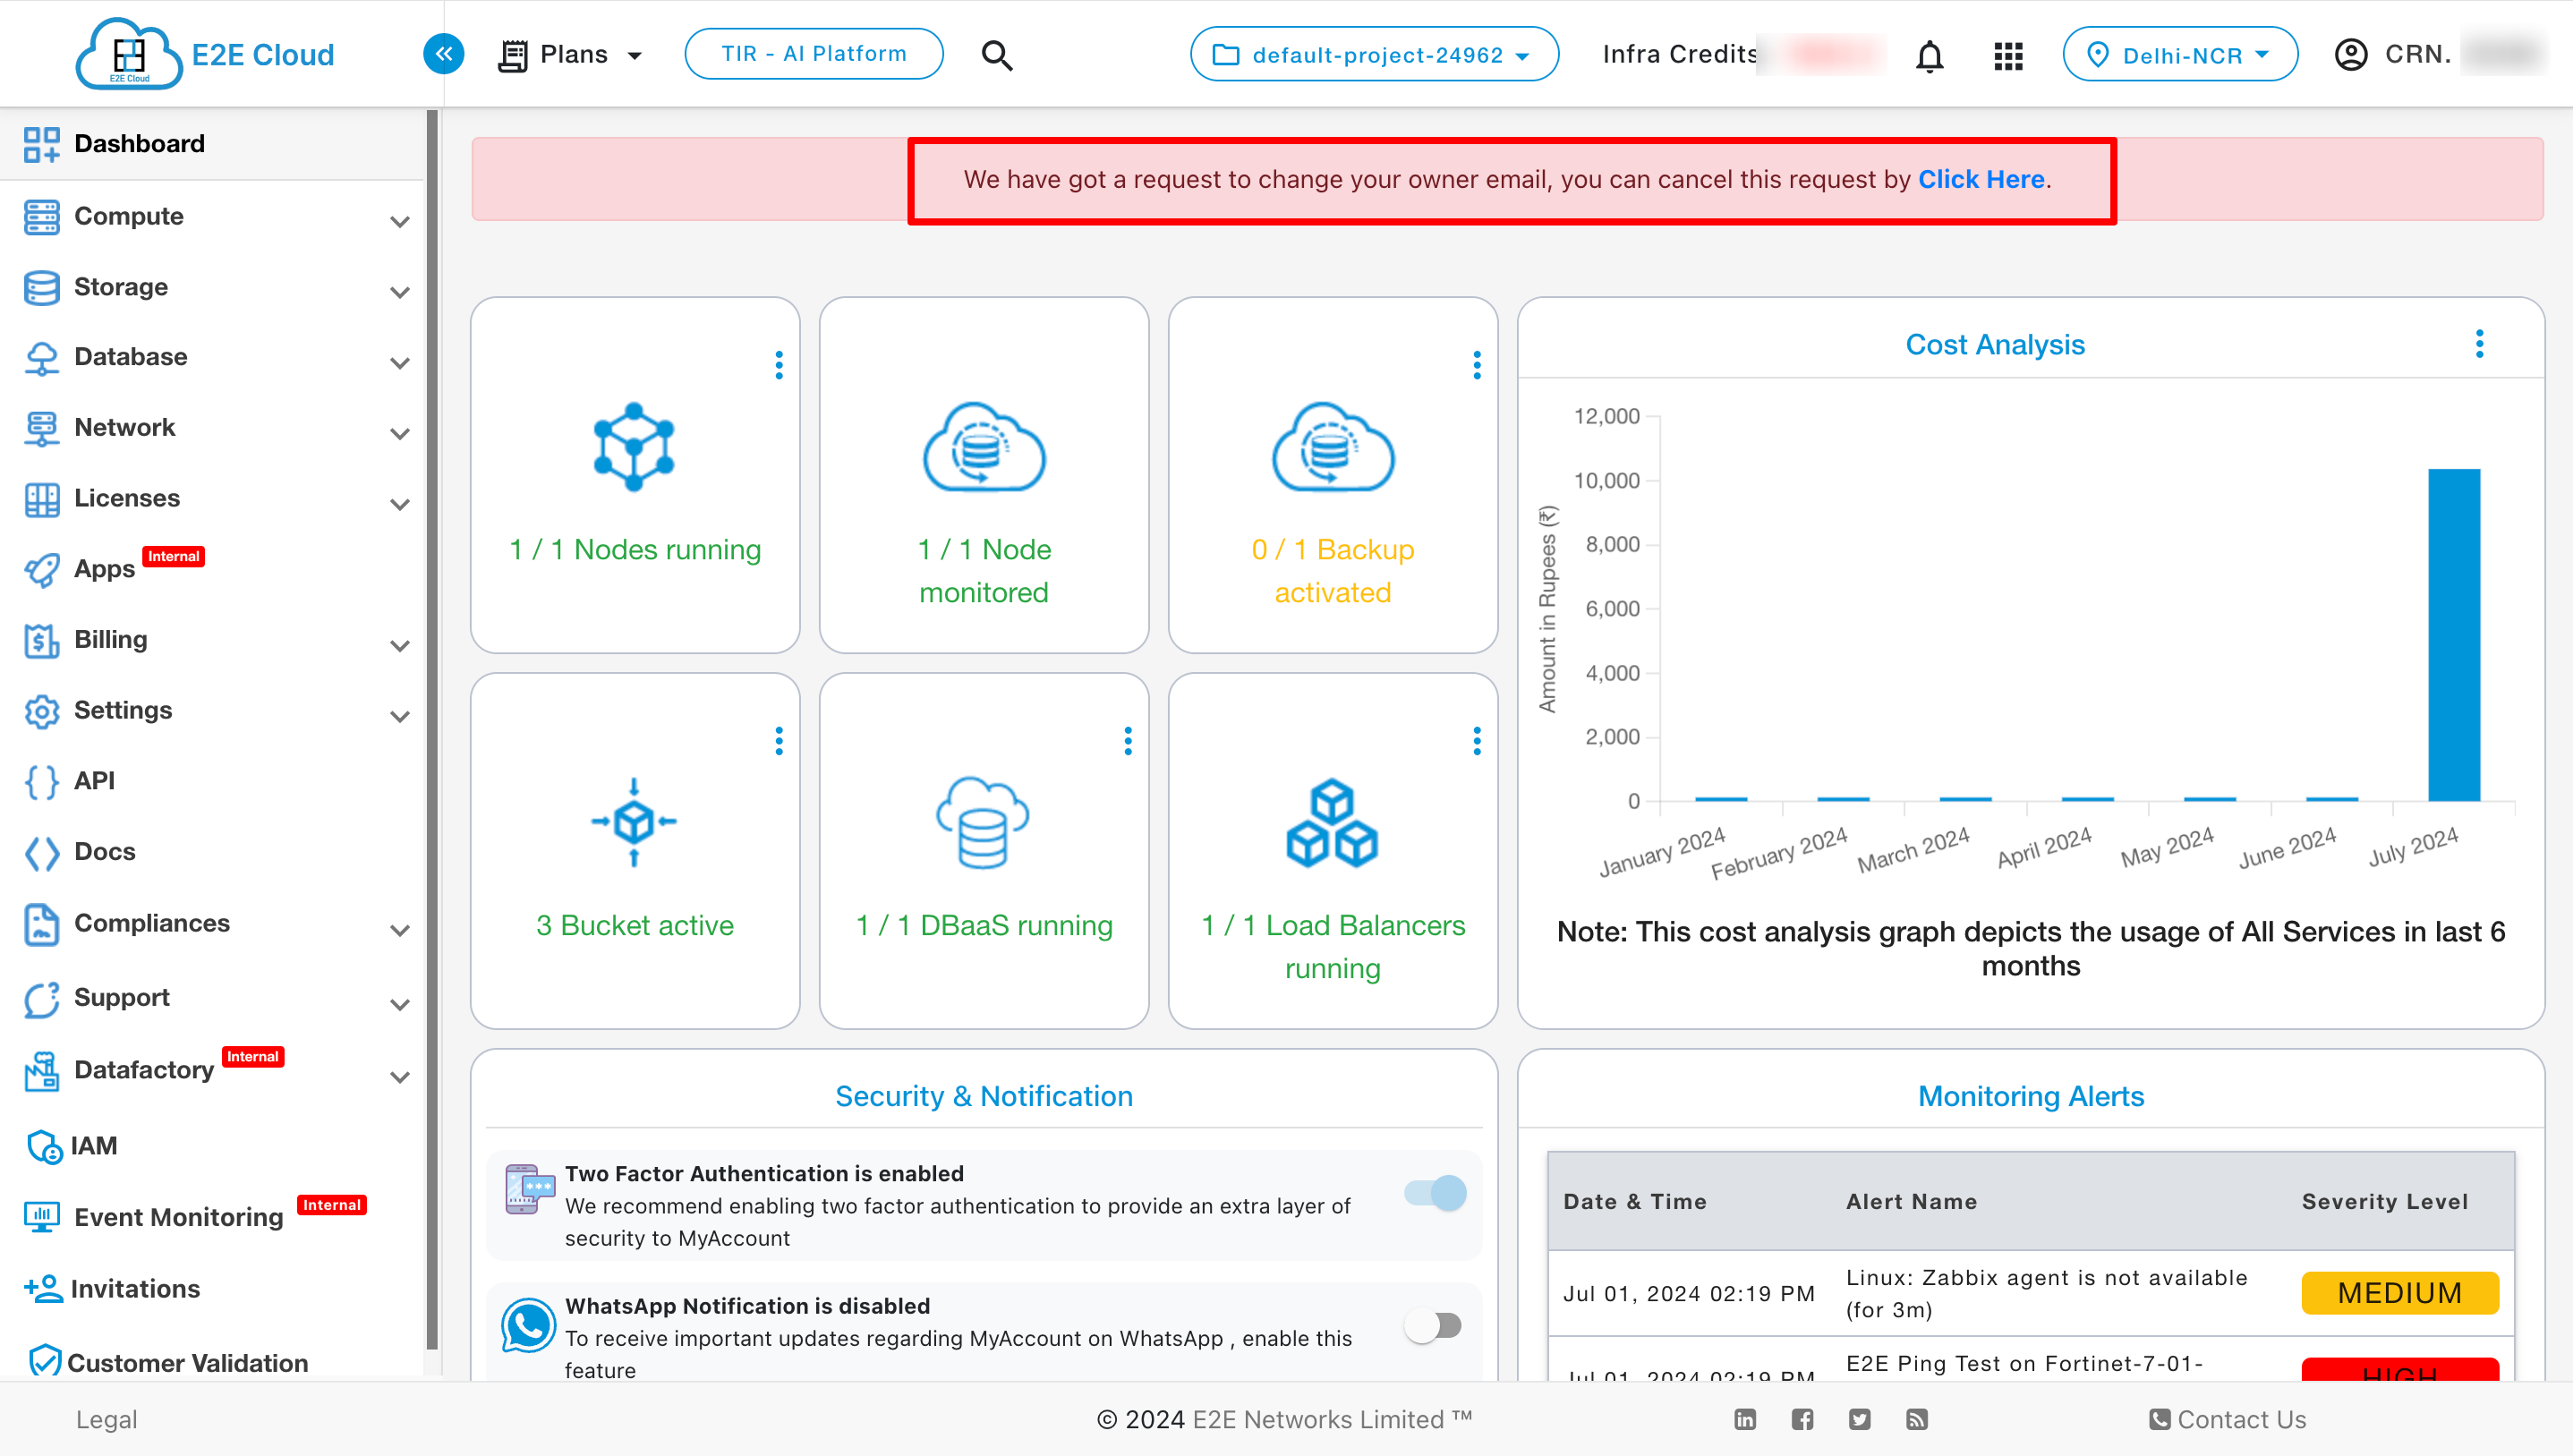
The cancellation link will be shown with a proper message on the top header of MyAccount.
Lockdown State
- After 20 hours, the user's account will be marked as locked, initiating the email update process on the MyAccount server.
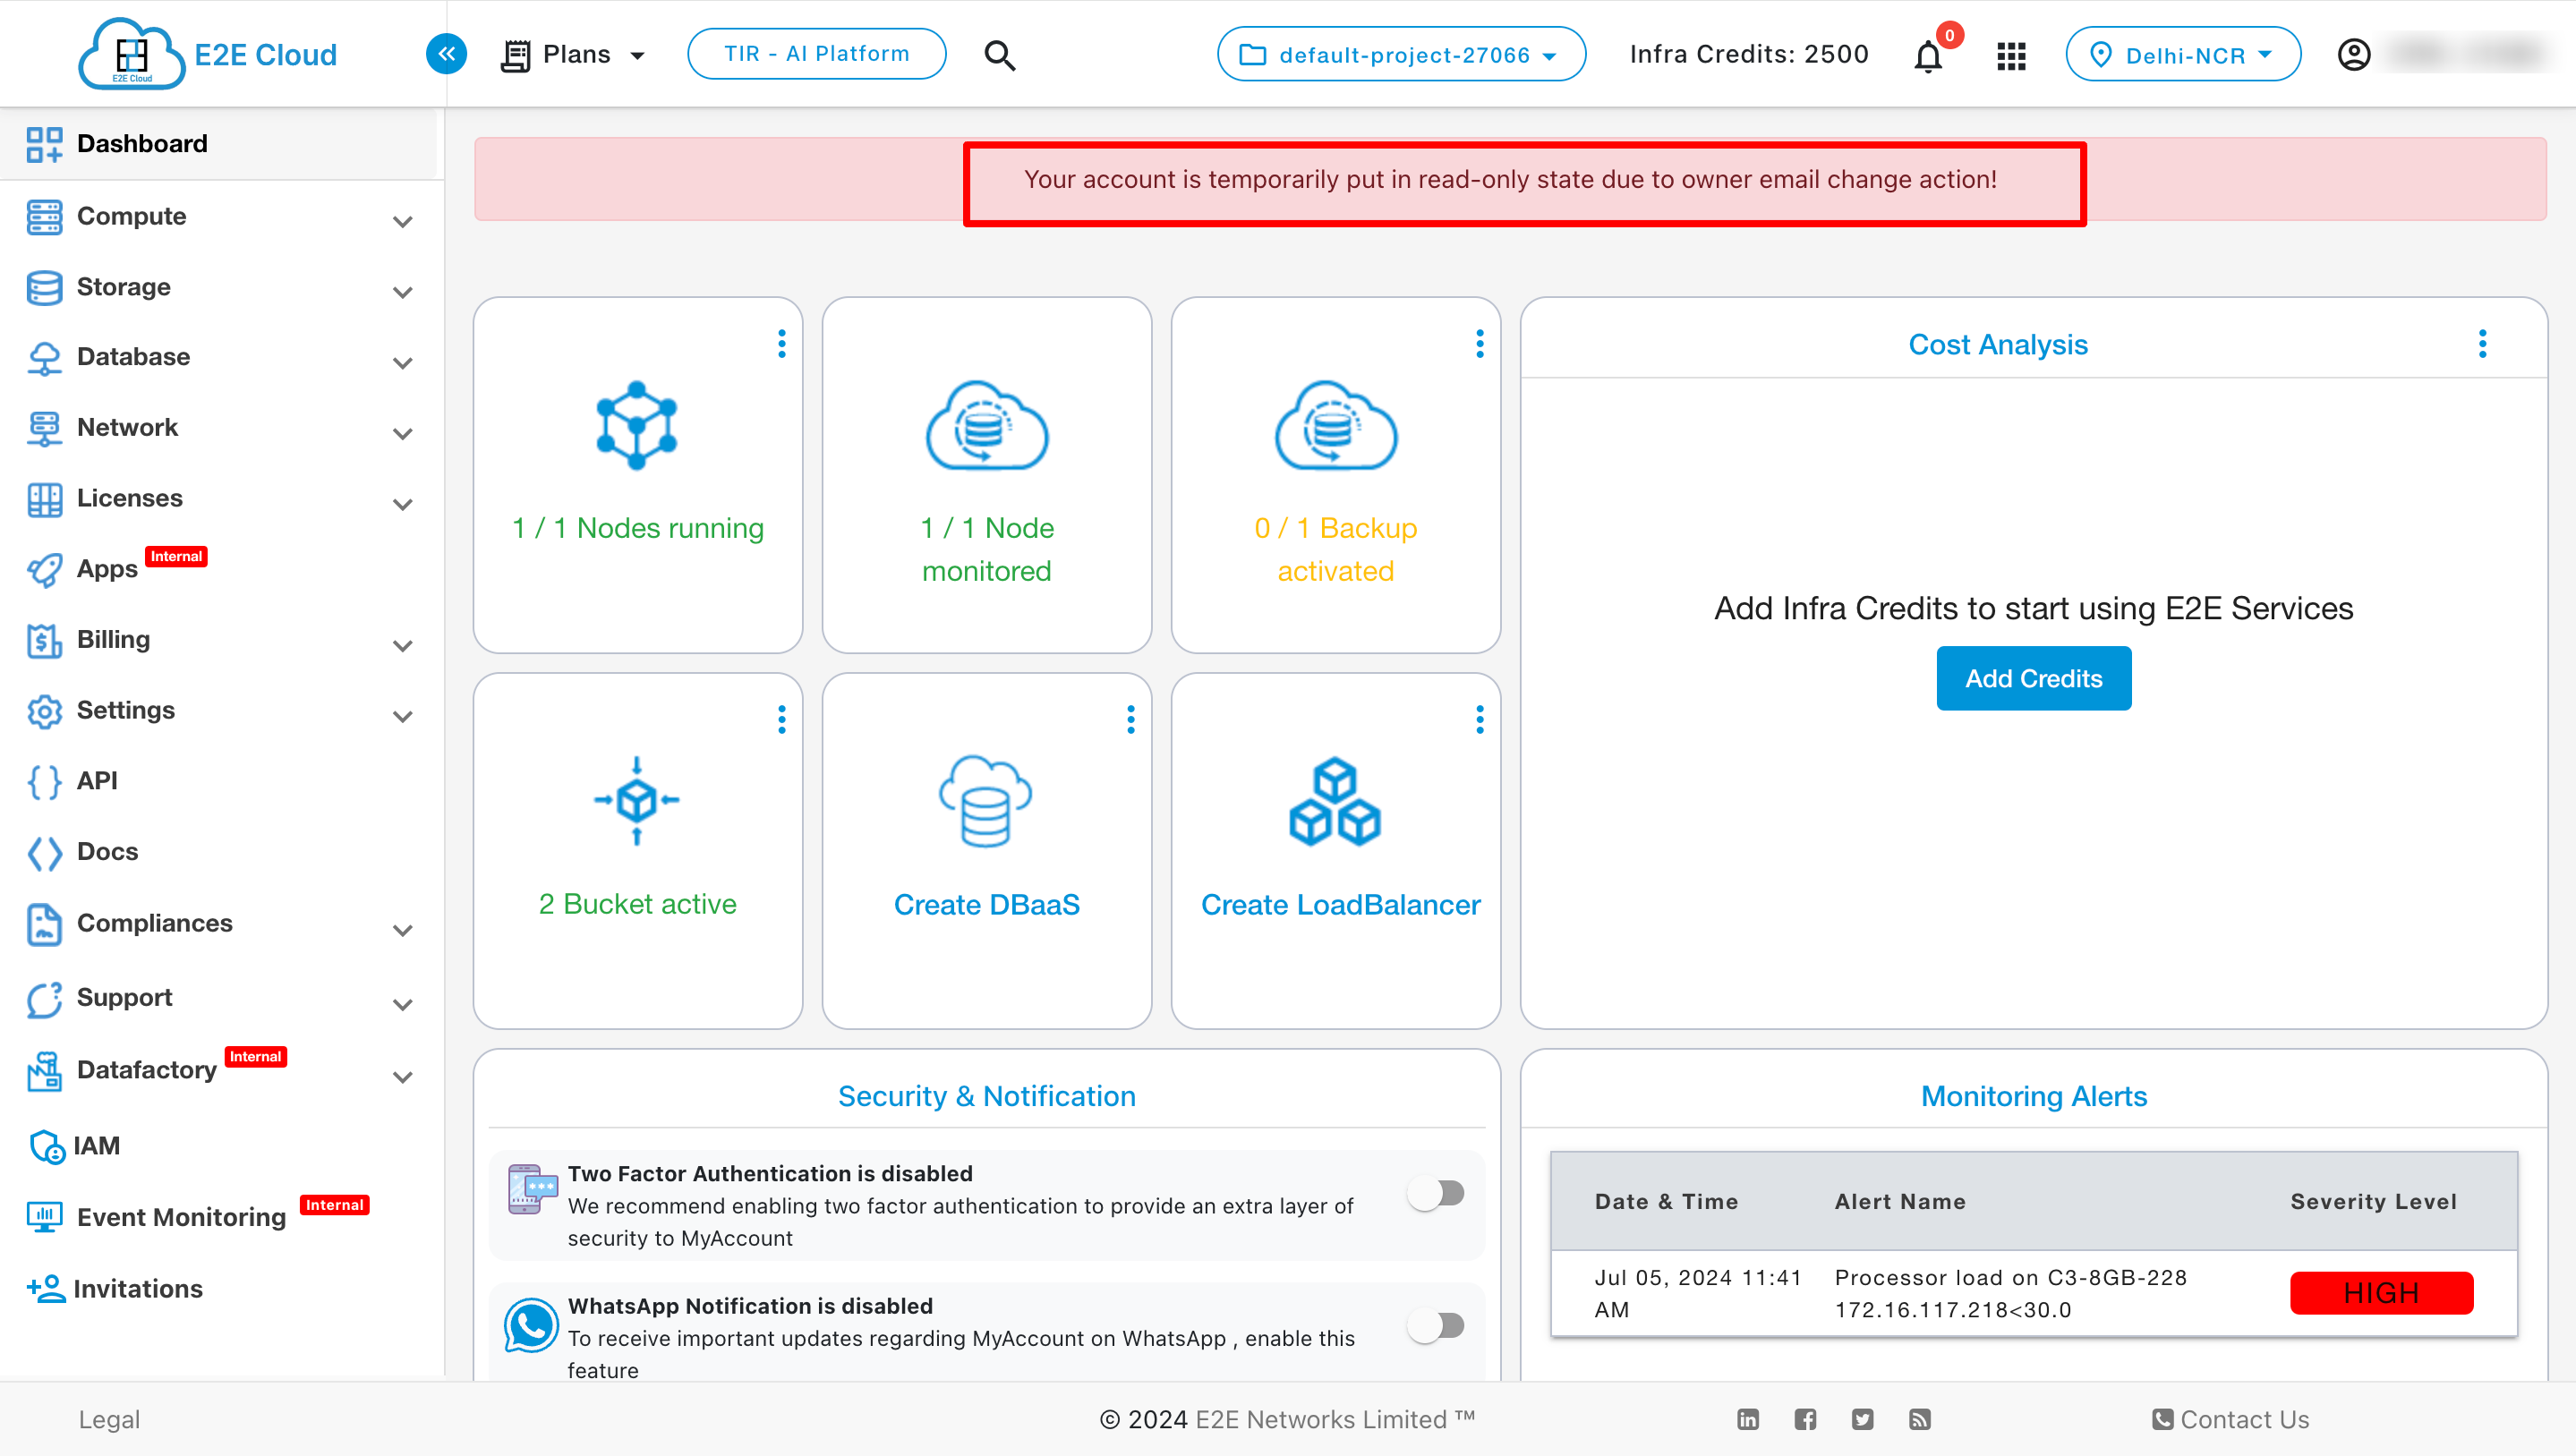
- During the Lockdown period, the user can operate the MyAccount in a read-only mode.
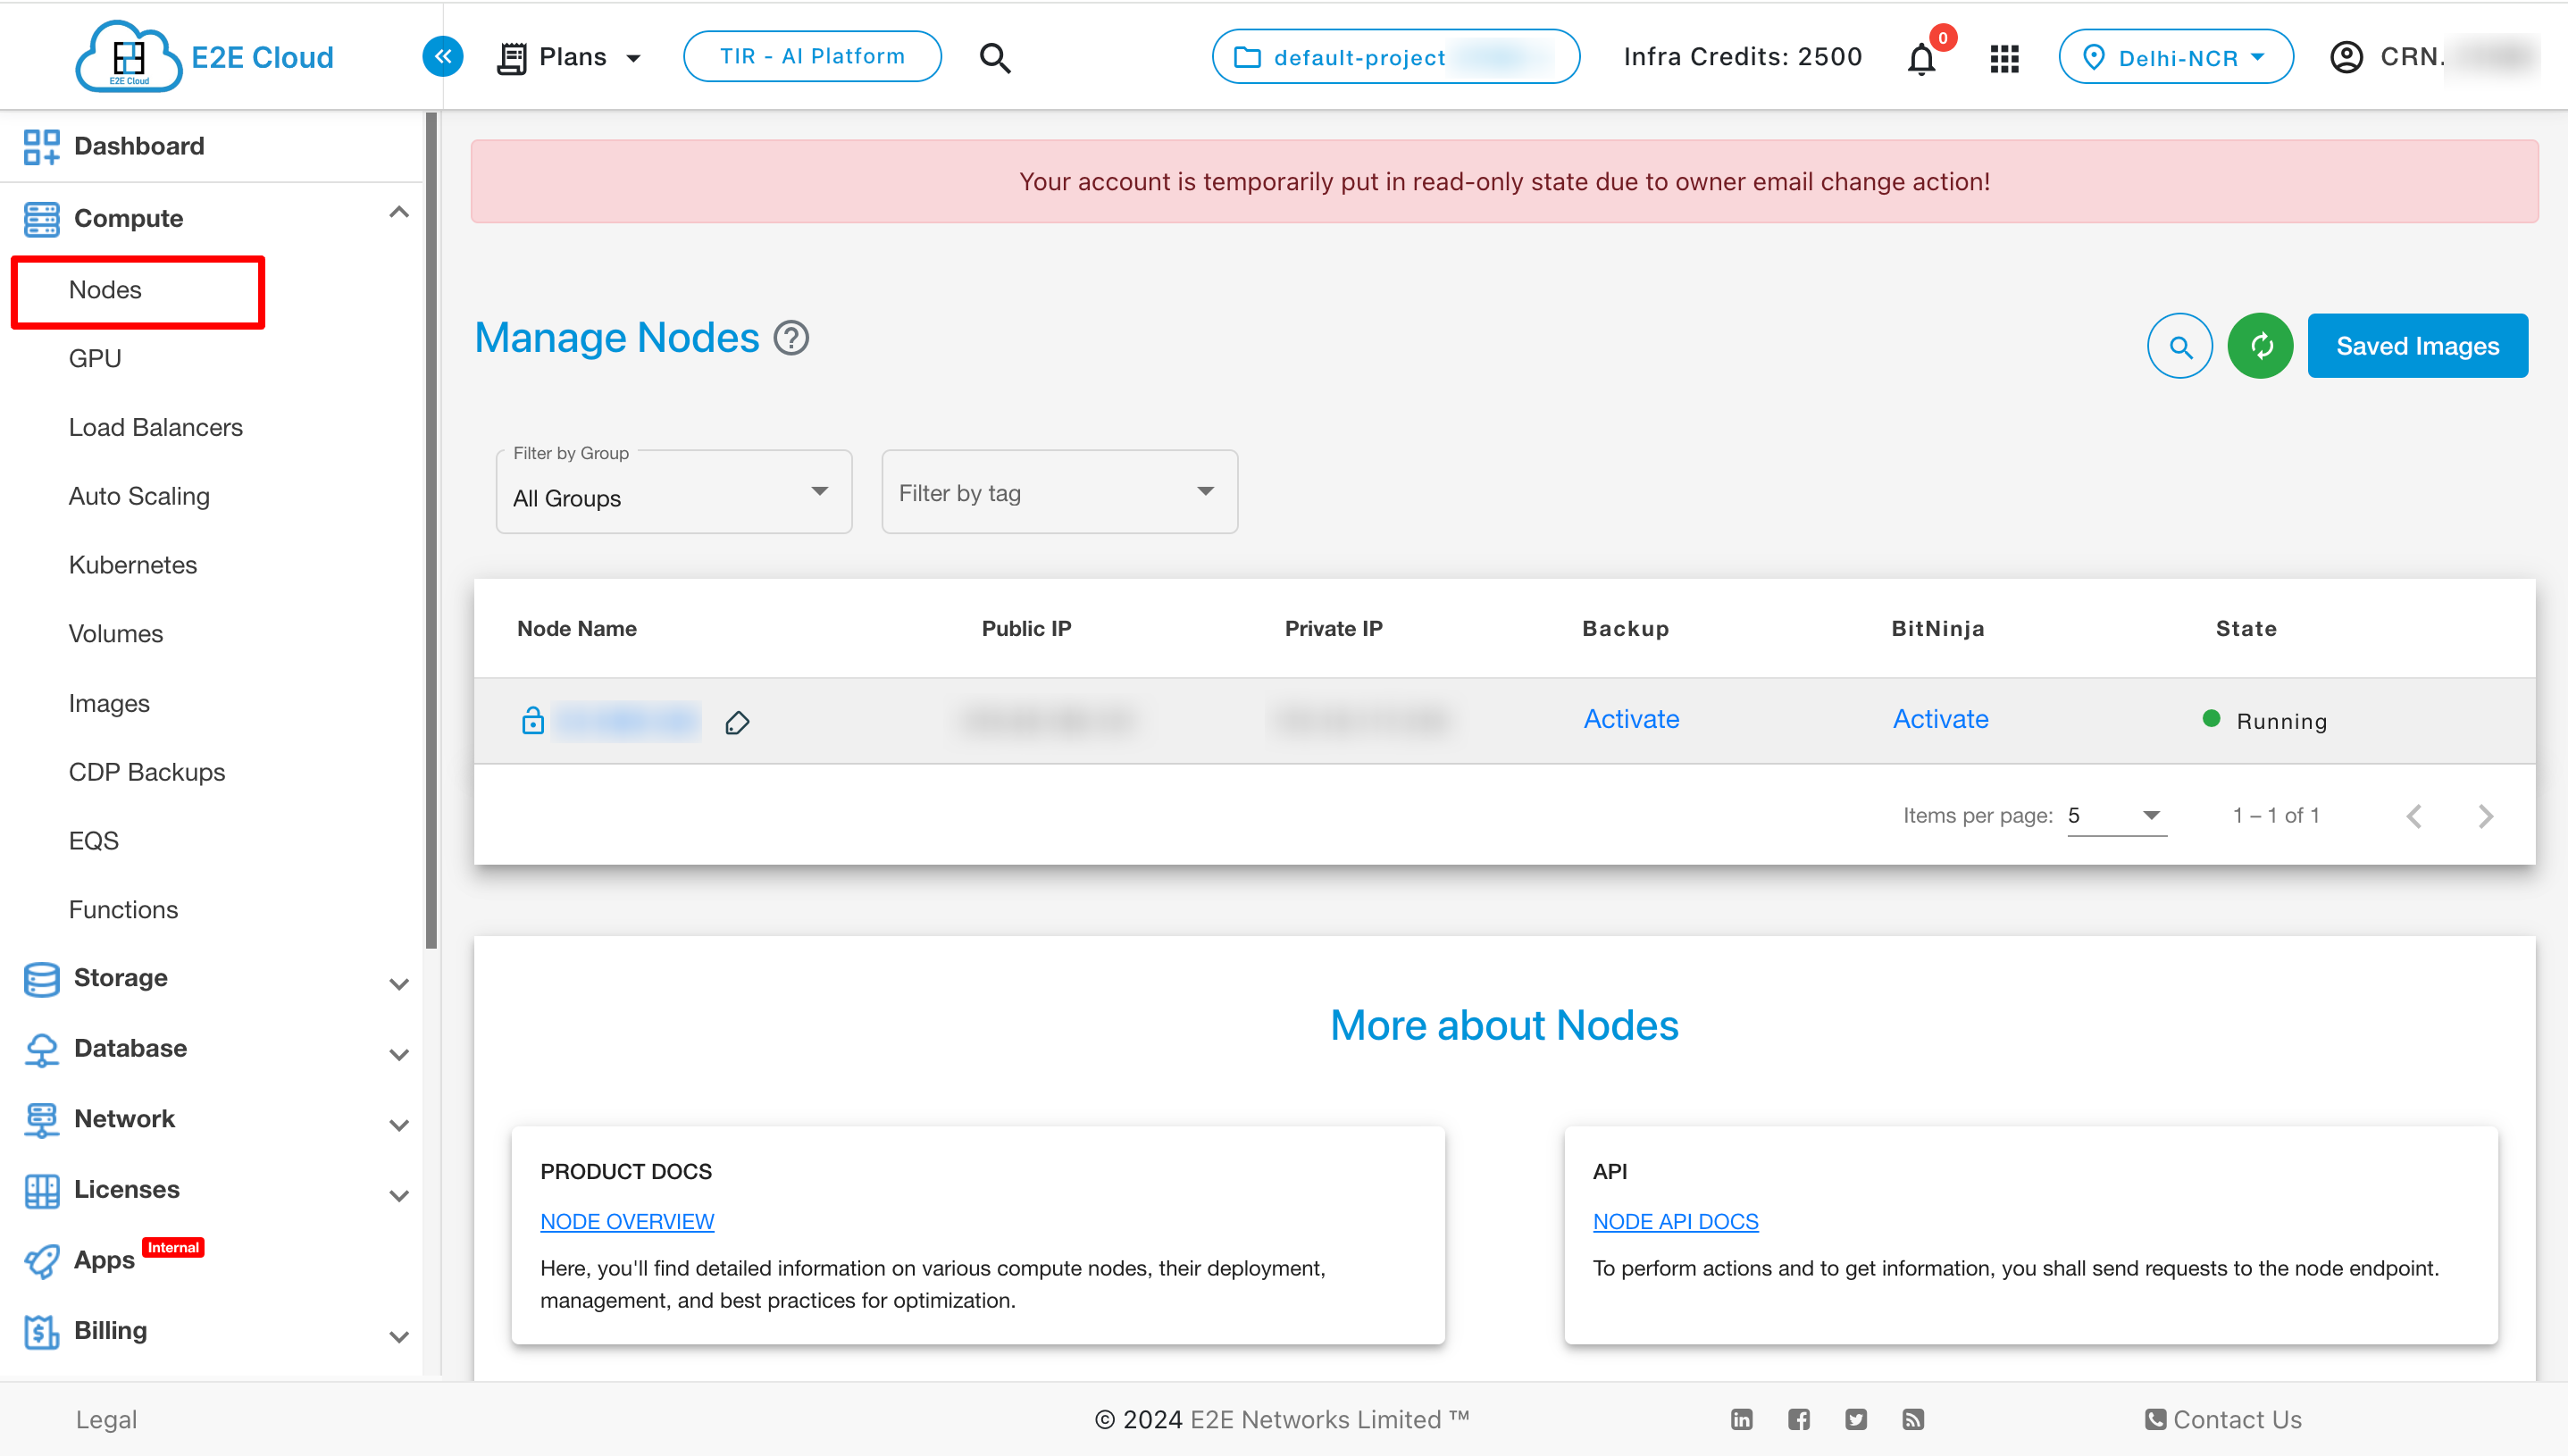
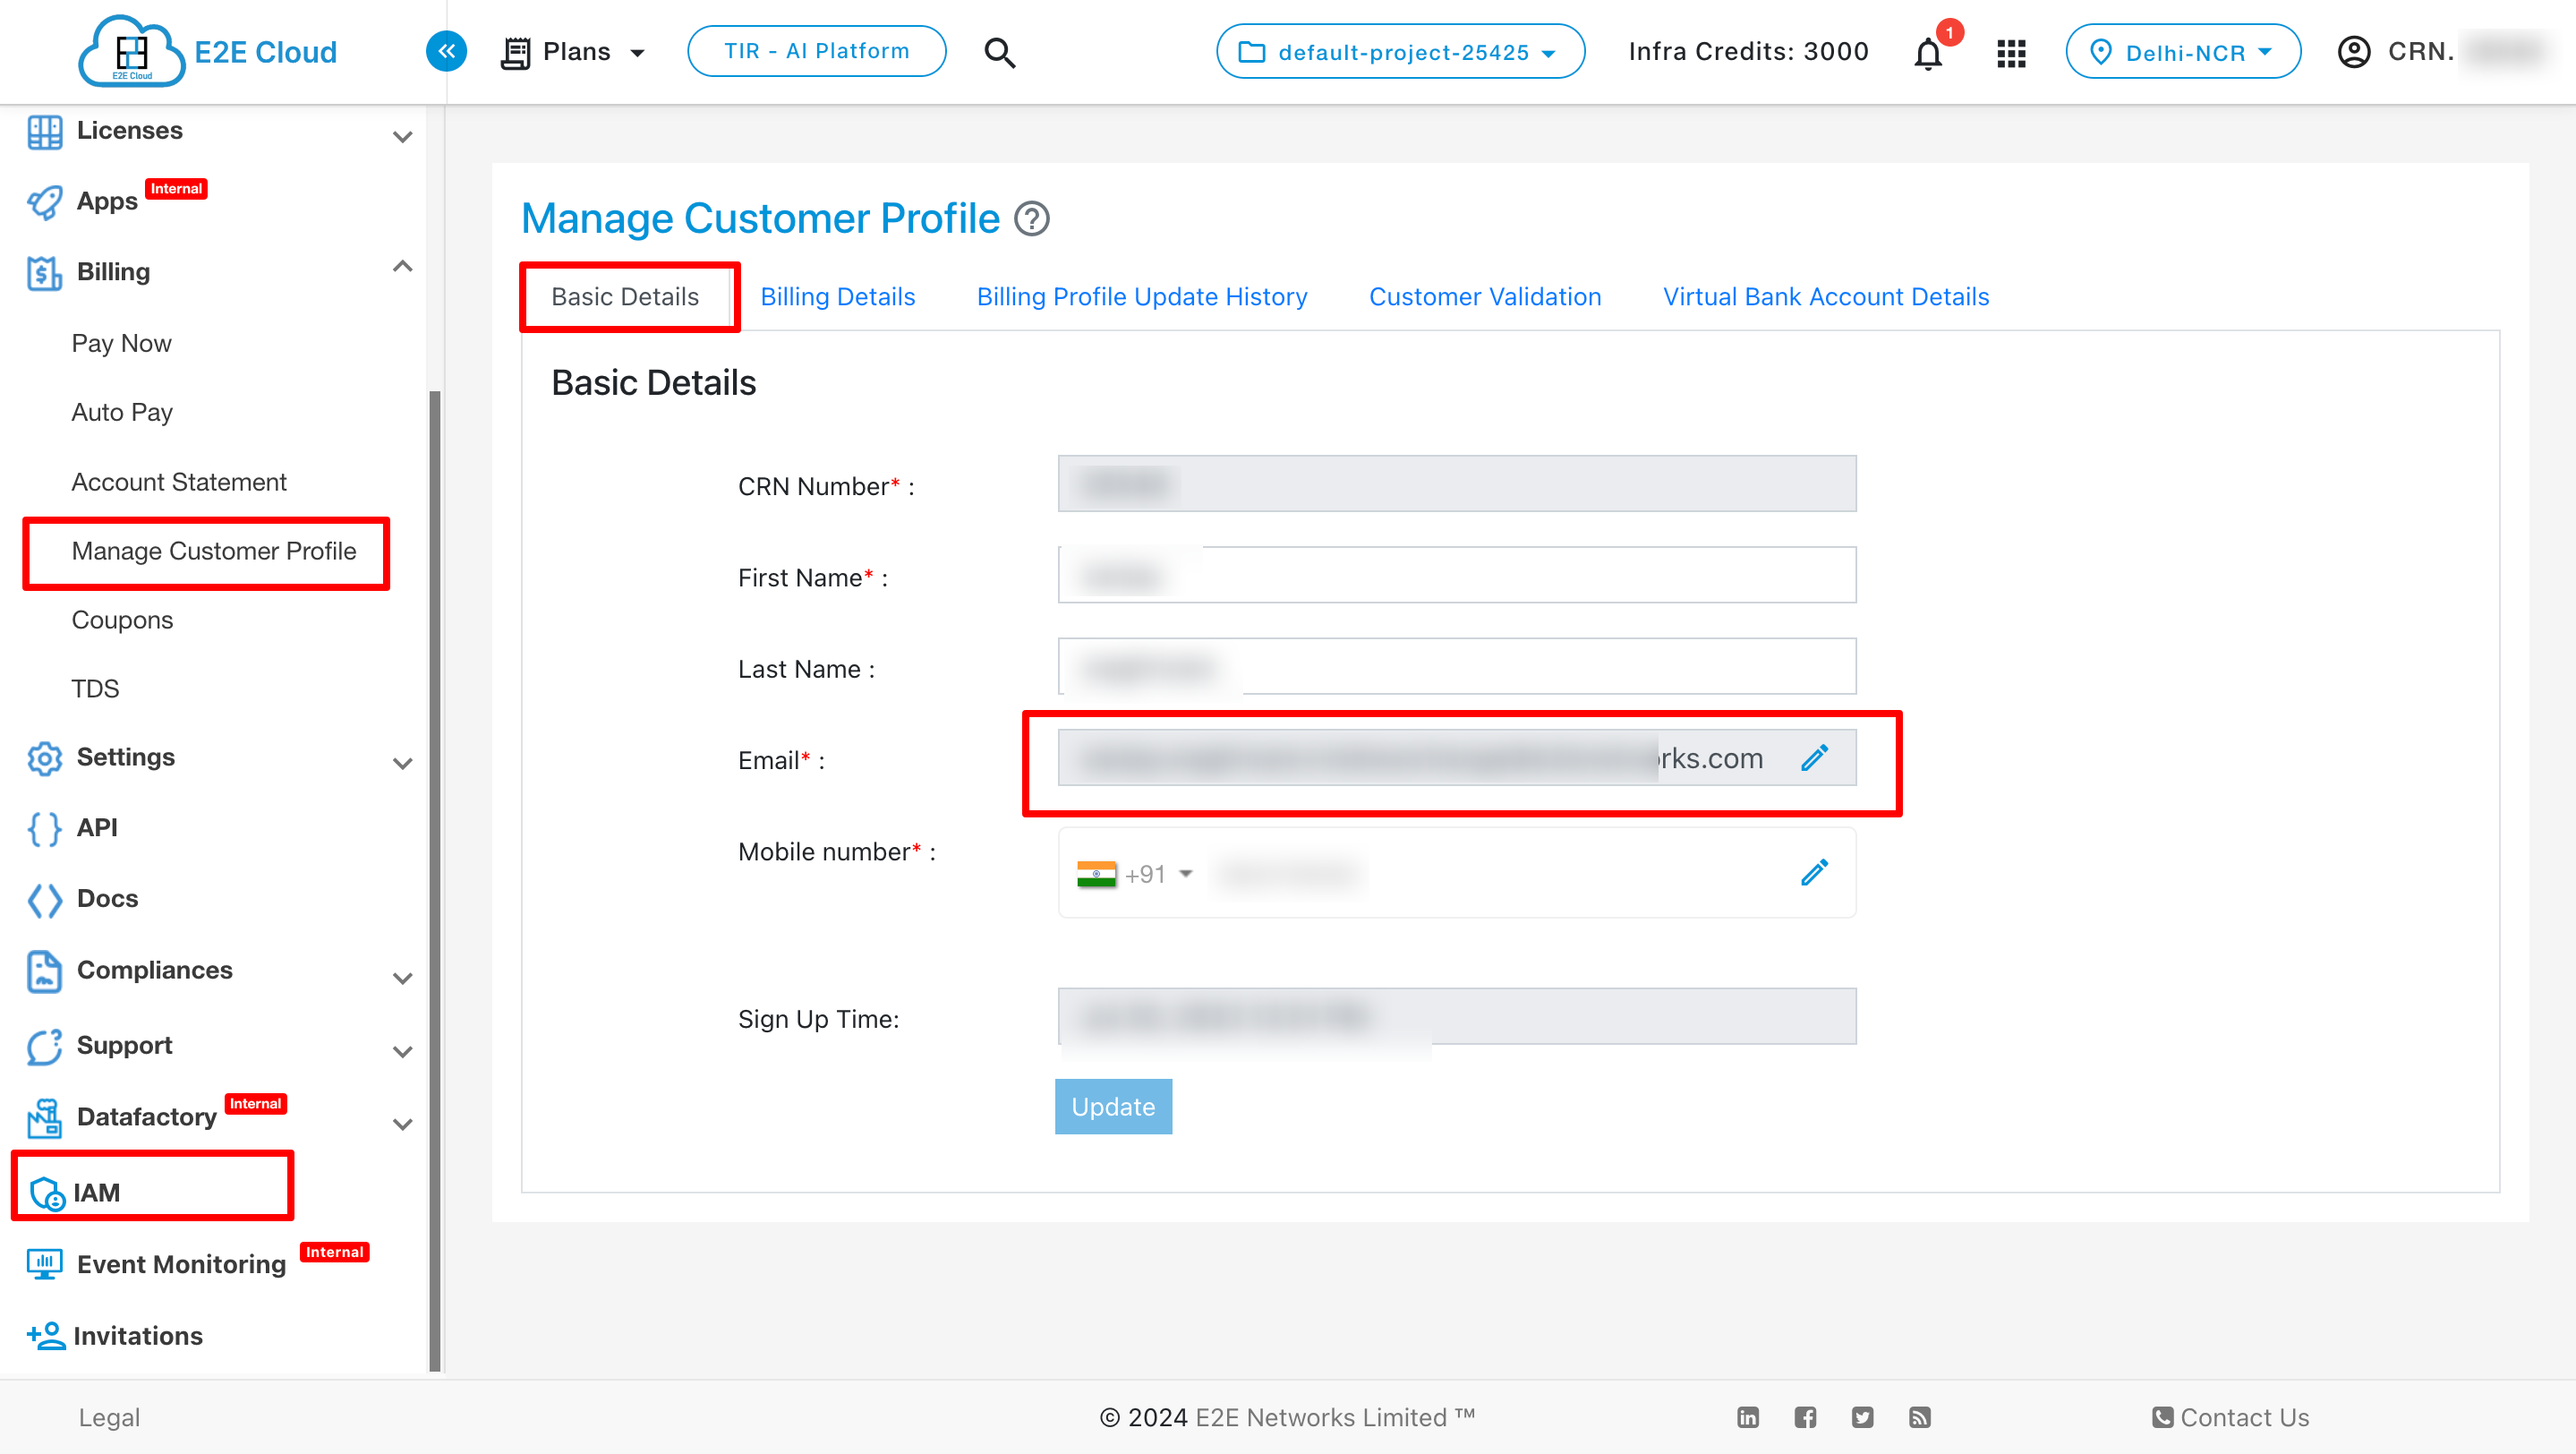
- After 24 hours, the user's email address change process is completed. The user can verify the updated email address in the IAM section as well as in the Billing section under Manage Customer Profile.
After successfully changing the owner's email, all active user sessions will be signed out. Users will need to sign in using the new email address.
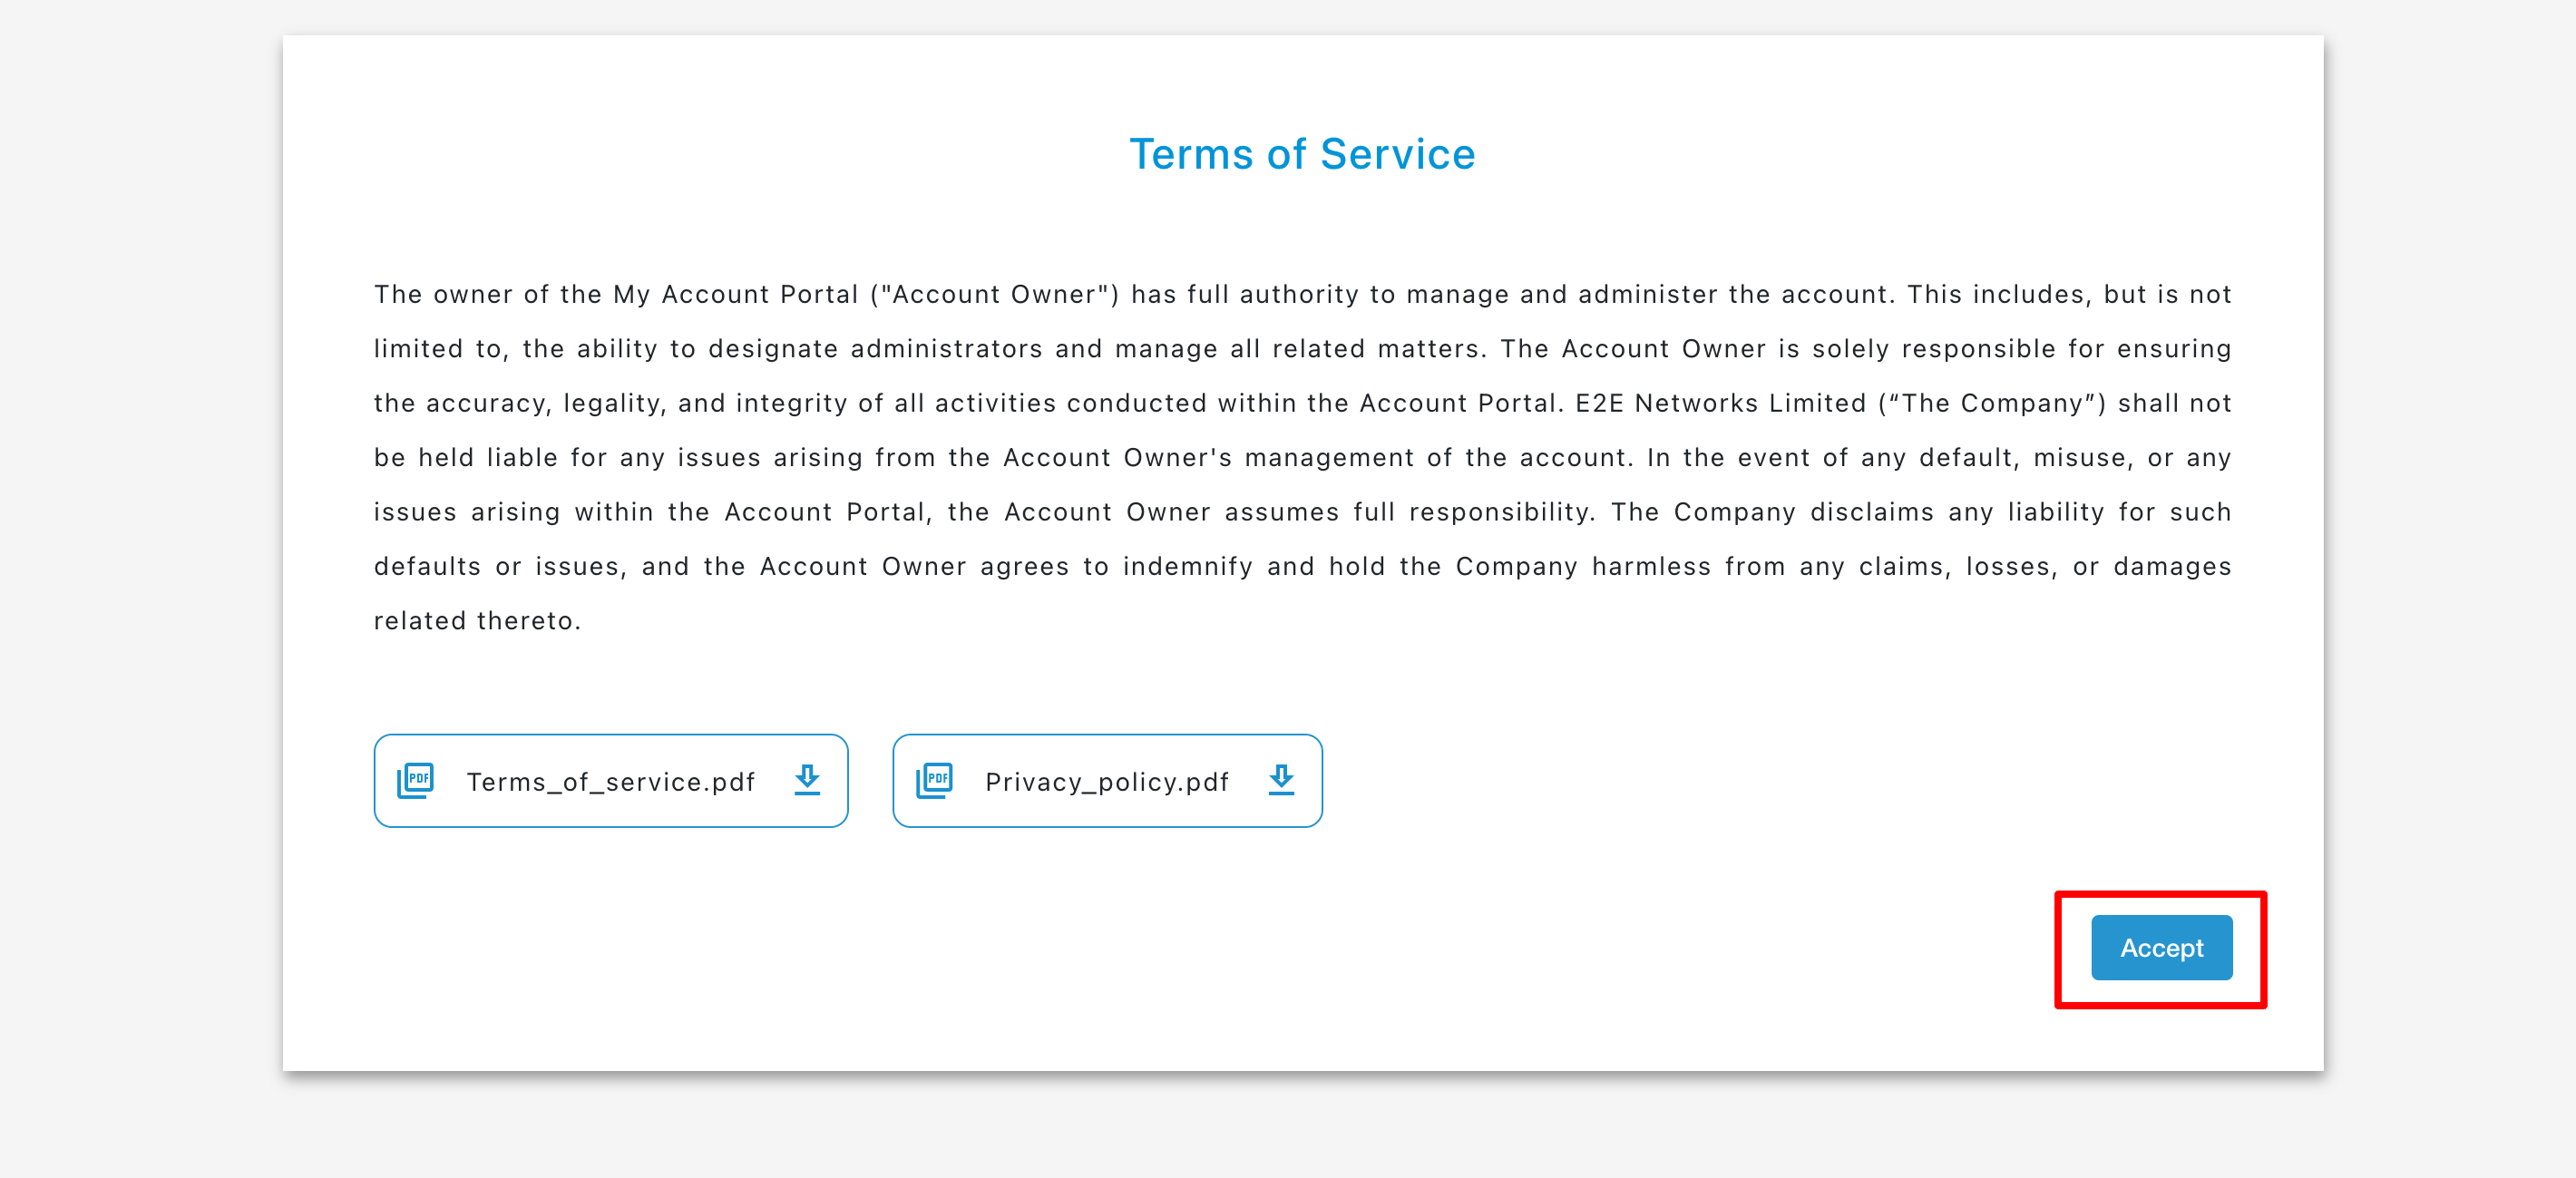
Upon signing in with the new email address, the user will see the terms and conditions. The user must read these terms and conditions carefully and accept them.
-
An email notification will be sent to the user, confirming that the email change request has been completed.
-
The user can then access their account with full privileges using the new email address, and the old email address will no longer be valid for account access.
Things to Remember for Users
-
After changing the email address, previously used API tokens will no longer be valid, so users must create new ones.
-
Additionally, users need to update the Container Registry password for existing Container Registries.