User Groups
User Group Management in Event Monitoring lets you create your custom user groups, add or remove users in the user groups at any point in time, and delete user groups that are not in use.
How to create User Groups?
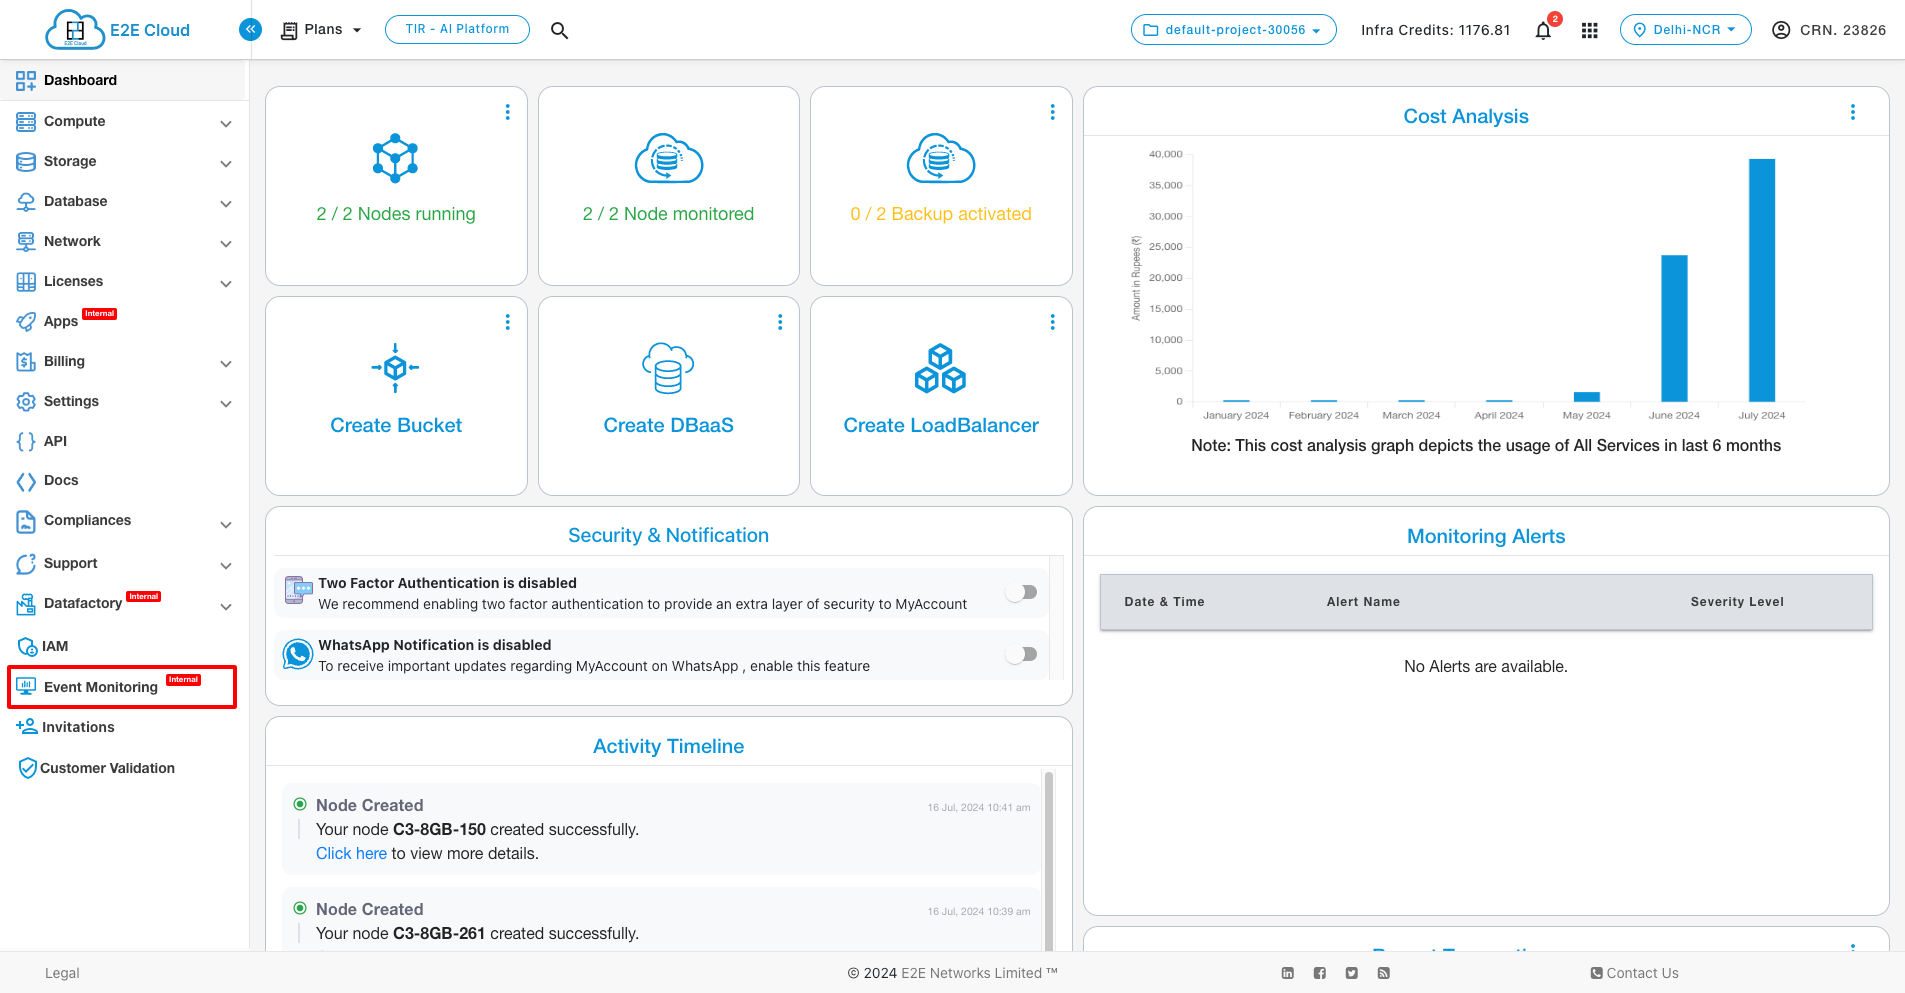
Click on Event Monitoring from the side navigation bar.
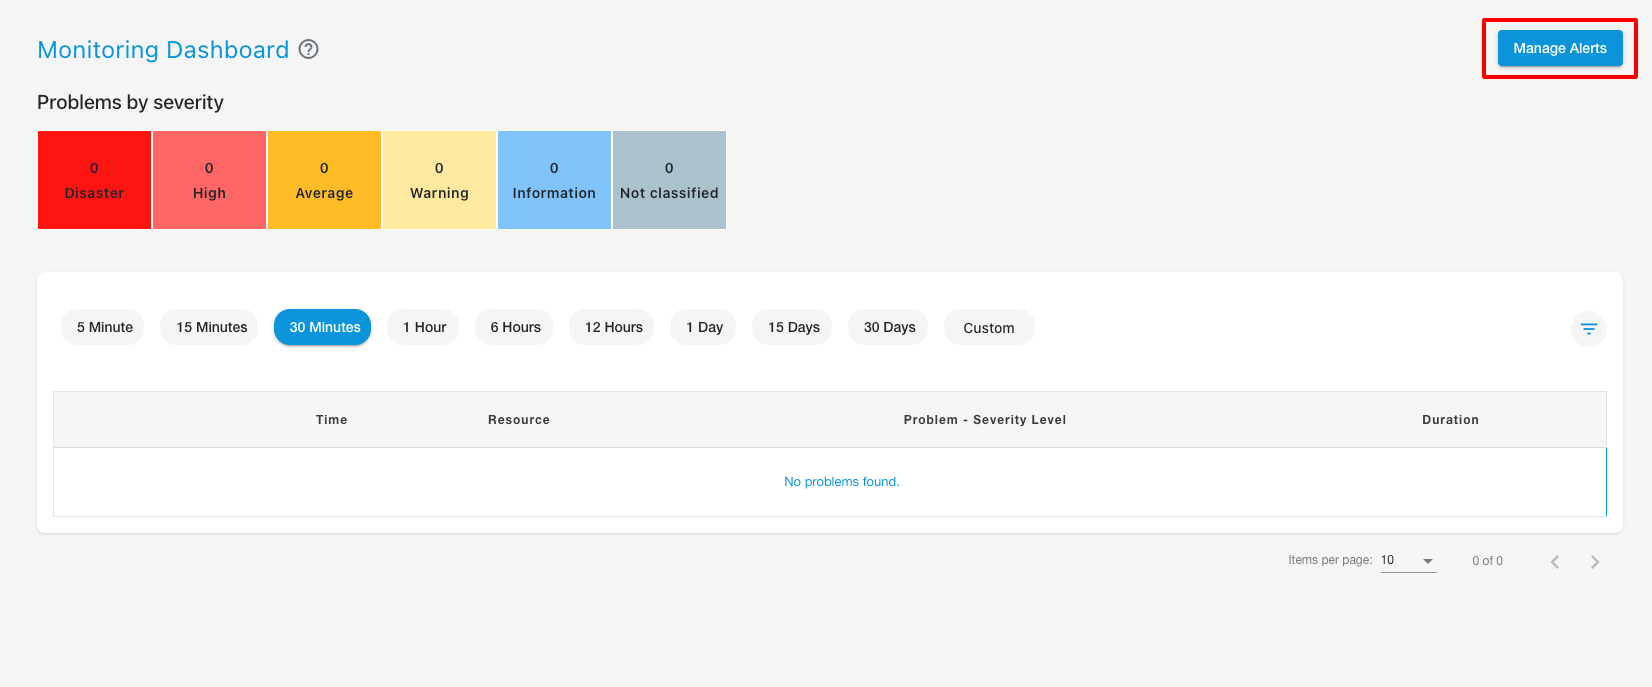
Click on Manage alerts at the top right corner of the page.
Click on Manage User Groups on the top right corner of the page.

Click on Create Group on the top right corner of the page.

Provide a suitable group name and then select user(s) to put in the user group.

Upon clicking on the select icon at the side of the select user(s) tab, you will be directed to the list of IAM users who have been given access to the Event Monitoring.
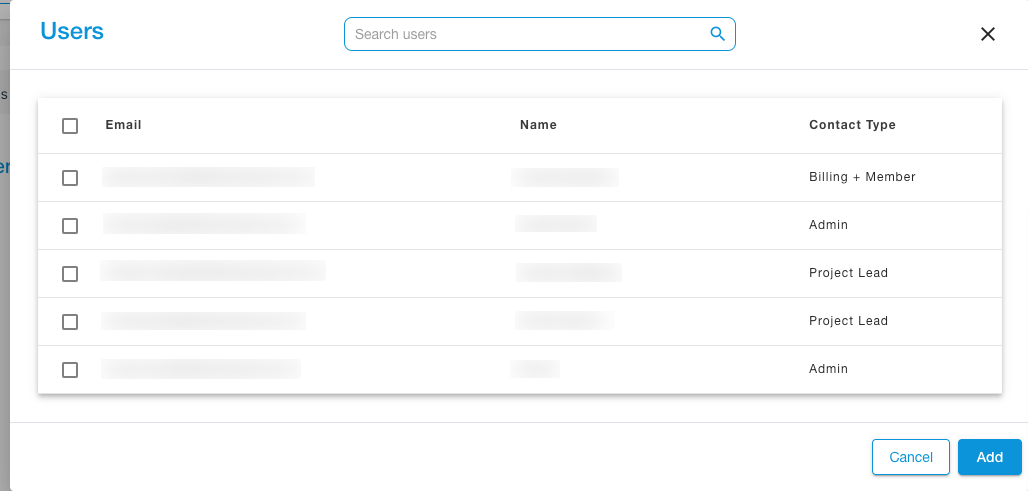
After selecting the users you want to add, click on the add button.
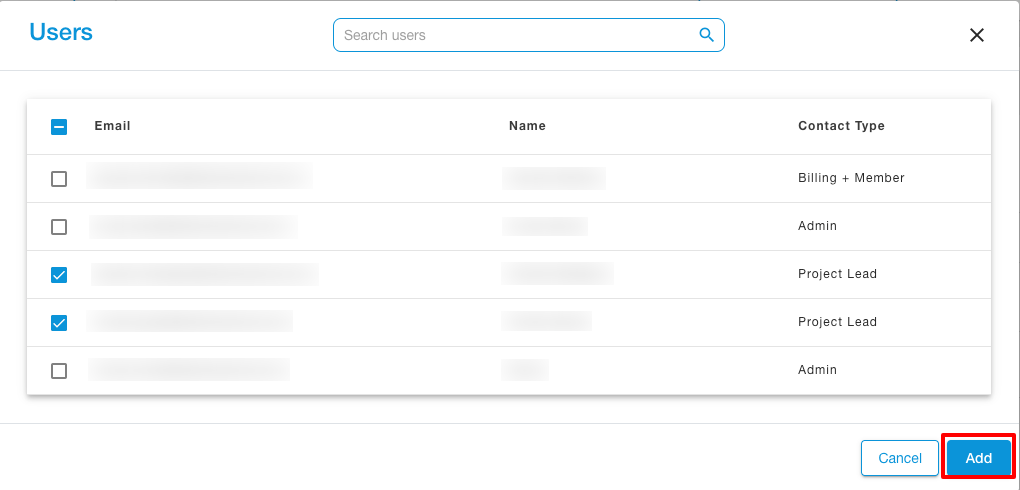
After naming the user group and adding the required users, click on Create at the bottom right corner.

Actions
You can perform the following actions on the user groups in Event Monitoring.

Actions while editing the user groups
In order to edit user groups, you have the pen-like icon at the end of that particular user group.

During editing of a user group:
-
You can change the name of the user group.

-
Removing any number of users.

-
Adding any number of IAM users who have been given access to the Event Monitoring.

After making the necessary changes, you need to click on the save button to save the changes that you have made.

Actions while deleting the User Groups
In order to delete the user groups, you need to click on the bin icon at the end of that particular Alert.

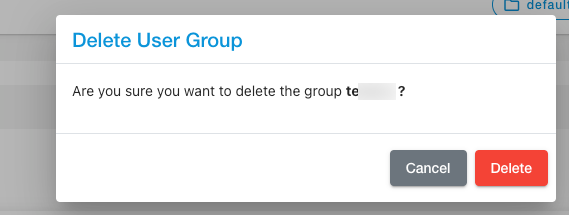
After clicking on the bin icon, a pop-up will come up asking for confirmation on the deletion of the user group.
