Deploy model endpoint for Stable Video Diffusion XT
Stable Video Diffusion (SVD) is an image-to-video generation model that creates 2–4 second high-resolution (576x1024) videos conditioned on an input image. In this tutorial, we’ll deploy a model endpoint for Stable Video Diffusion XT.
The tutorial covers:
- Step-by-step guide to create a model endpoint and generate videos using Stable Video Diffusion XT
- Creating a model endpoint with custom model weights
- Supported parameters for video generation
For this tutorial, we’ll use the Stable Video Diffusion XT pre-built container. The pre-built container automatically handles the API setup, so no custom API handler is required.
A guide on model endpoint creation and video generation
Step 1: Create a model endpoint
- Go to the AI Platform.
- Select your project.
- Navigate to Model Endpoints → Create Endpoint.
- Choose the Stable Video Diffusion XT model card.
- Select an appropriate GPU plan.
- You can keep default values for replicas, disk size, and endpoint details.
- Add environment variables if needed, else continue.
- For now, skip Model Details to use default model weights. (See Creating model endpoint with custom model weights for using custom ones.)
- Complete the endpoint creation.
Step 2: Generate your API token
You need an Auth Token to access the endpoint.
- Go to API Tokens under your project.
- Click Create Token or use an existing one.
- Copy the generated Auth Token for use in API requests.
Step 3: Generate videos using a prompt image
Once your endpoint is Ready, test it using the Sample API Request.
- Launch a Notebook with PyTorch or any suitable image.
- Open a new notebook (
untitled.ipynb) in Jupyter Labs. - Paste the sample code from the endpoint or use the example below:
Click to expand code
import requests
import json
import base64
auth_token = "<your-auth-token>"
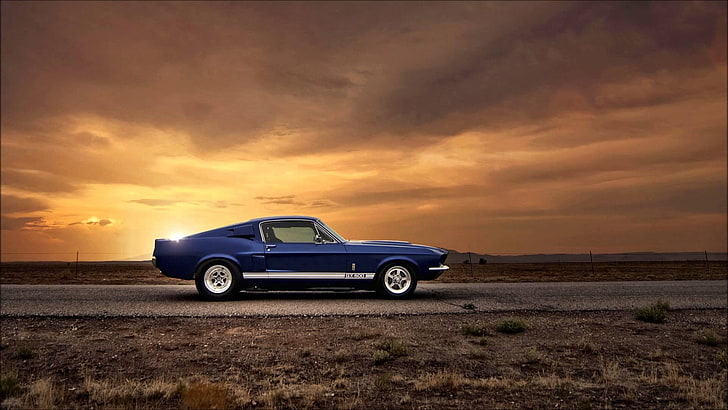
input_image_path = 'car.png'
video_output_path = 'video_output.avi'
video_fps = 10
url = "https://<your-endpoint-url>"
with open(input_image_path, 'rb') as image_file:
image_base64 = base64.b64encode(image_file.read()).decode('utf-8')
payload = json.dumps({
"fps": video_fps,
"image": image_base64
})
headers = {
'Content-Type': 'application/json',
'Authorization': f'Bearer {auth_token}'
}
response = requests.post(url, headers=headers, data=payload)
video_bytes = base64.b64decode(response.json().get('predictions'))
with open(video_output_path, "wb") as video_file:
video_file.write(video_bytes)
Execute the script, and your generated video will be saved to the specified output path.
That’s it — your Stable Video Diffusion XT endpoint is ready!
You can experiment with different prompts or adjust the payload parameters for diverse results.
Creating model endpoint with custom model weights
To create an endpoint with custom weights for Stable Video Diffusion XT:
- Download the stable-video-diffusion-img2vid-xt model.
- Upload it to your Model Bucket (EOS).
- Deploy a new endpoint using those weights.
Step 1.1: Define a model in the dashboard
- Go to the AI Platform.
- Choose your project.
- Navigate to Models → Create Model.
- Name it (e.g.,
stable-video-diffusion). - Select Model Type: Custom.
- Click CREATE.
- Copy the Setup Host command from Setup MinIO CLI.
Step 1.2: Start a new notebook
- Launch a Diffusers Image Notebook with GPU (recommended).
- In Jupyter Labs, open Terminal.
- Run the MinIO setup command.
- Confirm
mcCLI is configured successfully.
Step 1.3: Download the Stable Video Diffusion XT model
Click to expand code
import torch
from diffusers import StableVideoDiffusionPipeline
from diffusers.utils import load_image, export_to_video

pipe = StableVideoDiffusionPipeline.from_pretrained(
    "stabilityai/stable-video-diffusion-img2vid-xt", torch_dtype=torch.float16, variant="fp16"
)
pipe.enable_model_cpu_offload()

image = load_image("https://huggingface.co/datasets/huggingface/documentation-images/resolve/main/diffusers/svd/rocket.png")
image = image.resize((1024, 576))

generator = torch.manual_seed(42)
frames = pipe(image, decode_chunk_size=8, generator=generator).frames[0]

export_to_video(frames, "generated.mp4", fps=7)
pip install diffusers transformers accelerate
Step 2: Upload the model to EOS
Click to expand code
cd $HOME/.cache/huggingface/hub/models--stabilityai--stable-video-diffusion-img2vid-xt/snapshots
mc cp -r * stable-video-diffusion/stable-video-diffusion-854588
If upload fails, verify model directory using:
ls $HOME/.cache/huggingface/hub
Step 3: Create an endpoint for your model
After upload, return to the dashboard and create a new endpoint.
Select the uploaded model in Model Details.
If your model isn’t in the root directory, provide the correct path where model_index.json exists.
Supported parameters for video generation�
Below are the supported parameters accepted in the request payload:
Required parameters
- image (base64): Base64-encoded input image.
- fps (int): Frames per second of the output video.
Advanced parameters
- vae: Variational Auto-Encoder (VAE) used to encode and decode images.
- image_encoder: CLIP image encoder.
- unet: UNetSpatioTemporalConditionModel for denoising image latents.
- scheduler: EulerDiscreteScheduler used with UNet.
- feature_extractor: CLIPImageProcessor for feature extraction.
Troubleshooting and best practices
- Ensure your Auth Token and endpoint URL are correct.
- Use
.avias output format. - Validate GPU resources before large-scale runs.
- Verify the EOS bucket path if model load fails.
- Check API logs for troubleshooting failed requests.