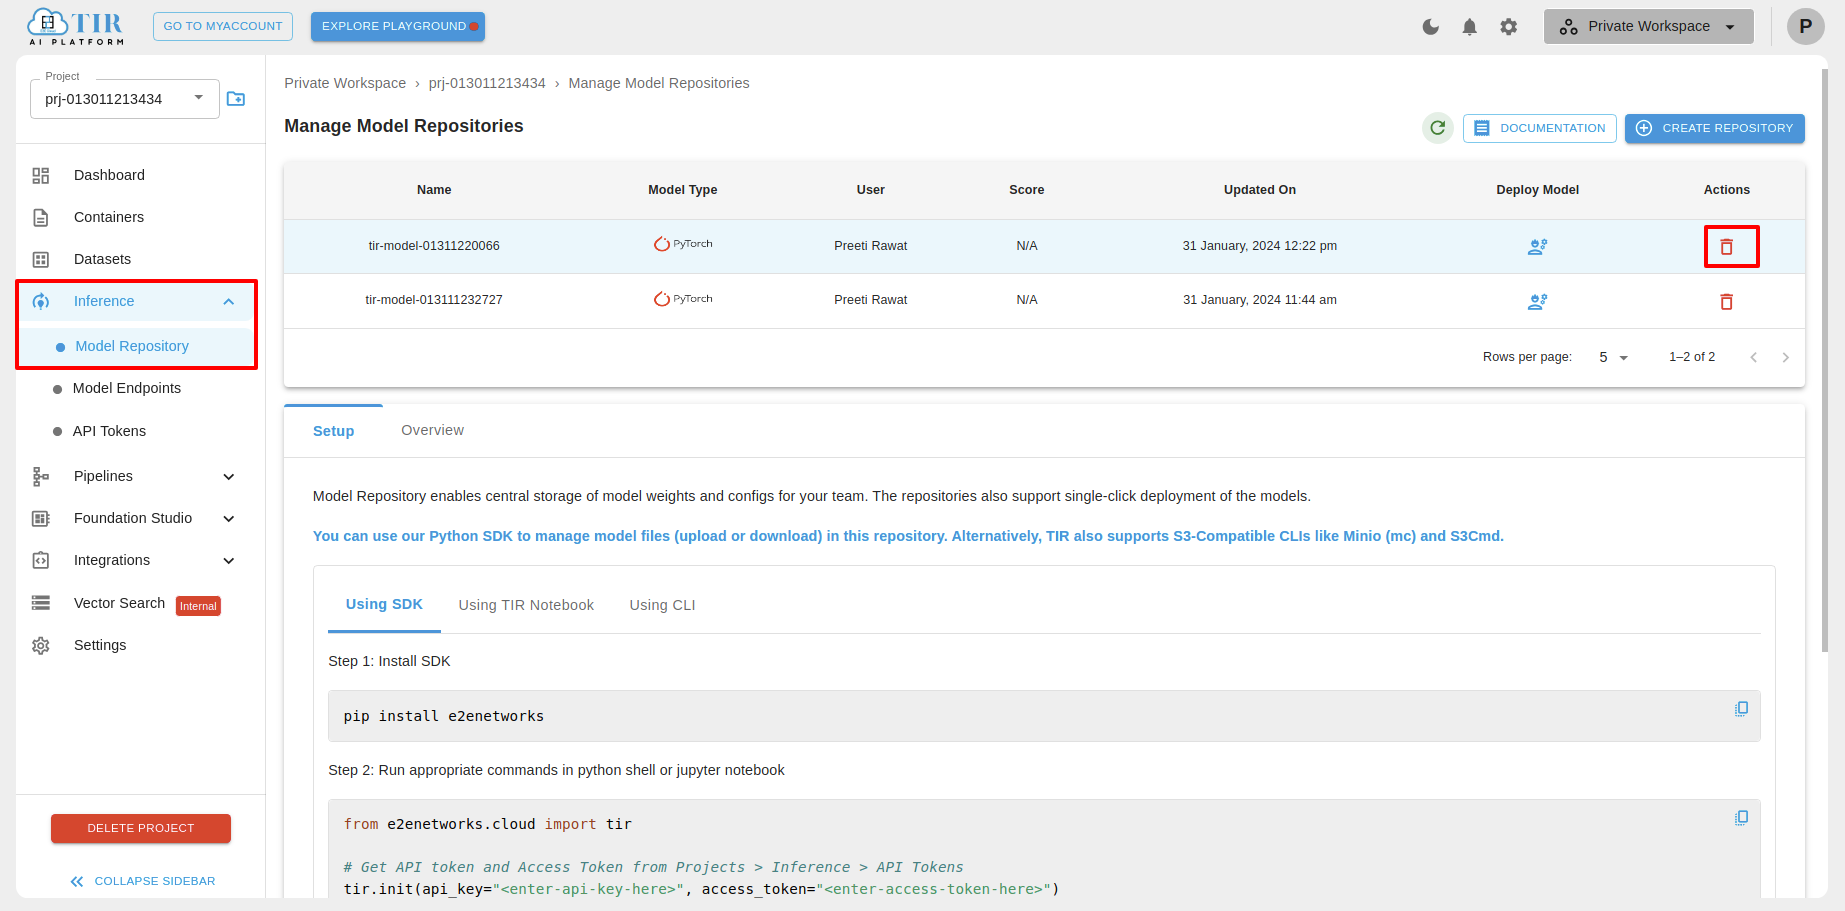
Model Repositories
TIR Model Repositories are designed to store model weights and configuration files. These repositories can be backed by either E2E Object Storage (EOS) or PVC storage within a Kubernetes environment.
Key Concepts
Flexible Model Definition: A model in TIR is simply a directory hosted on EOS or a disk. There is no rigid structure, format, or framework required. You can organize your model by creating subfolders (e.g., v1, v2, etc.) to track different versions.
Collaboration: Once a model is defined within a project, all team members gain access to it, enabling reuse and collaboration. It is recommended to define a TIR model to store, share, and utilize your model weights efficiently.
Uploading weights to TIR Models
When you create a new model in TIR, an EOS bucket is automatically provisioned to store your model weights and configuration files (e.g., TorchServe configuration). Connection details to access the EOS bucket will be provided.
If you haven’t used EOS (E2E Object Storage) before, note that it offers an S3-compatible API for uploading and downloading content. You can use any S3-compatible CLI, such as Minio’s mc or s3cmd. We recommend using the Minio CLI (mc). The TIR Model Setup section provides ready-to-use commands to configure the client and upload contents.
A typical command to setup the CLI would look like this. Minio has a concept of alias which represents a connection profile. We use the model-name as alias (or connection profile)
mc config host add <tir-model-name> https://objectstore.e2enetworks.net <access-key> <secret-key>
Once the alias (connection profile) is set up, you can upload content using commands like:
# upload contents of saved-model directory to llma-7b-23233 (EOS Bucket).
mc cp -r /user/jovyan/saved-model/* <tir-model-name>/llma-7b-23233

# upload contents of saved-model to llma-7b-23233(bucket)/v1(folder)
mc cp -r /user/jovyan/saved-model/* <tir-model-name>/llma-7b-23233/v1


For Hugging Face models, upload the entire snapshot folder (located under .cache/huggingface/hub/<model-name>/) to the model bucket. This ensures that the weights and configurations can be easily downloaded and used by TIR notebooks or inference service pods with a simple call, such as AutoModelForCausalLM.from_pretrained().
Downloading weights from TIR models
Model weights are required on the device whether you are fine-tuning the model or serving inference requests through an API. You can download the model files manually using commands like:
# Download contents of the EOS bucket to a local directory
mc cp -r <tir-model-name>/llma-7b-23233 /user/jovyan/download-model/*

# Download contents from a specific version folder (e.g., 'v1')
mc cp -r <tir-model-name>/llma-7b-23233/v1 /user/jovyan/download-model/*
Typical use cases for downloading content from TIR models include: * Fine-tuning on a local device: Download model files using the mc command. * Running in TIR Notebooks: Download model files directly to TIR notebooks for fine-tuning or inference testing. * Inference Service (Model Endpoints): Once a model is attached to an endpoint, the files are automatically downloaded to the container.
Creating Model Repositories in the TIR Dashboard
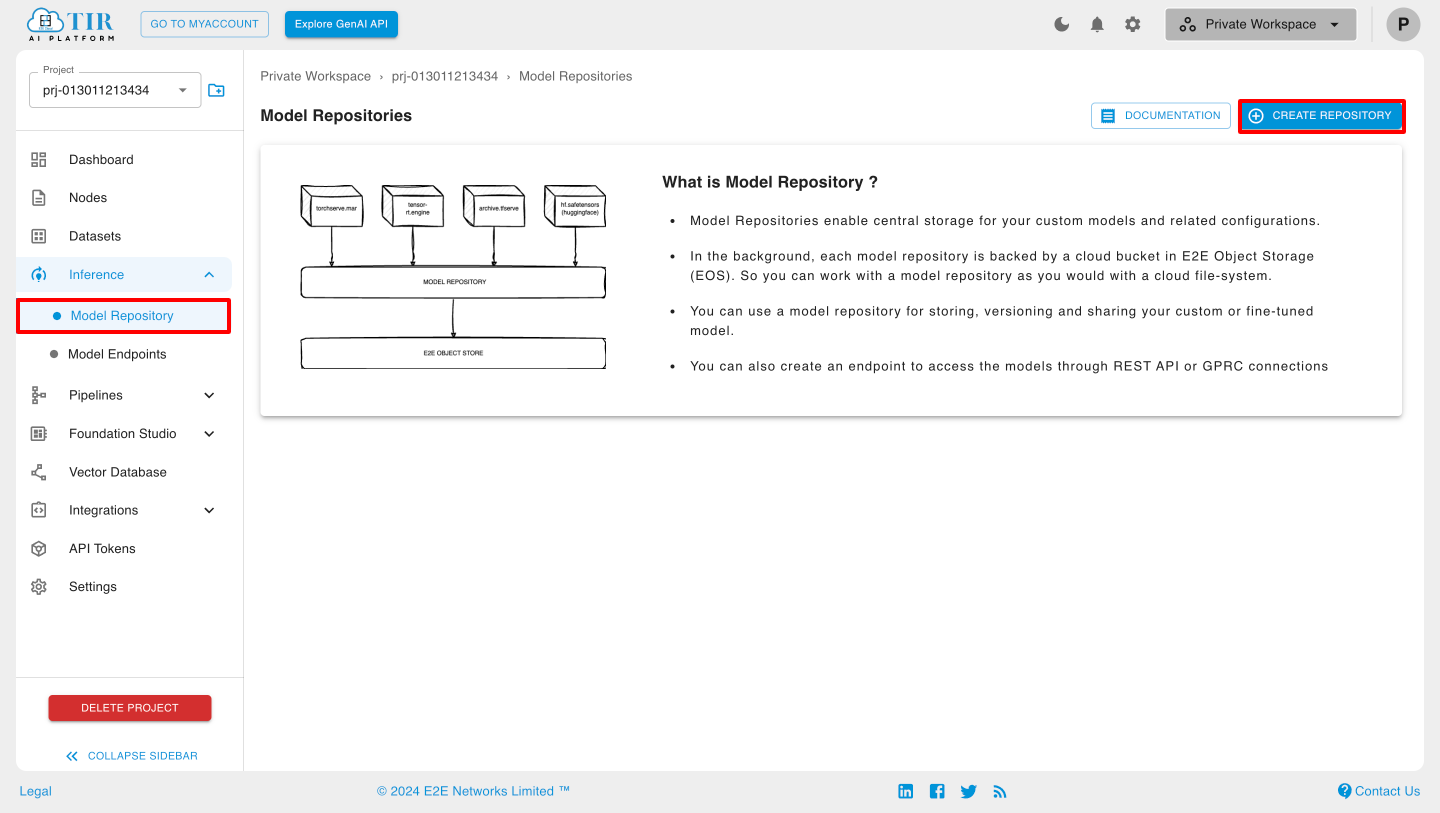
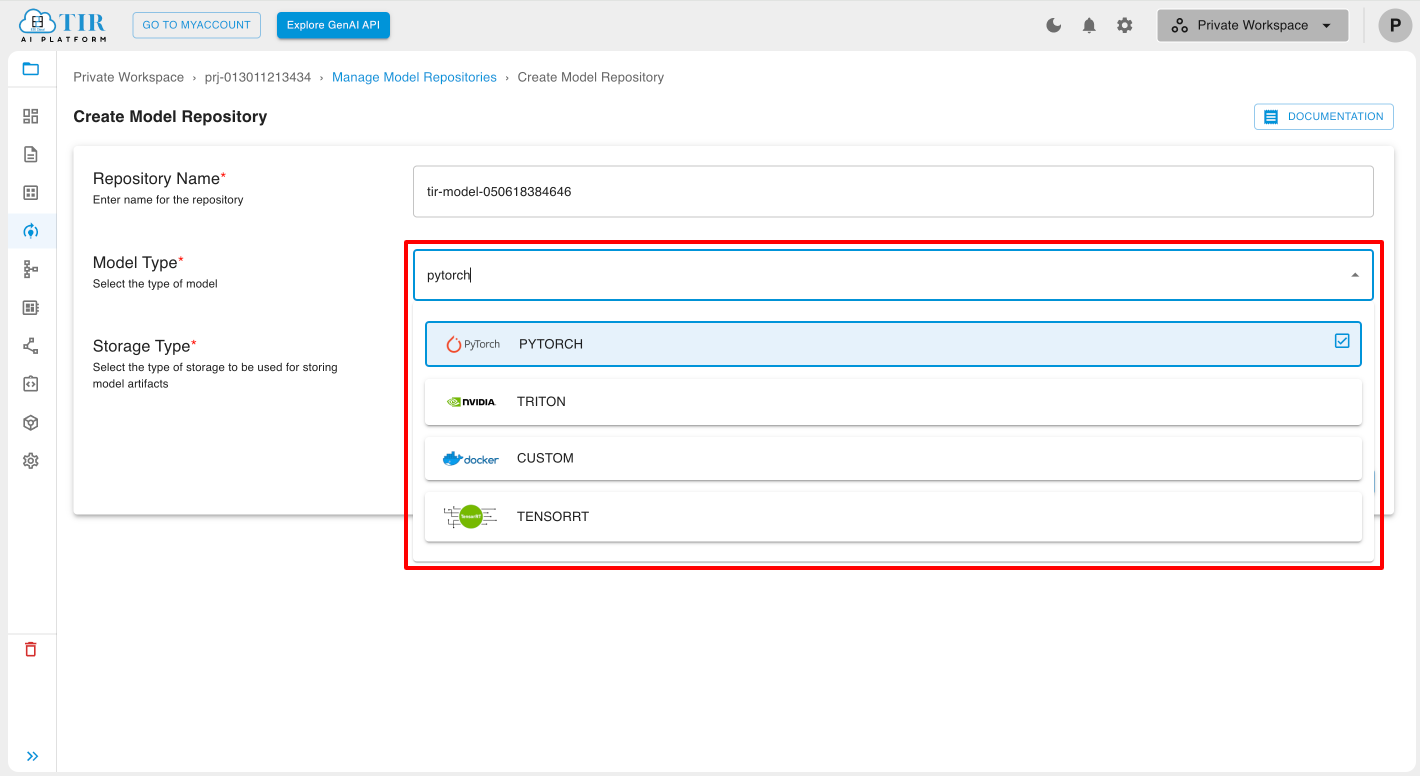
To create a Model Repository, navigate to the Inference section, select Model Repository, and click CREATE REPOSITORY. You will need to choose the model type (e.g., PyTorch, Triton, or Custom) and the storage type.
Storage Types
New EOS Bucket: If you select this option, you will configure the EOS bucket for uploading model weights after clicking the Create button.
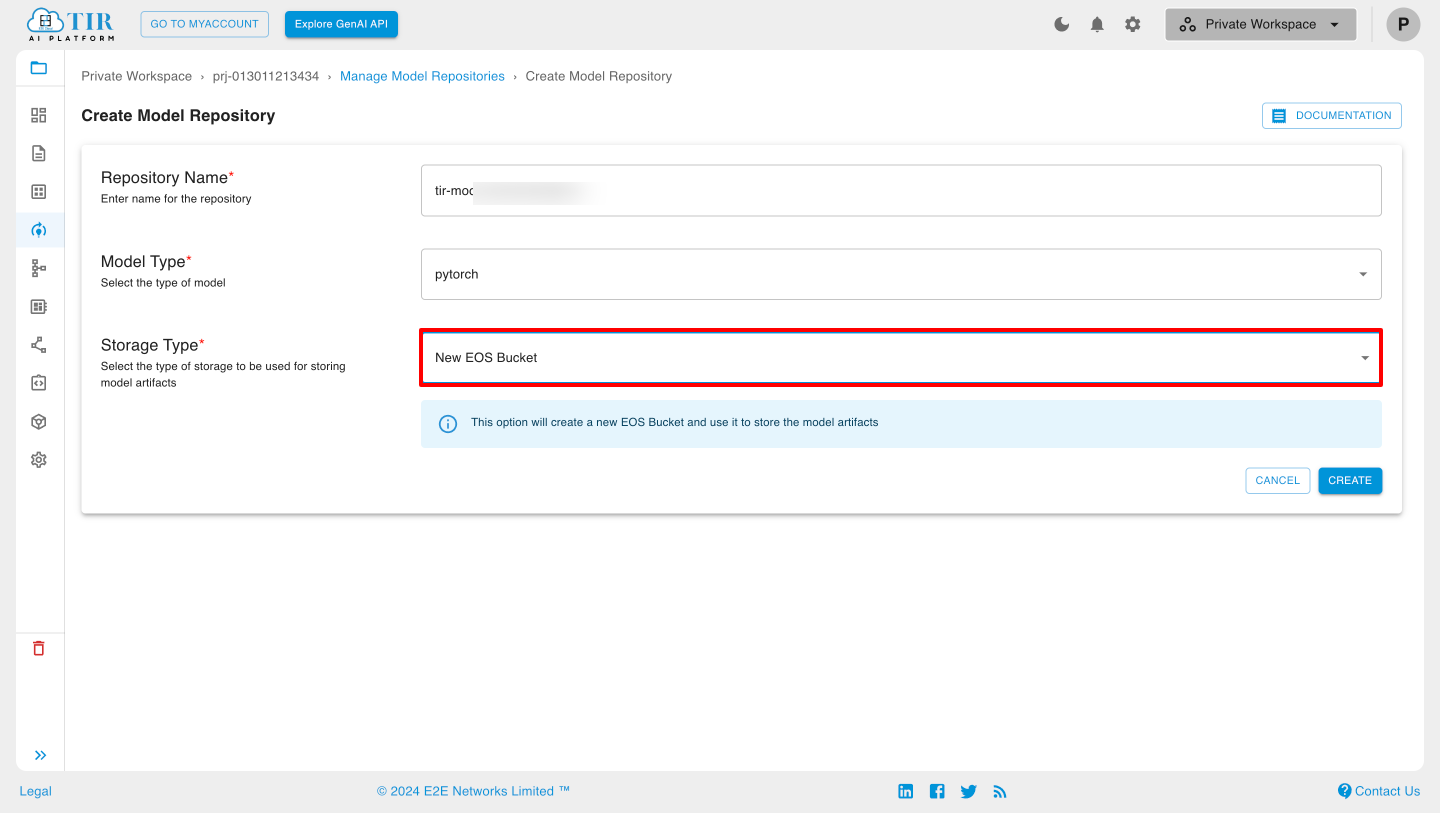
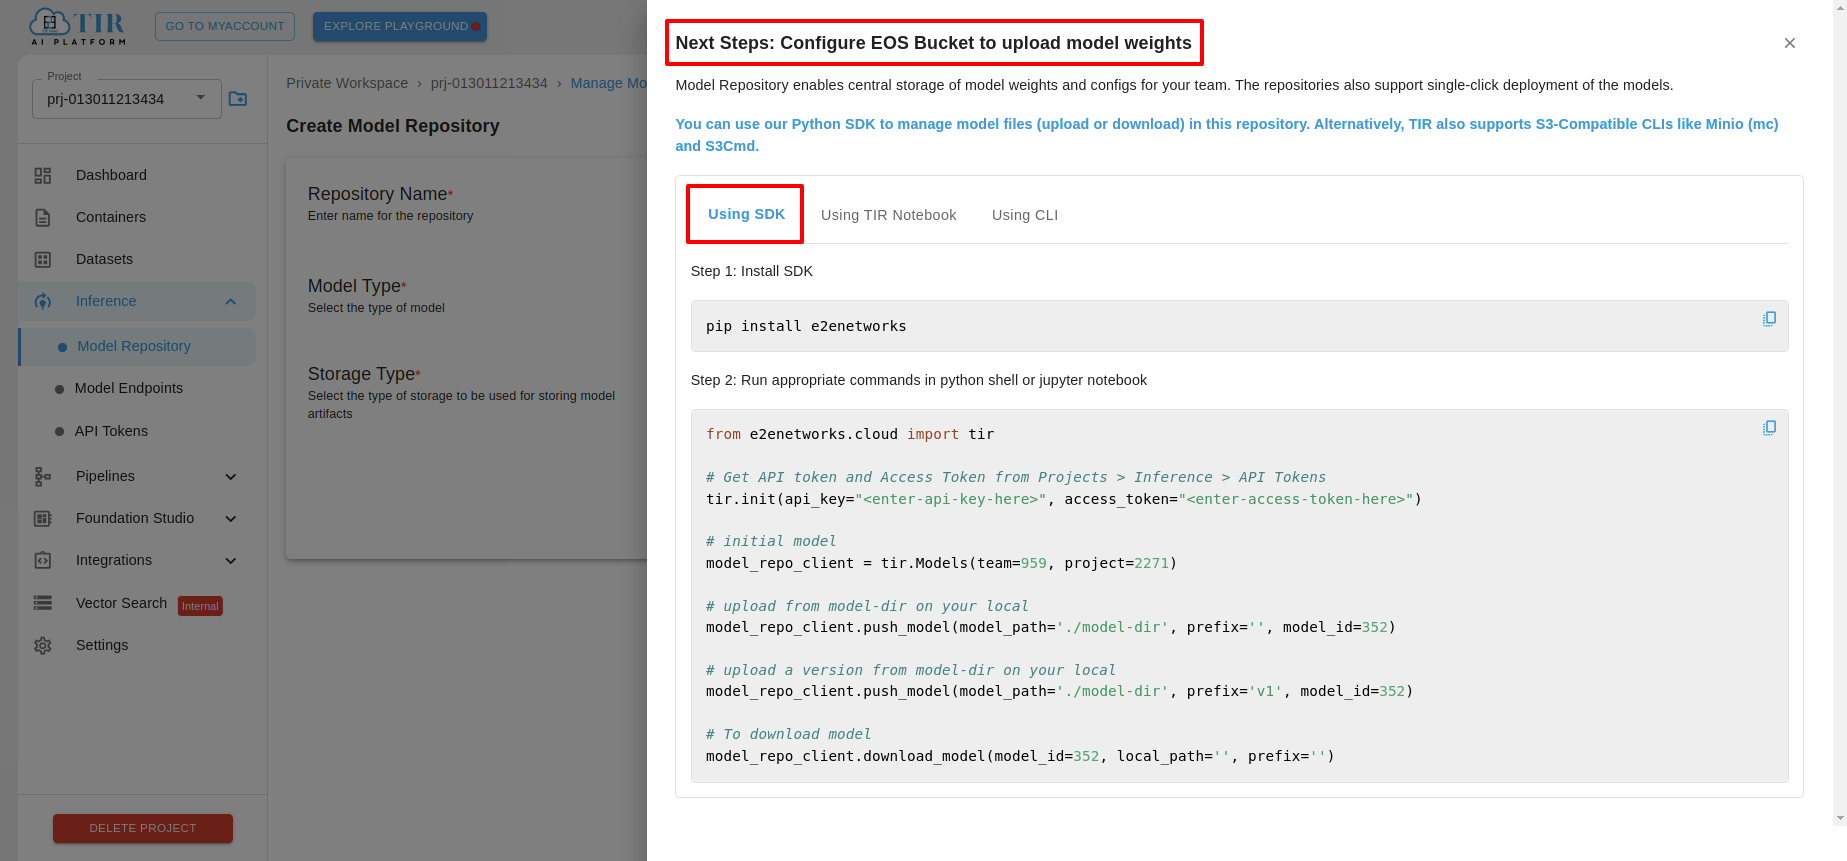
- Using SDK: Get commands to install the SDK and run commands in Python or Jupyter notebooks.
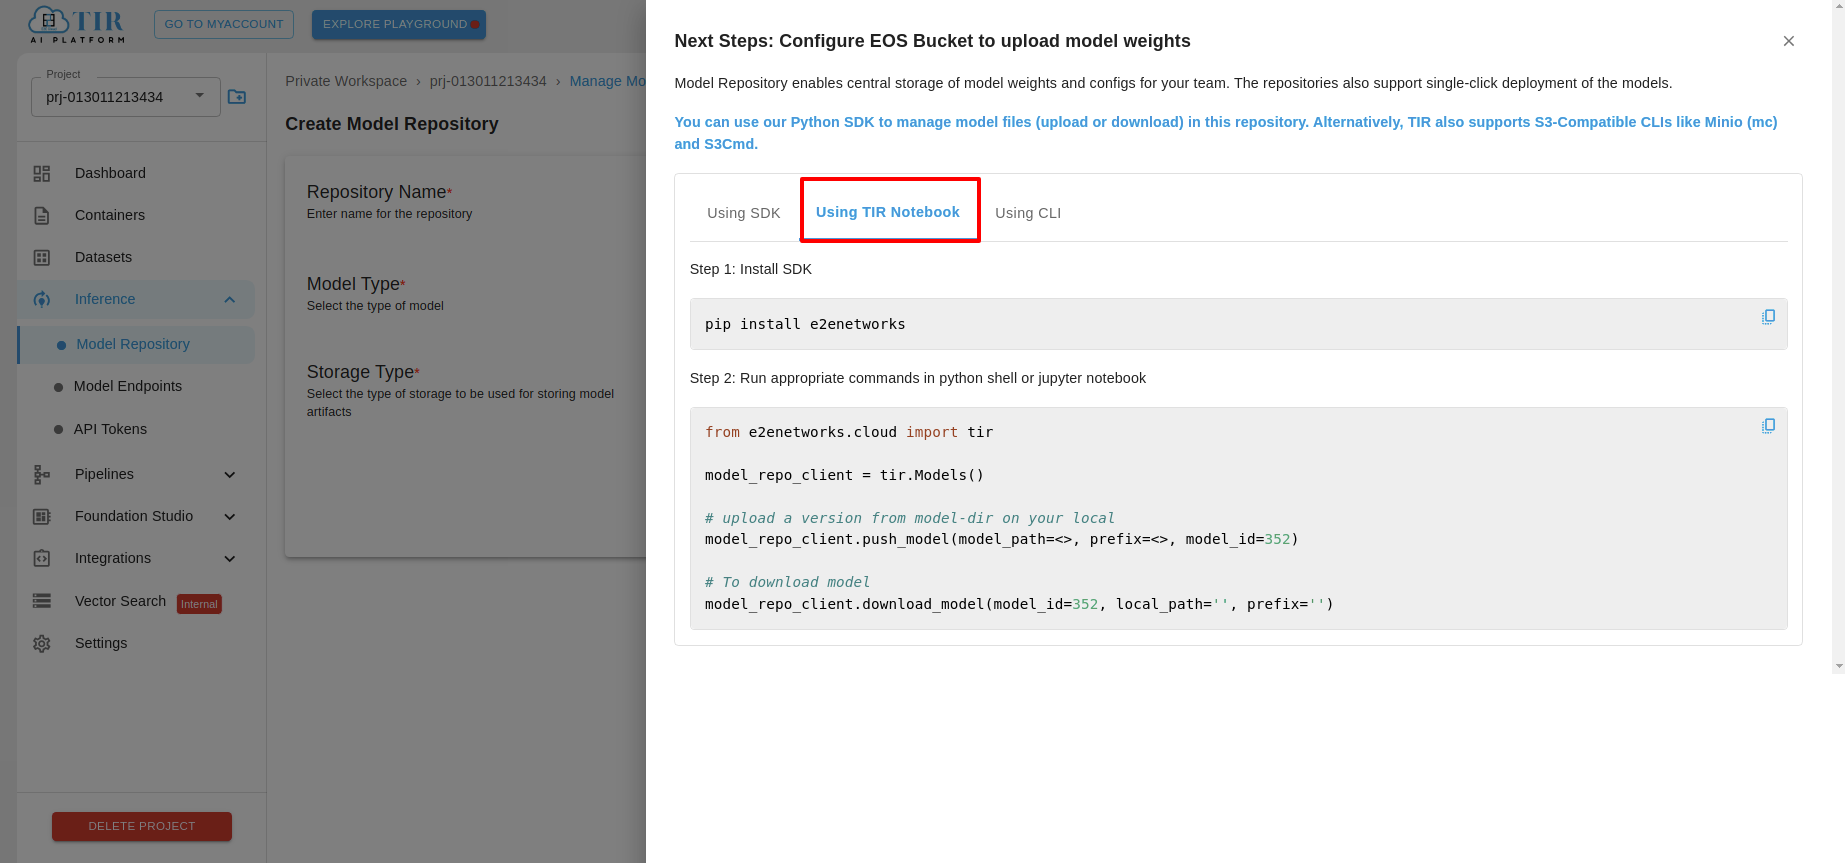
- Using TIR Notebook: Direct integration with TIR notebooks.
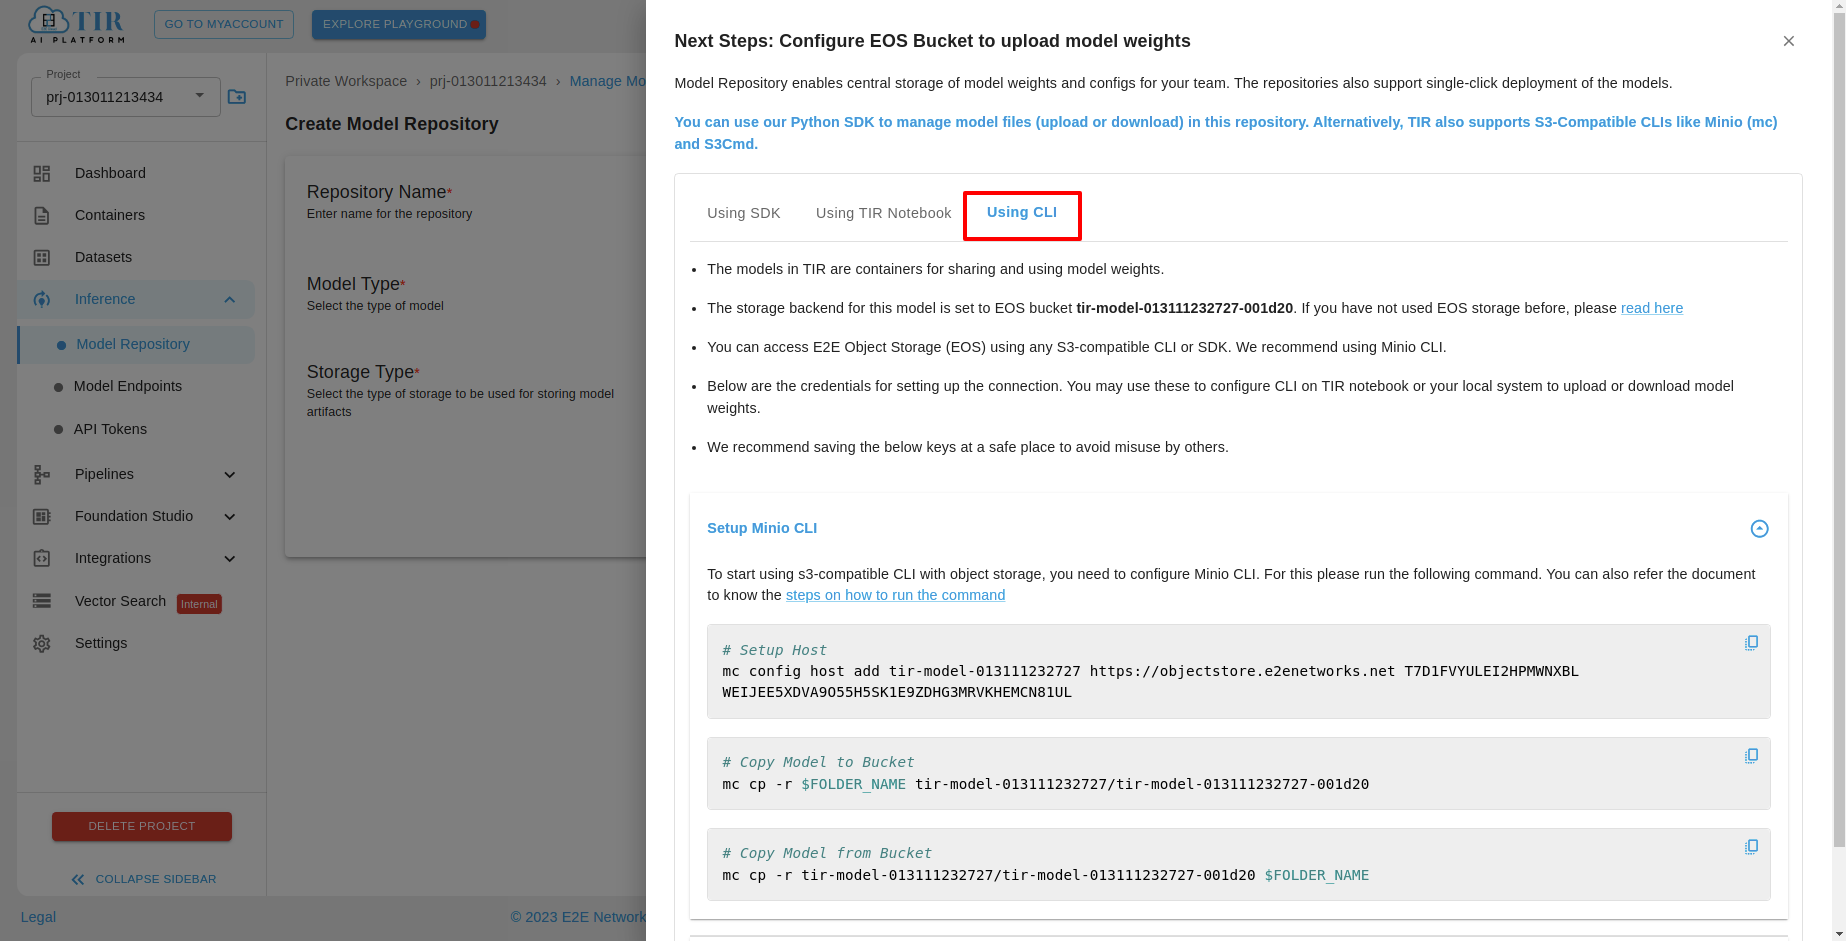
- Using CLI: Get commands to set up Minio CLI or s3cmd.
Existing EOS Bucket: Choose an existing EOS bucket from the list, then configure it for uploading model weights after creation. The same options (SDK, TIR Notebook, CLI) will be available.
Using SDk:

Using TIR Notebook:

Using CLI:

External EOS Bucket: Use an external EOS bucket (not owned by you) to store model artifacts. You will need to provide the bucket name, access key, and secret key. Ensure that both the access key and secret key are associated with the specified bucket.
Using SDk:

Using TIR Notebook:

Using CLI:

Managing Model Repositories
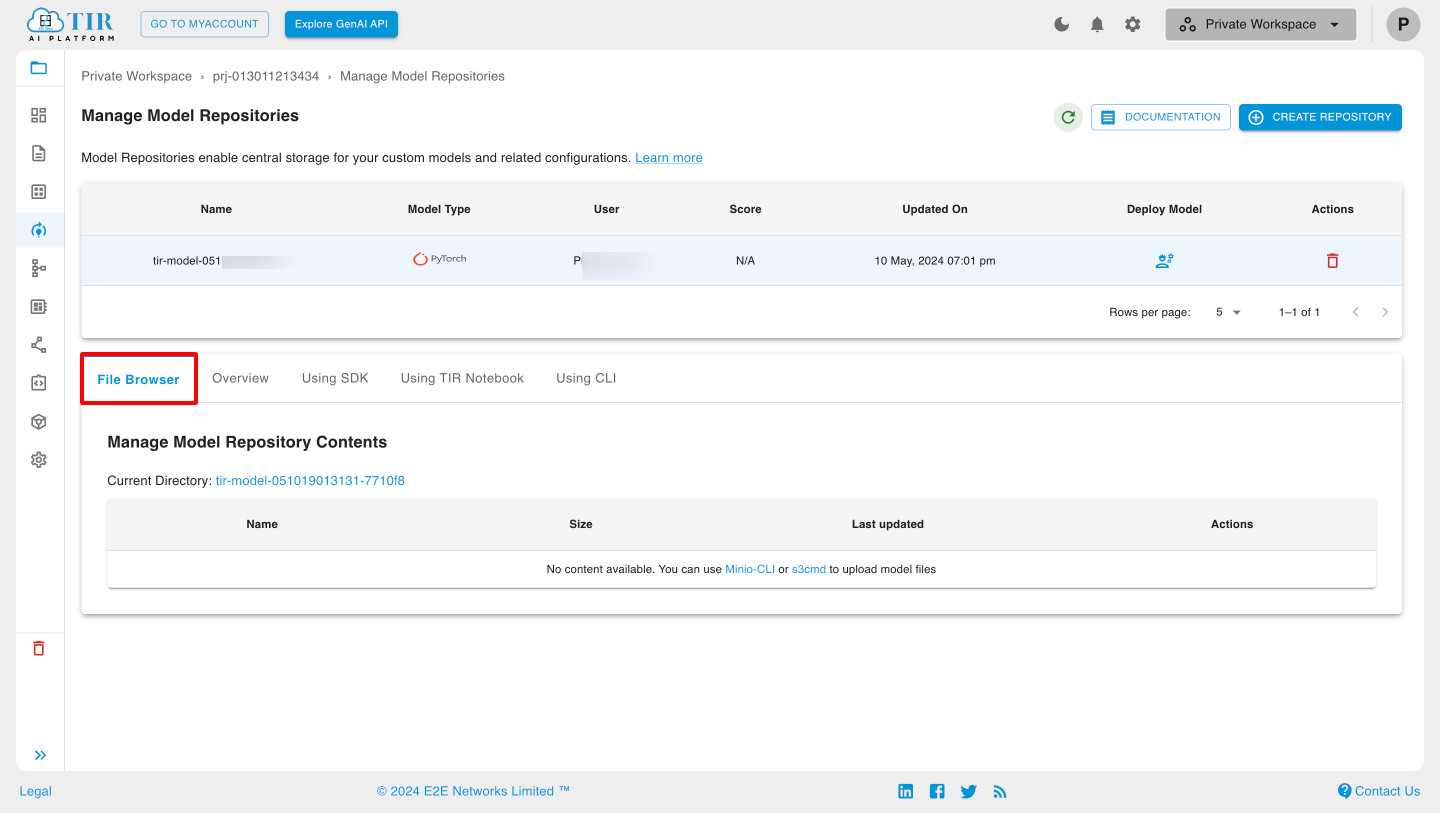
After creating the repository, the model will appear in the list. You can view the model details and bucket information in the Overview tab. The File Browser tab allows you to upload and display data objects stored in the linked bucket using Minio.

Deleting Model Repositories
To delete a Model Repository, select the model and click the delete icon. Confirm the deletion in the popup that appears.
