Team Settings
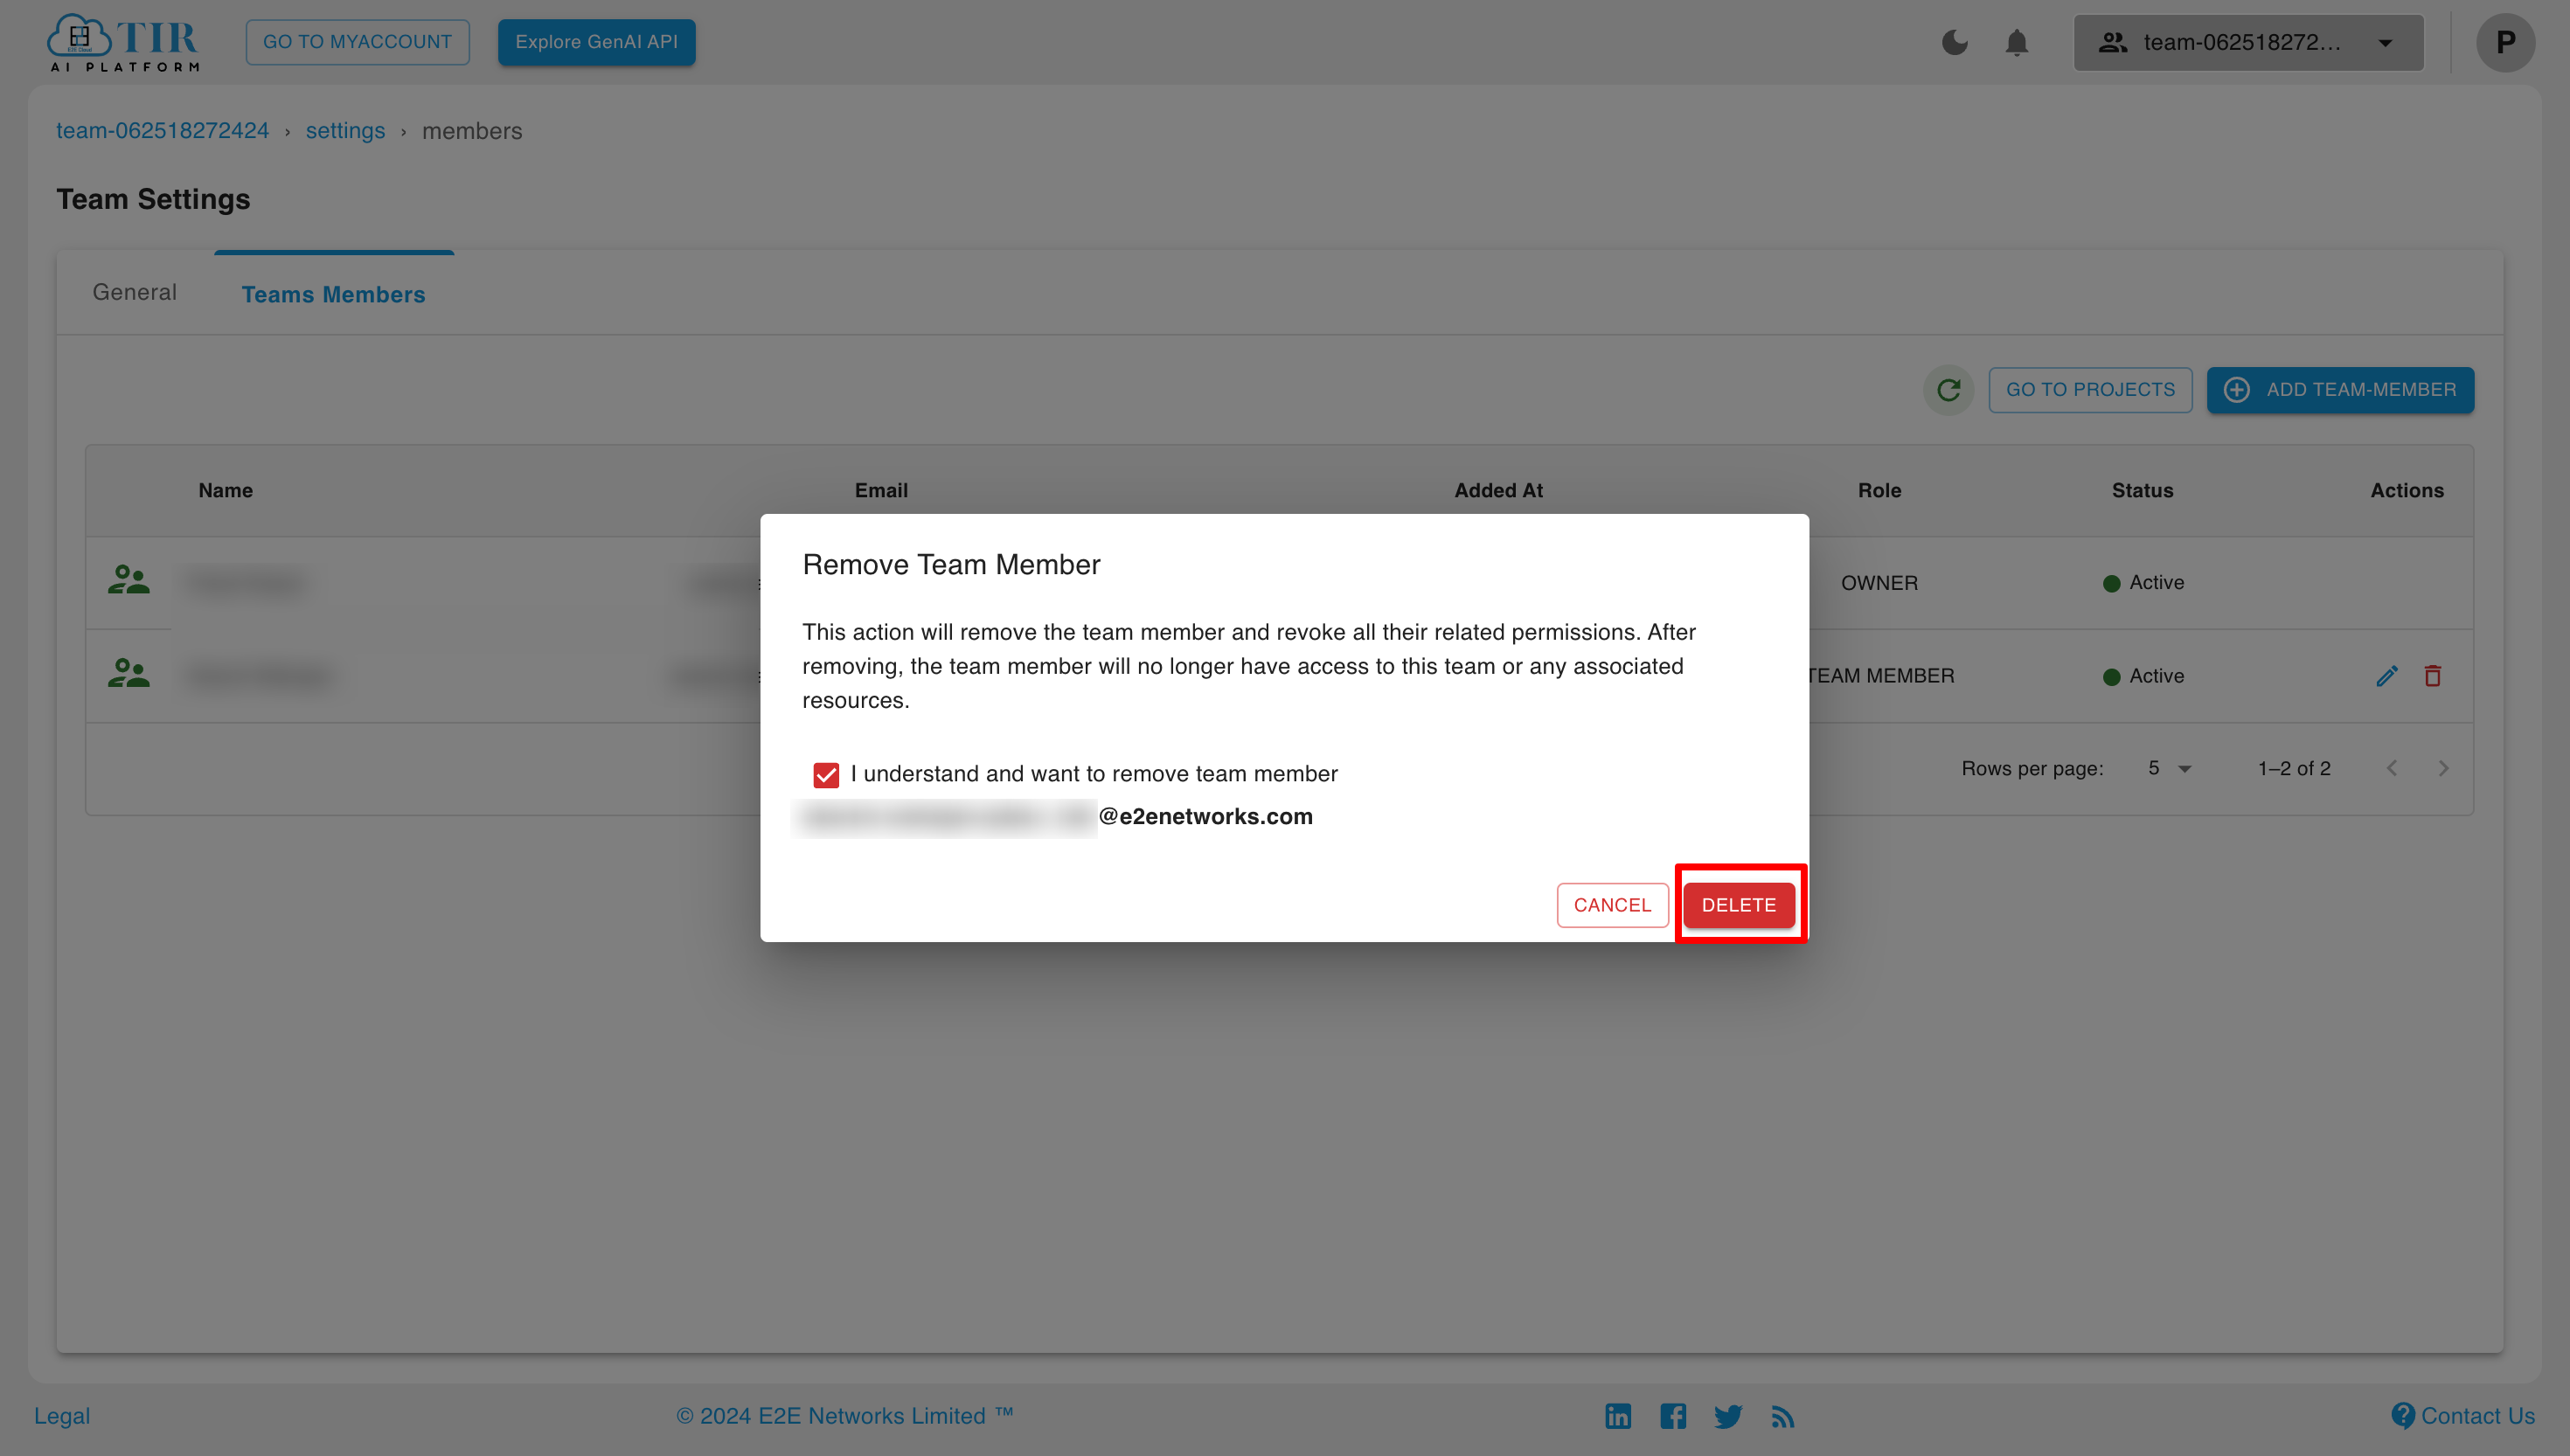
Through Team Settings, users can see the list of active team members, update team details, add team members, and edit their roles in the team.
Update Team Details and Delete Team
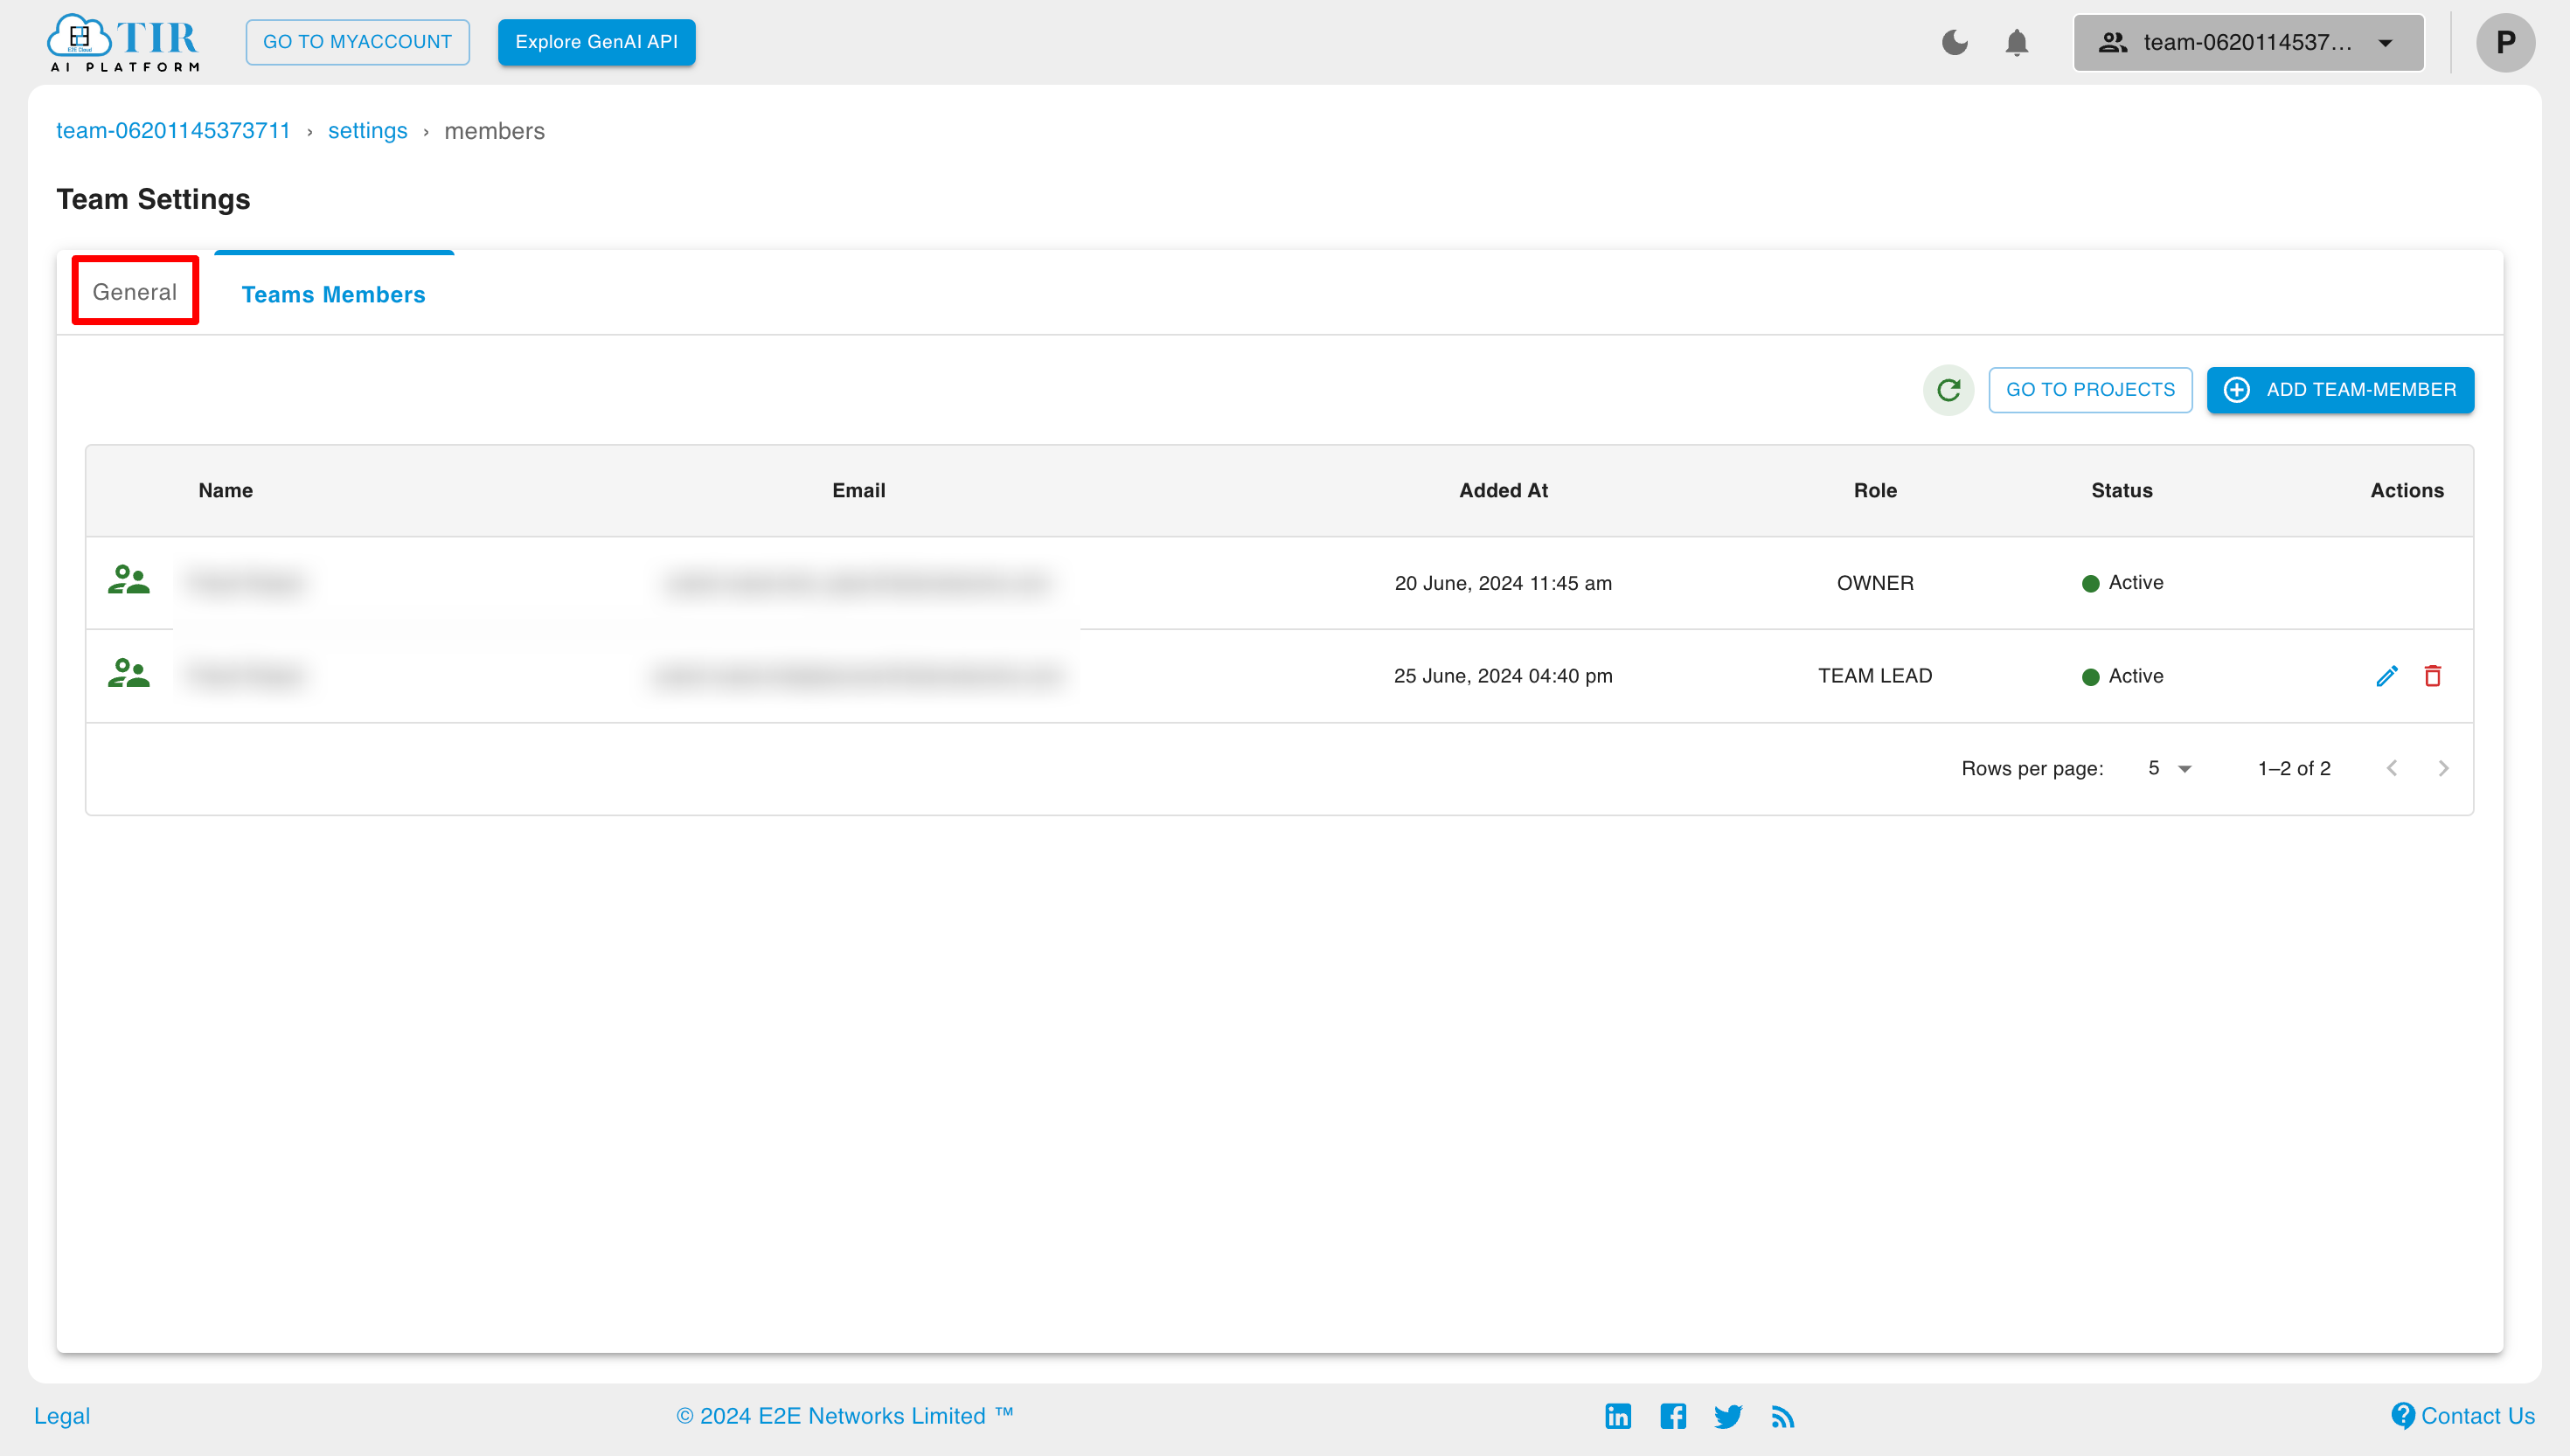
We can update team details and delete the team by moving to the “General” section in team settings.
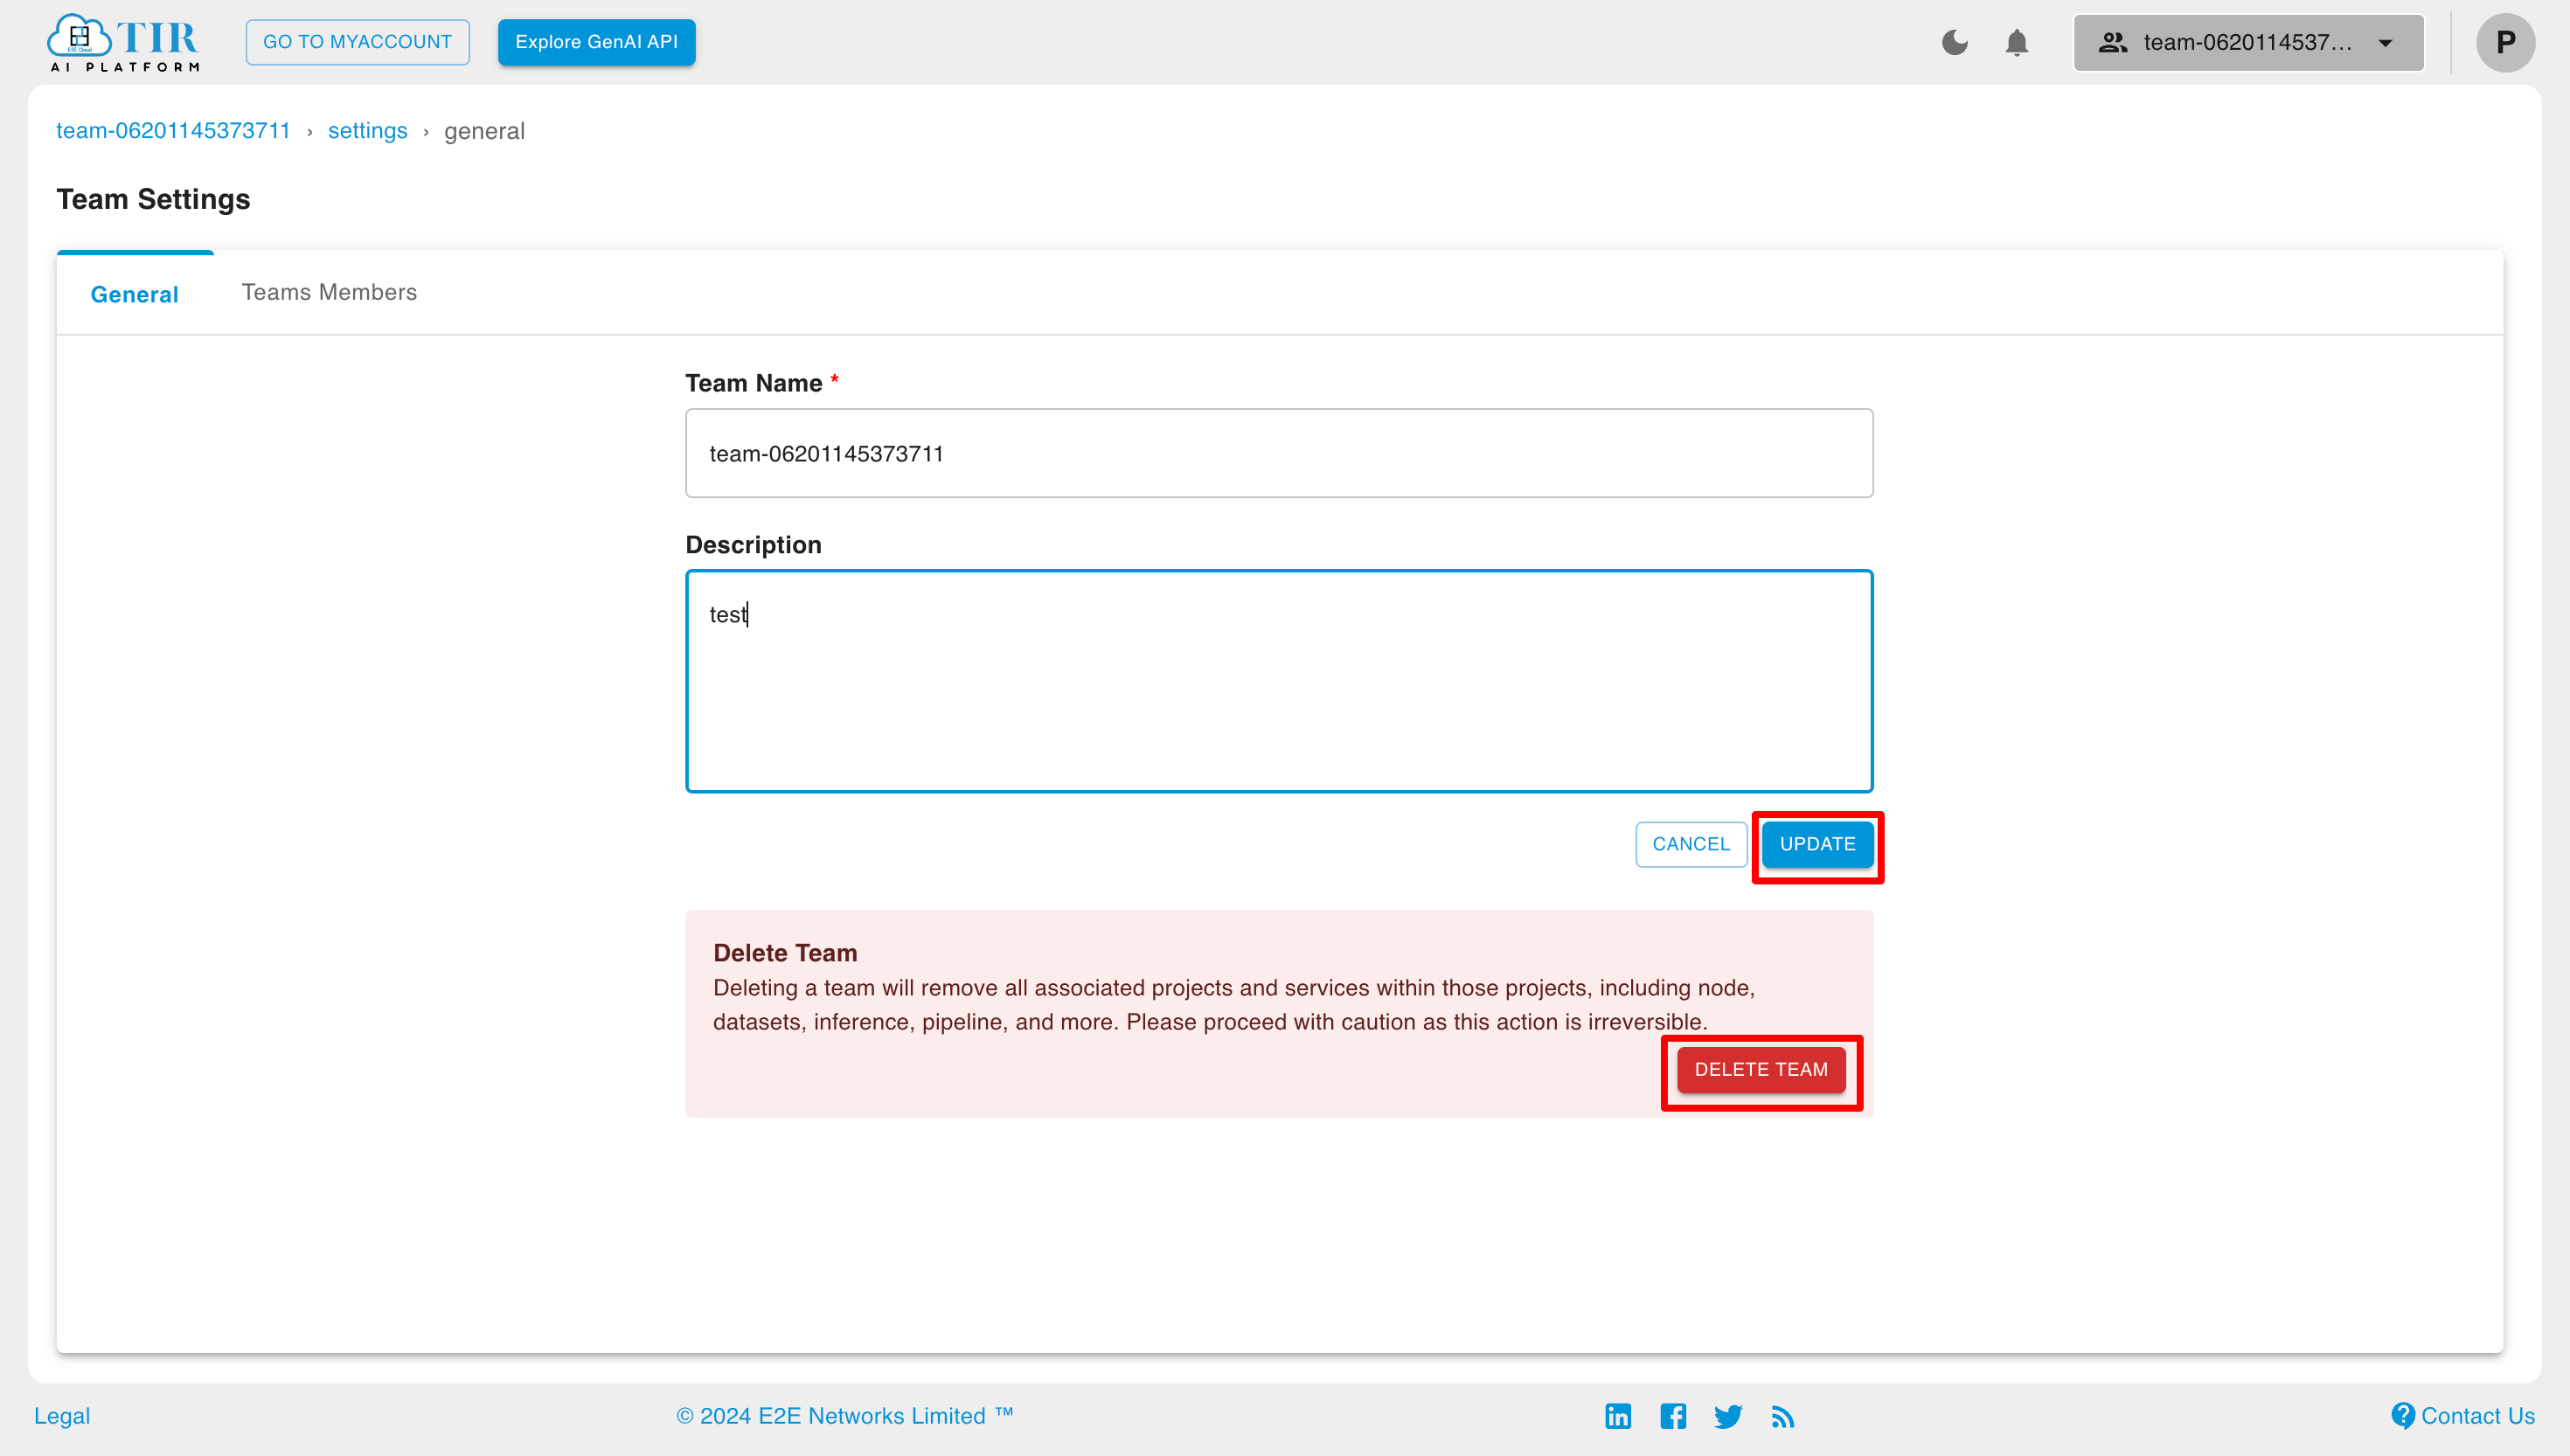
Now click on “Update” to change the team details and click on “Delete” to delete the team.
Add Team Member
We can add team members in our team through team settings. There can be two types of team members that can be added to the team.
Existing User: These are the users who are already added to the account but are not part of the team.
New User: These are the users who are not added to the account.
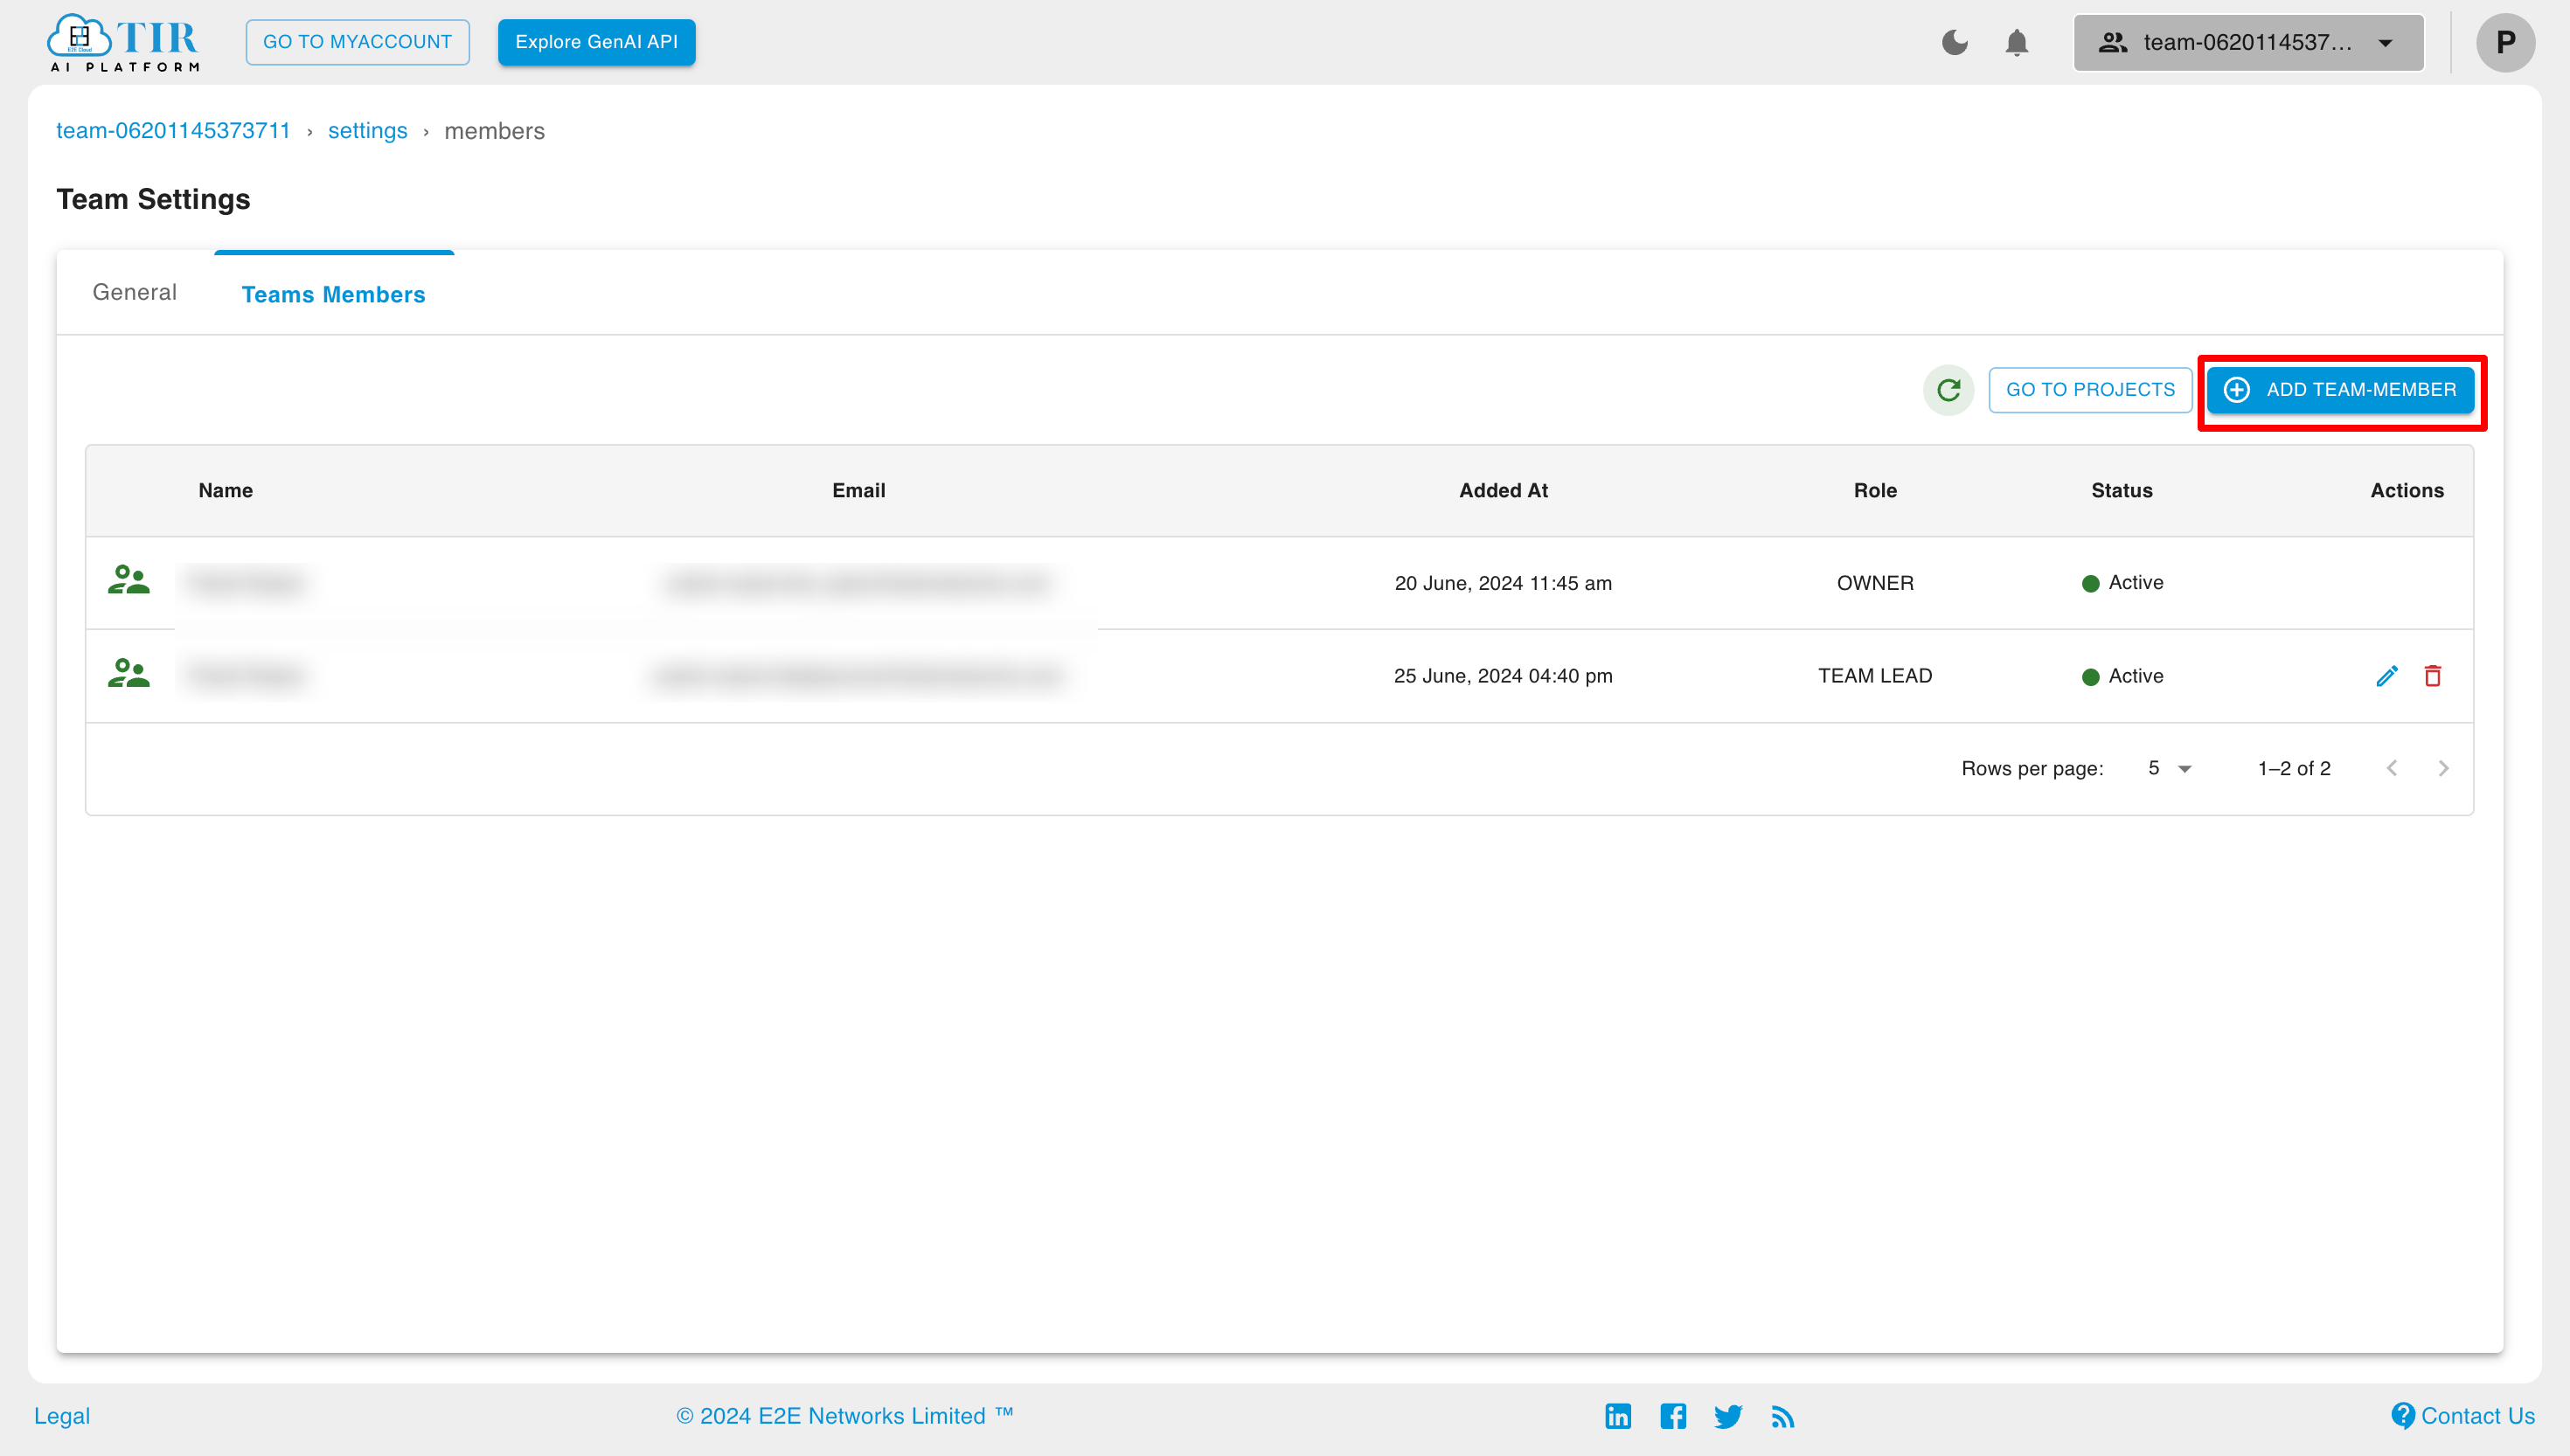
To add team member, click on “Add team member” button.
Adding an existing team member
Select the existing users from the list.
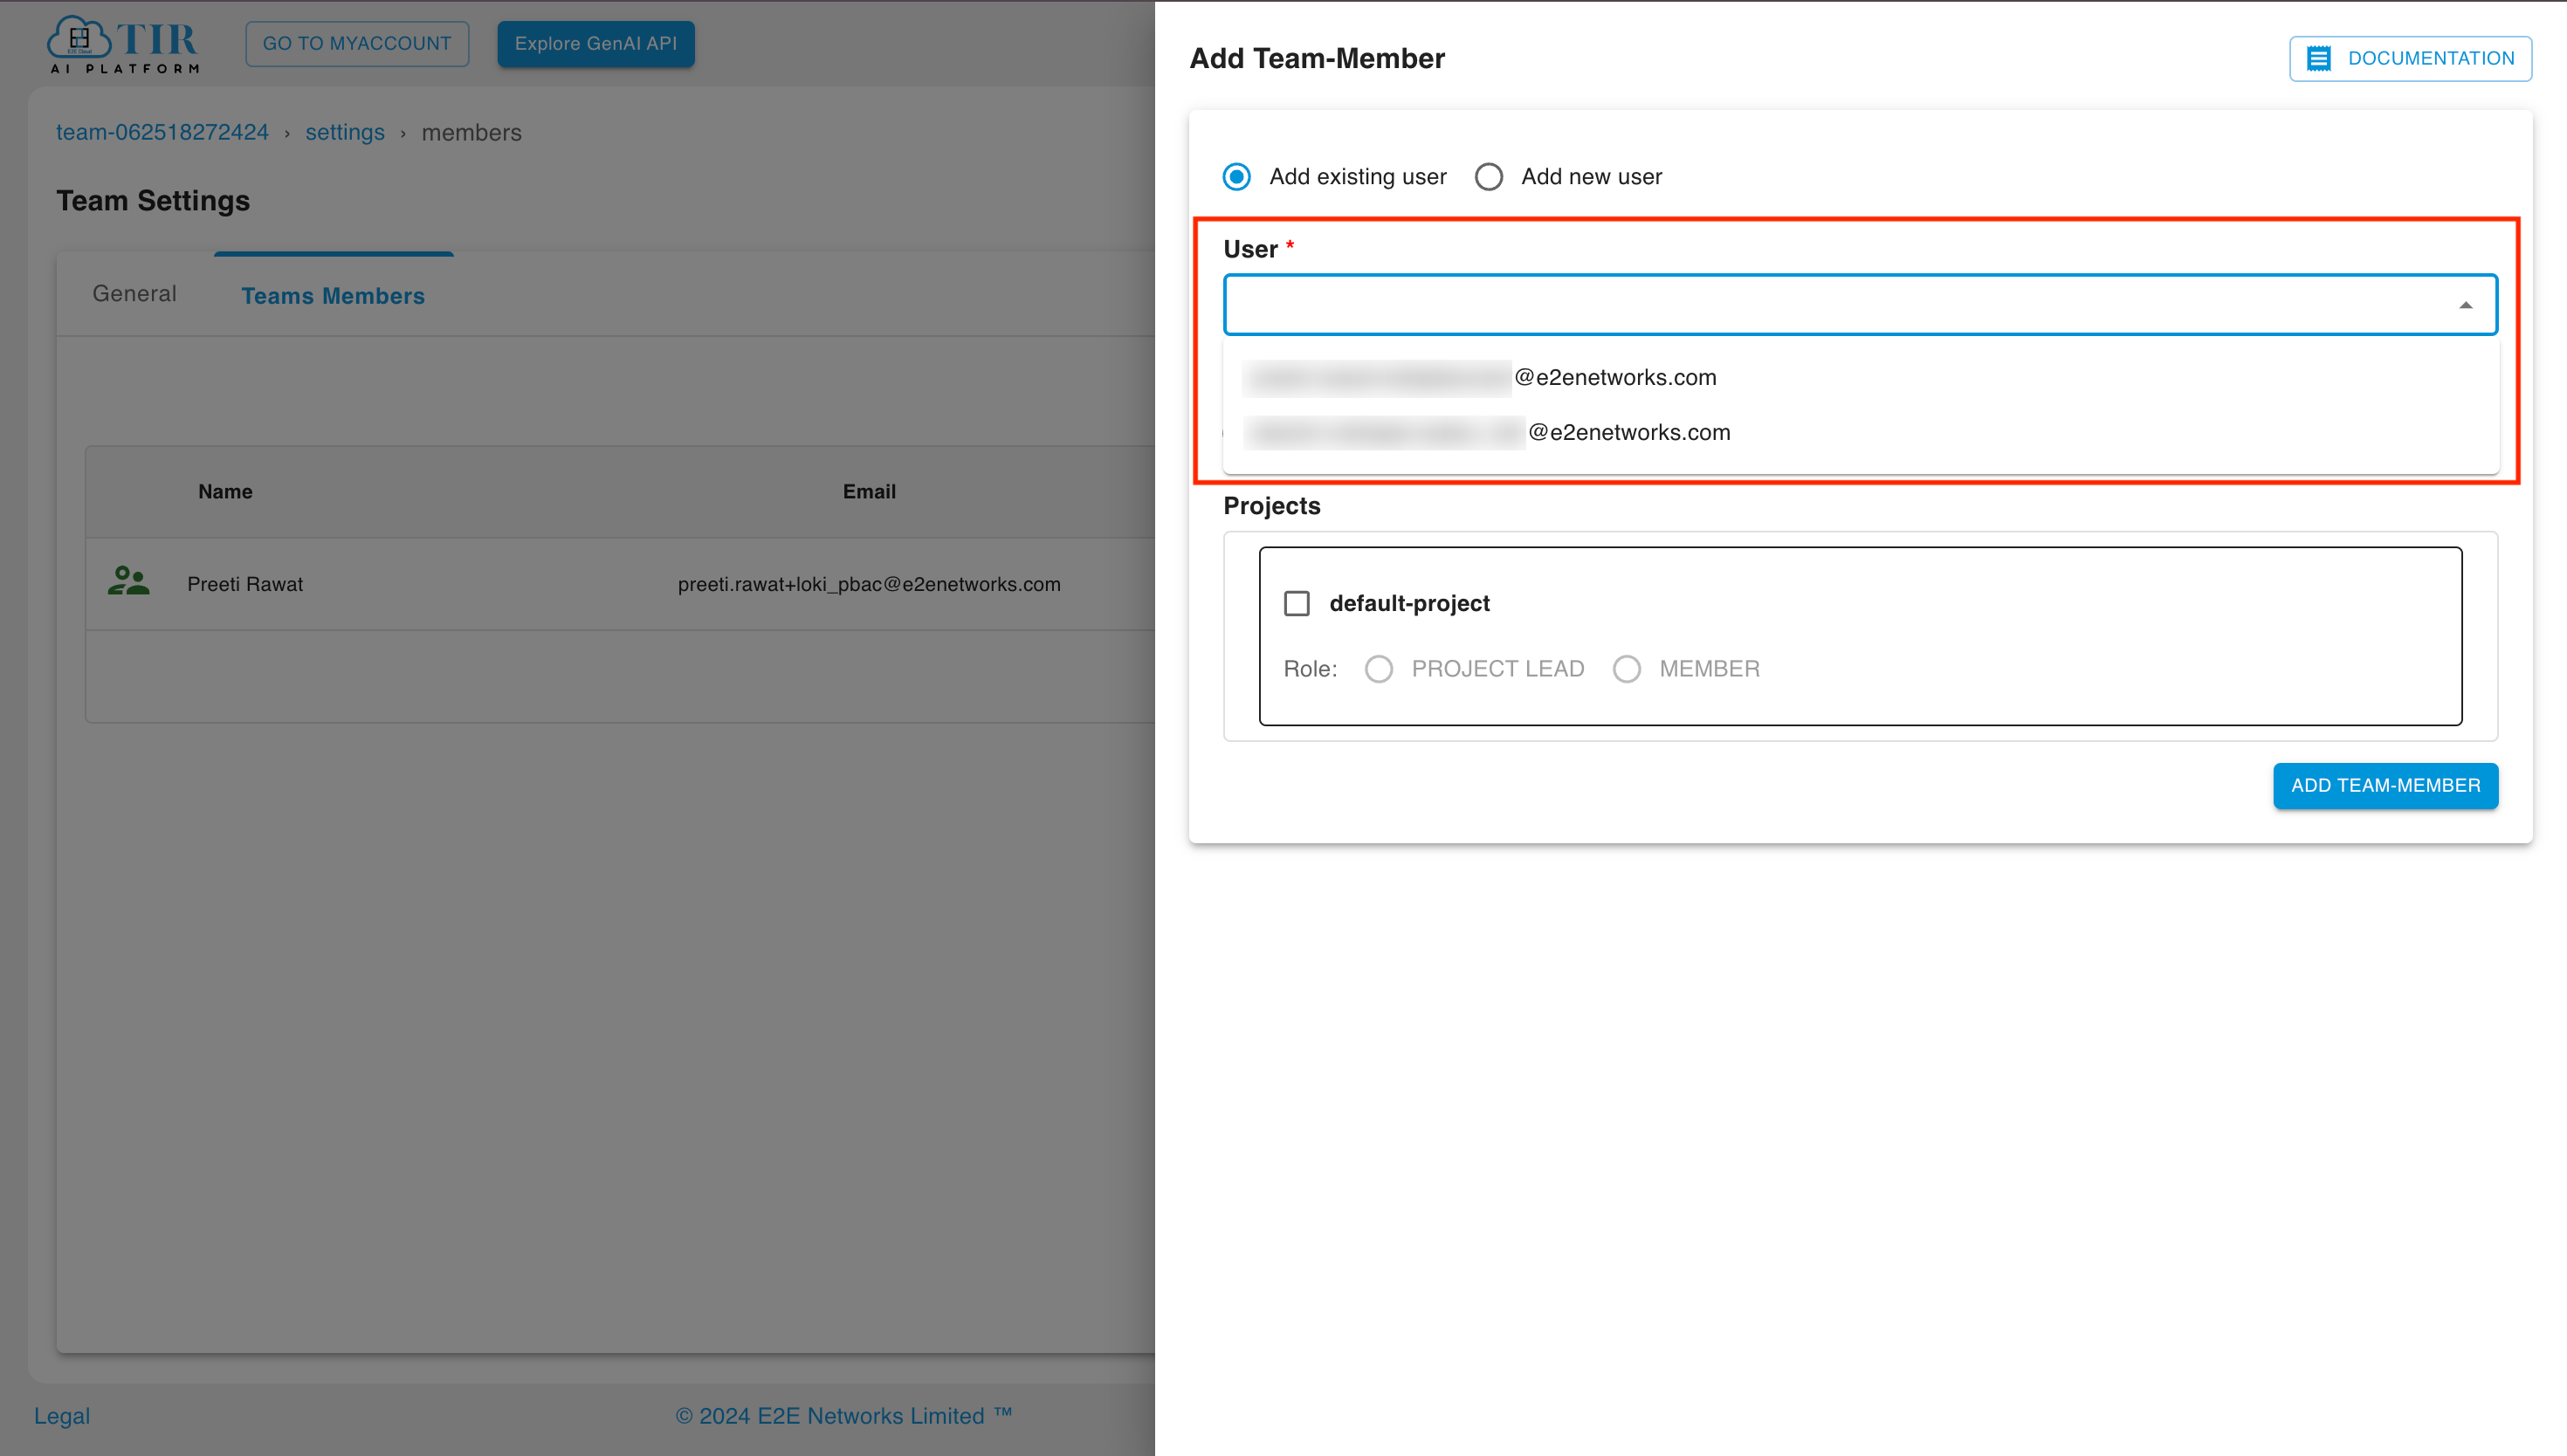
Select the appropriate role and projects, then click the “Add Team Member” button.
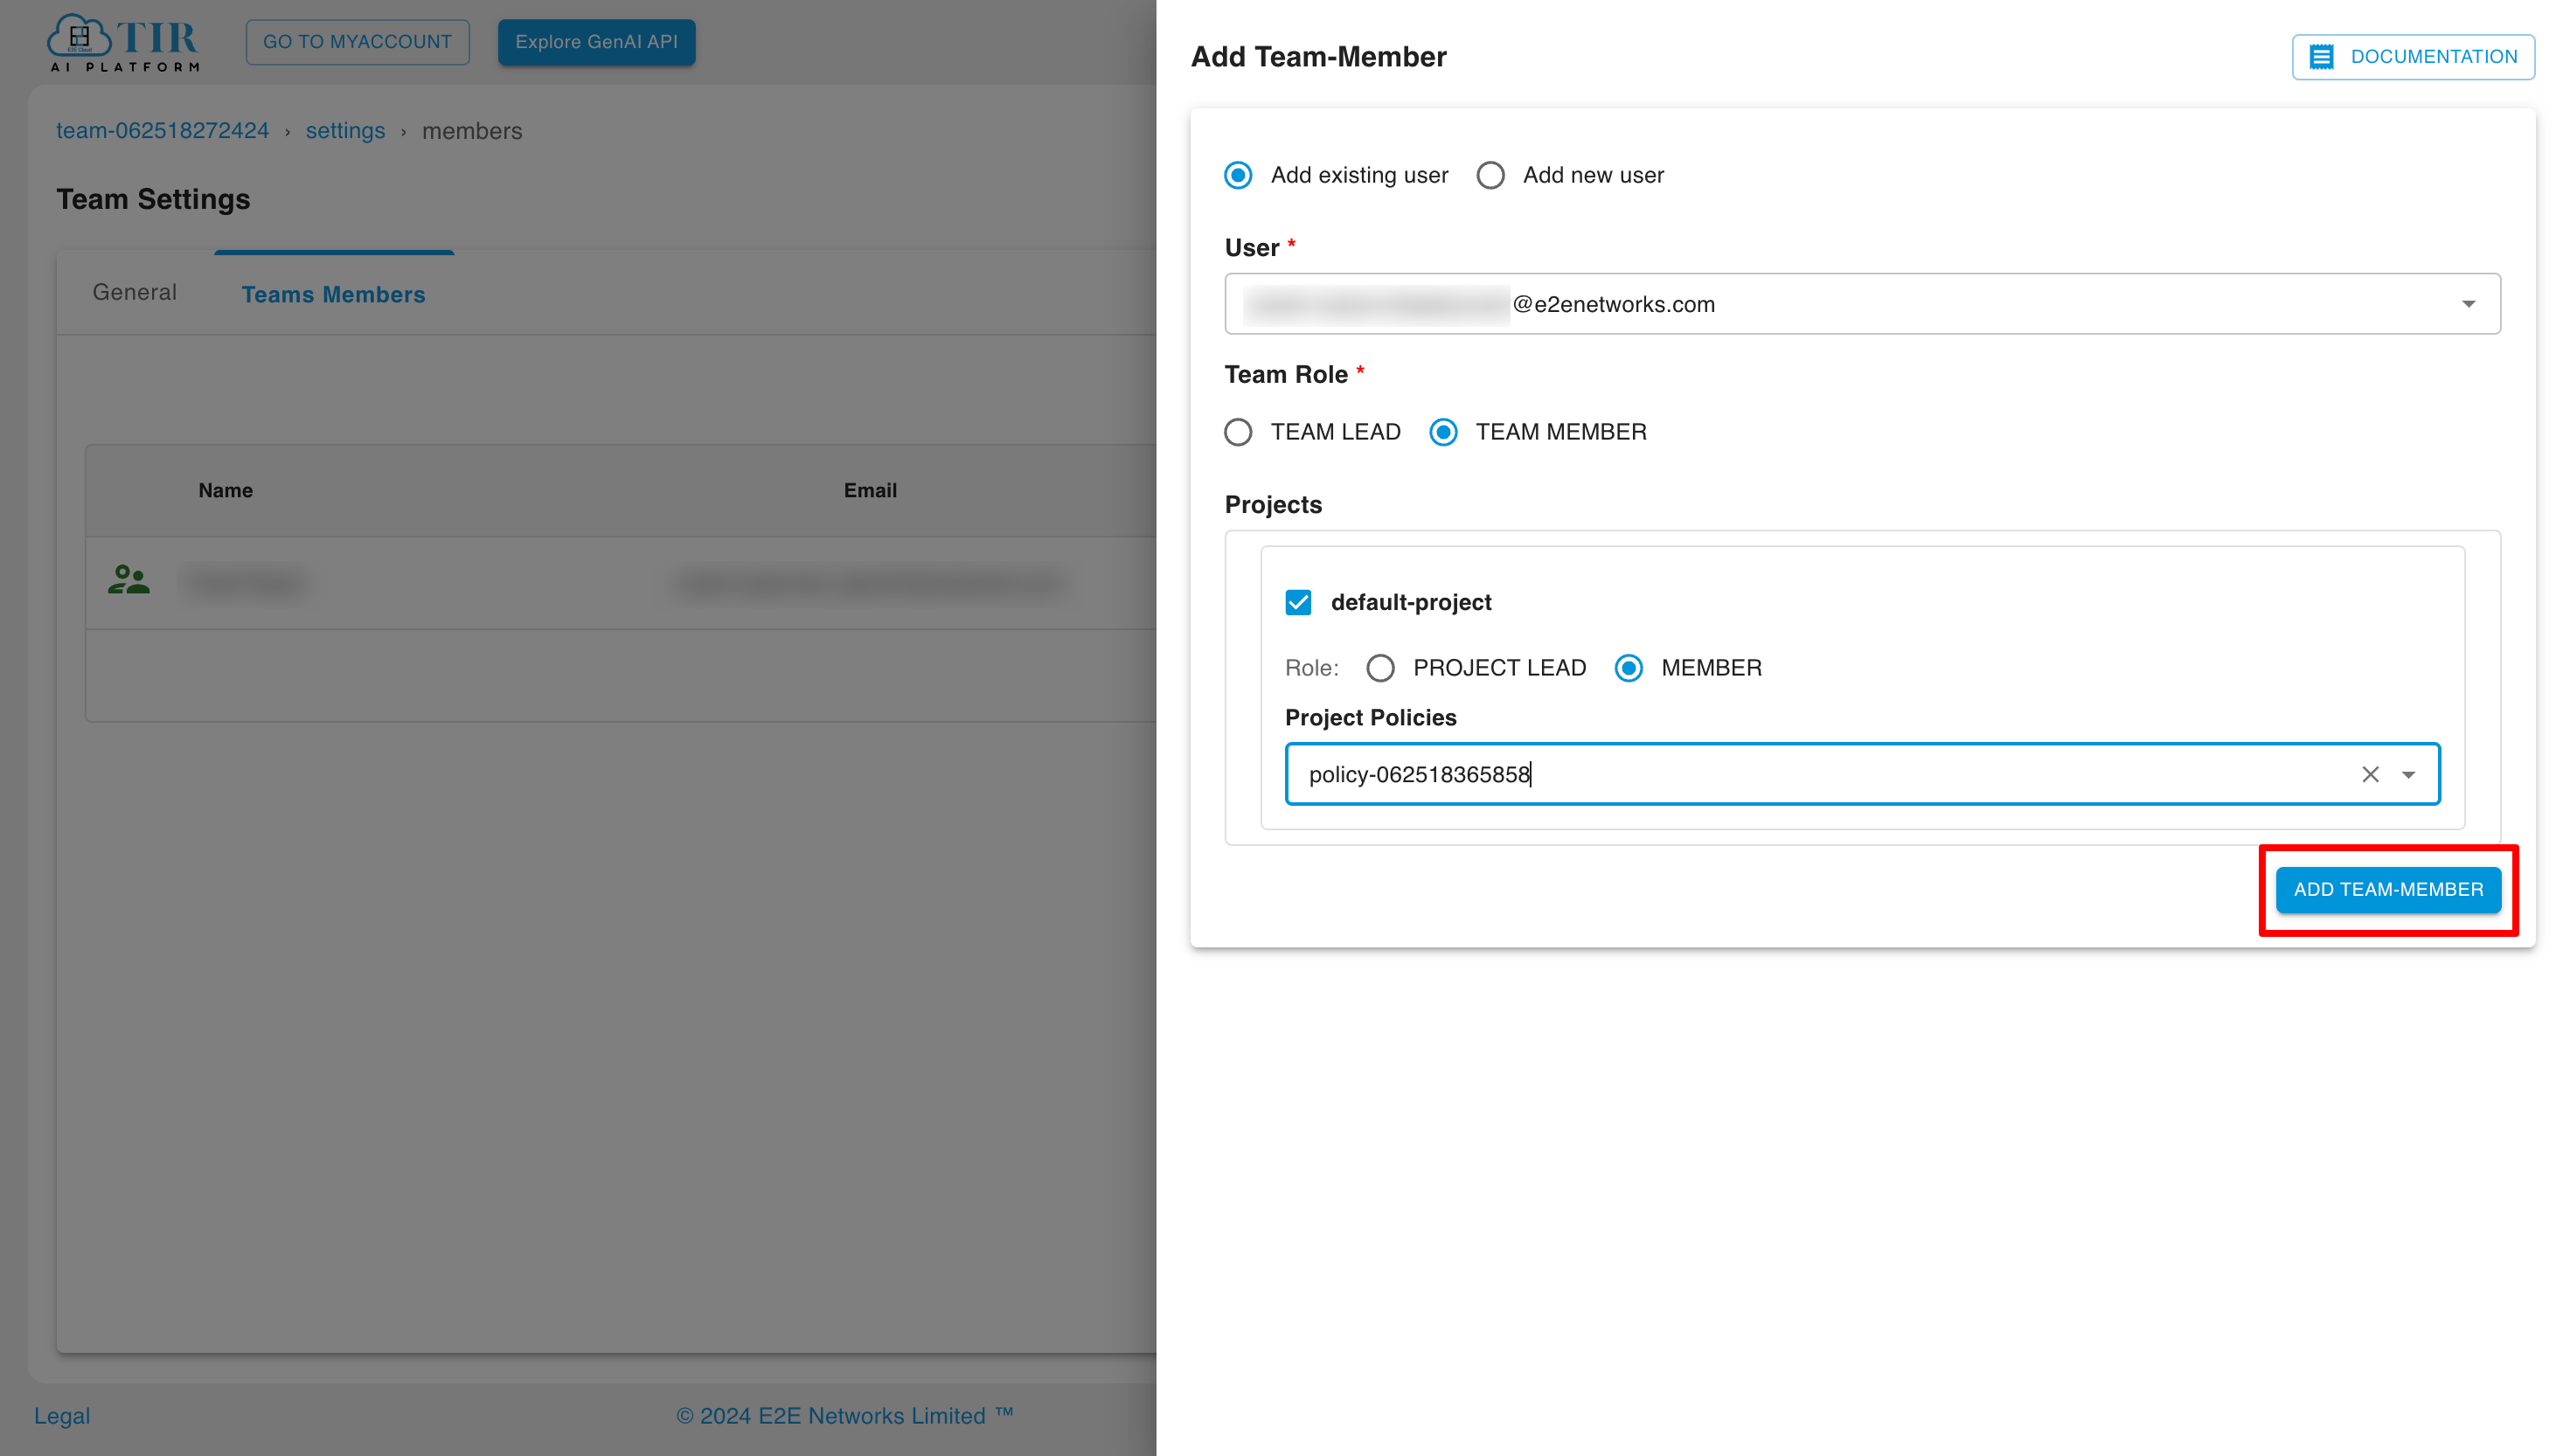
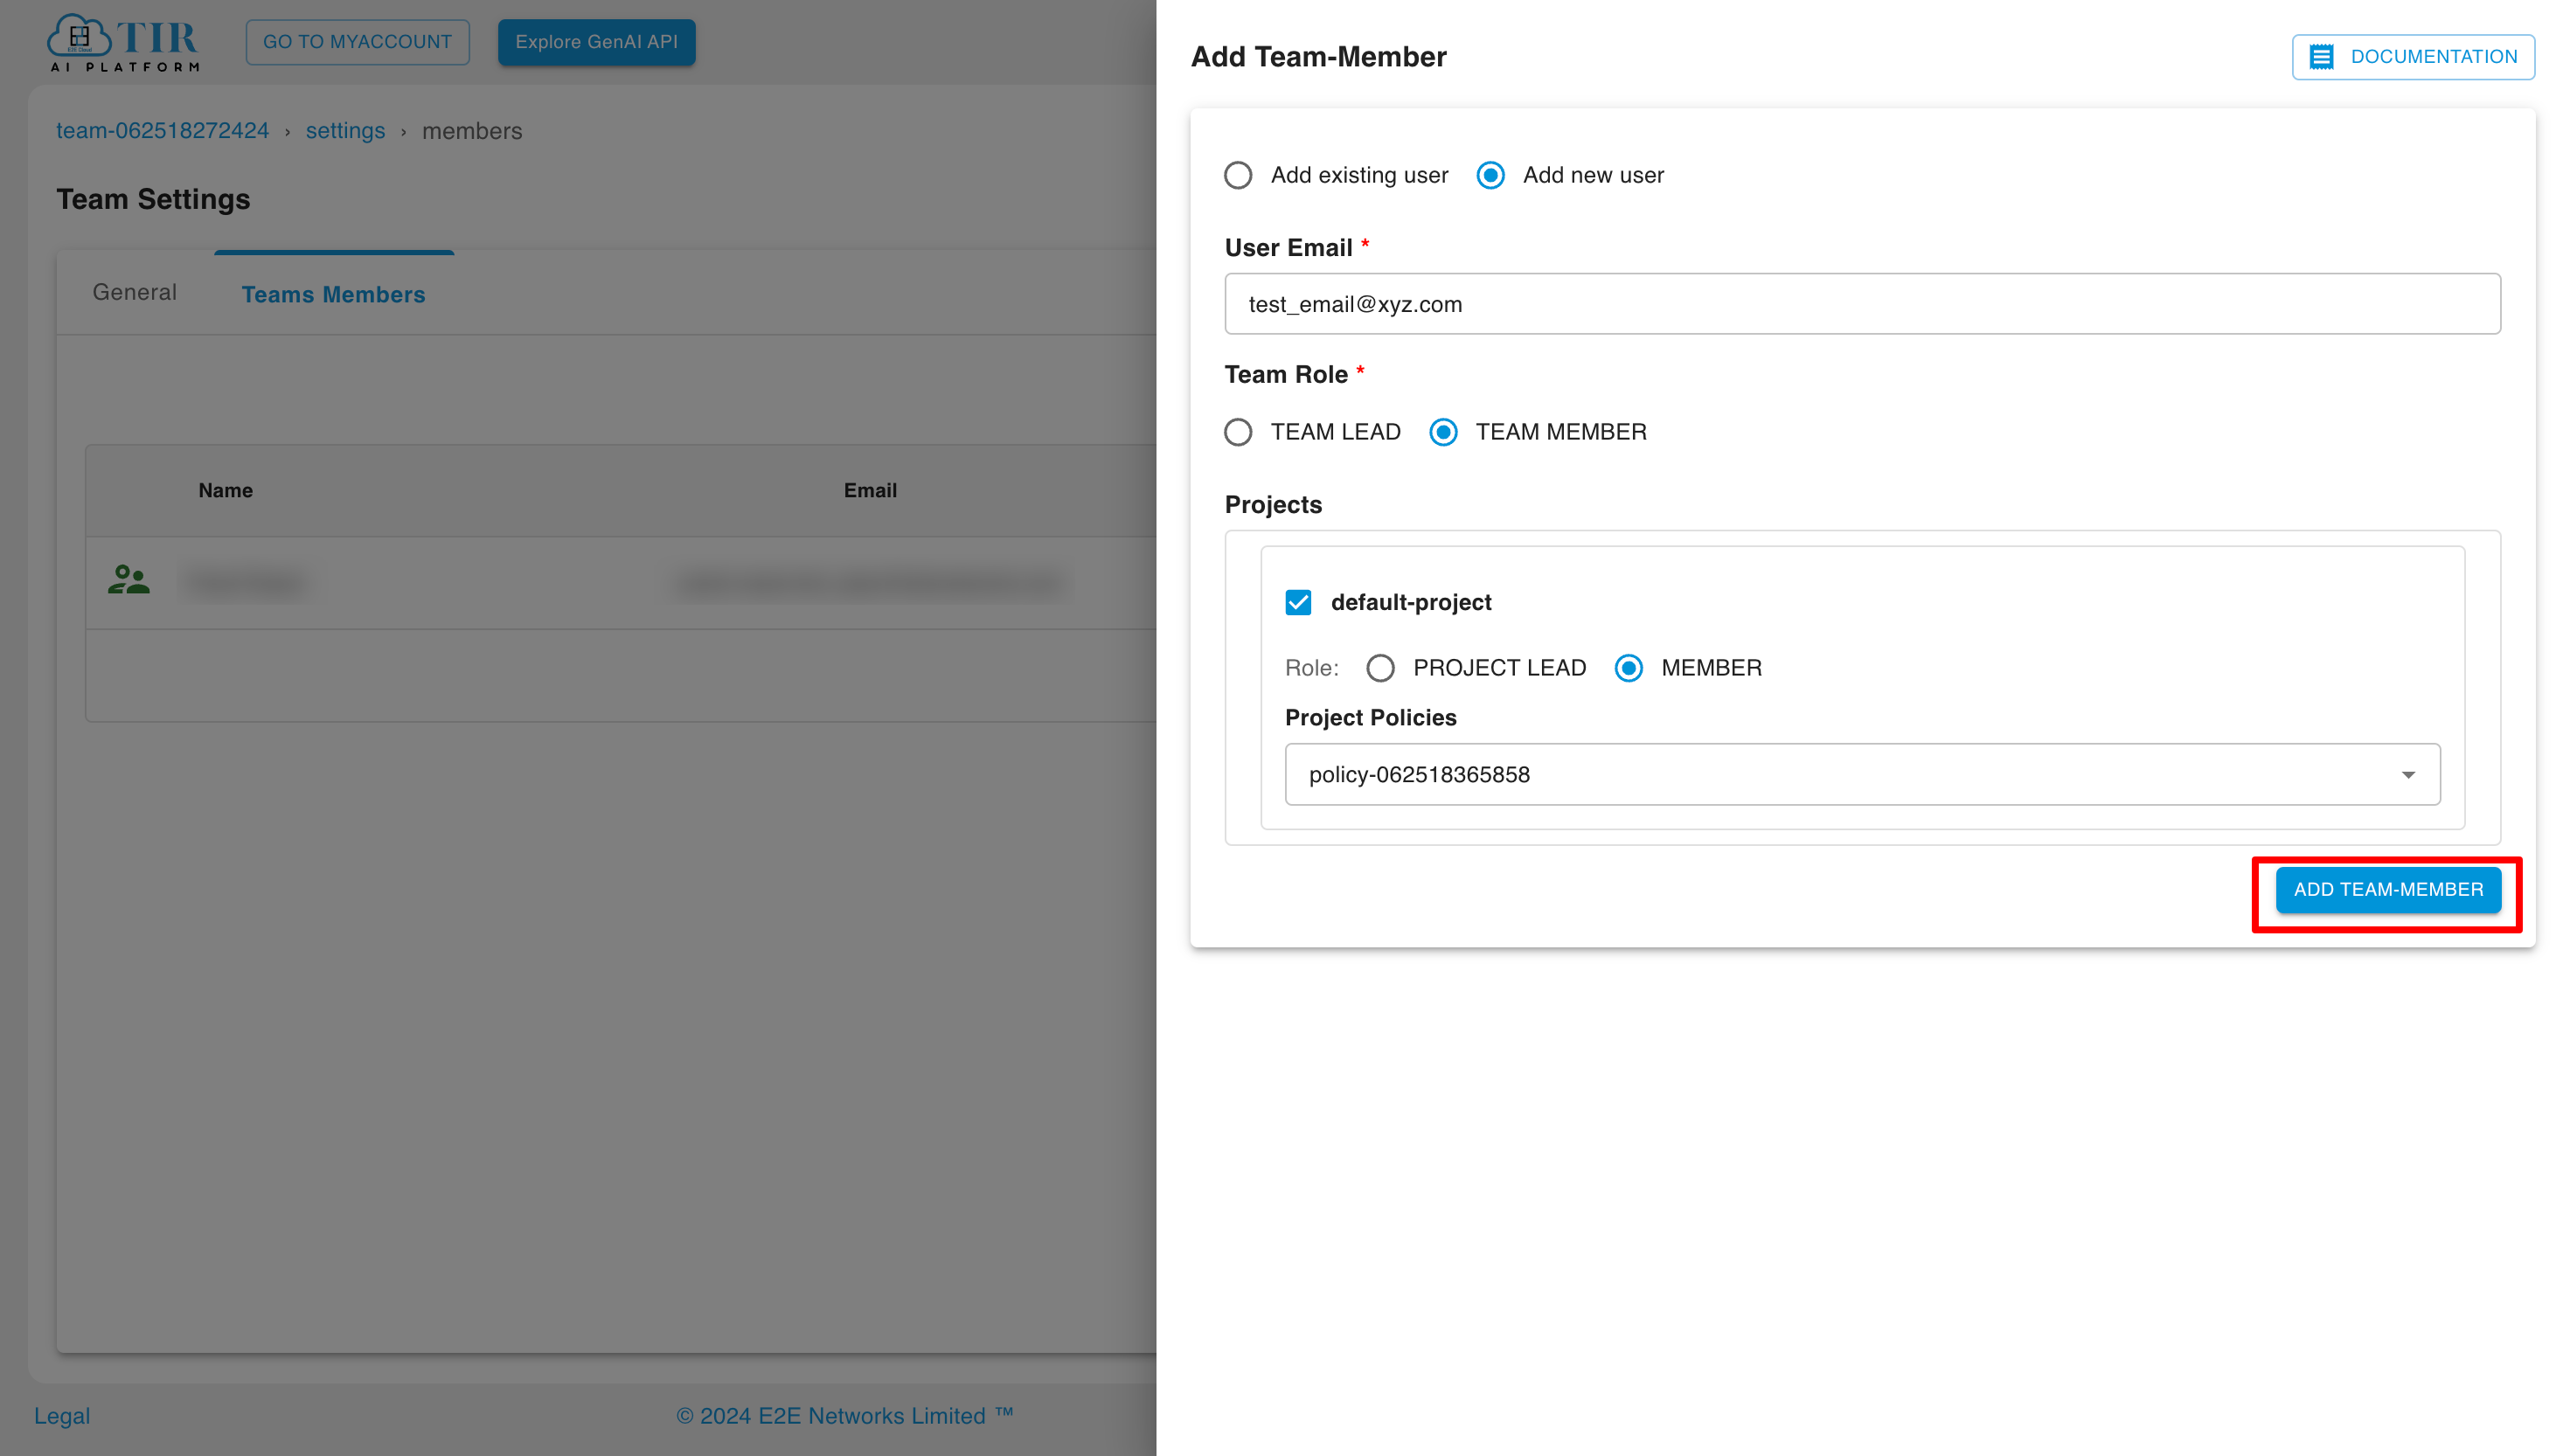
Adding a new team member
Select the appropriate role and projects, then click the “Add Team Member” button.
Invitations sent and their status can be seen in the invite section of the IAM Panel.
Edit Team Member
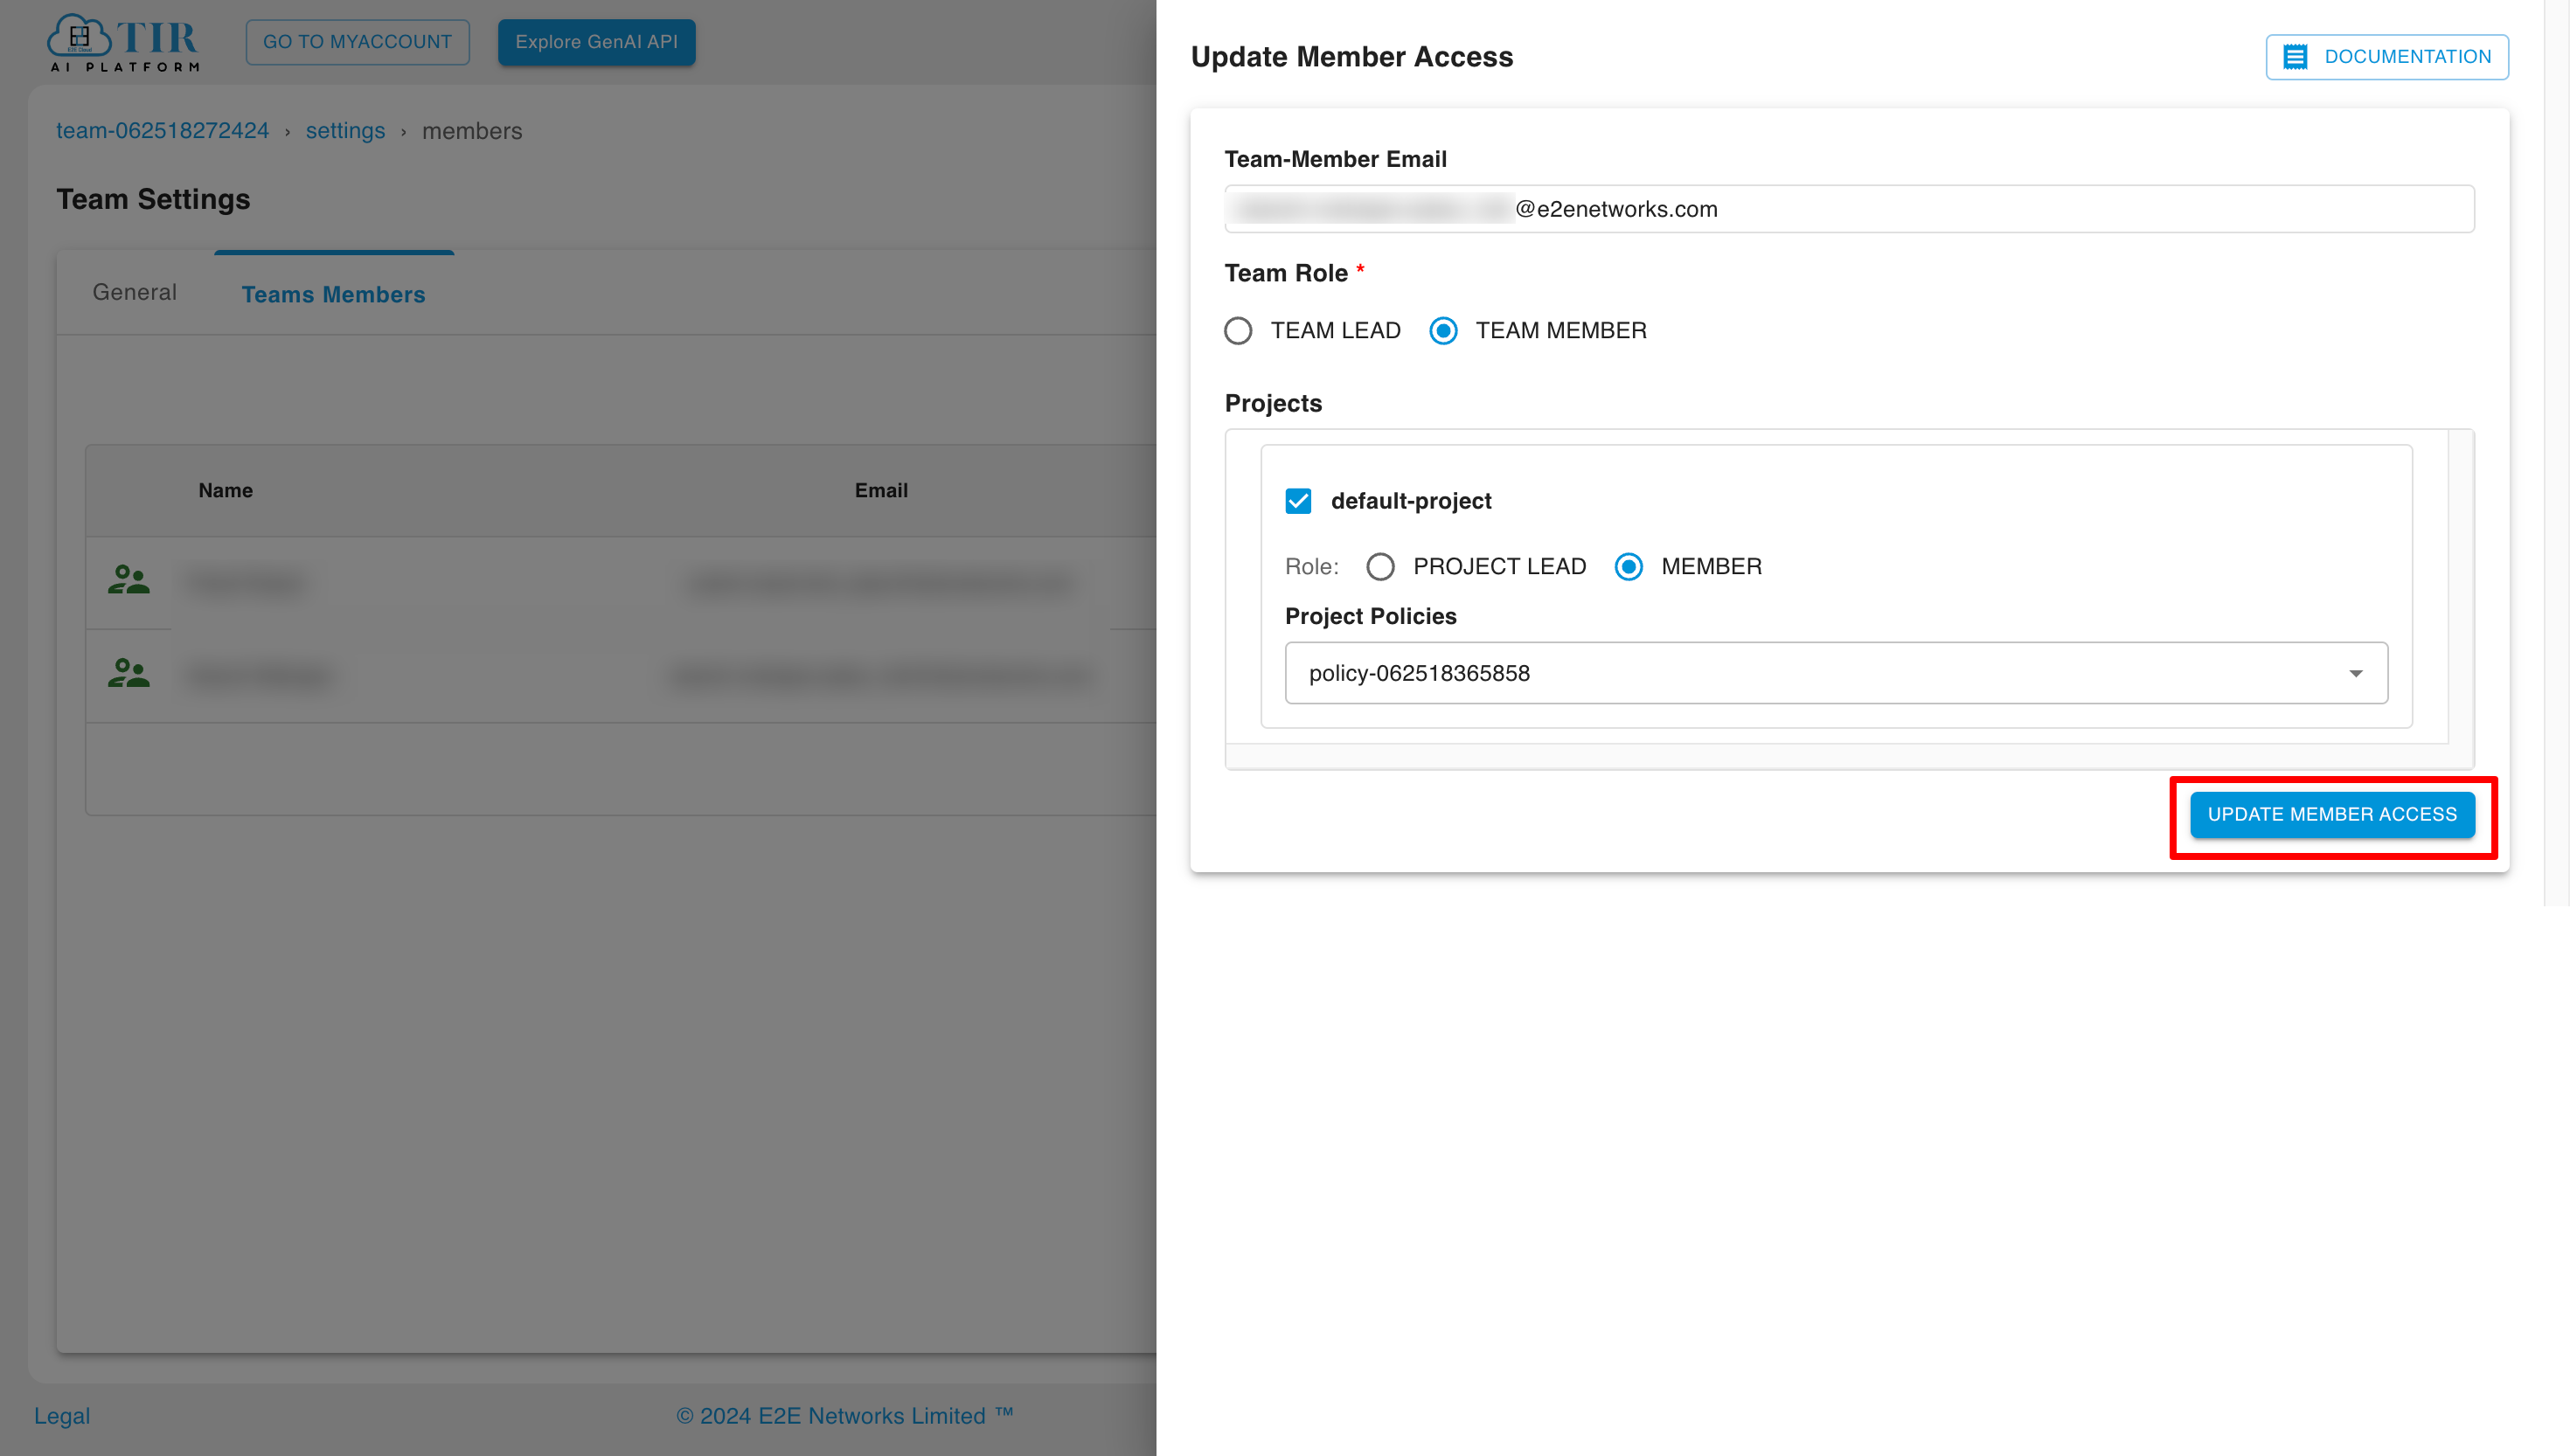
We can edit the team member’s role by clicking on the “update user access” button in the actions section.
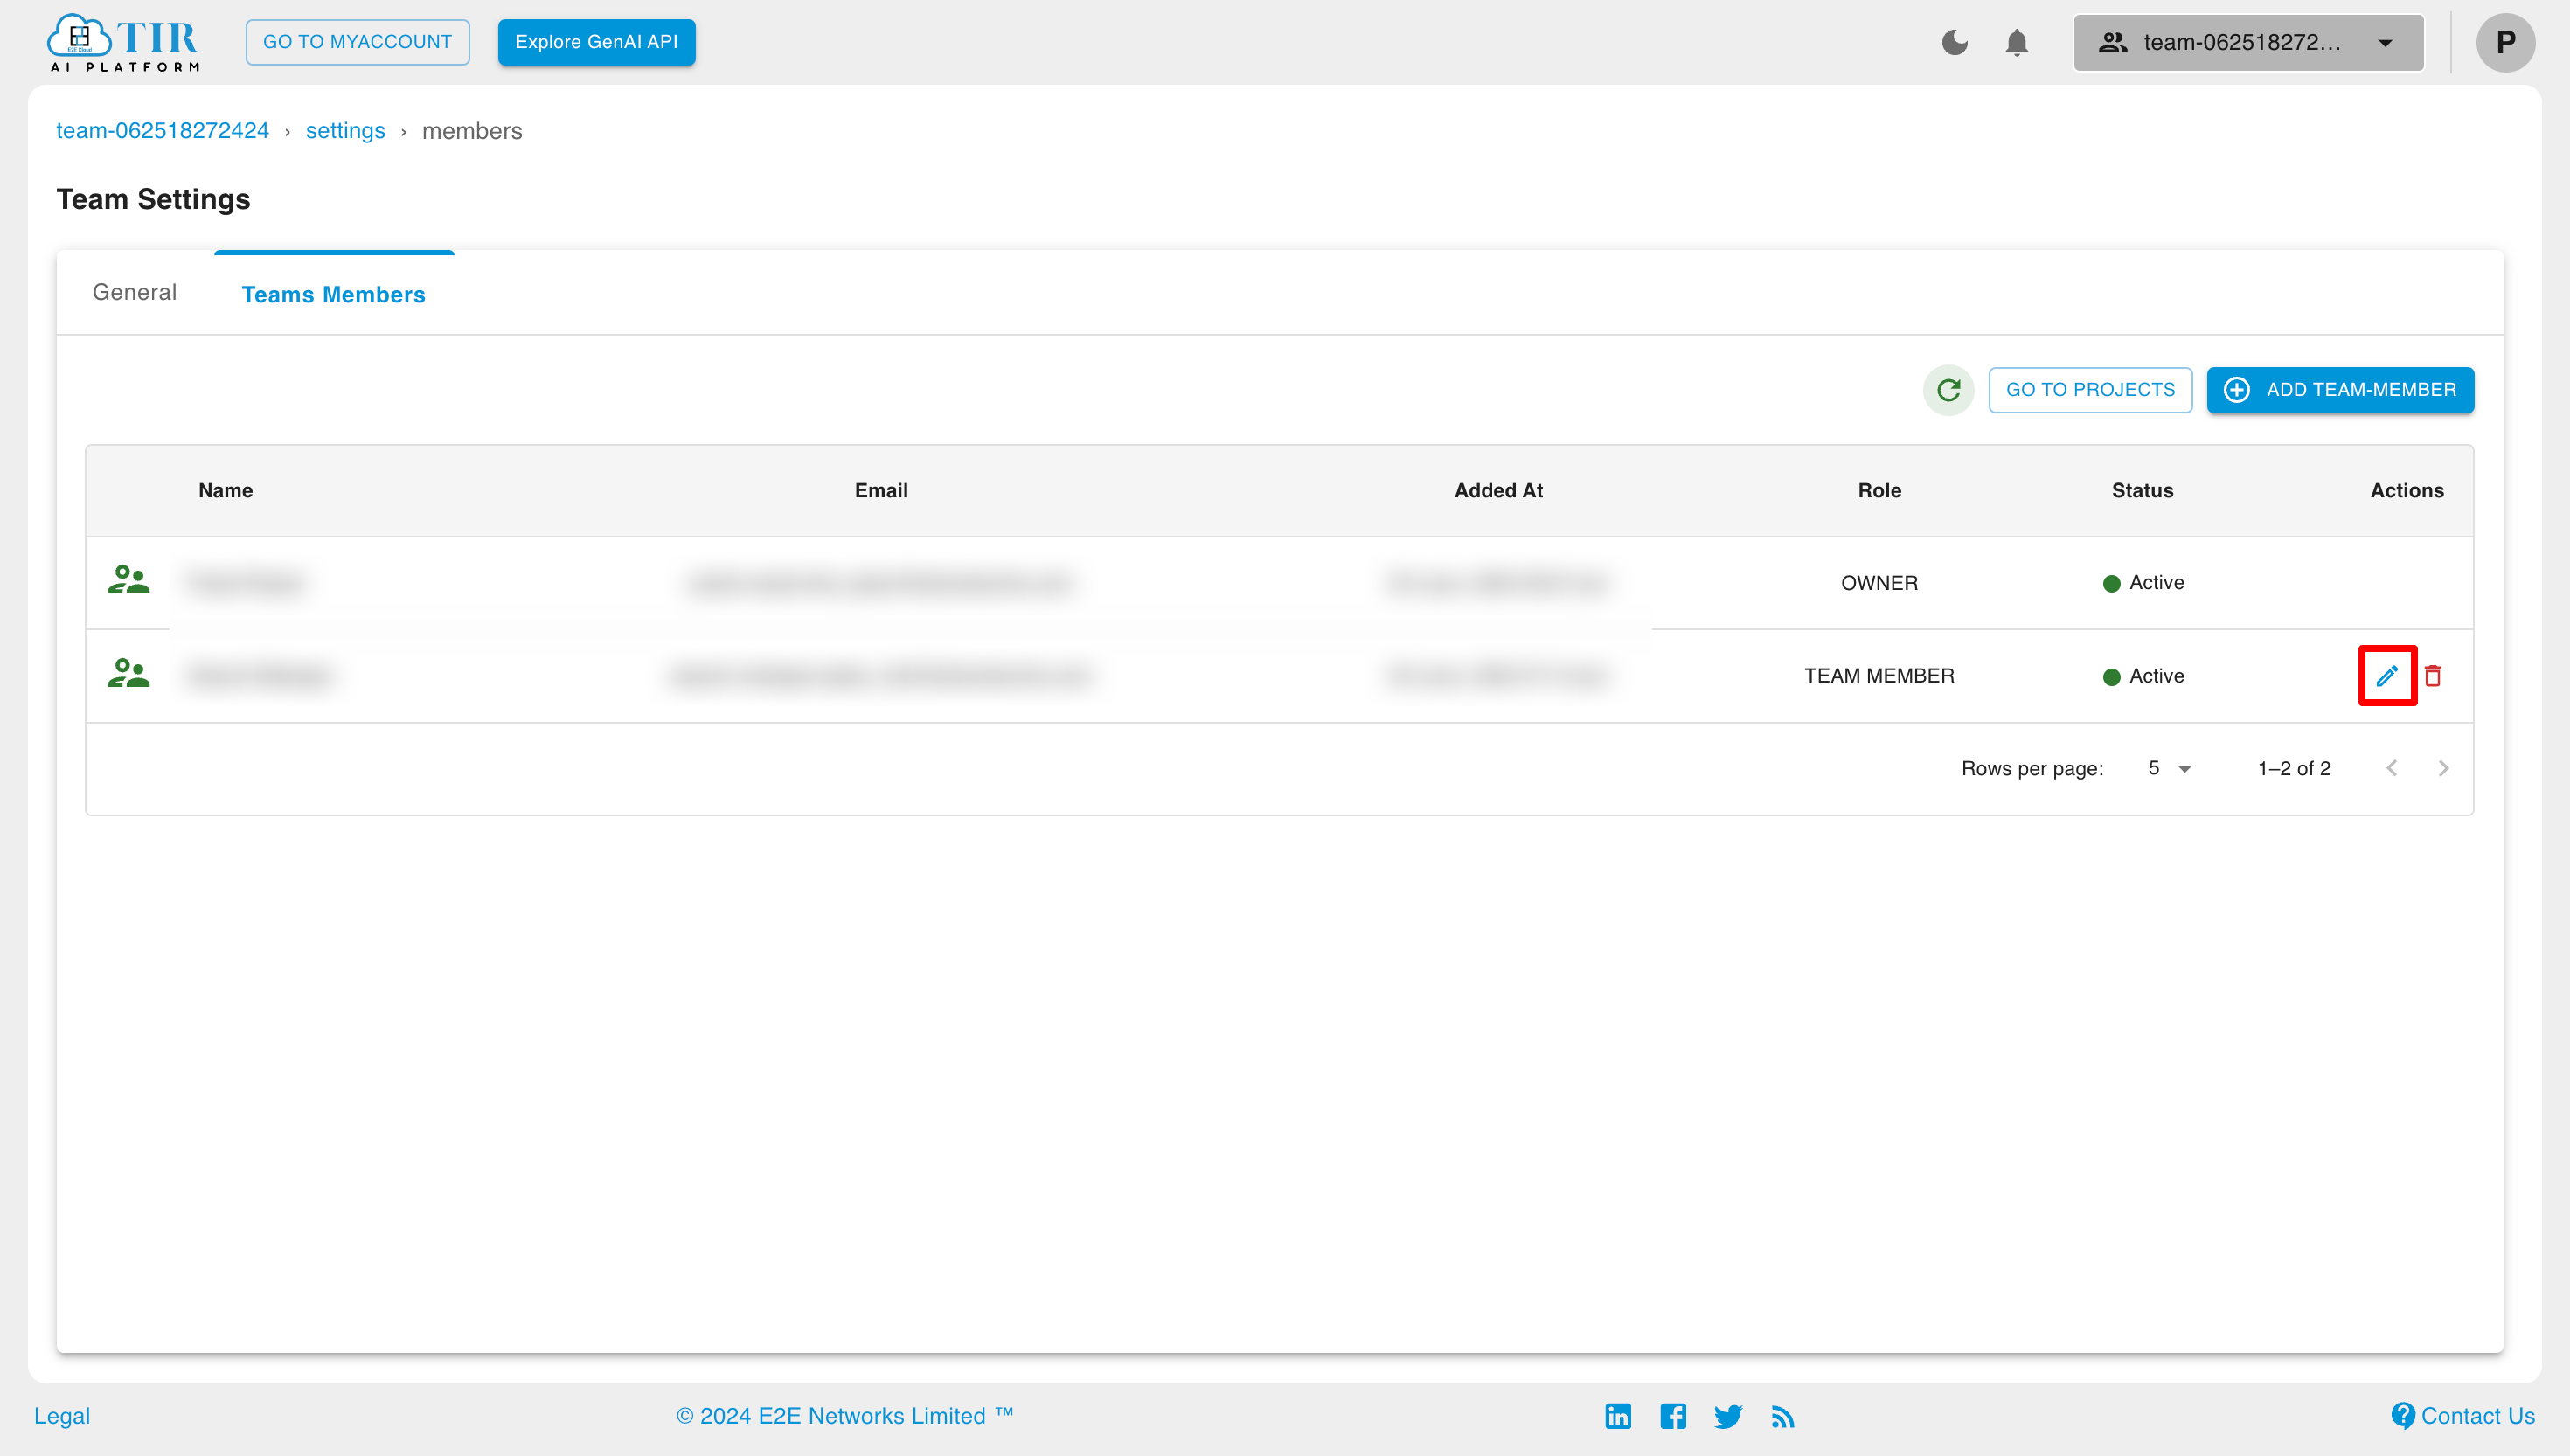
Now, select the appropriate role and projects, then click the “Update Member Access” button.
Delete Team Member
To delete a team member from a team, click on the “Remove Team Member” button in the actions section.
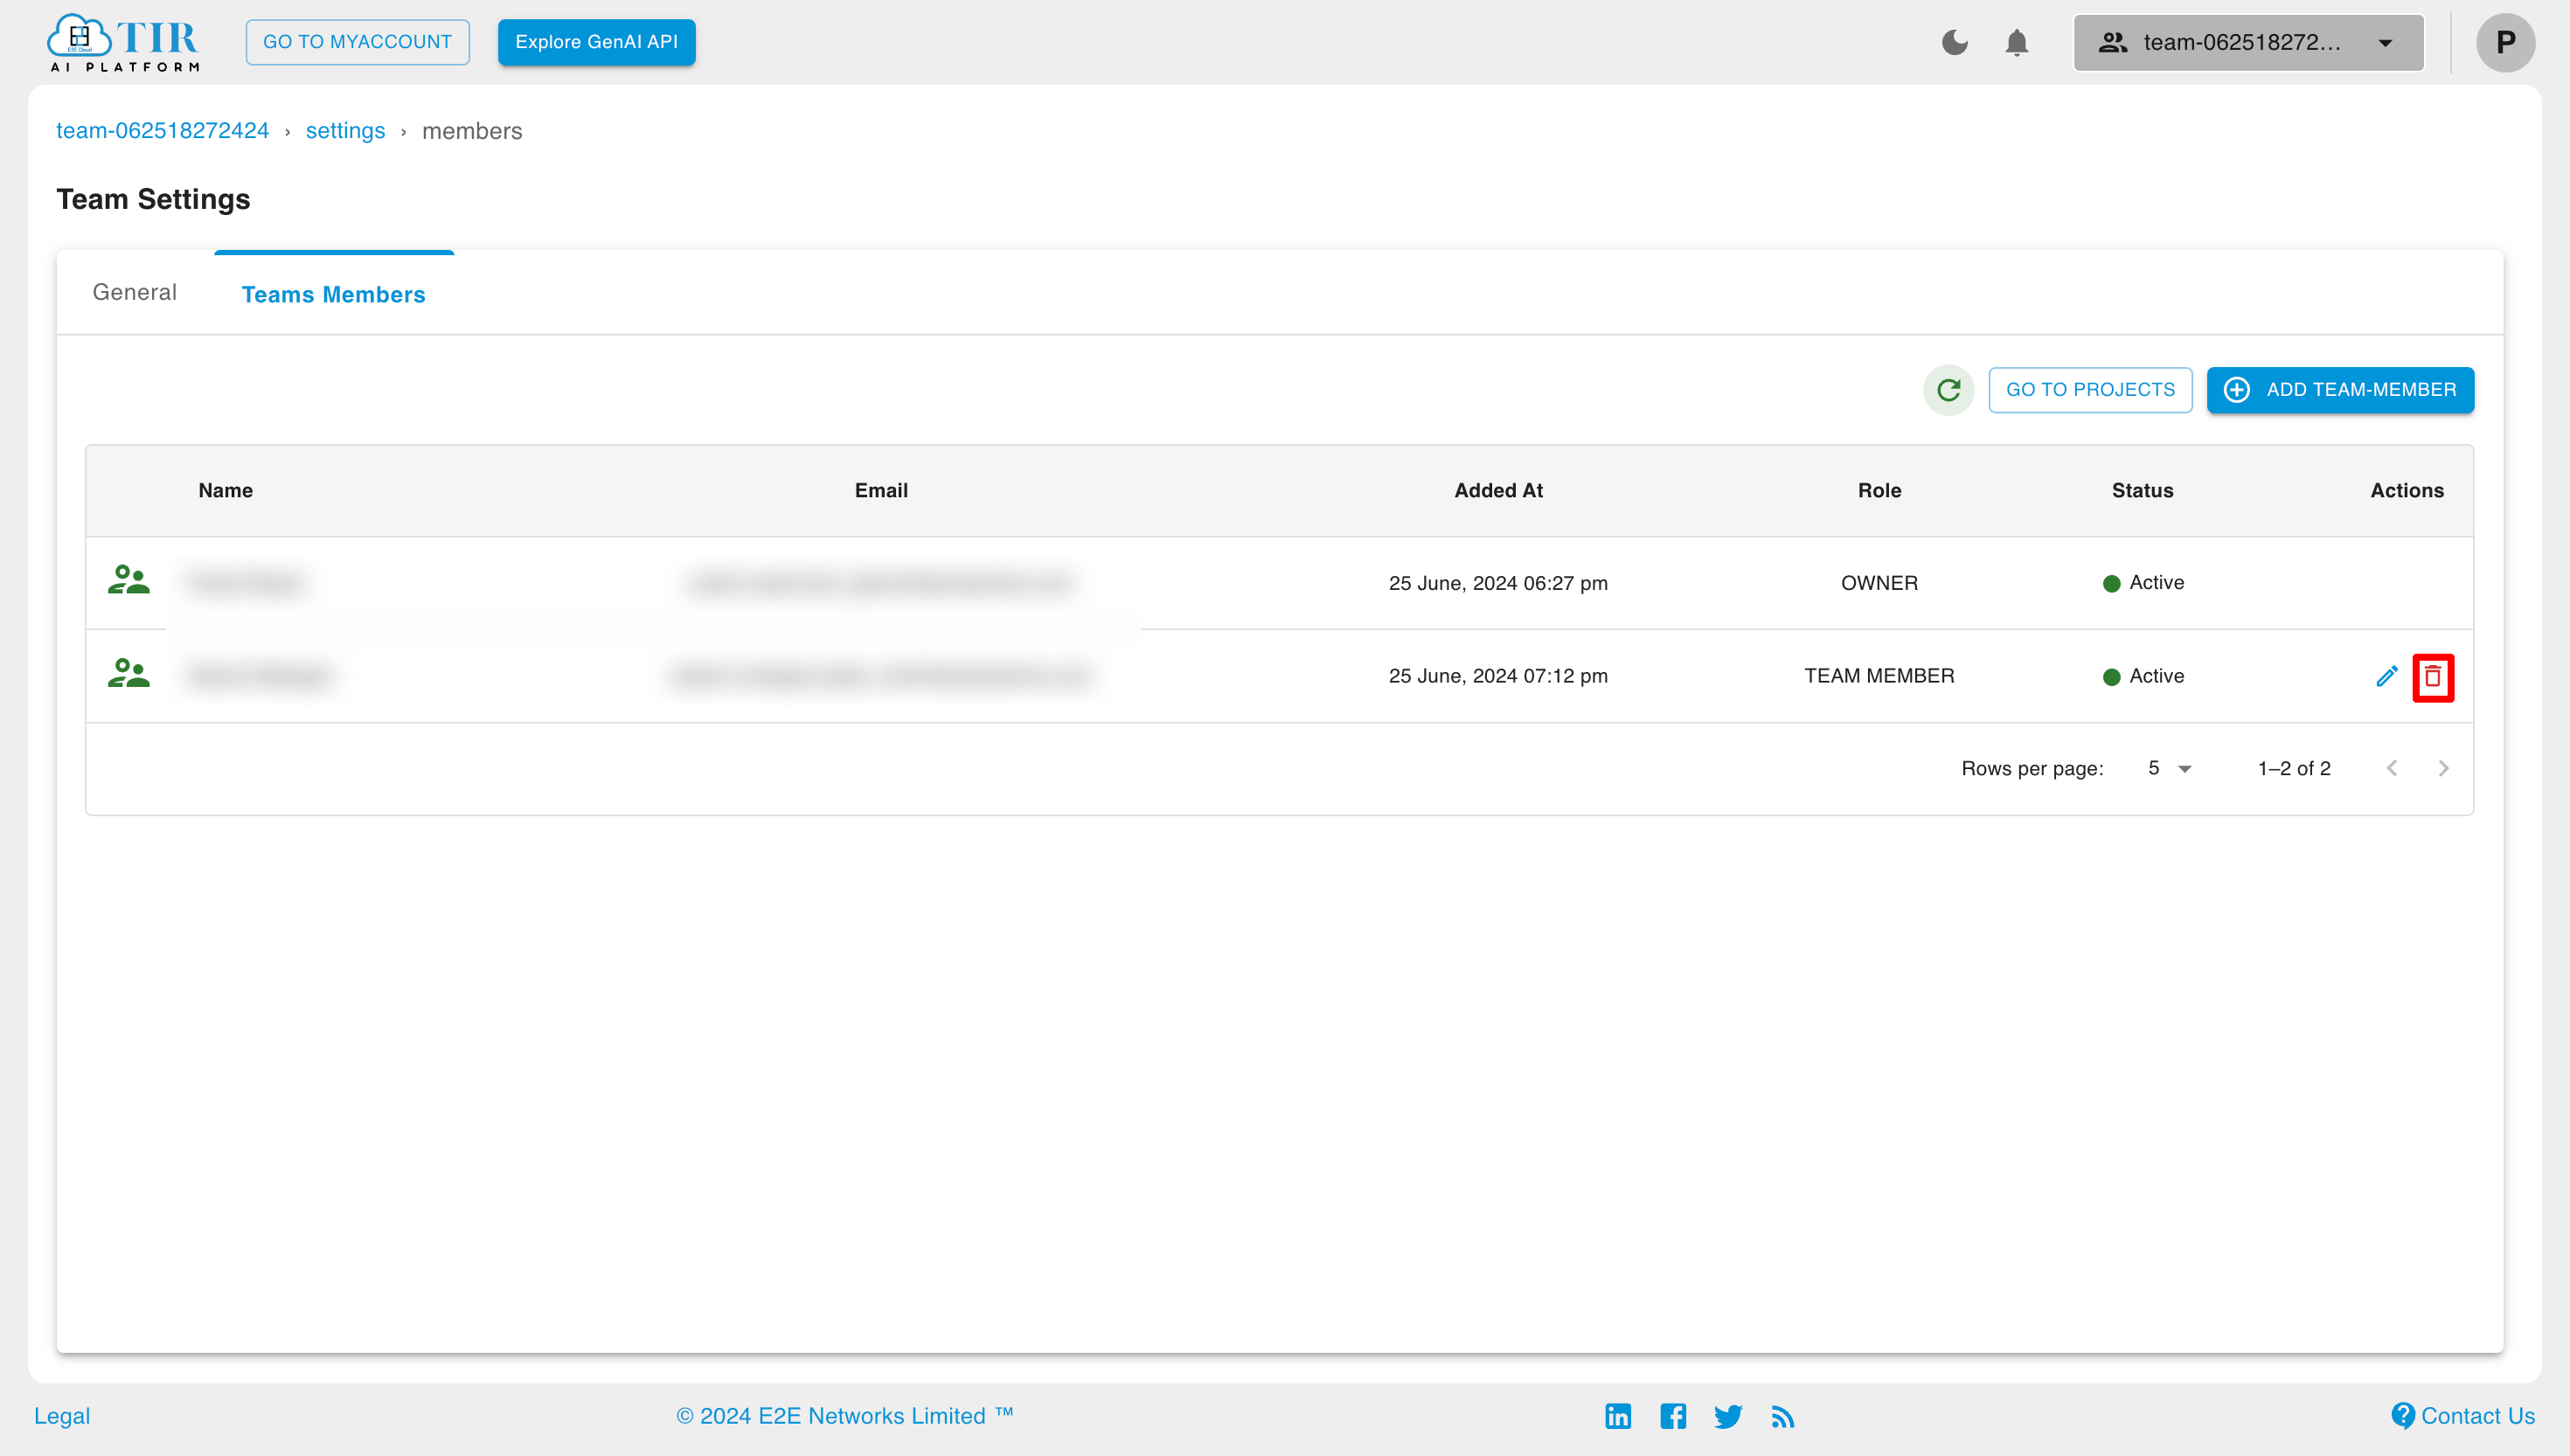
Now to delete the team member, check the checkbox and click on “Delete” Button.
