Step by Step Guide to Run
Introduction
“Run” in a pipeline signifies the execution of a predefined sequence of tasks that collectively achieve a specific goal, whether it’s building and deploying software, processing data, or automating a set of operations. The concept emphasizes the automation and repeatability of workflows to ensure consistency and efficiency in various domains.
How to create a Run
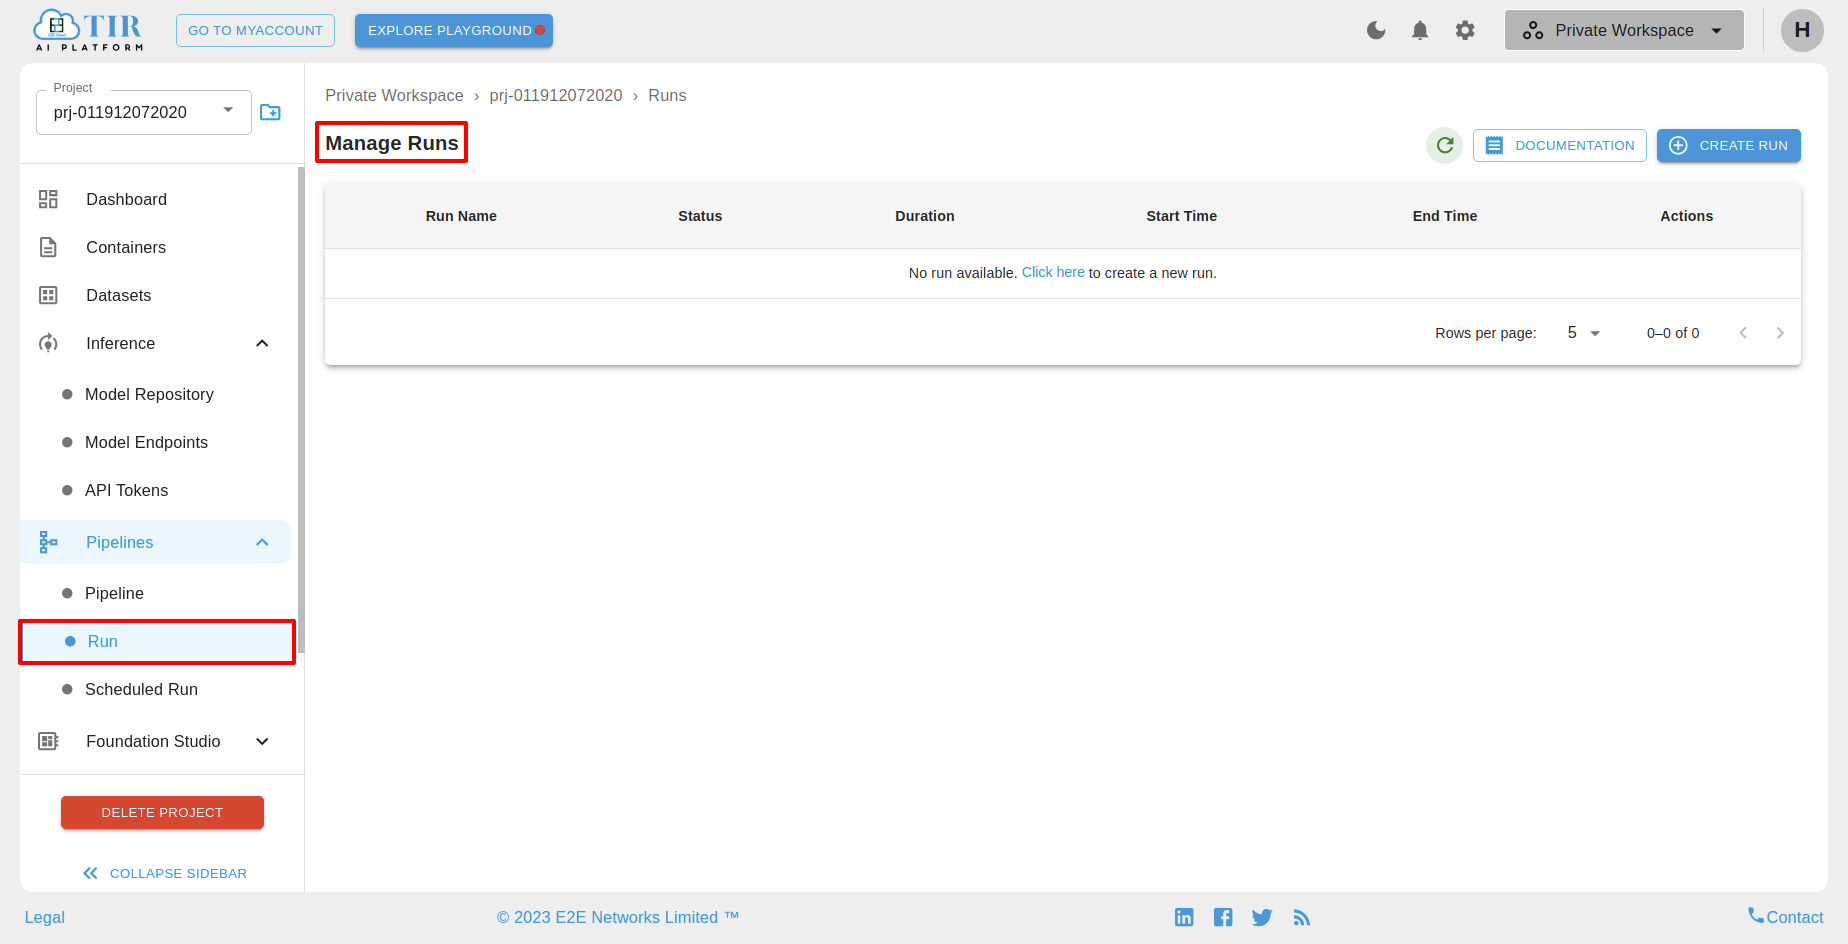
To create the Run, first, the user should navigate to the sidebar section and select “Pipelines”. Upon selecting Pipelines, a dropdown menu will appear, featuring an option labeled “Run”.
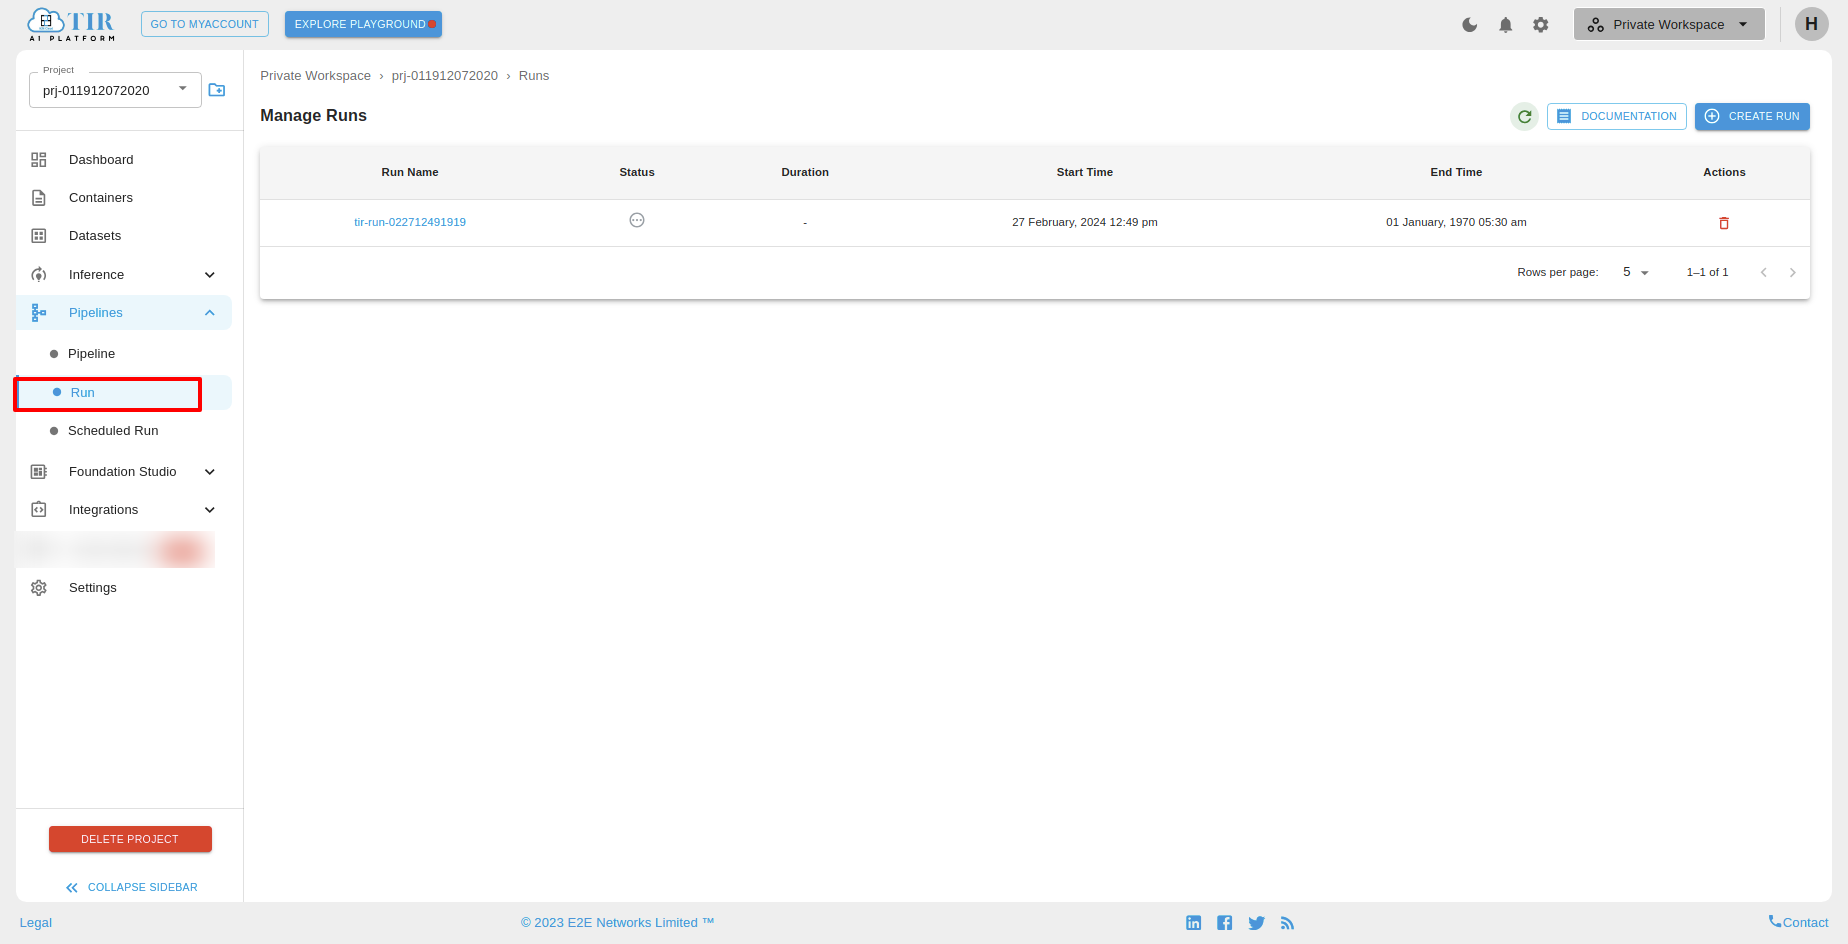
Upon clicking the “Run” option, the user will be directed to the “Manage Run” page.
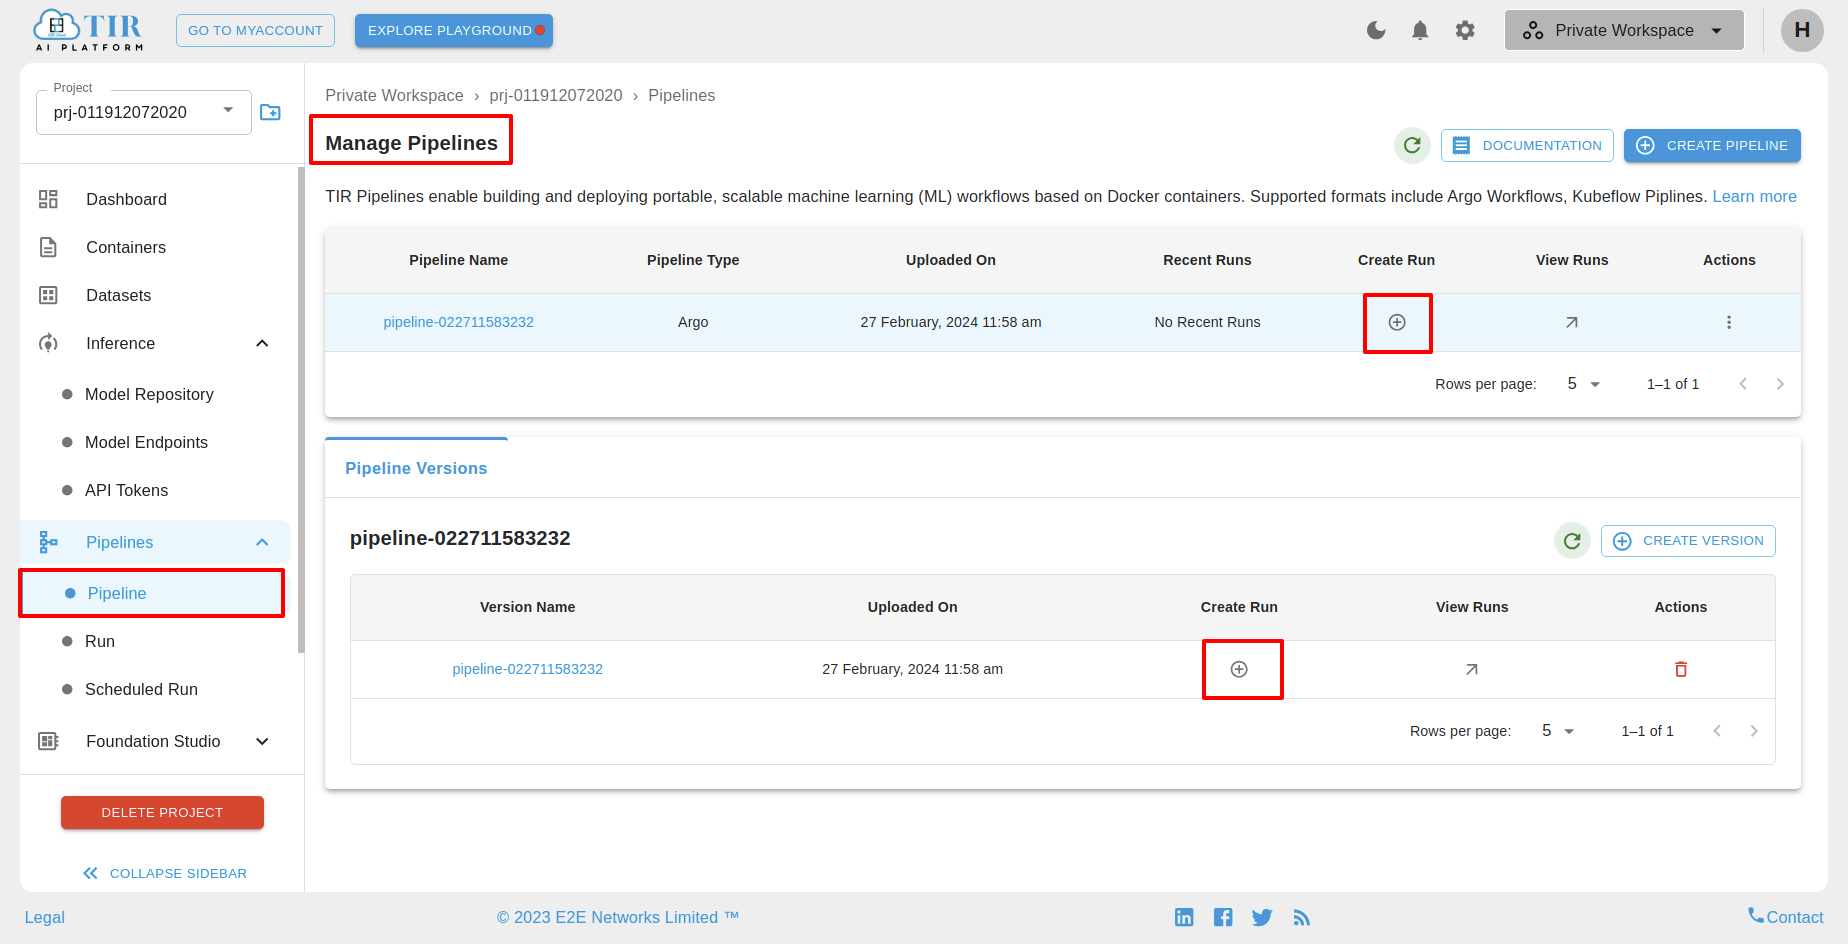
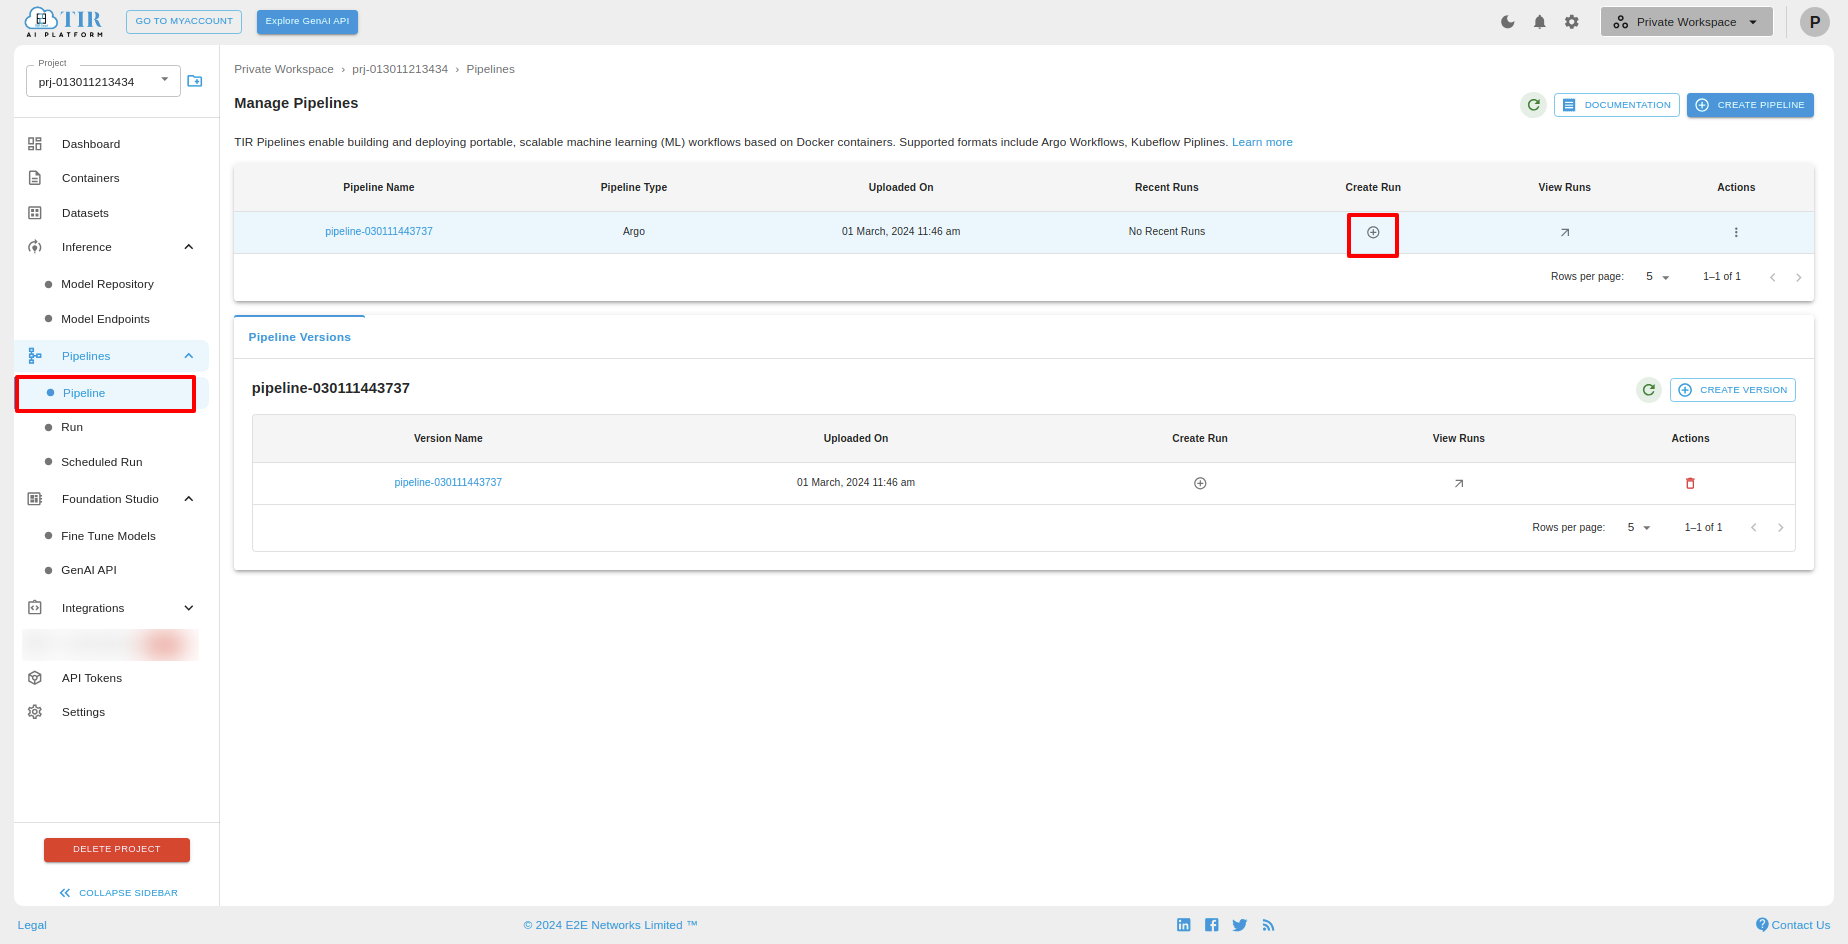
or you can create Run under pipeline by selecting a particular pipeline and click on “Create Run”.
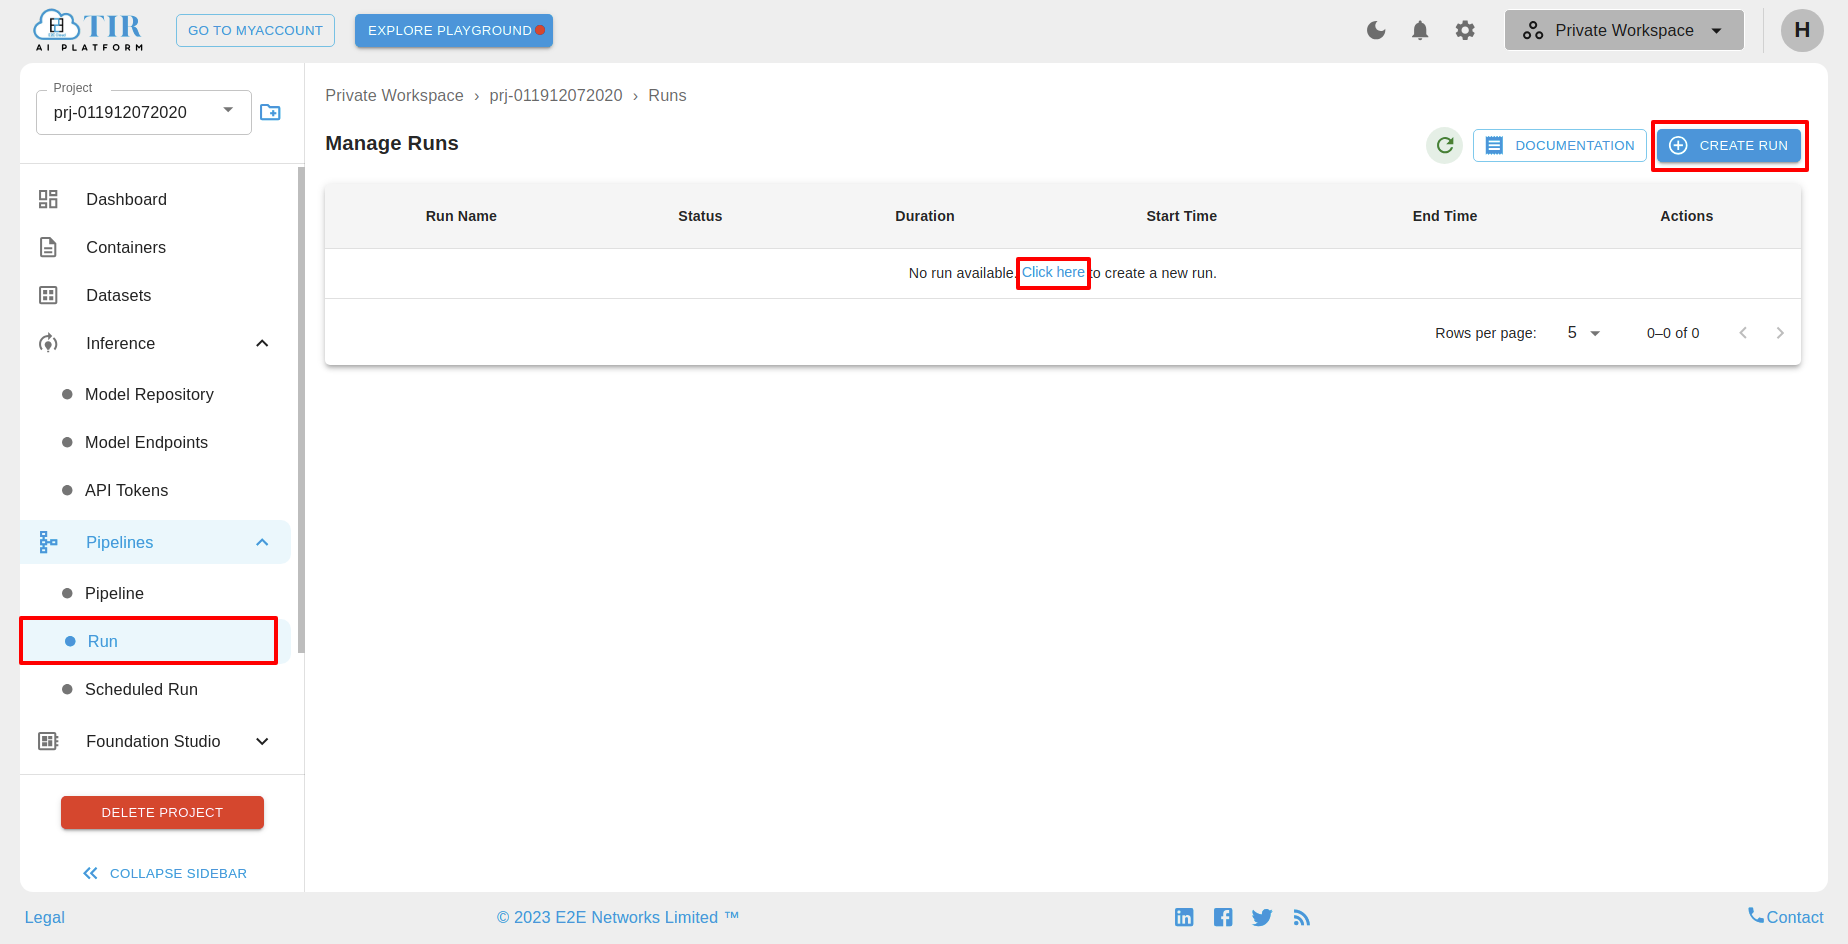
After redirect to the “Manage Runs”, On this page, users can locate and click on the “CREATE RUN” button or “Click-here” link for Create Run.
After clicking the ‘CREATE RUN’ button, the ‘Create Run’ page will open. On this page,
Experiment
Select an experiment, or if you don’t have one, create an experiment where you want to keep a record of all pipelines and their corresponding run histories in a container.
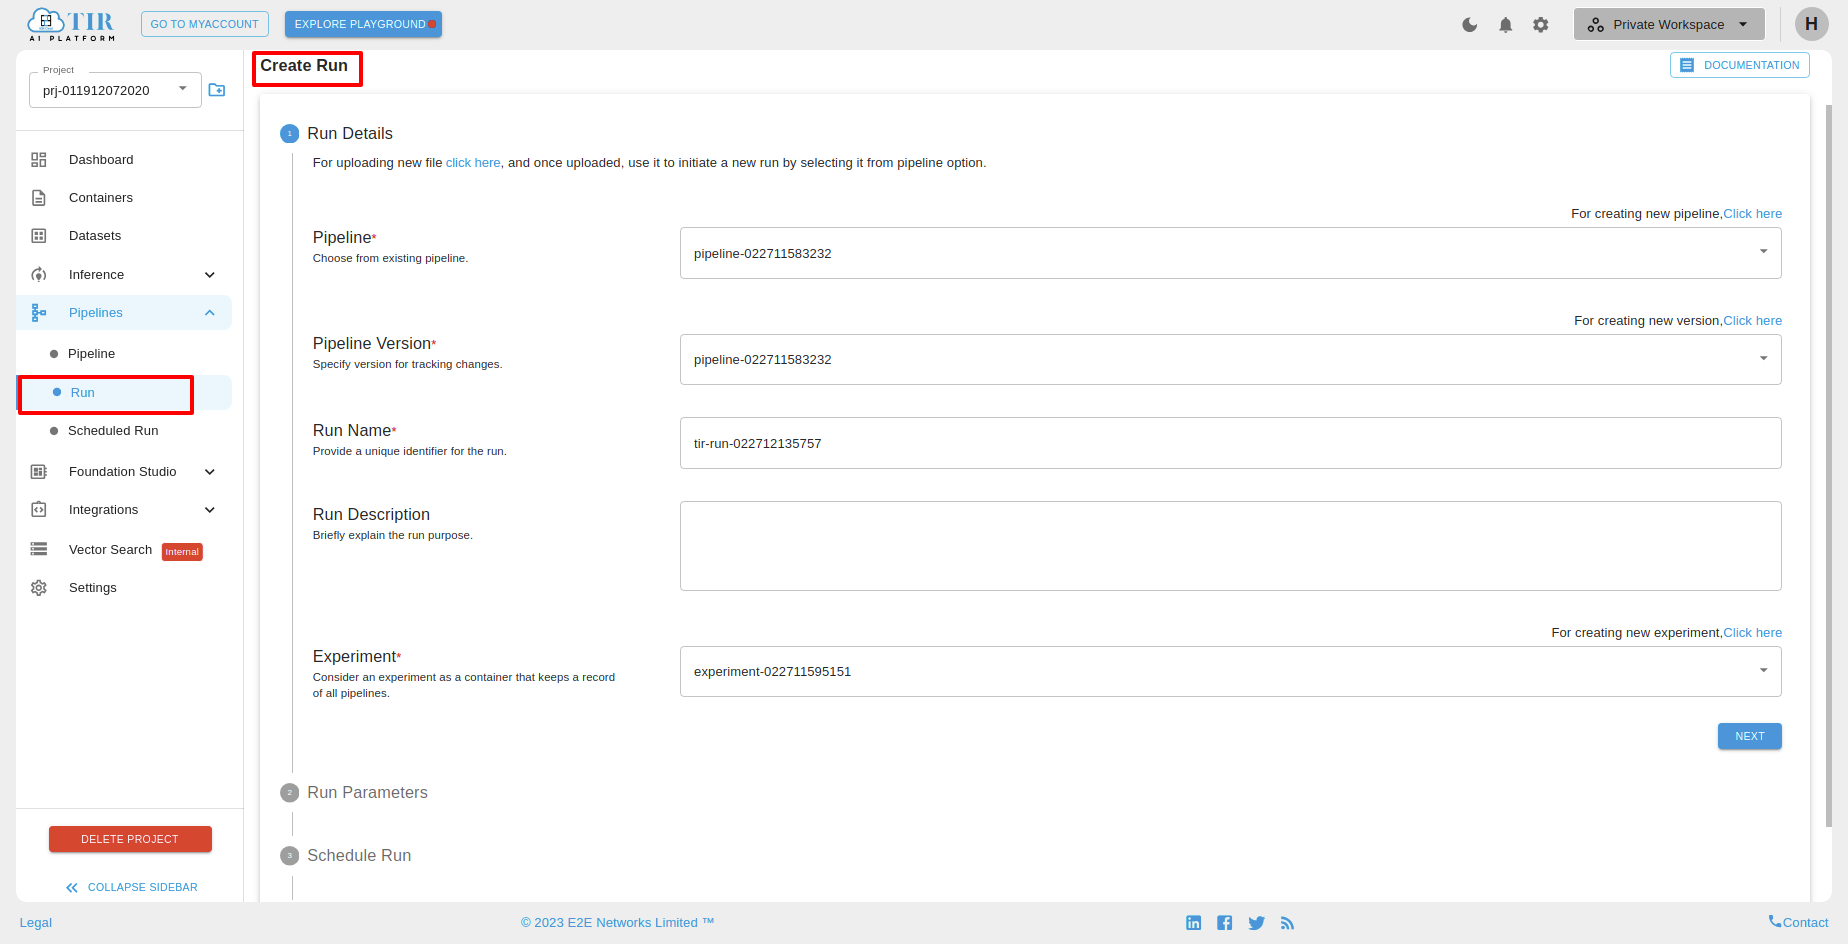
click on “Next” button.
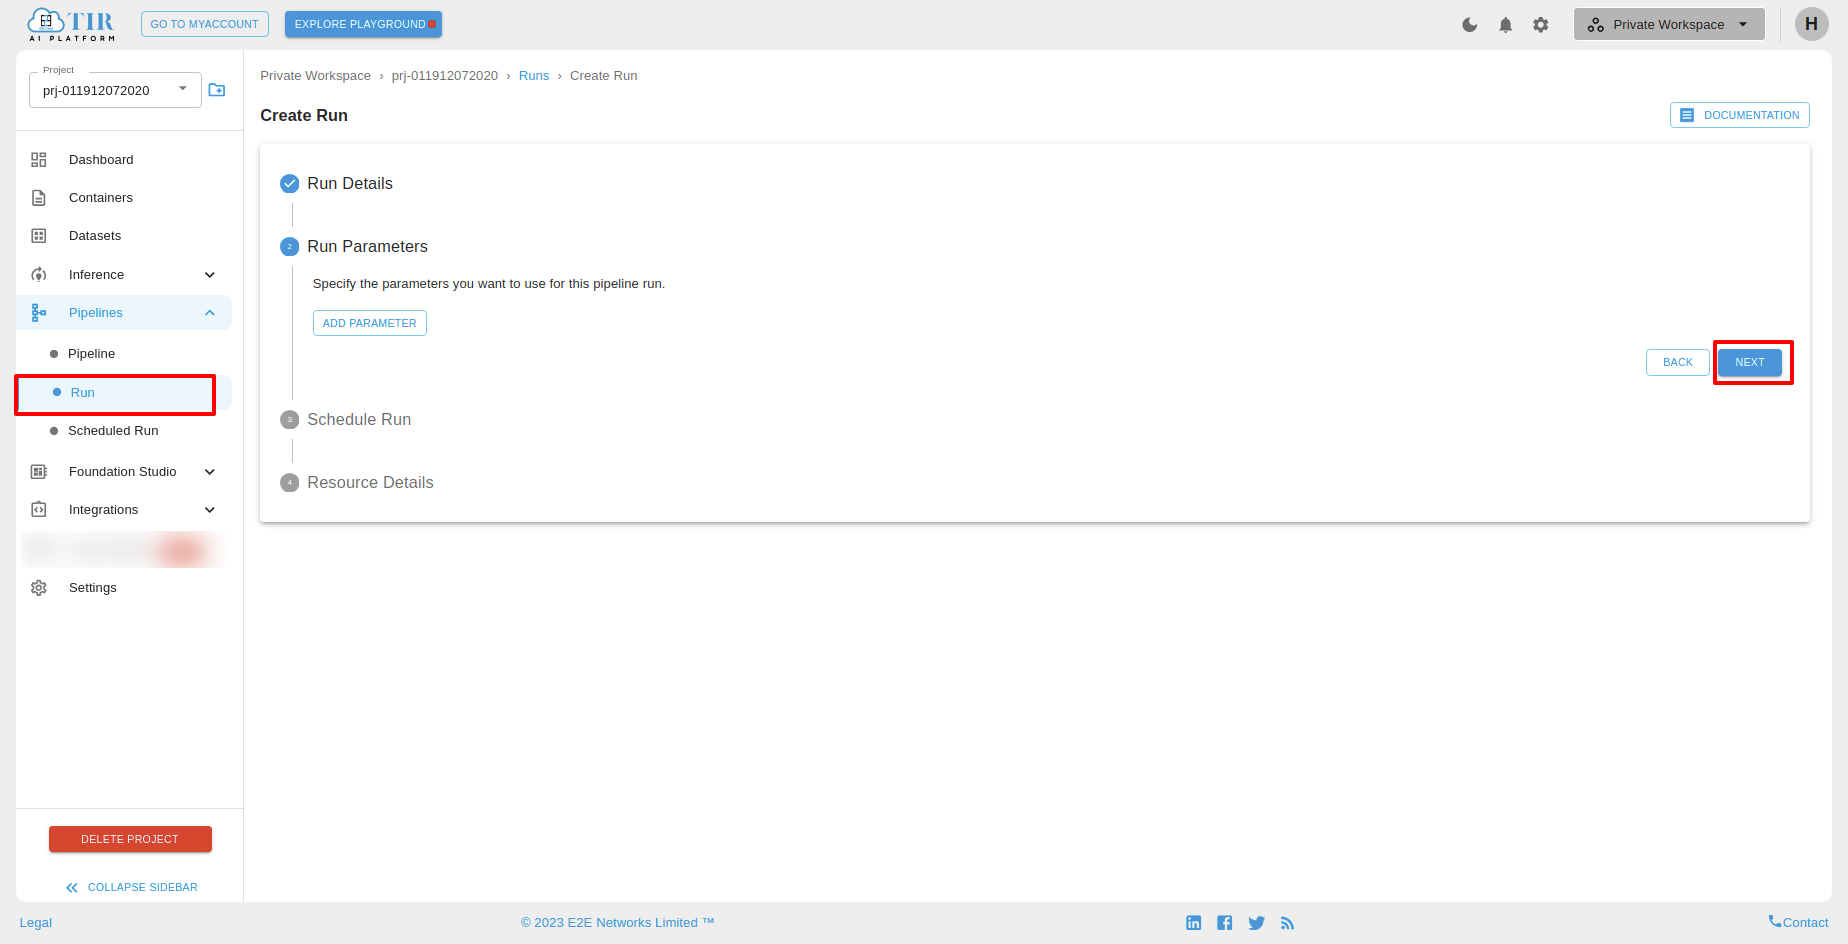
After that, you will have a Schedule Run section. If you enable Schedule Run.
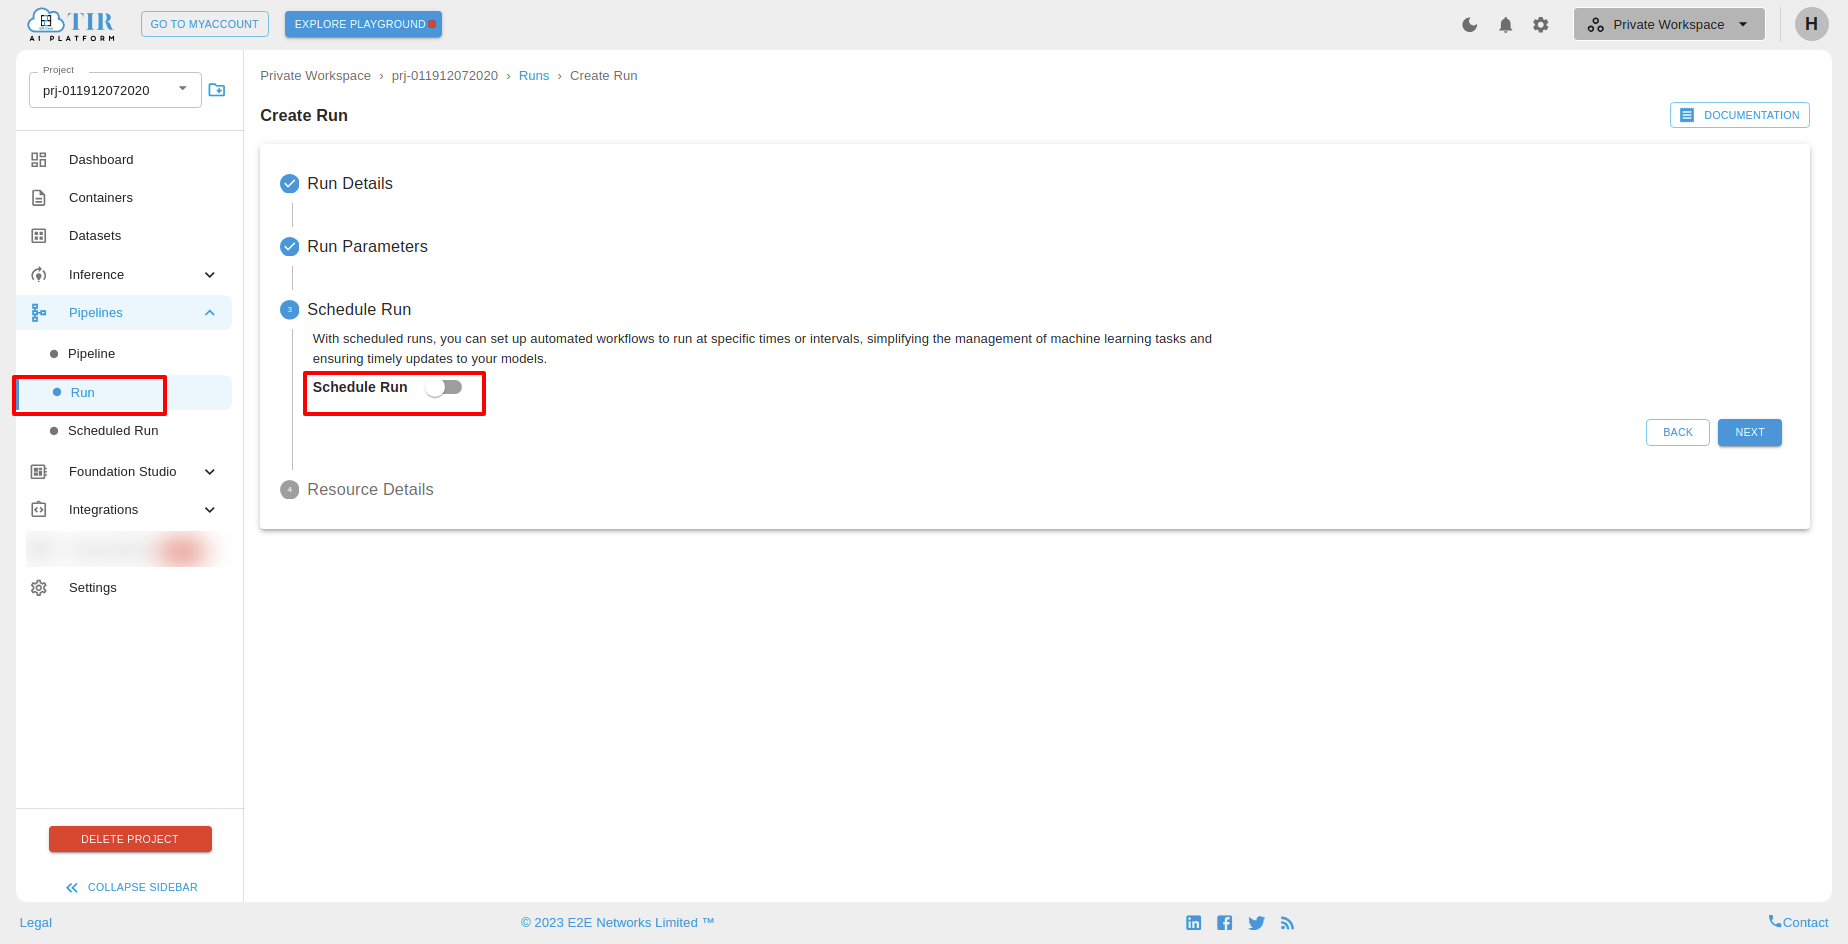
You will see the below screen.In that you can schedule run according to your need.
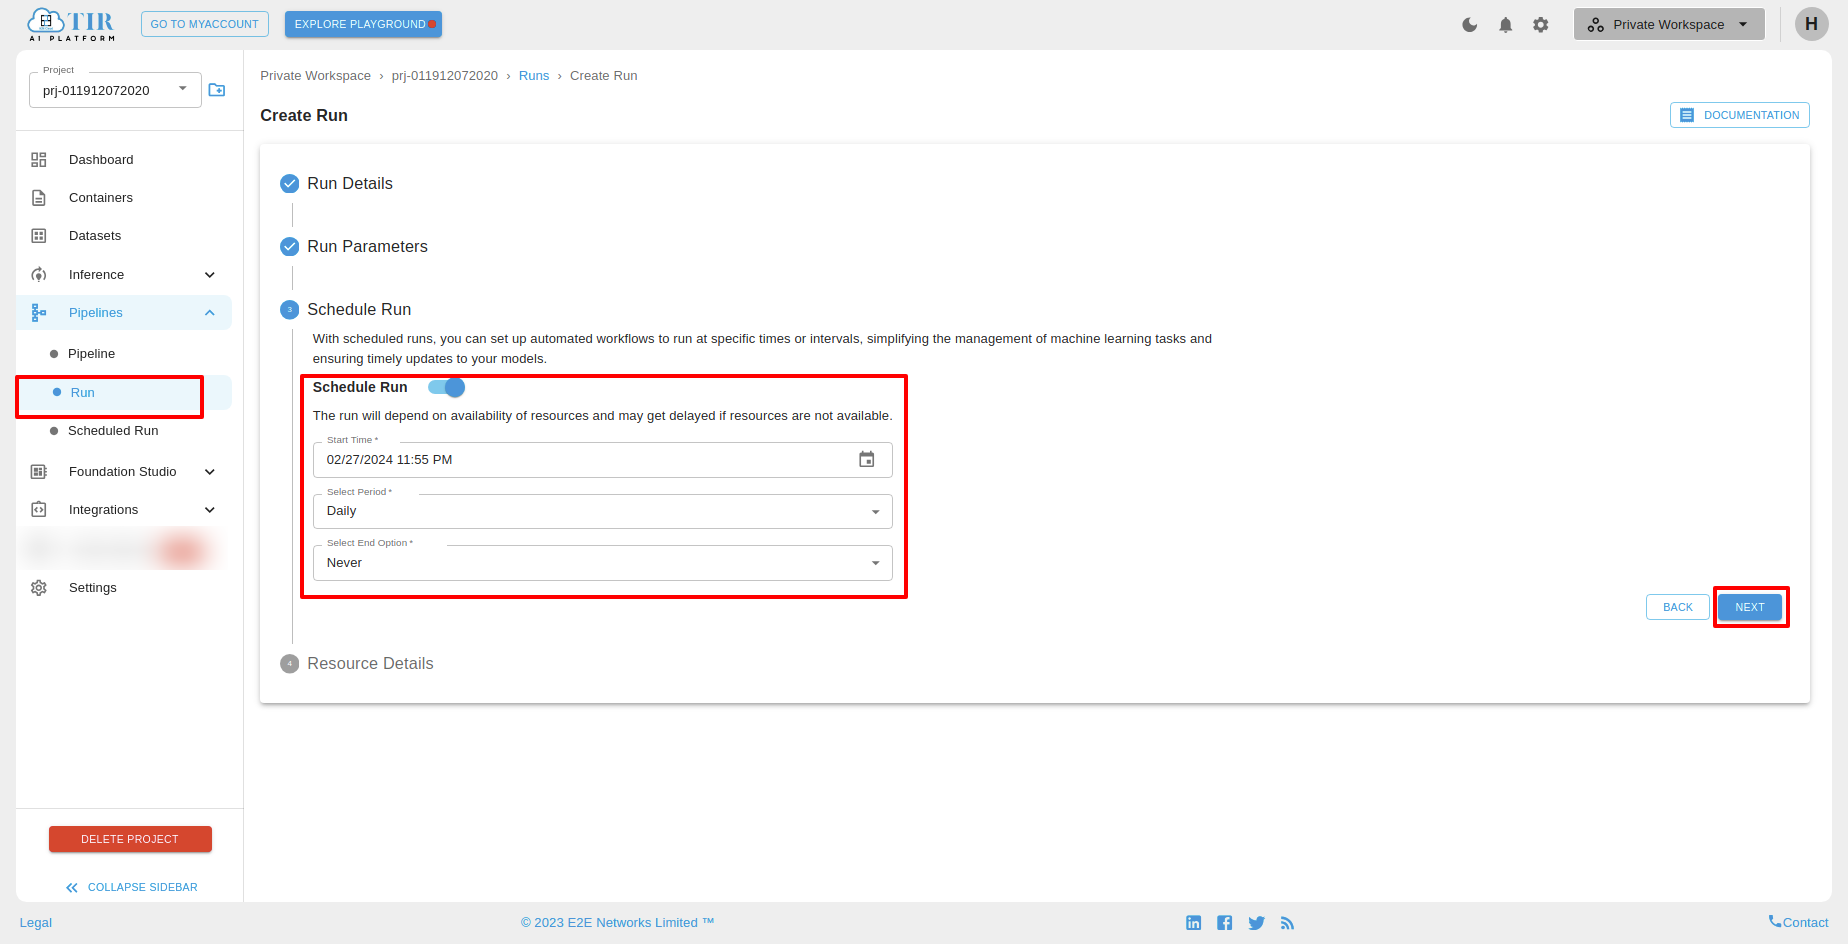
Select resource and click on “FINISH” button.
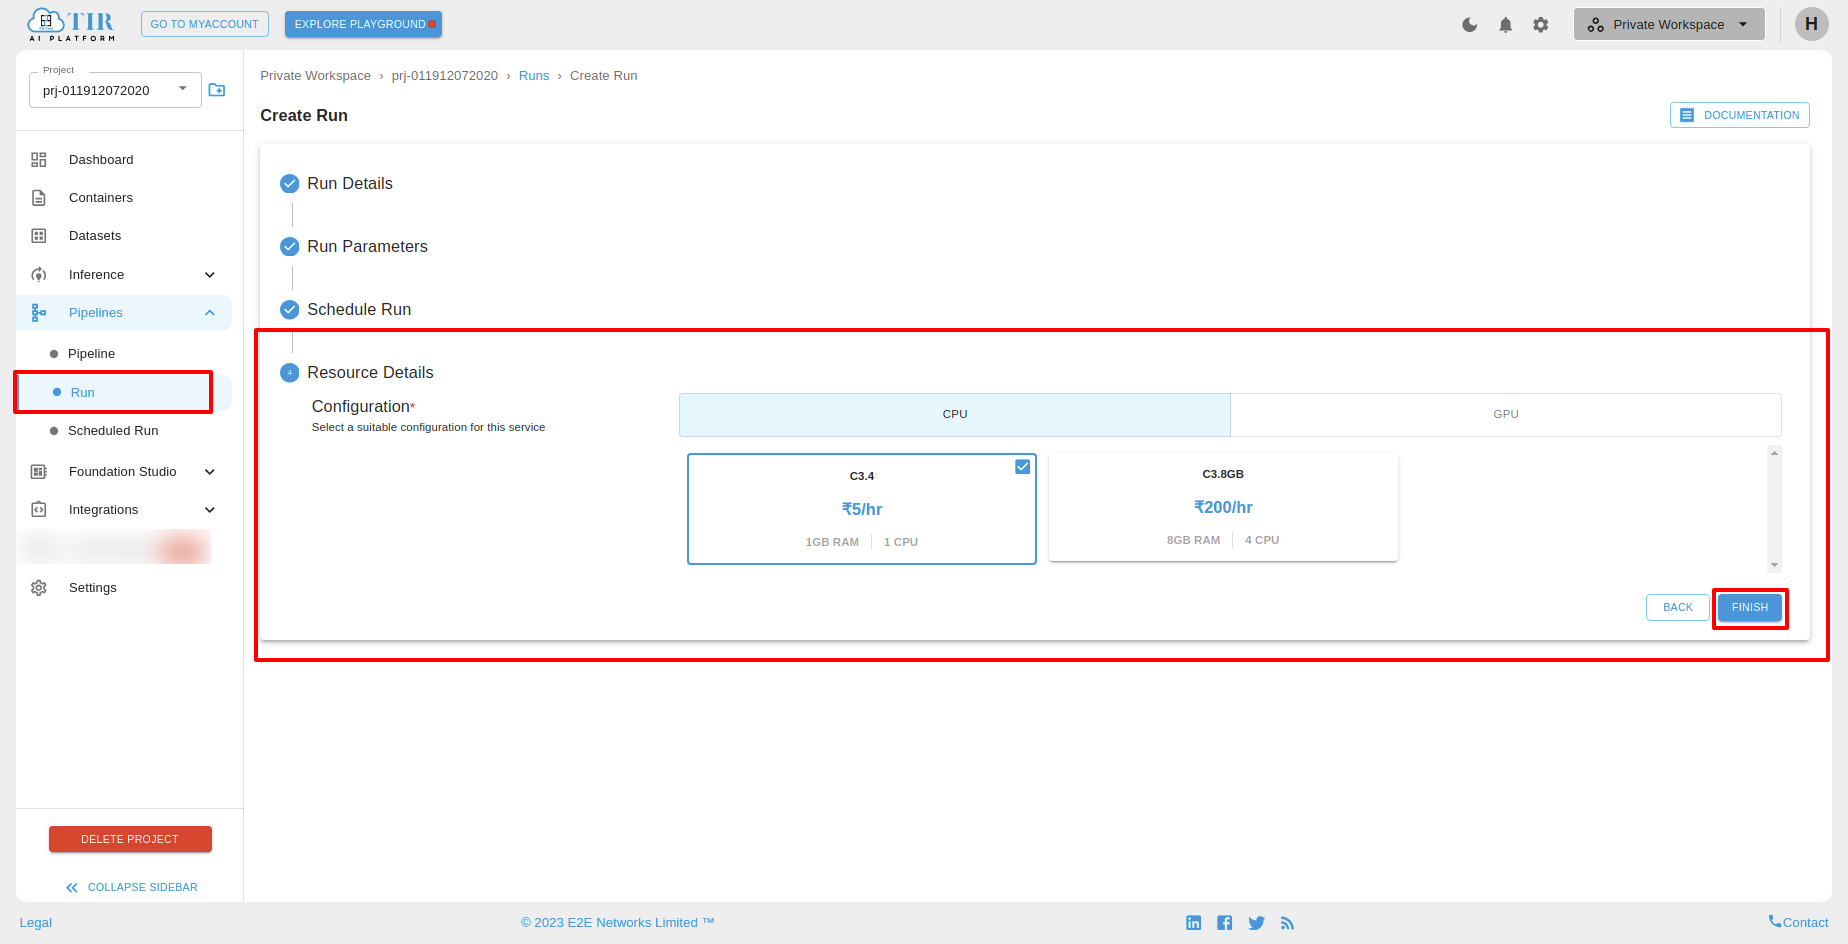
Click on “CREATE” button.You will see the created run’s on schedule run section.
If you not enable “Schedule Run”, you will see the created run on “RUN” section.
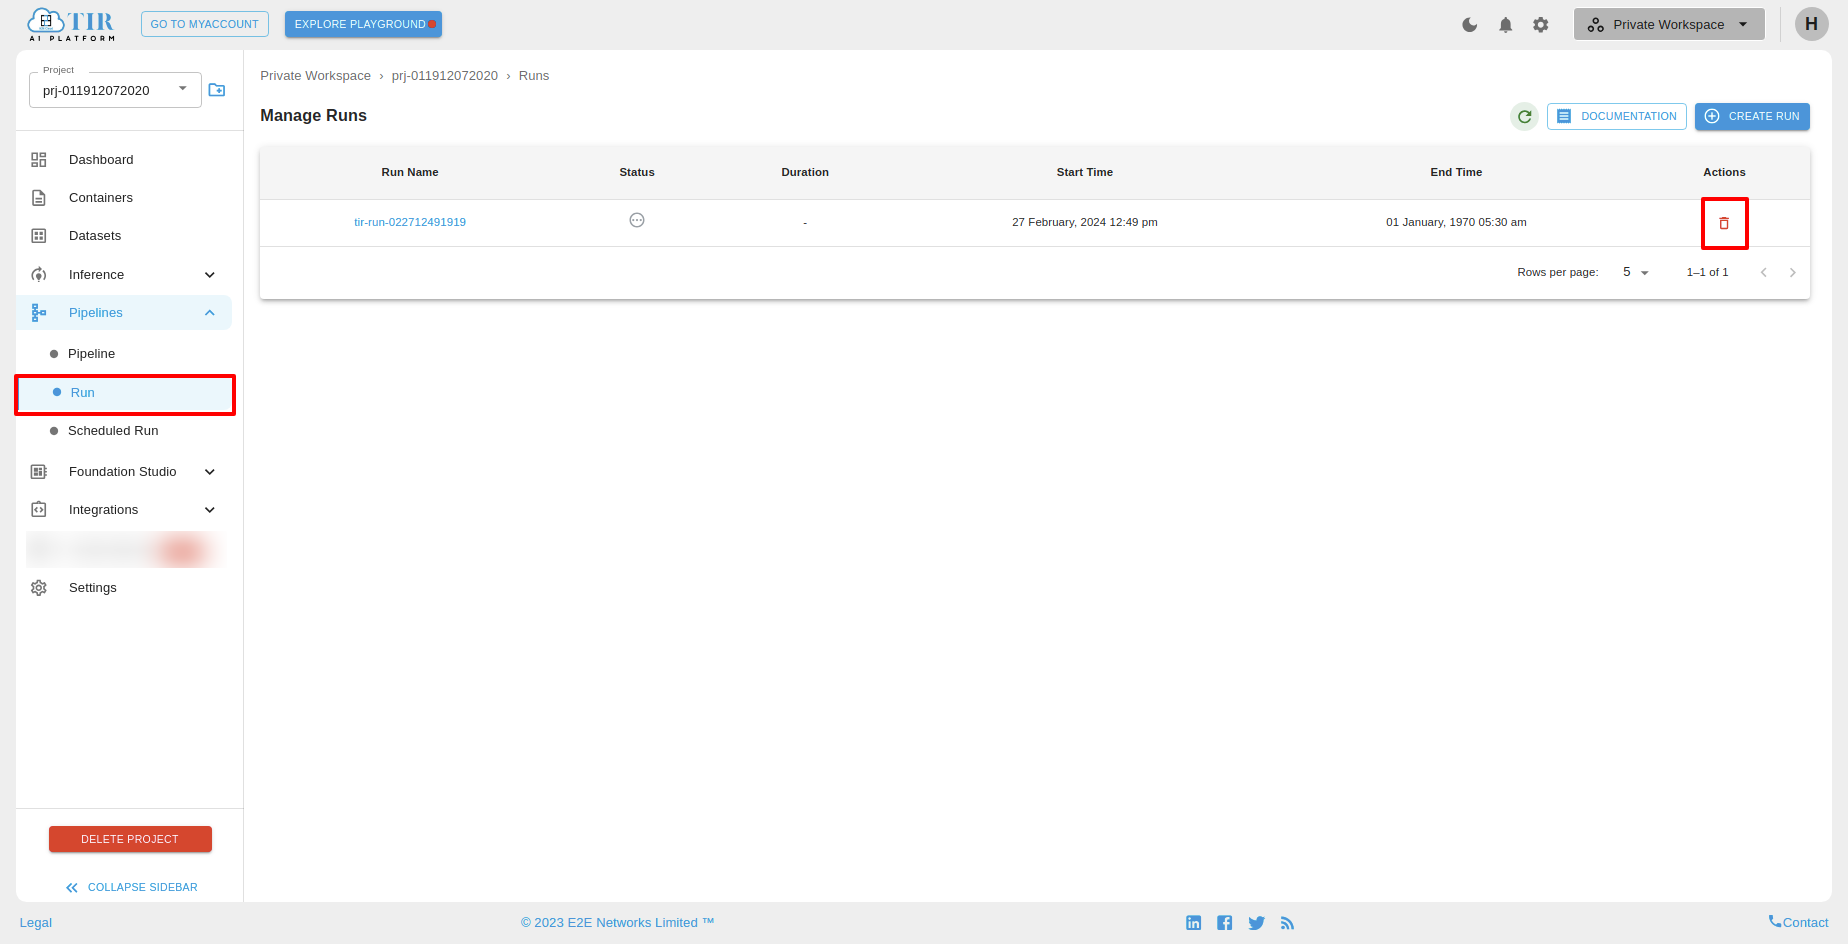
Actions
You can delete run on clicking delete icon.
