Using Gradio in TIR Notebooks
Introduction
Gradio allows you to demo your machine learning model with a friendly web interface so that anyone can use it, anywhere!
In TIR user’s can add Gradio to their notebook by selecting it in the Add-ons menu either during notebook creation or in the overview section of the notebook.
Note
To use Gradio in notebooks, you need to select it in the Add-ons list and then launch Gradio in the notebook. Just selecting the add-on or just launching Gradio without selecting it in the add-ons will not work.
If user’s notebook does not have Gradio installed, it can be installed by running the following command in their notebook.
Installation
!pip3 install gradio
Usage
Below is a simple demo of how to use Gradio in notebook.
Begin with importing Gradio and define a simple function that takes a name as input and returns a greeting.
import gradio as gr

def greet(name):
    return "Hello " + name + "!"

demo = gr.Interface(
    fn=greet,
    inputs=["text", "slider"],
    outputs=["text"],
)
Now that we have defined the function, we can run the Gradio interface.
import os

demo.launch(server_name="0.0.0.0", root_path=os.getenv("GRADIO_ROOT_PATH"))
User can get the URL of the Gradio interface from the Add-ons section in the notebook overview tab or by running the following command:
os.getenv("GRADIO_URL")
Note
While TIR does not support rendering of Gradio interfaces inside the notebook, you can still run the interface and access it from the URL provided.
To view the Gradio interface, it is required that you set the server_name to 0.0.0.0 and set the root_path to the value of the environment variable GRADIO_ROOT_PATH. Gradio must be selected in the Add-ons list to access the URL.
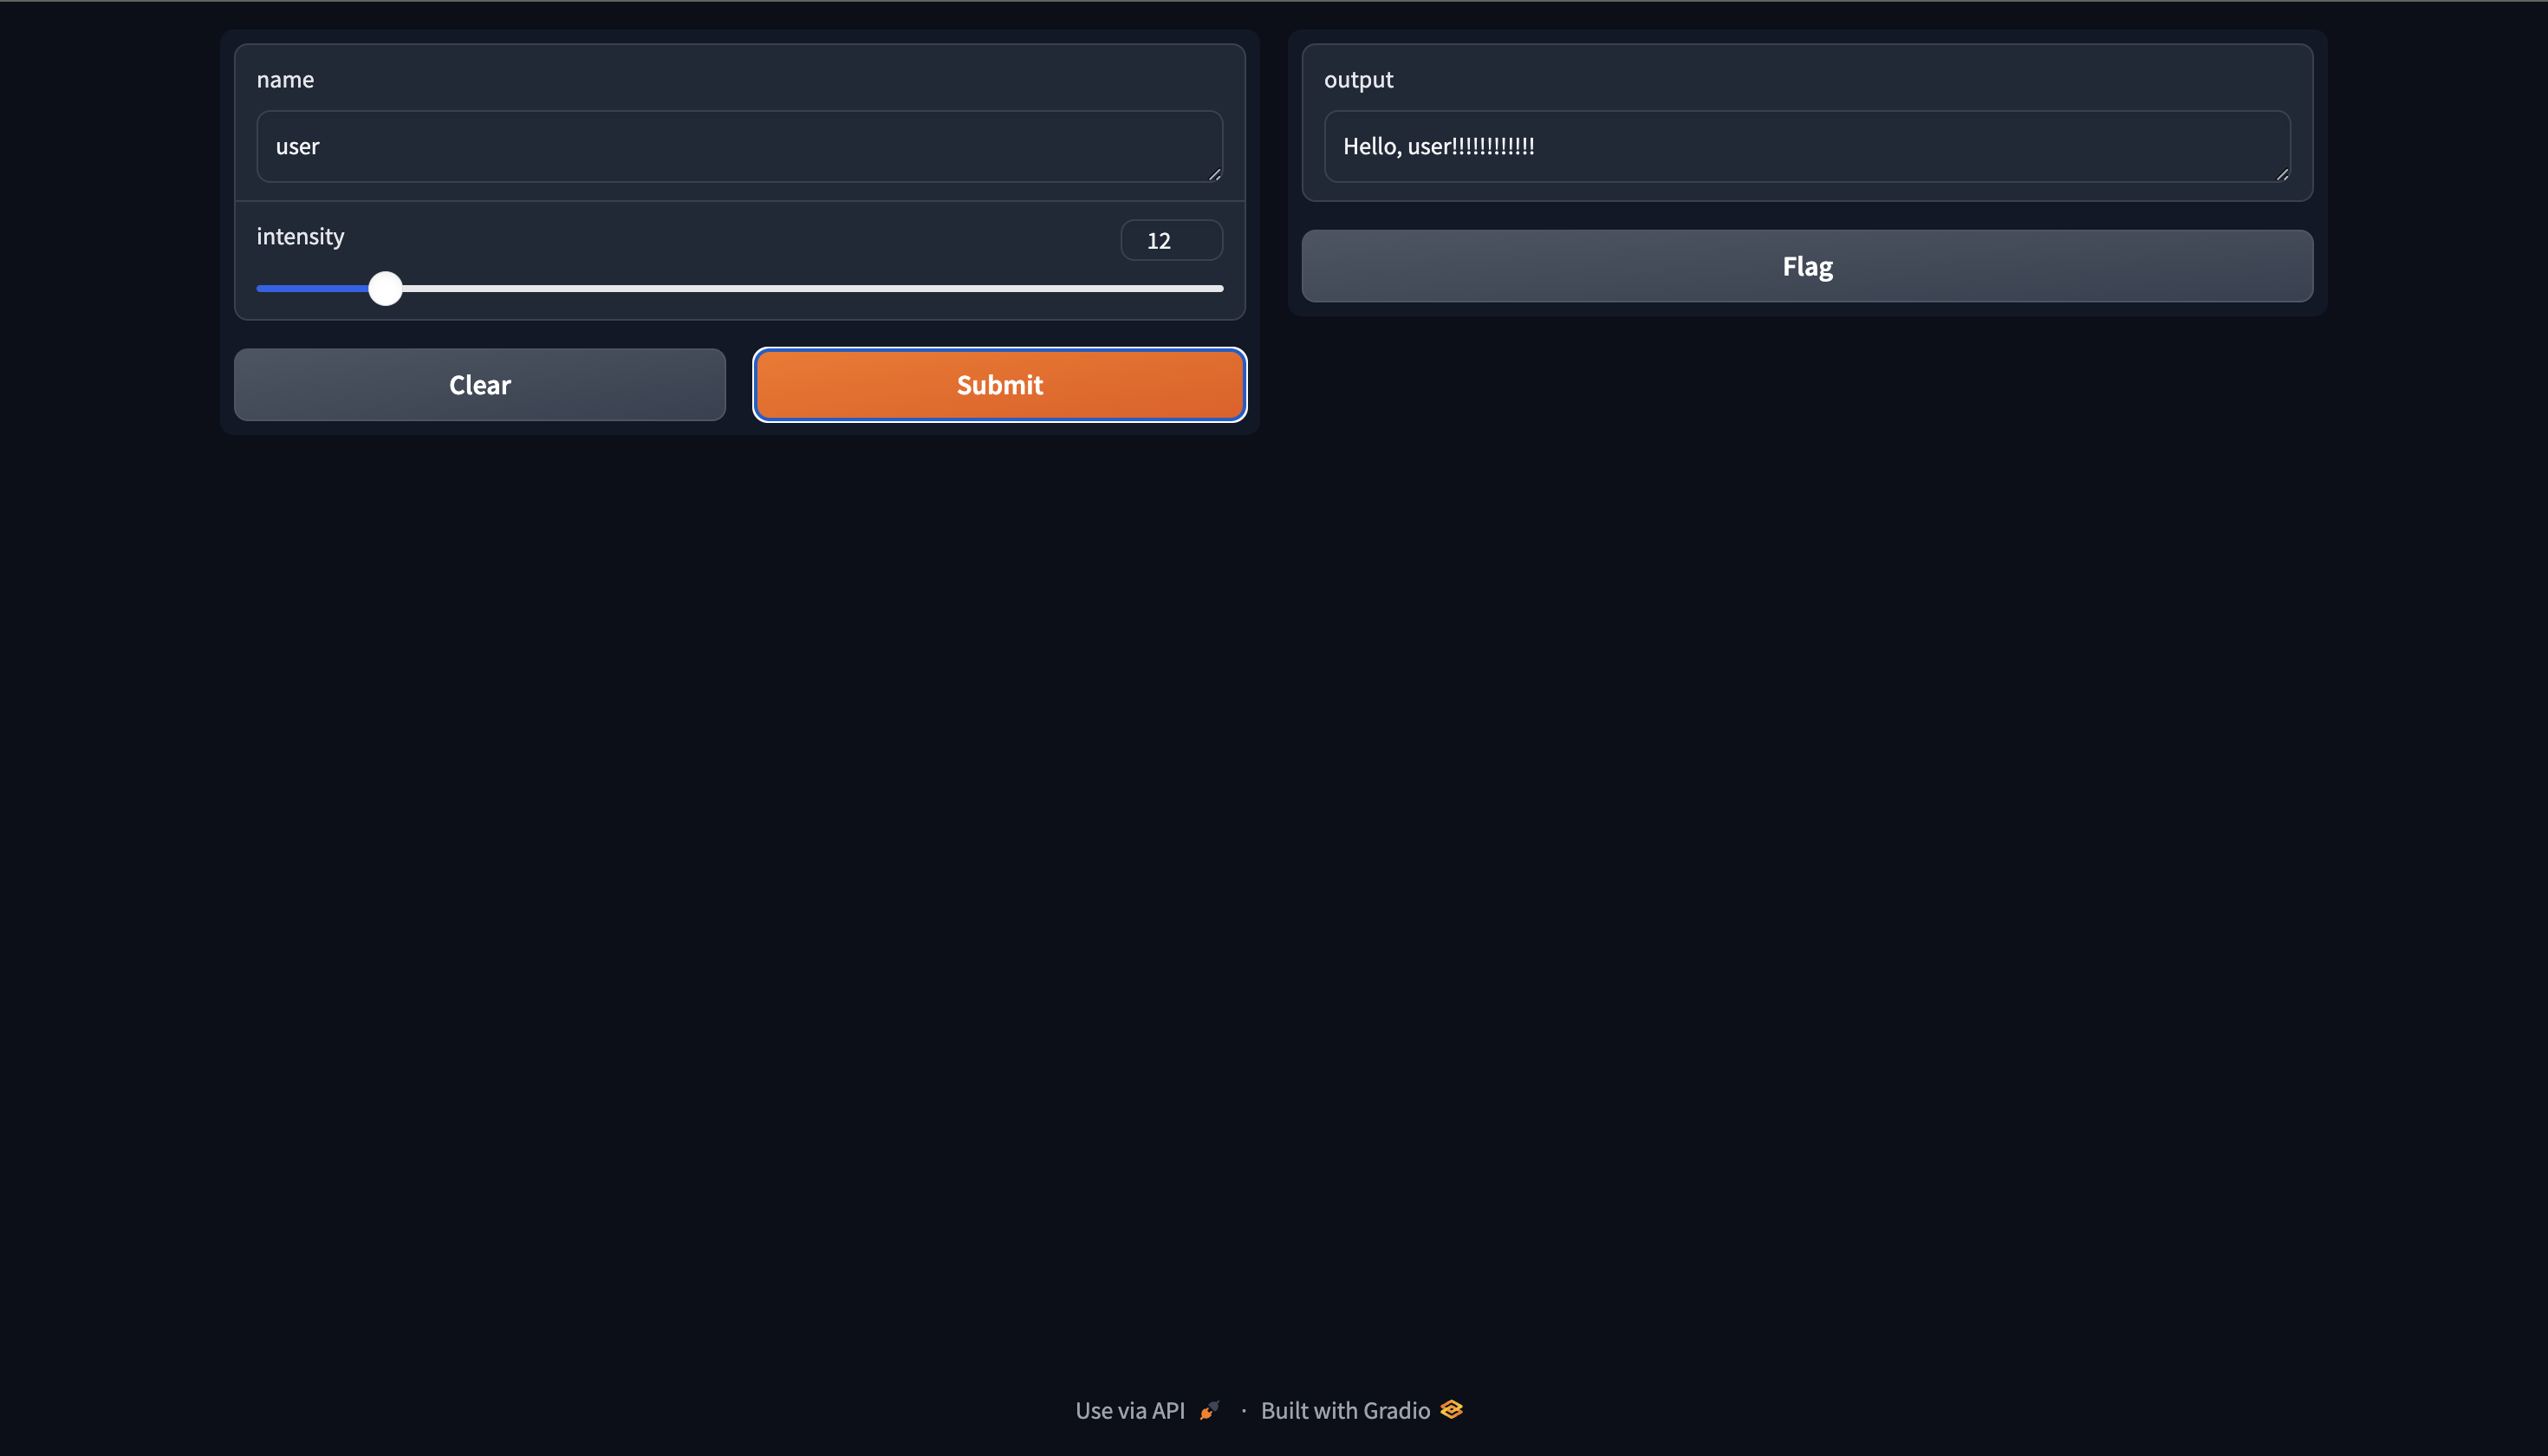
Sample Output


