Configure Microsoft Entra ID
E2E Cloud supports Single Sign-On (SSO) using the SAML 2.0 protocol.
This guide provides step-by-step instructions for setting up Microsoft Entra ID as an external Identity Provider (IdP) to establish a secure and trusted SAML connection with E2E Cloud (Service Provider).
Add E2E Cloud as a SAML Application in Your IdP
-
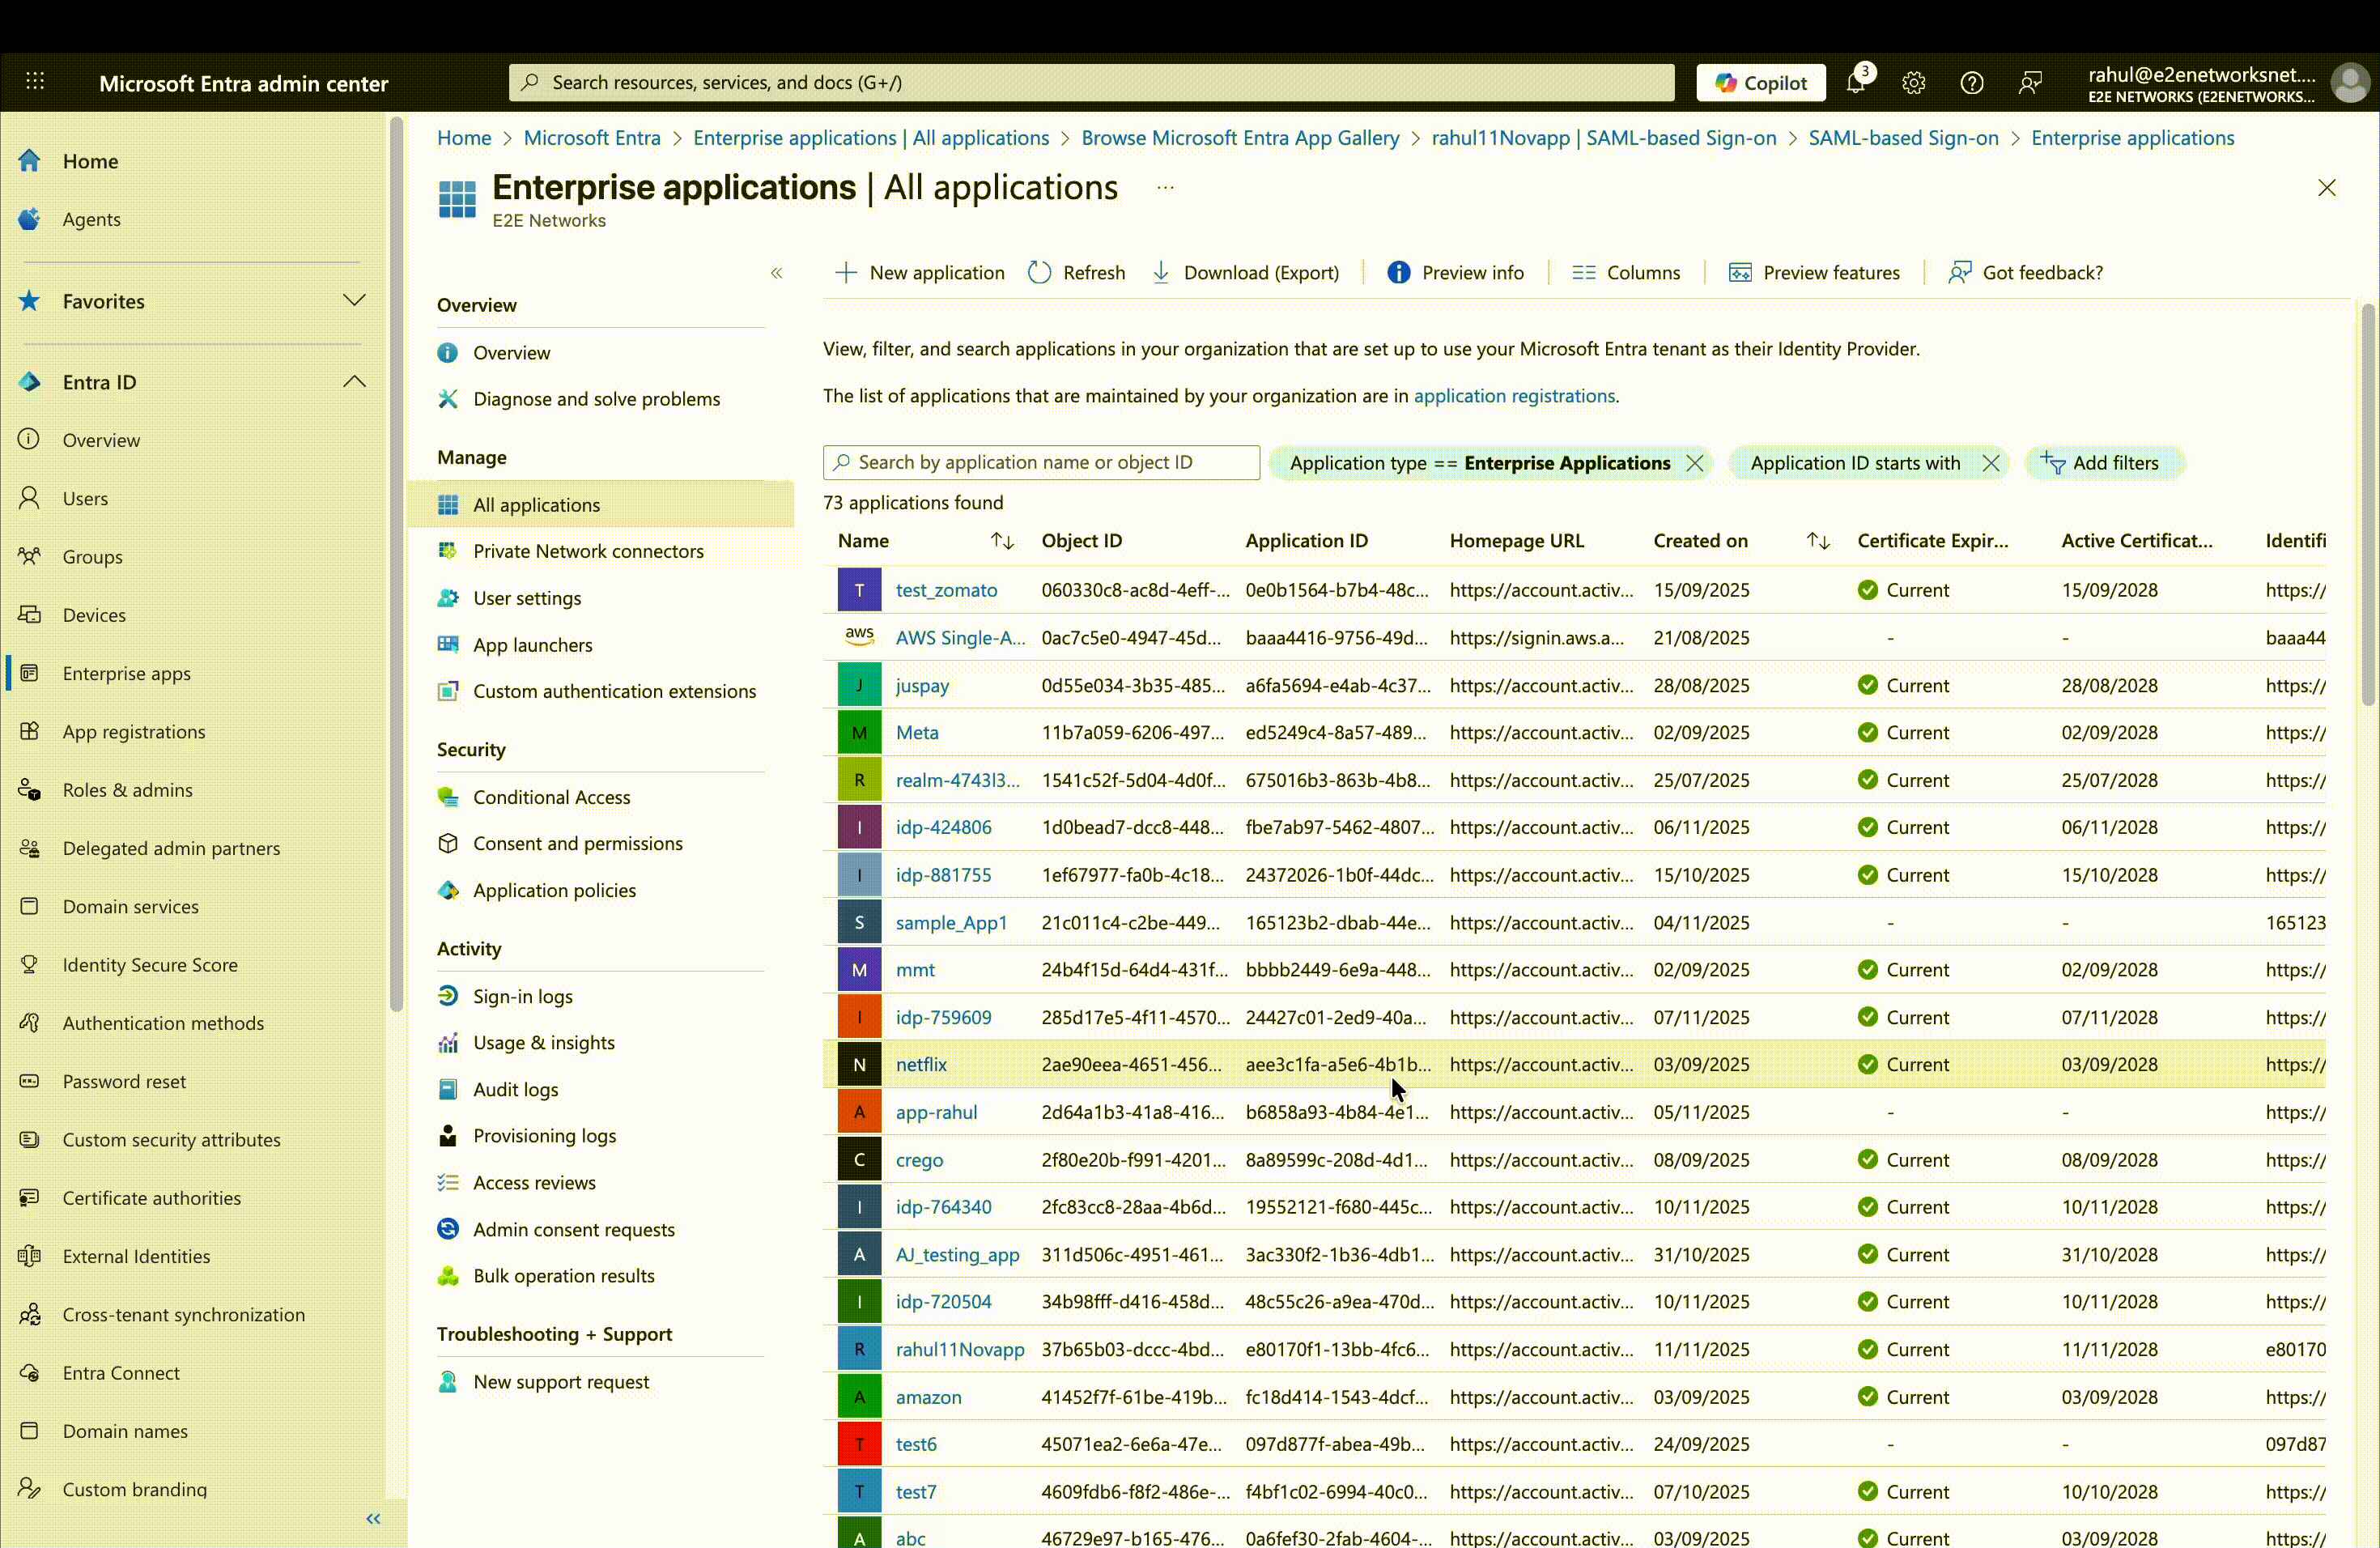
Create a New Application in Microsoft Entra ID
In the Microsoft Entra Admin Center, go to:
Enterprise Applications → New Application → Create your own application.
Provide a descriptive name (for example,E2E Cloud SSO) and select Create. -
Enable SAML-Based Sign-On
From the application overview, choose Set up Single Sign-On → SAML. -
Upload E2E Cloud Metadata
Upload the Service Provider Metadata File downloaded from E2E Cloud.
This automatically populates key fields such as the Entity ID and Assertion Consumer Service (ACS) URL.You’ll see URLs similar to the following:
- Entity ID:
https://api.e2enetworks.com/saml/metadata - Assertion Consumer Service (ACS) URL:
https://api.e2enetworks.com/saml/acs
These URLs represent the SAML endpoints used by E2E Cloud to establish a secure connection with your Identity Provider (IdP).
- Entity ID:
Add the Phone Number Claim
E2E Cloud requires a phone number claim to authenticate users via SSO.
This ensures that only verified users with valid contact details can access your organization’s E2E Cloud account.
To Add a Phone Number Claim in Microsoft Entra ID:
- Go to Attributes & Claims → Edit in your Microsoft Entra application.
- Click Add new claim.
- Enter the following details:
- Name:
phone_number(must be exactly this — do not change) - Source:
Attribute - Source attribute:
user.mobilephone
- Name:
- Click Save to apply the changes.
- The claim name must be
phone_number. Using any other name will cause SSO to fail. - Each invited user must have a verified mobile number in Microsoft Entra ID.
- Missing or unverified numbers will result in SSO authentication failure.
Assign Users or Groups in Microsoft Entra ID
To grant access via SSO, assign the relevant users or groups to your E2E Cloud SSO application.
- Open your E2E Cloud SSO application in the Microsoft Entra Admin Center.
- Navigate to Users and Groups → Add User/Group.
- Select the users or groups you want to grant access.
- Click Assign to finalize the configuration.
- Only users who are assigned in Microsoft Entra ID and invited in E2E Cloud can sign in using SSO.
- Users without valid assignments or verified mobile numbers will not be able to access E2E Cloud.
Summary
By integrating Microsoft Entra ID as your organization’s Identity Provider (IdP), you can centralize authentication, strengthen security, and provide a seamless sign-in experience for your teams.
Once configured, users can securely log in to E2E Cloud using their existing Microsoft Entra credentials — no additional passwords required.