Create Encrypted Node
E2E Networks allows users to enable encryption for their Nodes to ensure the protection of data at rest and during transit. The encryption process is designed to be seamless, leveraging LUKS (Linux Unified Key Setup) for full disk encryption. This guide provides step-by-step instructions on how to create a Node with encryption enabled.
Encryption can only be enabled at the time of node creation. It cannot be enabled or disabled after the node is launched. This is a permanent setting for the lifetime of the node.
Step 1: Navigate to Node Creation
- Log in to the E2E Networks MyAccount Portal using your credentials.
- Click on Nodes under the Compute section in the left sidebar.
- If no nodes exist, click the Get Started button on the banner. If you have existing nodes, click Add New Node.
Step 2: Select an Operating System
On the Select OS page, choose your desired operating system from the available options under the CPU, GPU, or Marketplace tabs.
Encryption is supported for the following node categories:
- Linux Virtual Node – A virtualized node ideal for general-purpose workloads.
- Linux Smart Dedicated Compute – A high-performance, single-tenant node offering enhanced security and resource isolation.
Step 3: Select a Plan
On the Select Plan page, choose your preferred:
- Category (Linux Virtual Node or Linux Smart Dedicated Compute)
- Instance Type (C3, E1, or M3)
- Plan (vCPU, RAM, and storage configuration)
- Instance Pricing (On-Demand or Savings Plan)
Step 4: Enable Encryption
Scroll down to the Advanced Settings section and expand it.
Check the Enable Encryption checkbox to enable full disk encryption for the node.
After enabling encryption, you will have the option to enter a Passphrase. This is optional — if provided, the passphrase adds an additional layer of security to the encrypted disk.
Once Enable Encryption is checked and the node is launched, encryption cannot be disabled. Ensure this is the intended configuration before proceeding.
Step 5: Attach an SSH Key
After enabling encryption, attach an SSH key to the node for secure terminal access.
- Select an existing key from the Select SSH keys dropdown, or
- Click + Add New to register a new SSH key pair.
If you disable password-based SSH login and lose your private key, you will be permanently locked out of the node.
Step 6: Launch the Node
Review your configuration in the Summary panel on the right, then click the Launch button to create the encrypted node.
It may take a few minutes for the node to reach the Running state after launch.
Identifying Encrypted Nodes
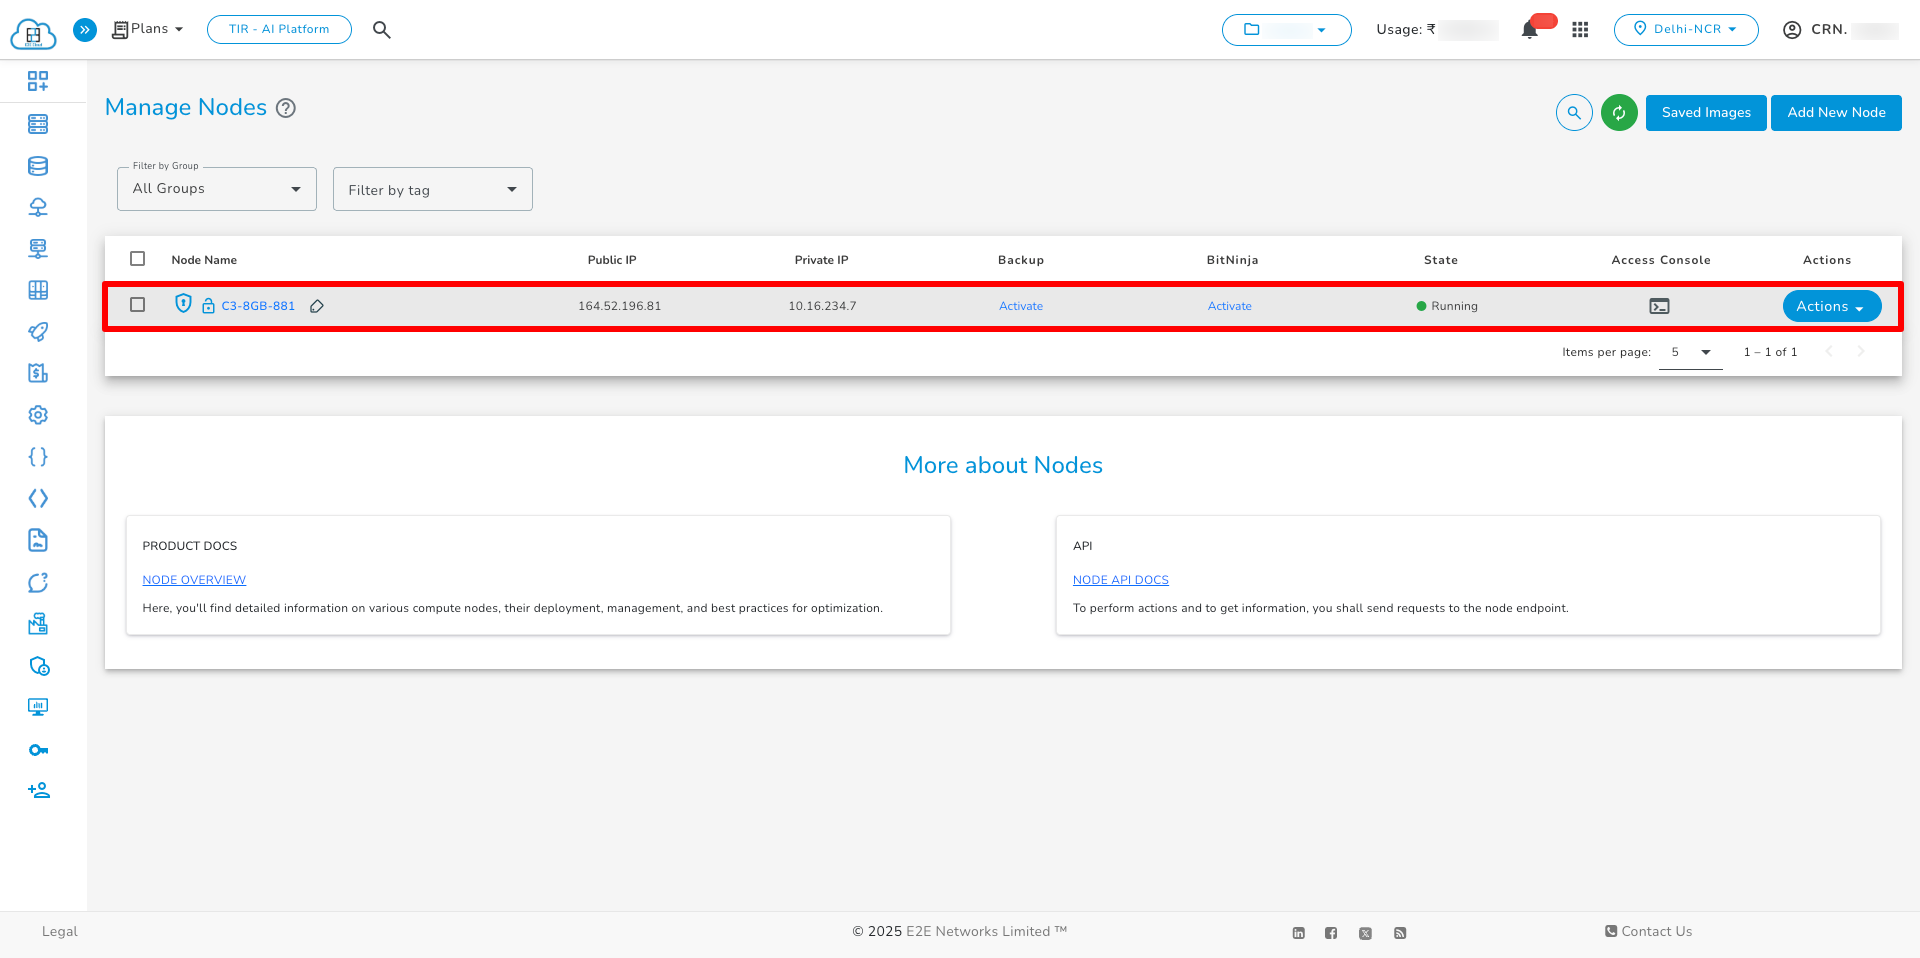
After the node is created, the encryption status is visible on the Manage Node page.
- Non-encrypted nodes — The encryption flag is not displayed.
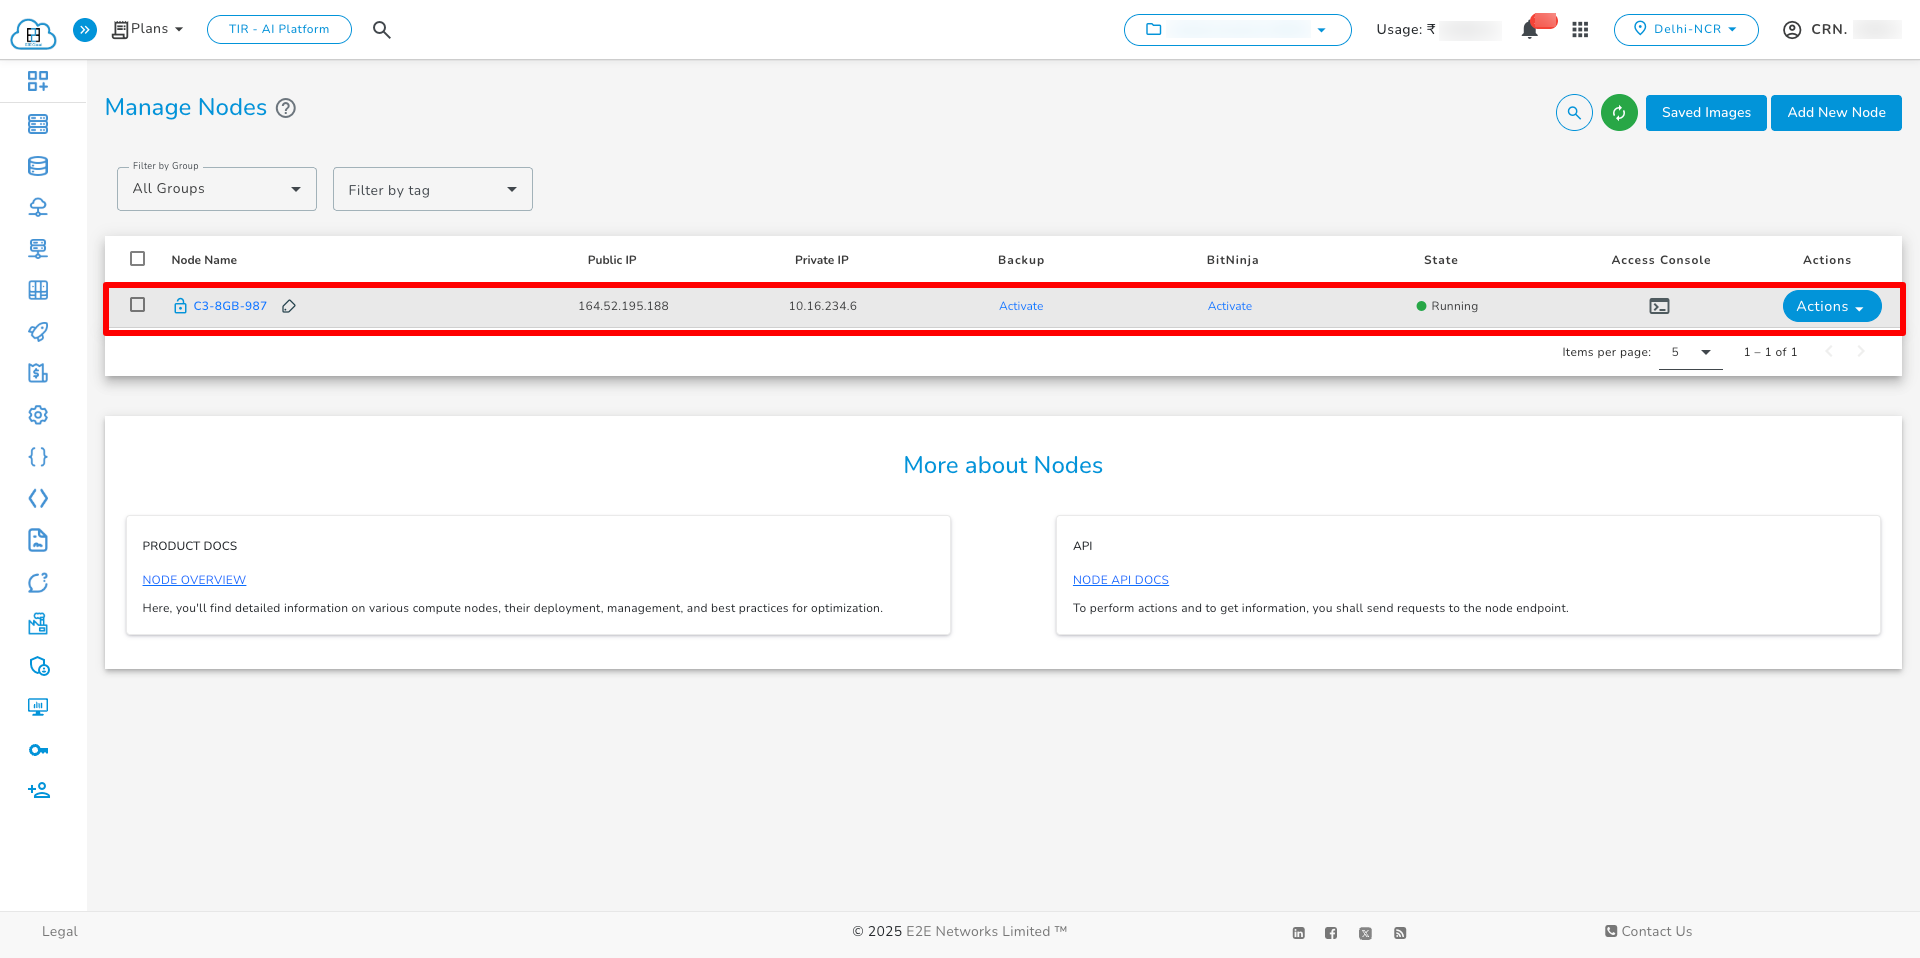
- Encrypted nodes — The encryption flag is clearly visible in the node details.
- Snapshots created from an encrypted node are also encrypted.
- The encryption flag is only visible for nodes that were created with encryption enabled.