Manage Node
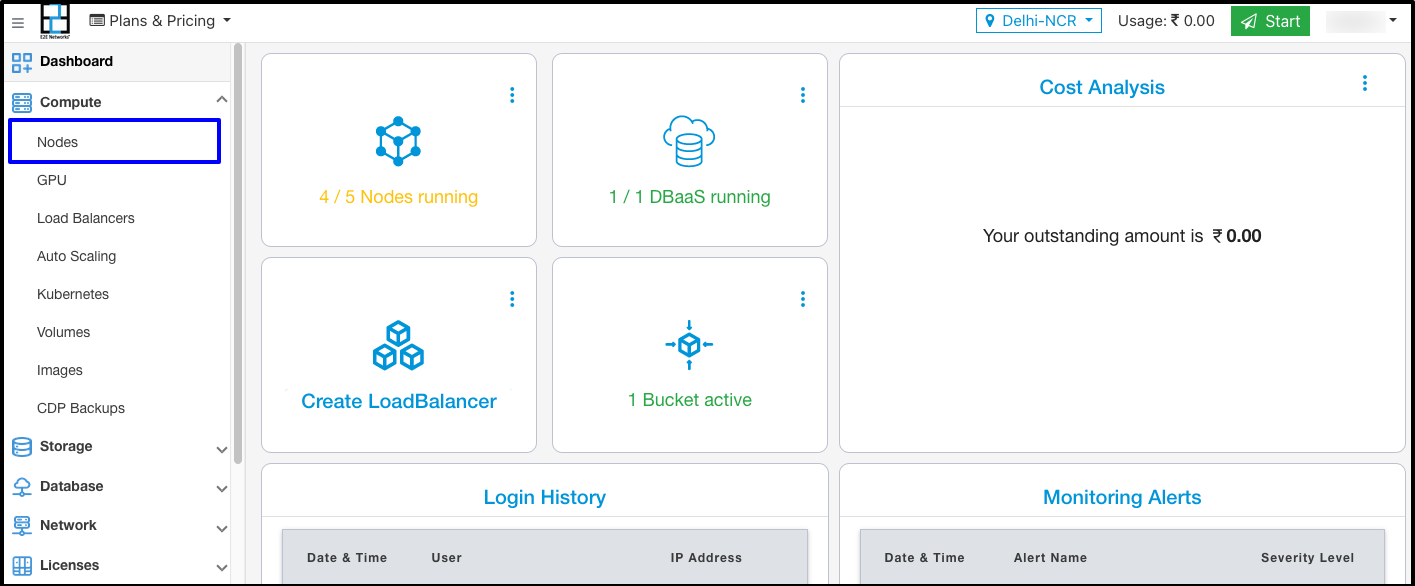
Once you have created a Virtual Compute Node, you can access and manage your virtual compute nodes from My Account Portal dashboard features. Go to your E2E Networks My Account portal to access the dashboard.
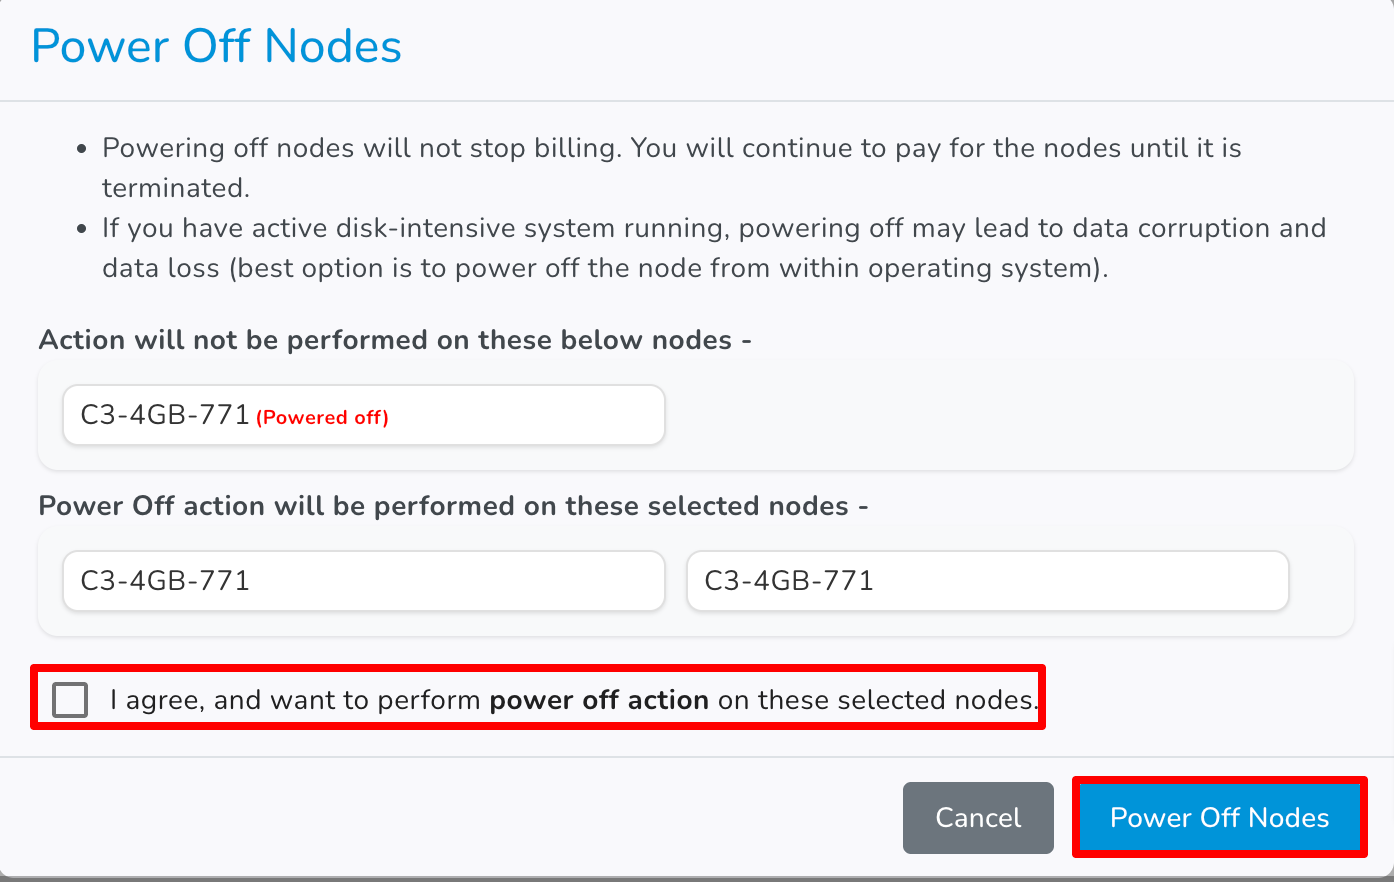
After you log in to the E2E Networks ‘My Account’, you can click on the “Nodes” sub-menu available under the “Products” section. You will be routed to the ‘Manage Nodes’ page where you can see all your nodes, except the nodes that are already terminated. Here, you can check the summary & status of all your Nodes.
Additionally, you can also use E2E Networks API, to create and manage your Nodes. Please ensure that you have created your API token using E2E MyAccount before you can start using the APIs.
Node Details
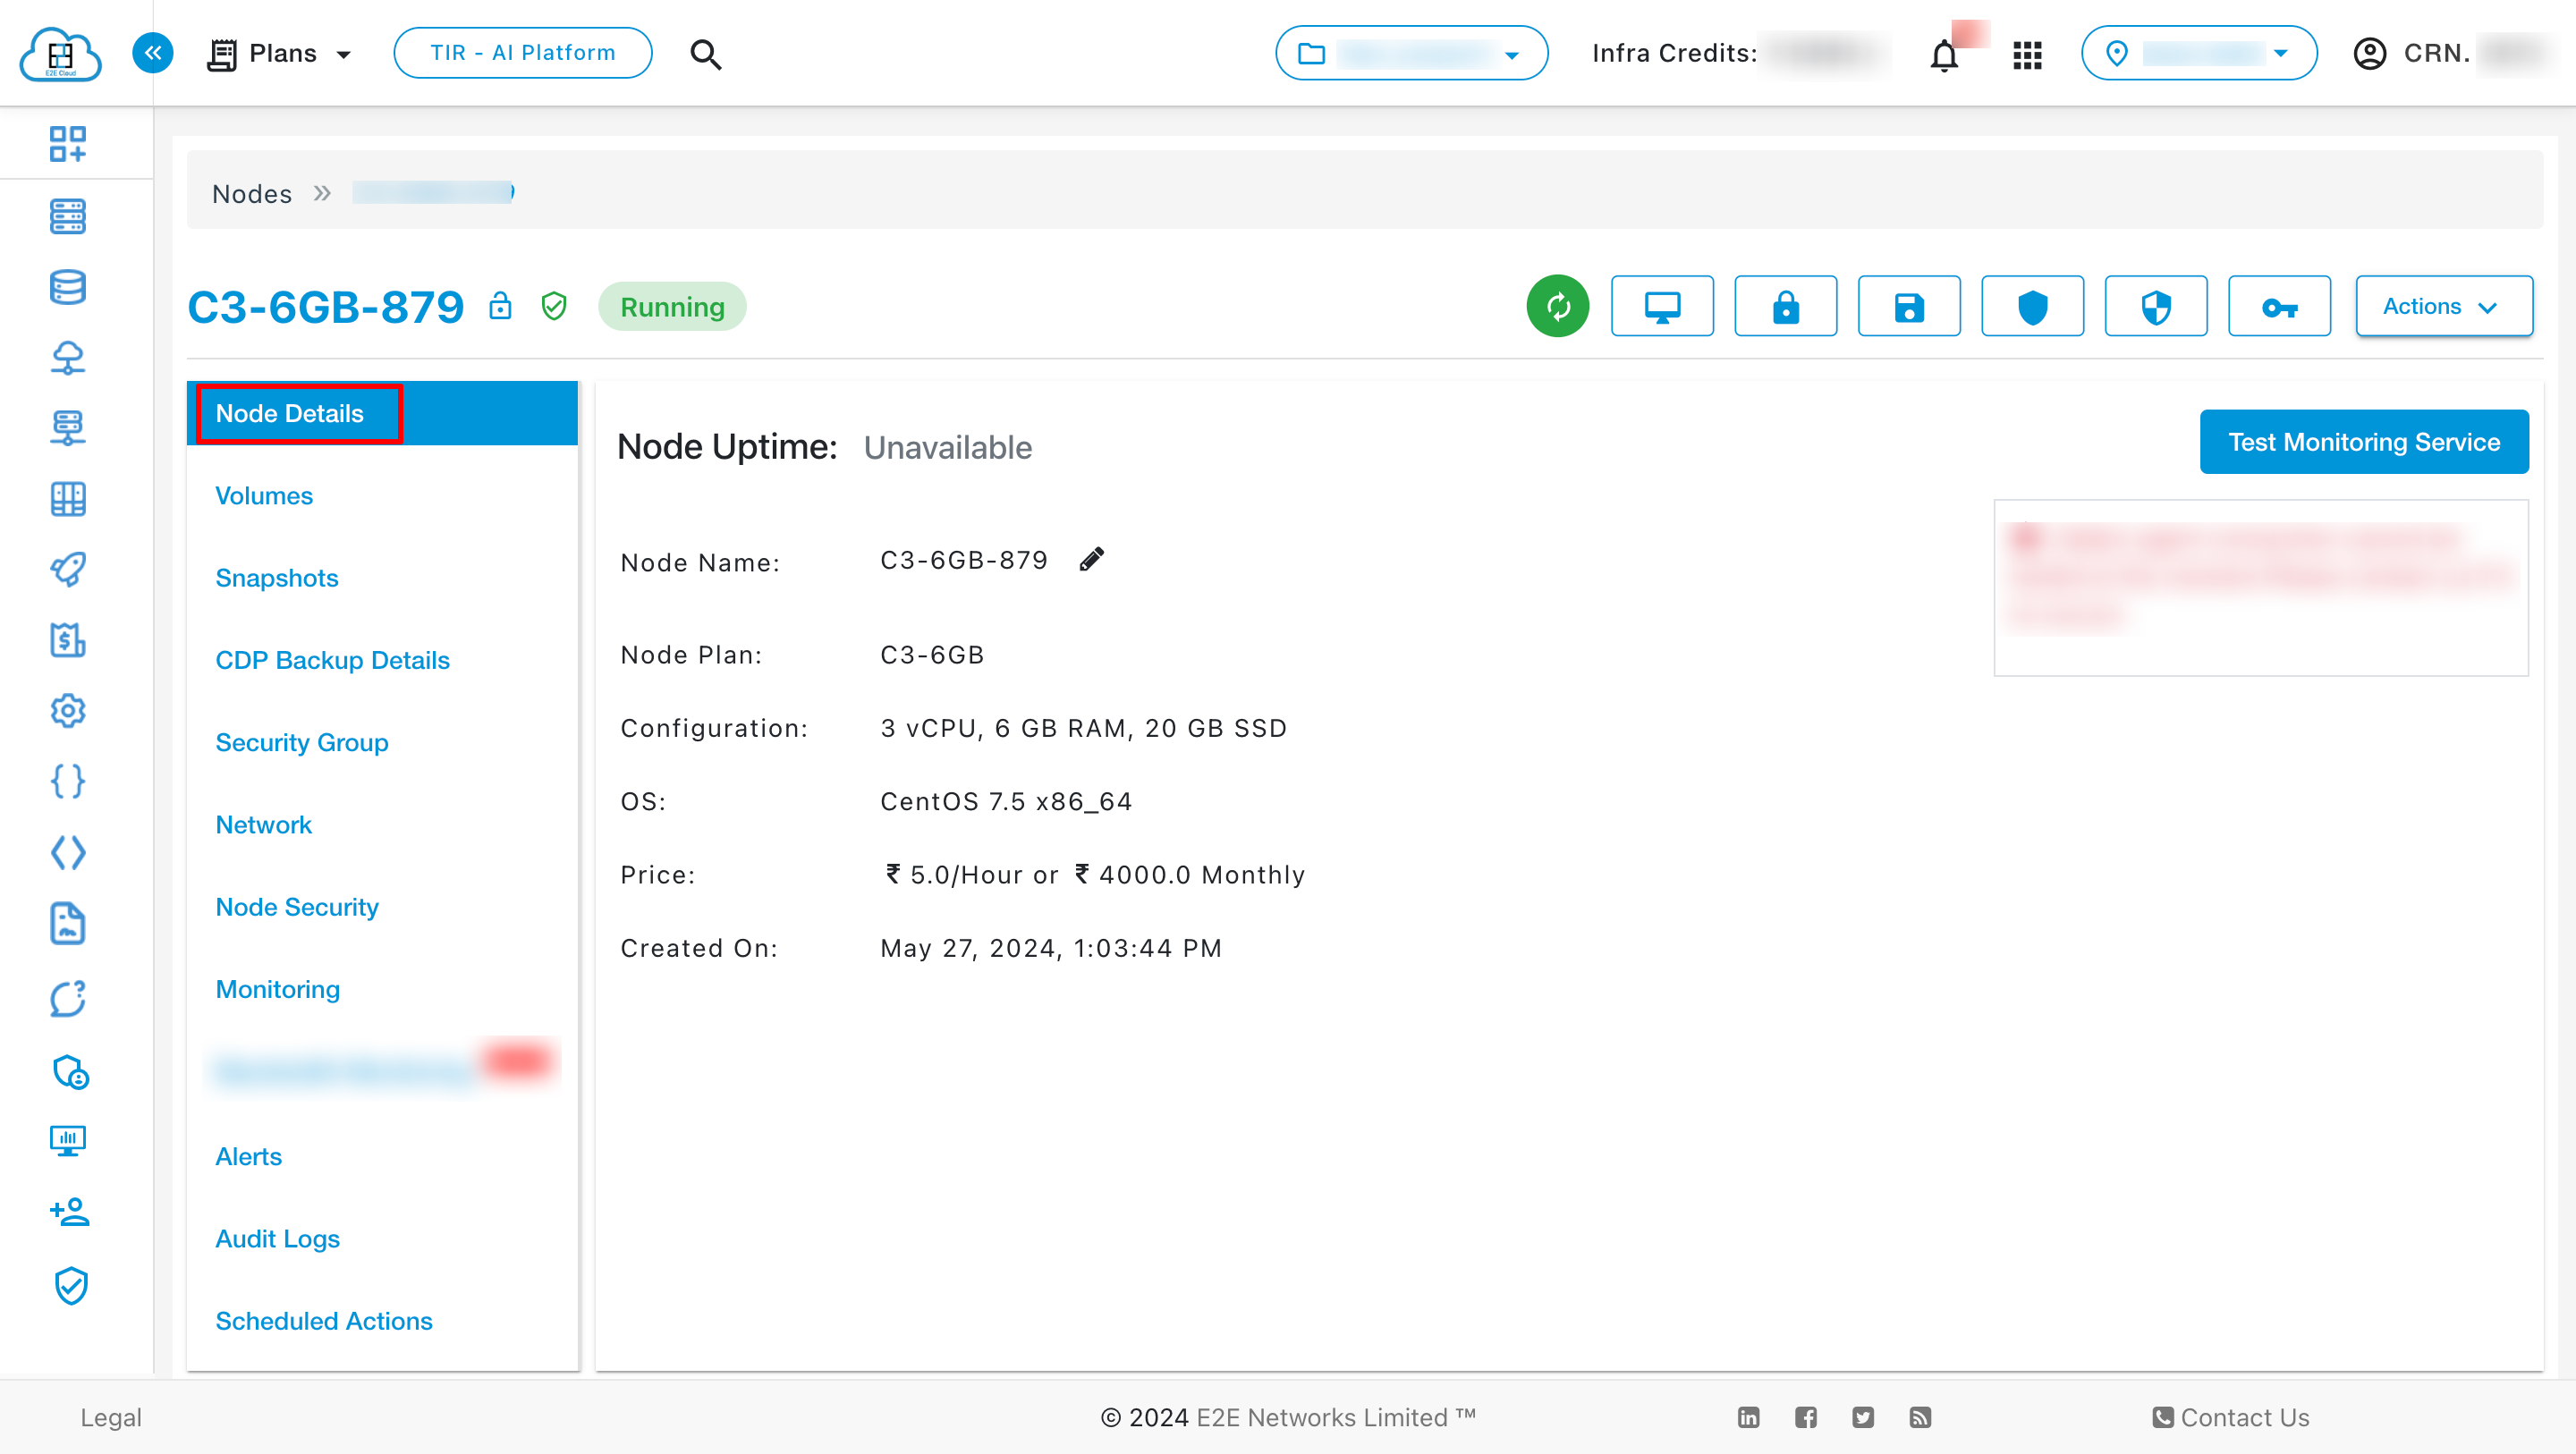
You will be able to check all the basic details of your node. You can edit and update the node name and node group details.
- Node configuration details
- Node plan and pricing details
- Memory and storage details
- If your node is a committed node, then Committed plan & price, period end date, and settings information will be available.
Volumes
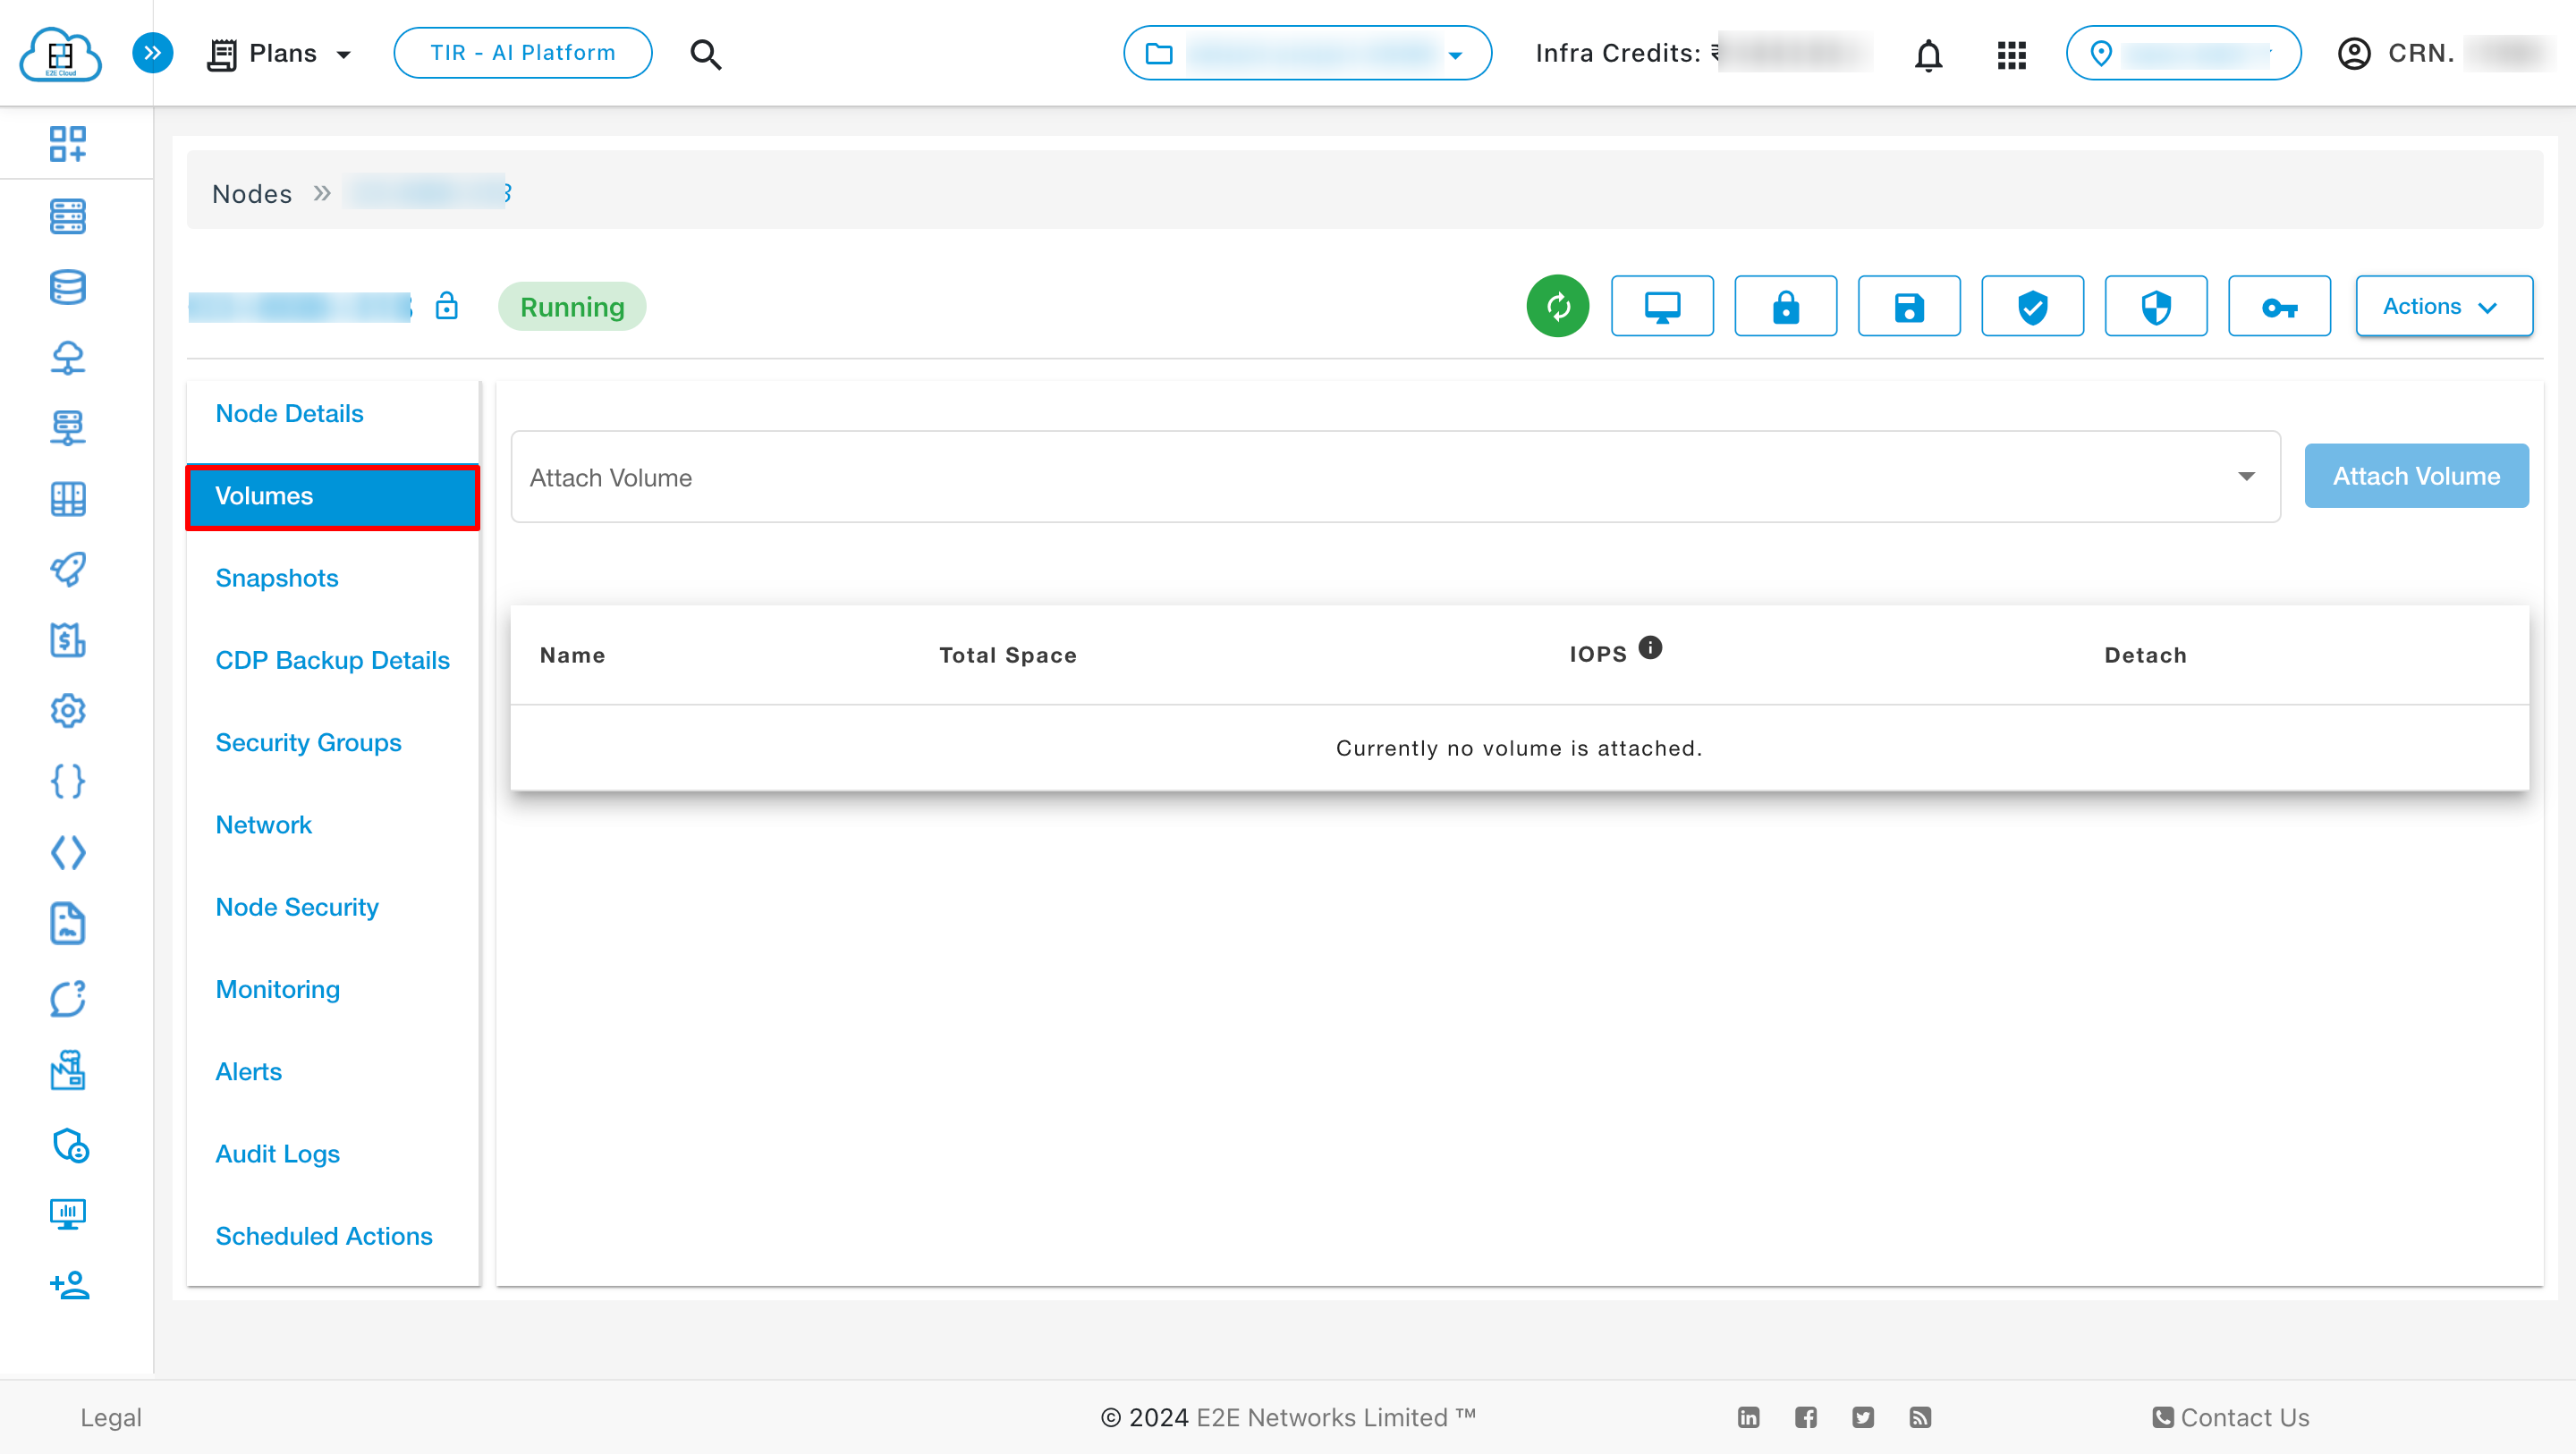
Volumes are storage units that can be attached to Nodes to provide persistent data storage. Learn More.
To attach the volumes to your Node, click on the Volumes tab.
Snapshots
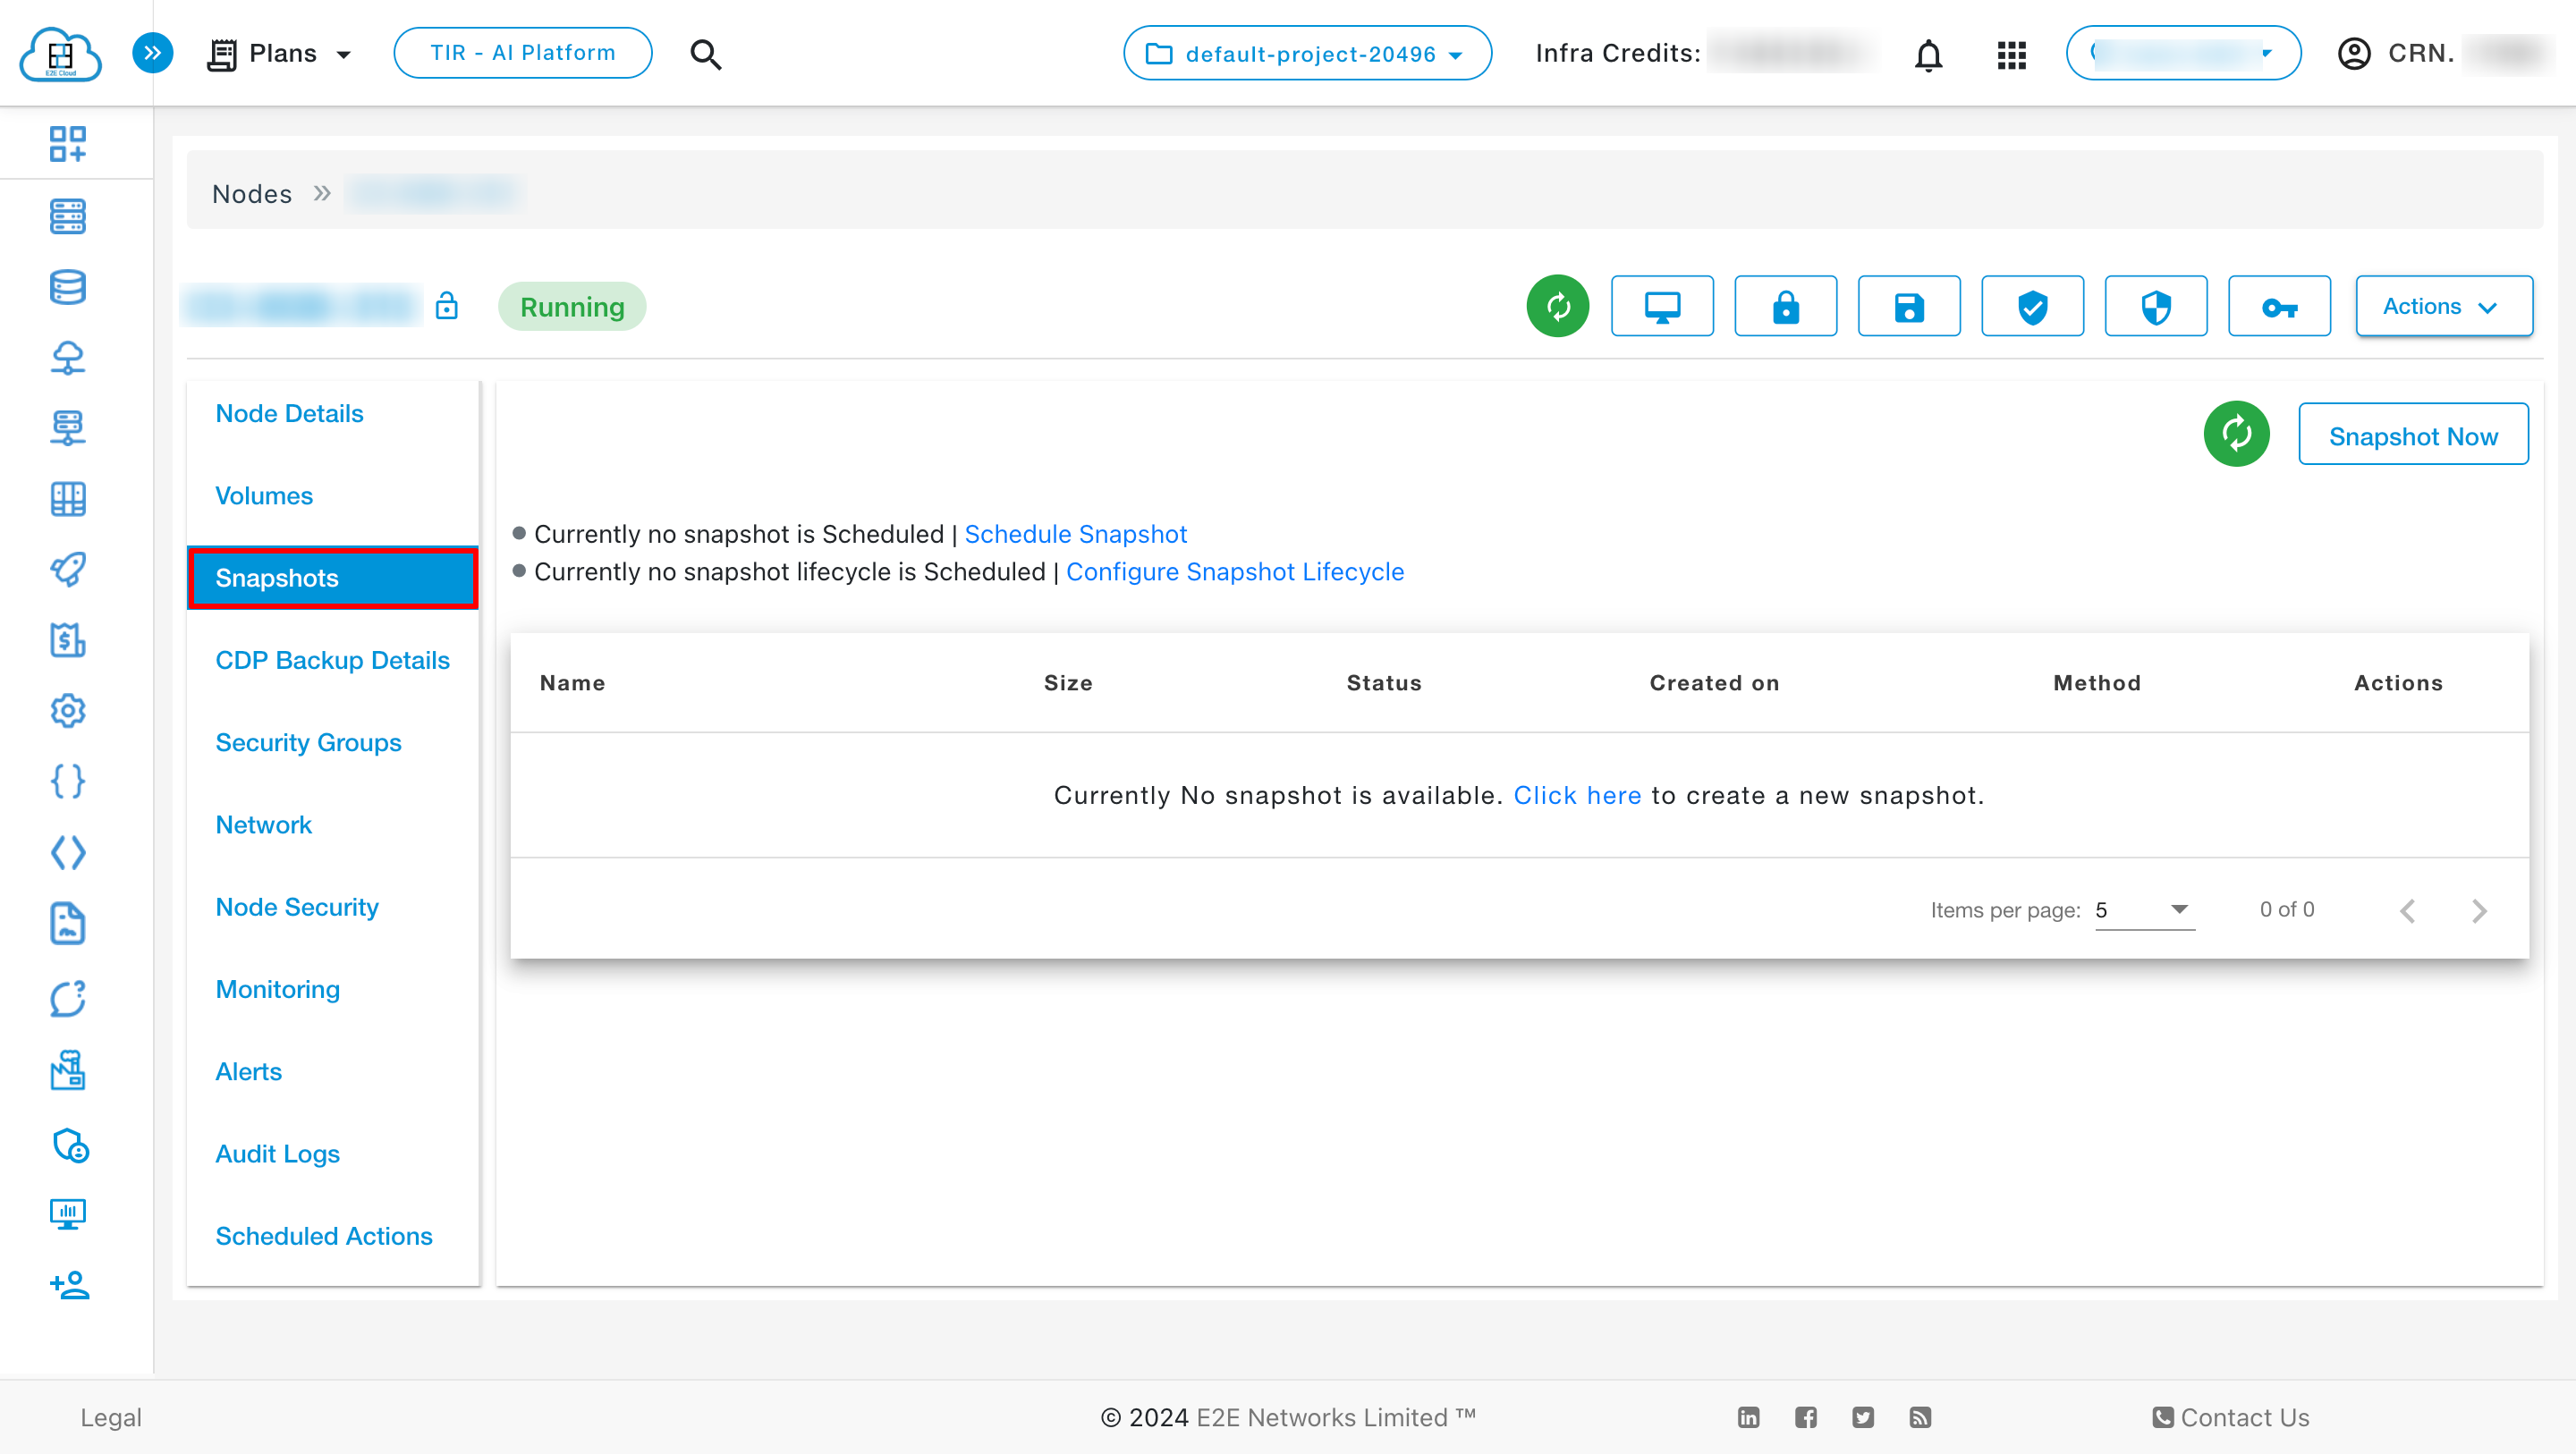
A Snapshot is a point-in-time image of a virtual machine's state, including its memory, disk, and configuration settings. It allows users to capture the exact state of a VM at a specific moment, which can be used for various purposes such as backups, cloning, and recovery.
To take a snapshot of your Node, click on the Snapshots tab.
CDP Backup Details
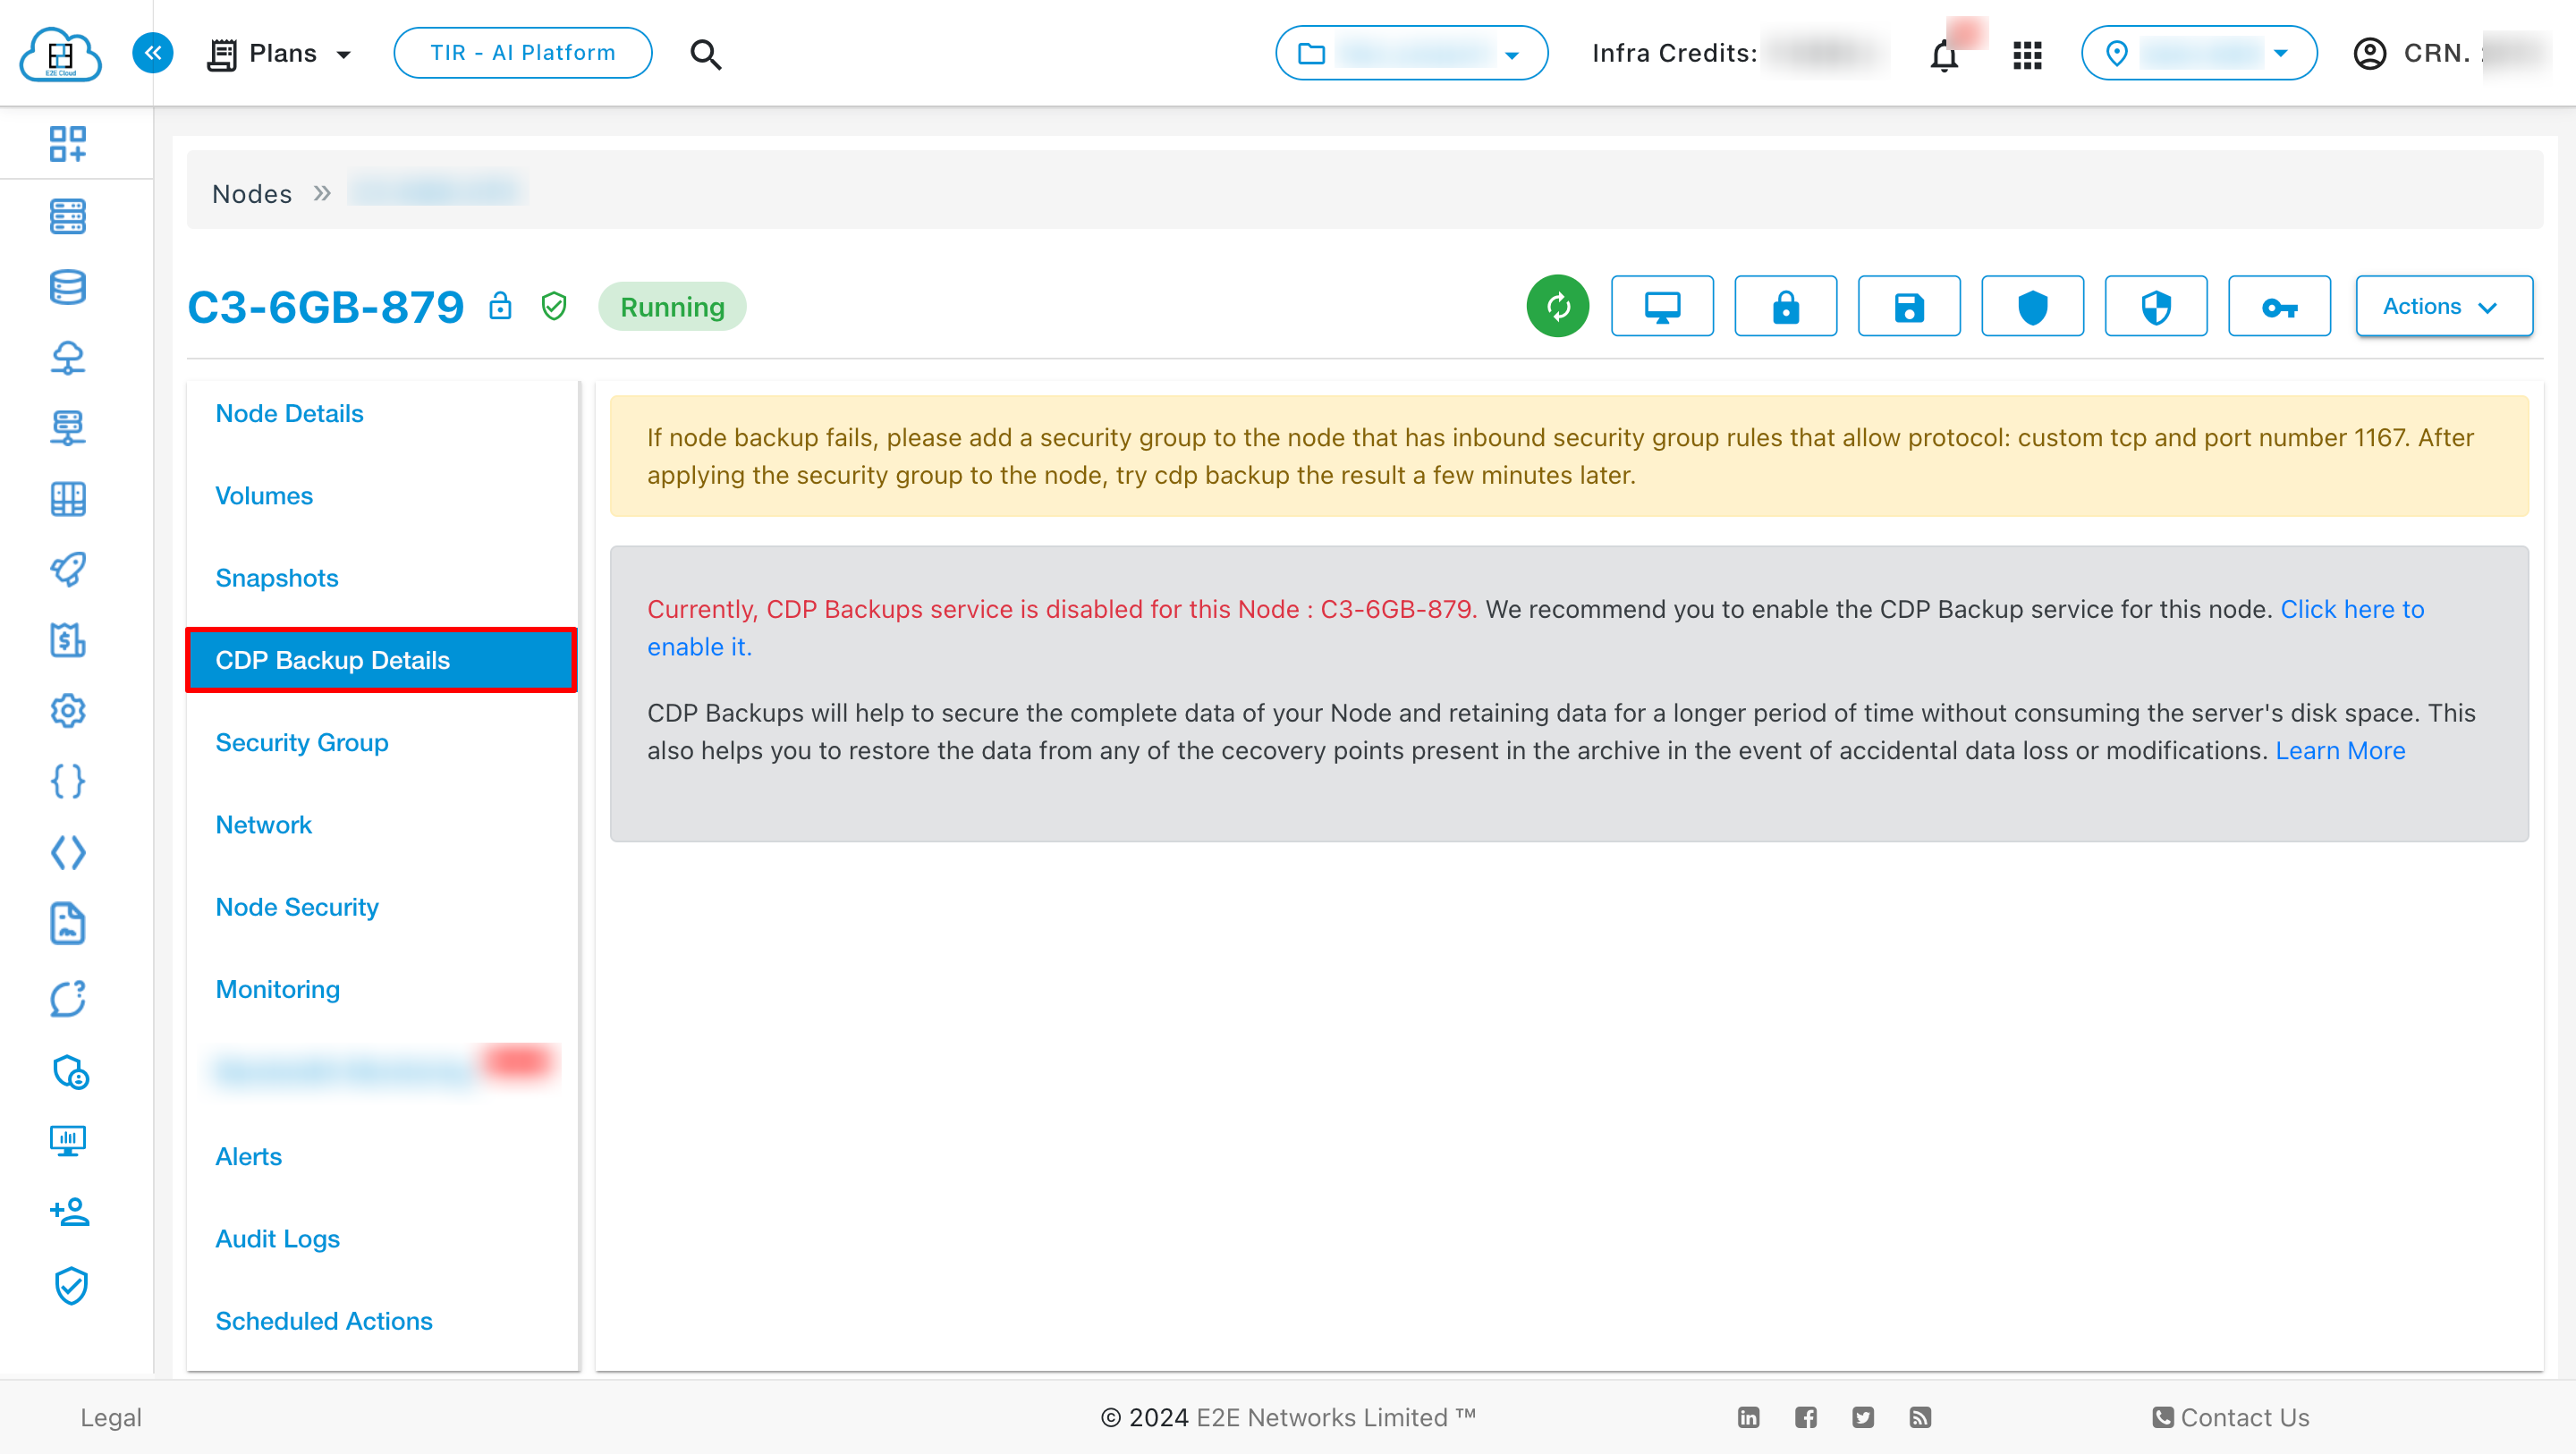
The CDP Backup Details tab provides information about the CDP Backup service if it’s enabled for the node. Learn more.
- Backup status
- Backup Size
- Backup Schedule
- Backup Schedule Frequency
- Last Recovery Points Created On
- Next Backup Scheduled Run
- MySQL Database Backup Status
Network
You will be able to get the private, public, and reserved IPs information on the network tab, from which public IP, reserved IP, Addon IP, IPv6 IP, and VPC can be edited and updated.
Public IPv4 Address
A public IP address is an IPv4 address that's reachable from the Internet. You can use public addresses for communication between your node and the Internet. When you launch an E2E Node, we assign it a public IP address by default without assigning a reserved IP as primary public IP of your node.
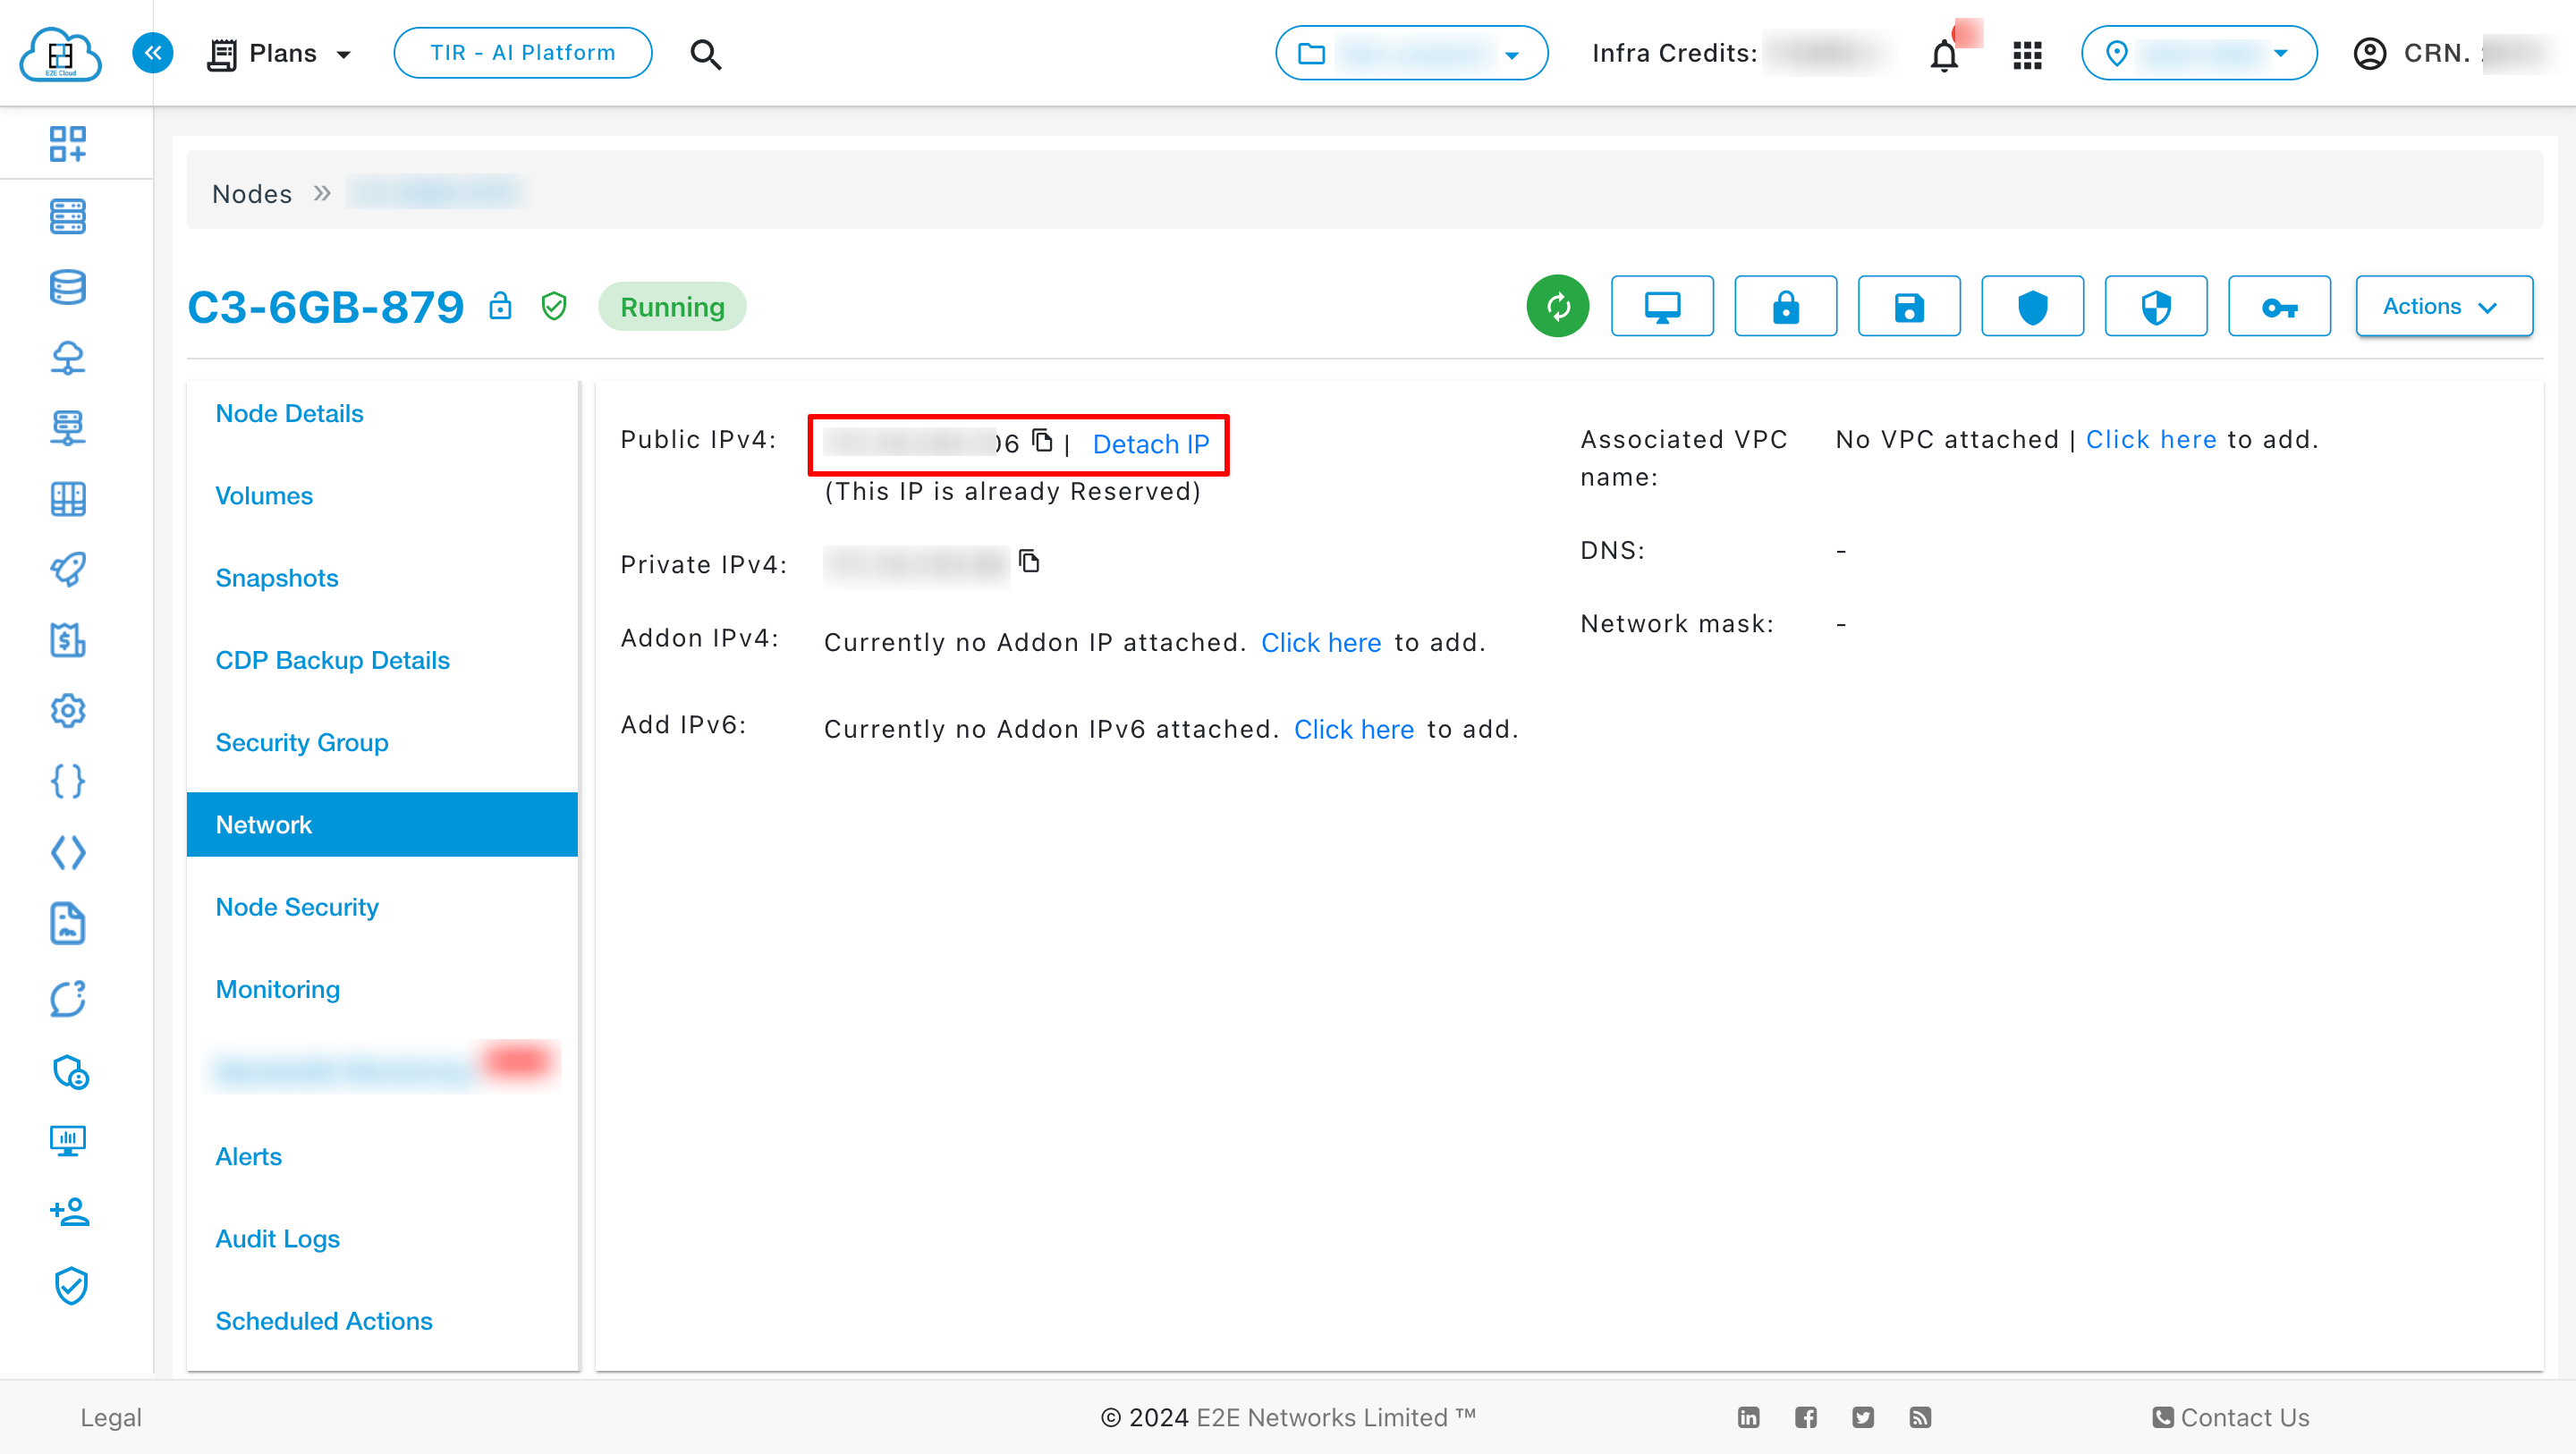
Detach public IP
You can detach IP as mentioned below.
Reserve public IP
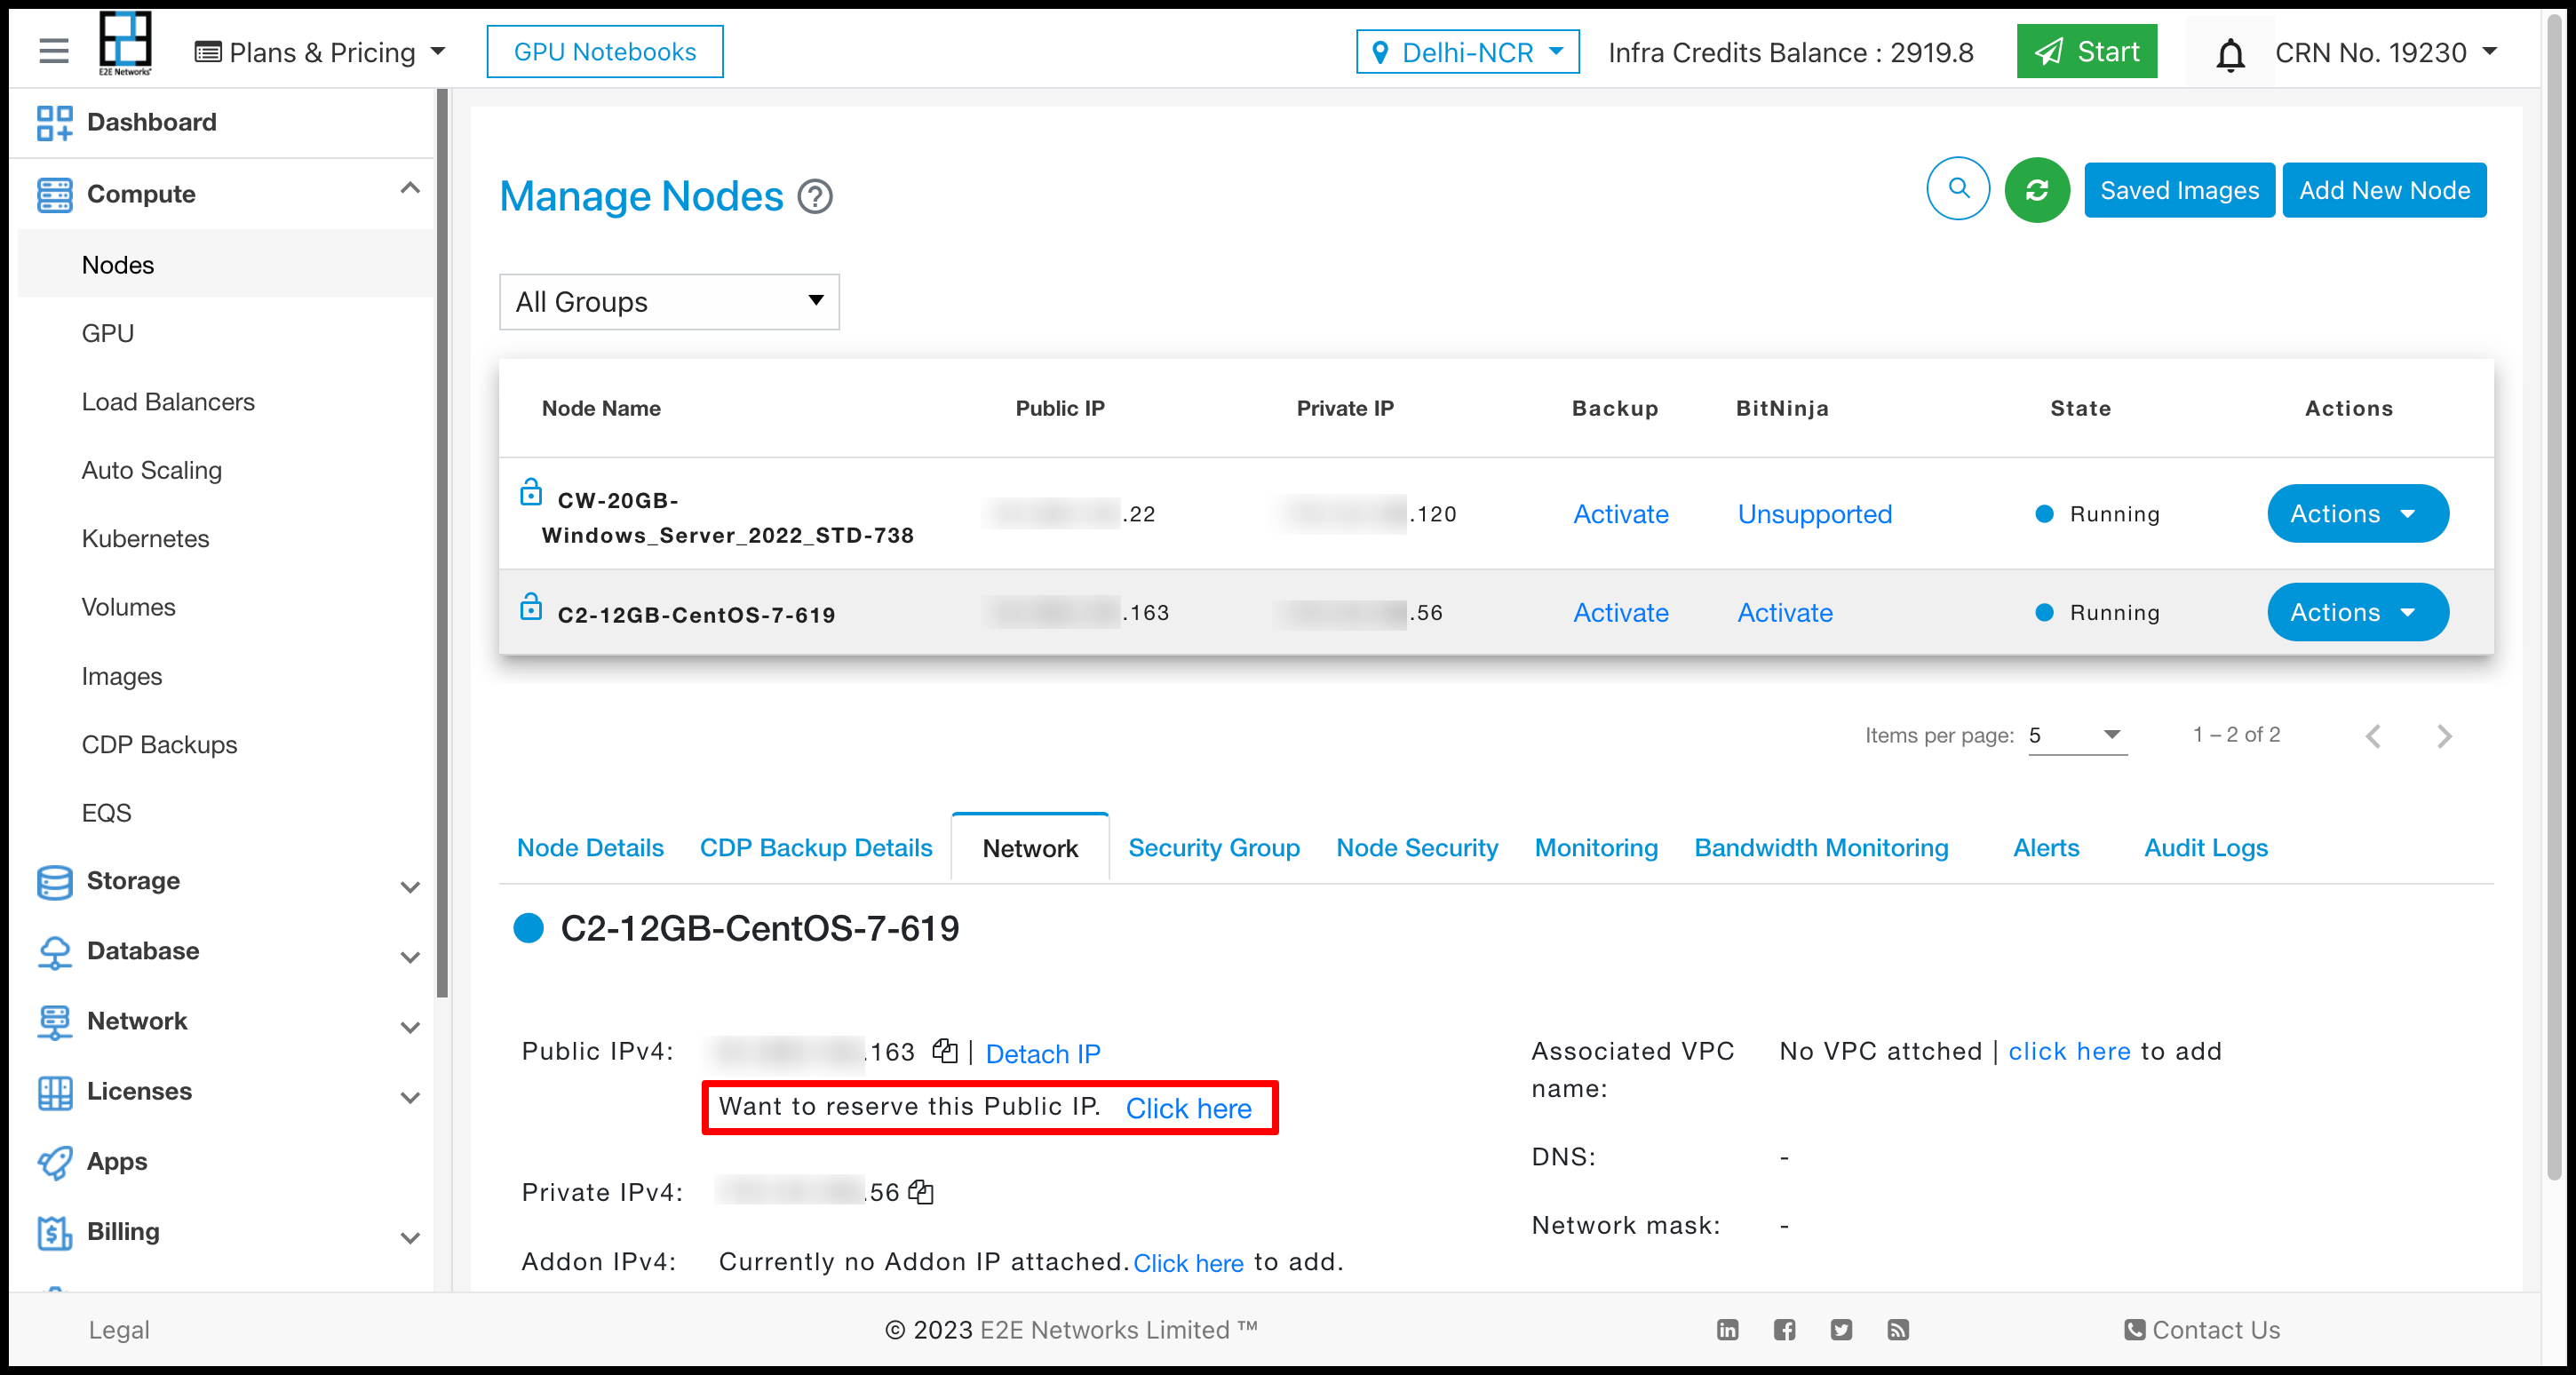
You can reserve the default assigned public IP for your account until you choose to release it.
Private IPv4 Address
A private IPv4 address is an IP address that's not reachable over the Internet. You can use private IPv4 addresses for communication between instances in the same VPC. When you launch an E2E node, we allocate a private IPv4 address for your node.
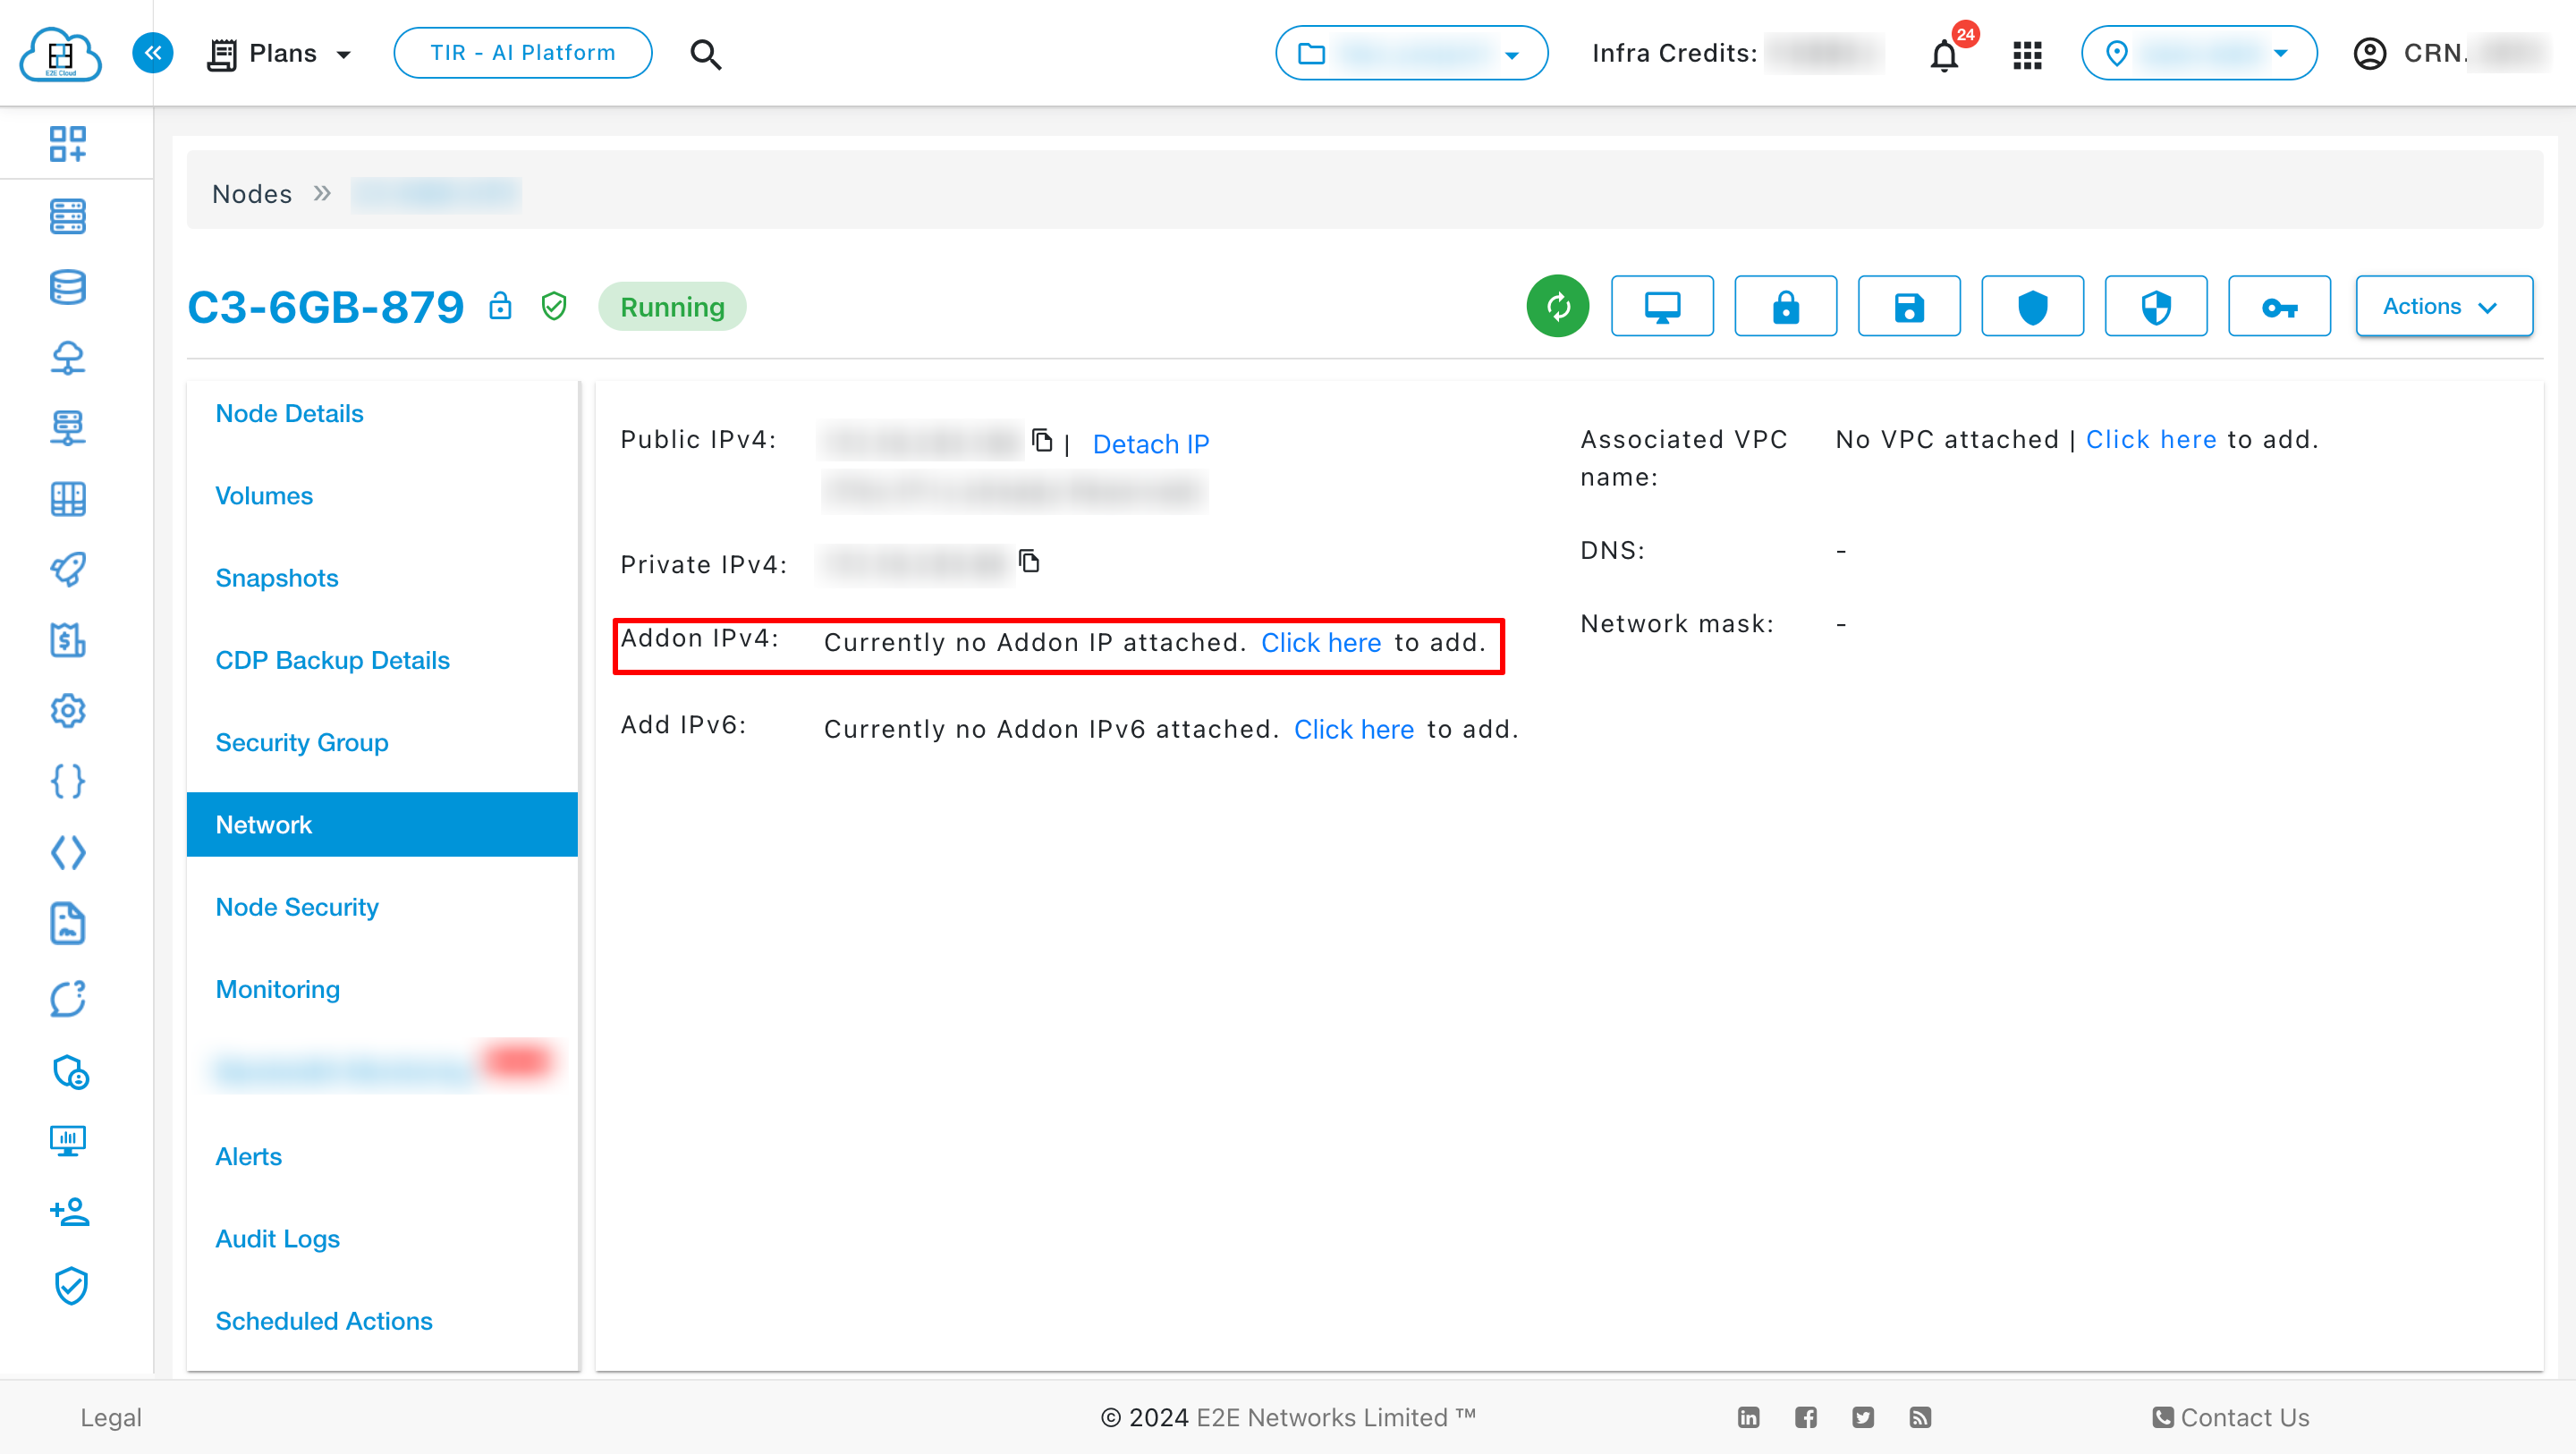
Addon (Reserved) IPv4 Address
A reserved IP address is a public IPv4 address that you can allocate to your account. You can attach it to and detach it from nodes as you require. It's allocated to your account until you choose to release it.
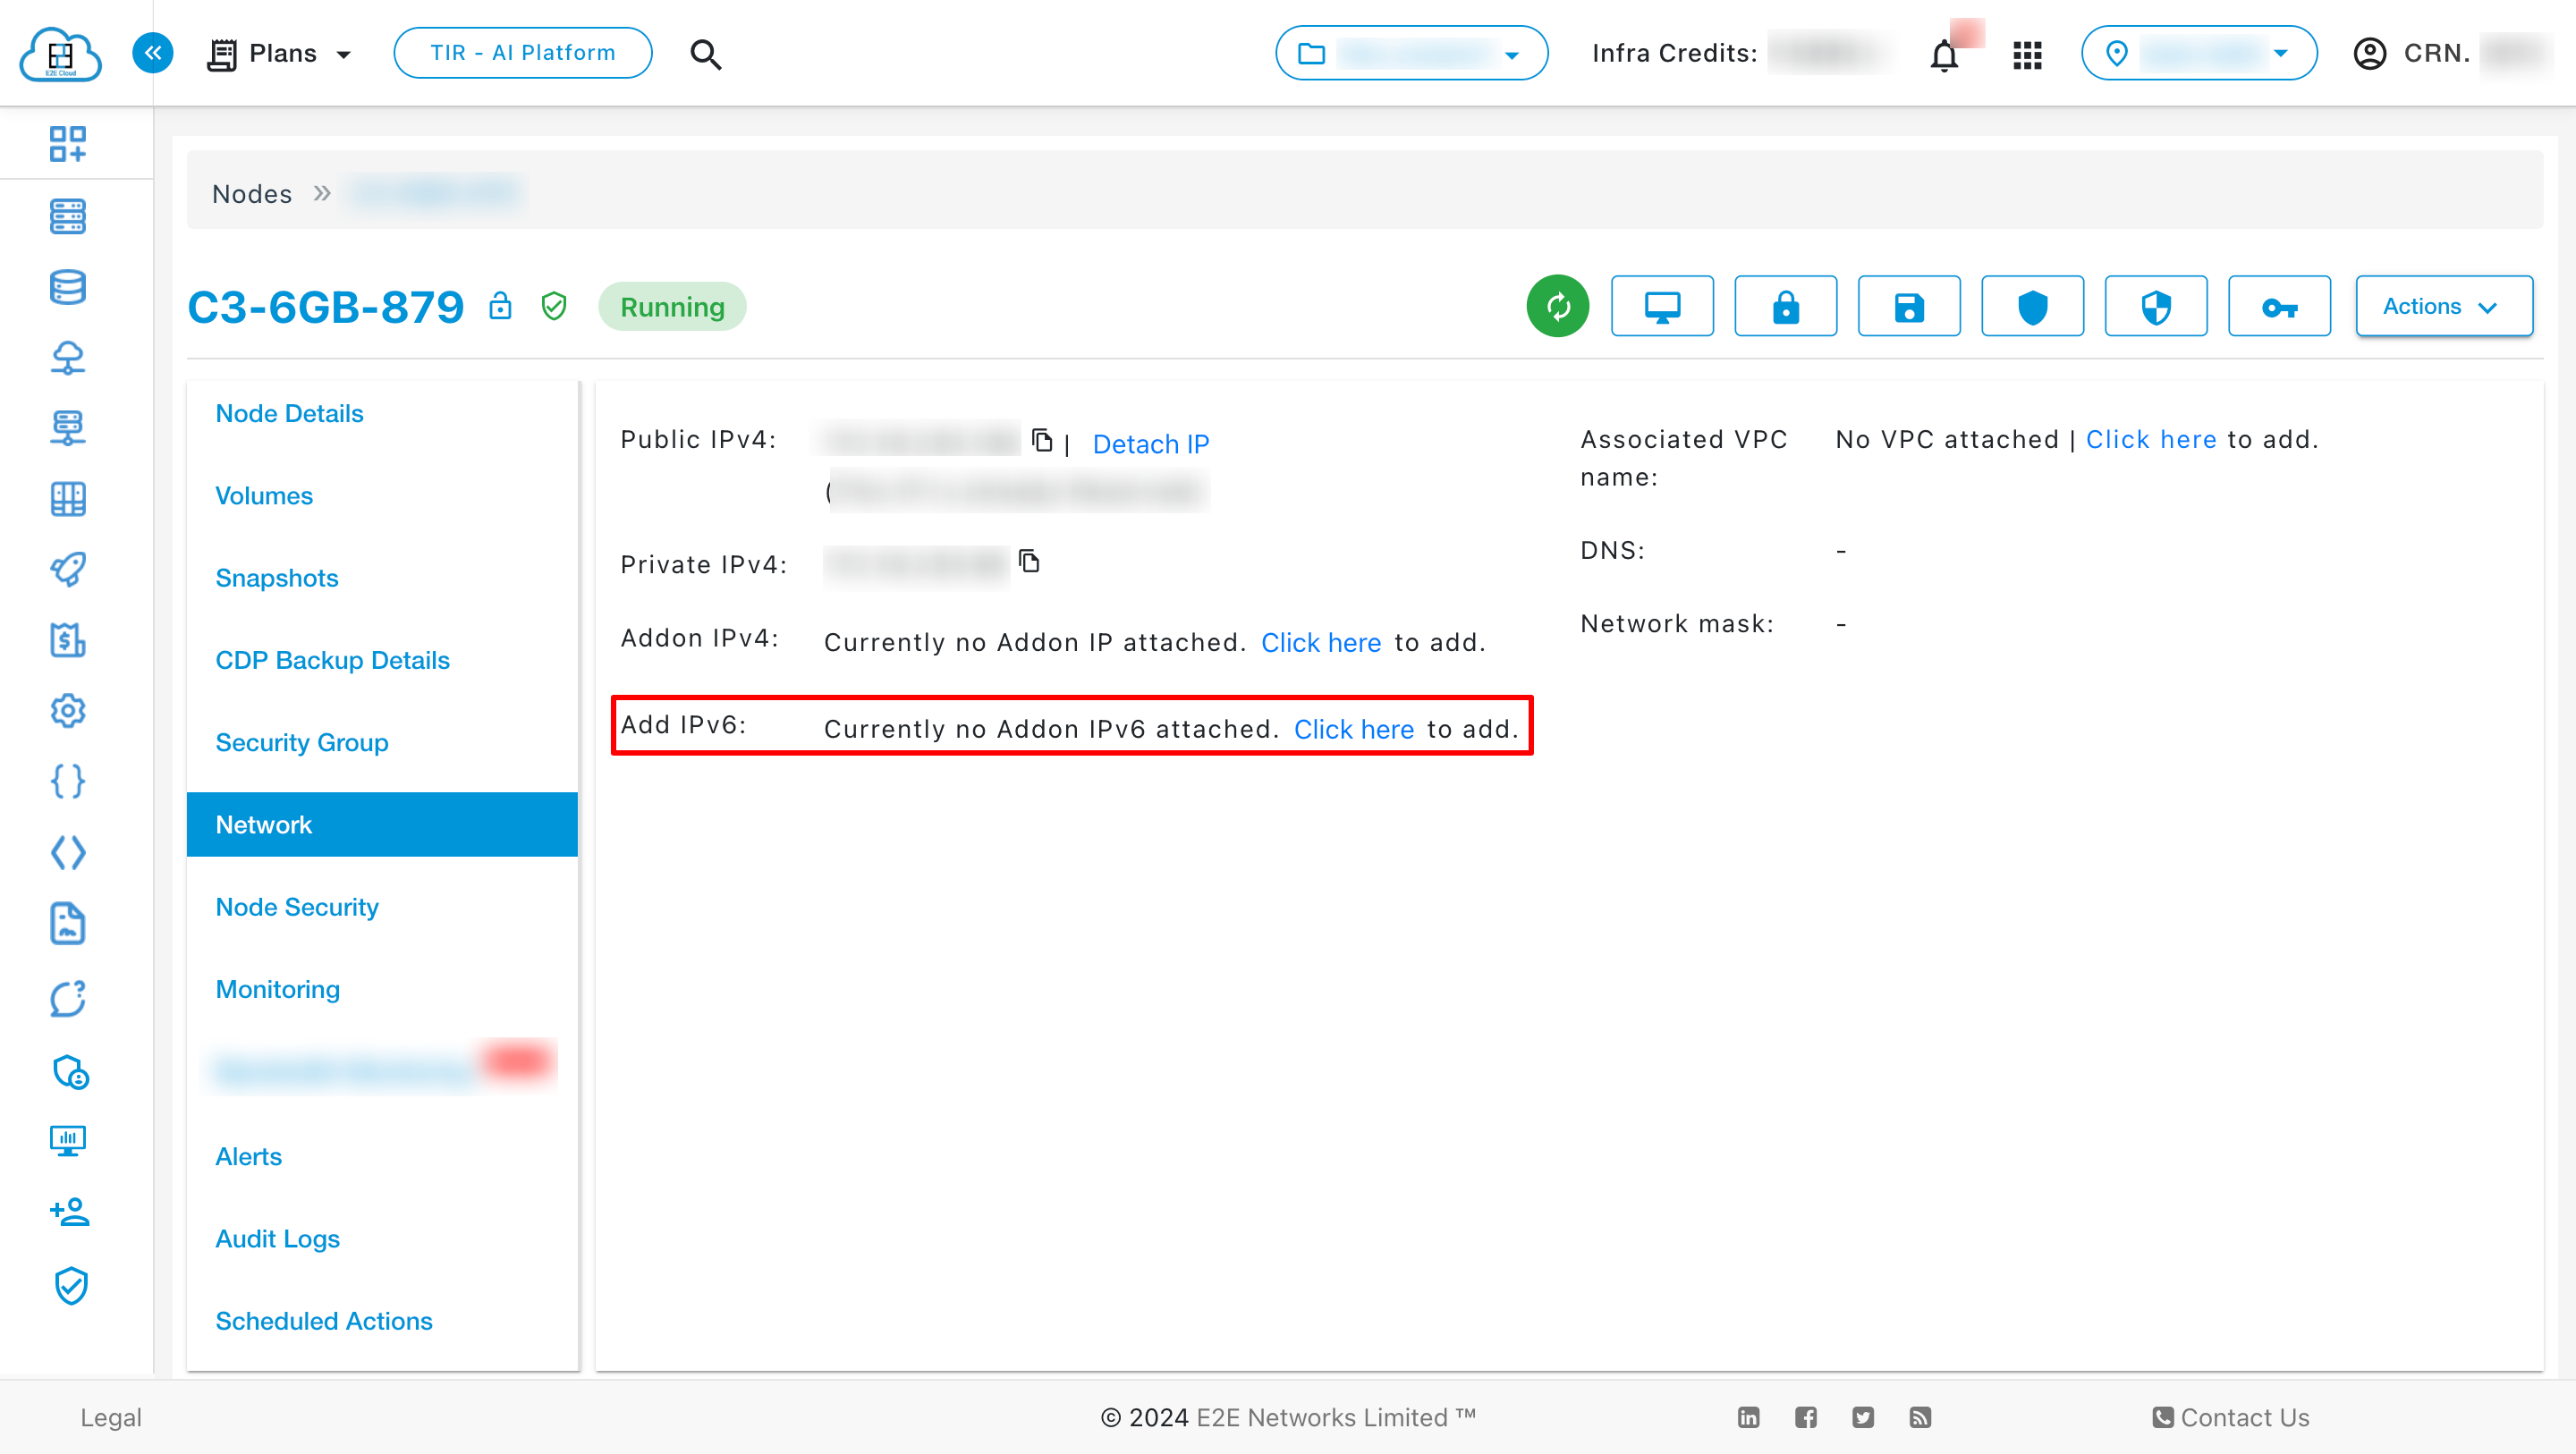
Attach IPv6
To attach an IPv6 IP to the running node, please refer to the below screenshot.
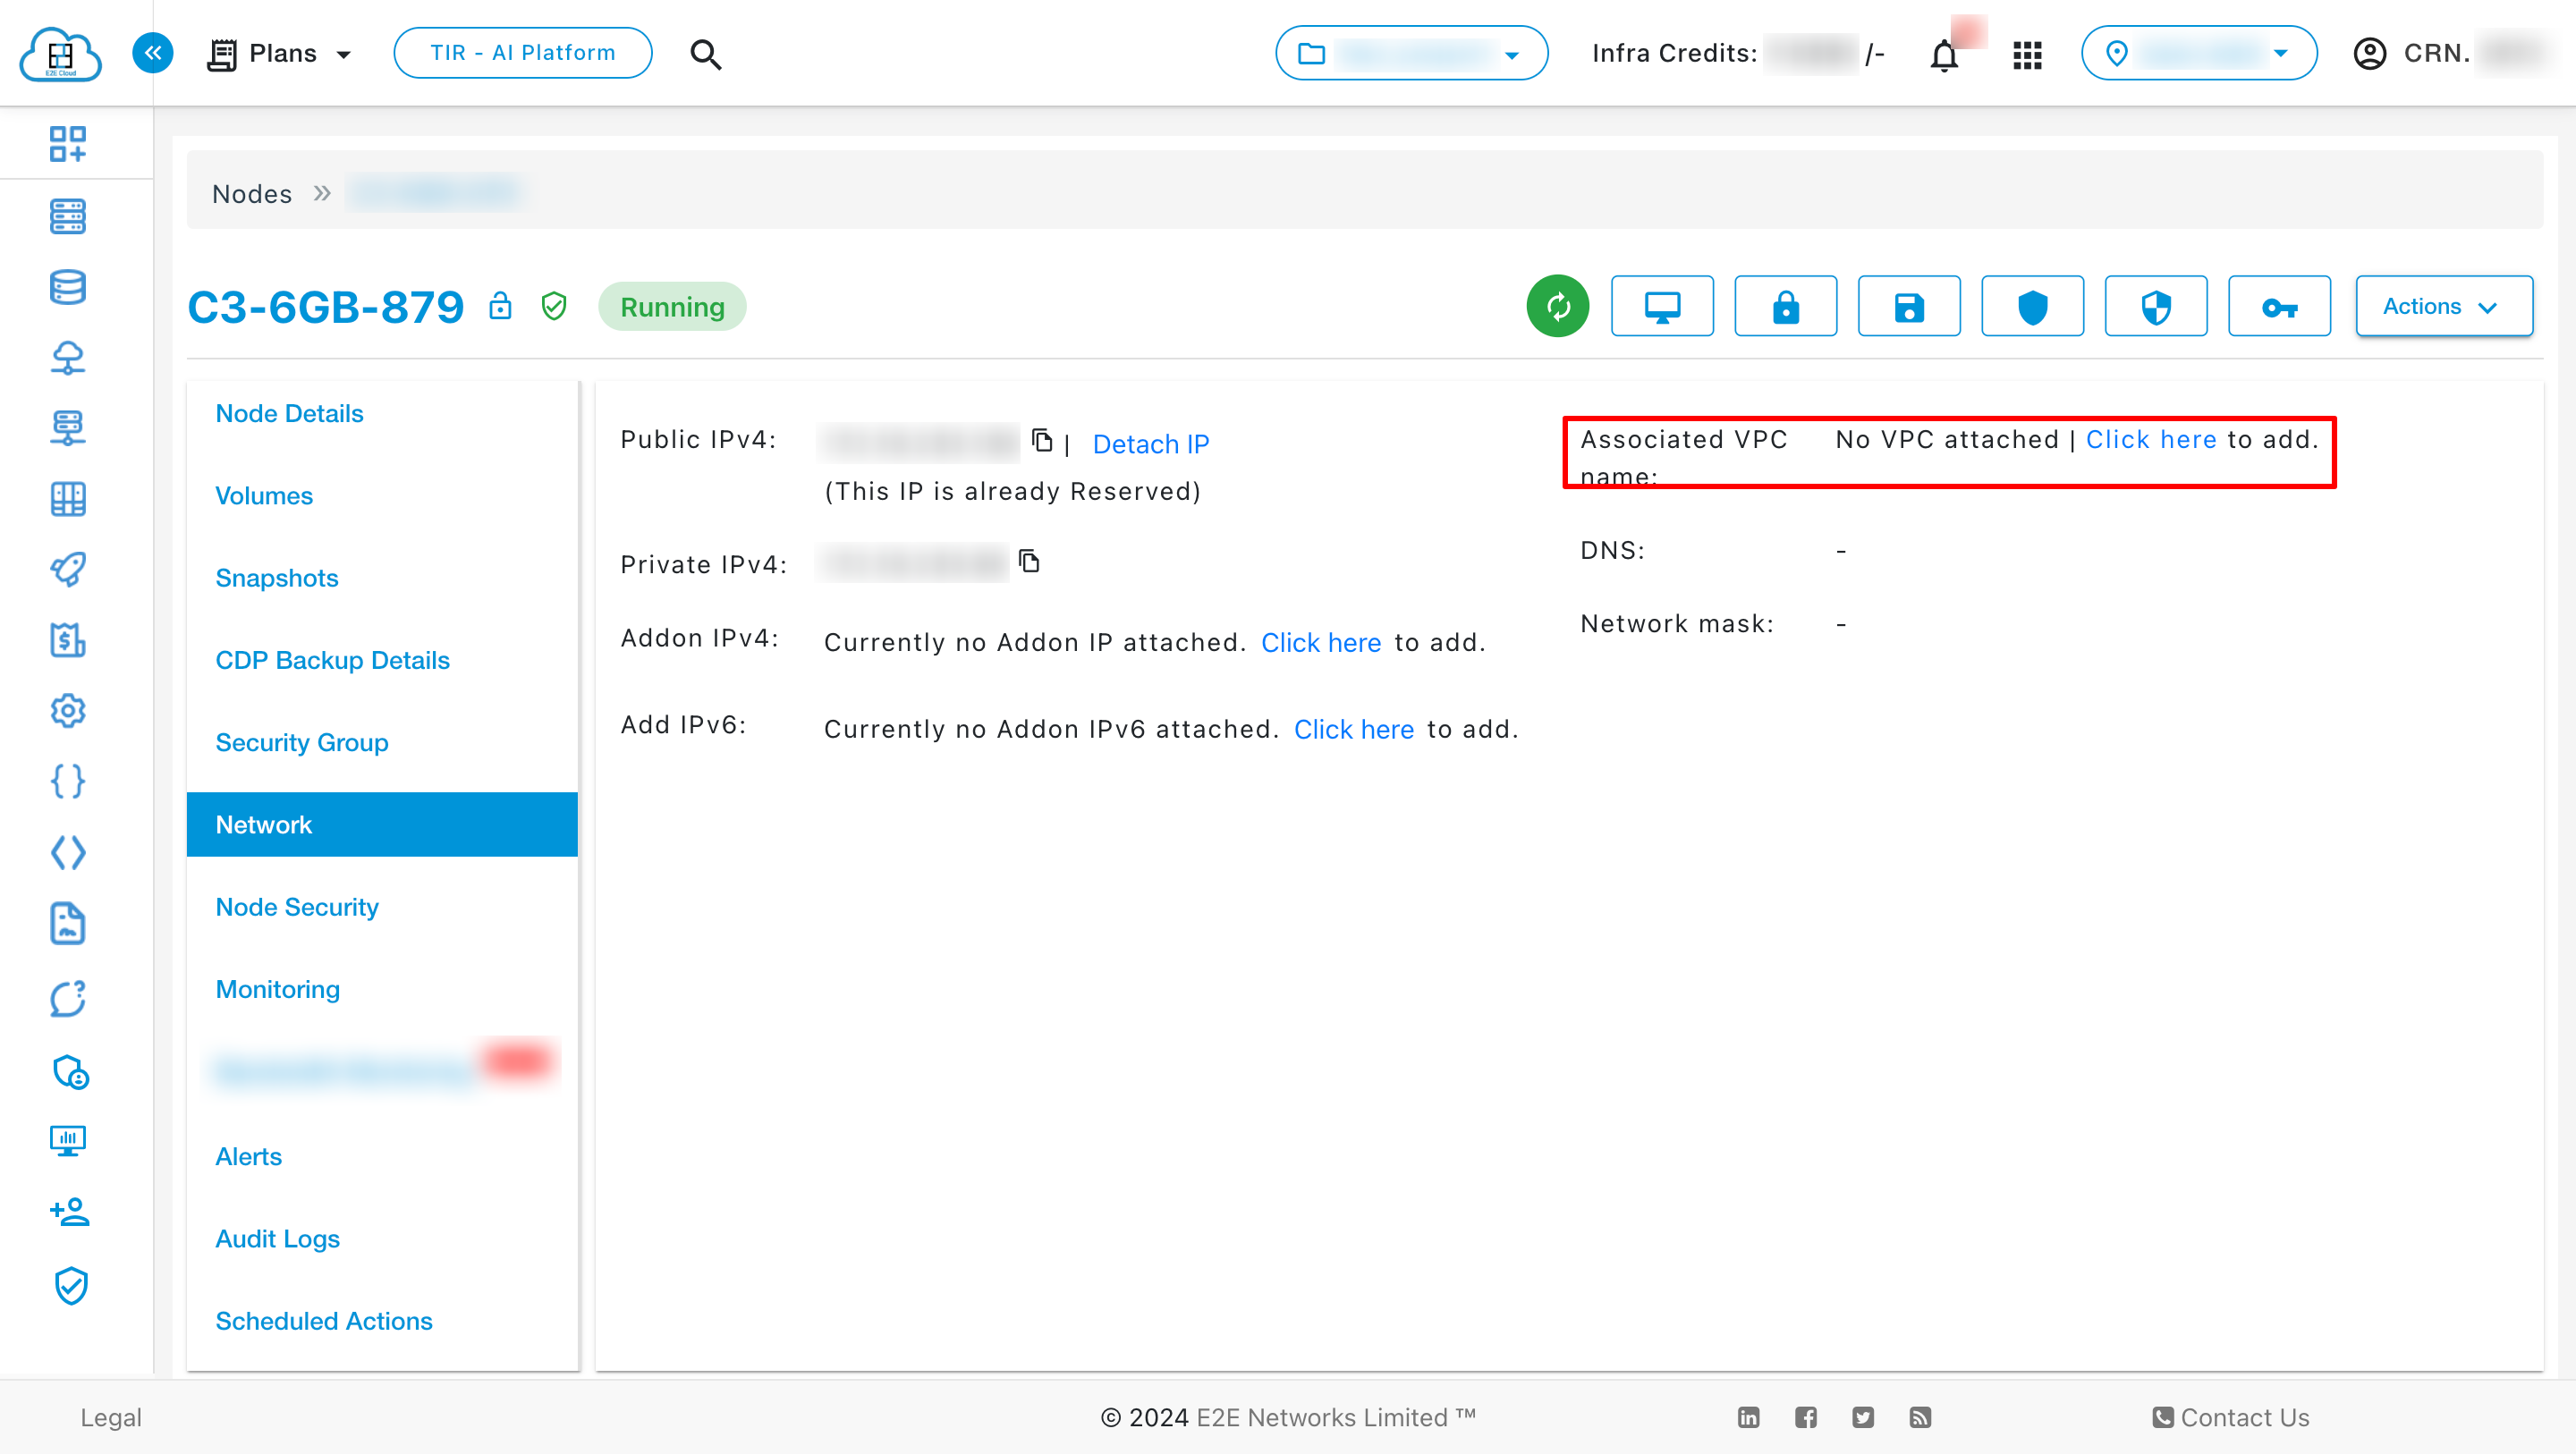
Attach VPC
To attach a VPC to the running node, please refer to the below screenshot.
Node Security
Node security information is available in the Security tab.
SSH Keys
SSH keys are a pair of cryptographic keys that can be used to authenticate to an SSH server as an alternative to password-based logins. SSH keys prove to be a reliable and secure alternative. You can also add more SSH keys from here.
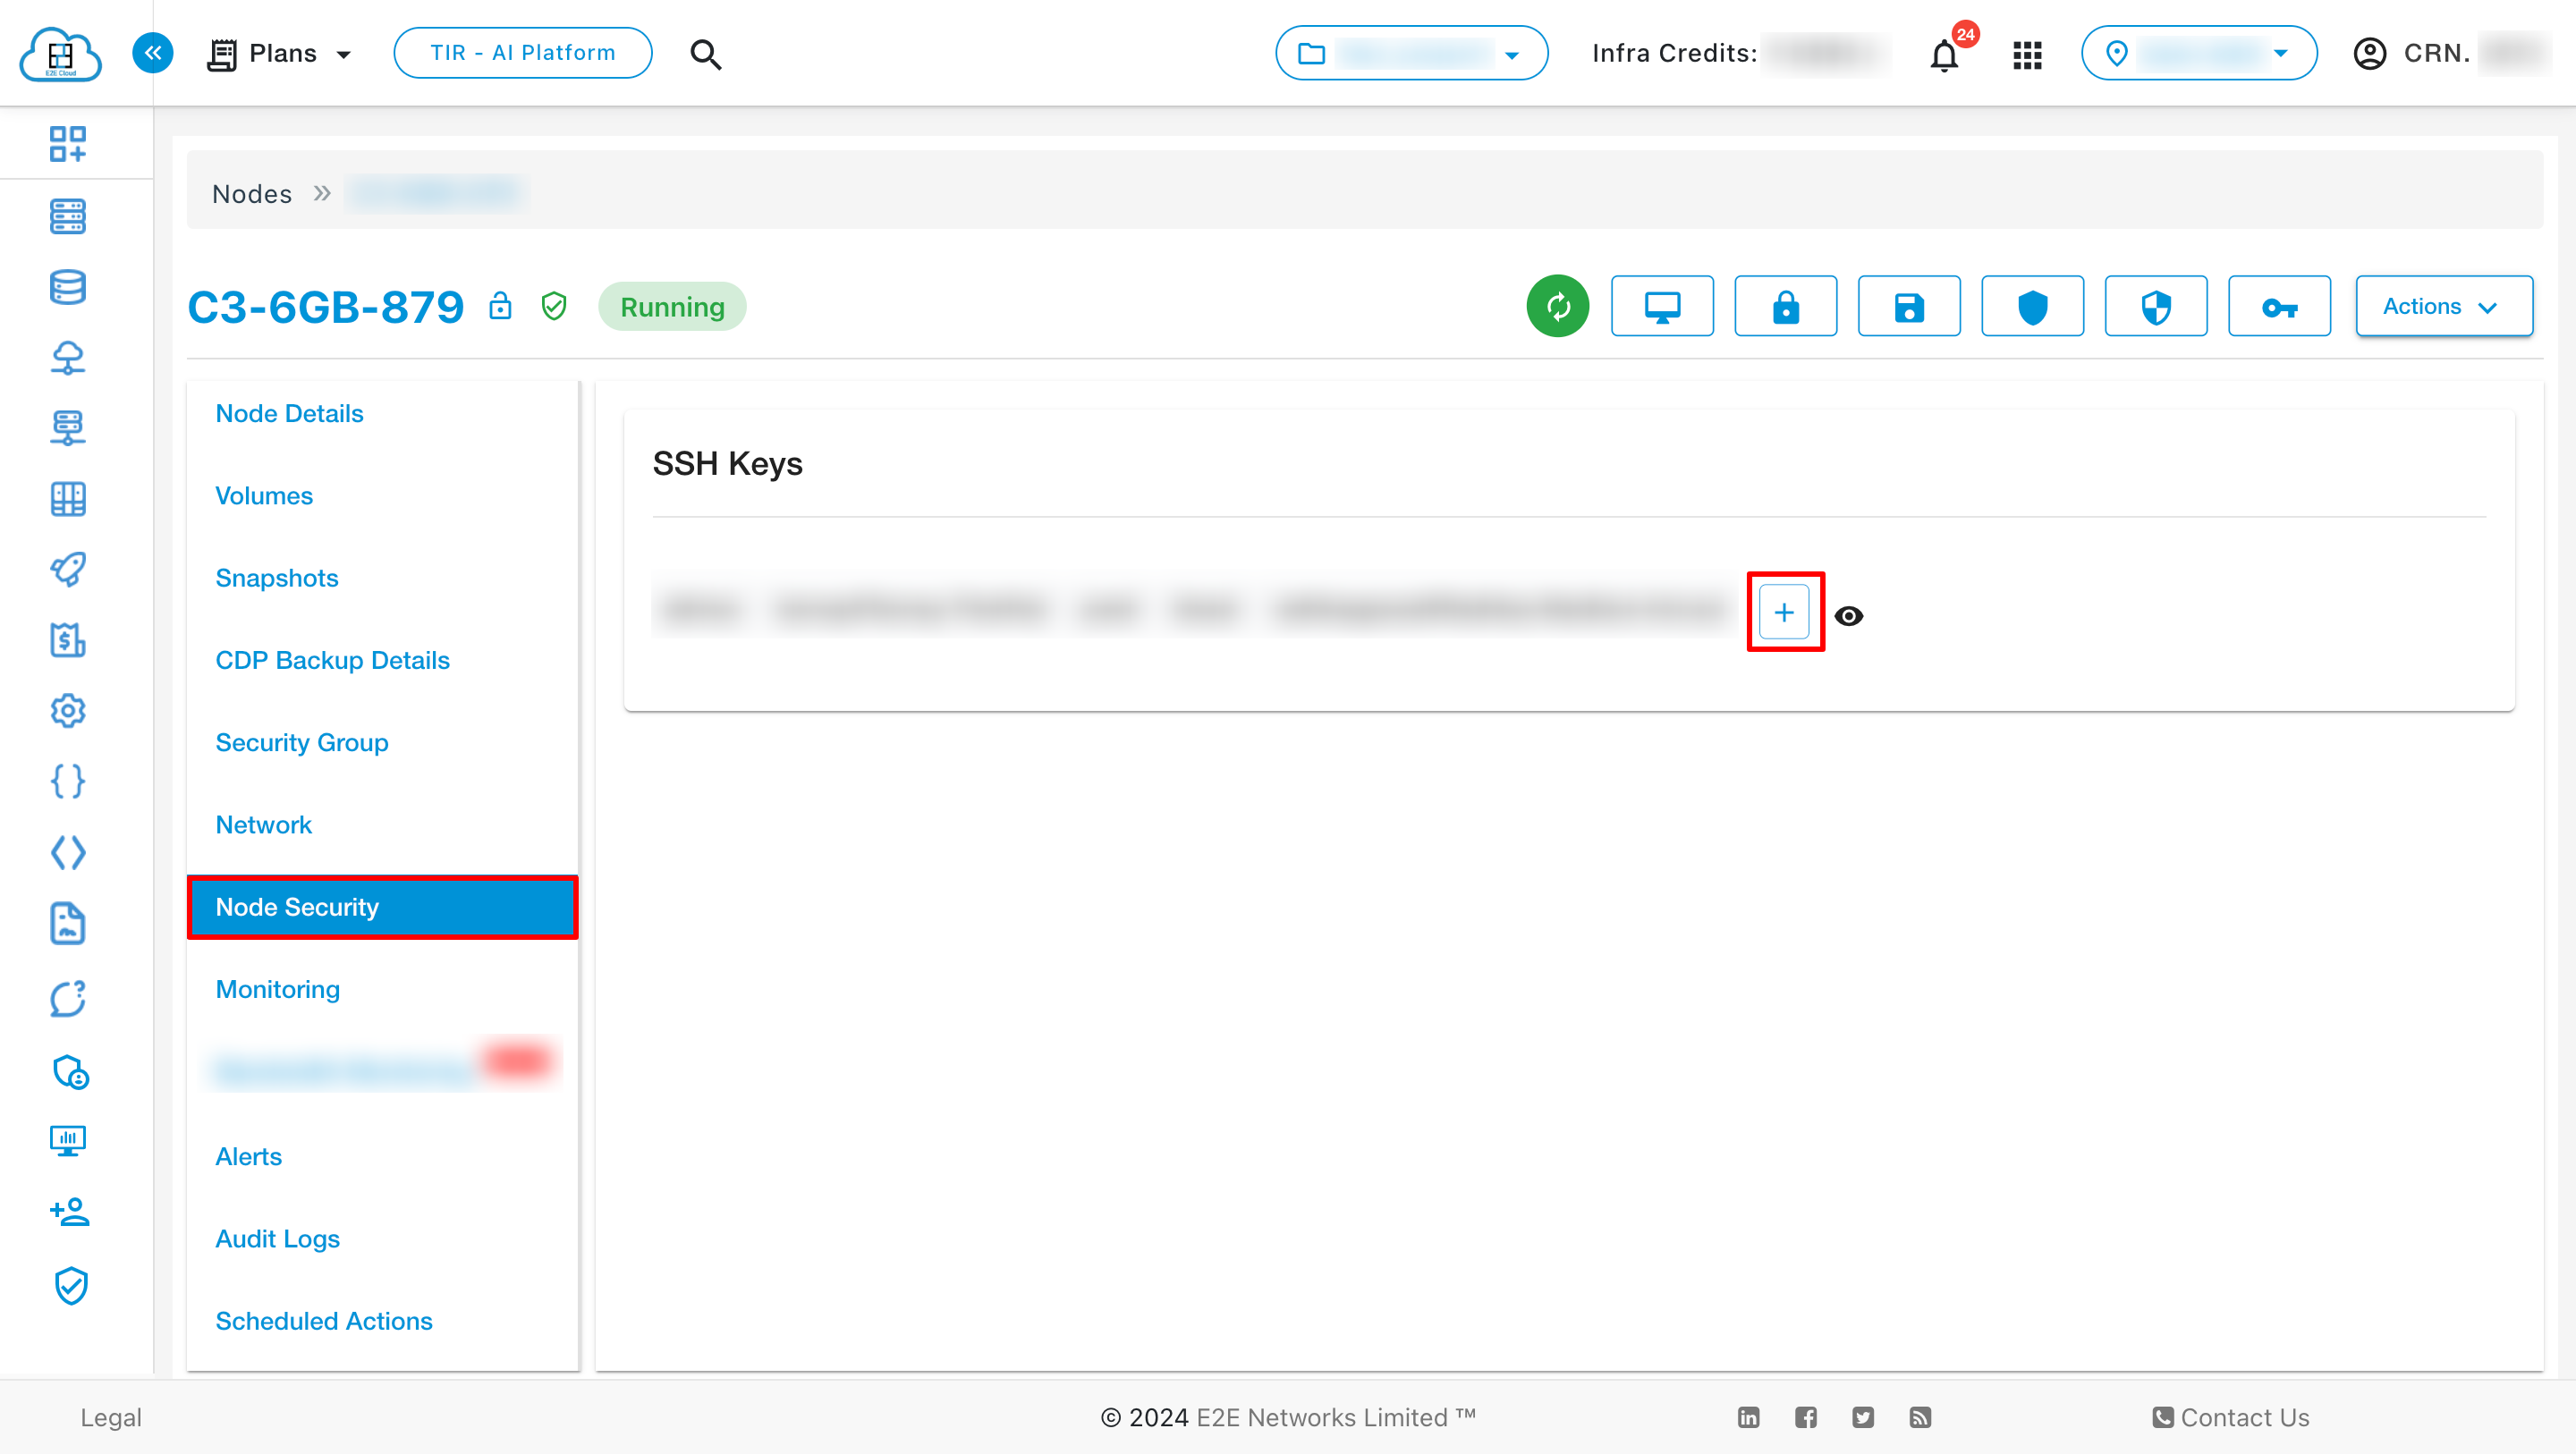
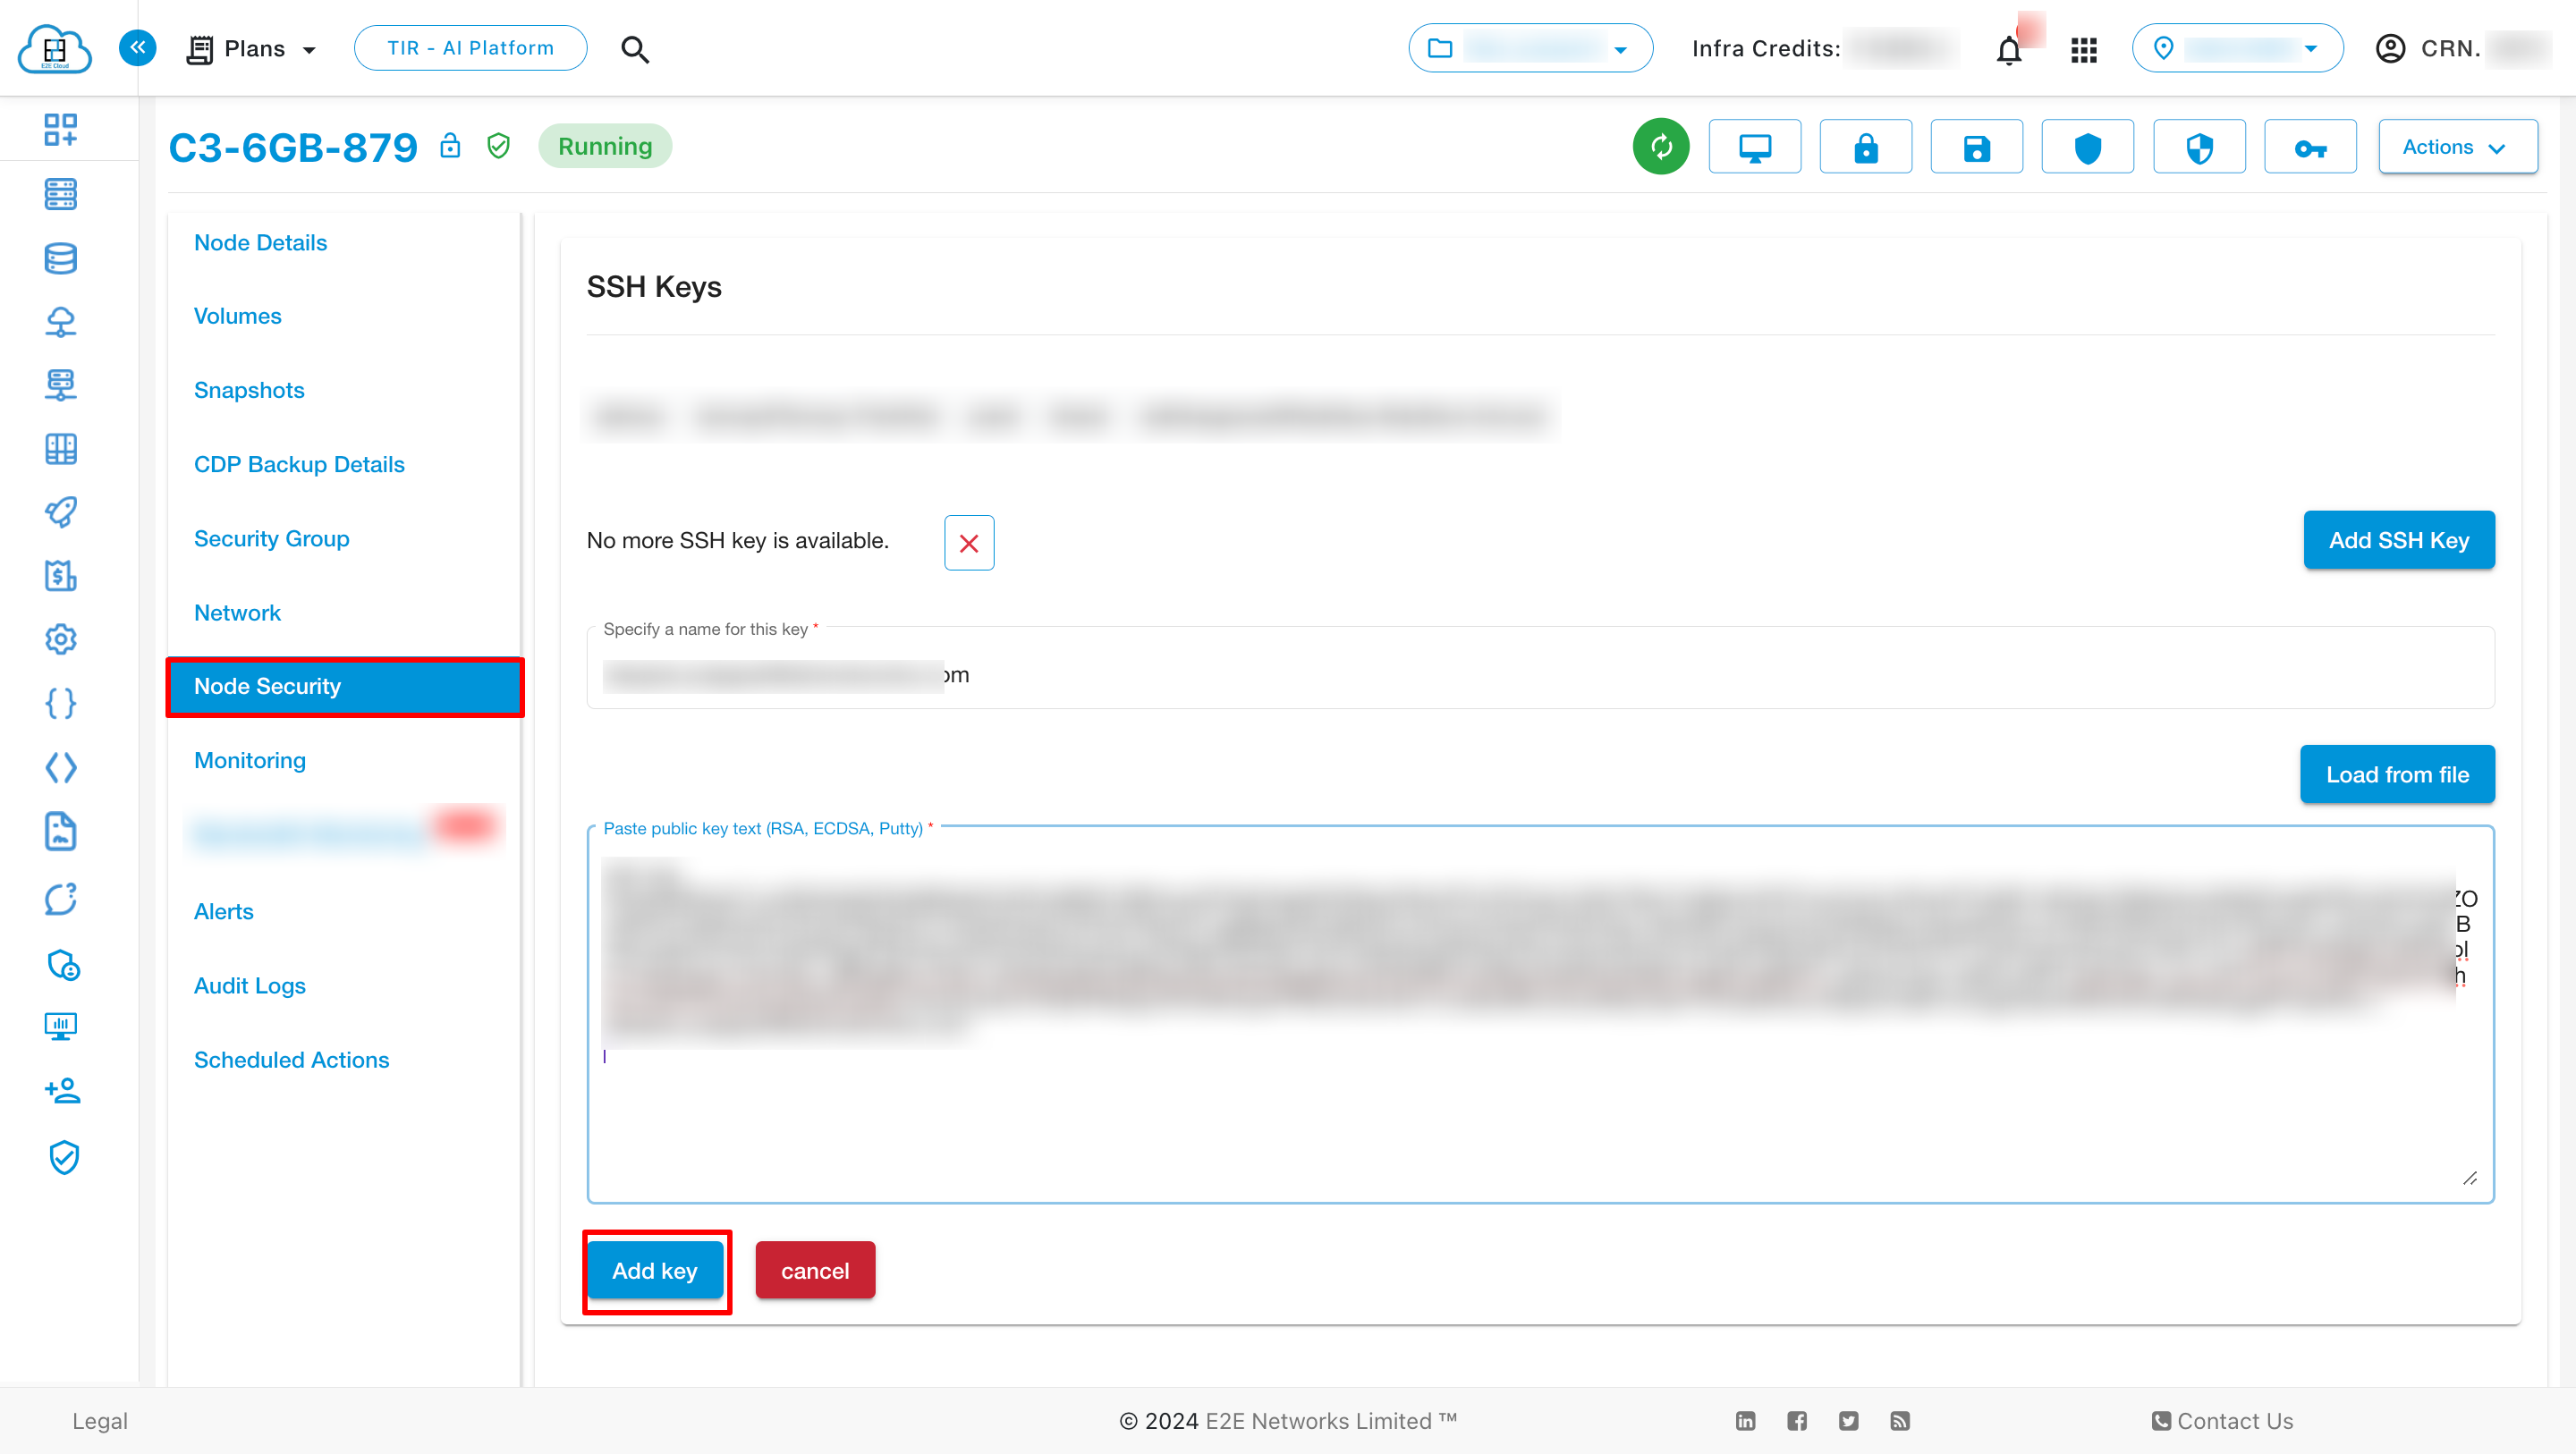
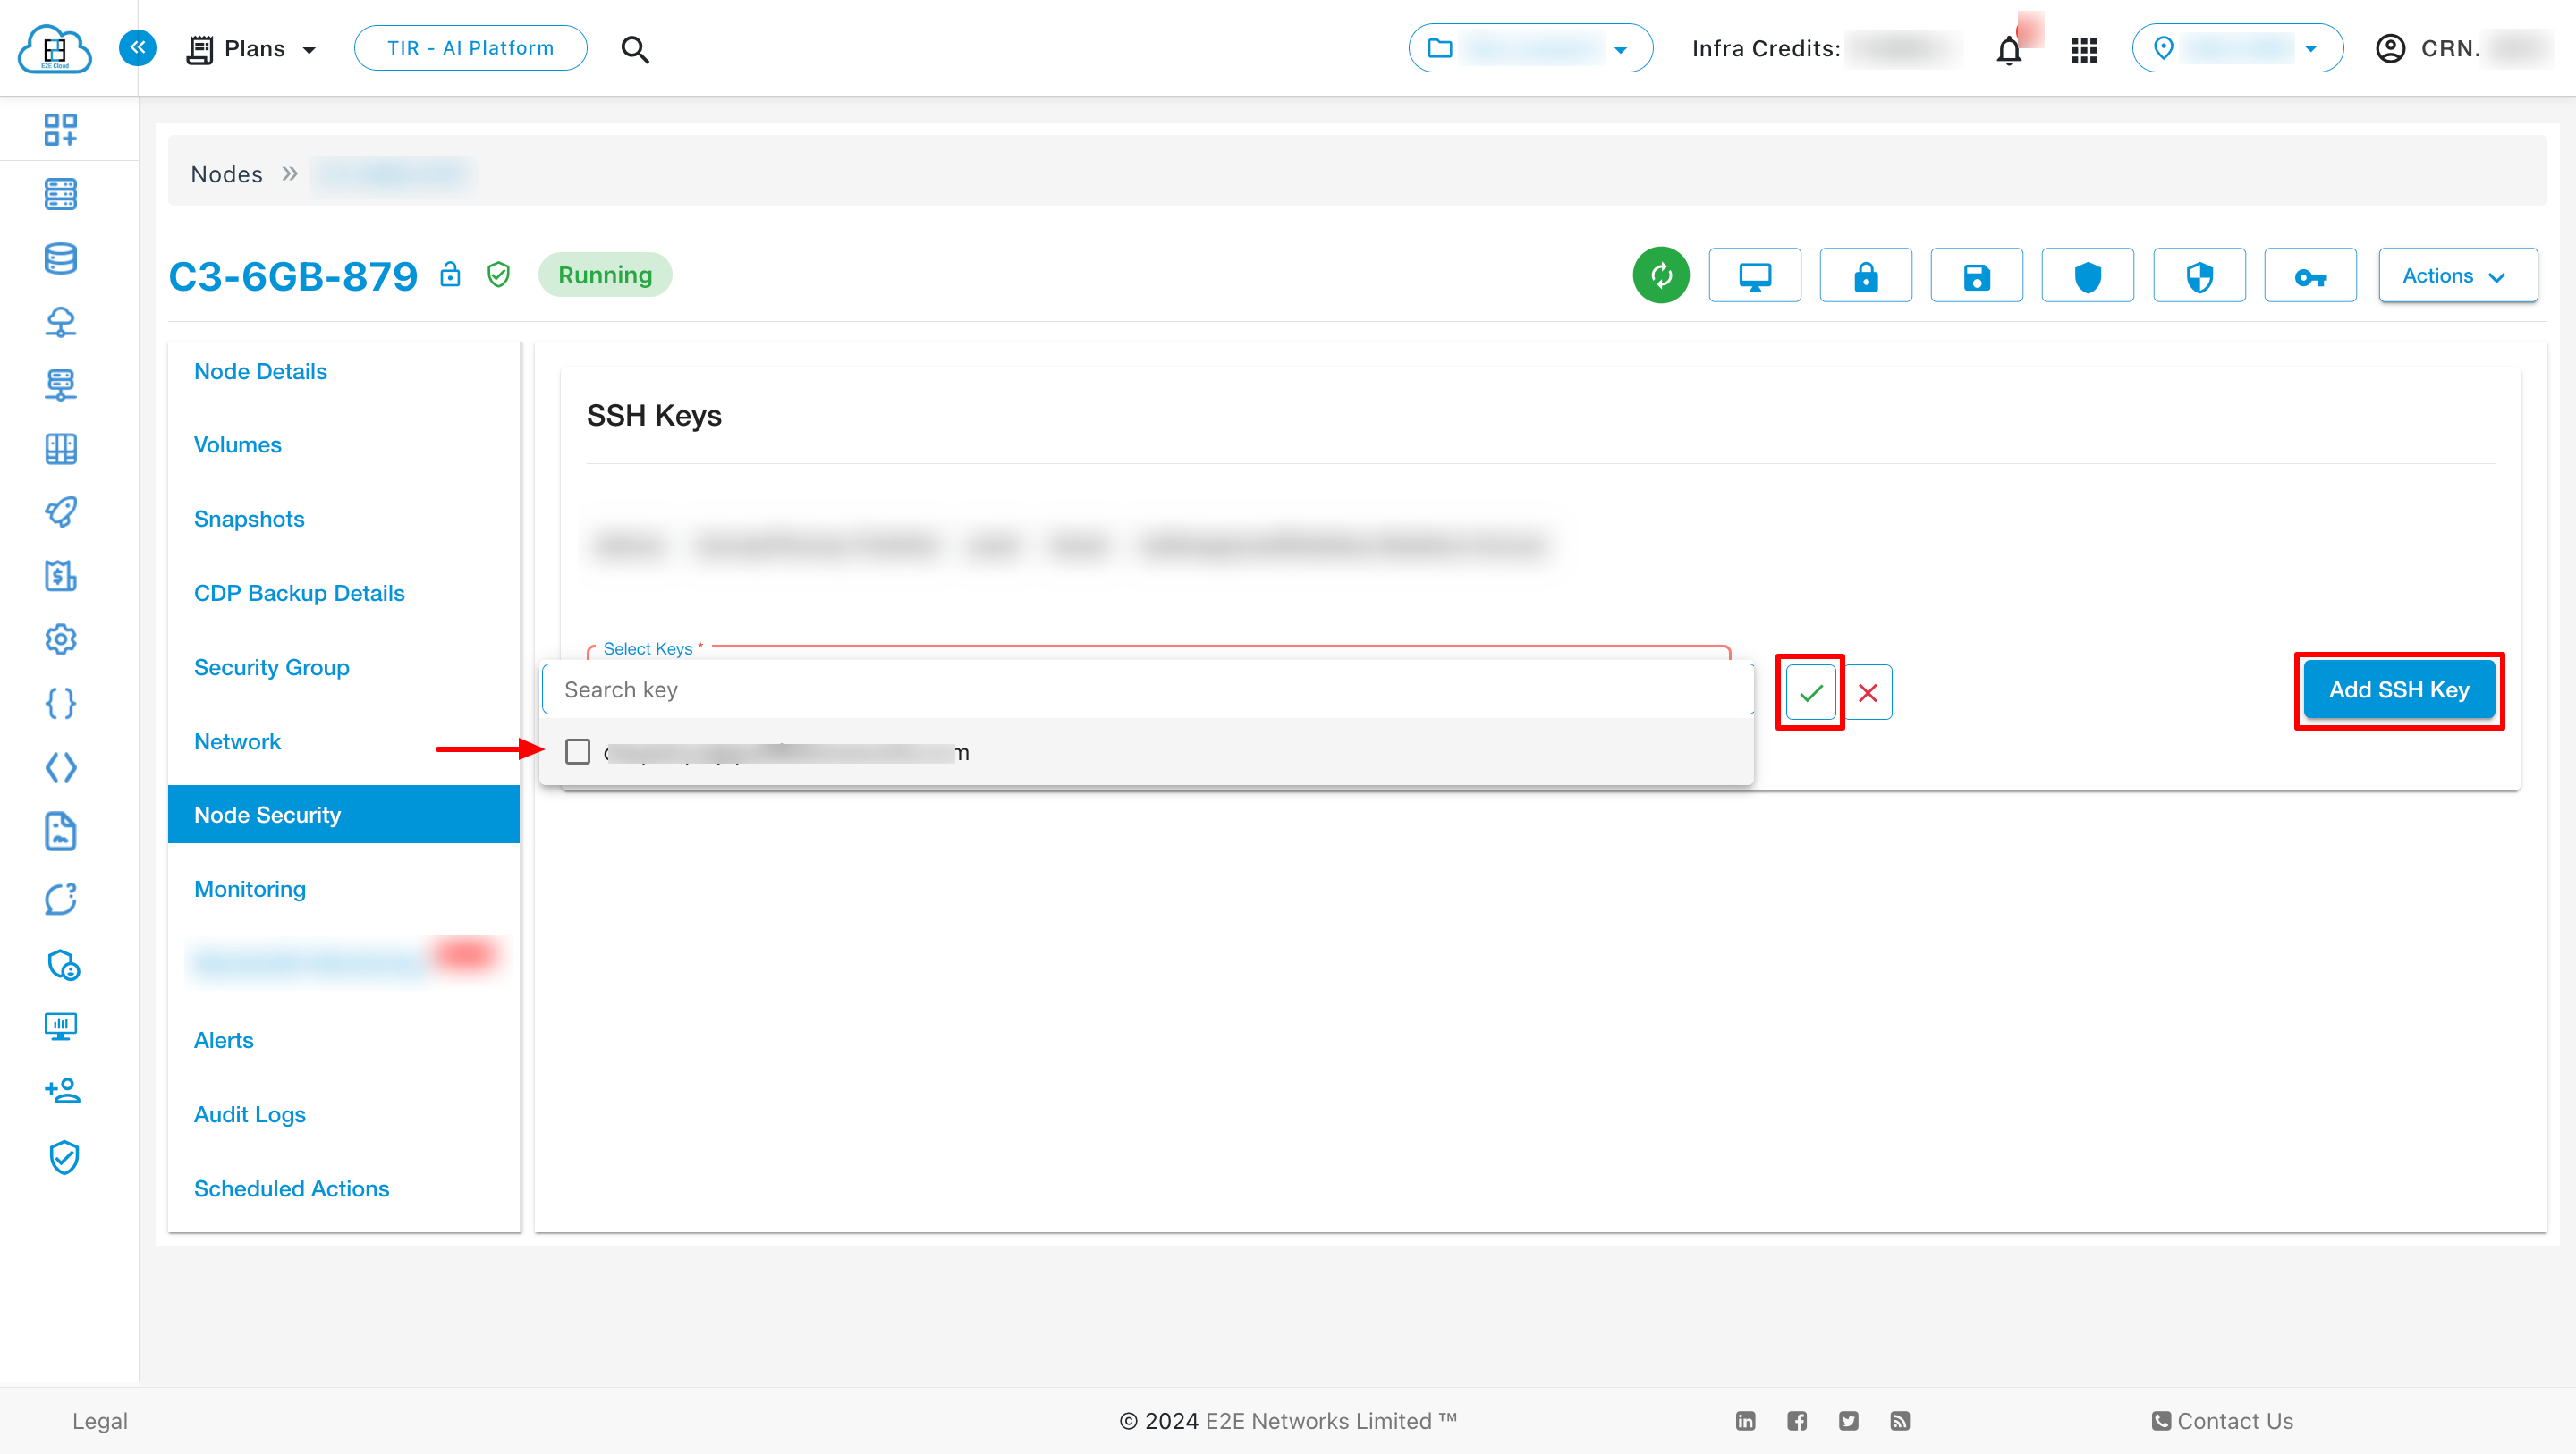
Note: By default, you will have a Password-based login enabled on your newly launched E2E Nodes.
BitNinja
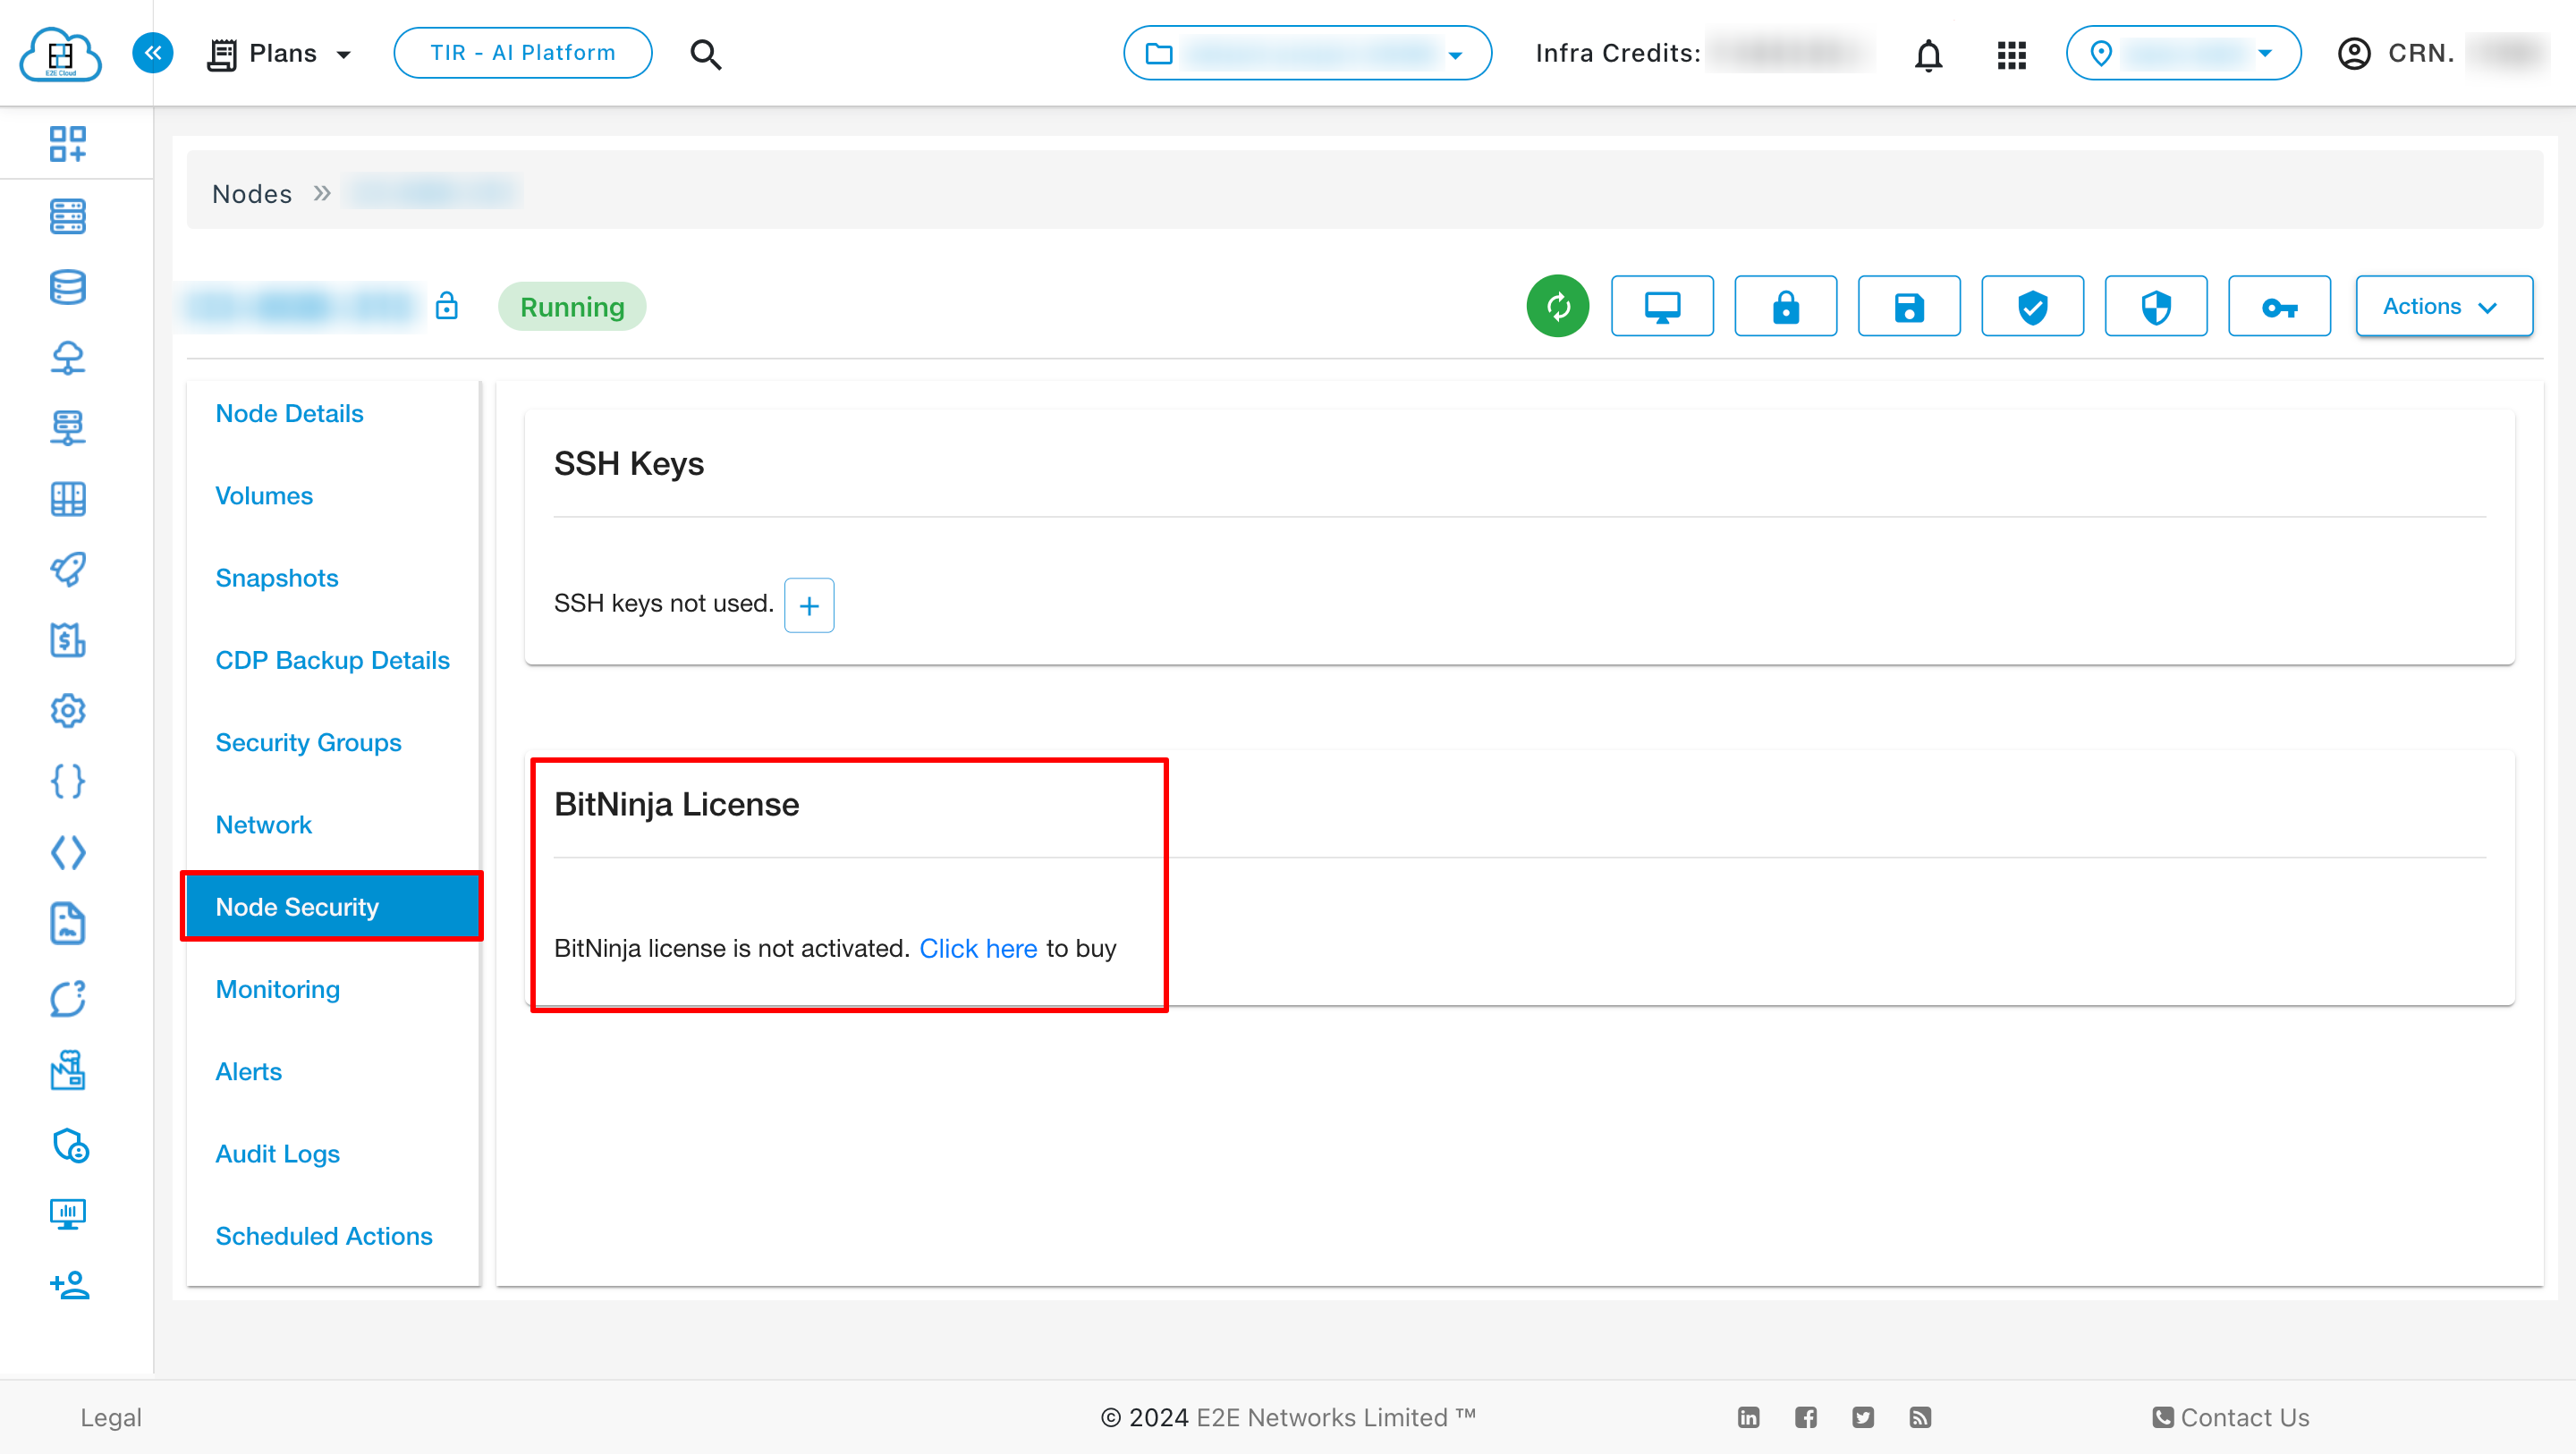
BitNinja is an easy-to-use server security tool mixing the most powerful defense mechanisms. You can enable the BitNinja security tool either at the time of node creation or after the node creation. It will protect your node against a wide range of cyber-attacks. Learn more.
Monitoring
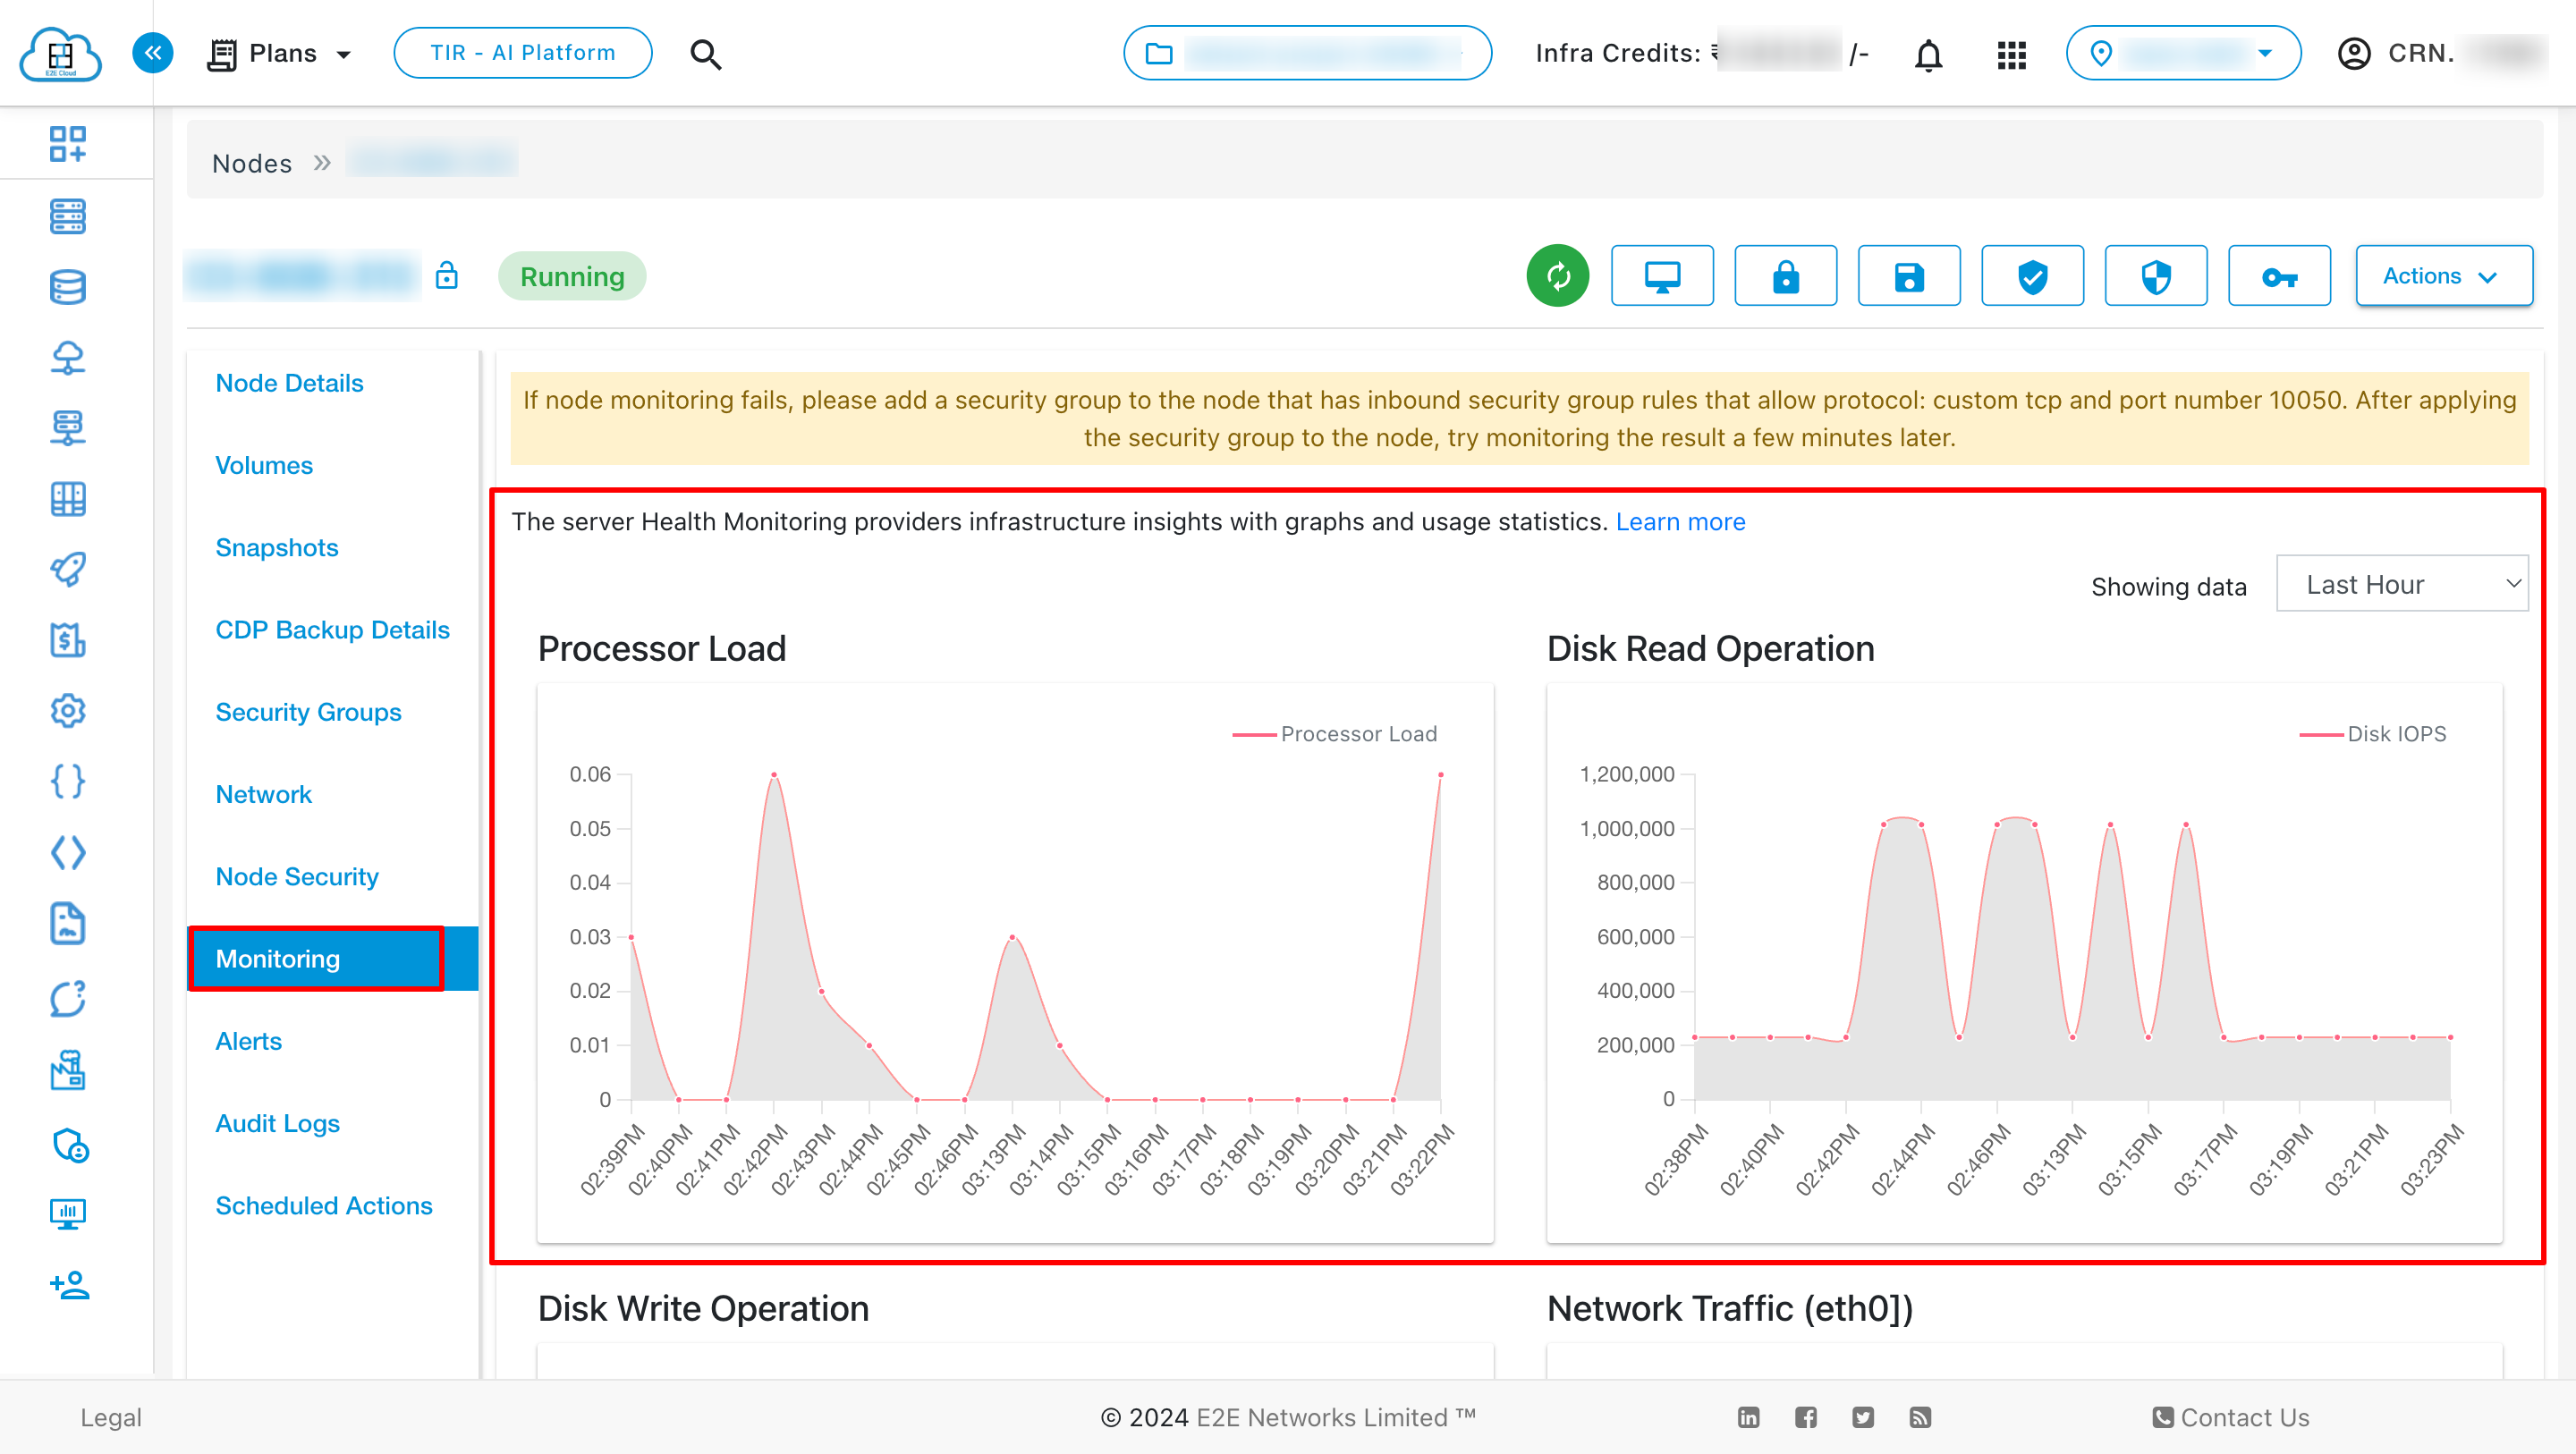
After you launch a node, you can view the monitoring graphs for your node on the Monitoring tab. Each graph is based on one of the different metrics. This information is collected from your node and processes raw data into readable graphs. Monitoring is an important part of maintaining the reliability, availability, and performance of your E2E Nodes. Learn more.
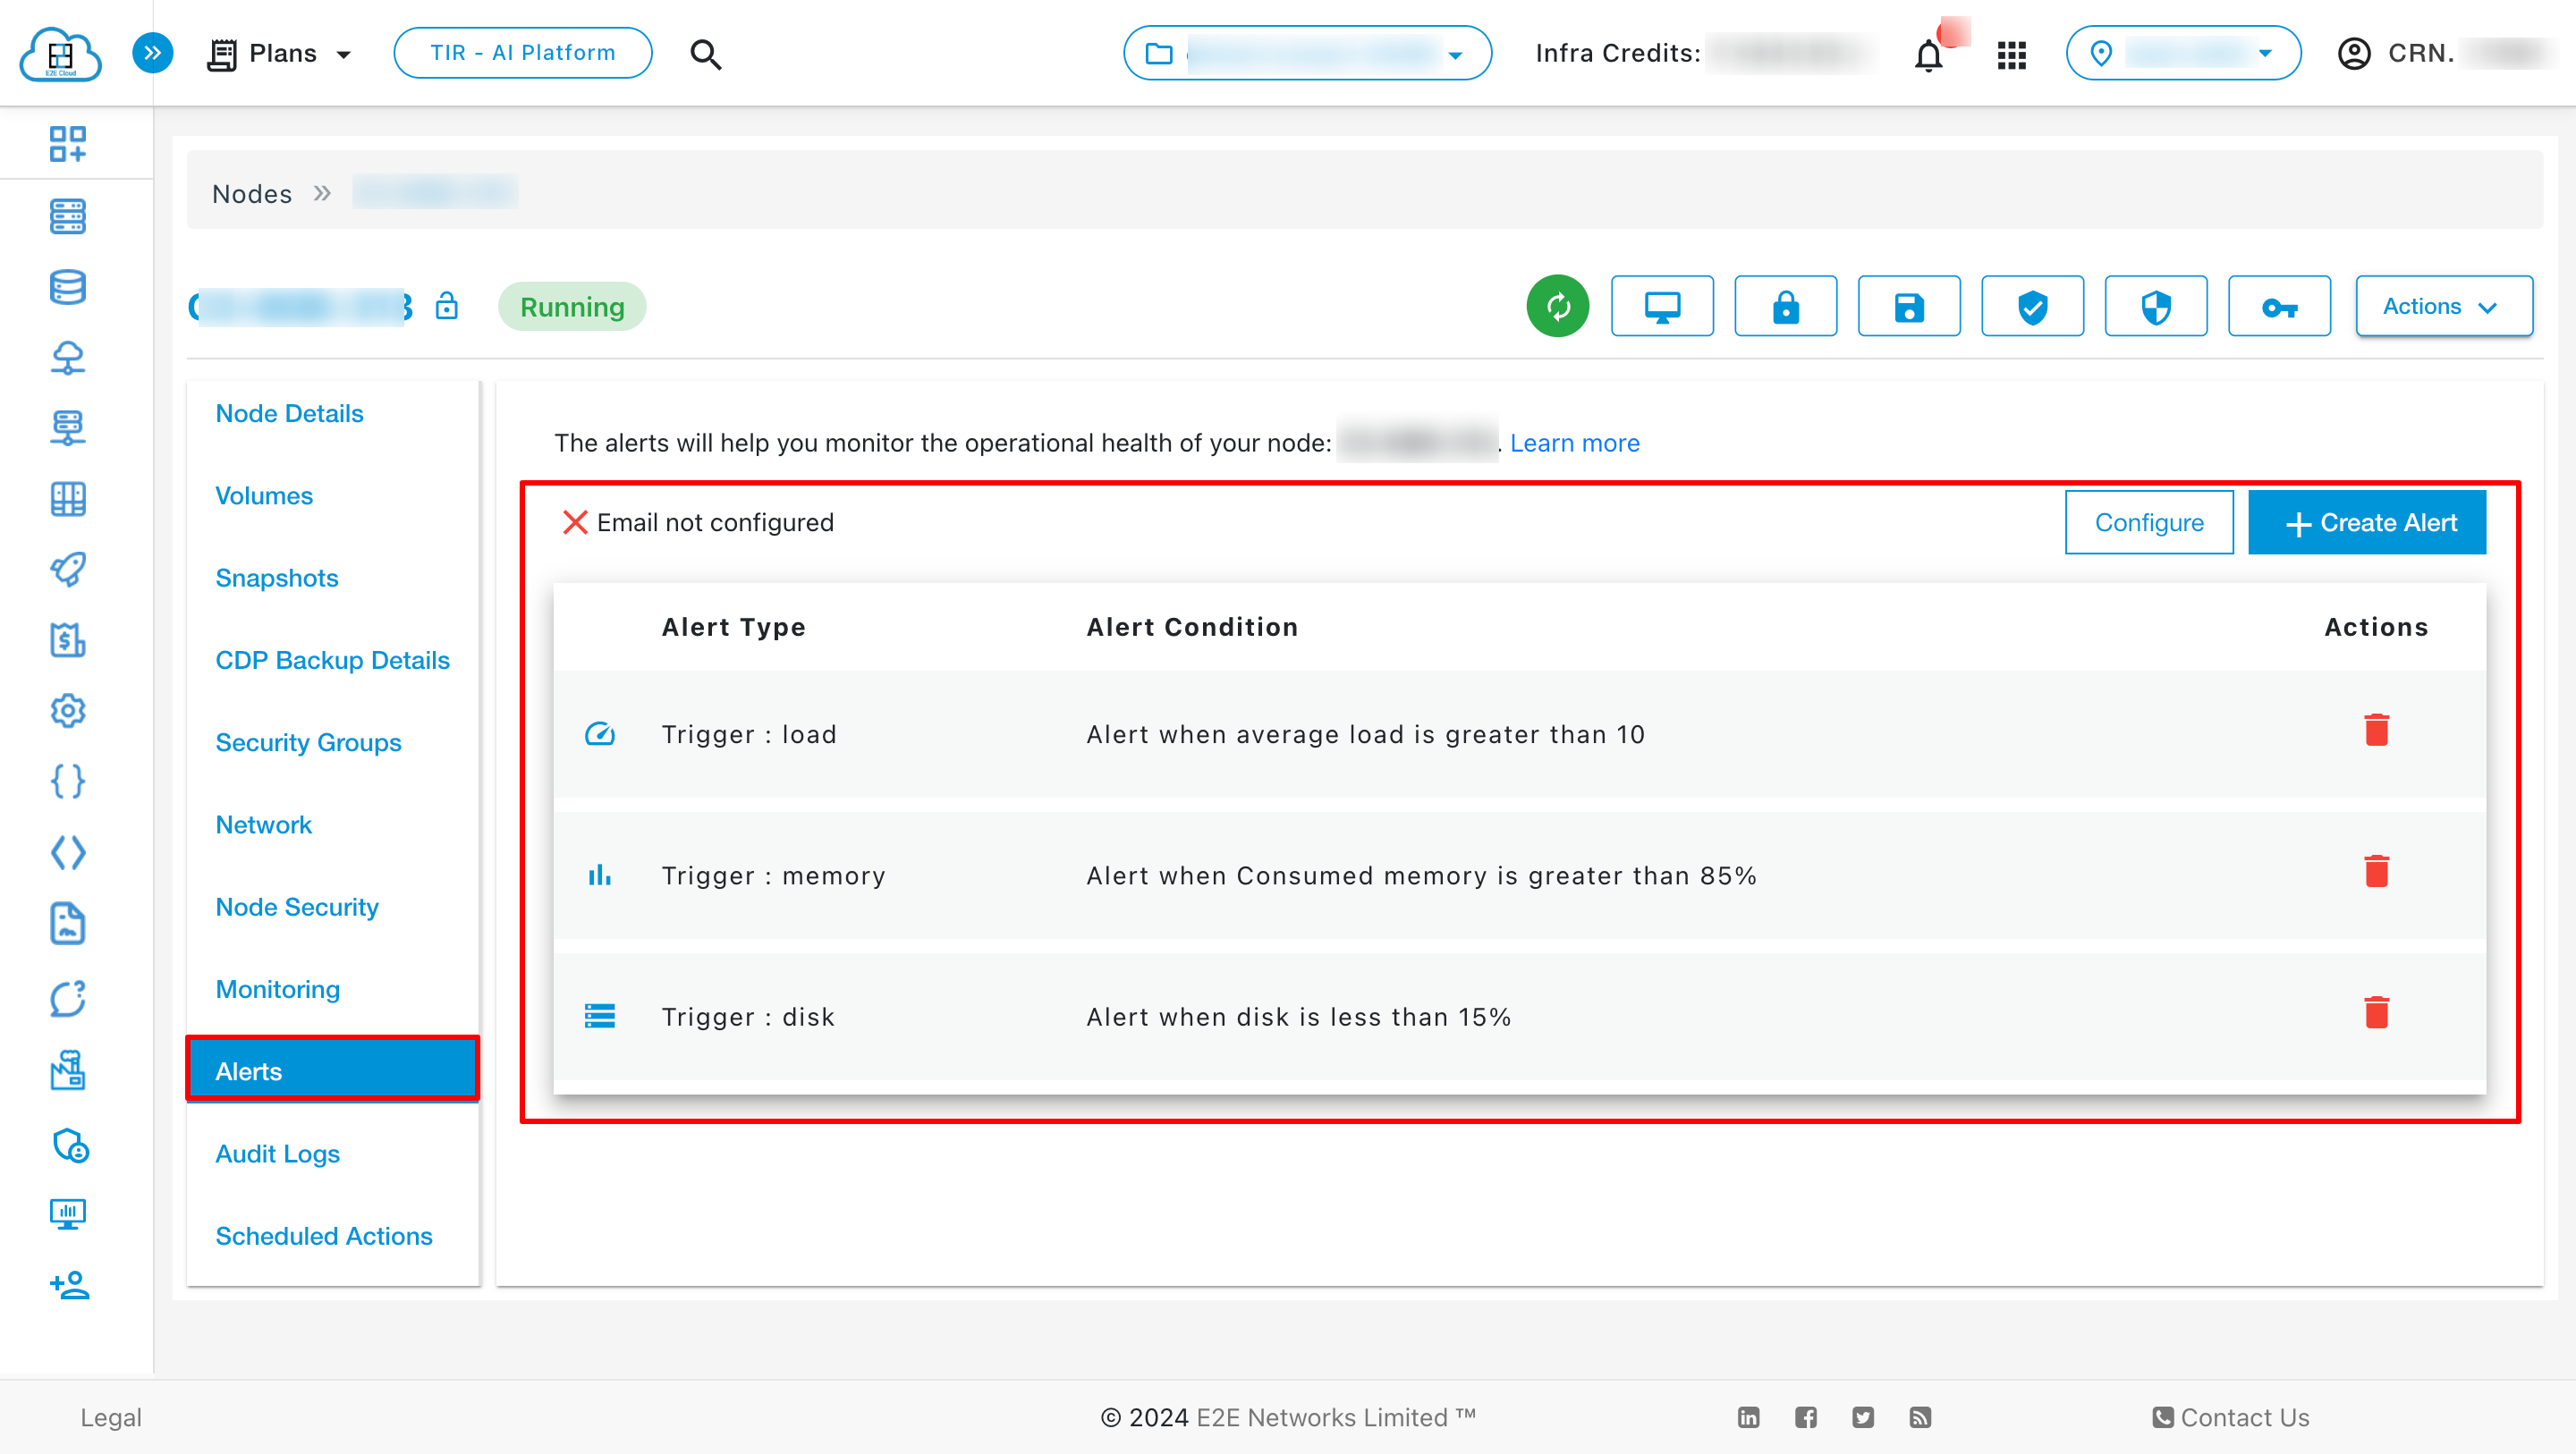
Alerts
Server health alerts are default created for your newly created node using recommended parameters for alert policy. You can also set up new alerts by defining trigger parameters as per your use case. The alerting system works by sending automatic response notifications to your defined email list. Learn more.
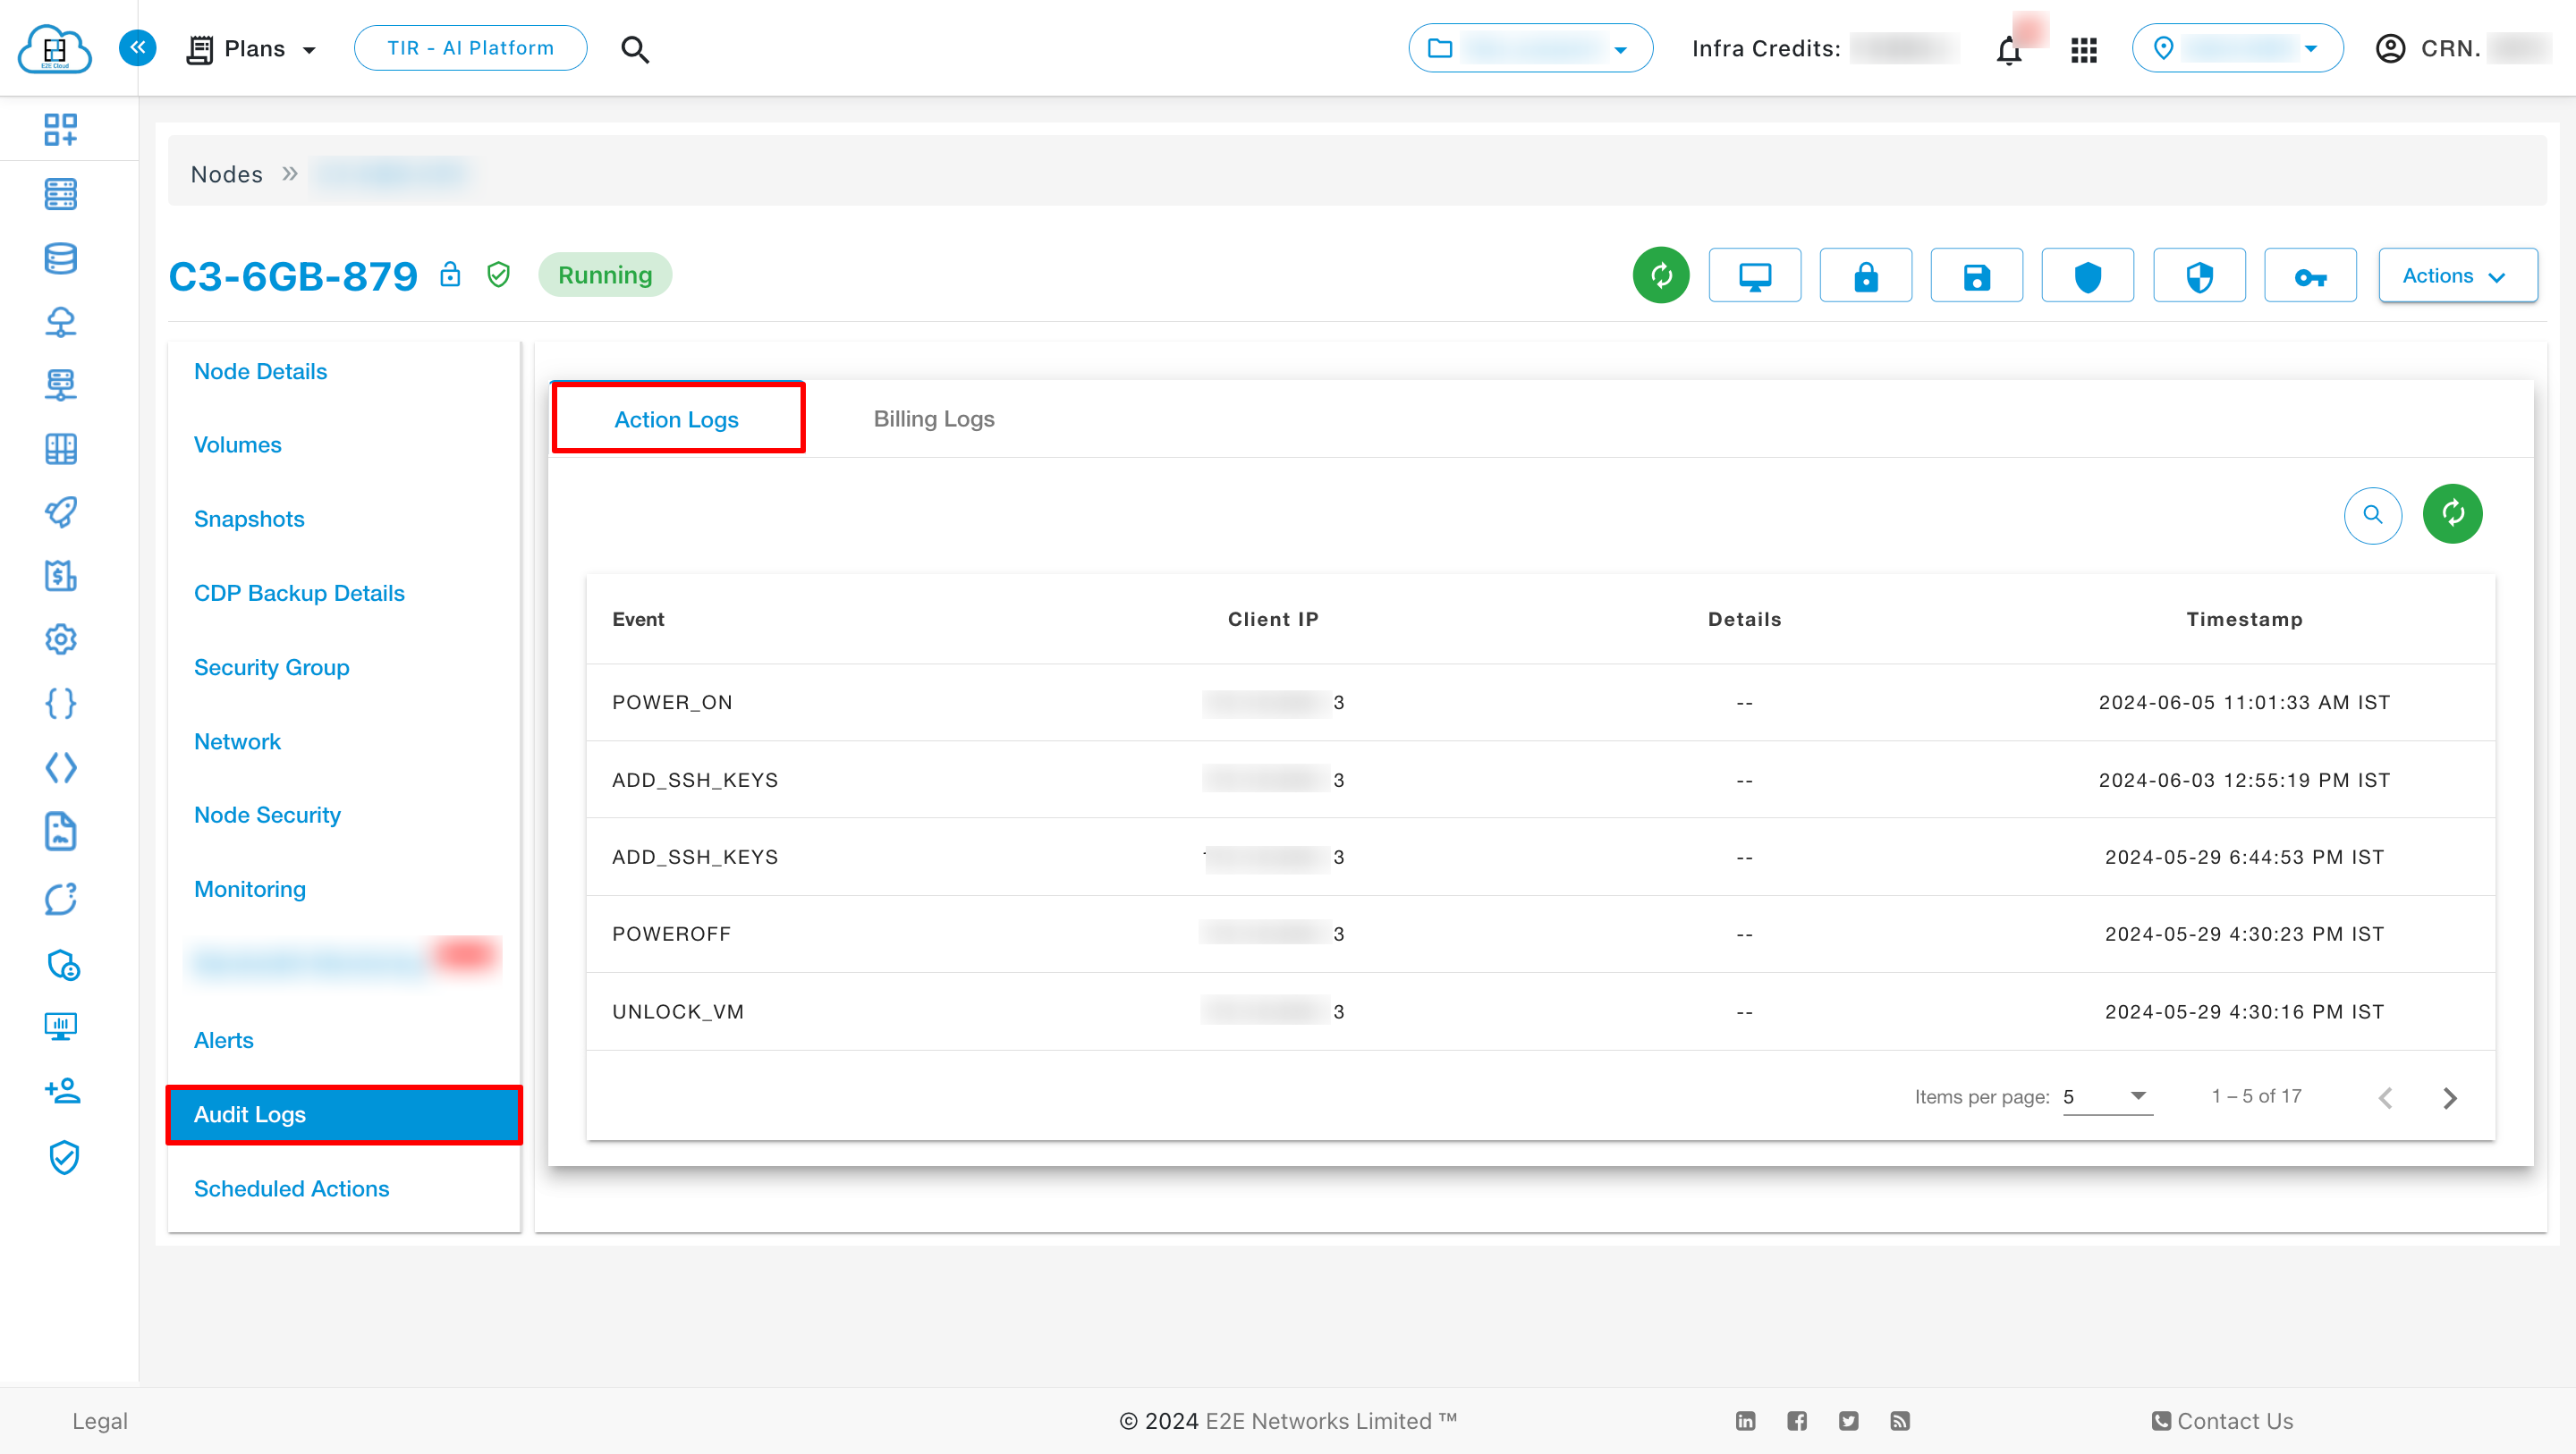
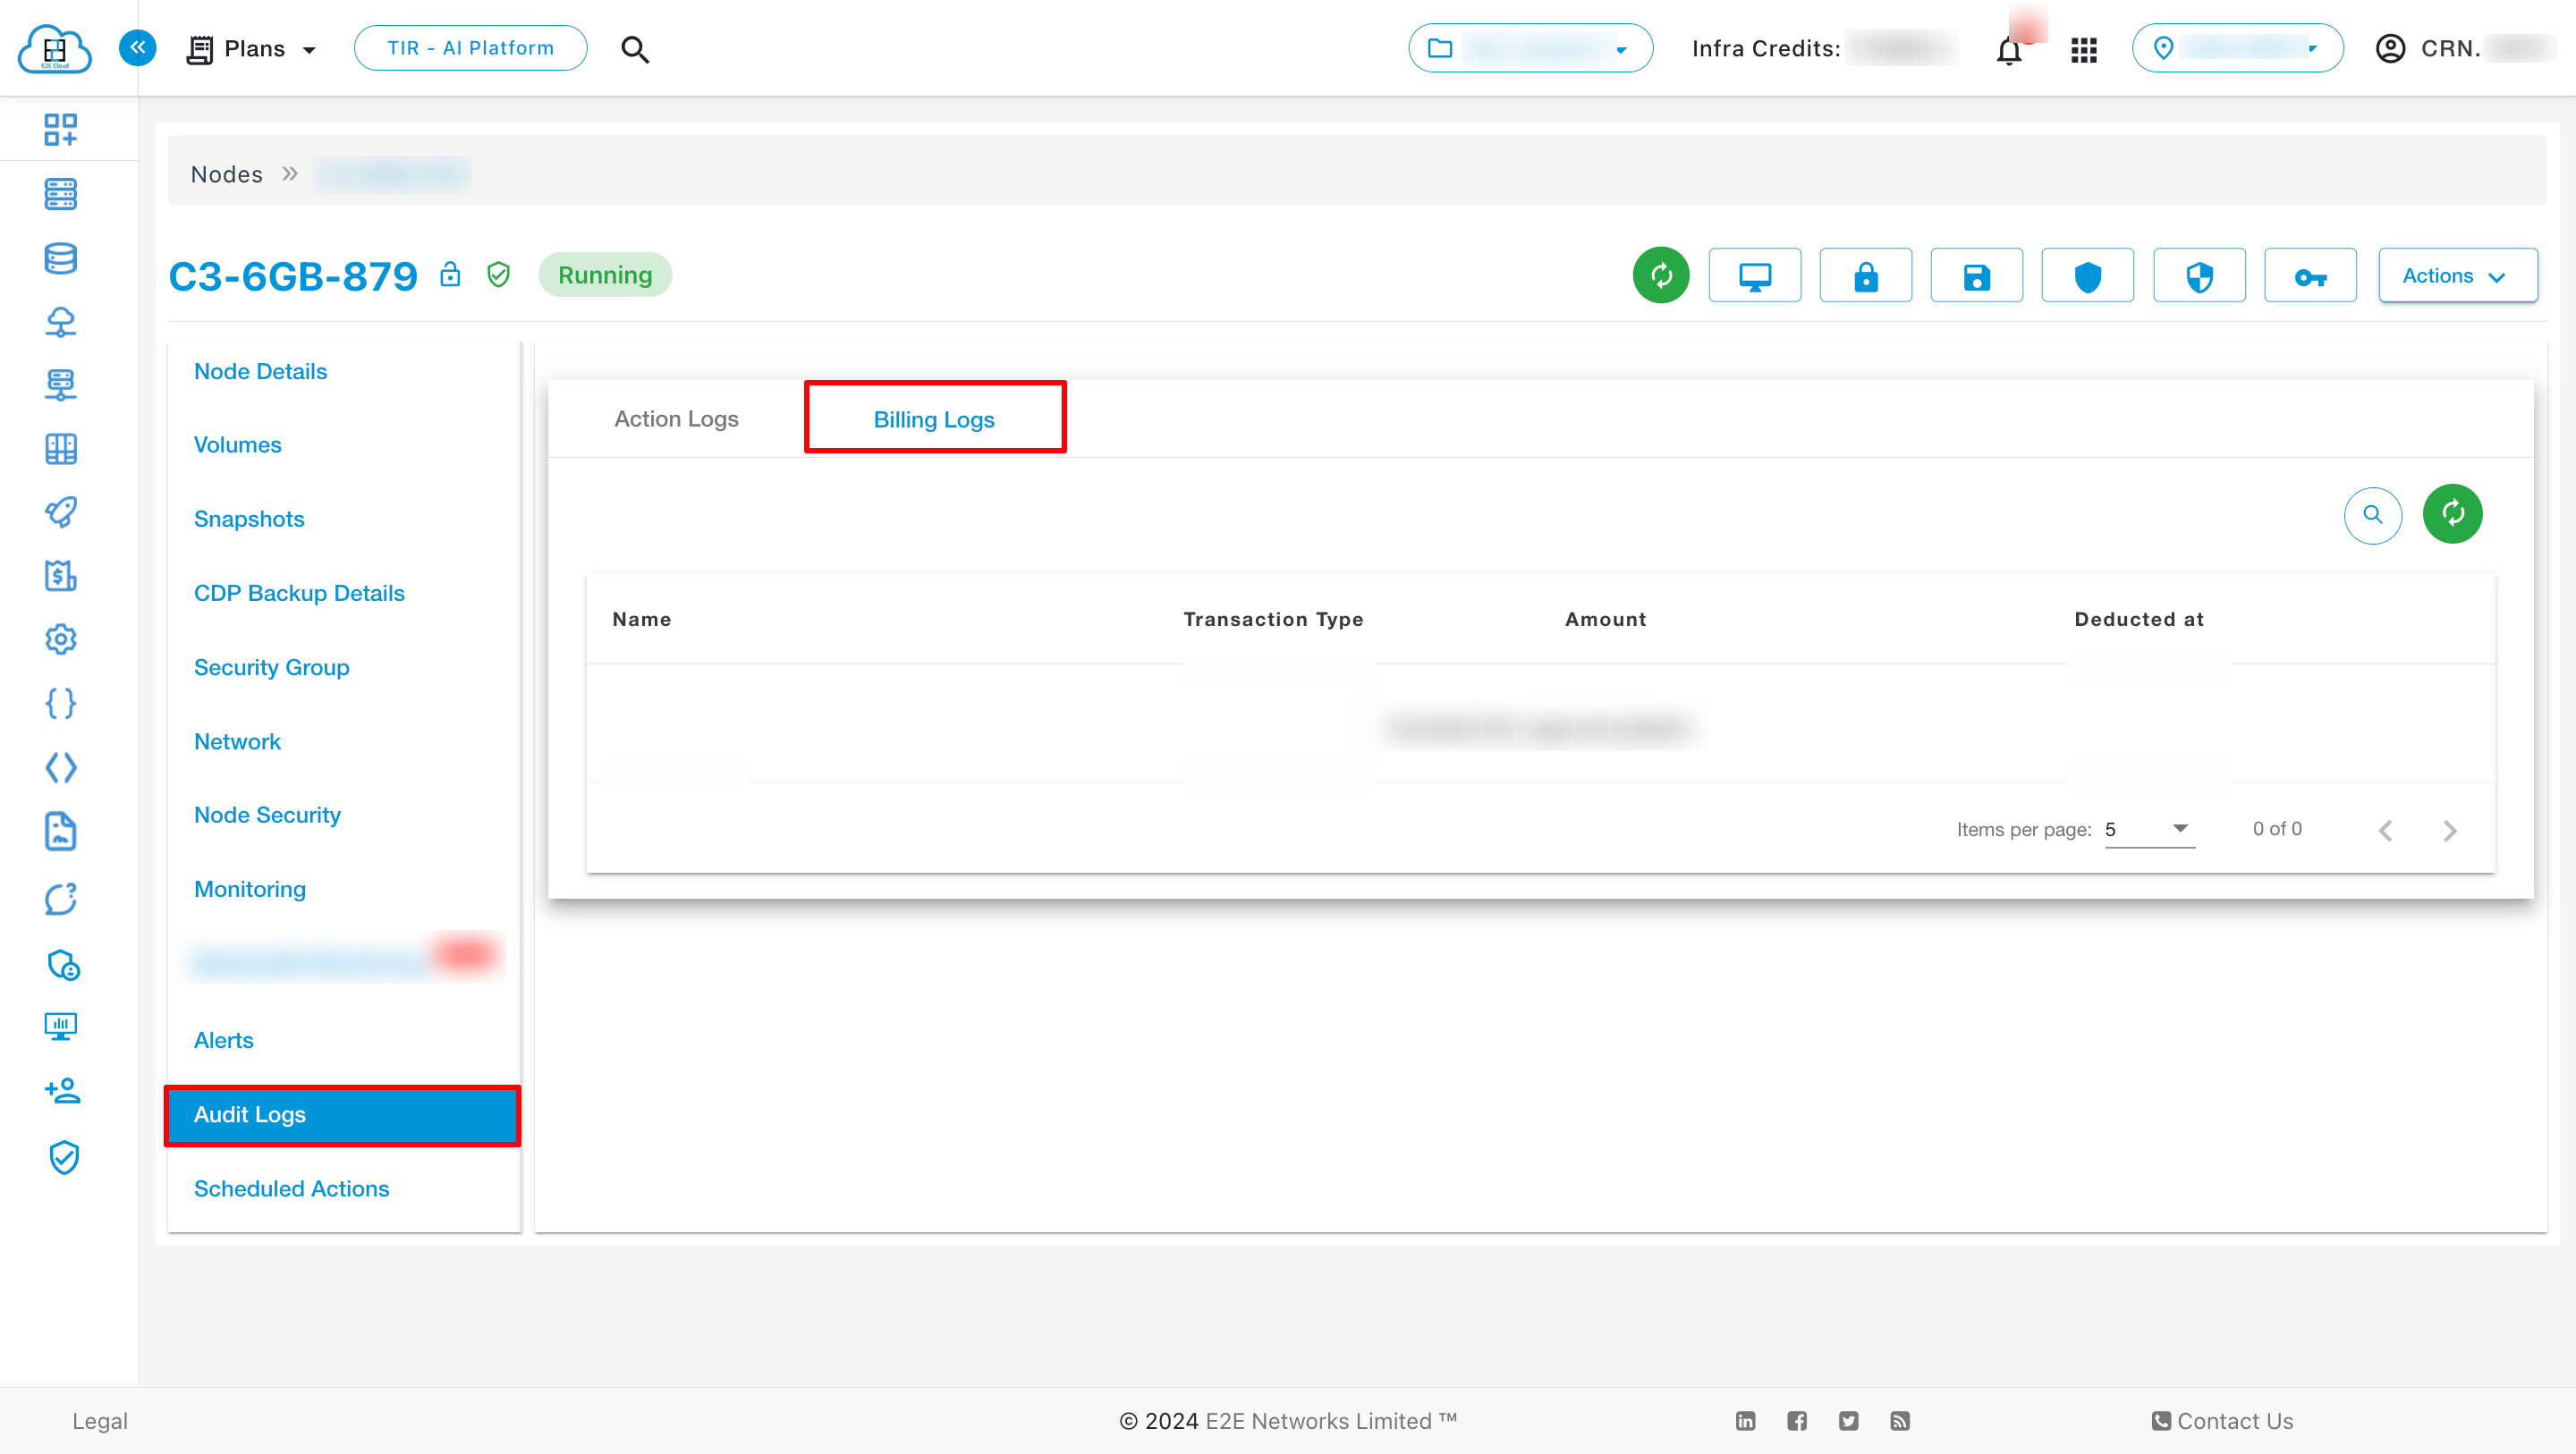
Audit Log
In the audit log, users can see the activity logs of the Node and Billing of the Node.
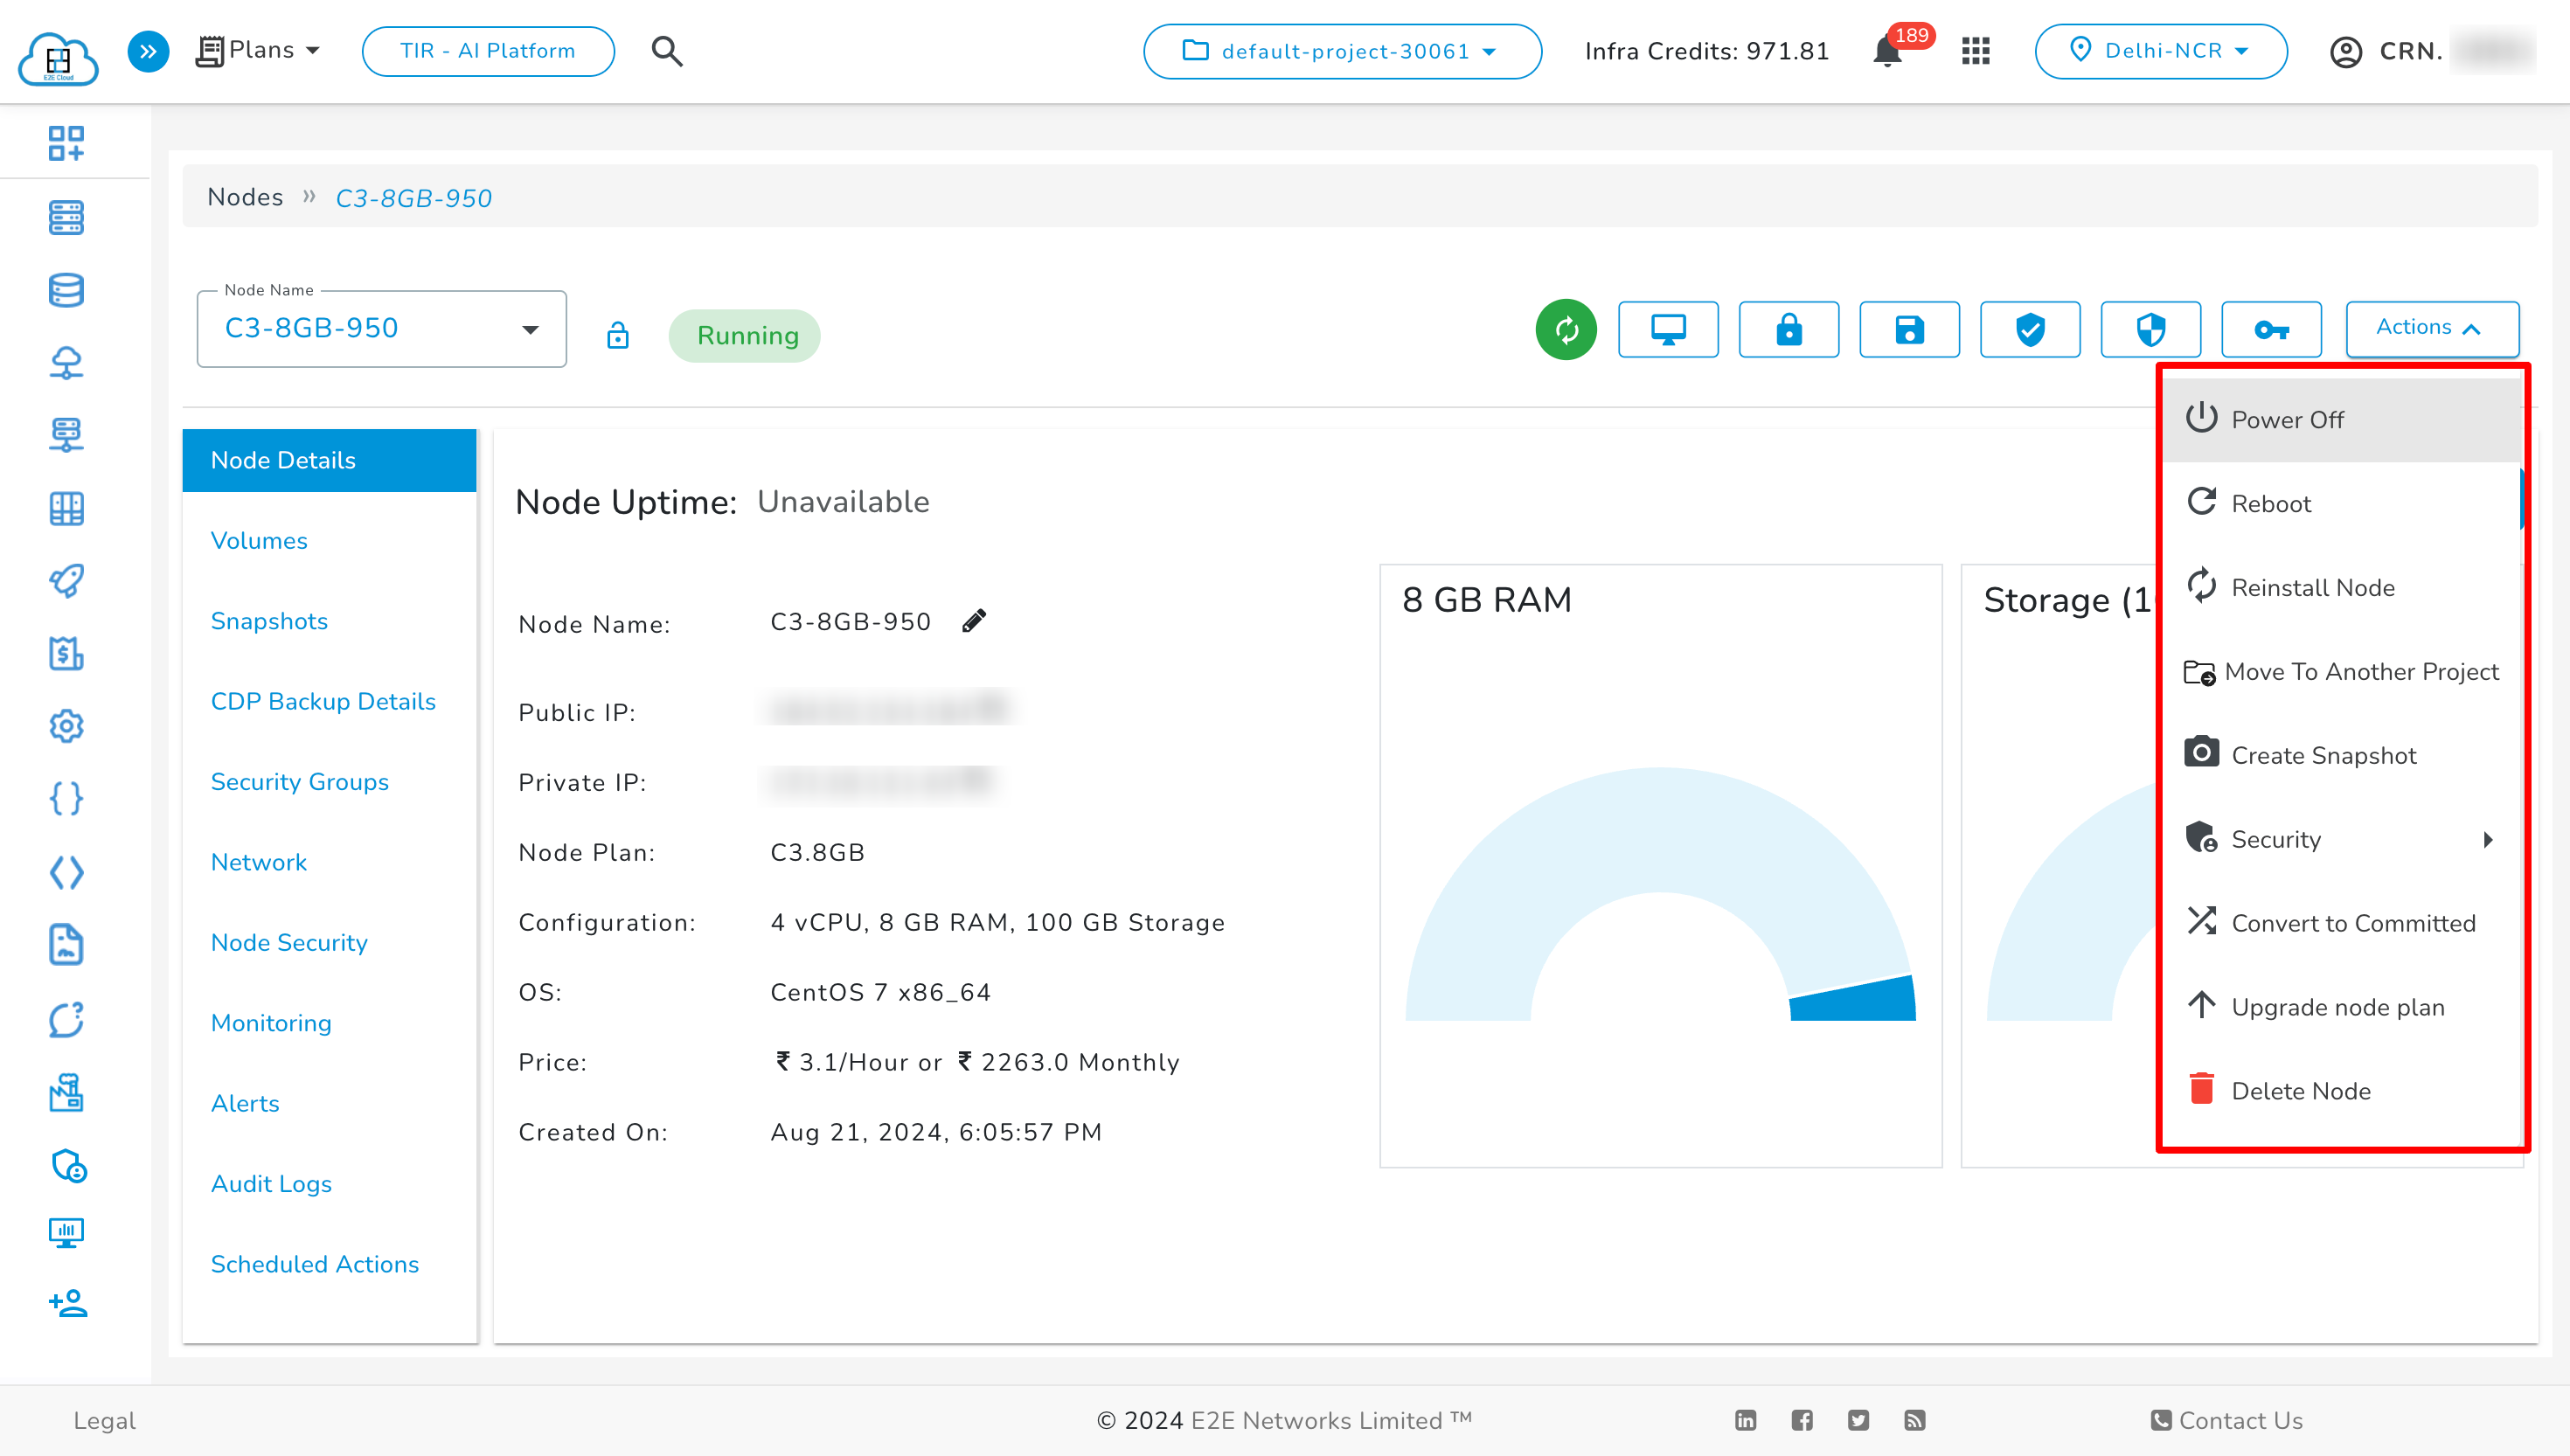
Actions
You can perform the following actions available for the respective nodes:
Power Off
Click on the Power Off button to turn off your node. It will take a couple of minutes to turn off your node. All management operations will be disabled on this node while the function is being performed.
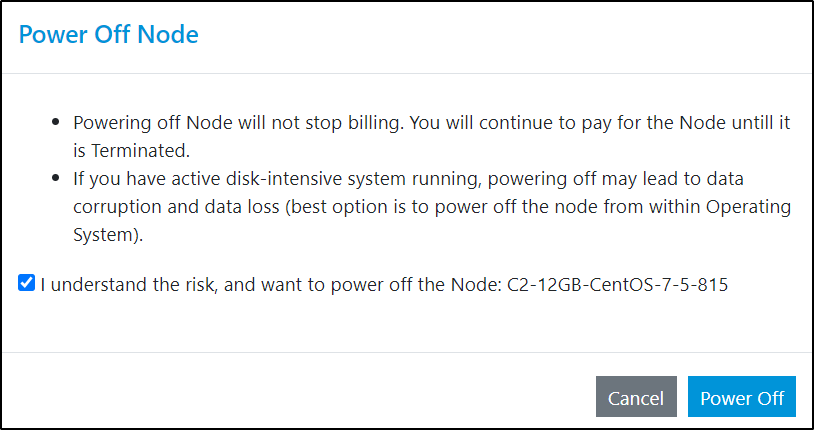
Note: Powering off Node will not stop billing. You will continue to pay for the Node until it is Terminated.
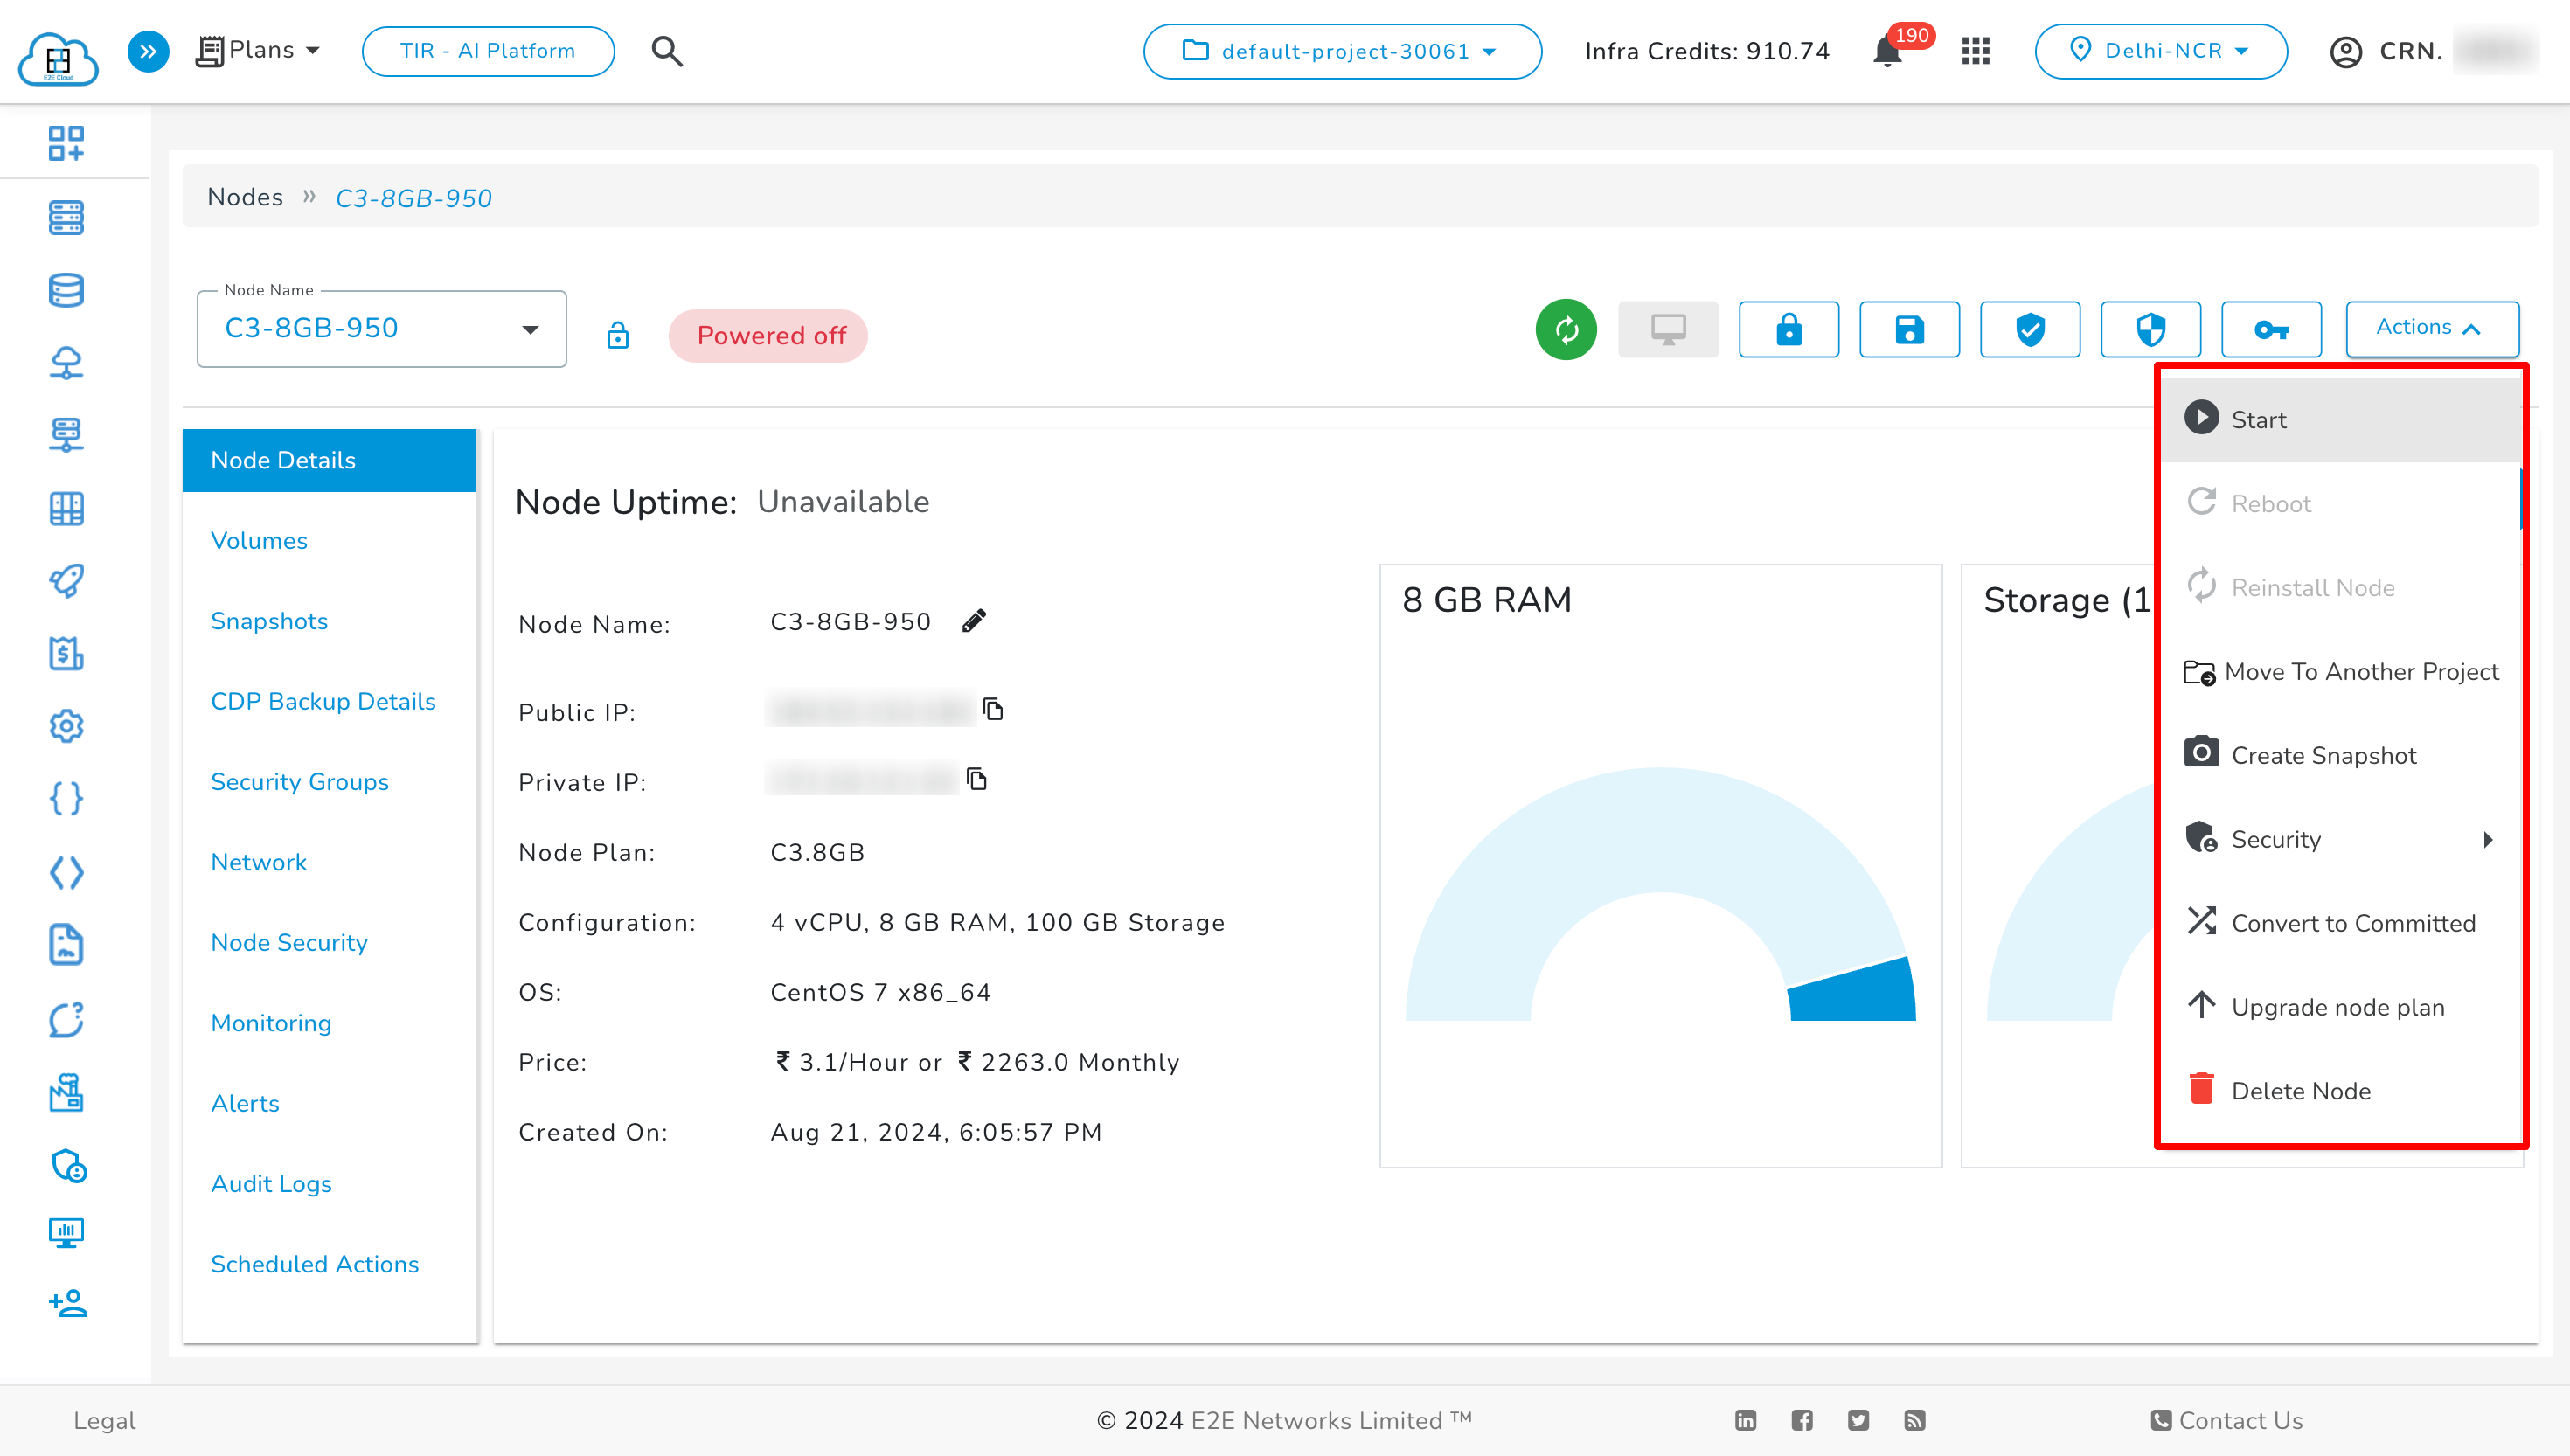
All actions will be disabled except Start, Save Image, Move To Another Project, Convert to Committed Node, Lock Node, and Delete Node action when your node is powered off.
Start
If your server is Powered off, clicking on the Start button will Power On your Node.
Reboot
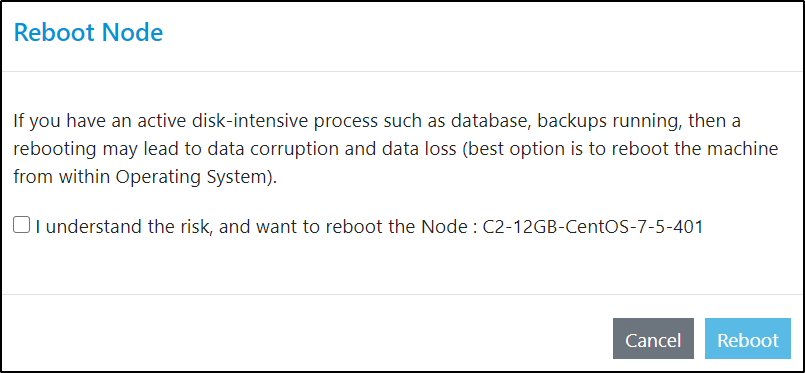
Click on the Reboot button to restart your node without reinstalling the node image. The reboot operation is similar to powering off and then powering on the node.
Save Image
To save an image of a node, it must be in a powered-off state. Once the respective node is powered off, click on the Save Image button and create a name for your node image. The save image creation will take a few minutes. Learn More about saved images.
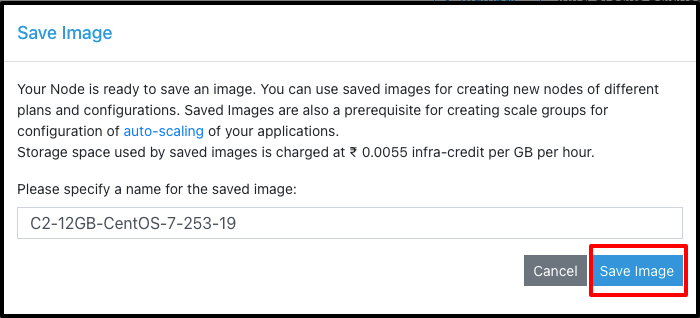
Note: All the available actions will be disabled on this node while the saved image is created.
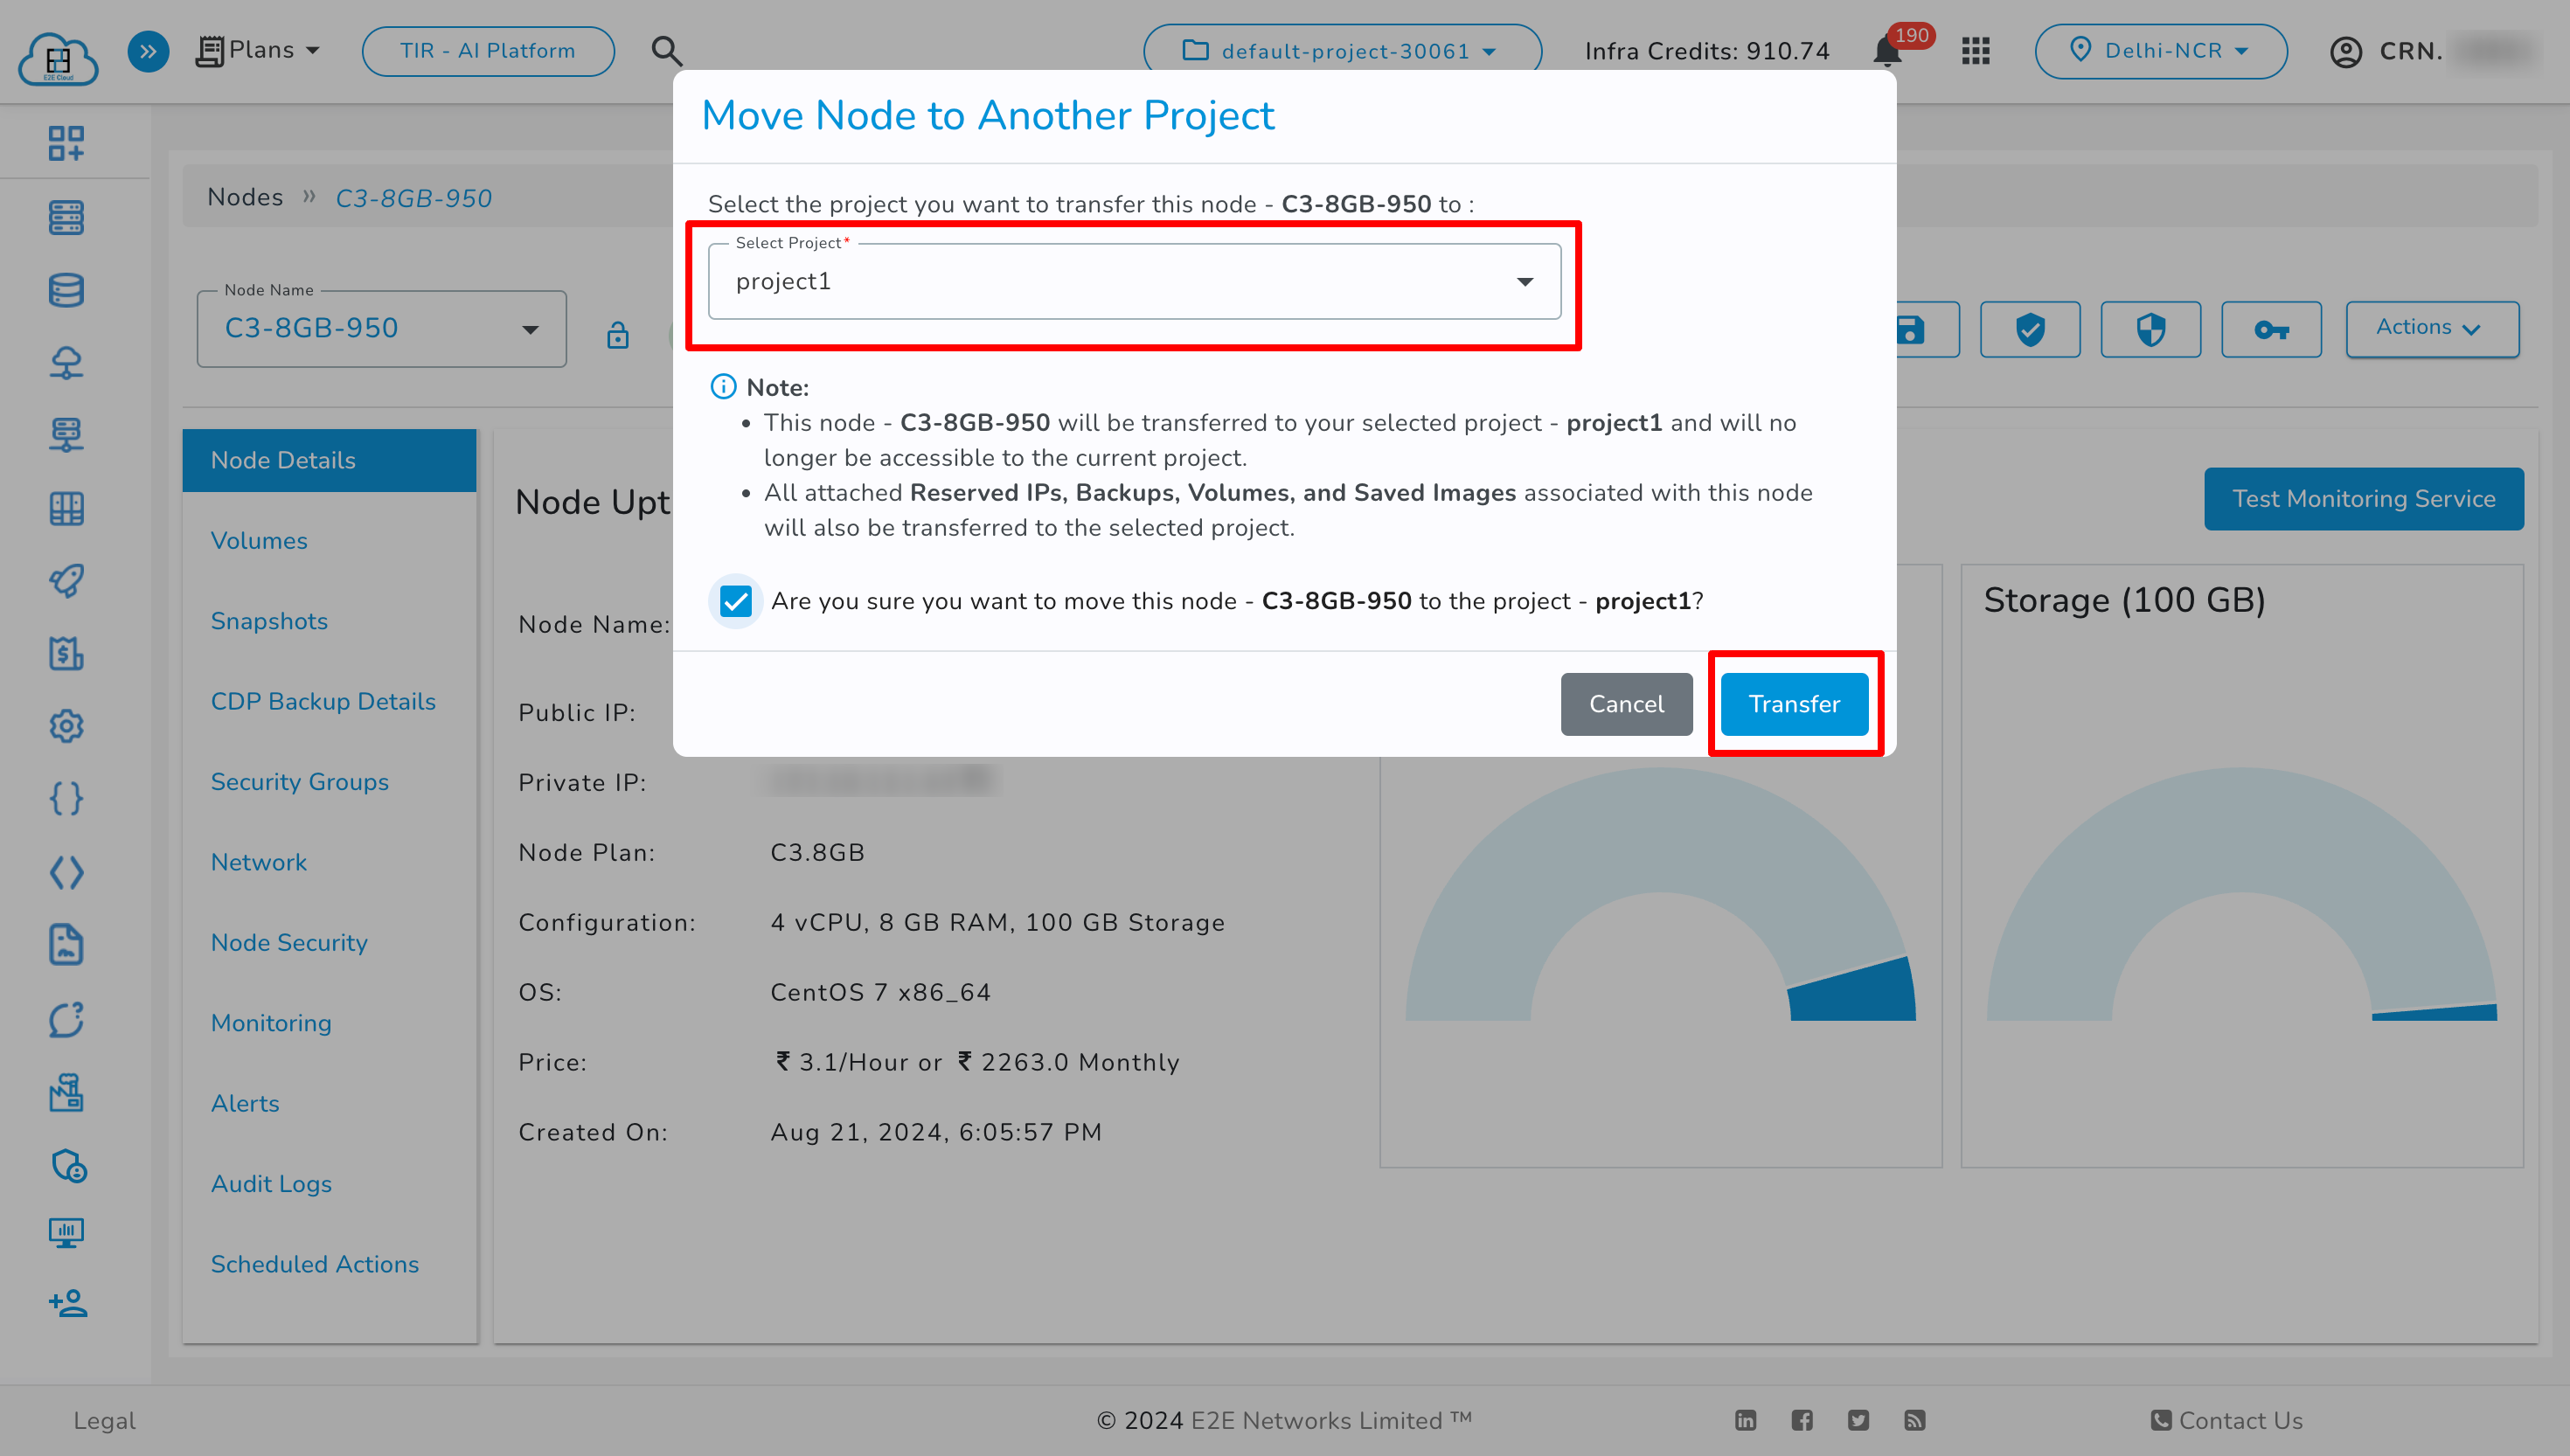
Move To Another Project
You can transfer your node from the current project to another project within the same CRN.
Convert to Committed Node
If the node is eligible for a committed instance, you can convert your on-demand node to a committed node by selecting the Convert to Committed Node option. You can get up to 50% off on your E2E Node while using a committed plan. Read more in the [Committed Node](https://www.e2enetworks.com/pricing/) page.
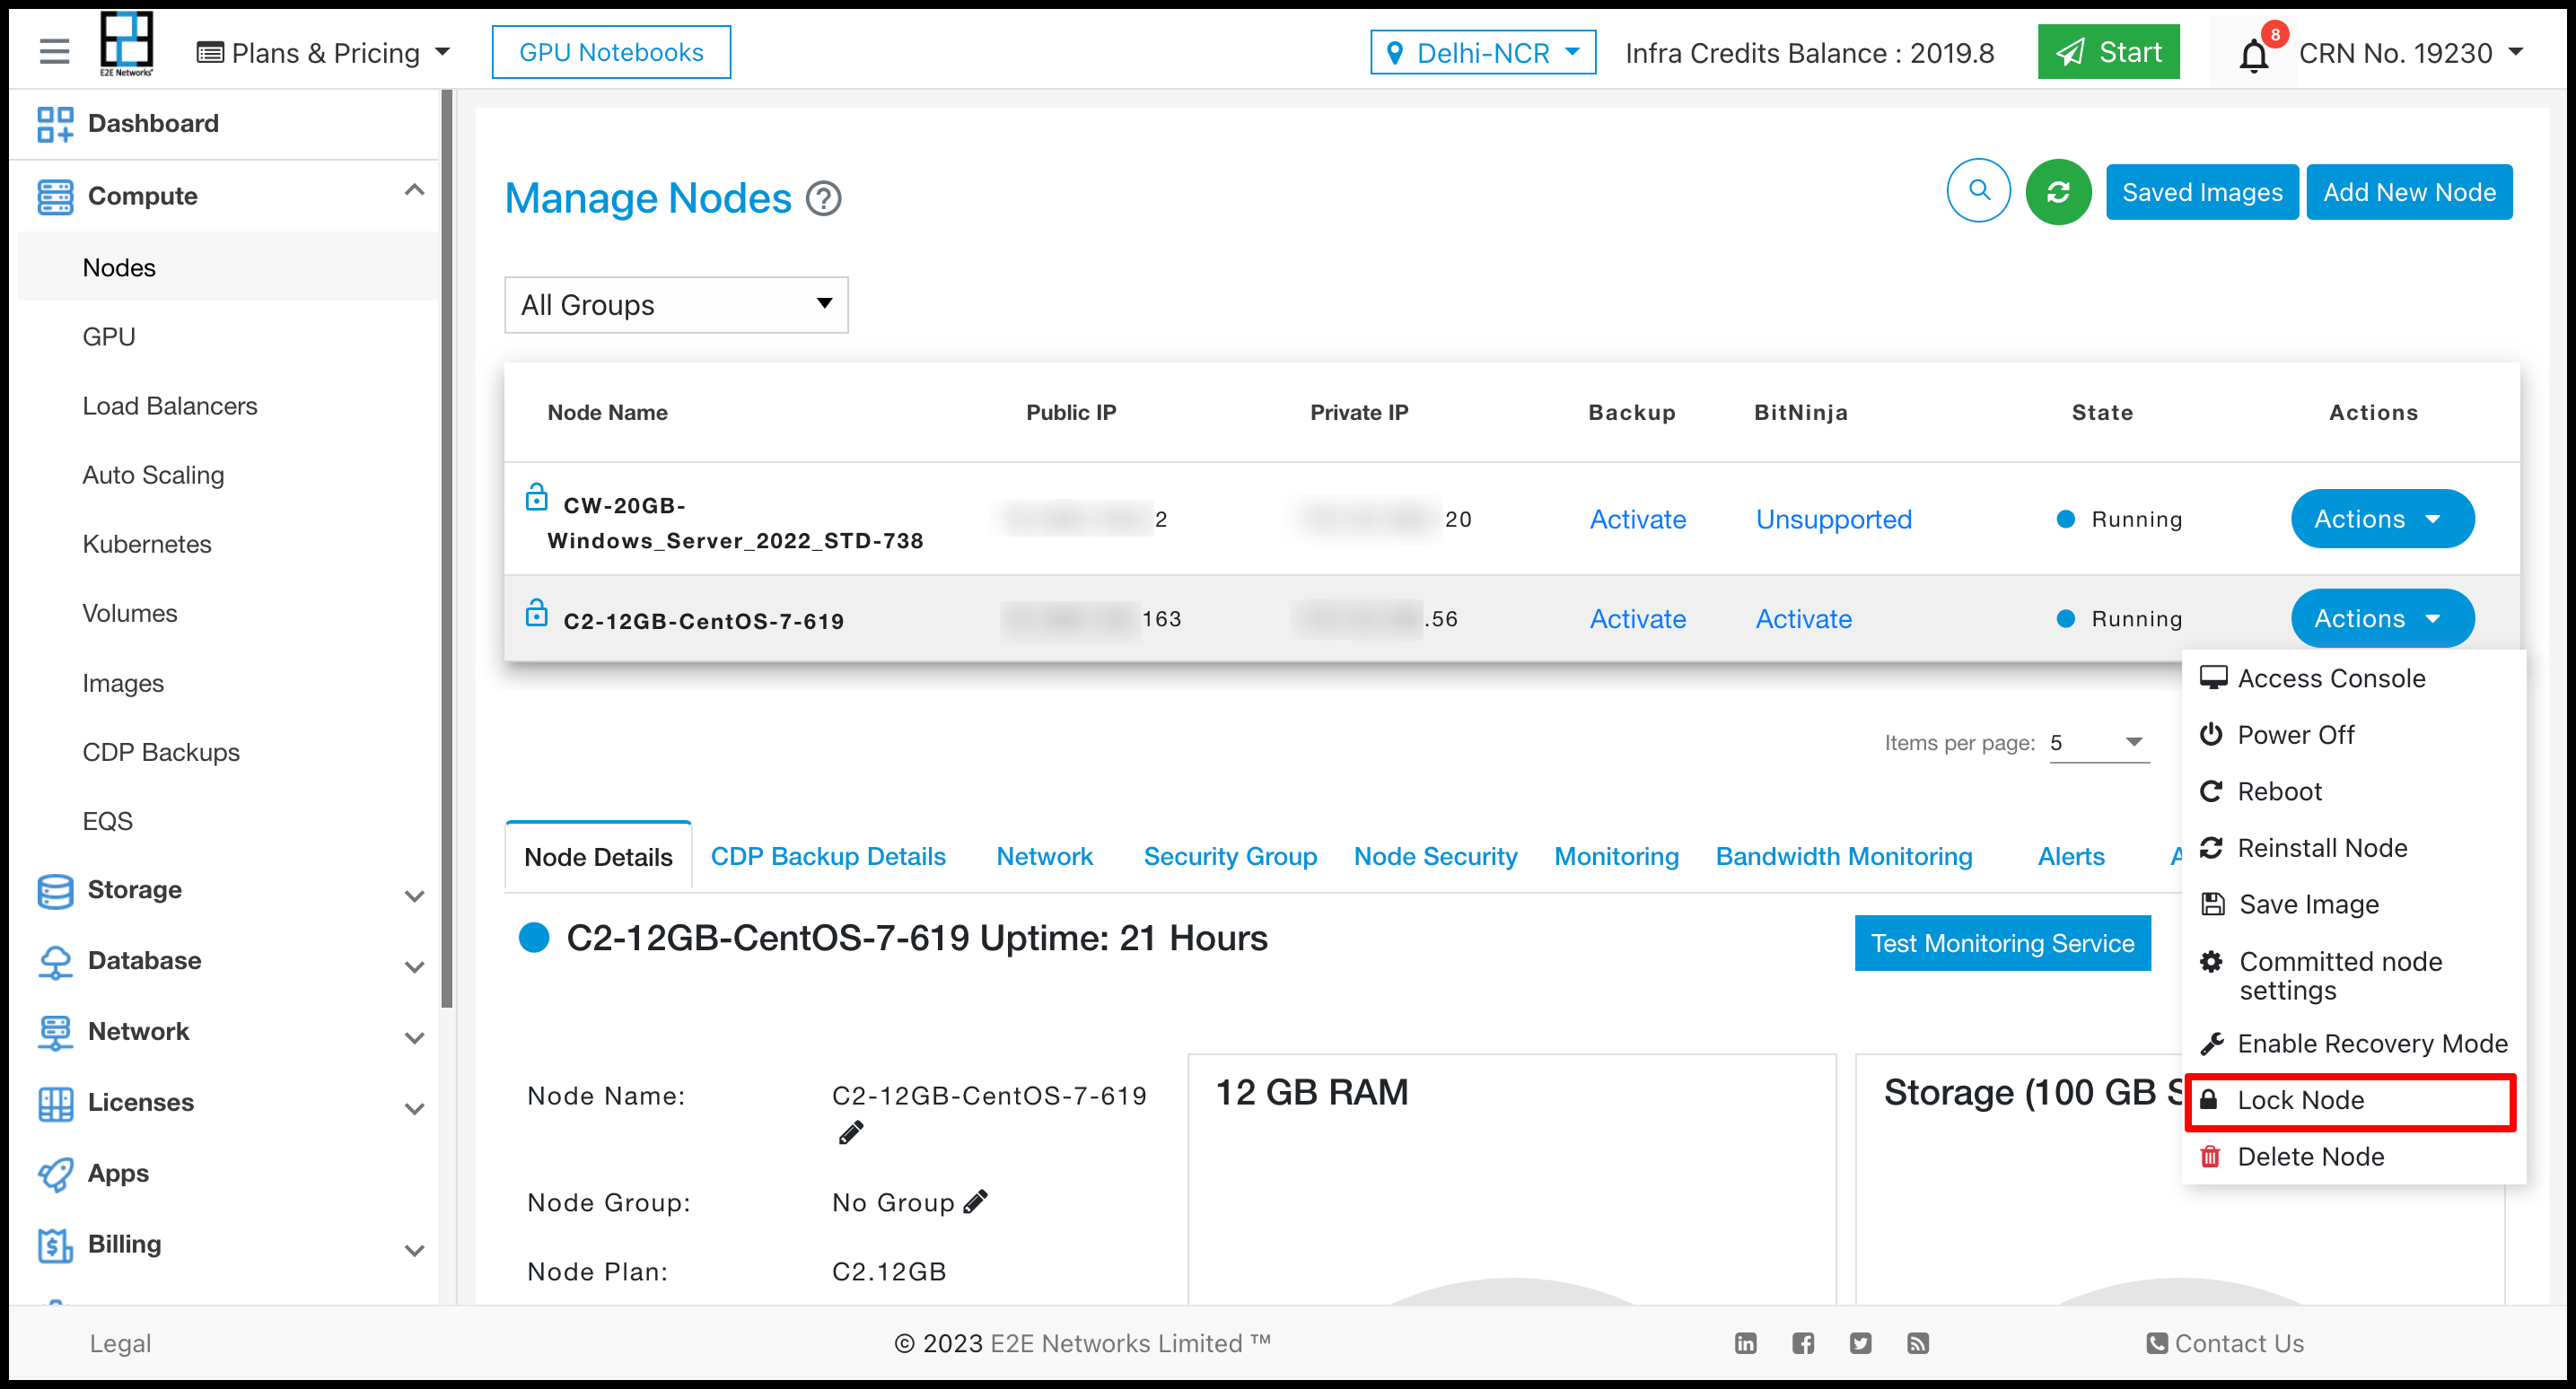
Lock Node
Locking the node will stop any changes or modifications to the node such as stopping, restarting, or resizing it. You can only lock and unlock the node from the UI and API.
Bulk Actions on Nodes
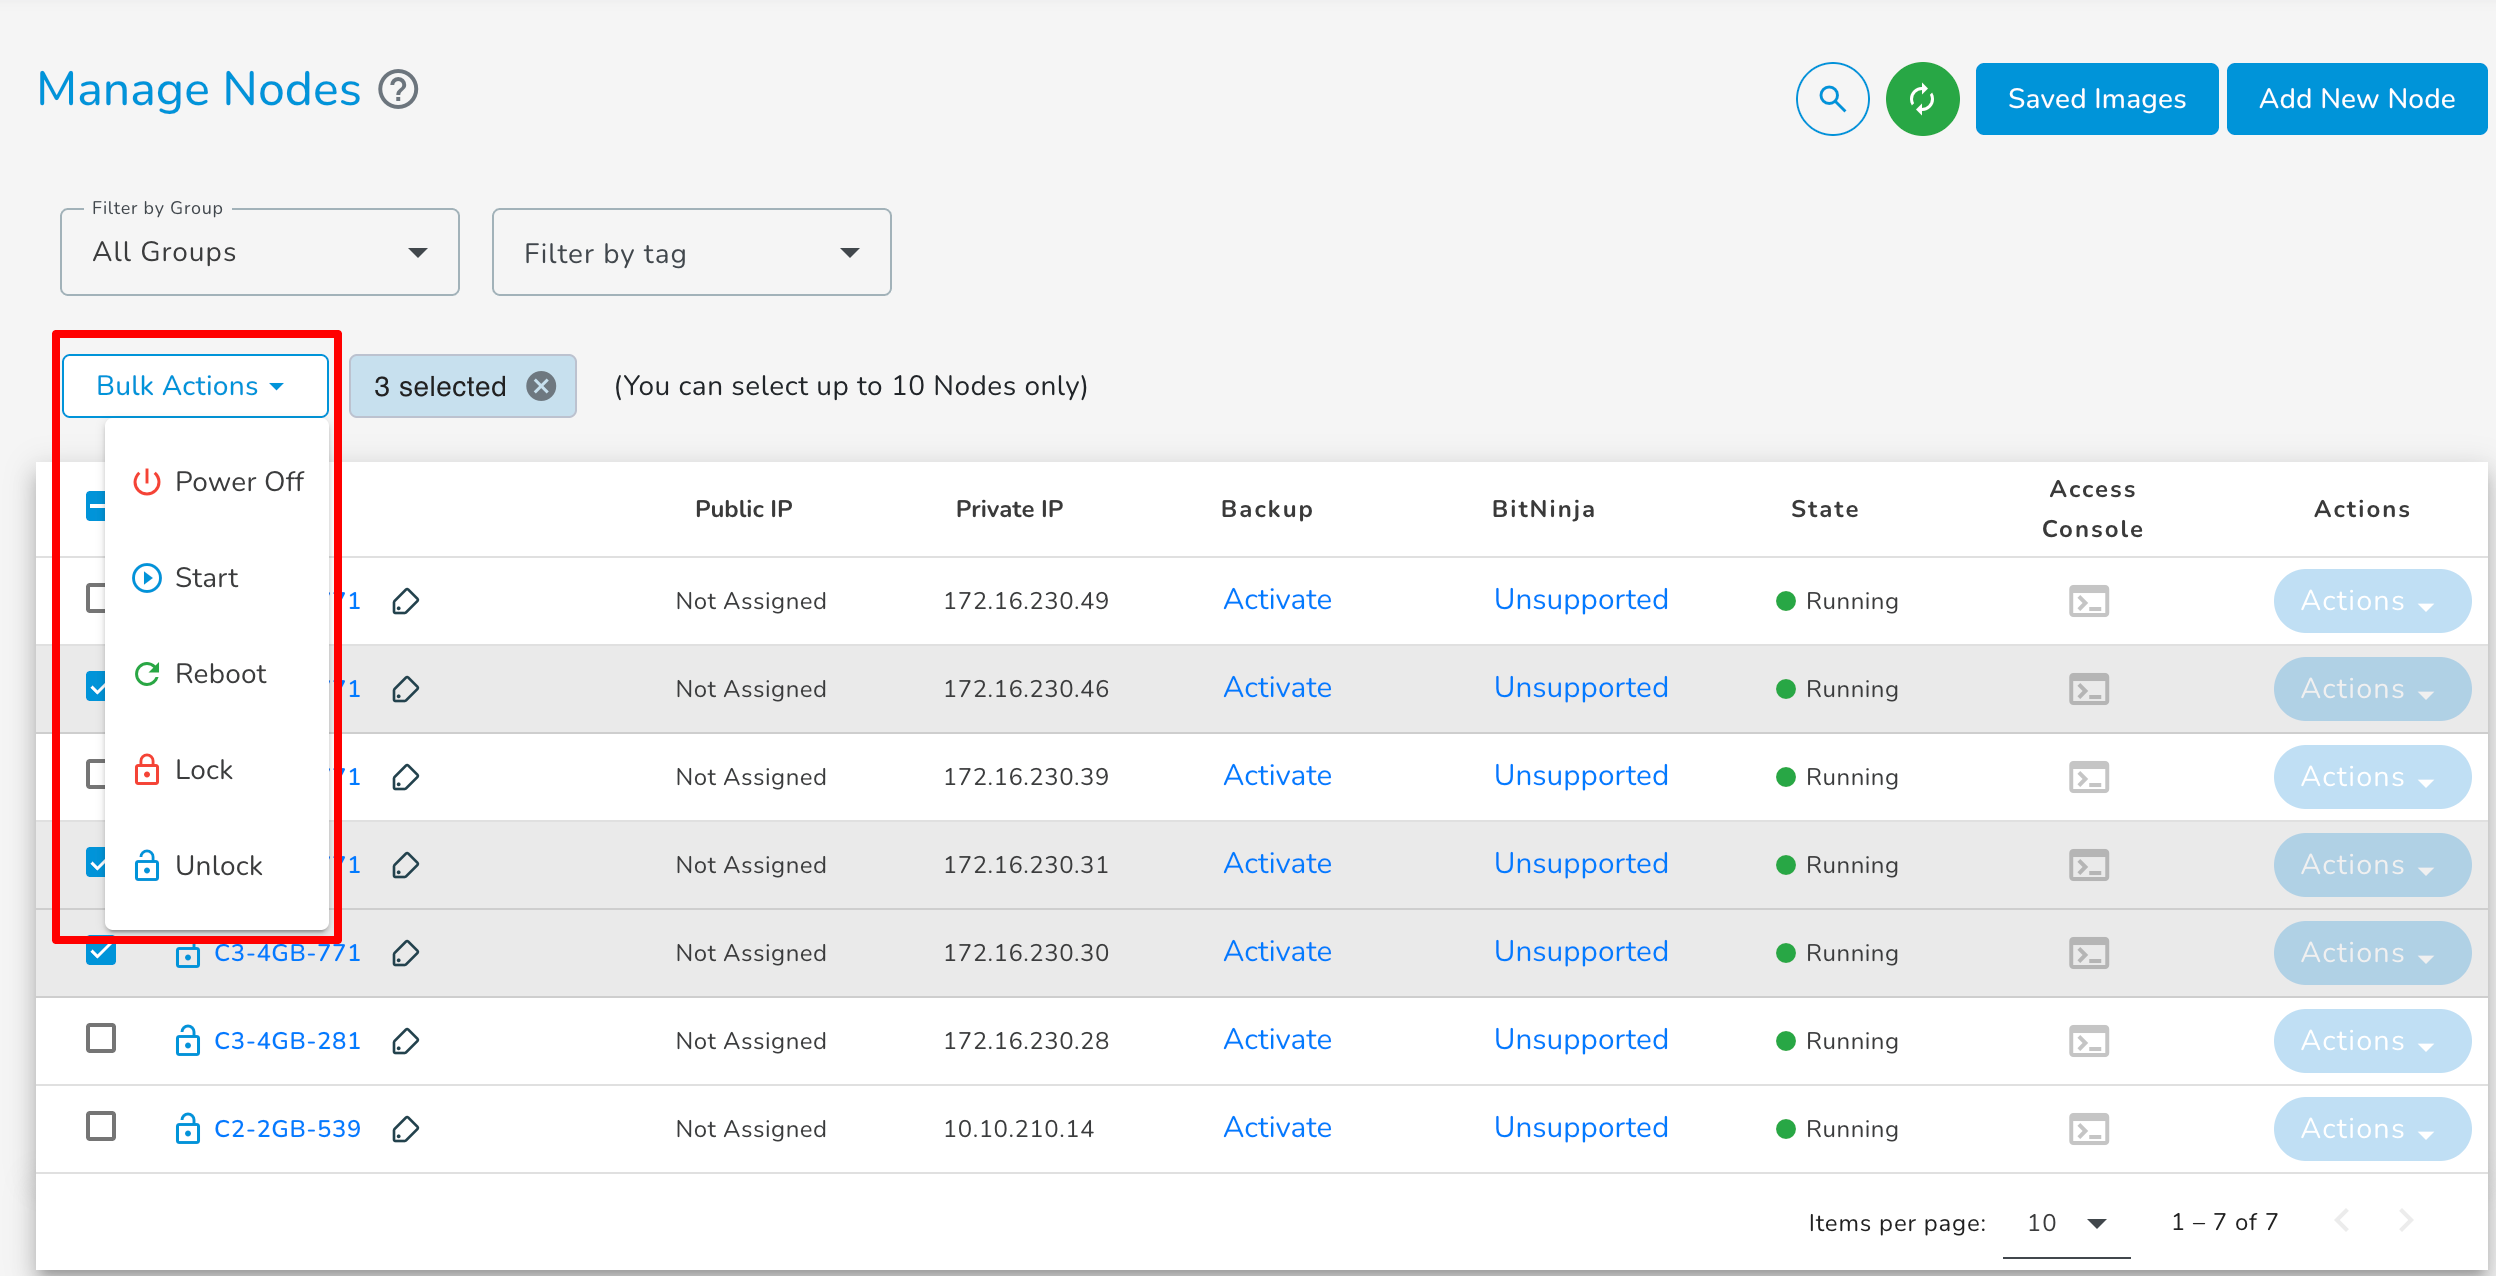
You can execute a few select actions on multiple nodes at once, saving time and simplifying management. The list of actions you can perform on multiple nodes are:
- Power off
- Power on
- Reboot
- Lock node
- Unlock node
These actions can only be performed on a maximum of 10 nodes at a time.
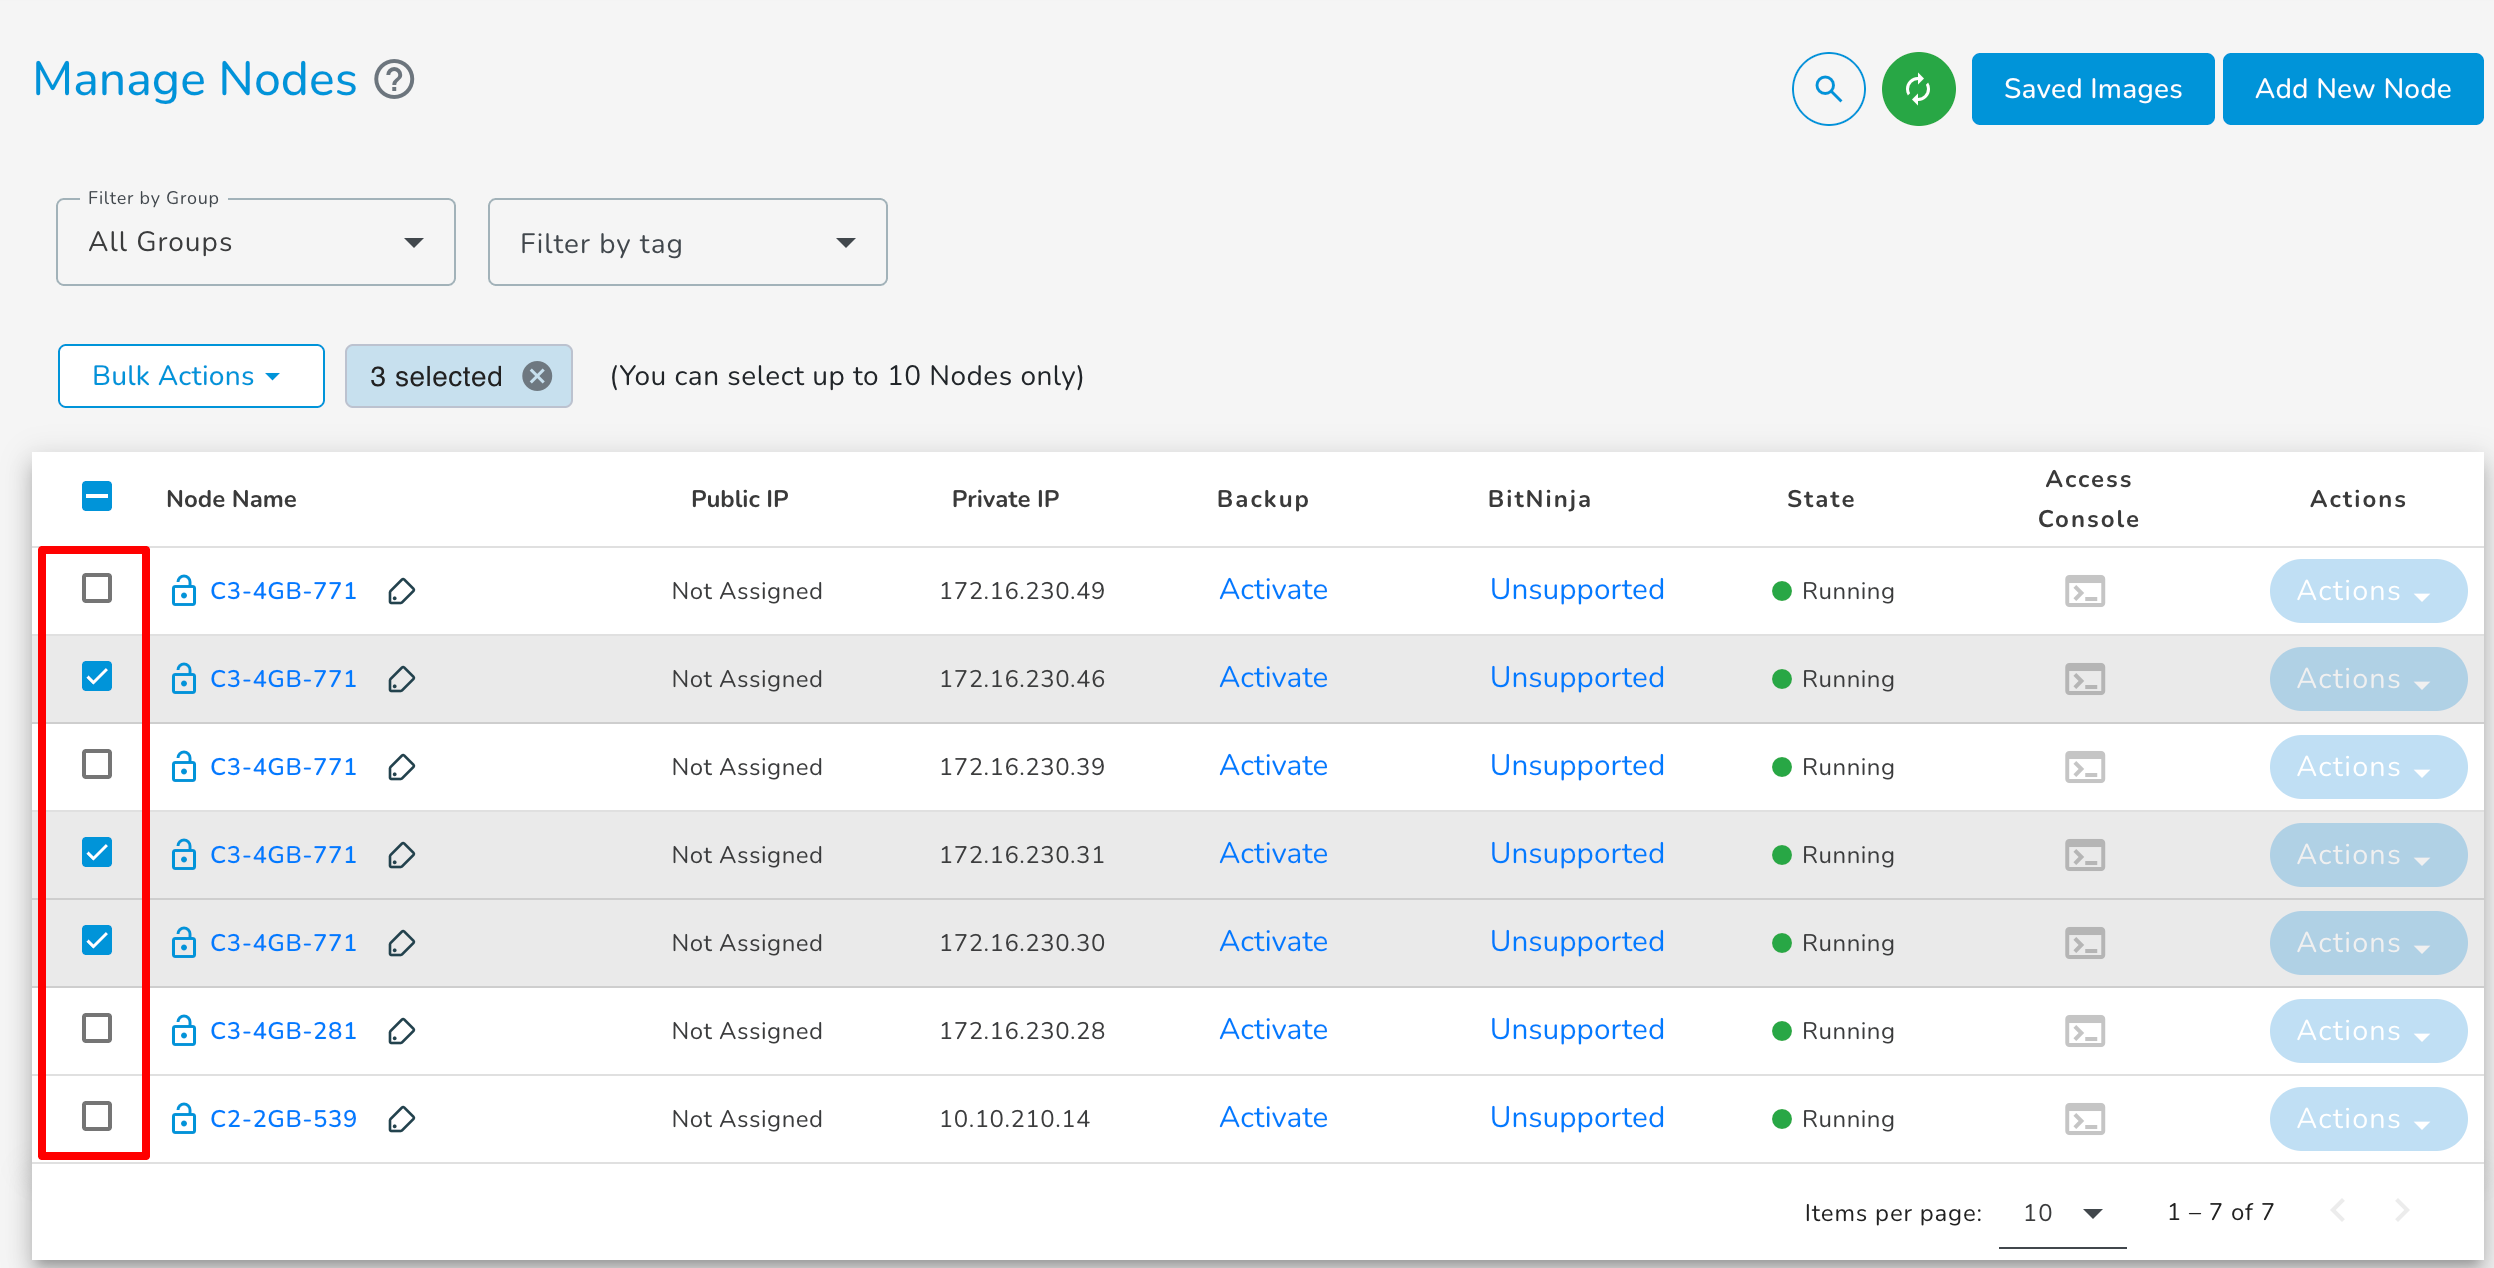
Choose the nodes you wish to perform the action on.
Click the "Bulk Actions" button and select your desired action from the dropdown menu.
After selecting an action, a popup will appear displaying details about the action, along with a list of valid and invalid nodes from your selection. Review the details, check the acknowledgment box, and proceed to execute the action.
