Create Image
Introduction
A Virtual Compute Node image is an image template that provides the functionality to launch new node instances from your saved images. The image backups can be saved as a customized image with updated configurations.
Create an Image
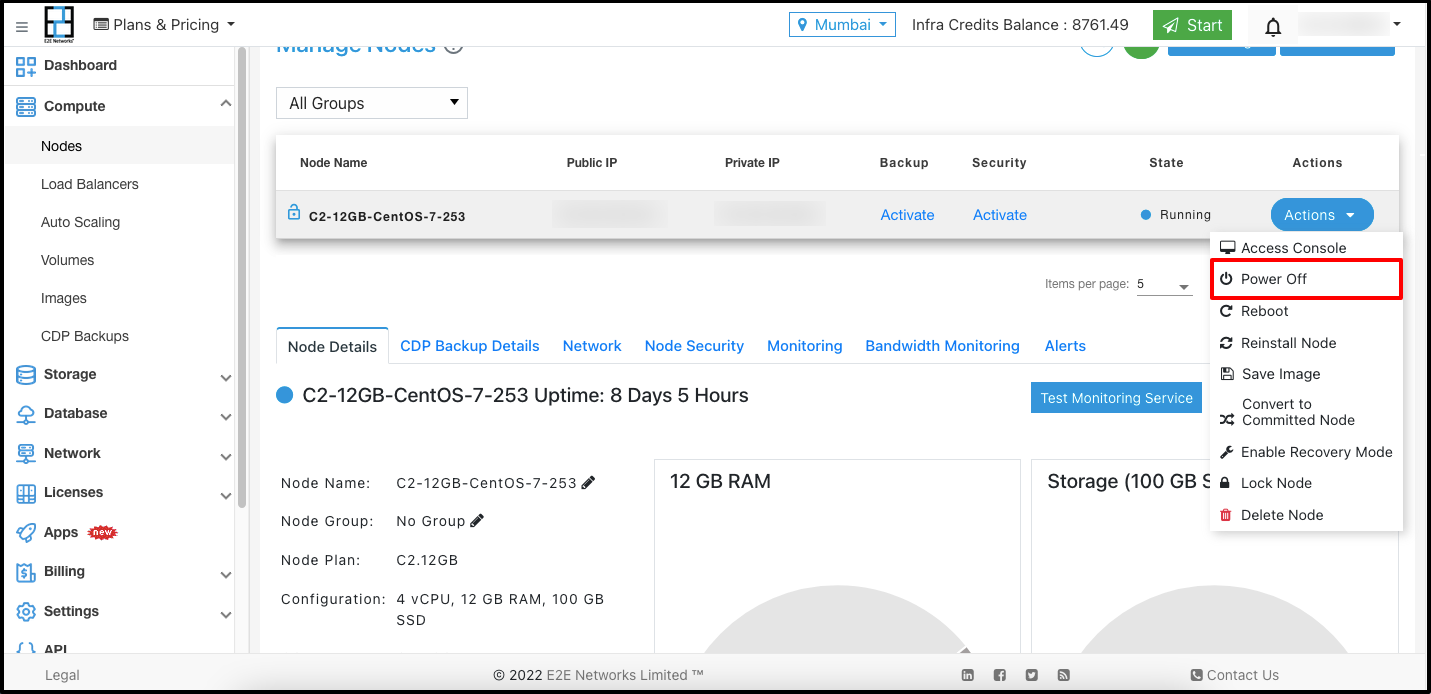
To save an image of a Virtual Node, it must be powered down. For this, click on the Power Off under the Actions section.
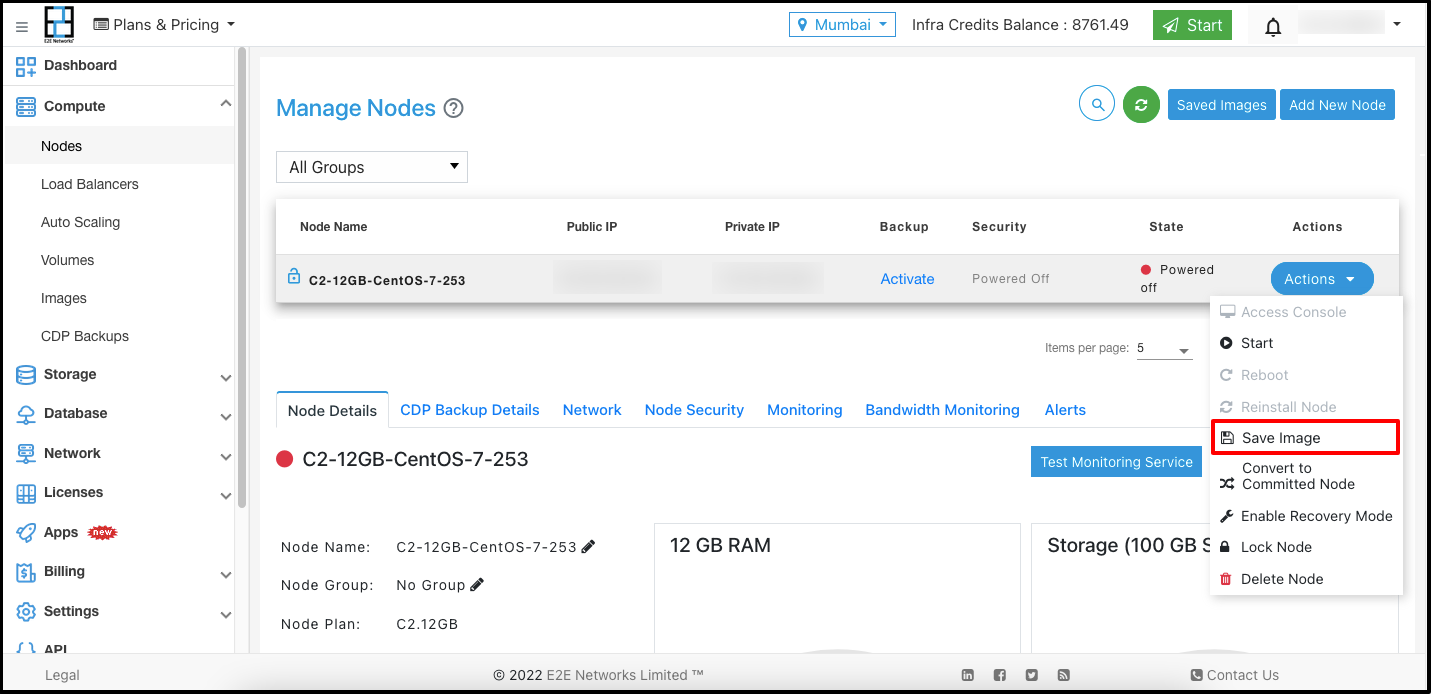
Once the respective Virtual Node changes to a 'Powered Off' state, click on the Save Image under the Actions section.
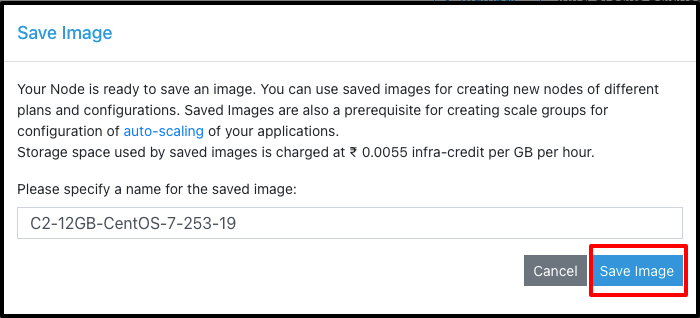
Enter the Name for your Image and click on the Save Image button.
A popup message will appear indicating that your image is being saved.
All the management operations will be disabled on this node while the image is being saved.
Manage your Image
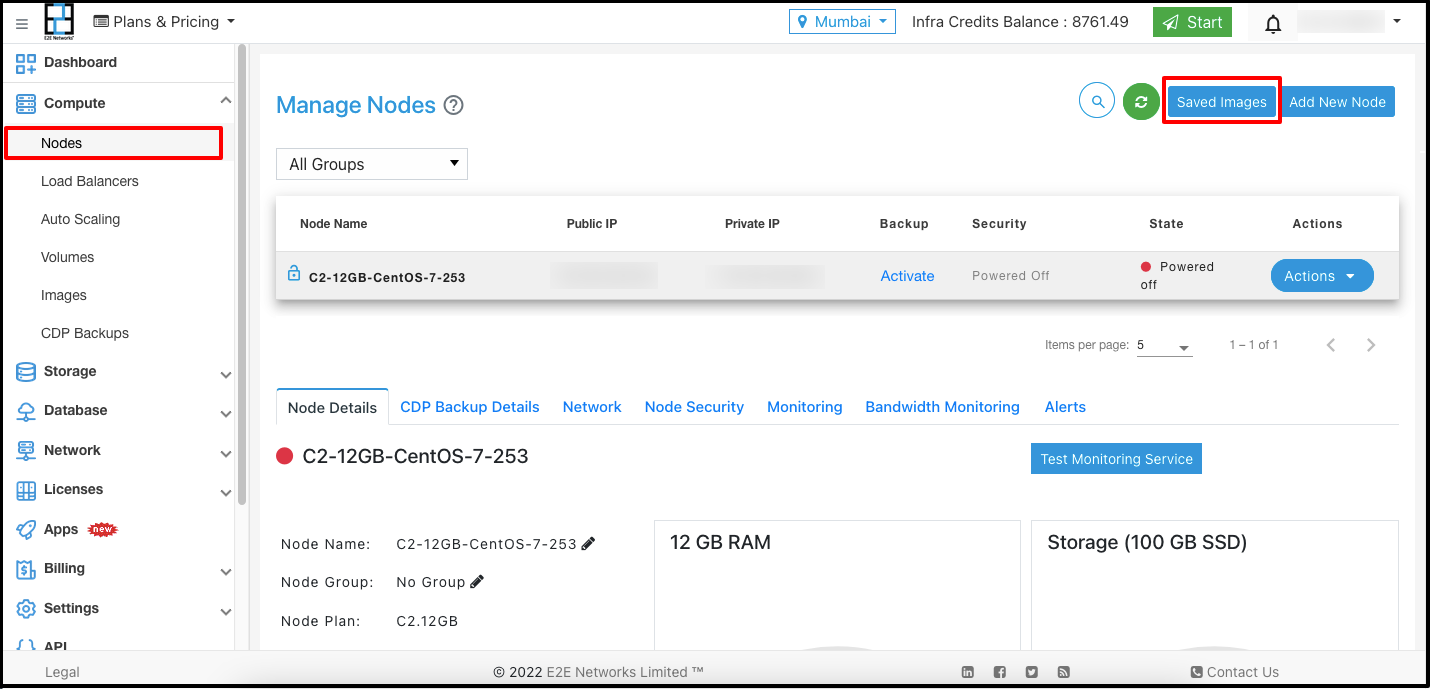
To access your saved images, you need to click on the Saved Images button on the Manage Node page.
Saved Image Actions
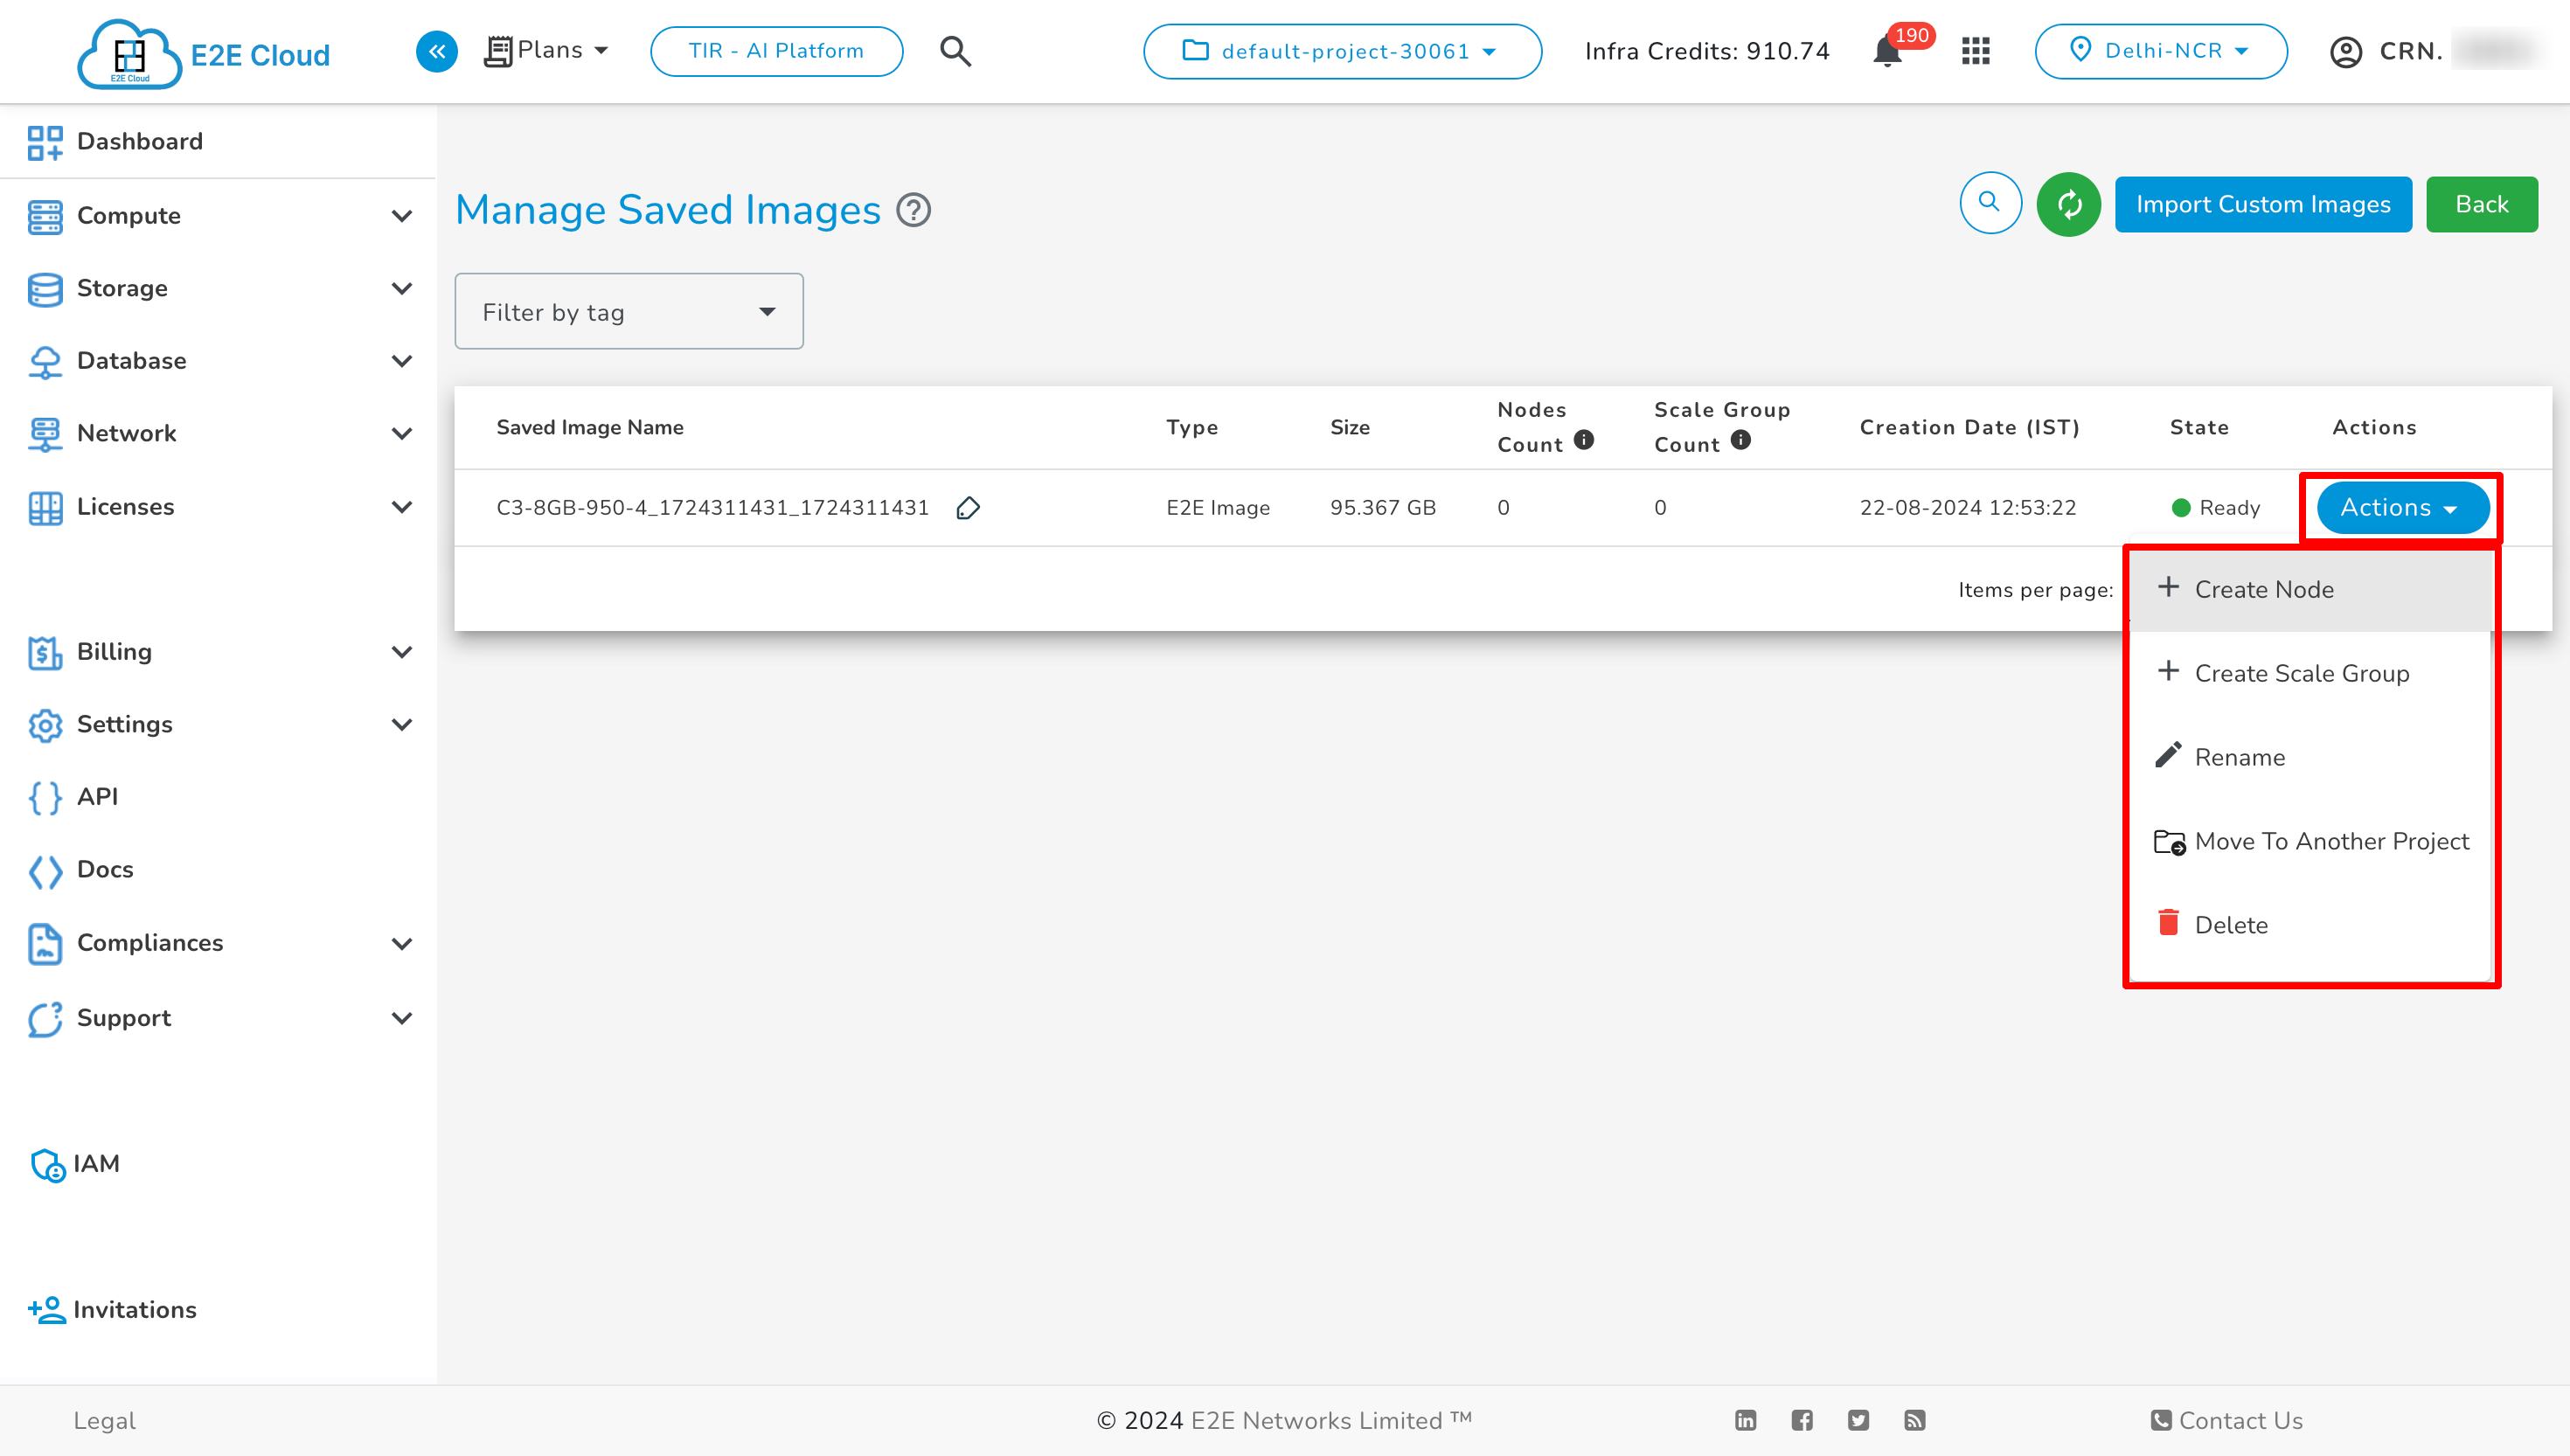
Rename Saved Image
To rename your existing saved image, click on the Rename under the Actions section. The "Change Image Name" window will open, where you need to specify the new name and click on the Update Image button.
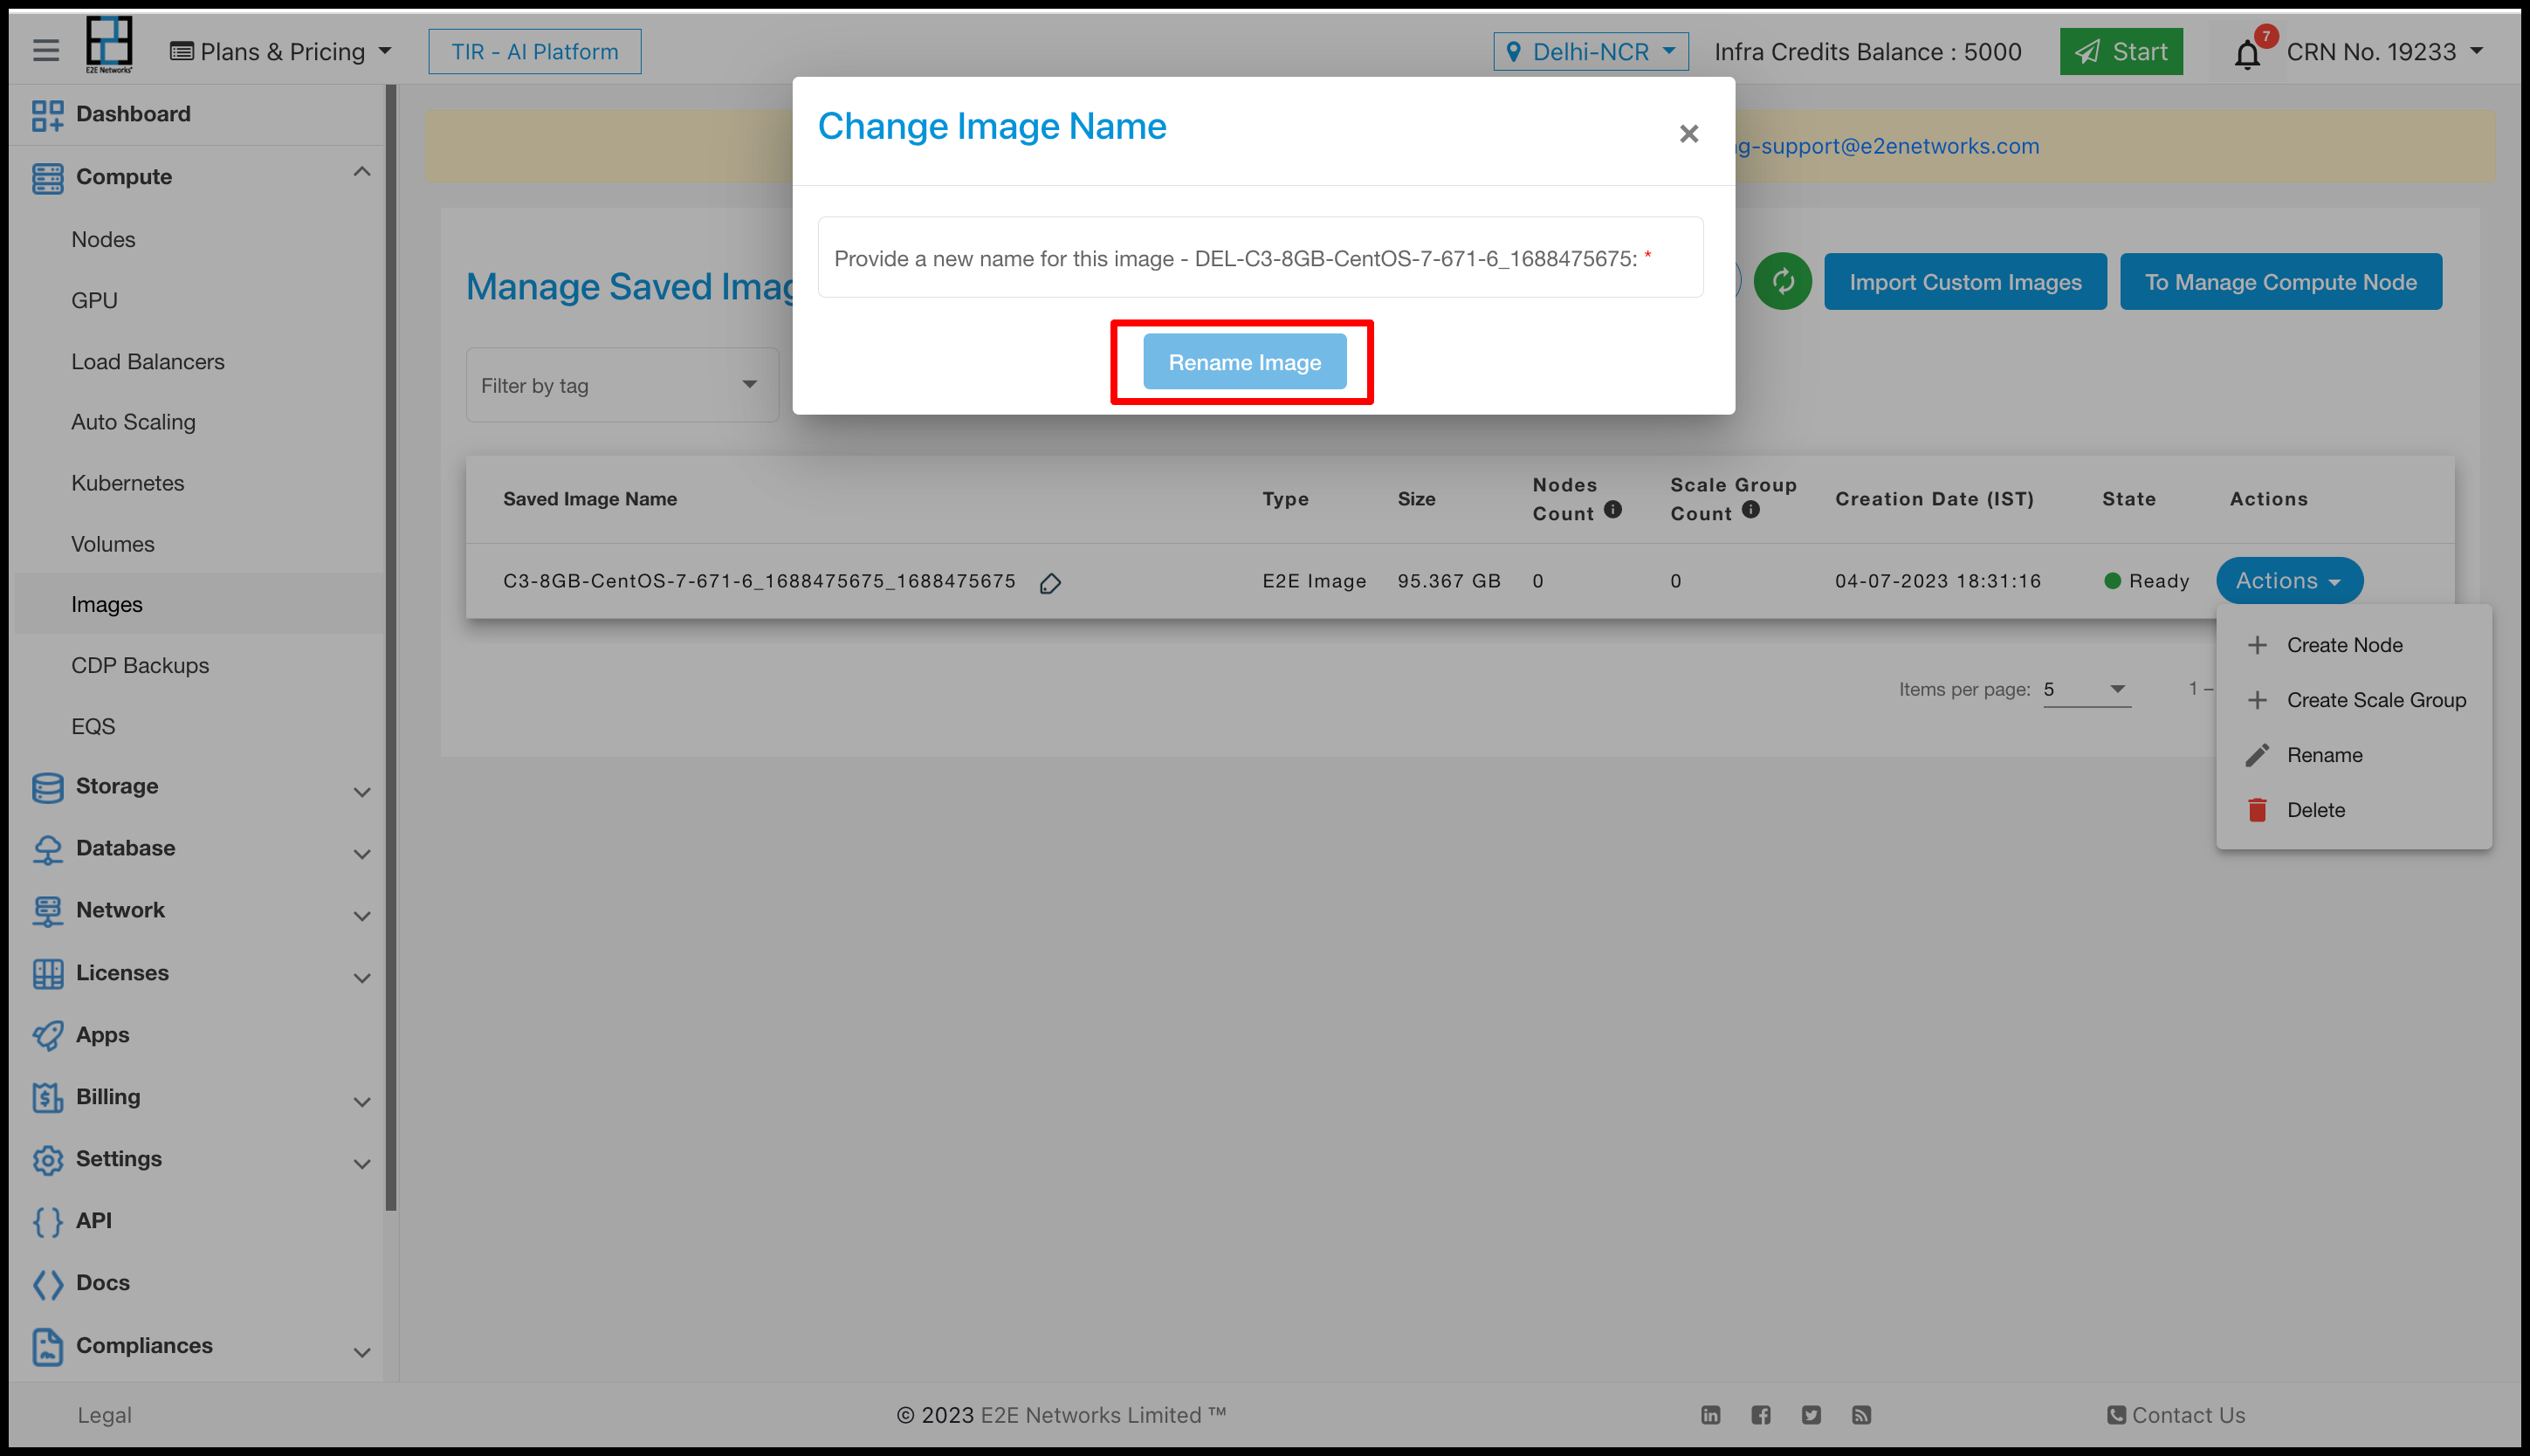
Move Saved Image To Another Project
You can transfer your image from its current project to another project within the same CRN.
To transfer an image:
- Ensure the image is not in Deleting or Error state.
- Ensure no Auto-scaling is configured using the image.
- The image must not have any Tags attached.
To transfer an image, click Move To Another Project from Actions.
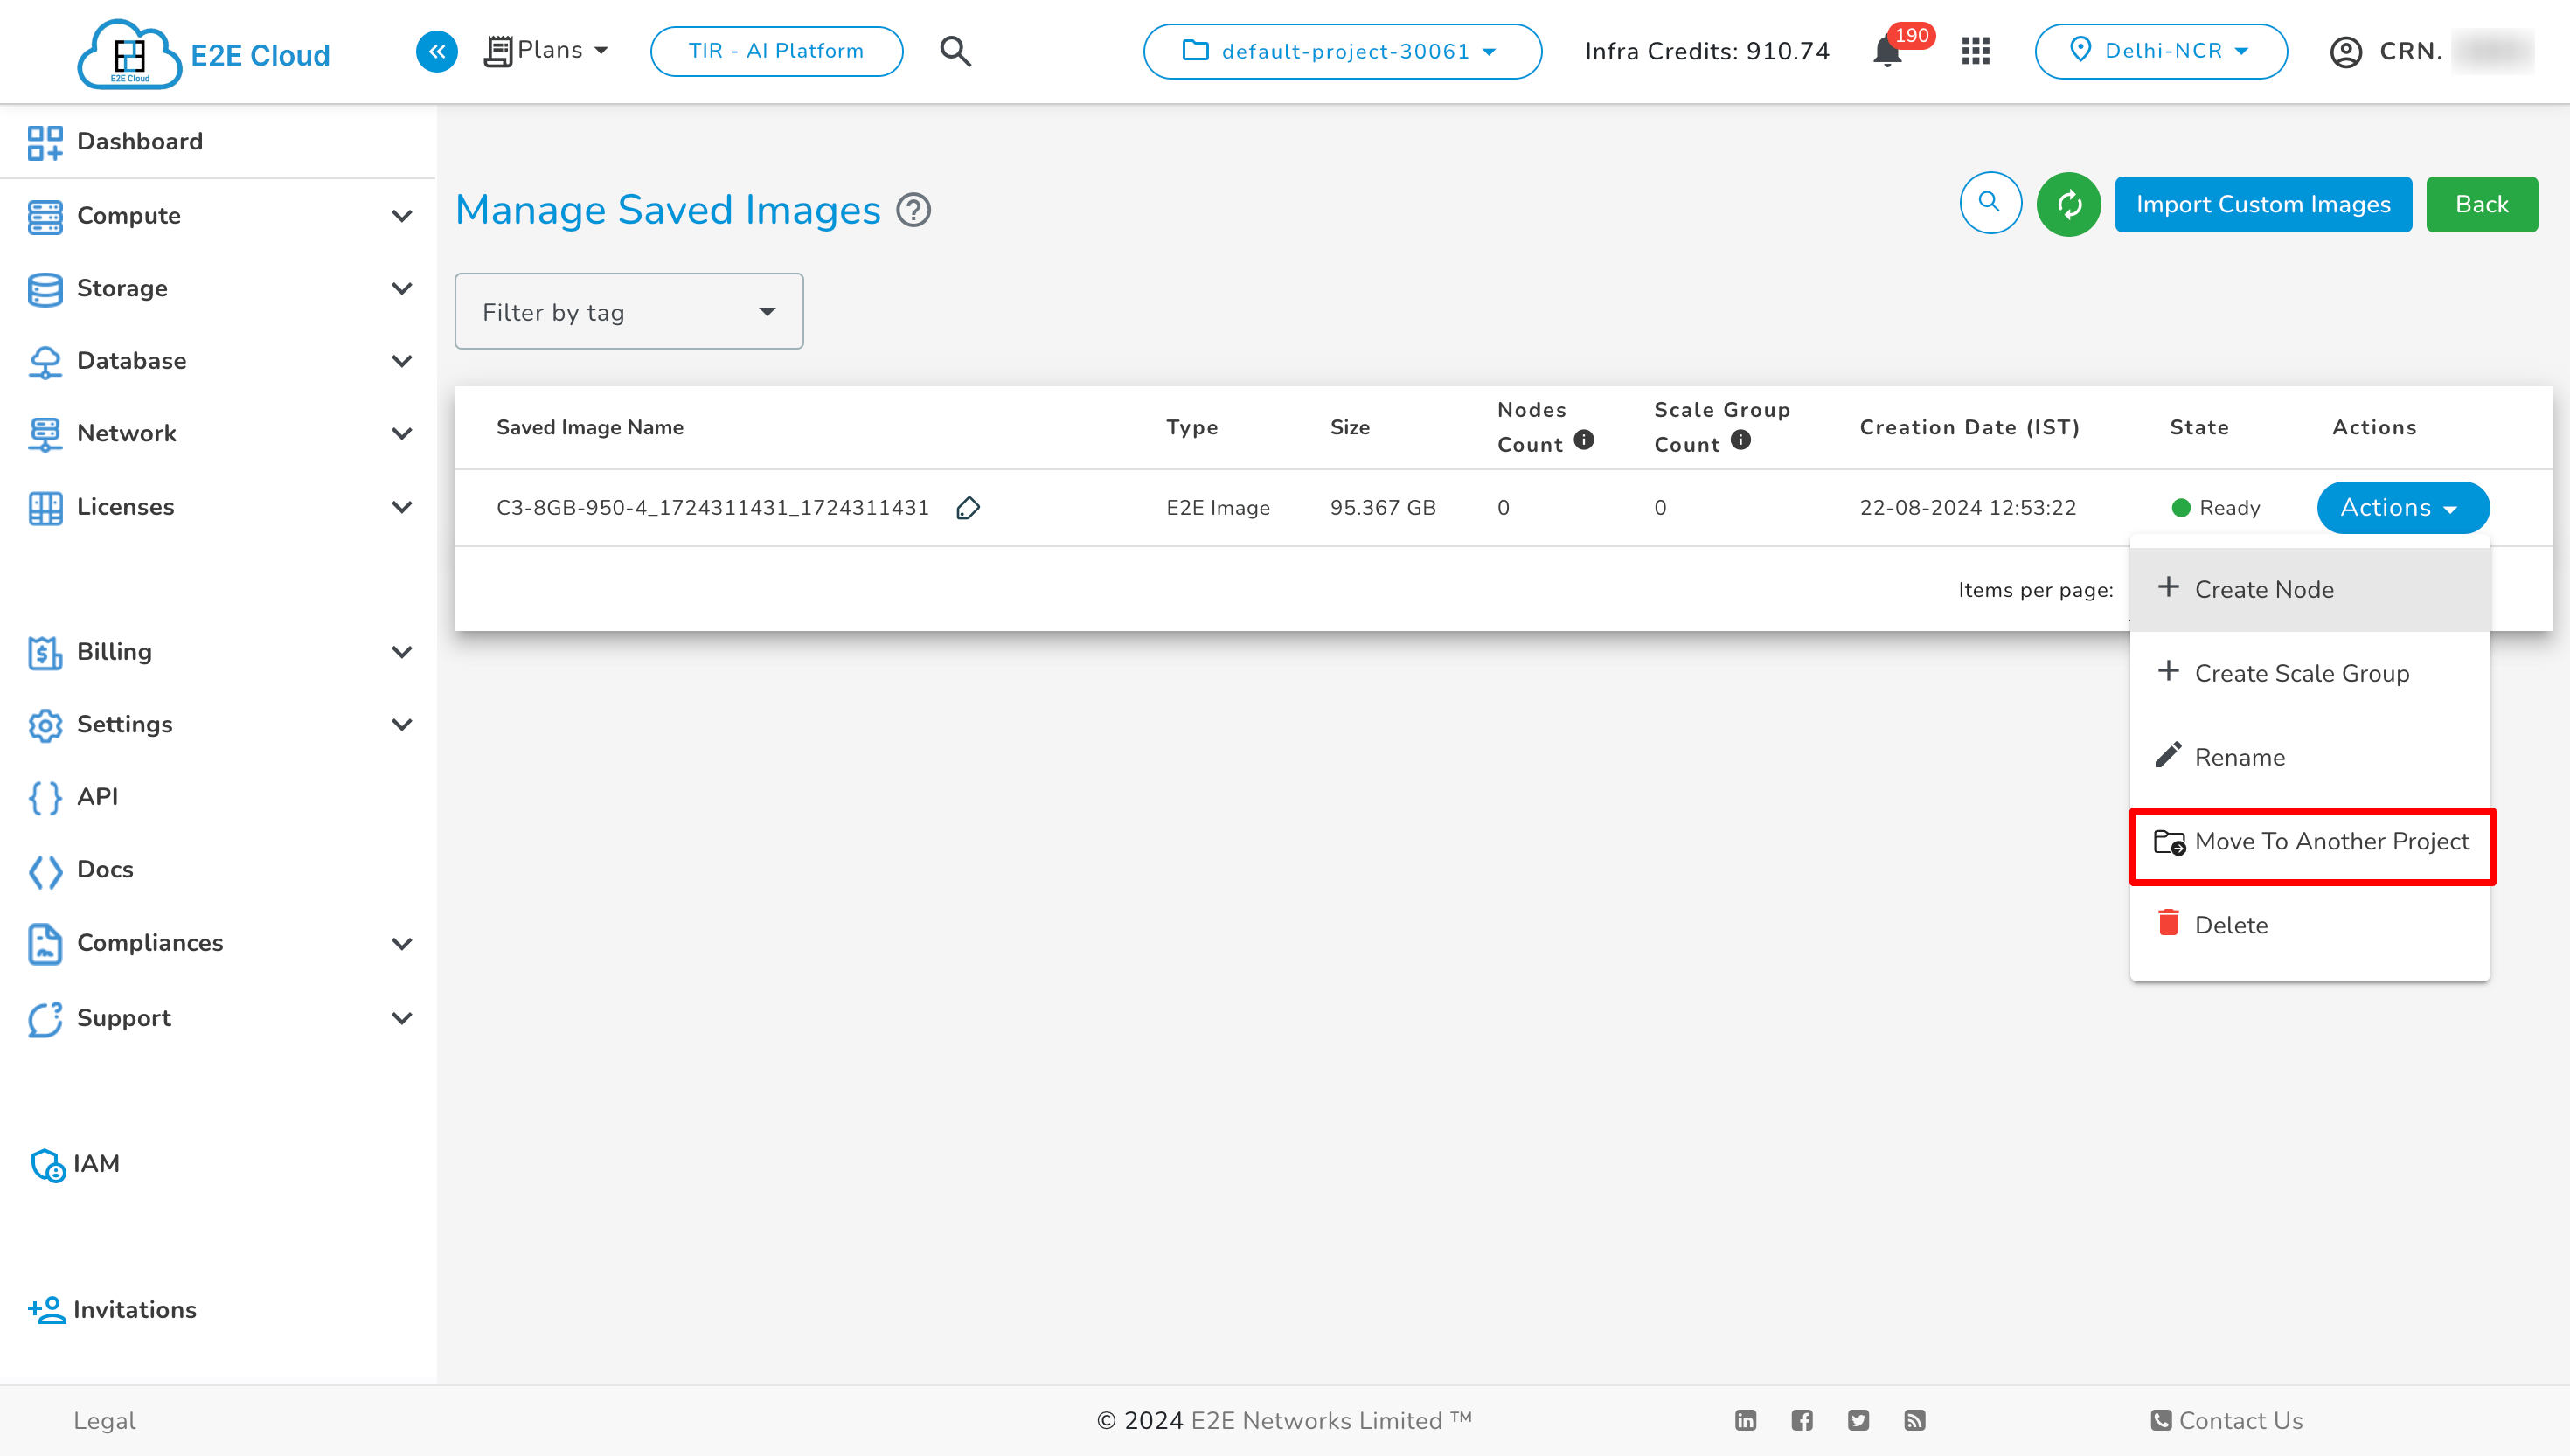
Now, select the target project, check the checkbox, and click Transfer.
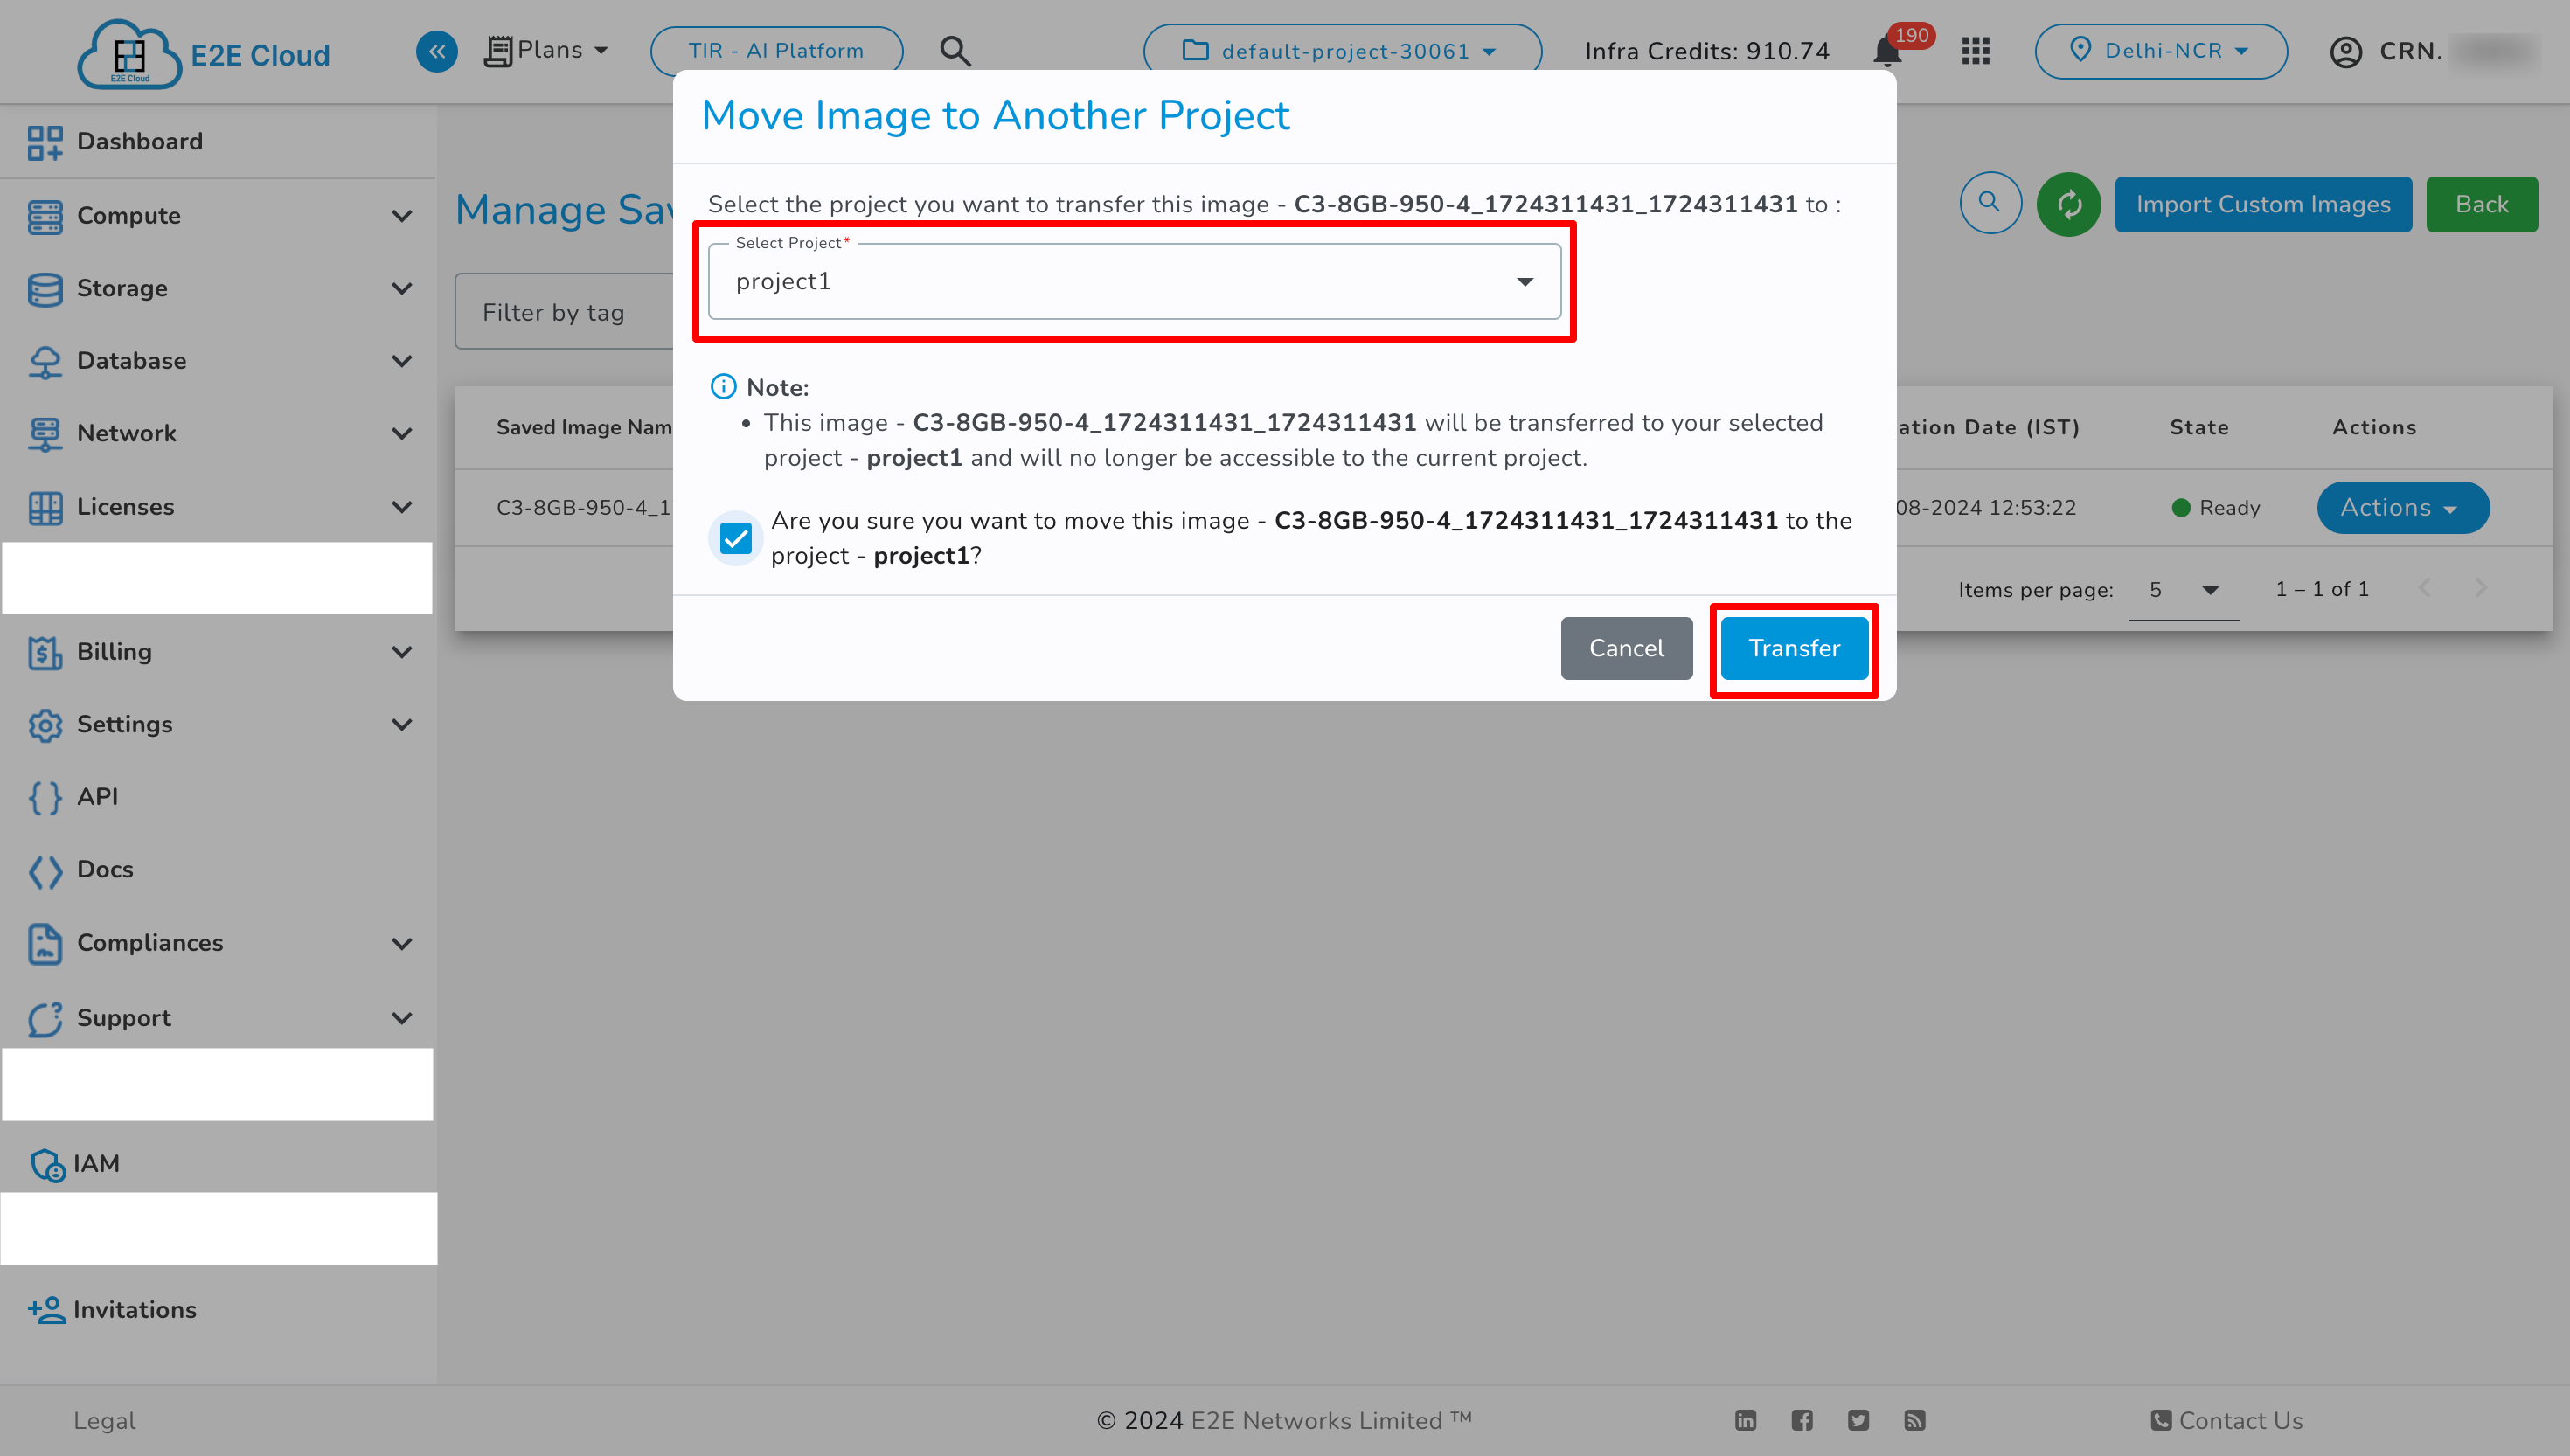
Delete Saved Image
To delete an existing saved image, click on the Delete under the Actions section. A confirmation message will appear, click on the Delete Image button to confirm the deletion of the saved image.
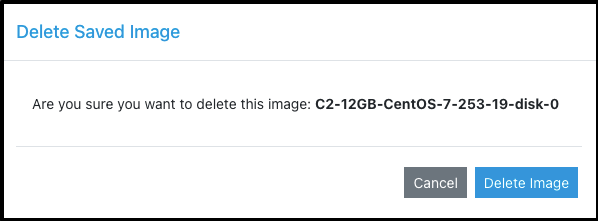
Deletion of the saved image is not allowed when it is associated with a scale group, meaning the scale group count is greater than 0. You need to terminate the associated scale group first to delete the saved image.
Create New Node from Saved Images
- To create a new node from the saved images, go to the saved images section.
- Click on the + Create Node under the Actions section next to the image you want to use.
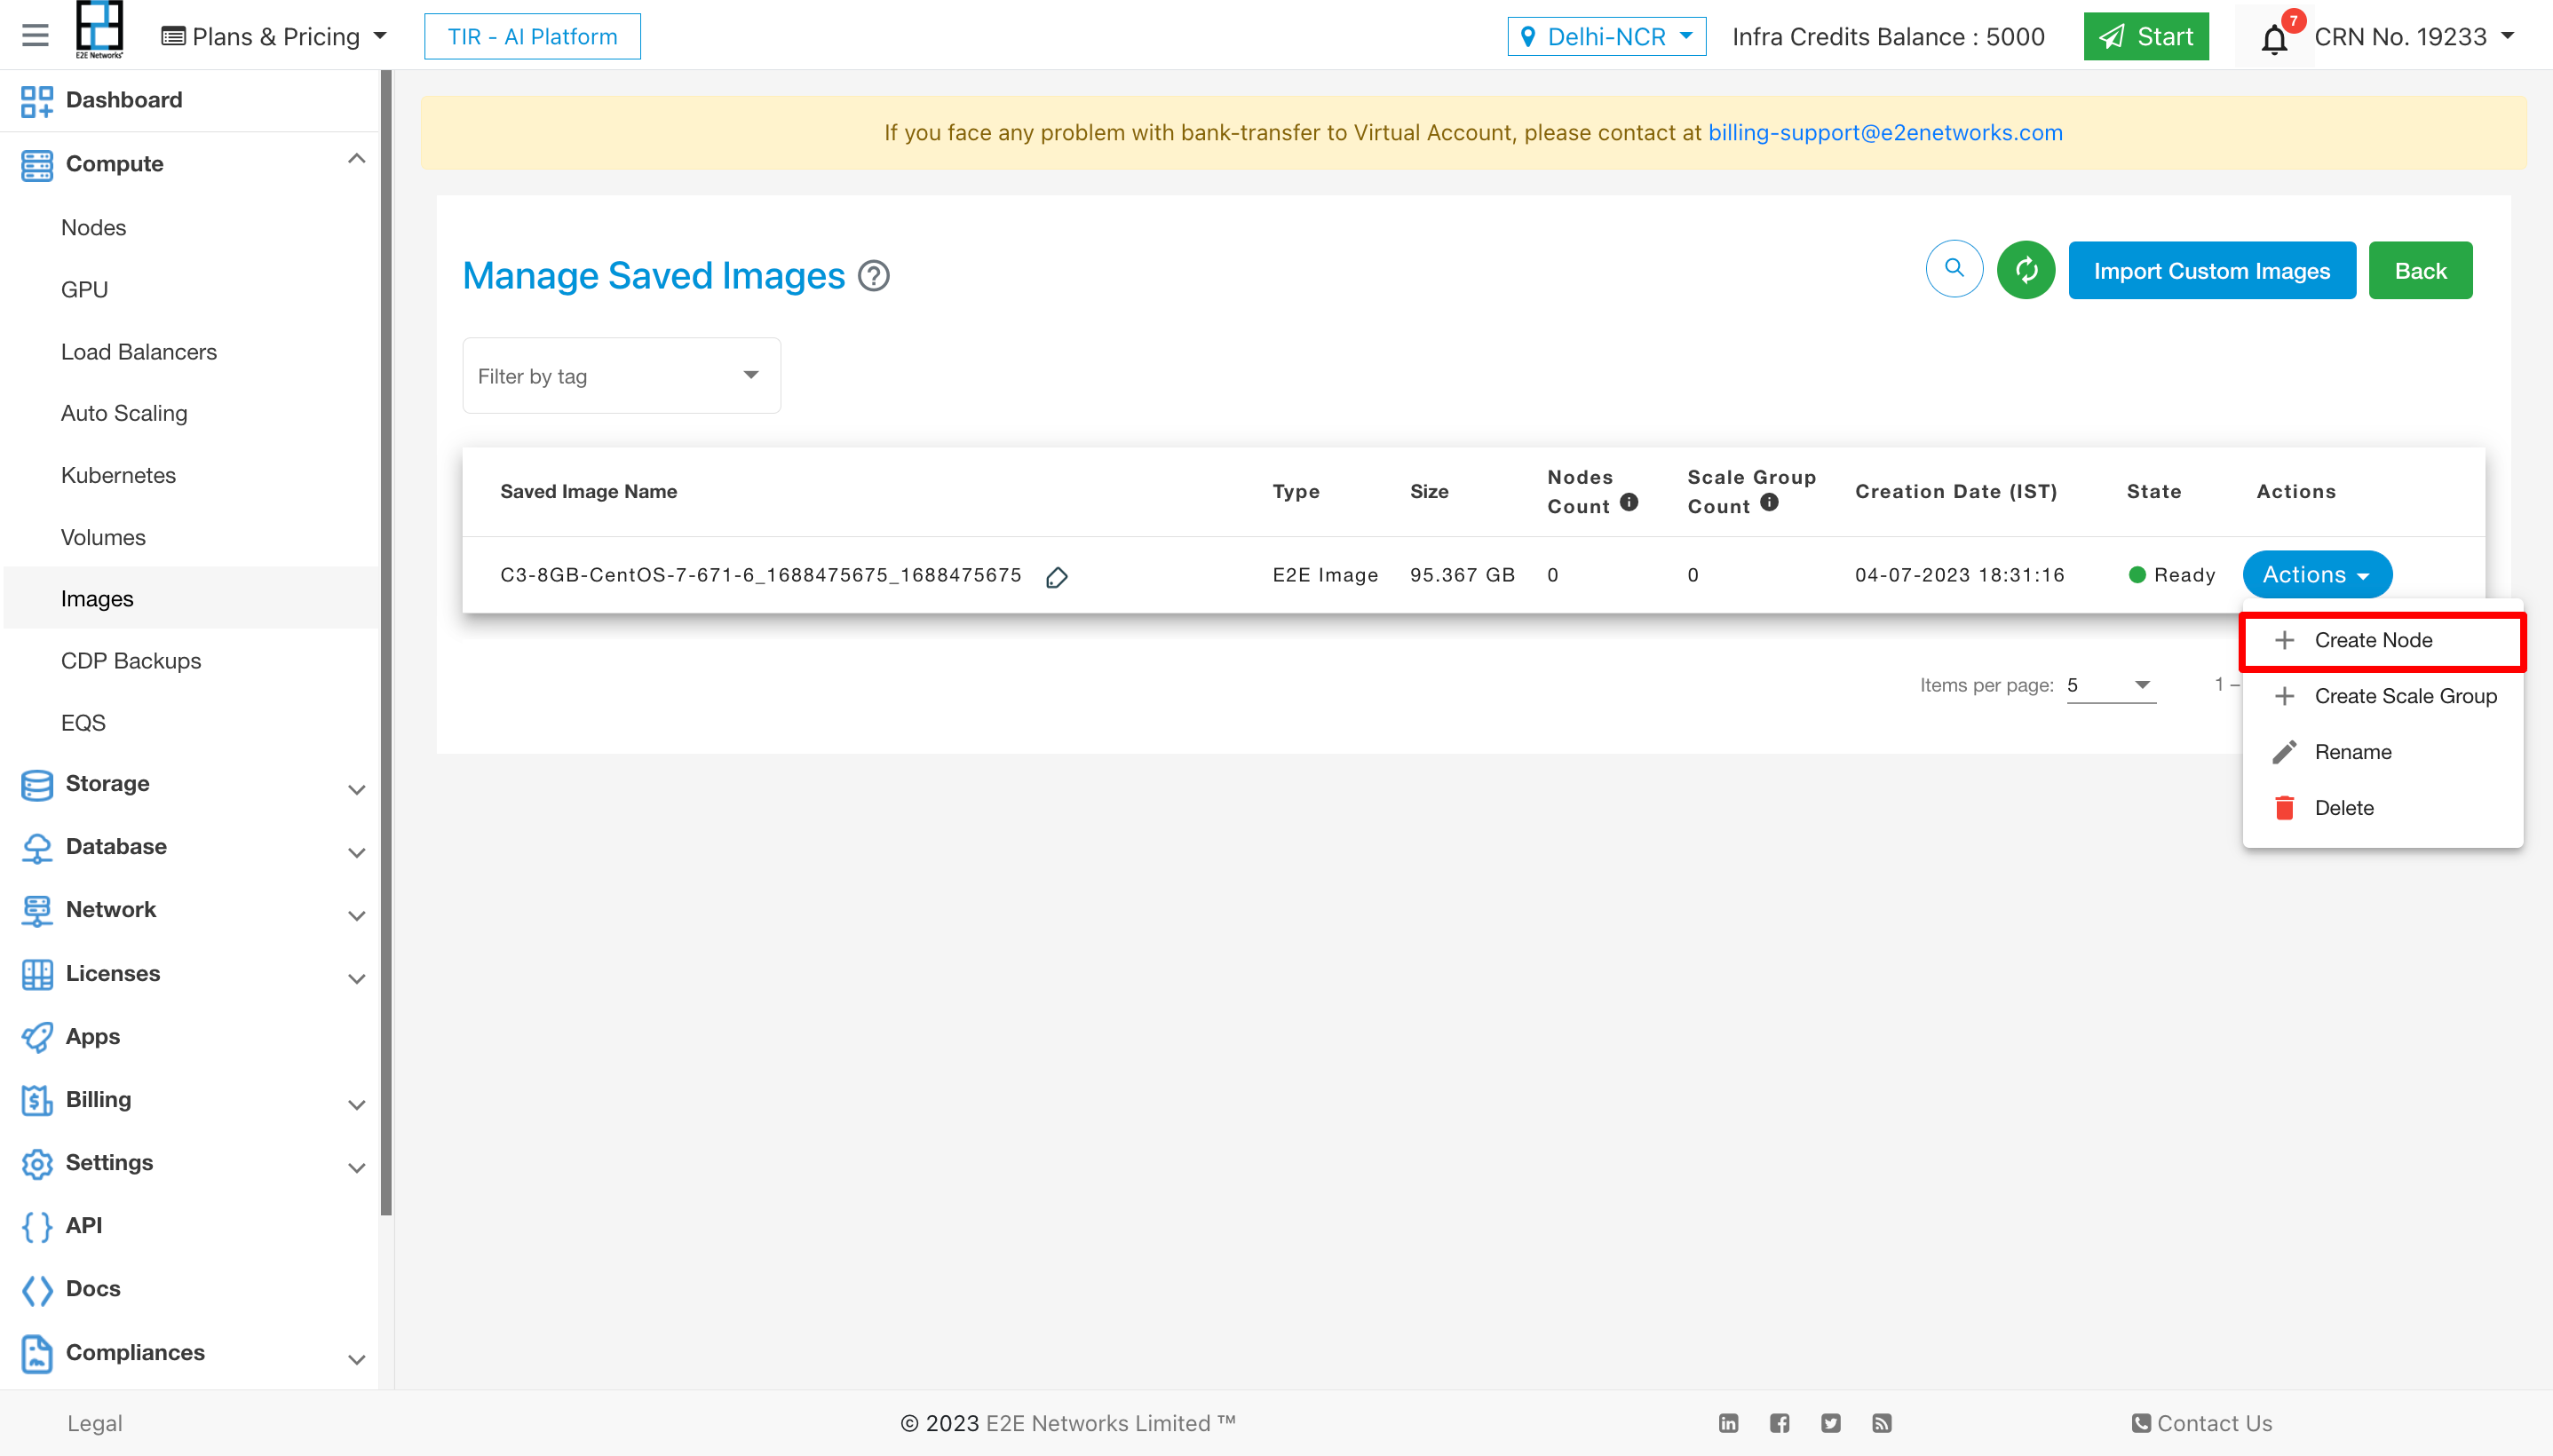
- Select a plan of your choice from a wide range of suitable options for various requirements and proceed with creating your Node.
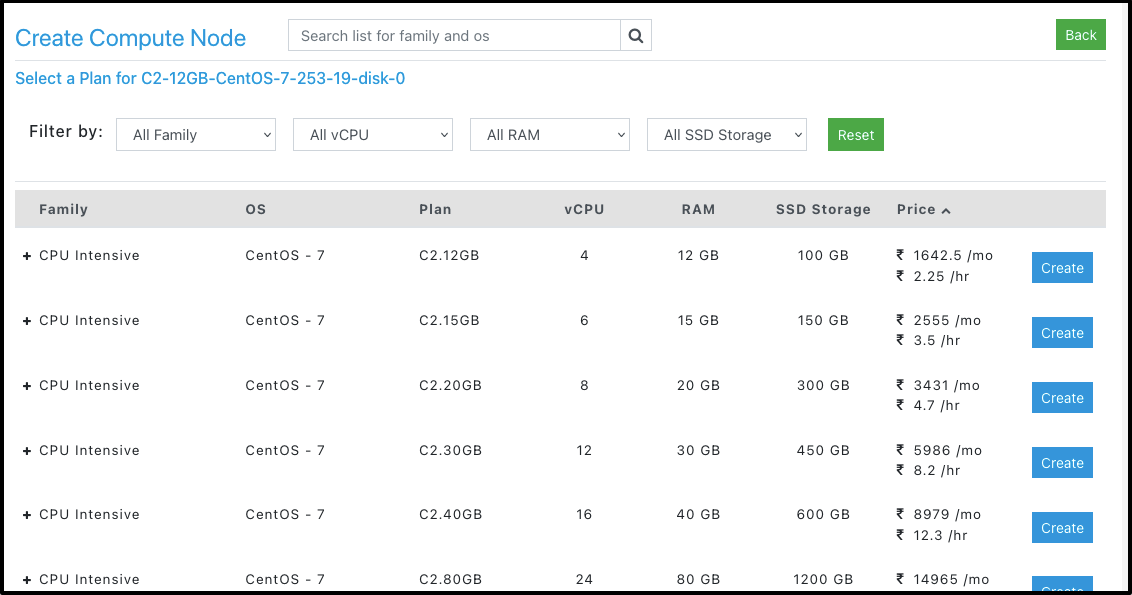
You can only create the same or a higher configuration node from your selected image.
If you want to keep the server associated with an image, both the image and the server will be chargeable.
All saved images are billed only for the disk space used, i.e., ₹ 4 per GB per month (exclusive of 18% GST rate).
- Once you have selected the Node plan, click the Create button. It will take you to the final stage of the ‘Create Compute Node’ page.
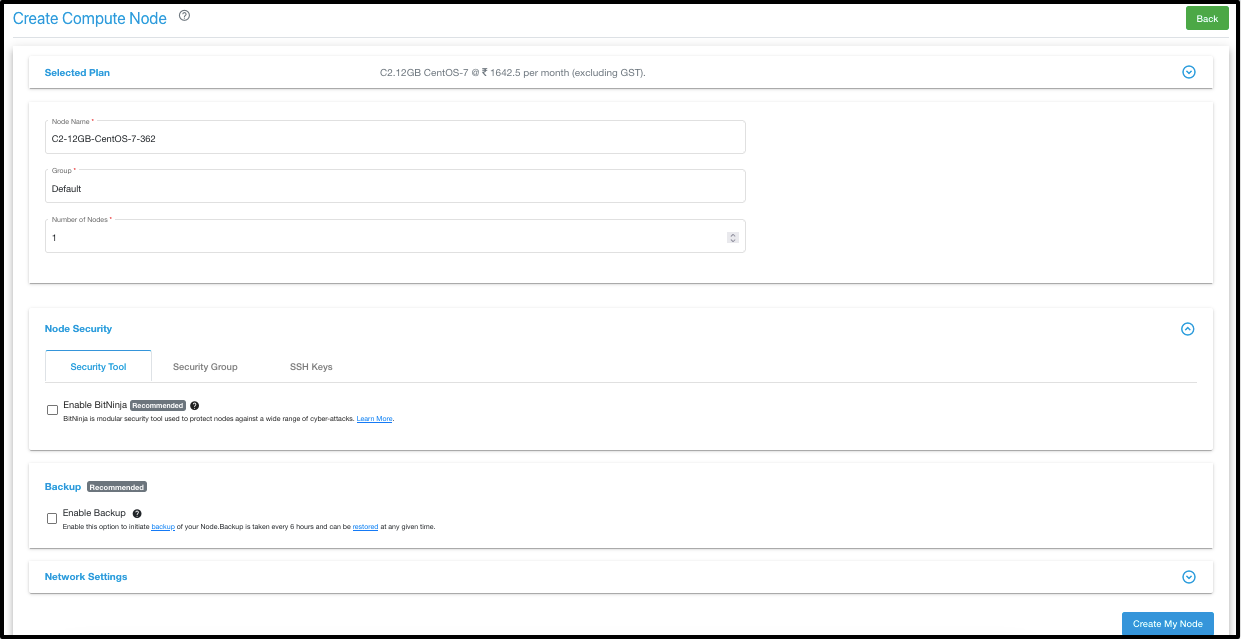
Here, you can specify the node name and additional options for the Node you’re creating. Click here to know more.
- Once you have selected your options, click Create. It will take a few minutes to set up the Node, and you will be taken to the ‘Manage Node’ page.
Create Scale Group from Saved Image
- To create a new scale group from the saved images, go to the saved images section.
- Click on the + Create Scale Group under the Actions section next to the image you want to use.
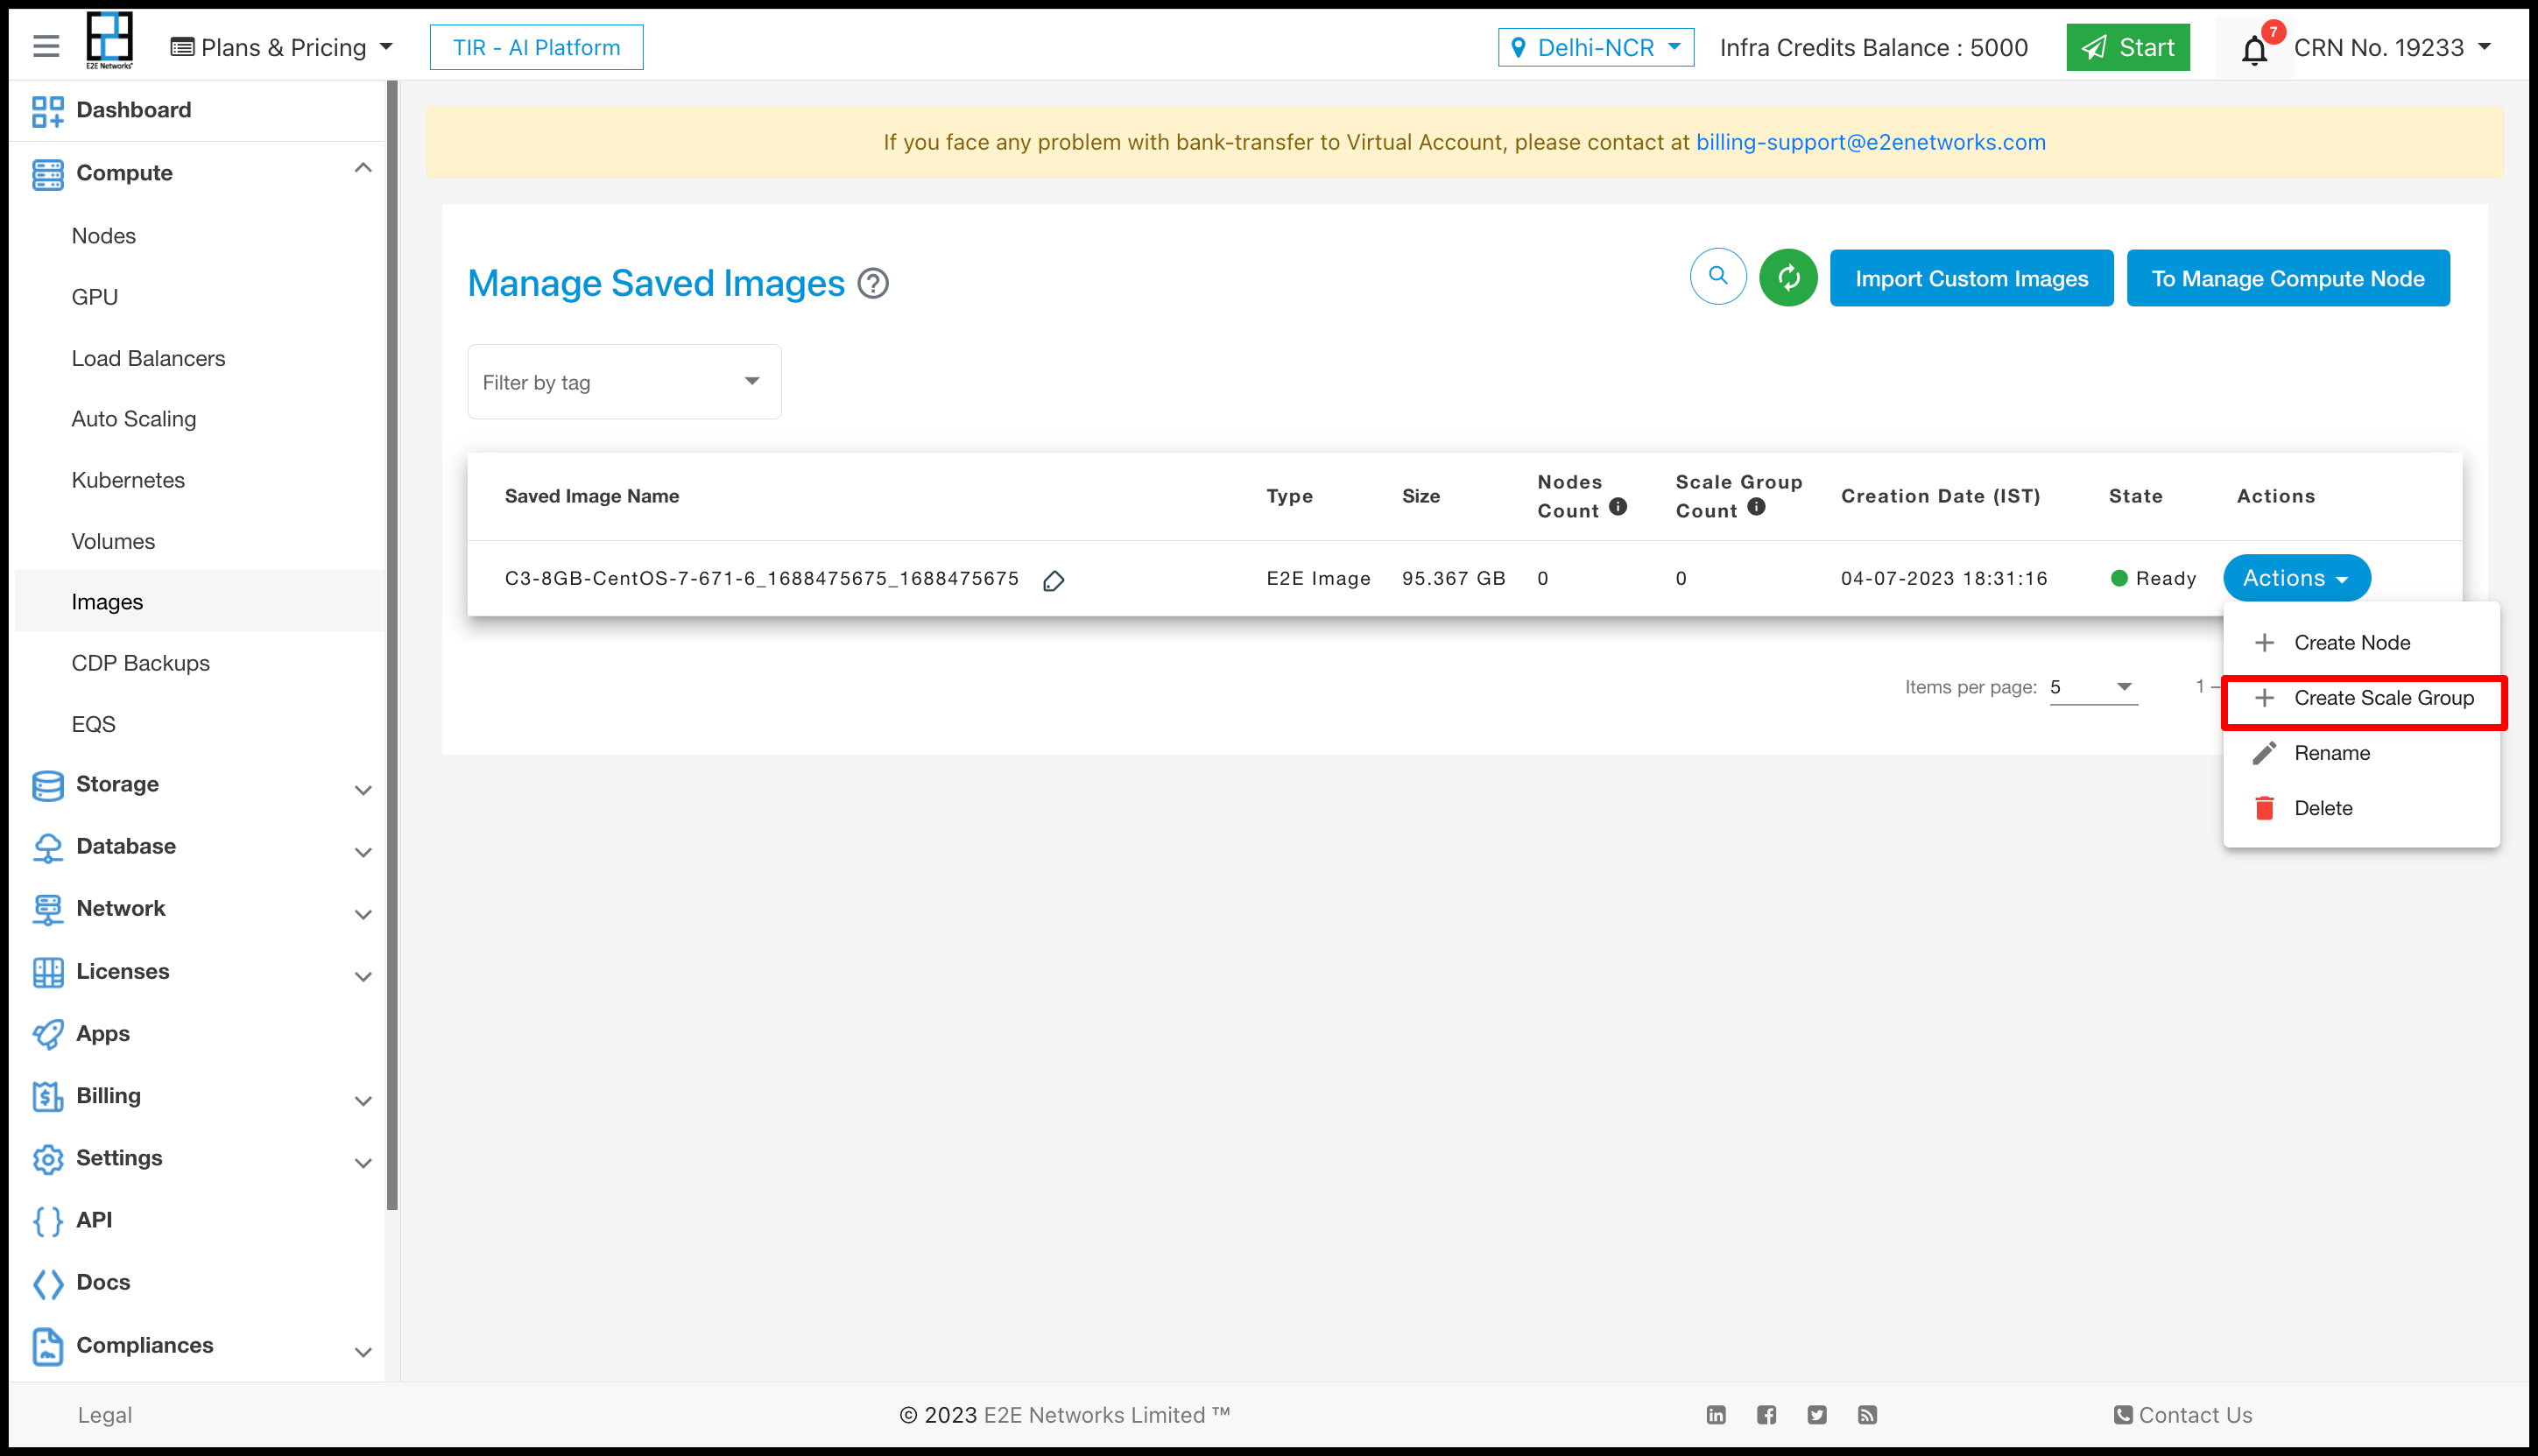
You can only use C series and M series saved images to create a scale group. Deletion of the saved image is not allowed when it is associated with a scale group.
- Select a plan of your choice from a wide range of suitable options for various requirements and proceed with creating your scale group.
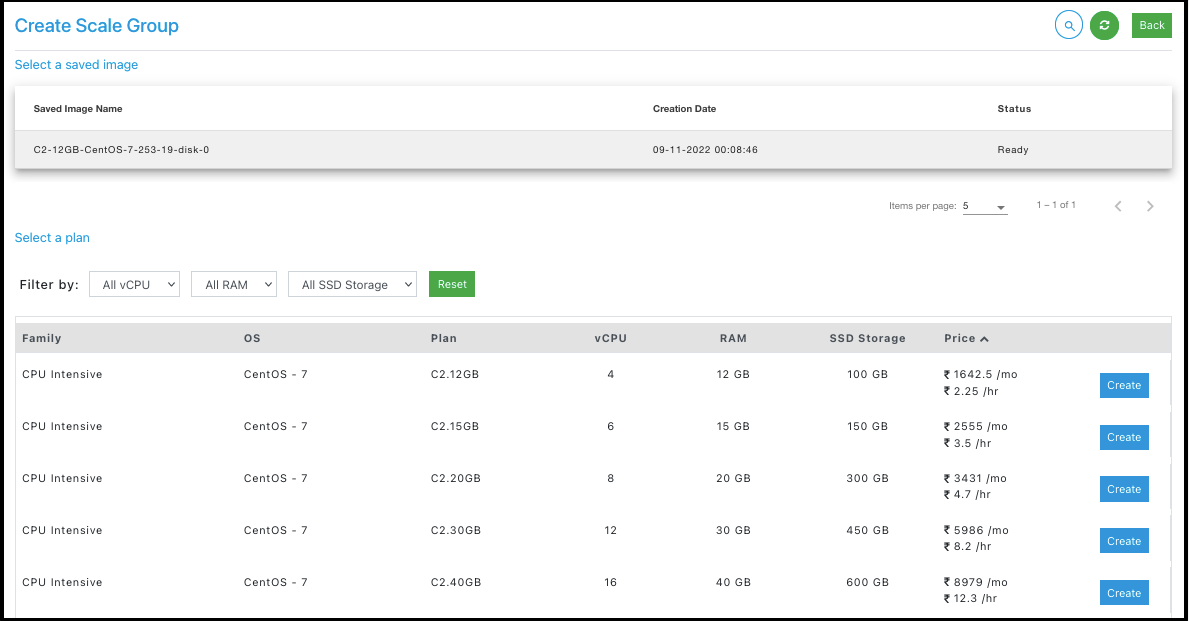
The compute node plan for the scale group can be different from the original plan used to create a saved image.
- Once you have selected the plan, click the Create button. It will take you to the final stage of the ‘Create Scale Group’ page.
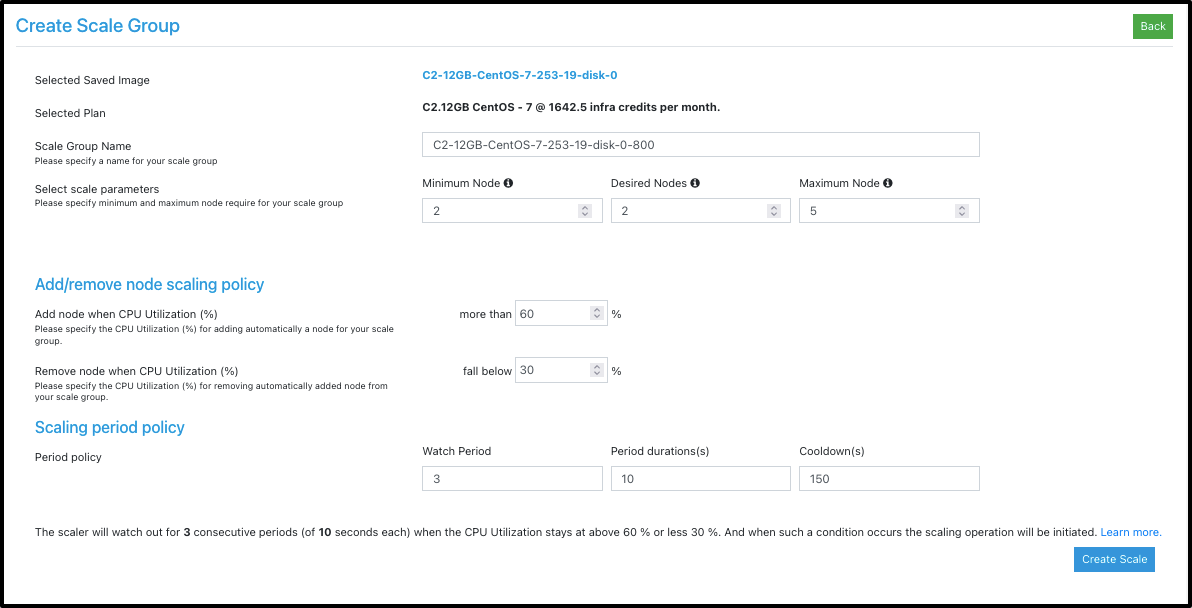
Here, you need to specify the scale group name, scale parameters, scaling policy, and scaling period policy for the scale group you're creating. Click here to know more.
- Click the Create Scale button to launch scale group nodes with the selected policy. It will take a few minutes to set up the scale group, and you will be taken to the ‘Manage Application Scaling’ page.