Access and Manage Bitninja Dashboard
BitNinja is a general purpose security-as-a-service server defense tool powered by a social defense system and many active defense modules. Its main purpose is to protect your server with less effort and maintenance from you. BitNinja does its job silently in the dark and using powerful tools - just like a ninja :-) BitNinja fights against hackers, botnets, attackers, and malicious activities. All of the Ninja servers form a huge honey farm to collect and analyze attacks from different botnets and then use this knowledge to form an even harder shield for all the Ninja servers.
How To Access Your BitNinja Dashboard
You can Log In to your BitNinja dashboard through the mentioned web-link with your BitNinja username and password.
Web Link - https://admin.bitninja.io/
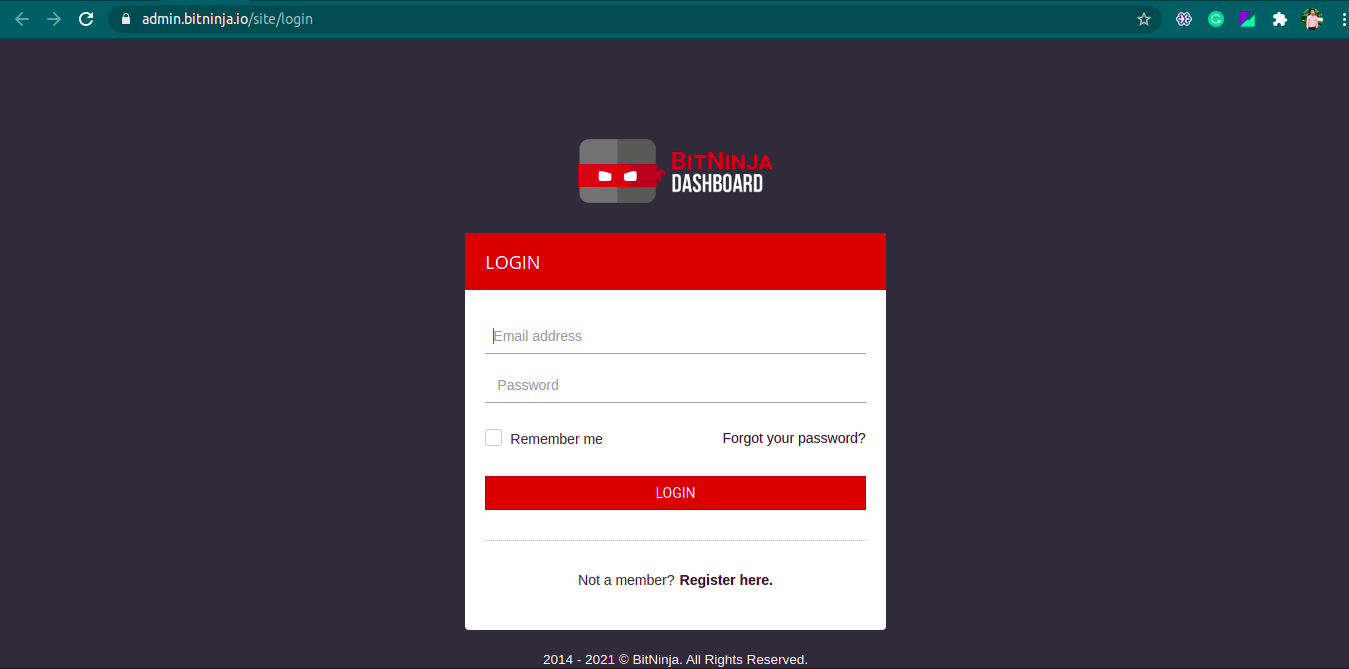
Note: When you activate BitNinja on your Server, you will receive a mail in your registered Email ID with the Subject Line - “[BitNinja Account Activation] Quick setup + Results in 12 hours”. From this mail, you can authenticate and generate your BitNinja Password for the login.
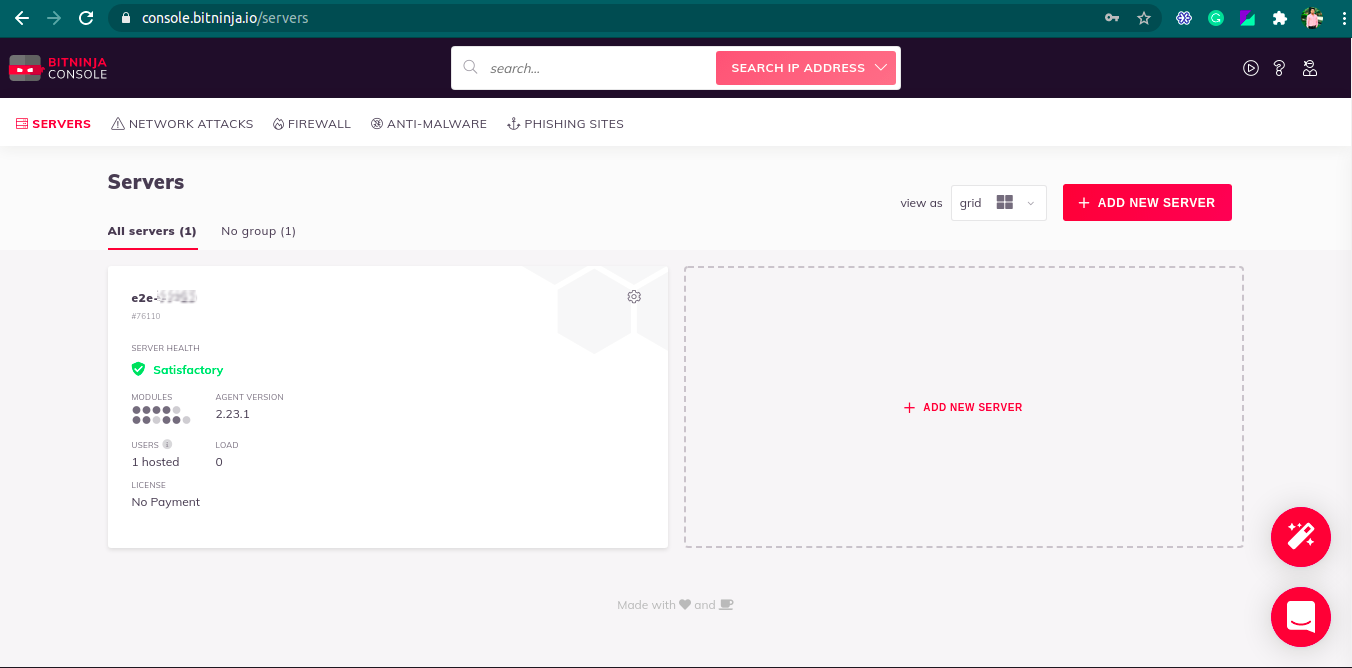
After Login into BitNinja dashboard, you can see the BitNinja console page.
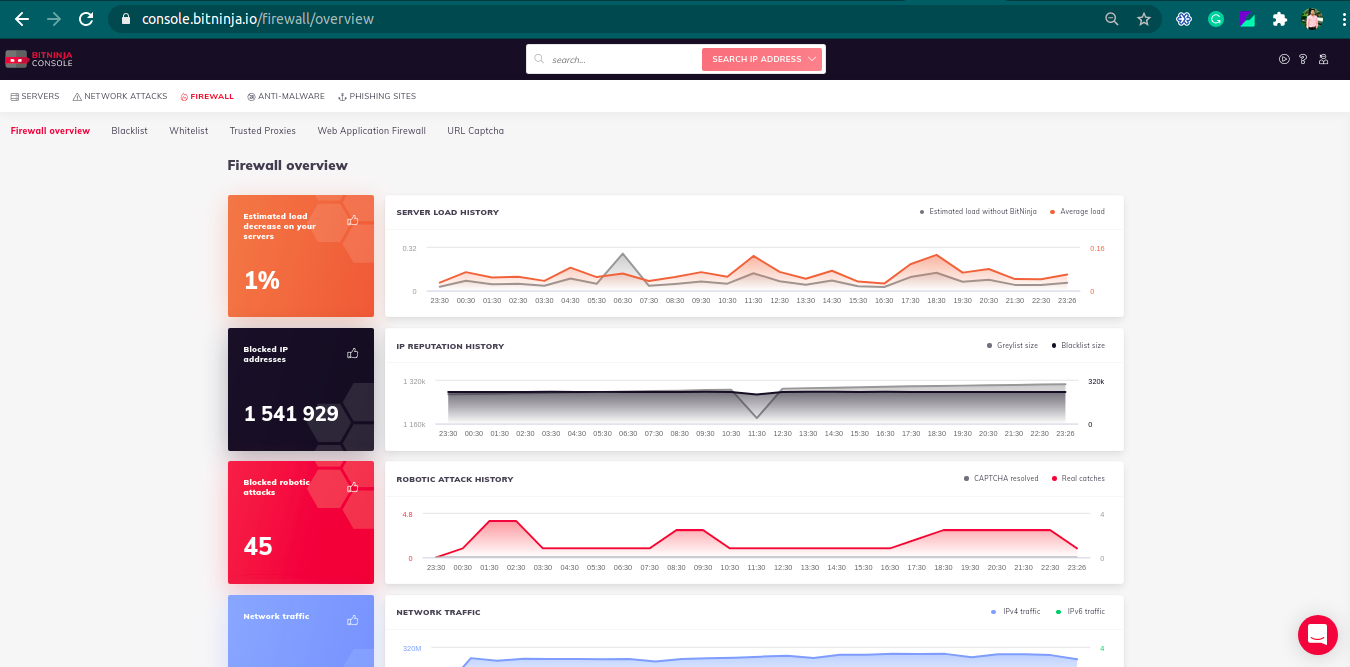
BitNinja Firewall
You can manage your server BitNinja Firewall through BitNinja Dashboard. You can find it after logging into the BitNinja Admin Panel.
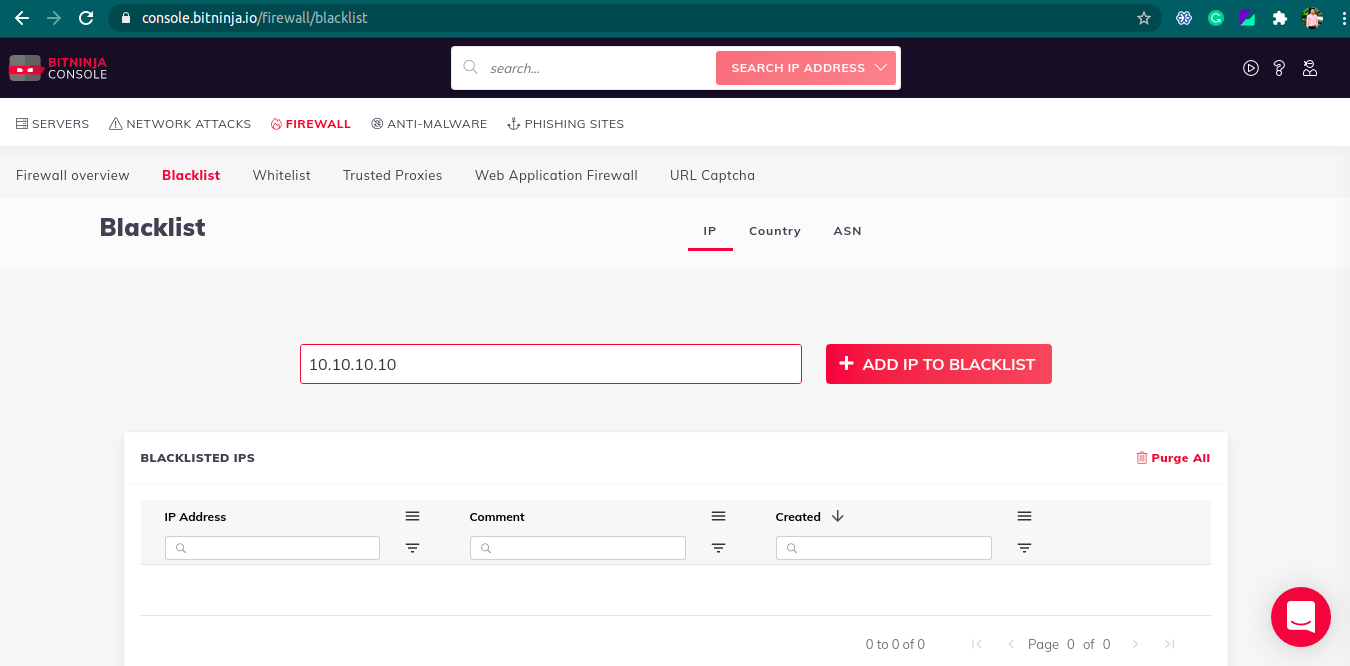
How to Blacklist IP using BitNinja Admin Panel
It is possible to Blacklist any IP via login to BitNinja Admin Panel >> BitNinja Firewall >> Blacklist Section and type IP in the Box and click on “+ ADD IP TO BLACKLIST”.
How to Whitelist IP using BitNinja Admin Panel
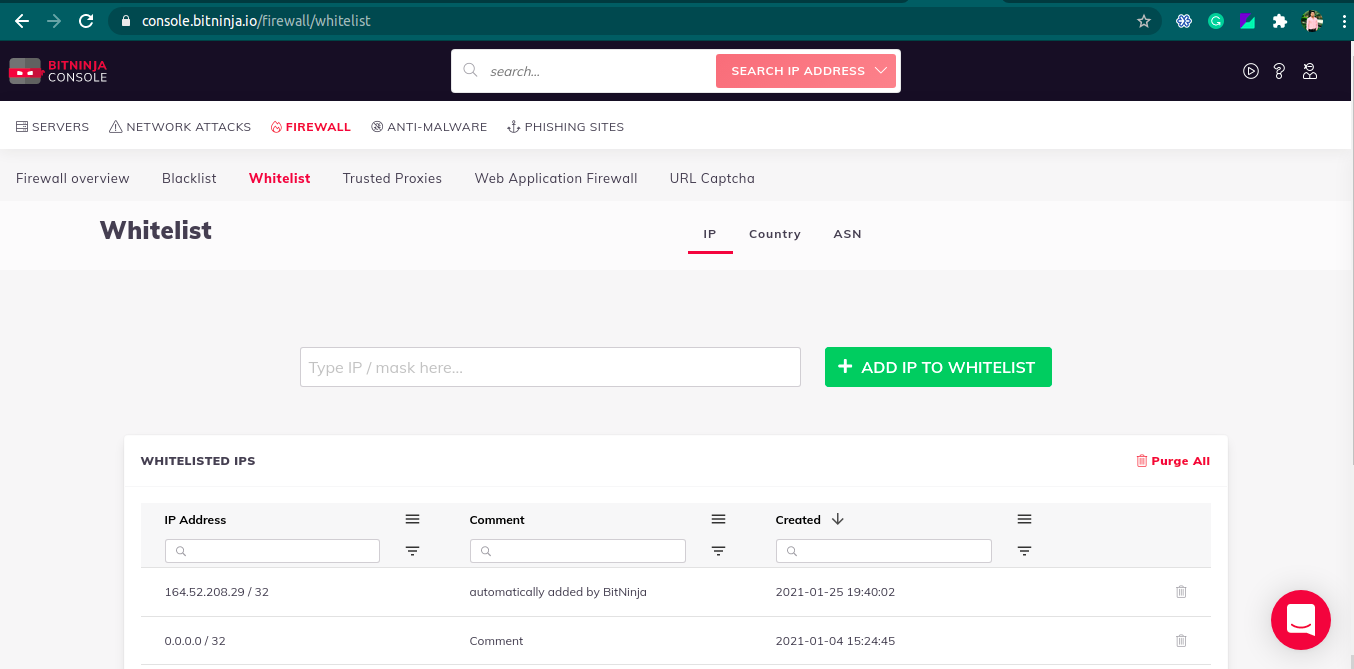
It is possible to Whitelist any IP via login to BitNinja Admin Panel >> BitNinja Firewall >> Whitelist Section and type IP in the Box and click on “+ ADD IP TO WHITELIST”.
How to scan your web server via BitNinja for infected files or Malware/Bots
To scan your web server, you have to go to BitNinja >> ANTI-MALWARE >> Scan Settings.
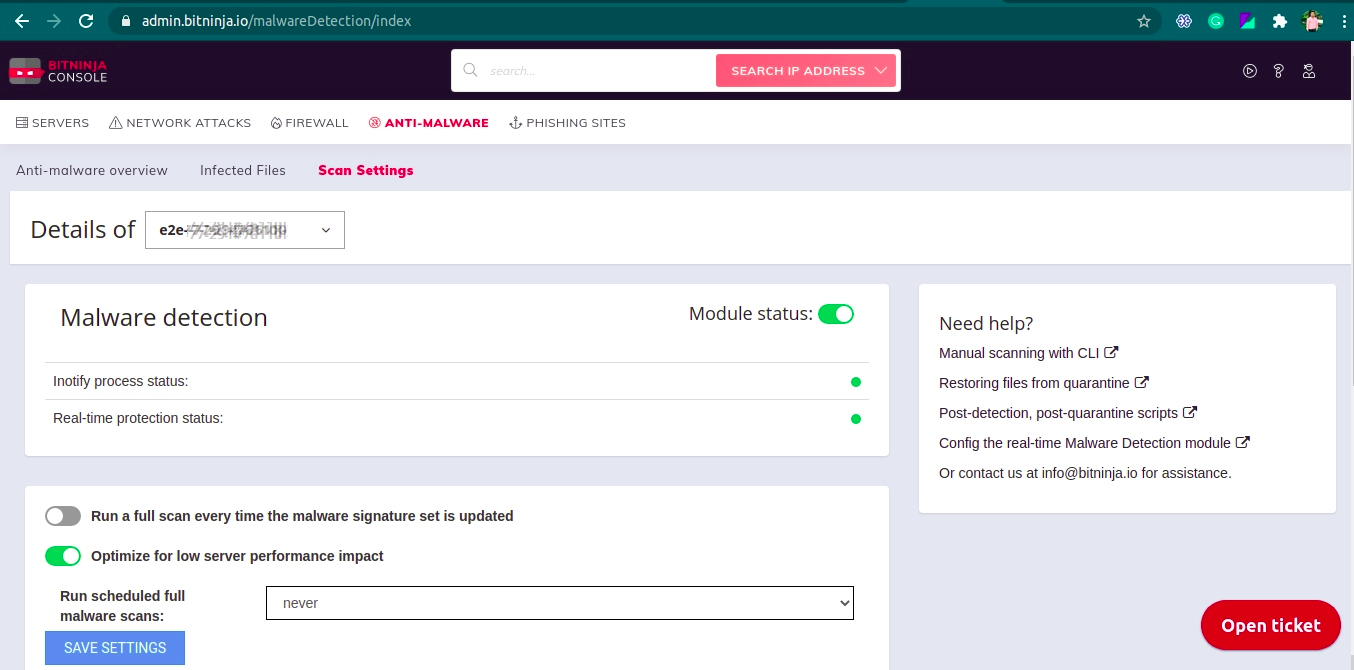
To secure your web server, you must enable “Run a full scan every time the malware signature set is updated” and also set “Run scheduled full malware scans”.
BitNinja’s real-time malware protection is active on your server(s), but it’s recommended to run a manual scan to quarantine previously infected files, too.
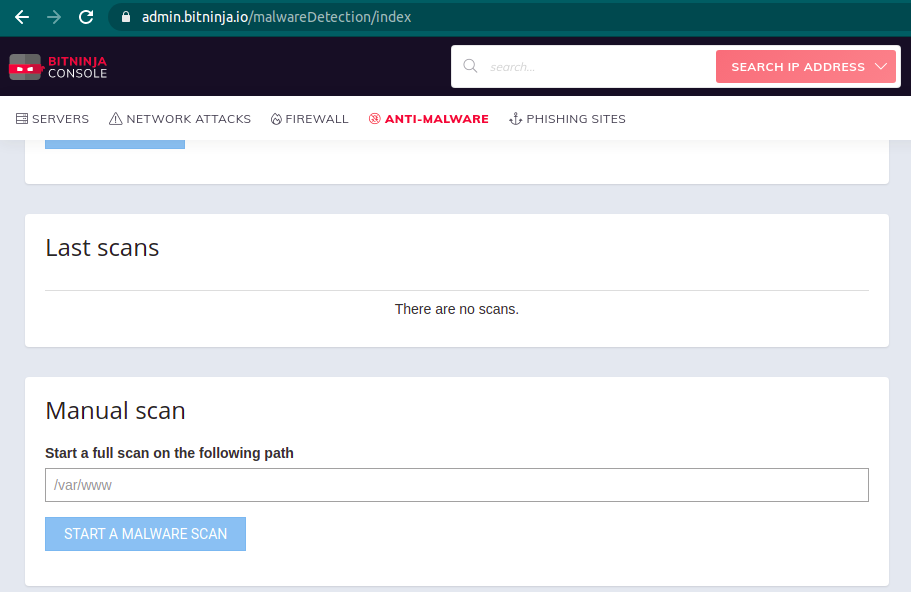
To run Manual scan, go to BitNinja >> ANTI-MALWARE >> Scan Settings and navigate to “Manual Scan” and put the path of your data and click on “START A MALWARE SCAN” to scan a specific folder or path.
If you want to use BitNinja via CLI, you can visit the following web-links: