Bucket Details
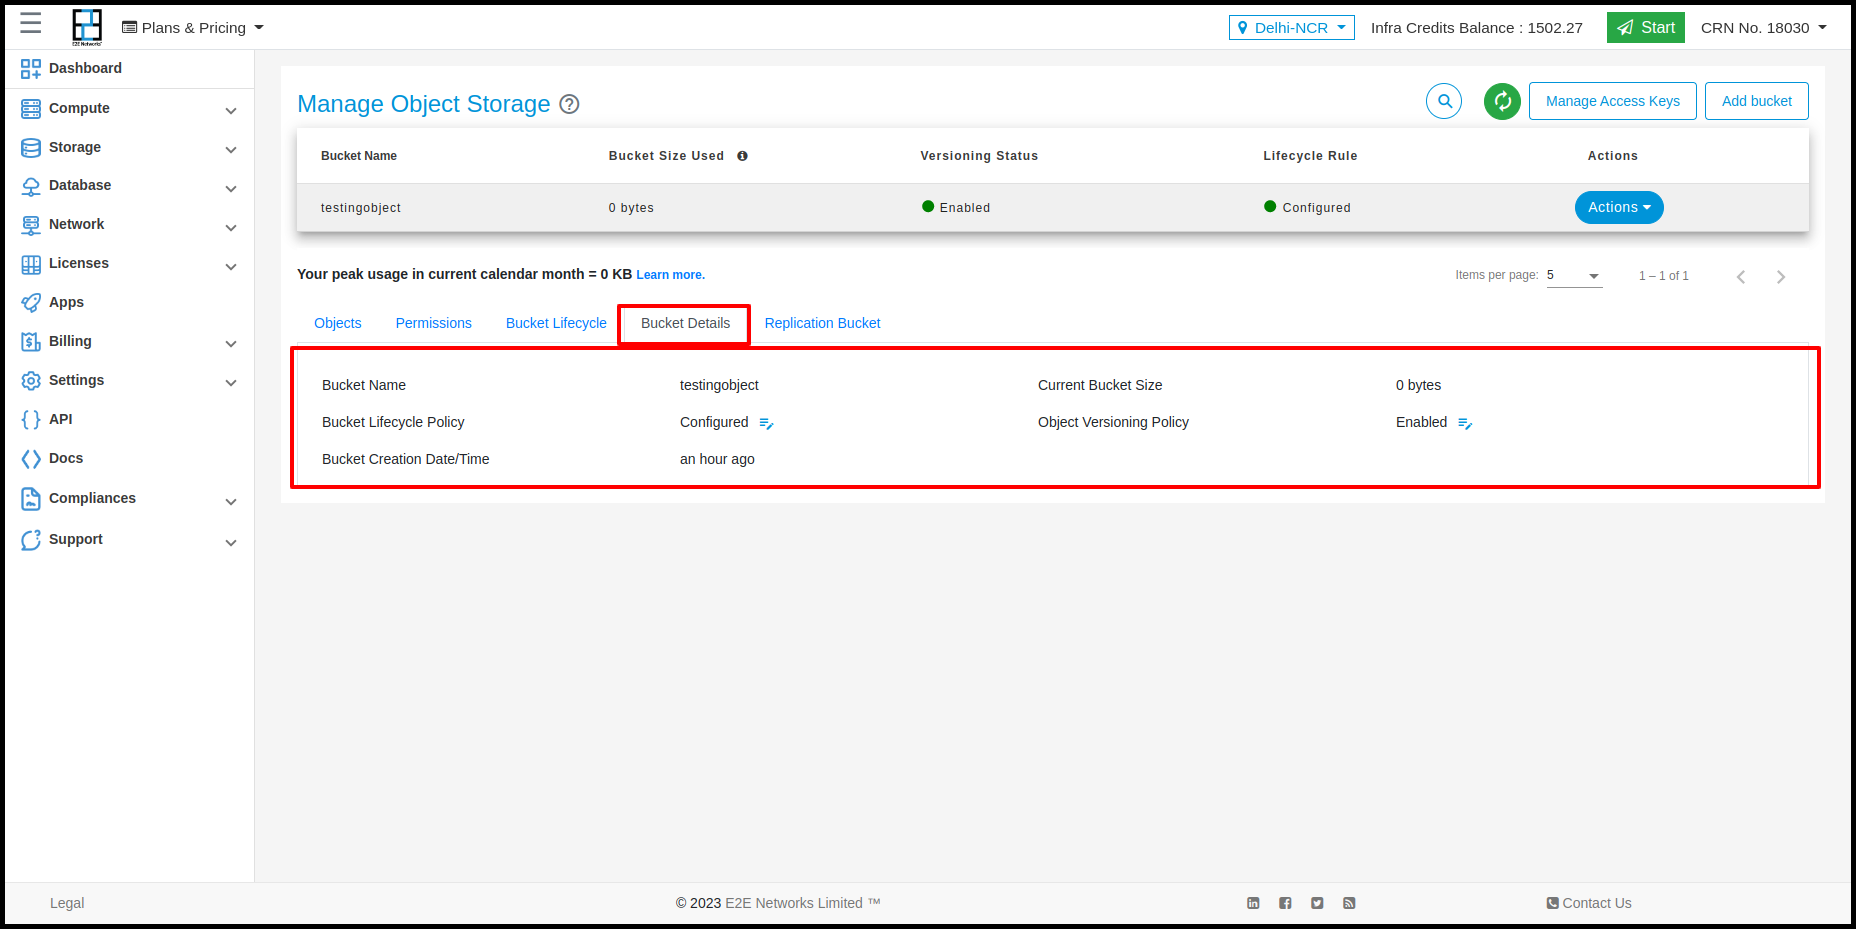
In Bucket details, all details of the bucket will be shown.
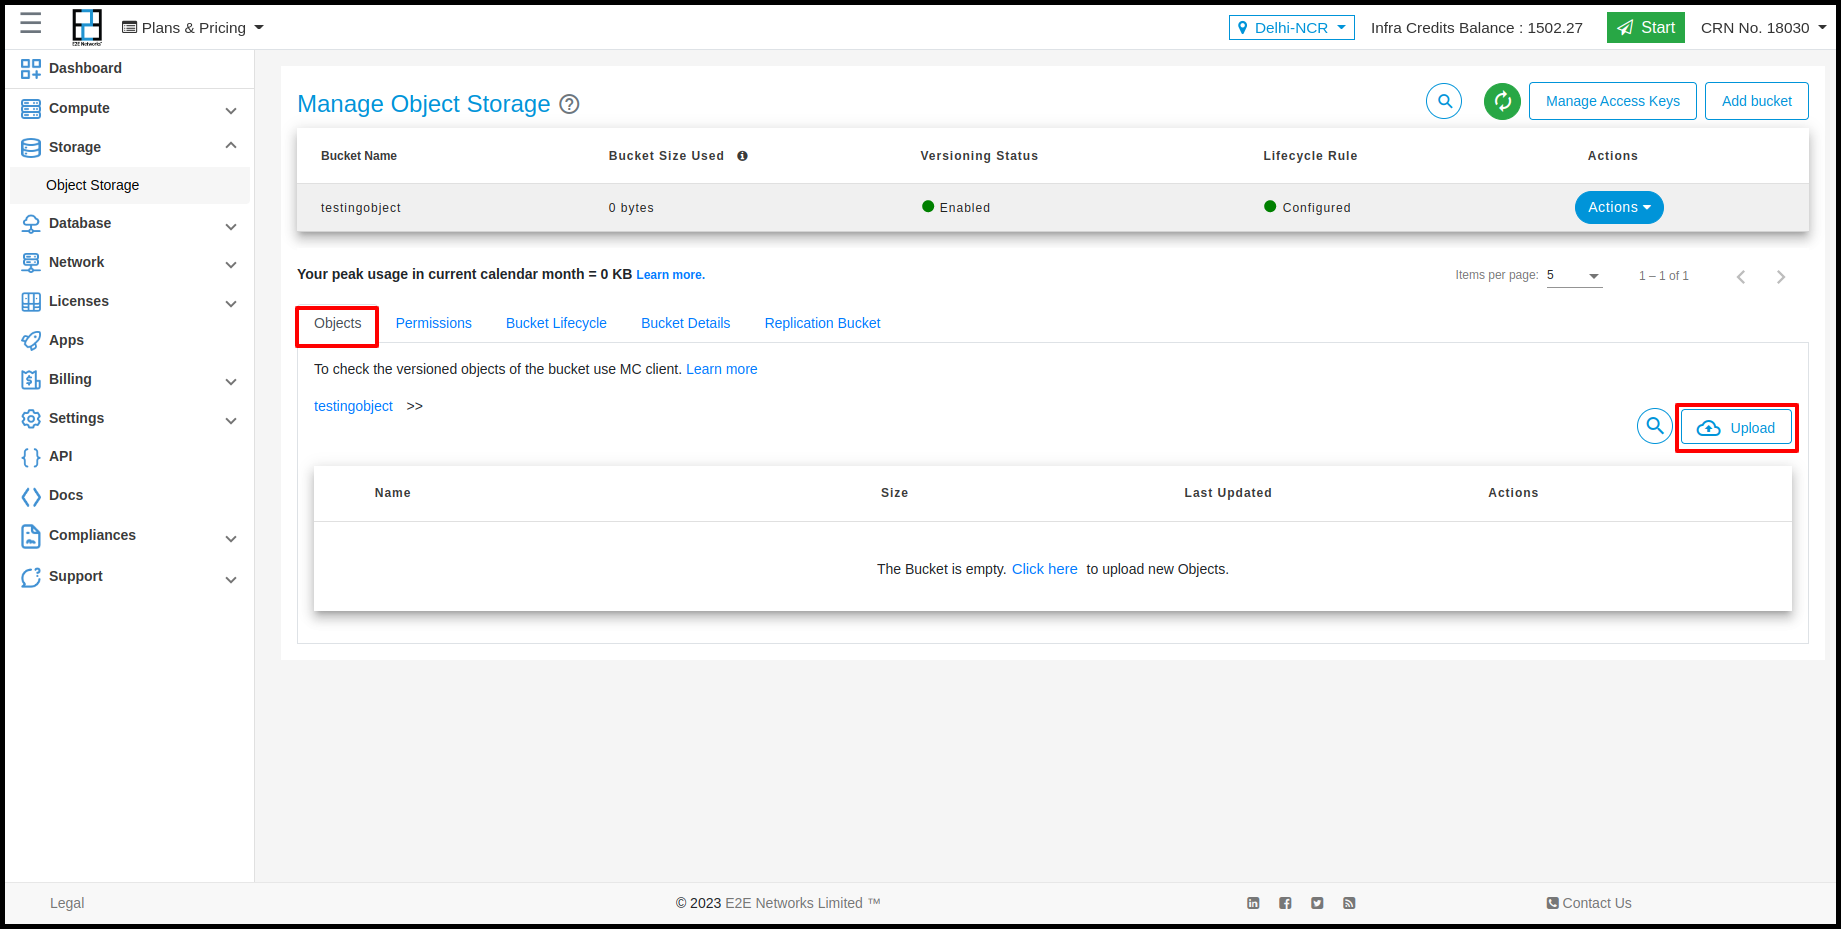
Objects
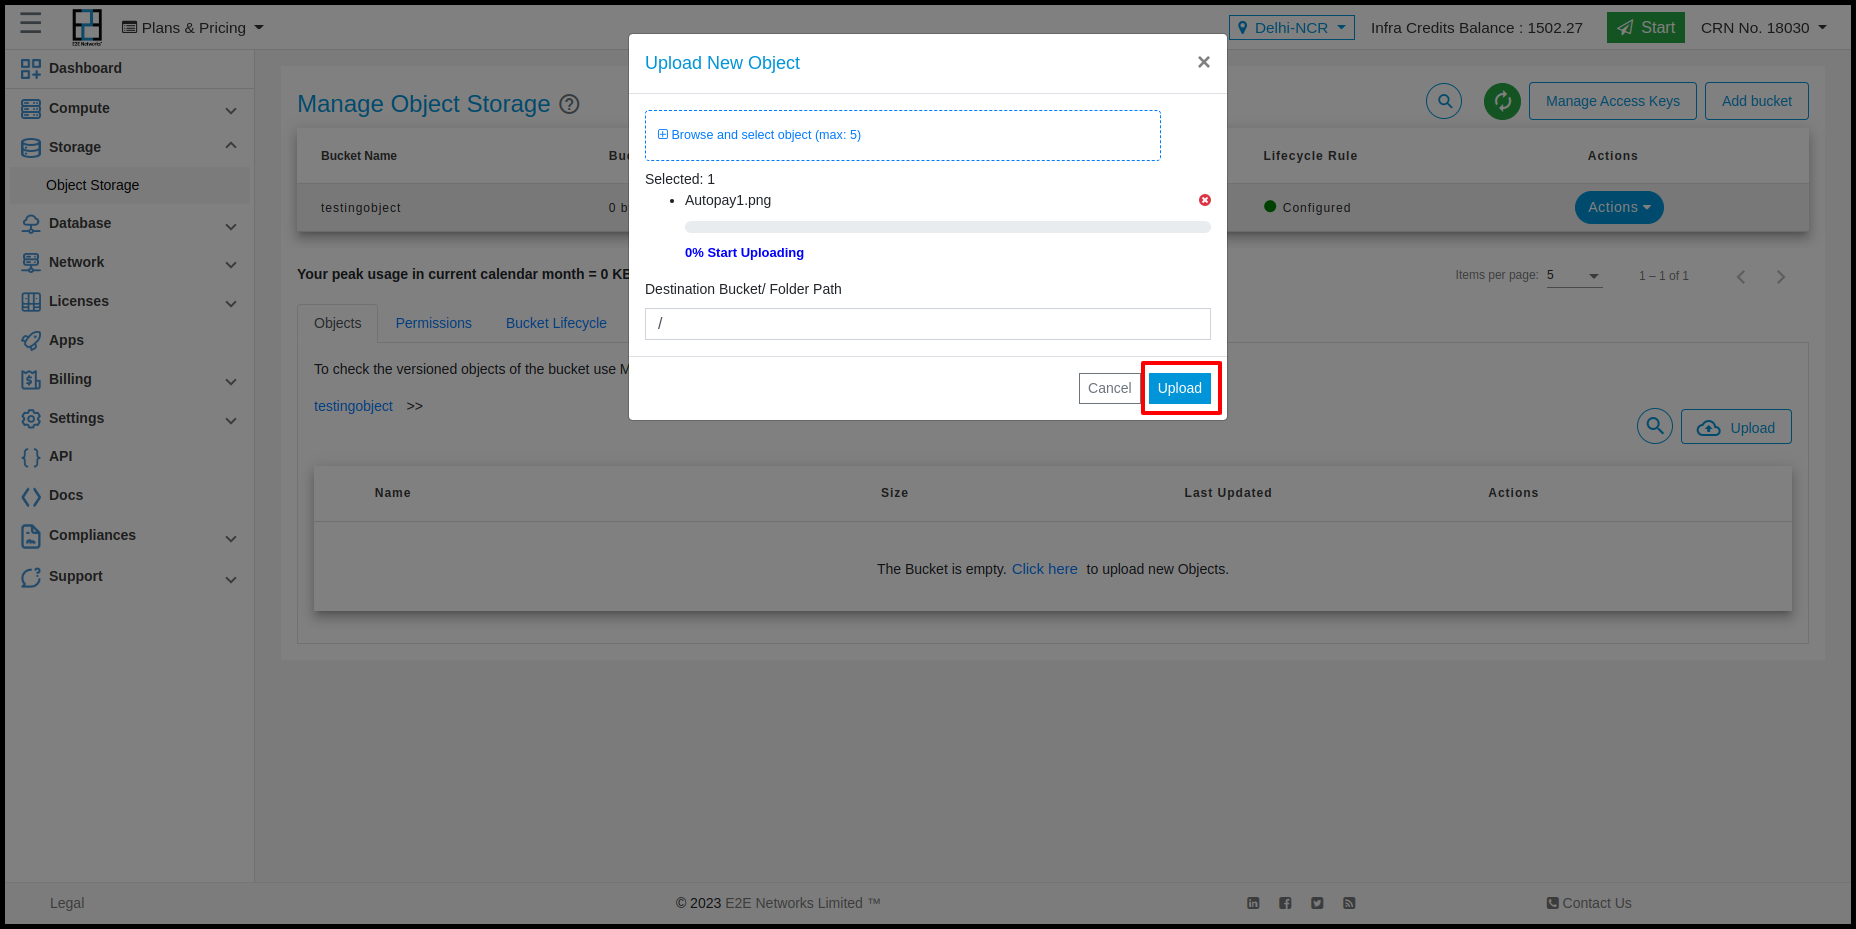
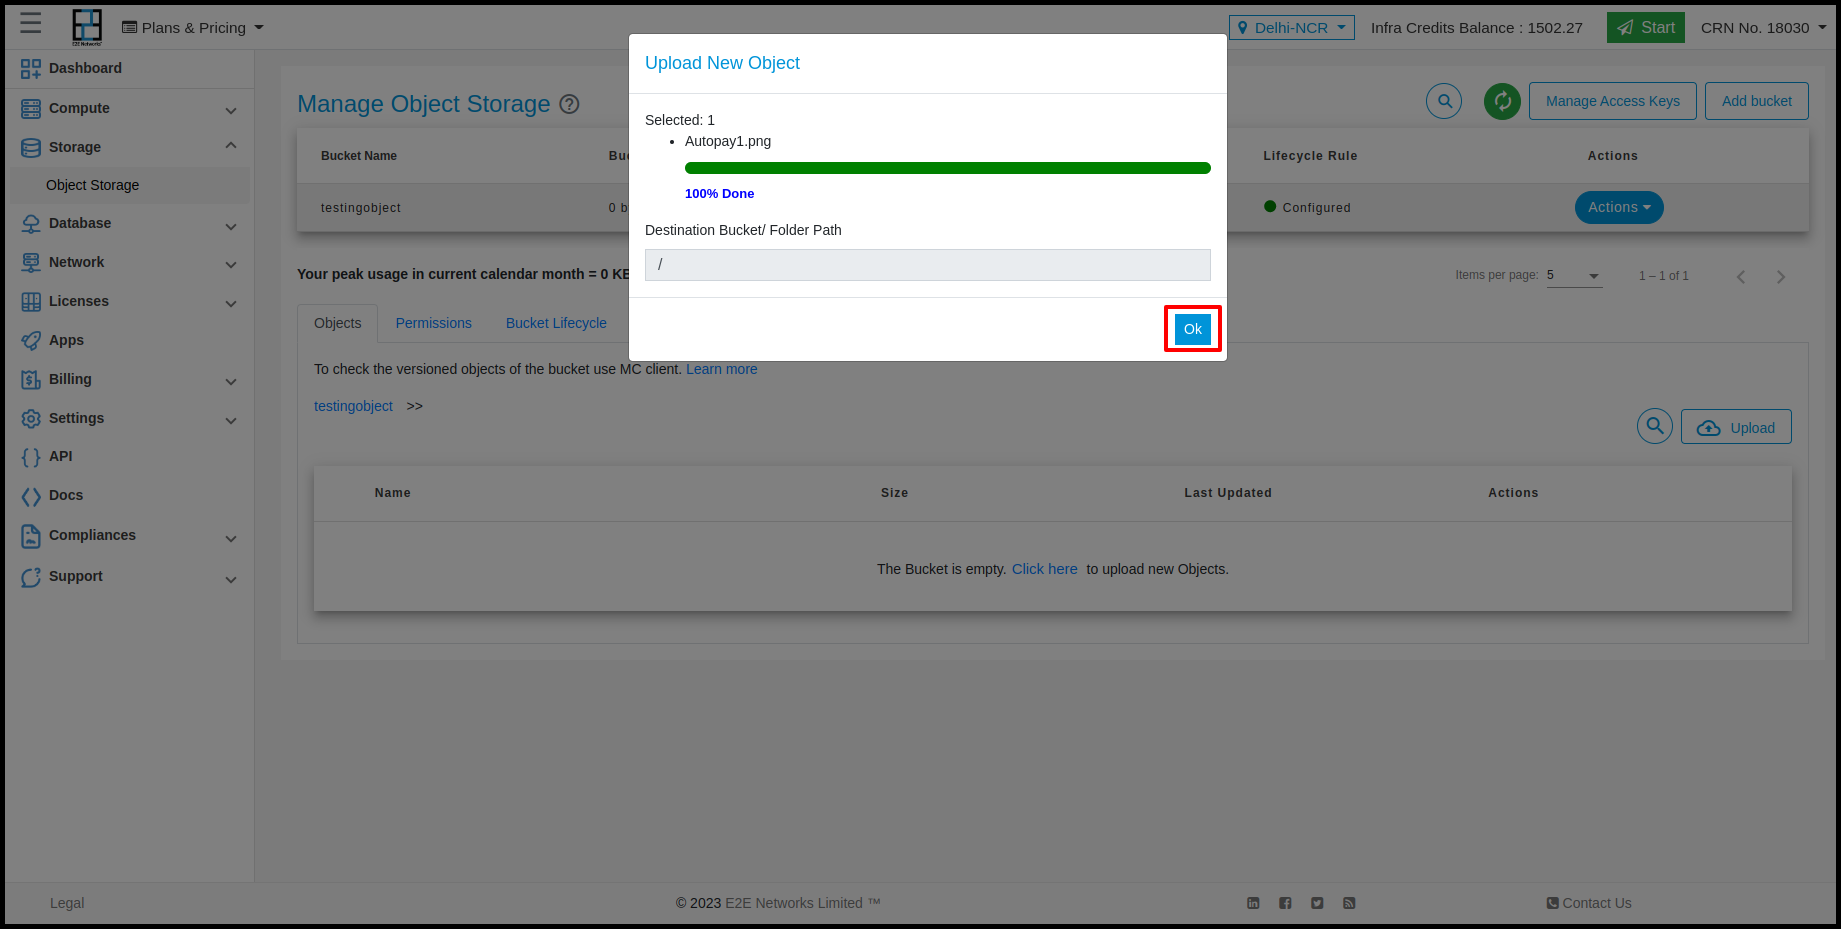
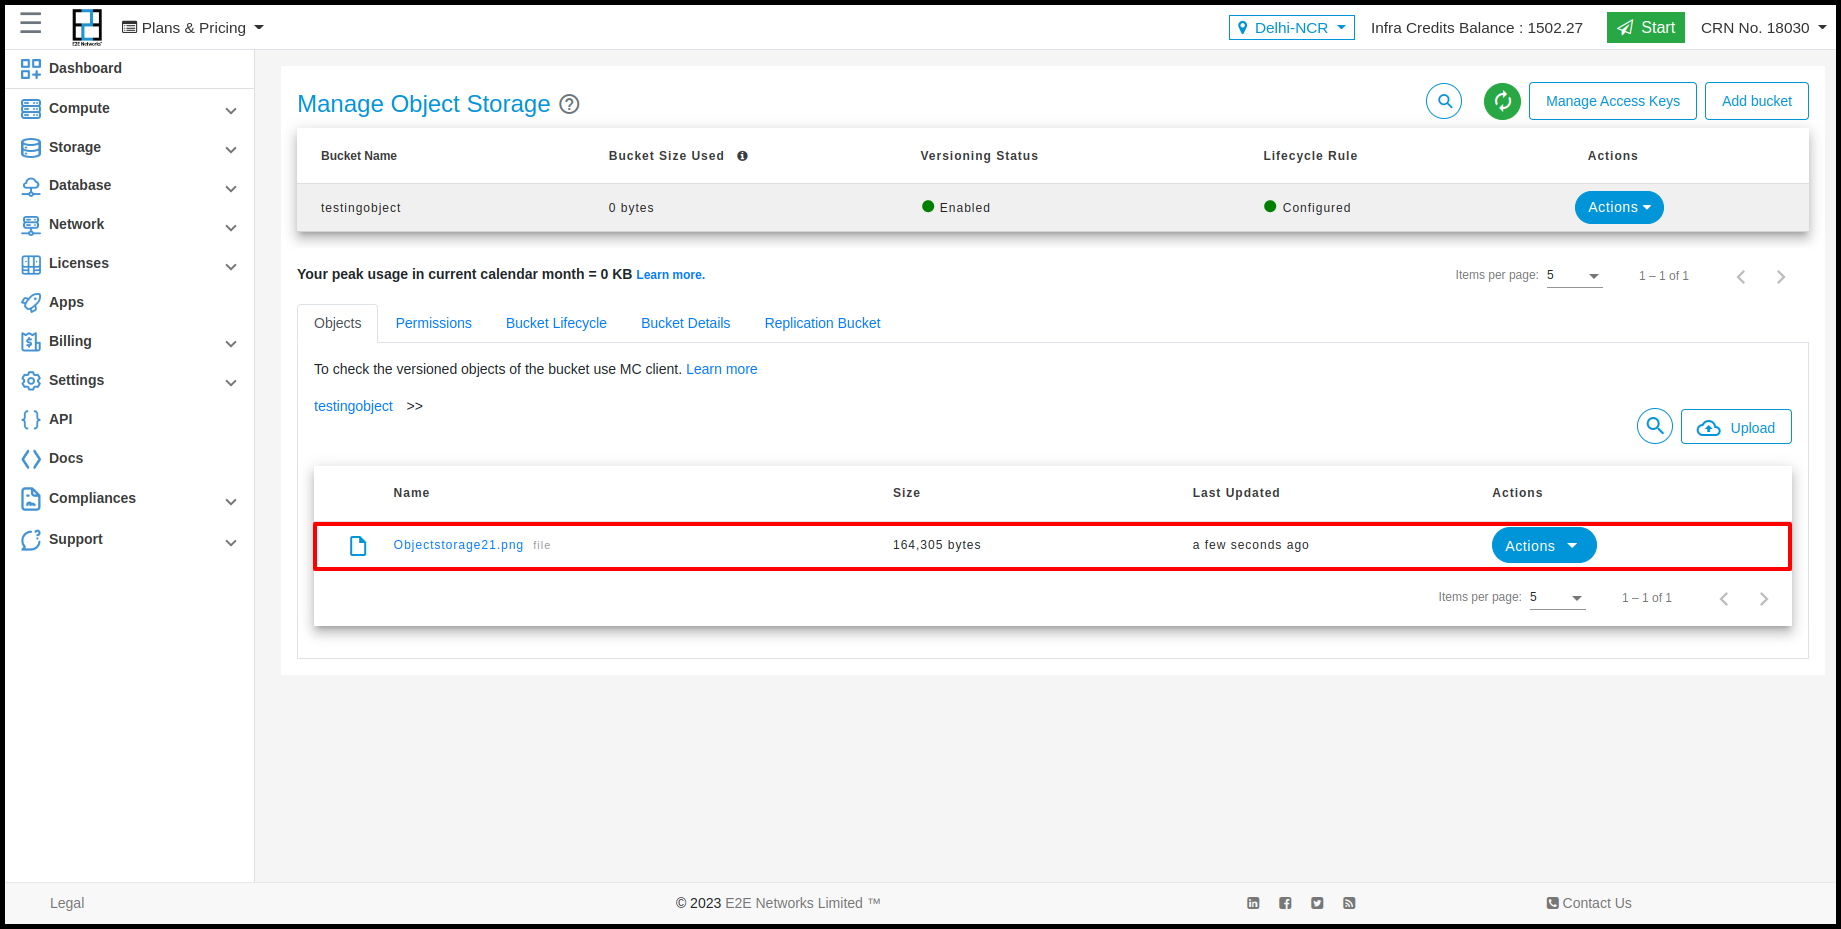
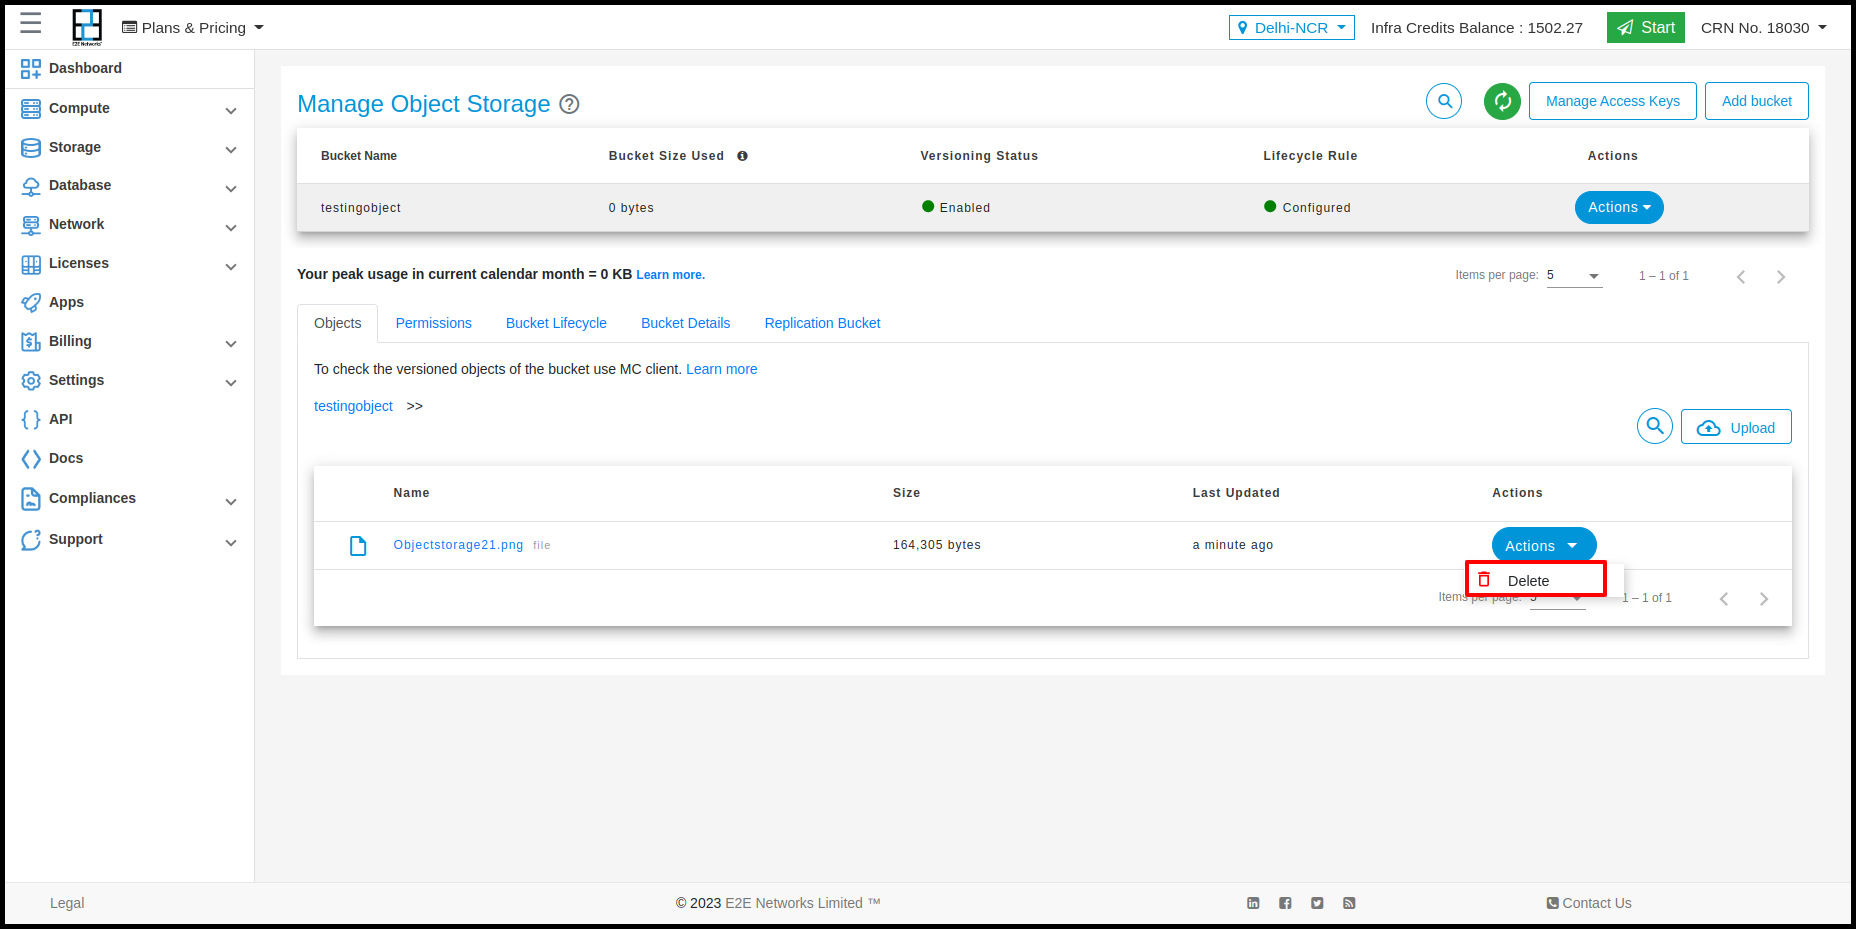
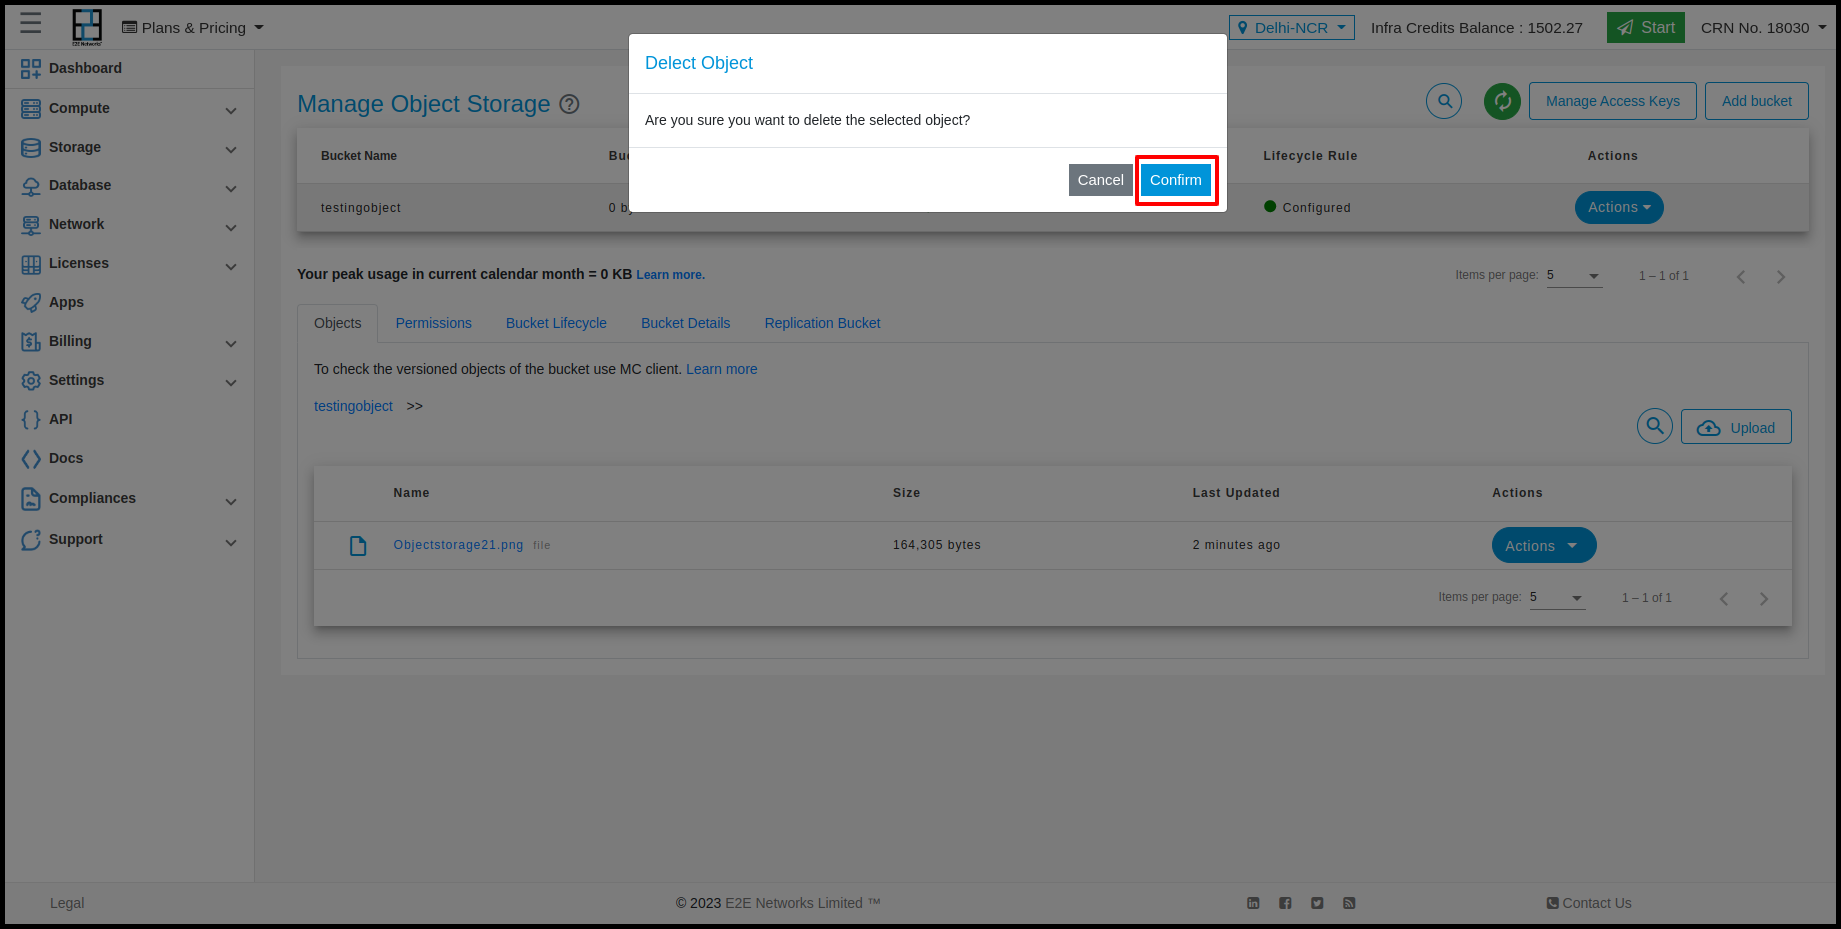
In Objects, the list of objects will be shown. Customers can upload objects from here and perform actions on that.
Permissions
In the Permissions tab, the permission details will be shown, and customers can apply permission on the bucket using access keys and perform actions on that.
Bucket Lifecycle
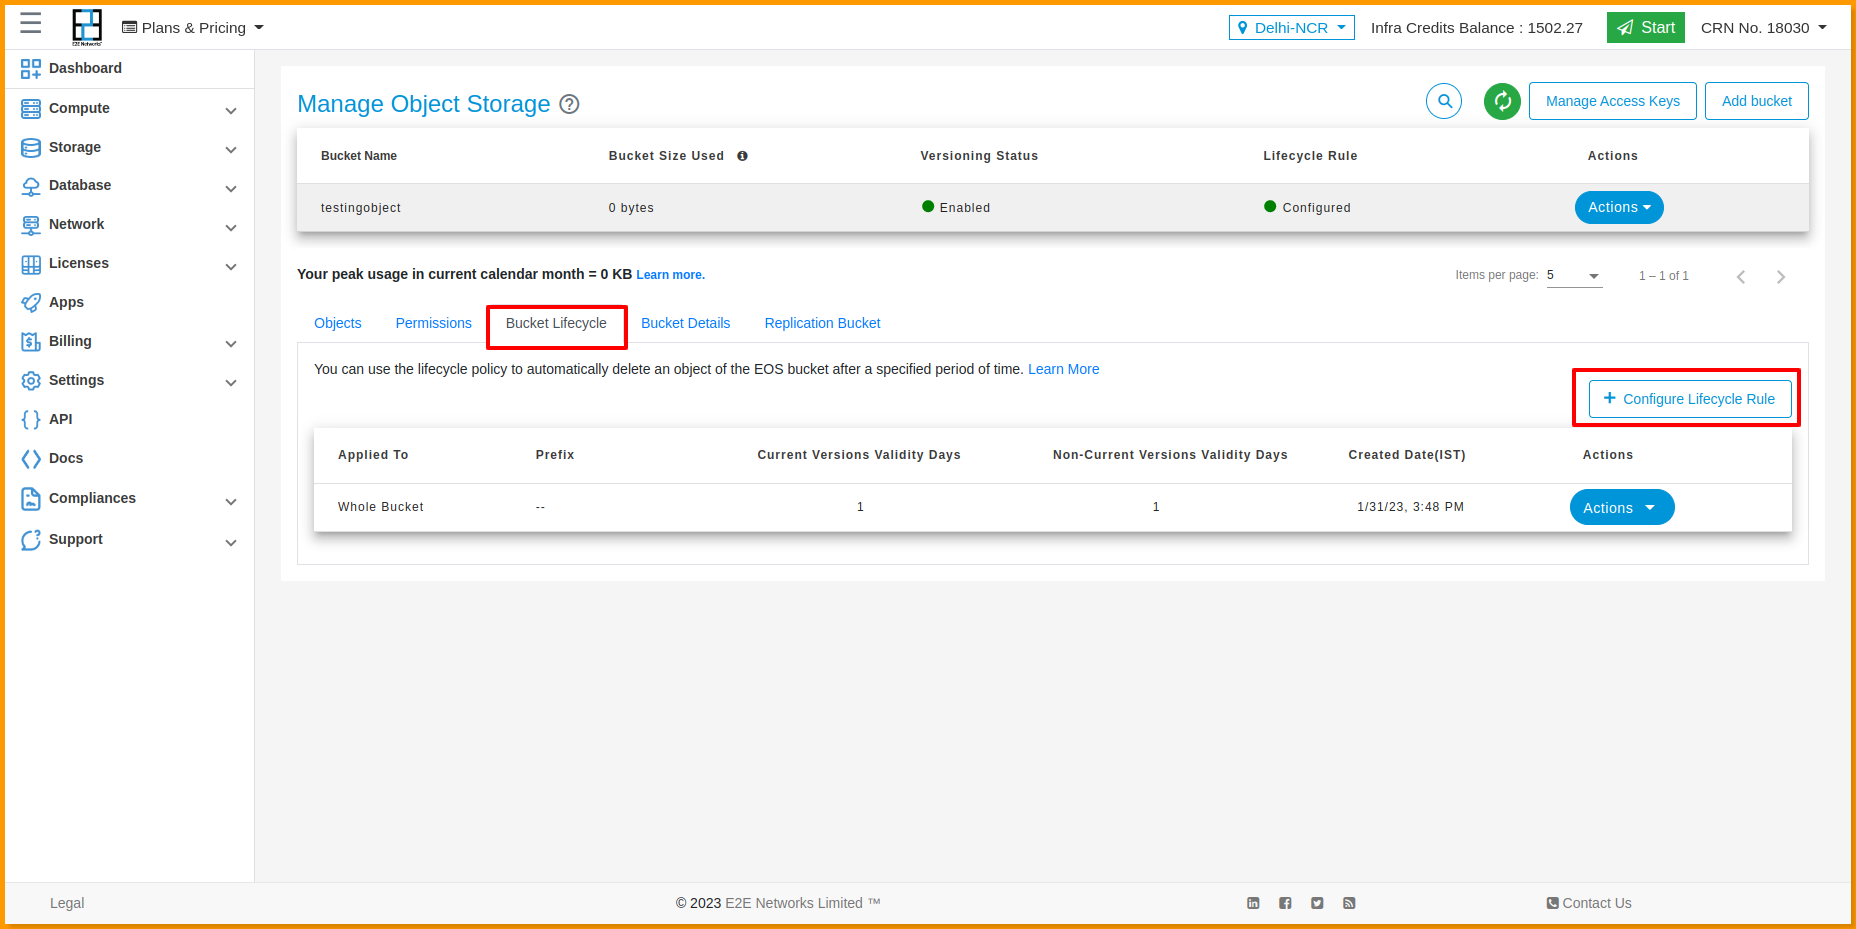
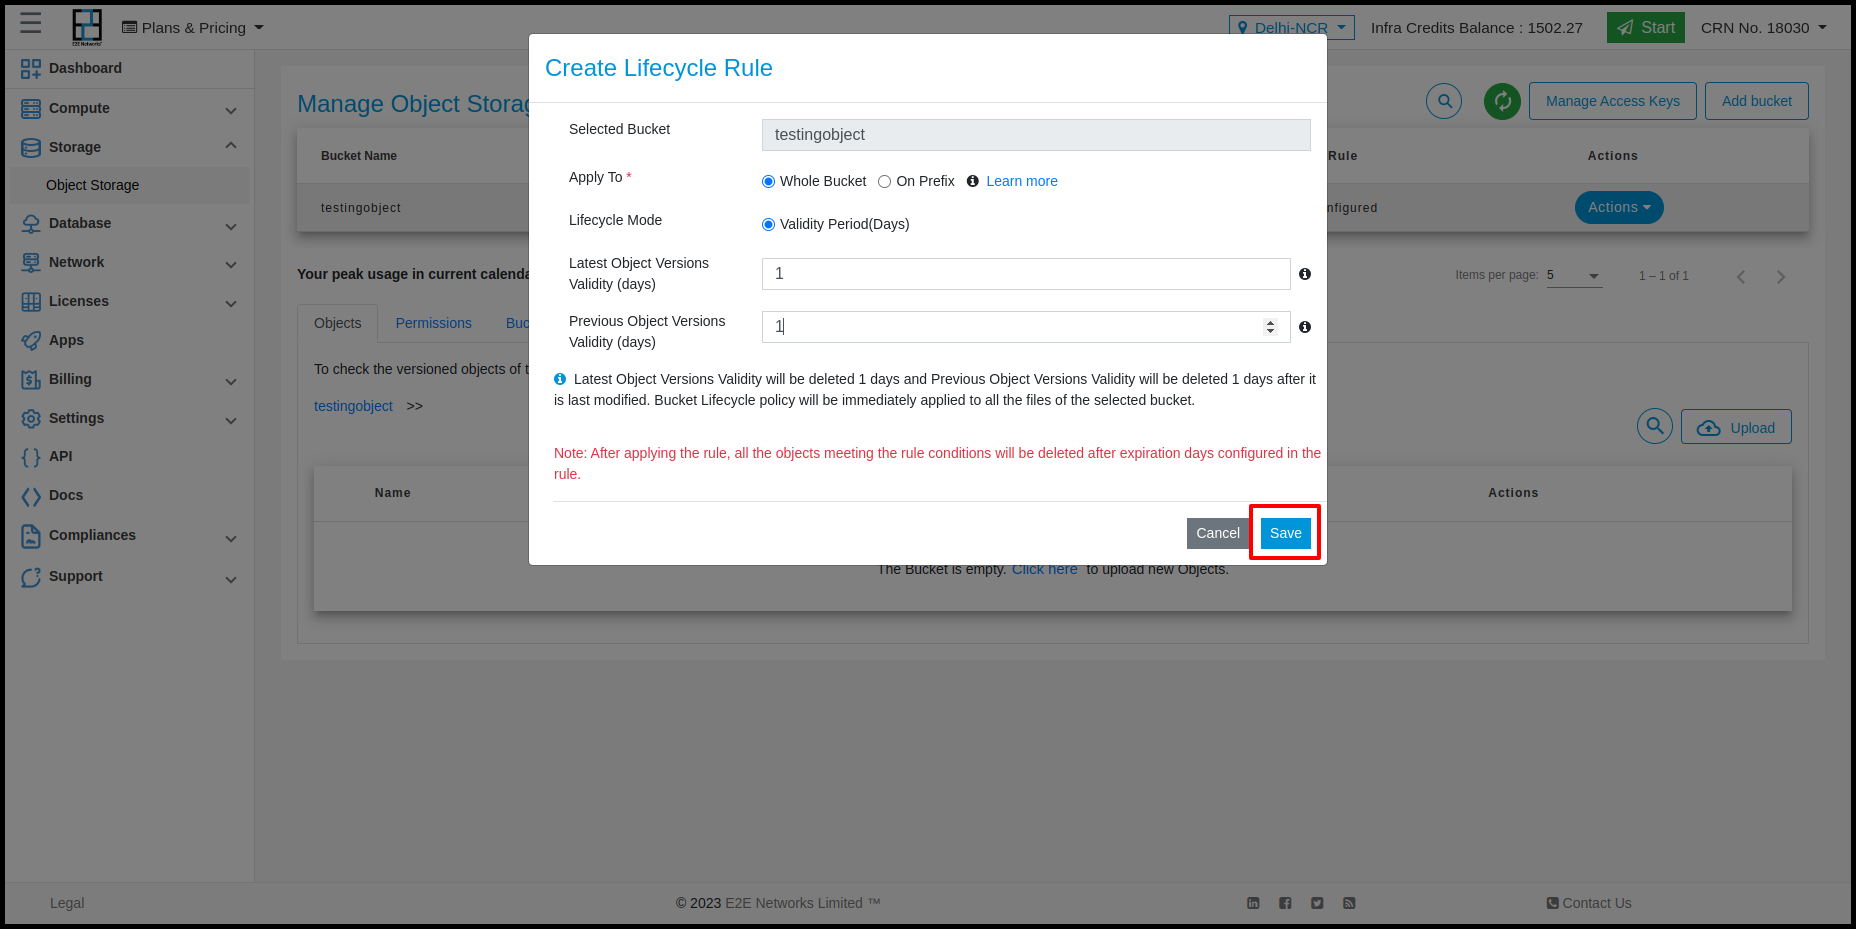
In this section, the lifecycle rules that you have created will be shown, and you can also create and perform actions on this.
Bucket Details
In this section, the details of the bucket will be shown.
Bucket Permissions
If you intend to use CLI or API for accessing your data on EOS, you will need to define bucket permissions.
-
Go to Products > Storage option in the sidebar menu.
-
Choose any bucket or create a new one.
-
Click the permission tab; it will be opened for the selected bucket.
-
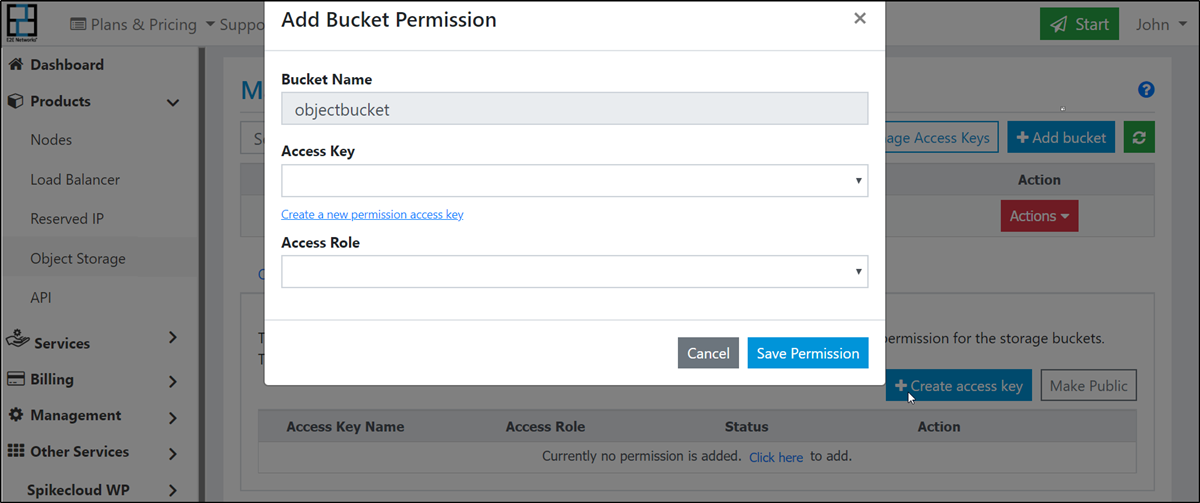
Click the Create access key button.
-
Enter a name for your access key. This can be an application name, project name, or a team member name.
-
Choose an access key or create a new access key.
-
Assign a role:
Role Description bucket admin can read, write, manage bucket writer can read, write bucket reader can read -
Save the permission.