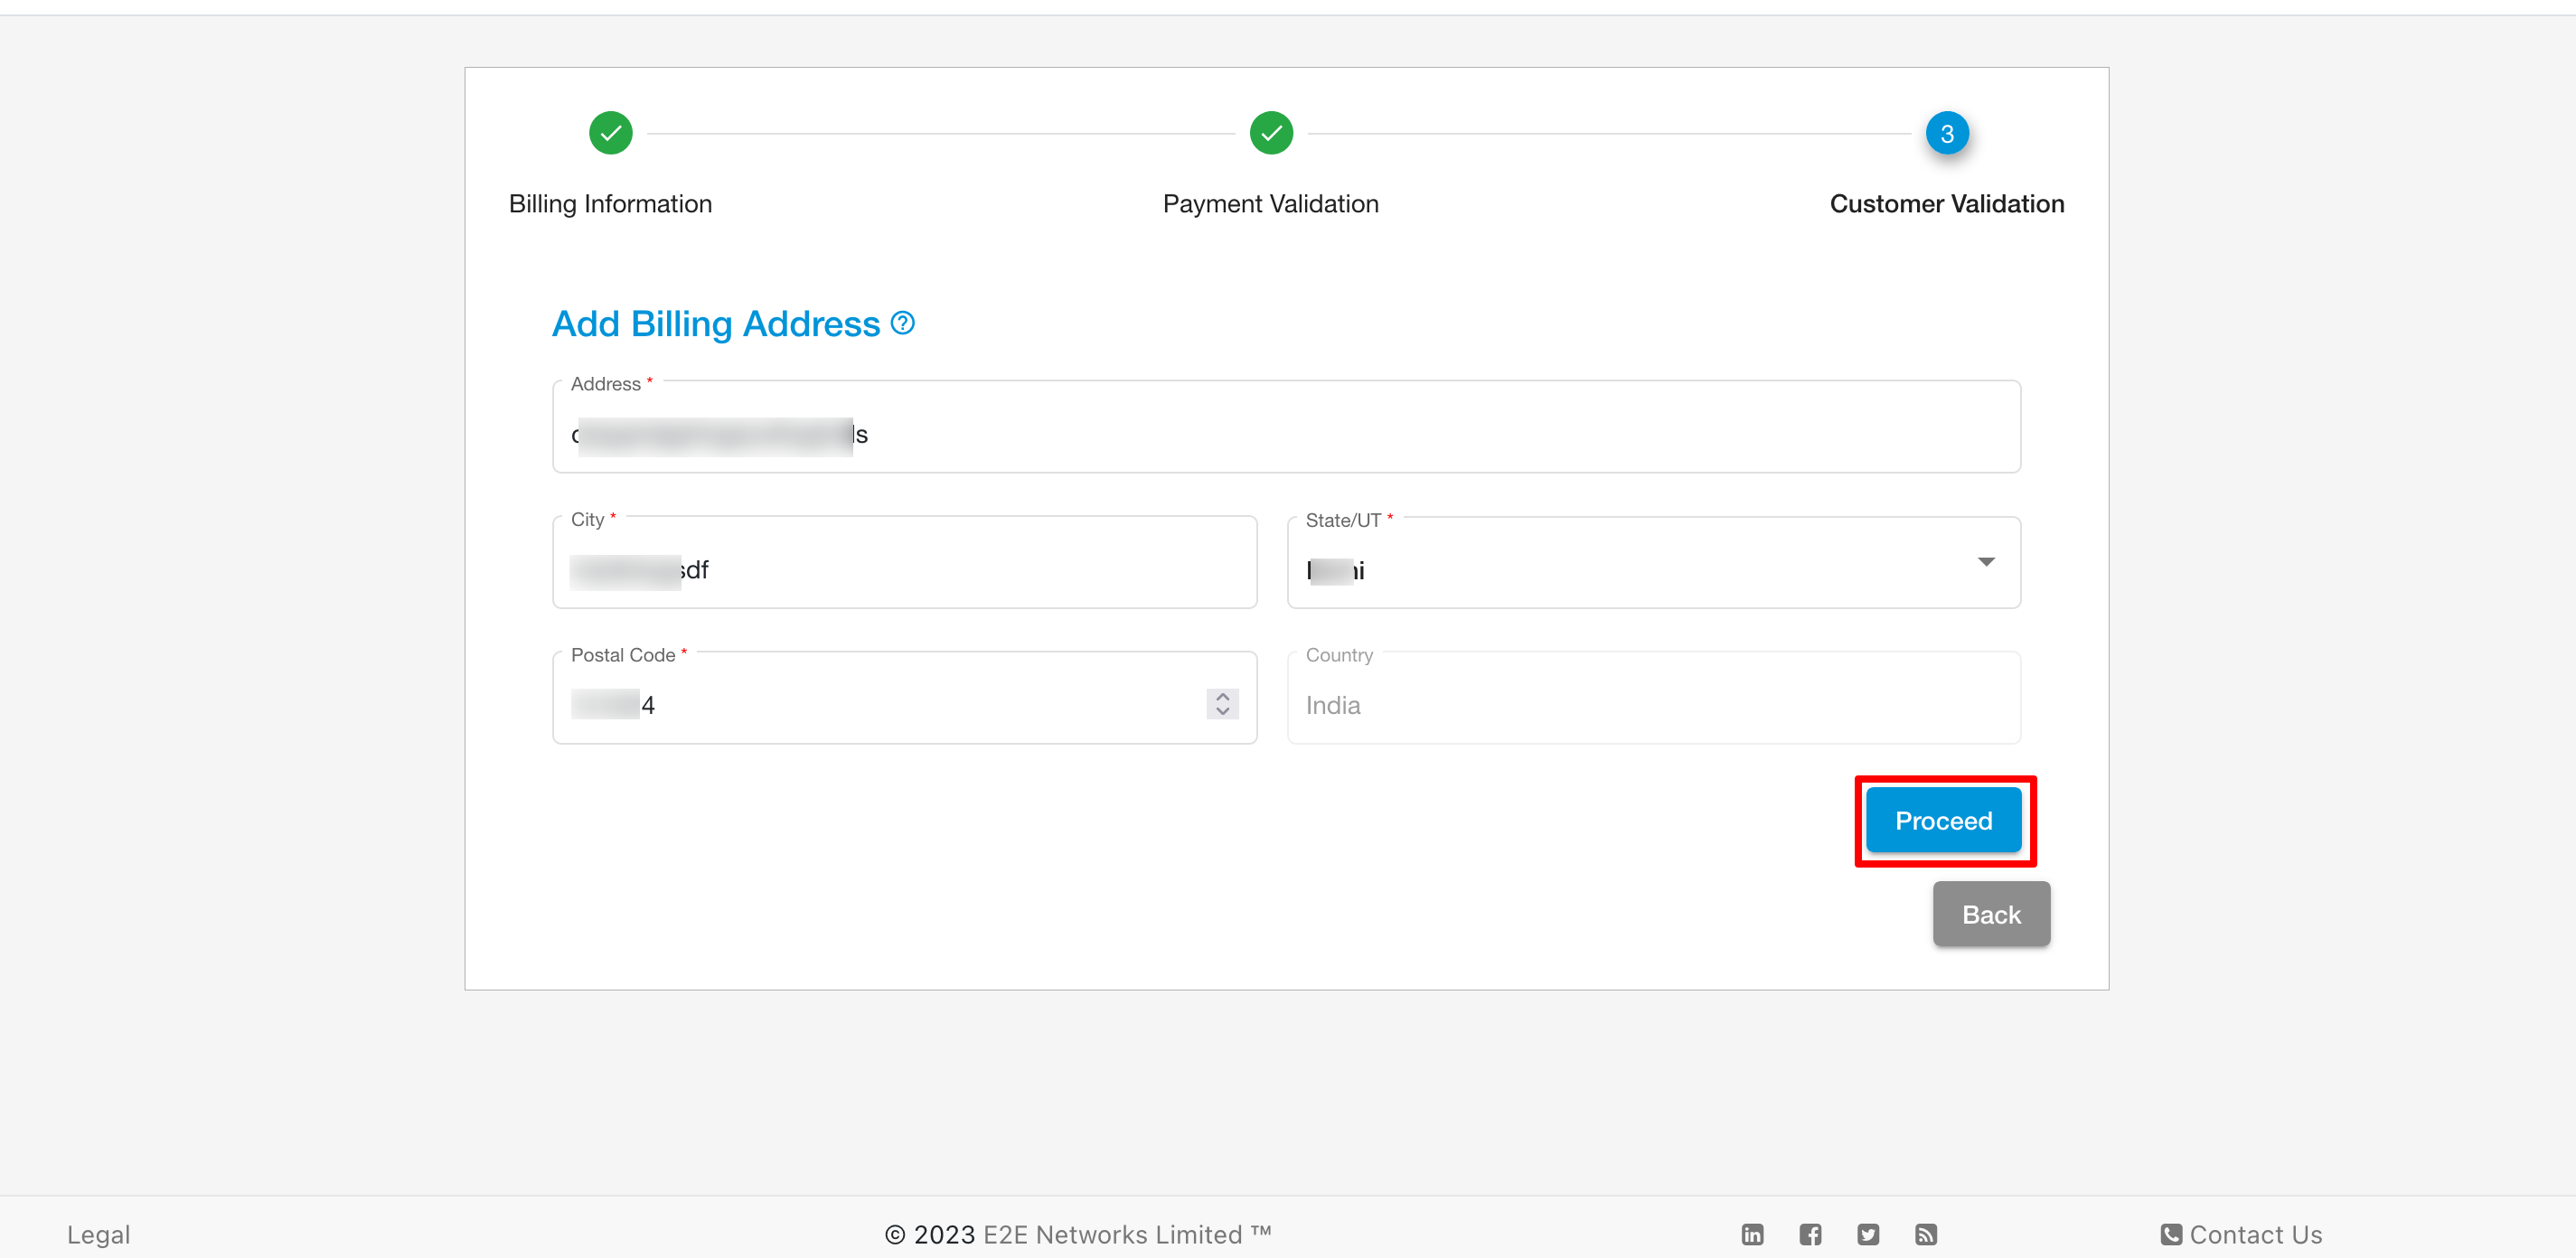
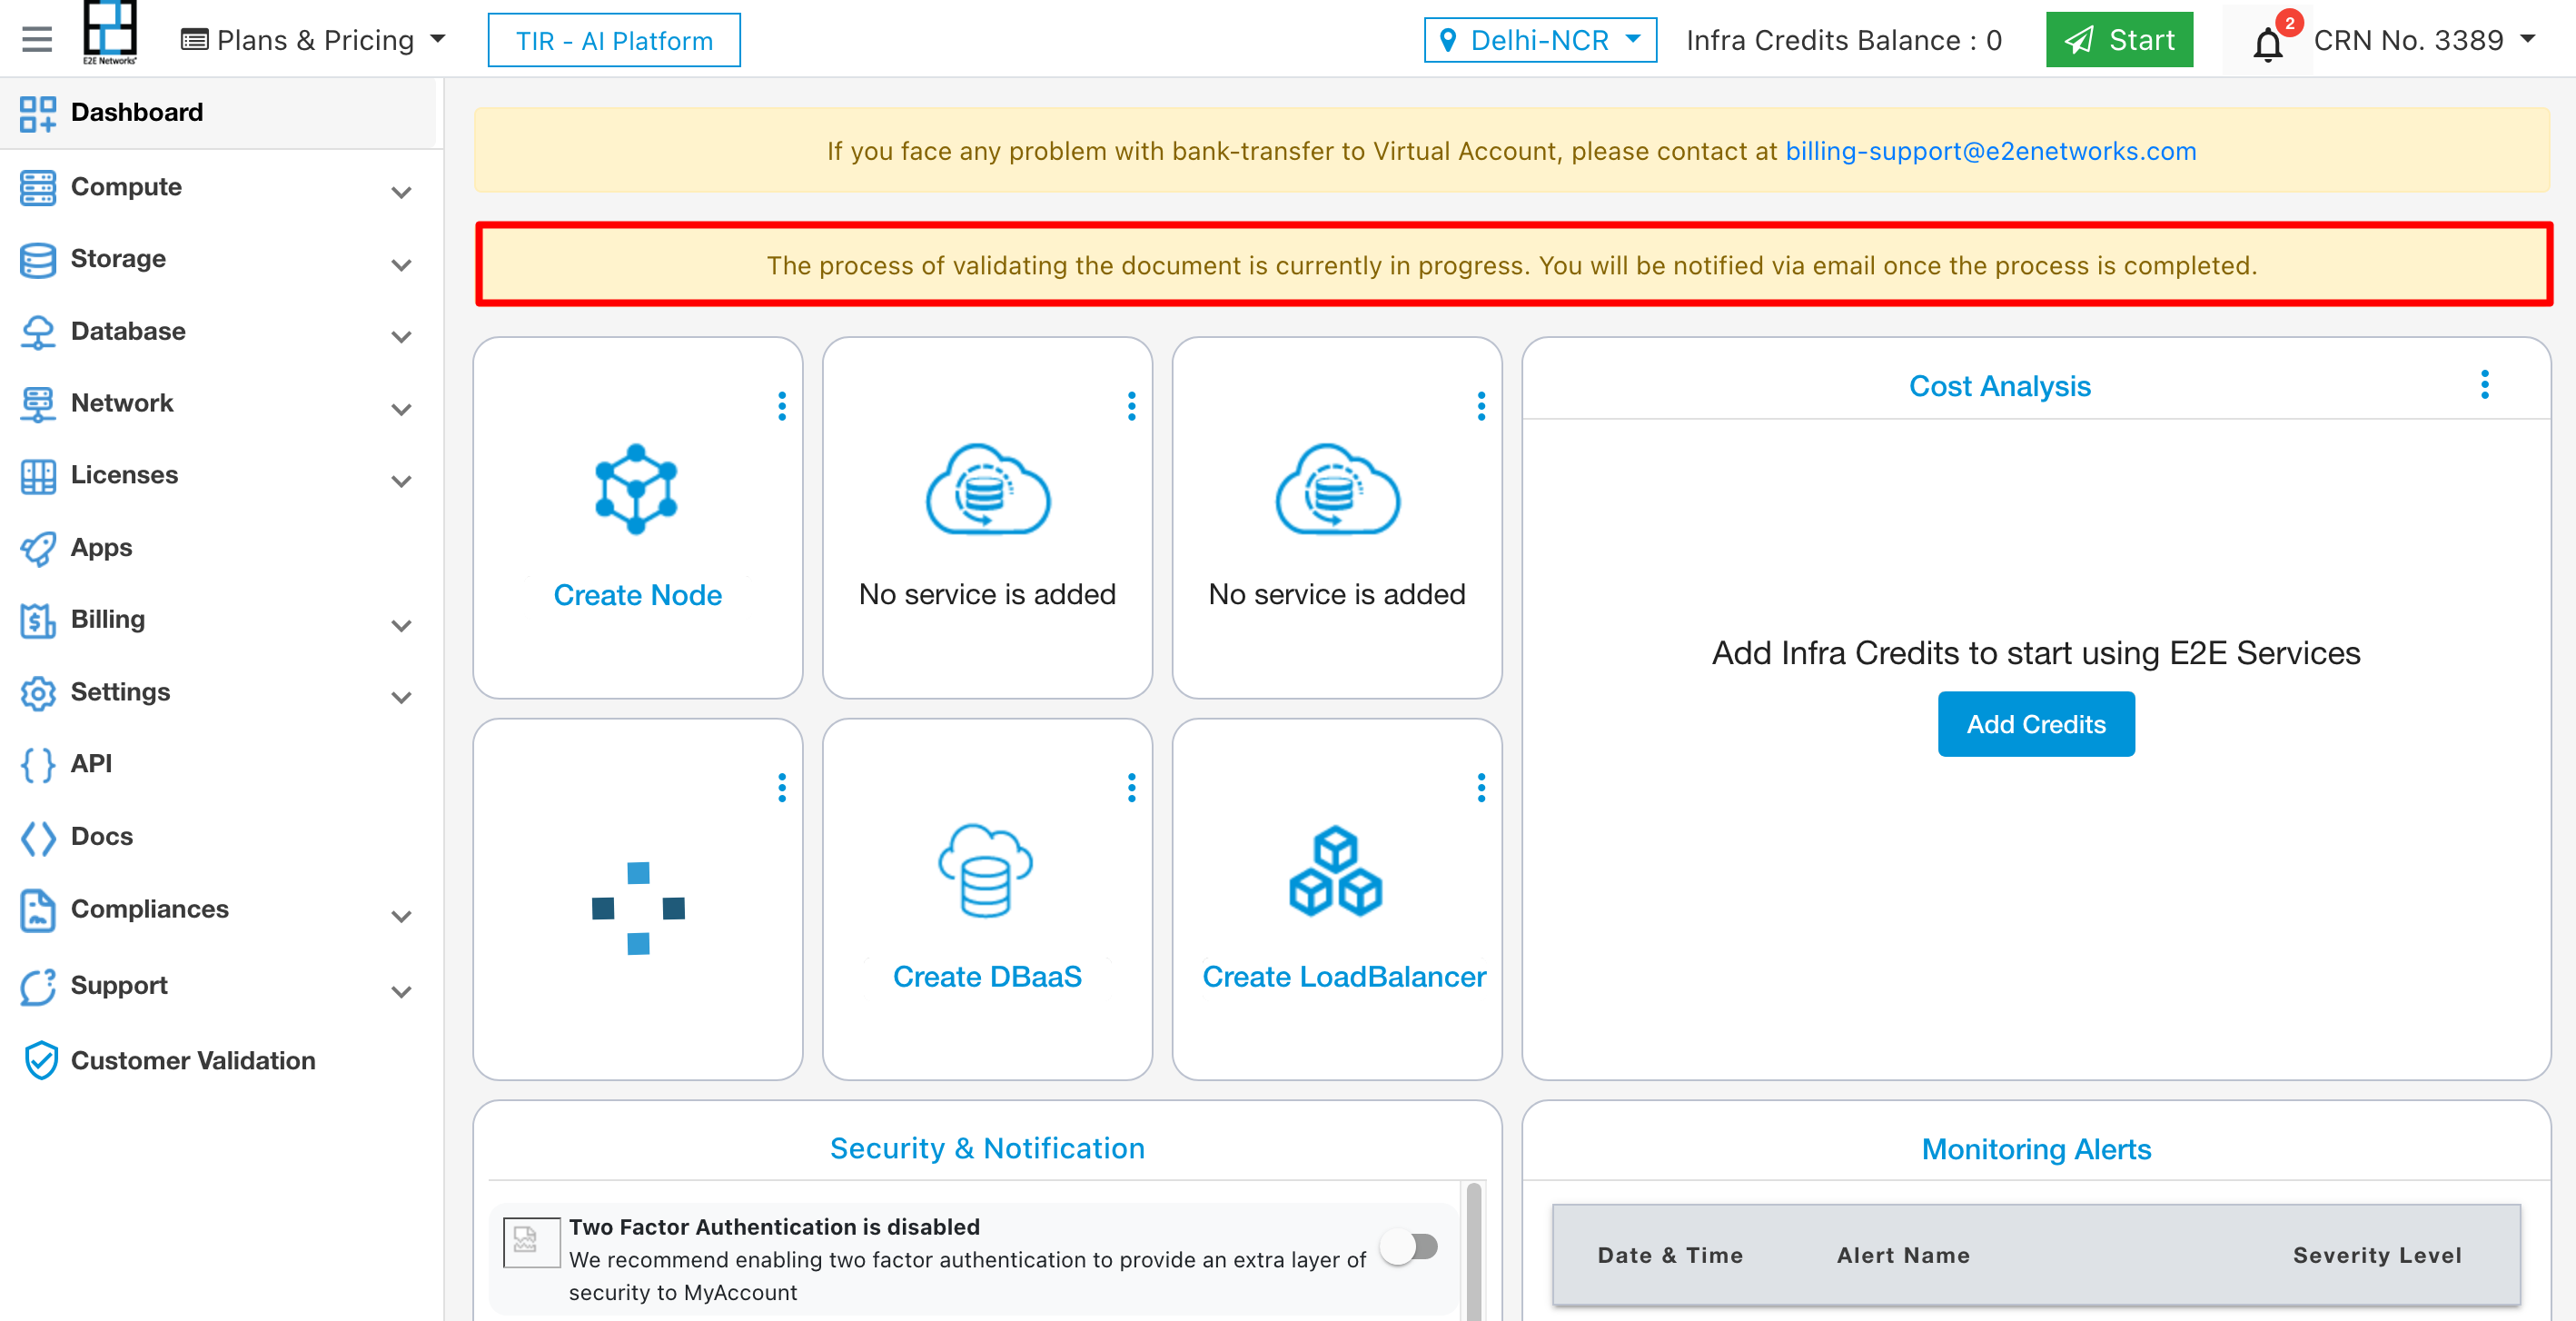
Customer Validation
For Indian Customer
Aadhaar Validation
If the user clicks the option to Initiate, the page will redirect for Aadhaar validation. After completing the Aadhaar validation, the default address will be displayed on the screen, which will be the same as the Aadhaar address. There is an option to add another address if the user wants to add one. After completing the address wizard, the user will need to do the payment verification process. After completion of all processes, the user will be able to use My Account.
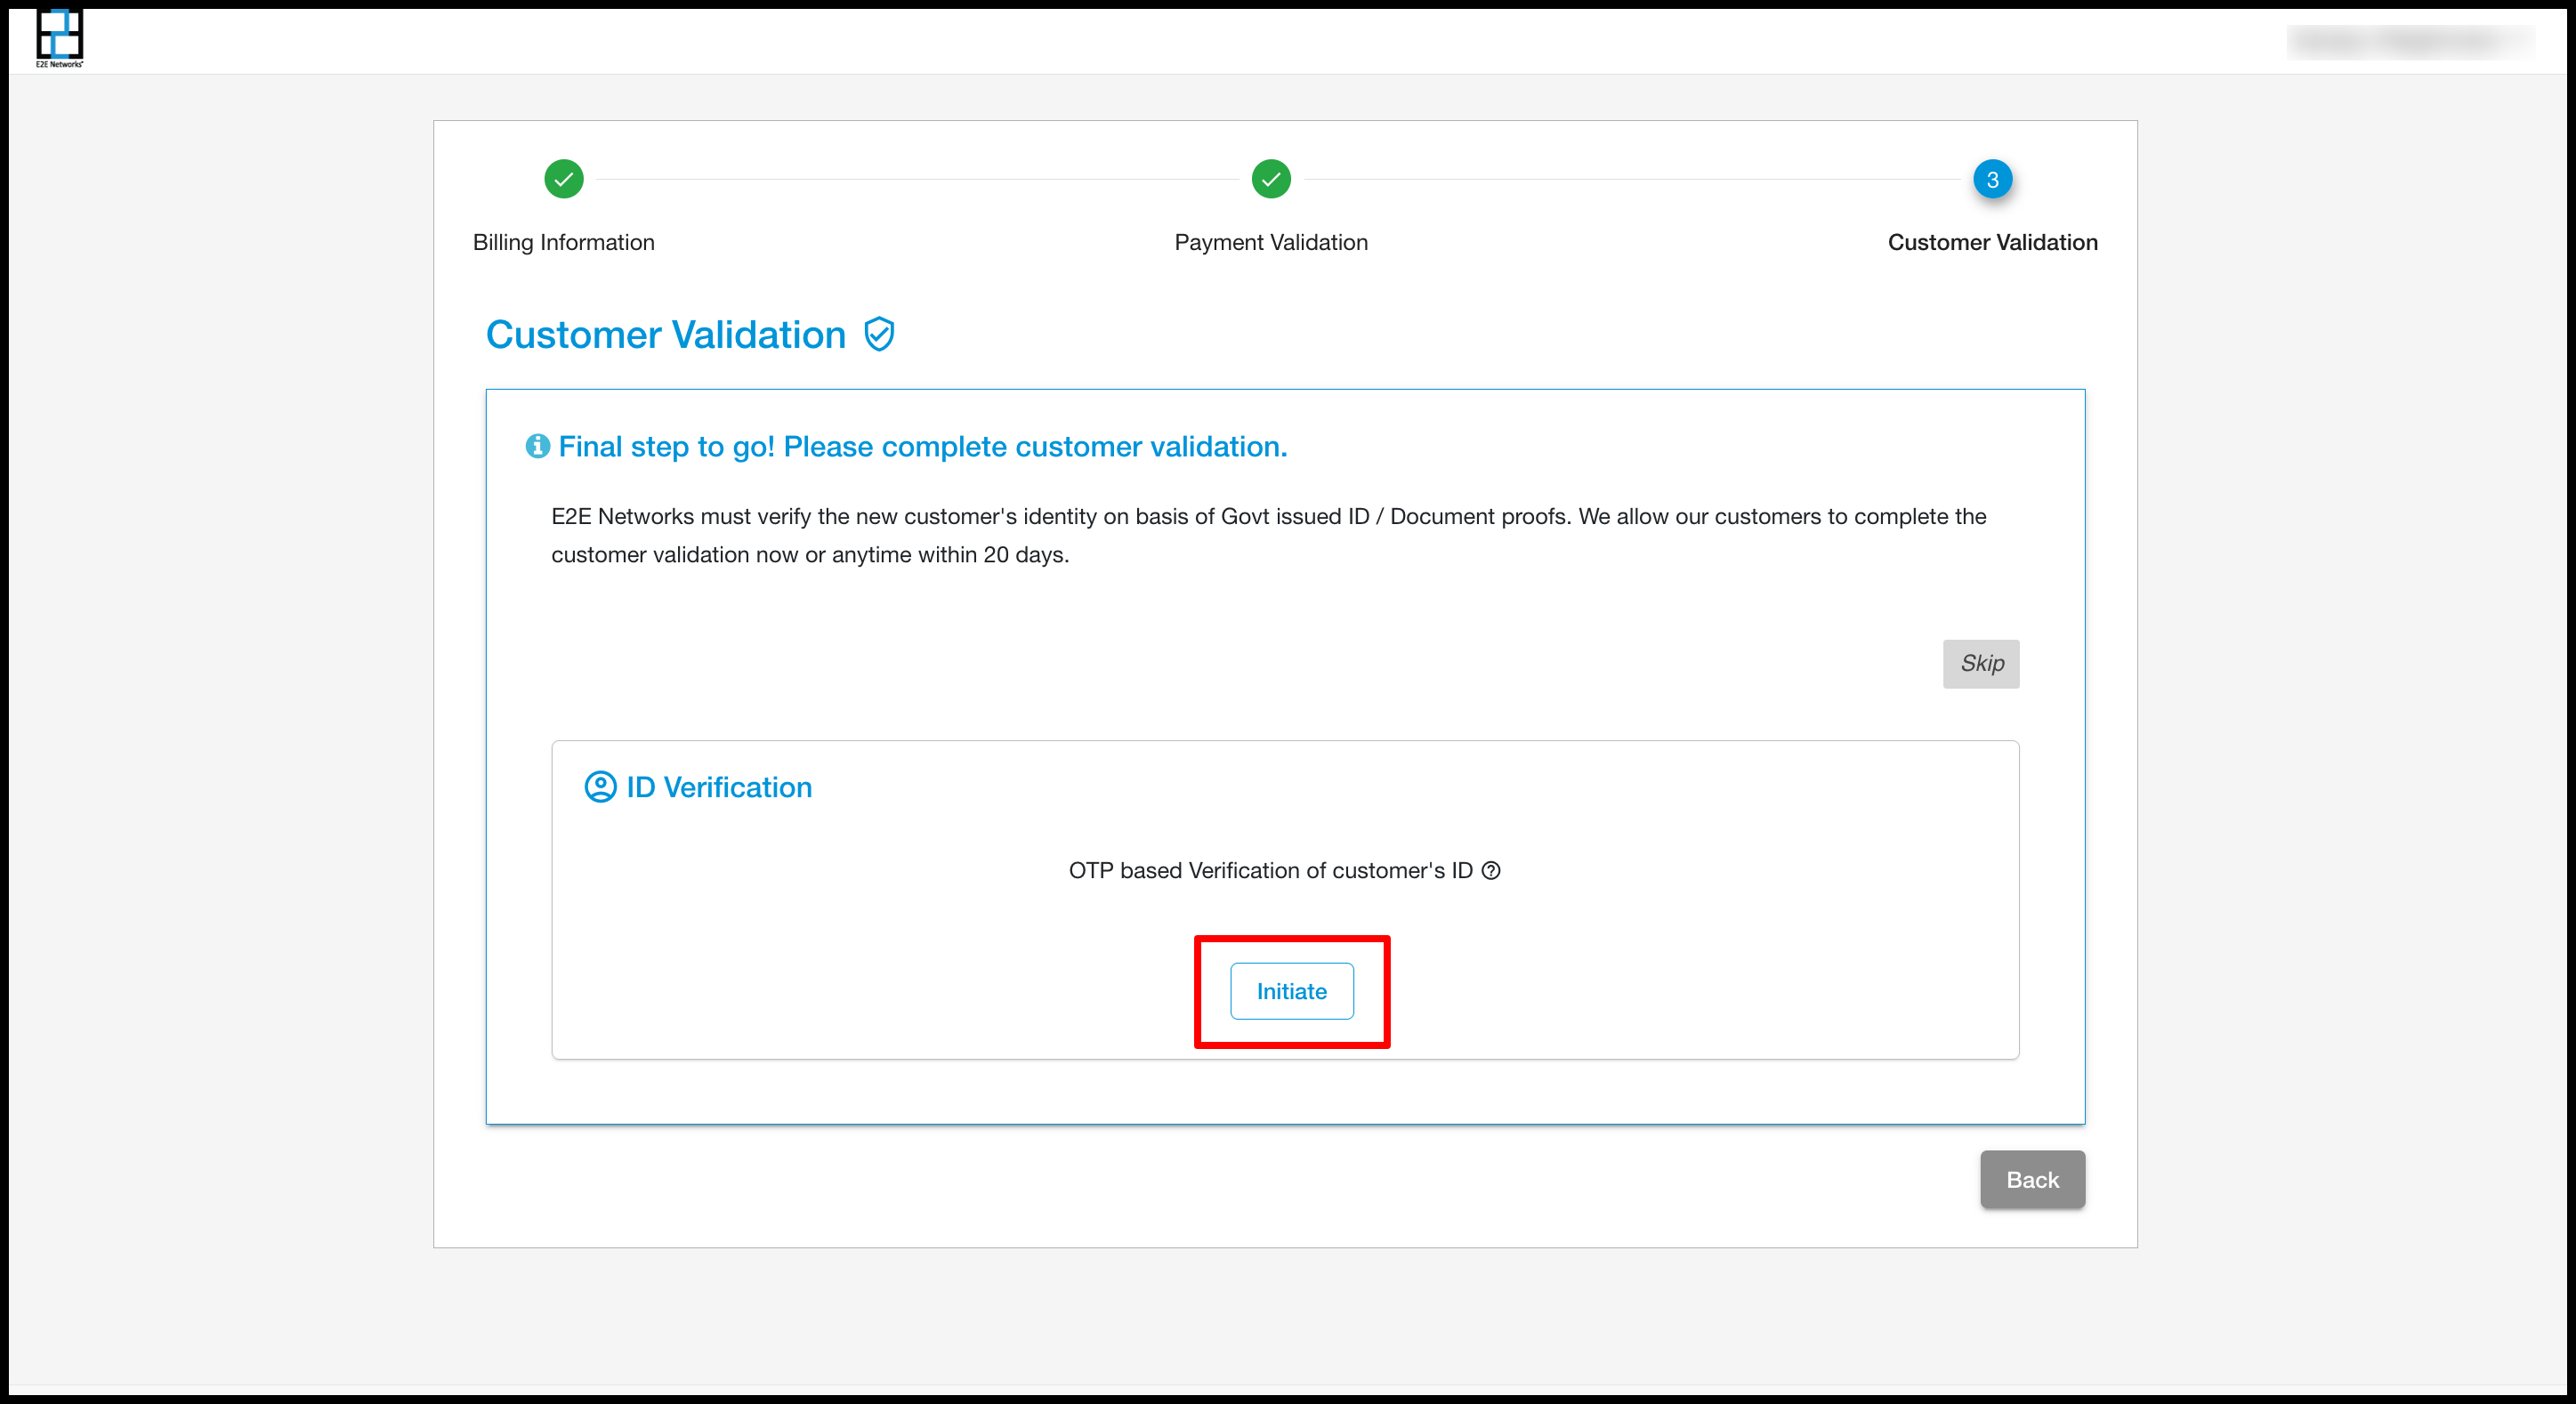
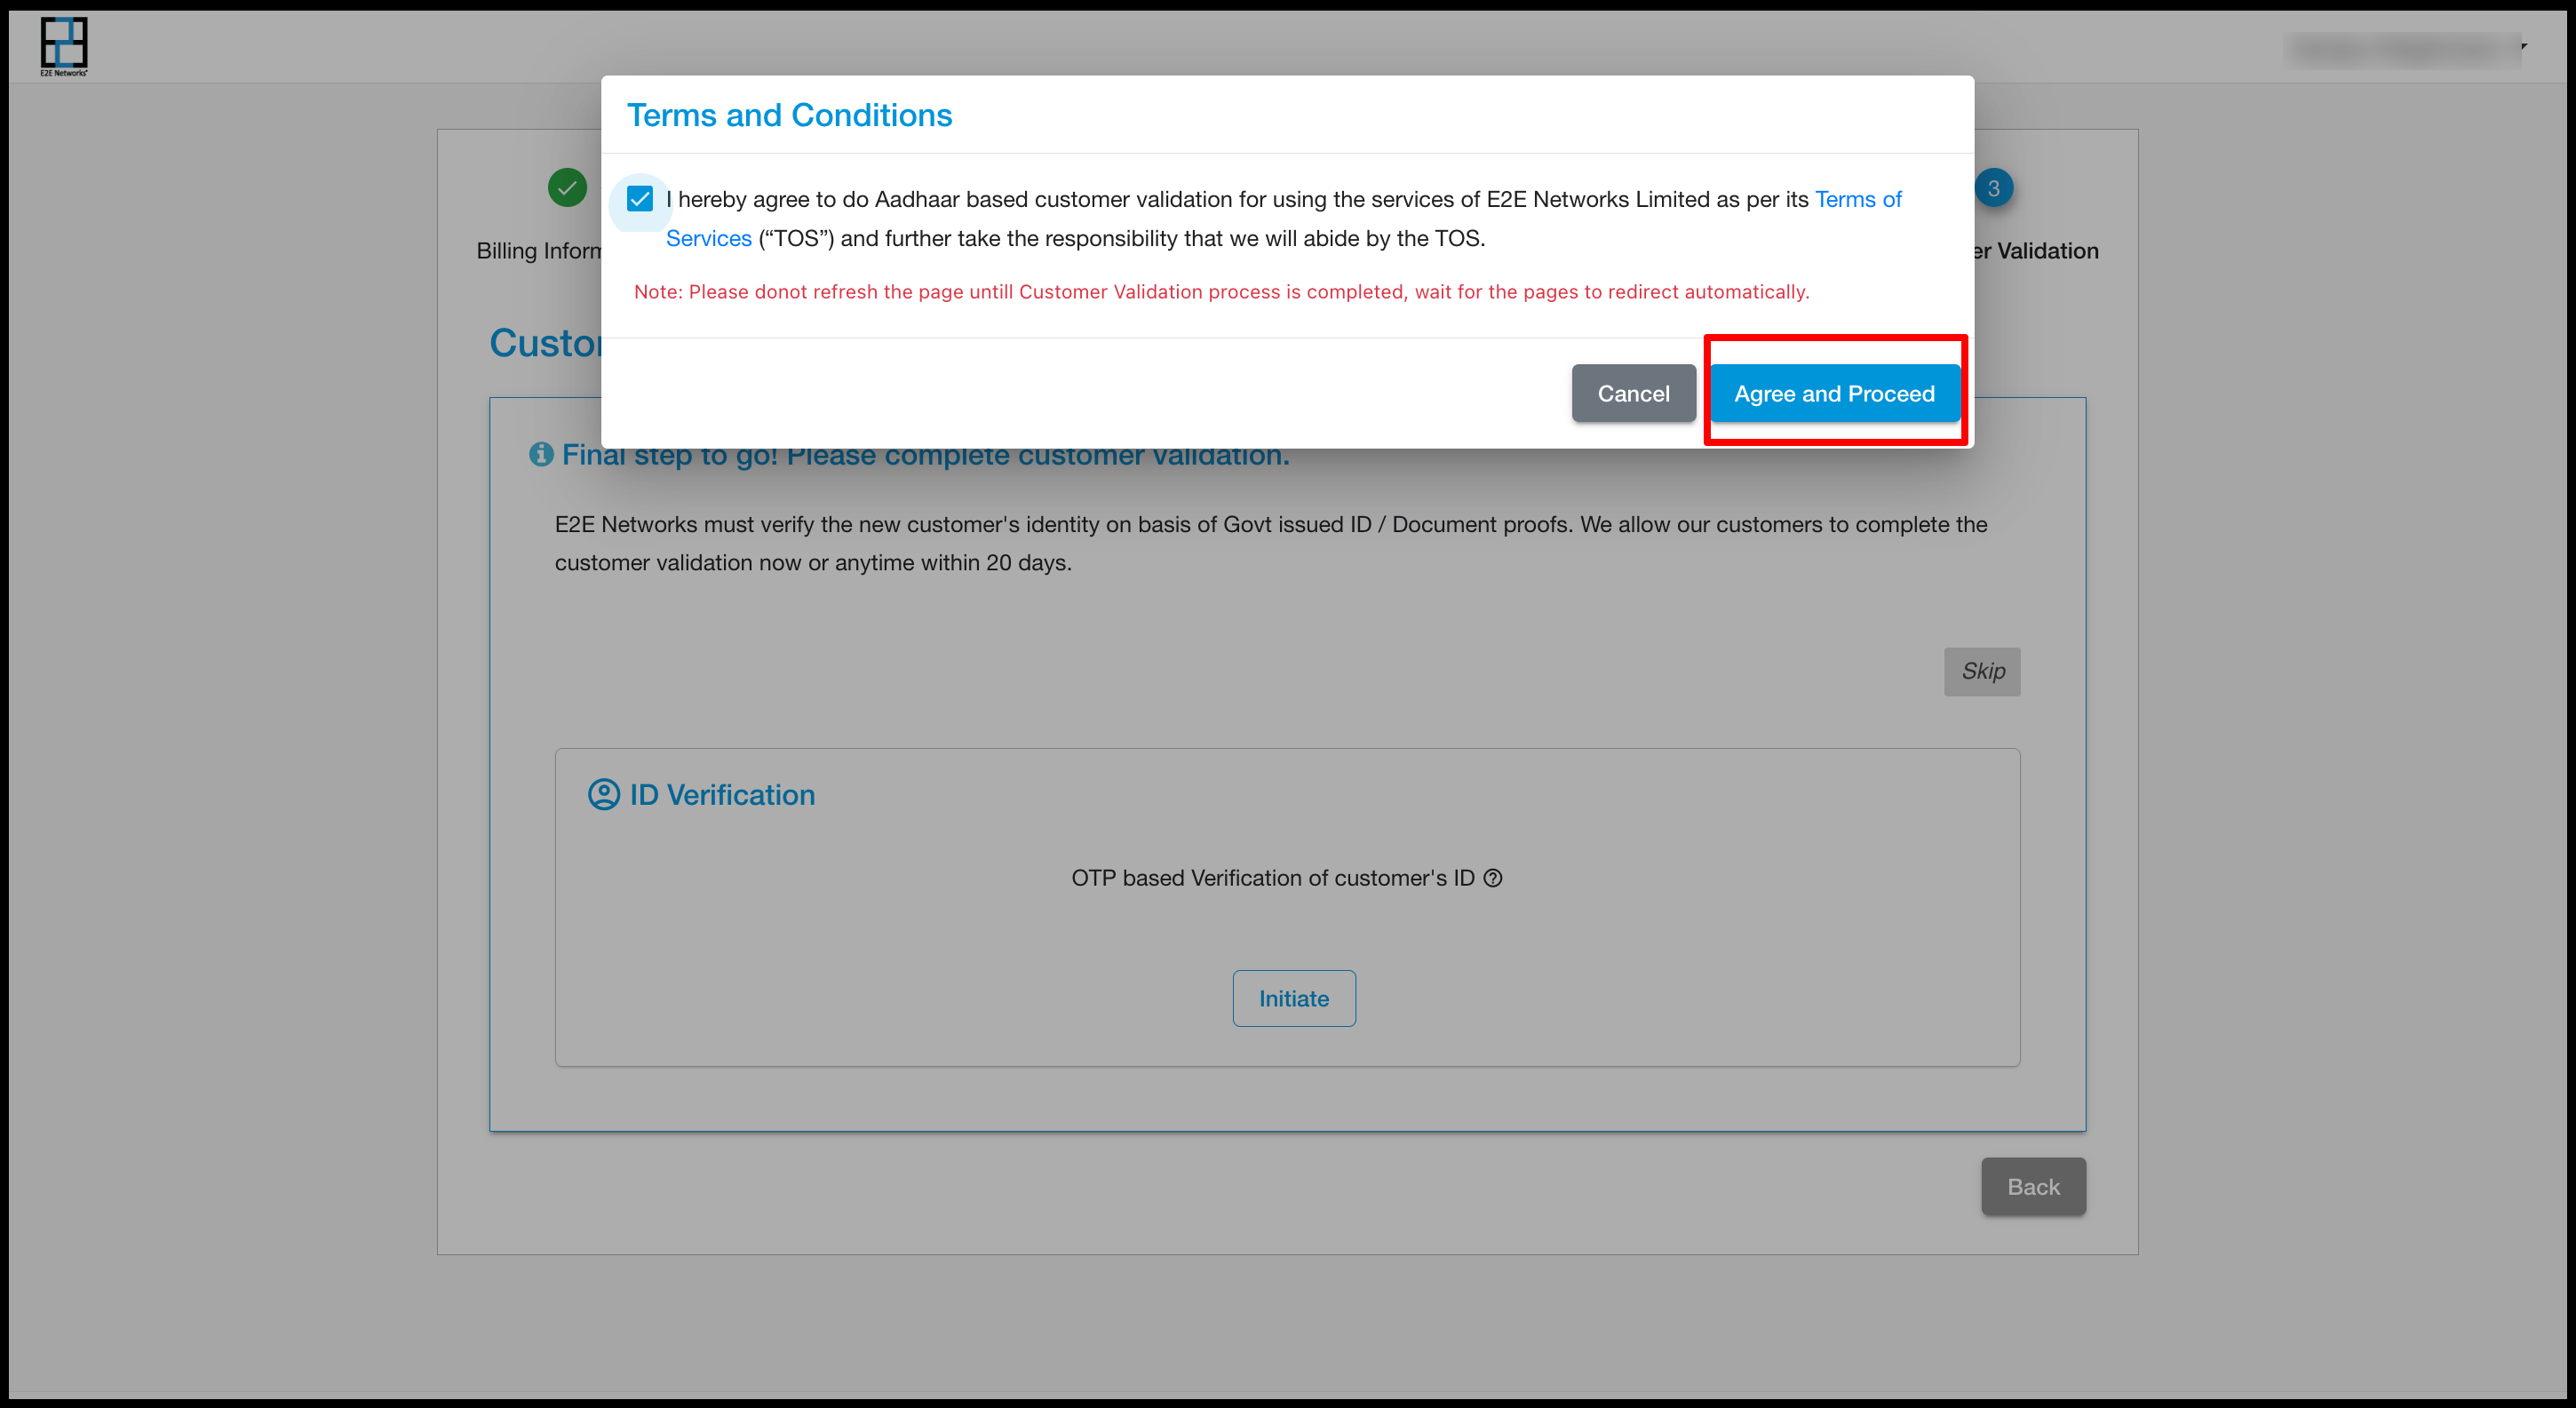
After clicking Initiate, a pop-up will appear showing a message like:
Aadhaar-based validation for the services for E2E Networks Ltd.
Then click Agree and Proceed.
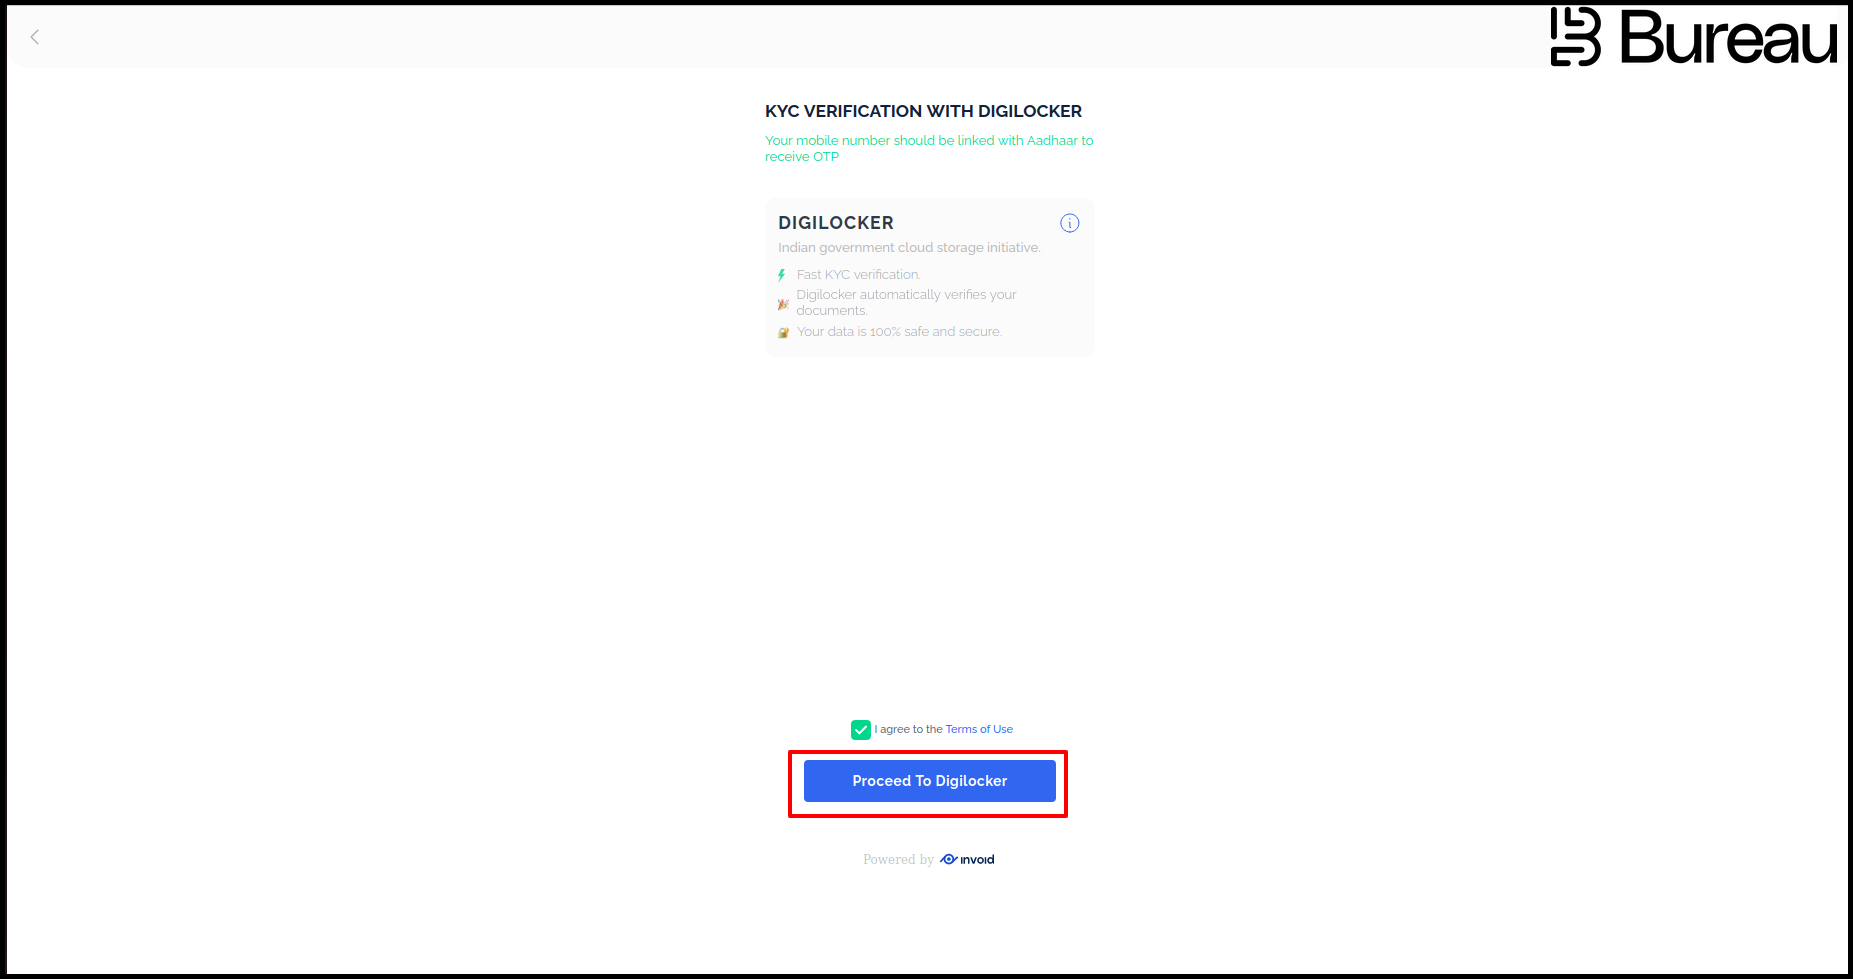
Then it will redirect to the Bureau site for KYC verification with Digilocker. Click on Proceed to Digilocker.
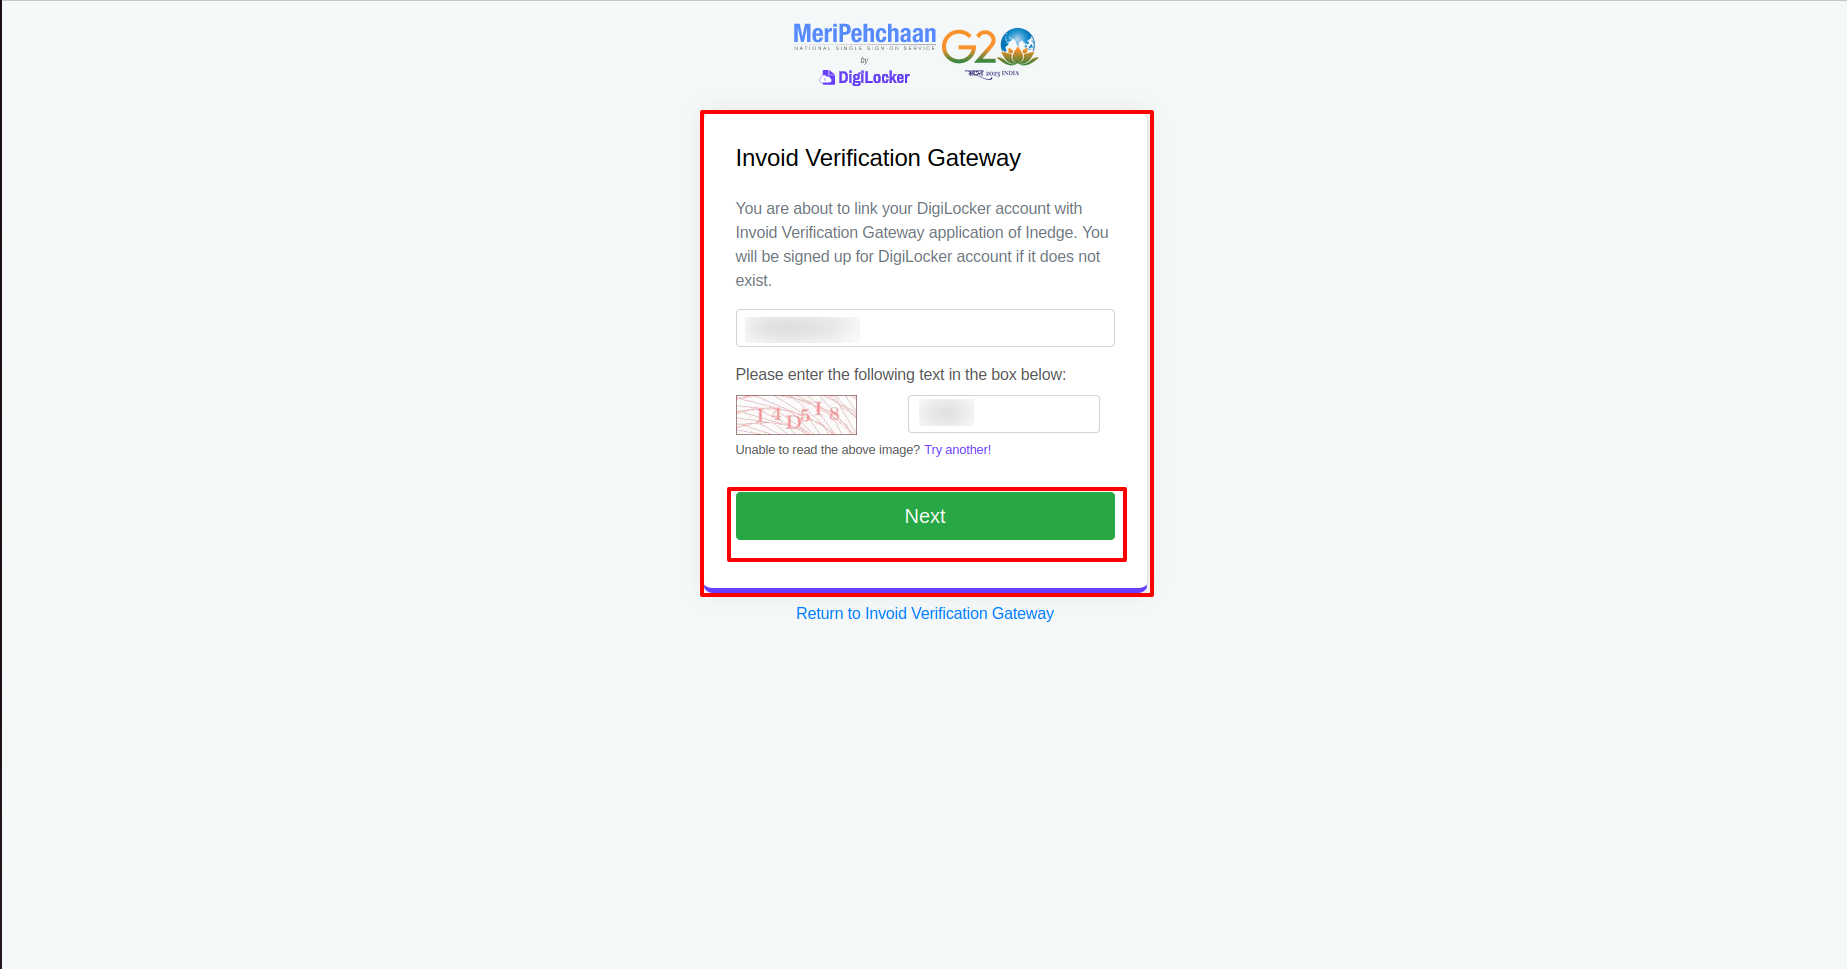
Another popup will appear where the customer has to fill in their Aadhaar details.
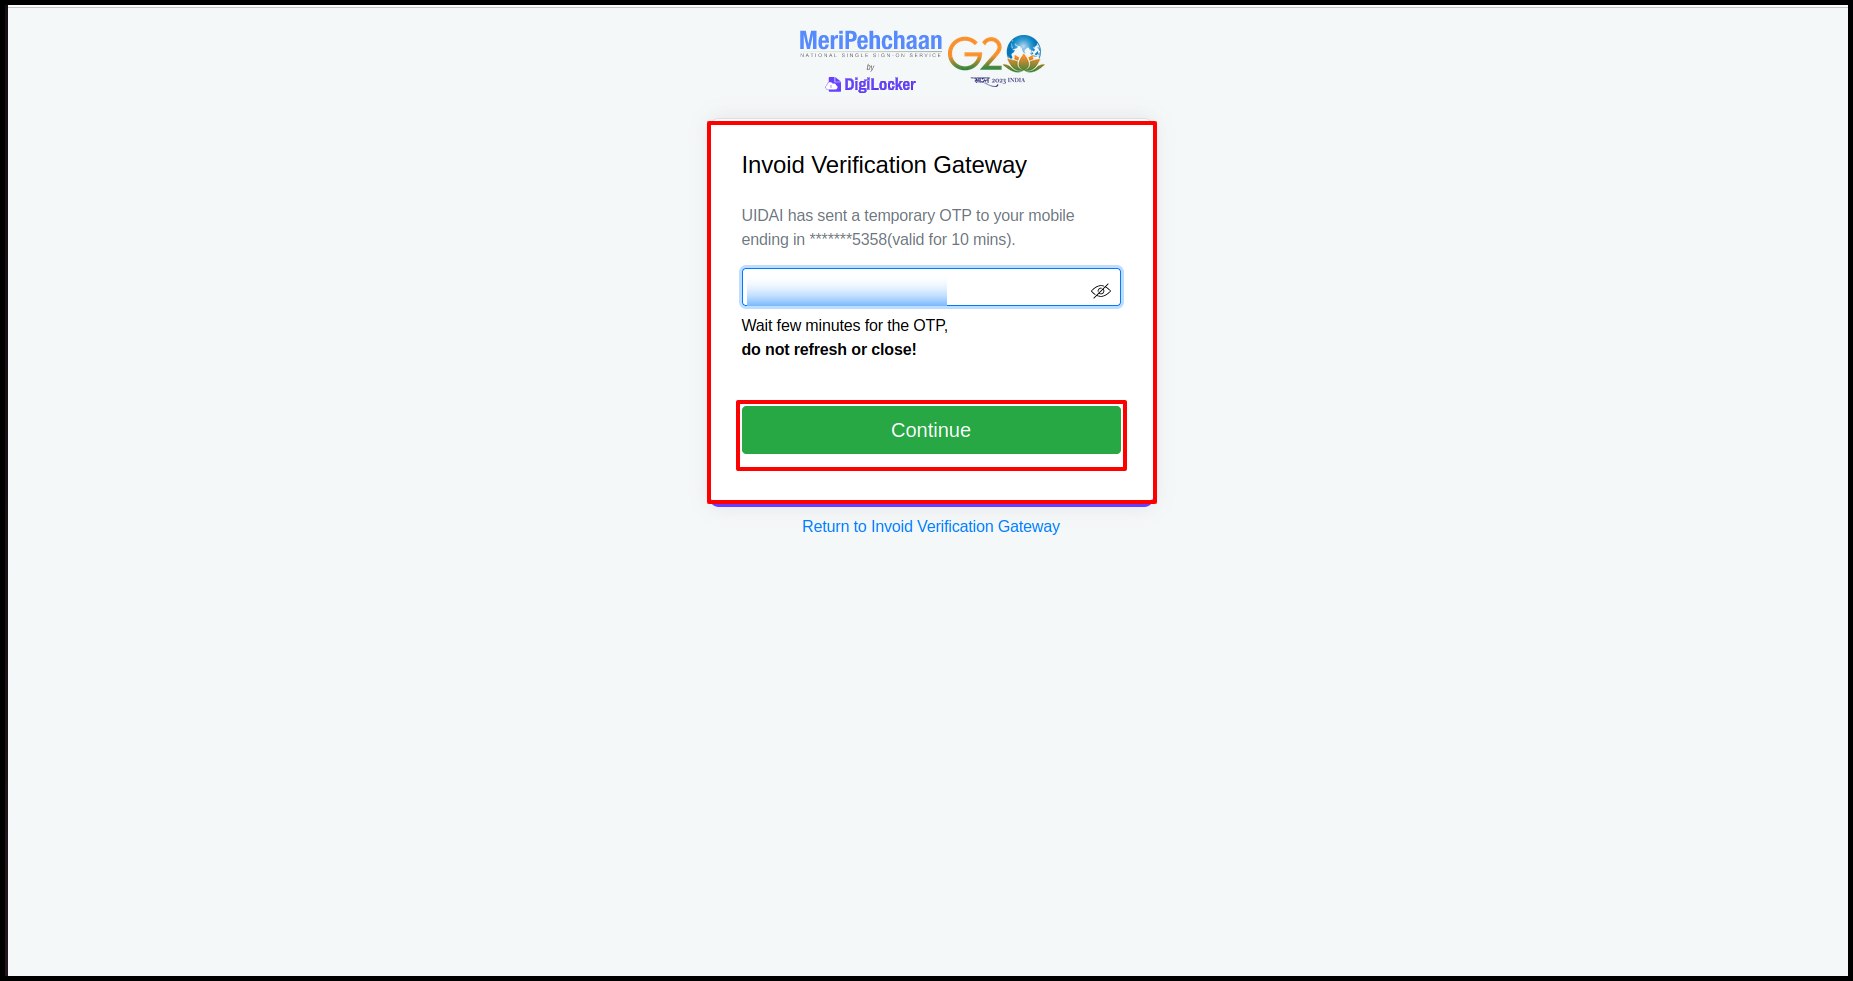
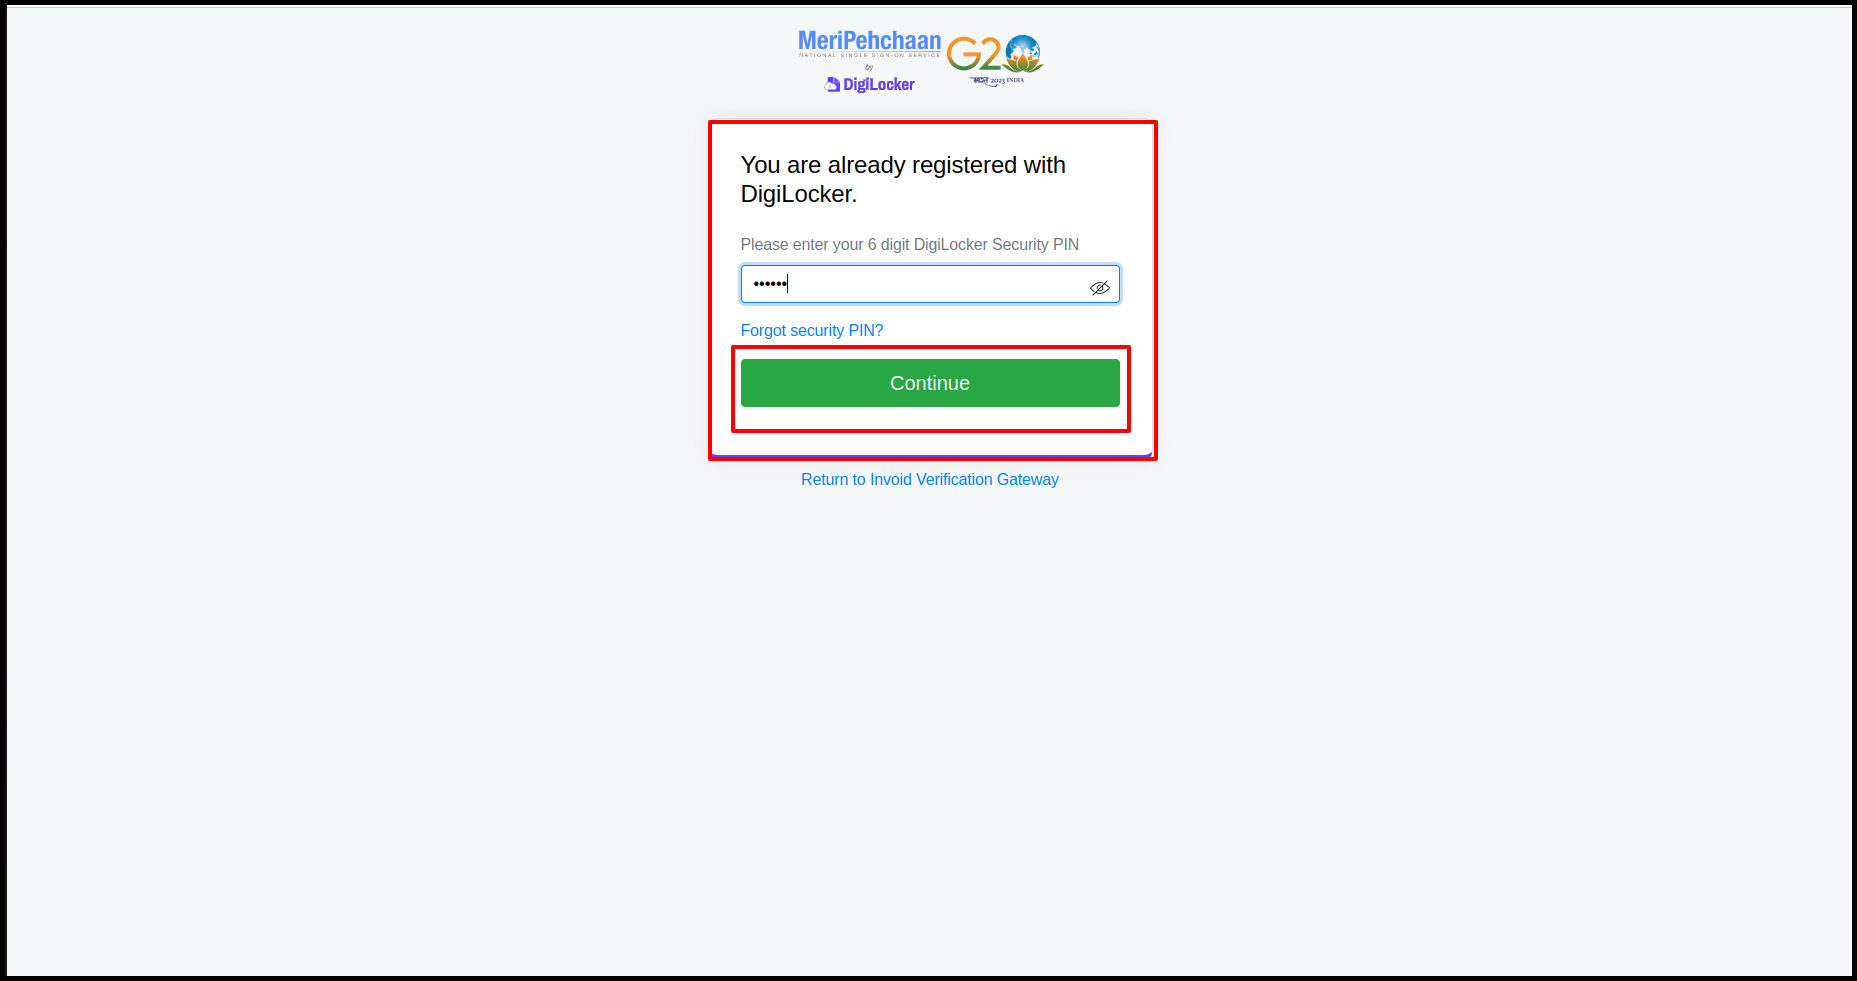
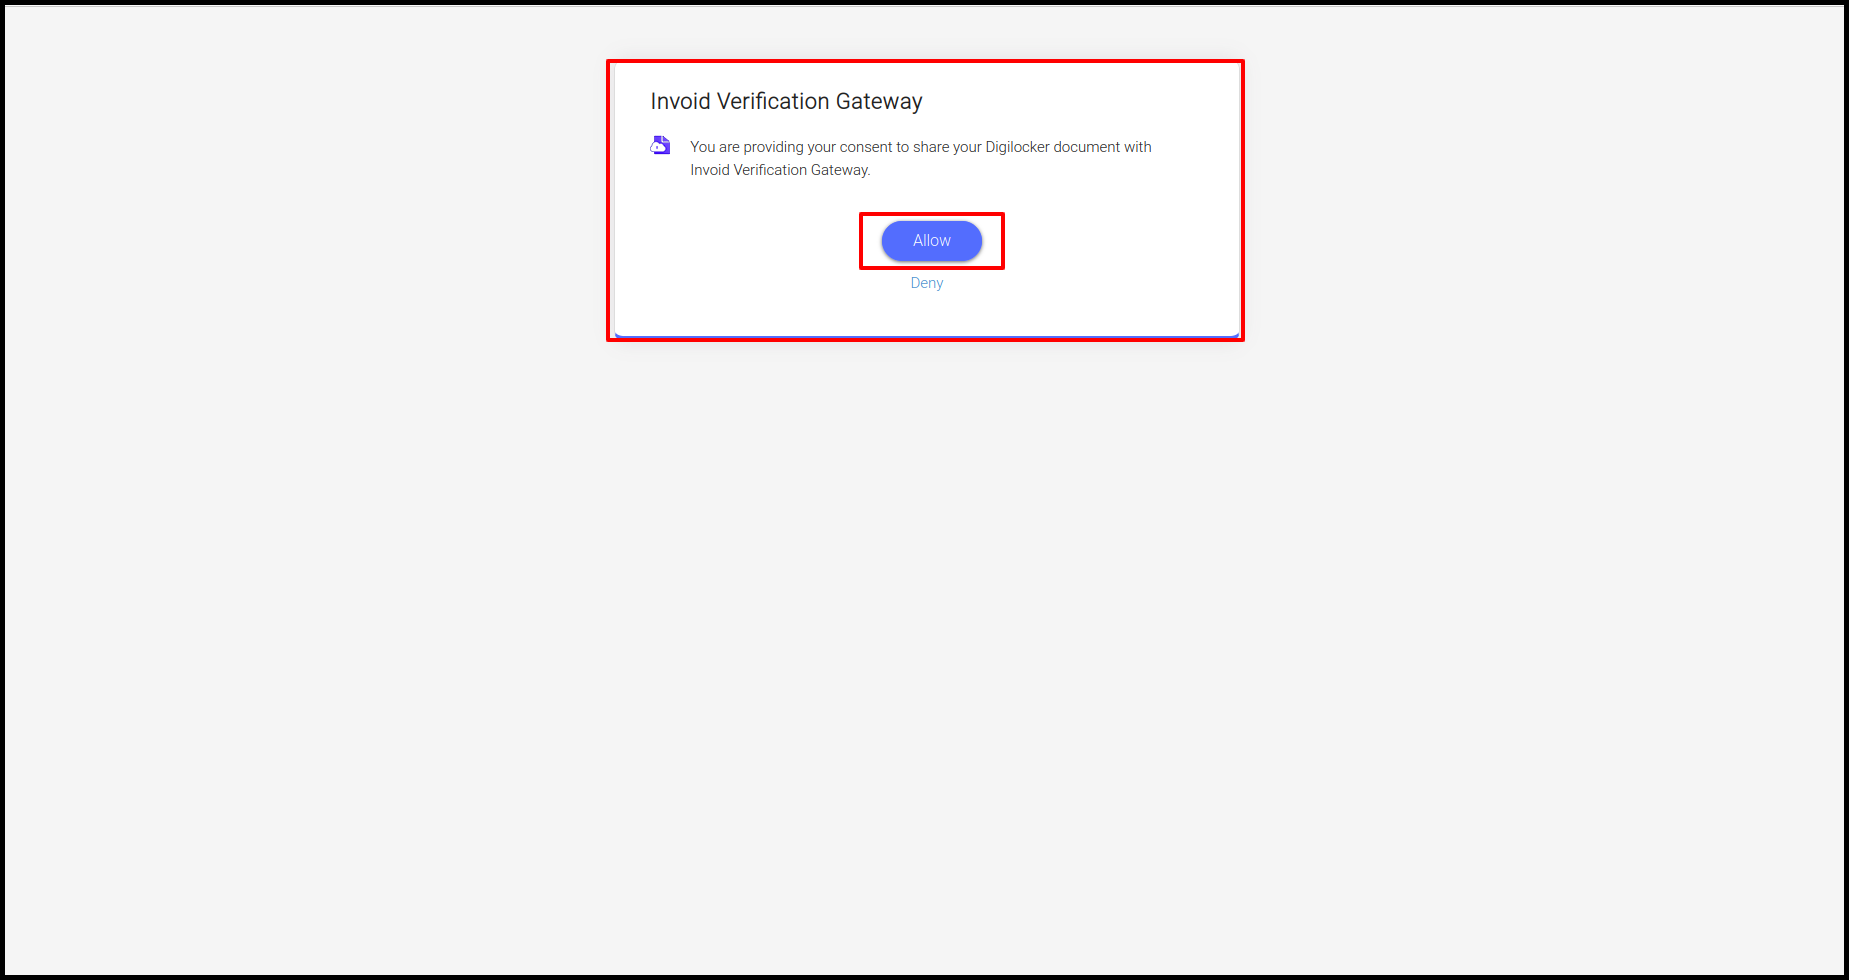
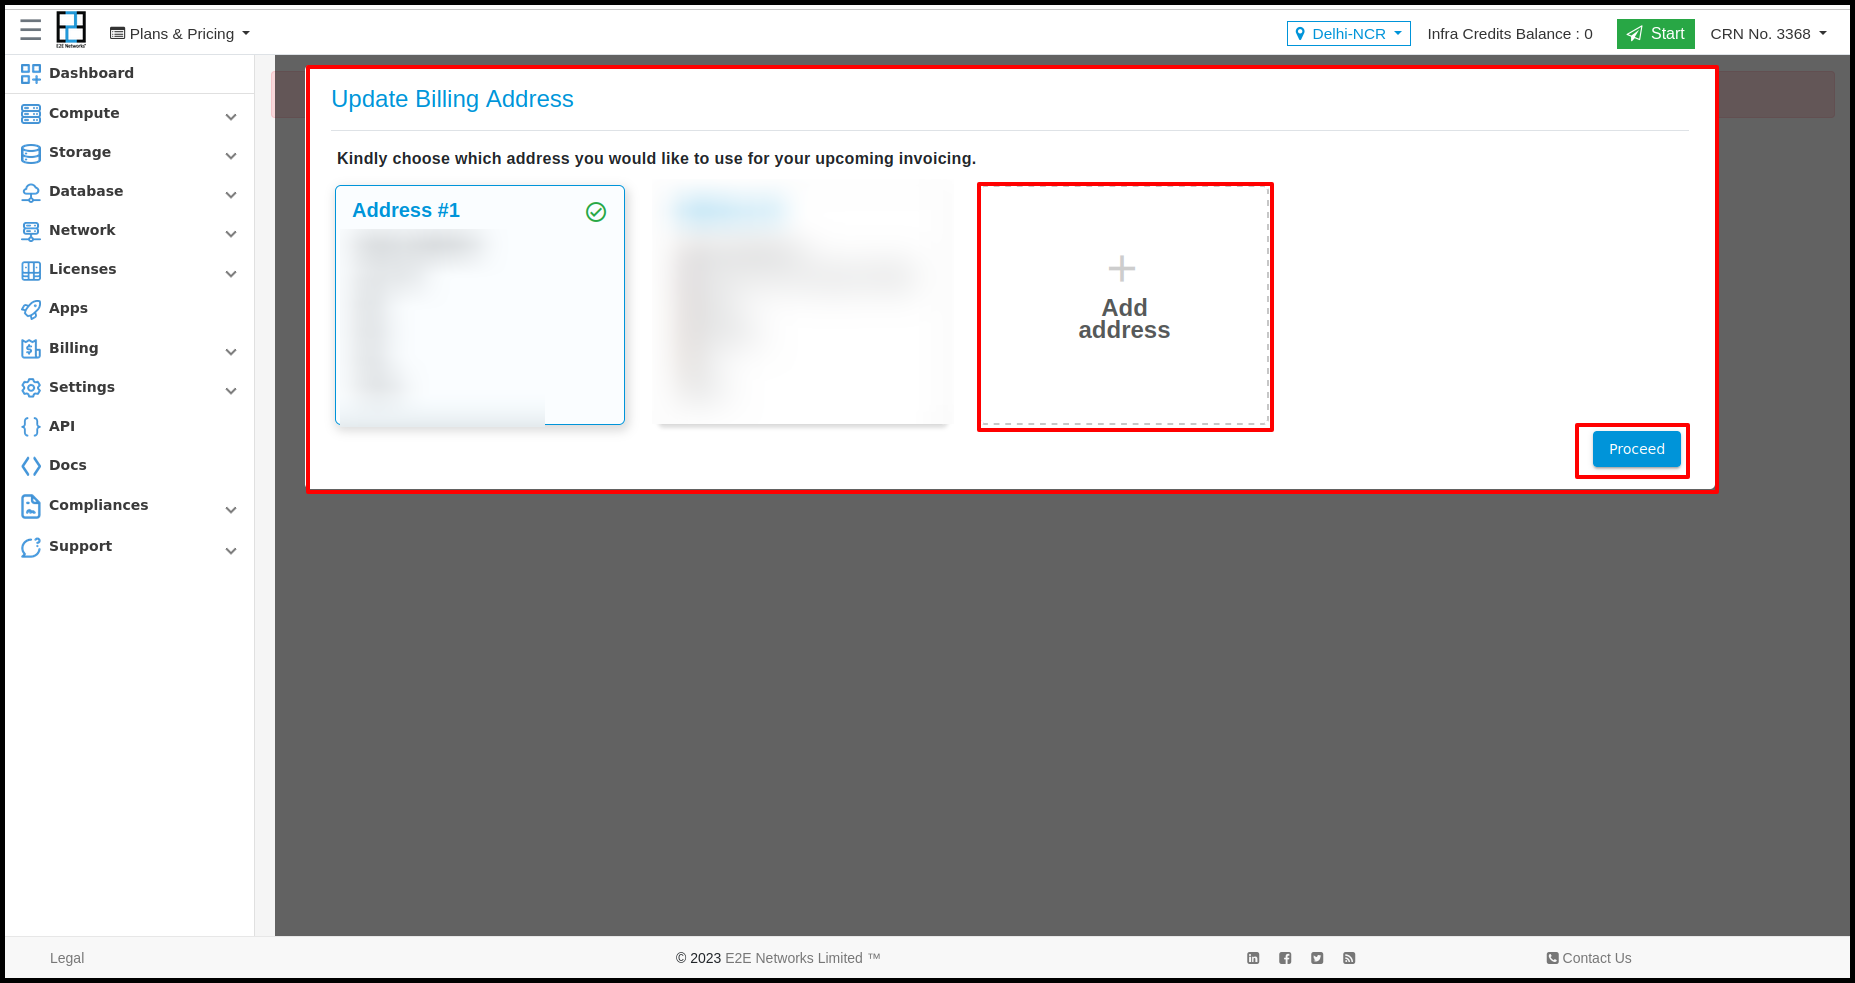
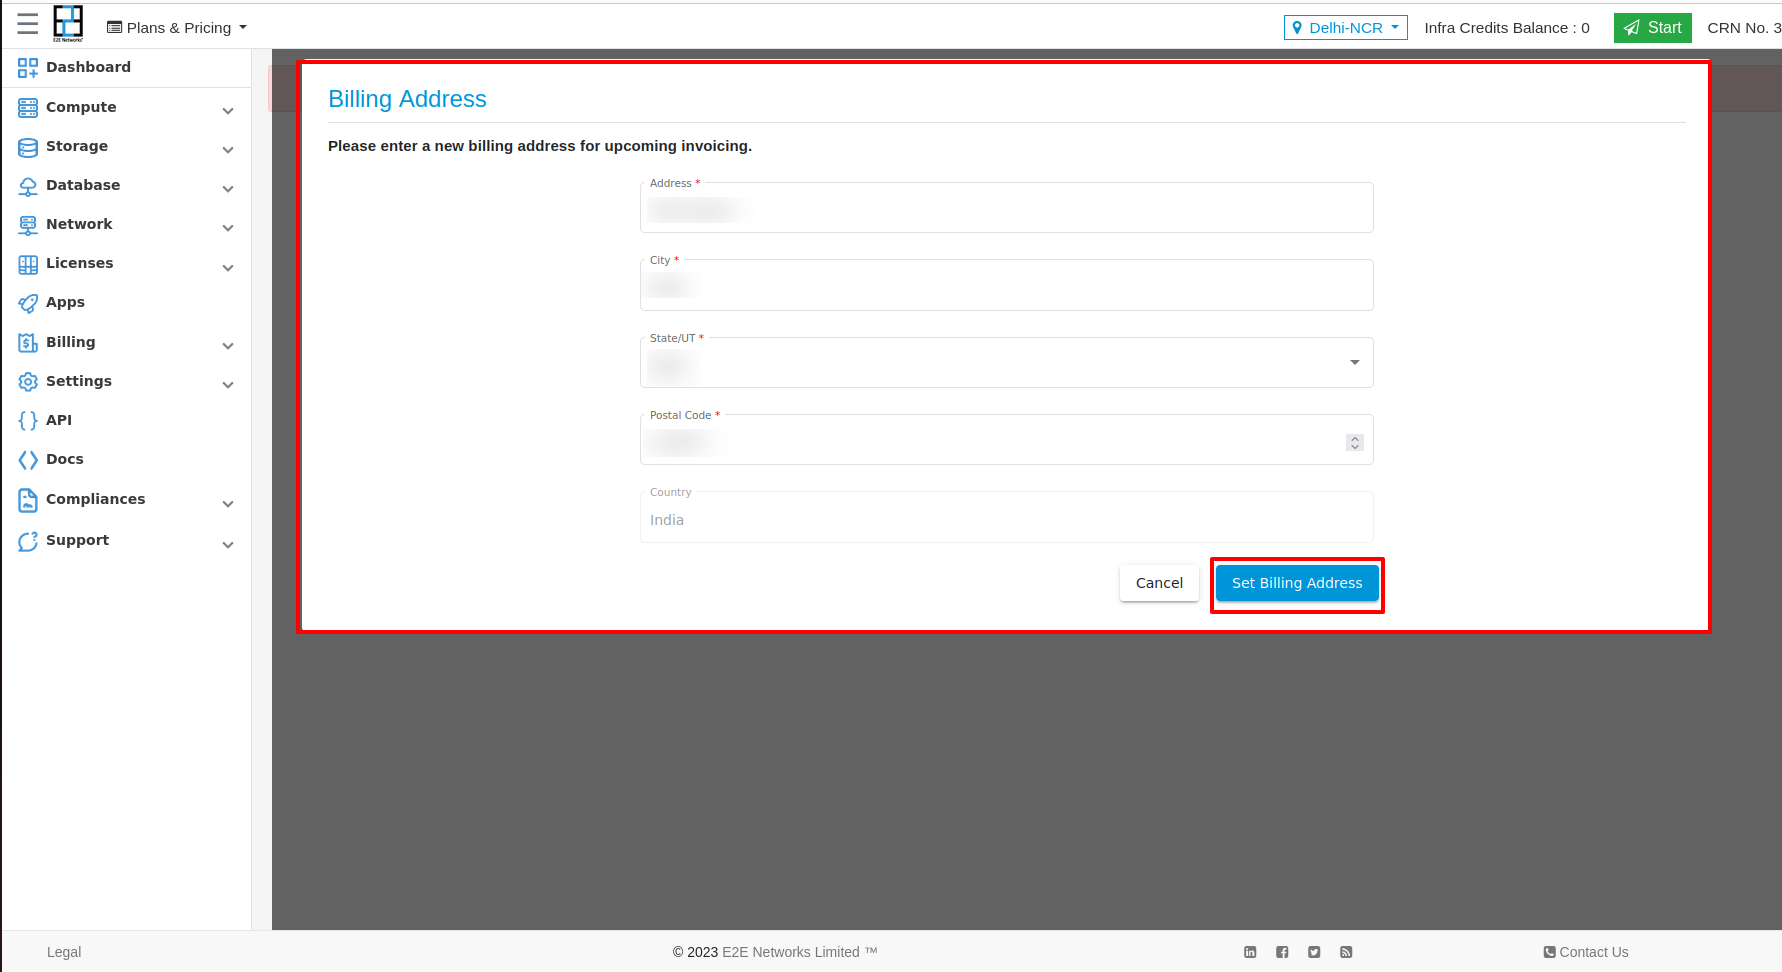
After completing the Aadhaar validation, a popup will appear on the Dashboard to Update Billing Address. In this field, the customer has the option to choose an address from Aadhaar, or the customer can add another address that is different from the one mentioned in Aadhaar.
Other Method of Validation
Note: If the customer is having trouble with validation using Initiate, the user needs to follow the steps below:
If you are having trouble with validation, click on the Try other way button.
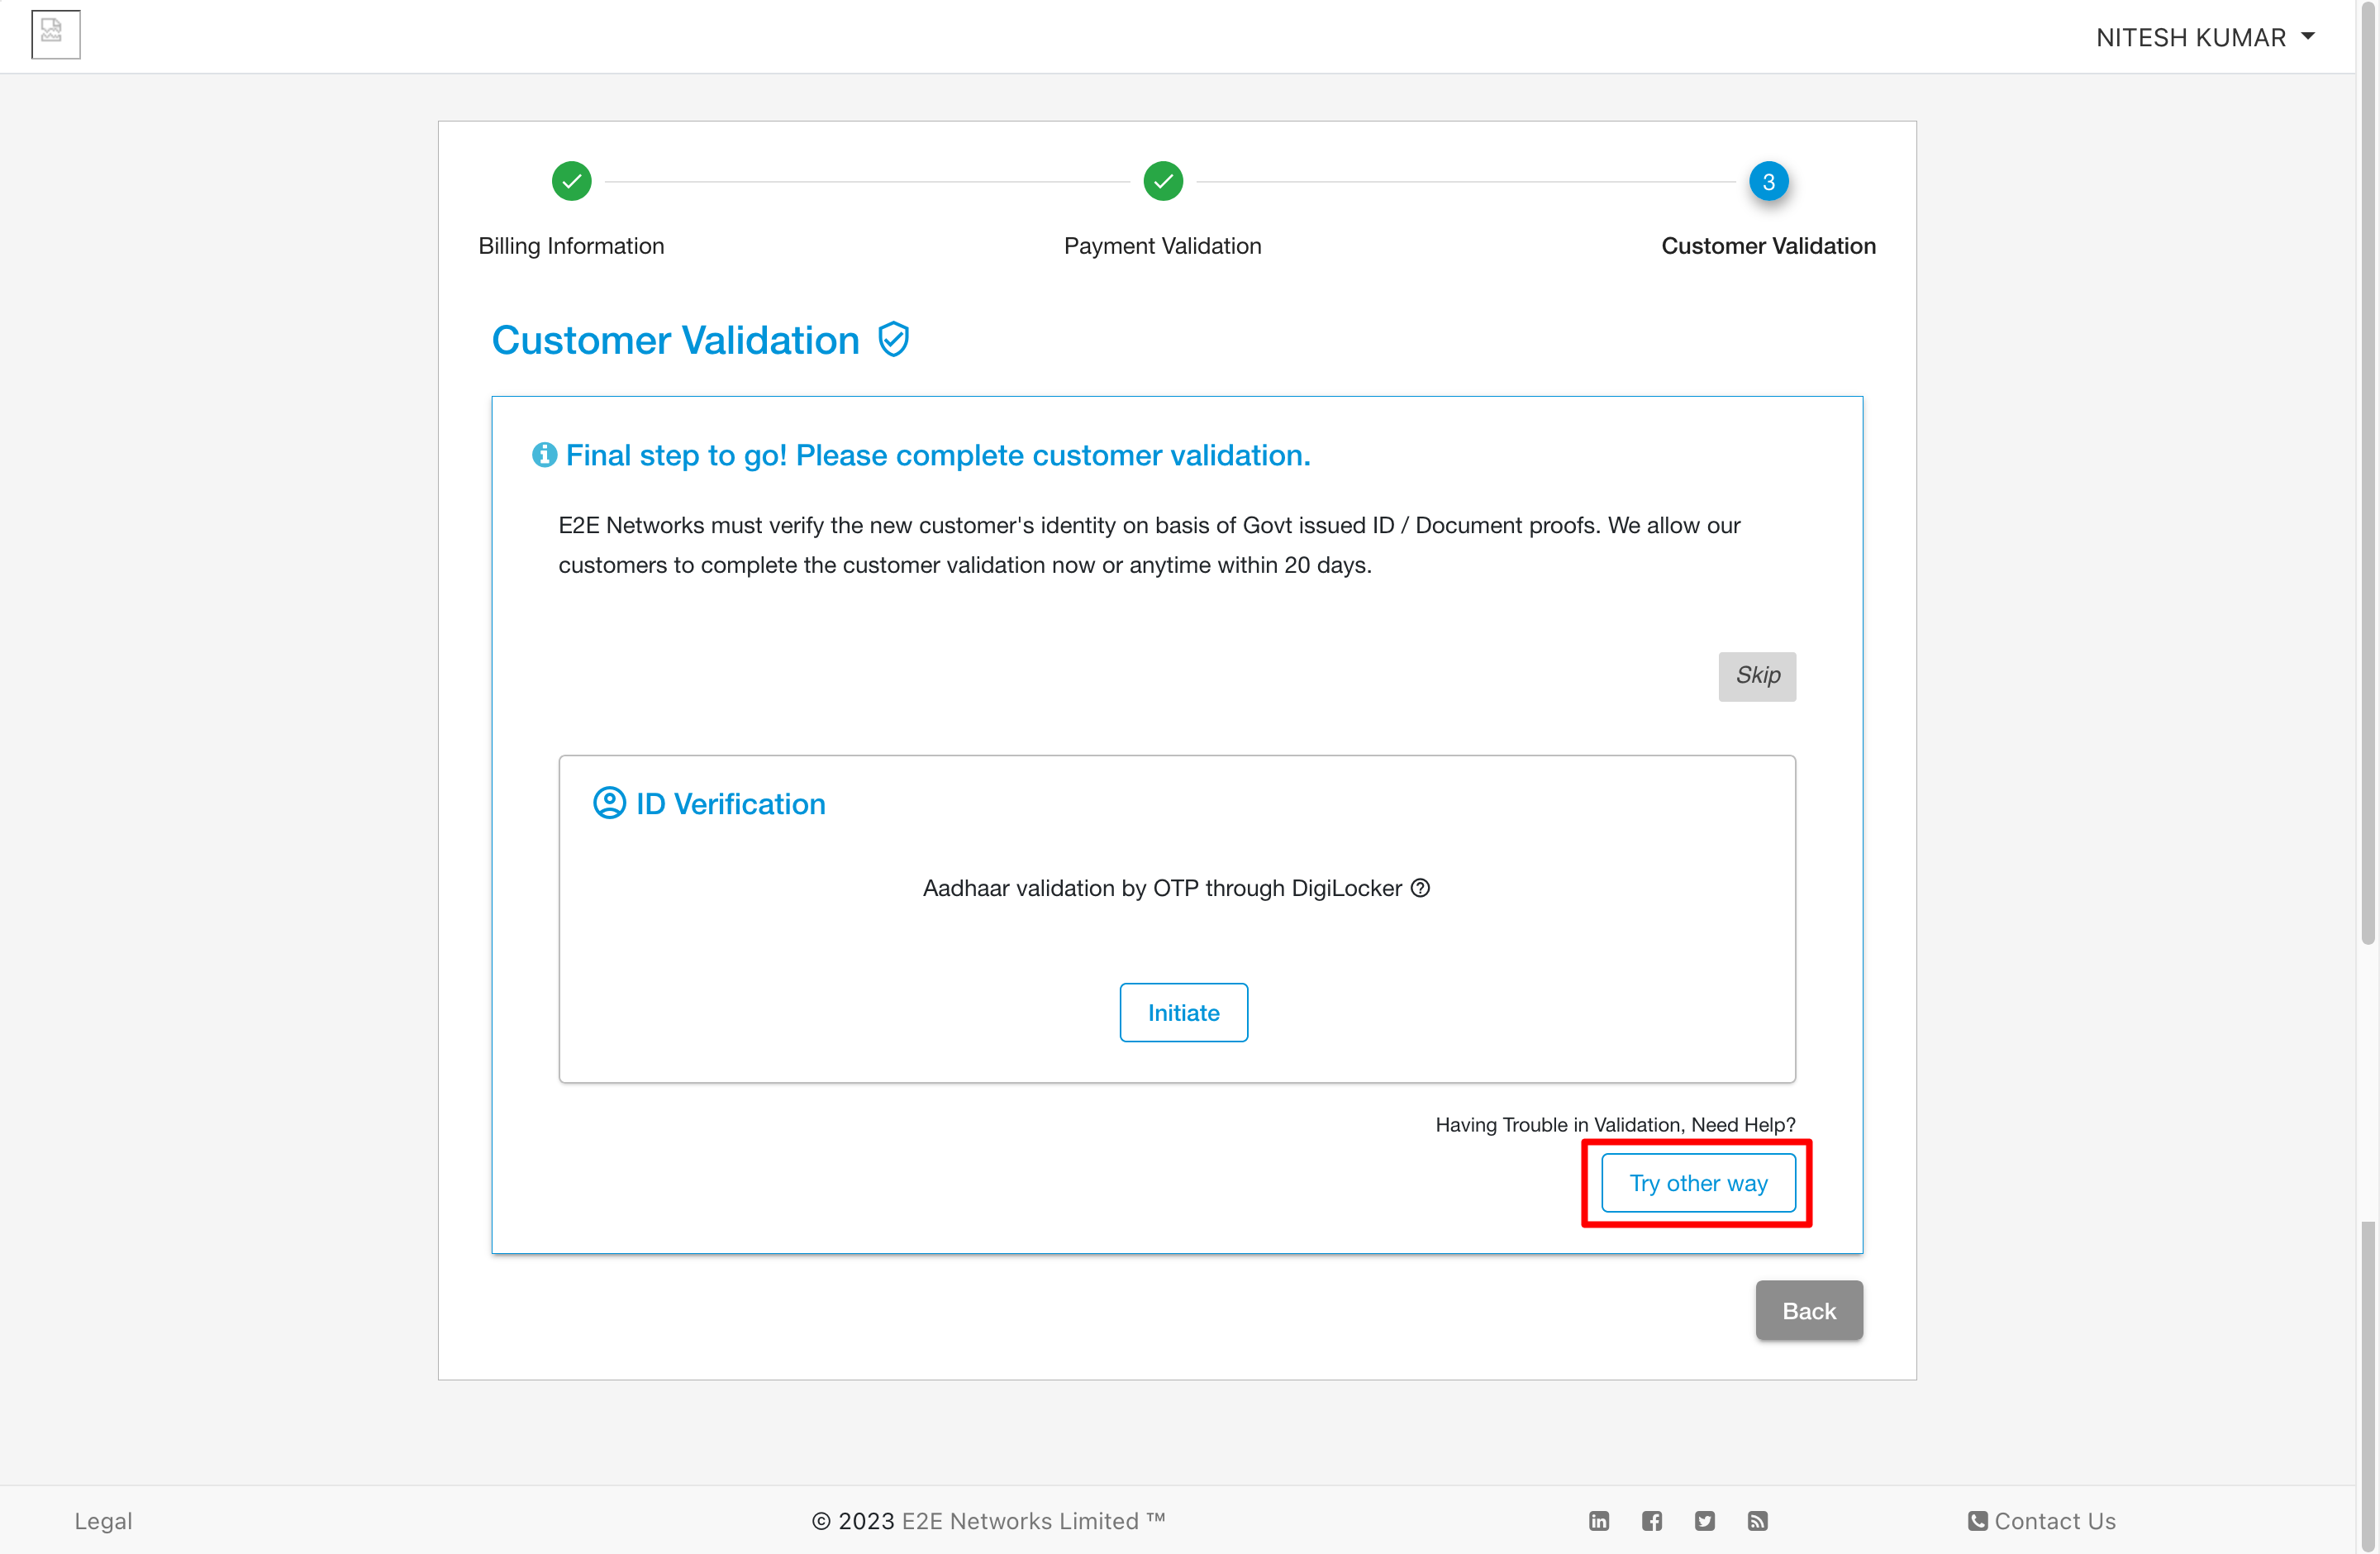
A popup will appear. You have to click on the Initiate button.
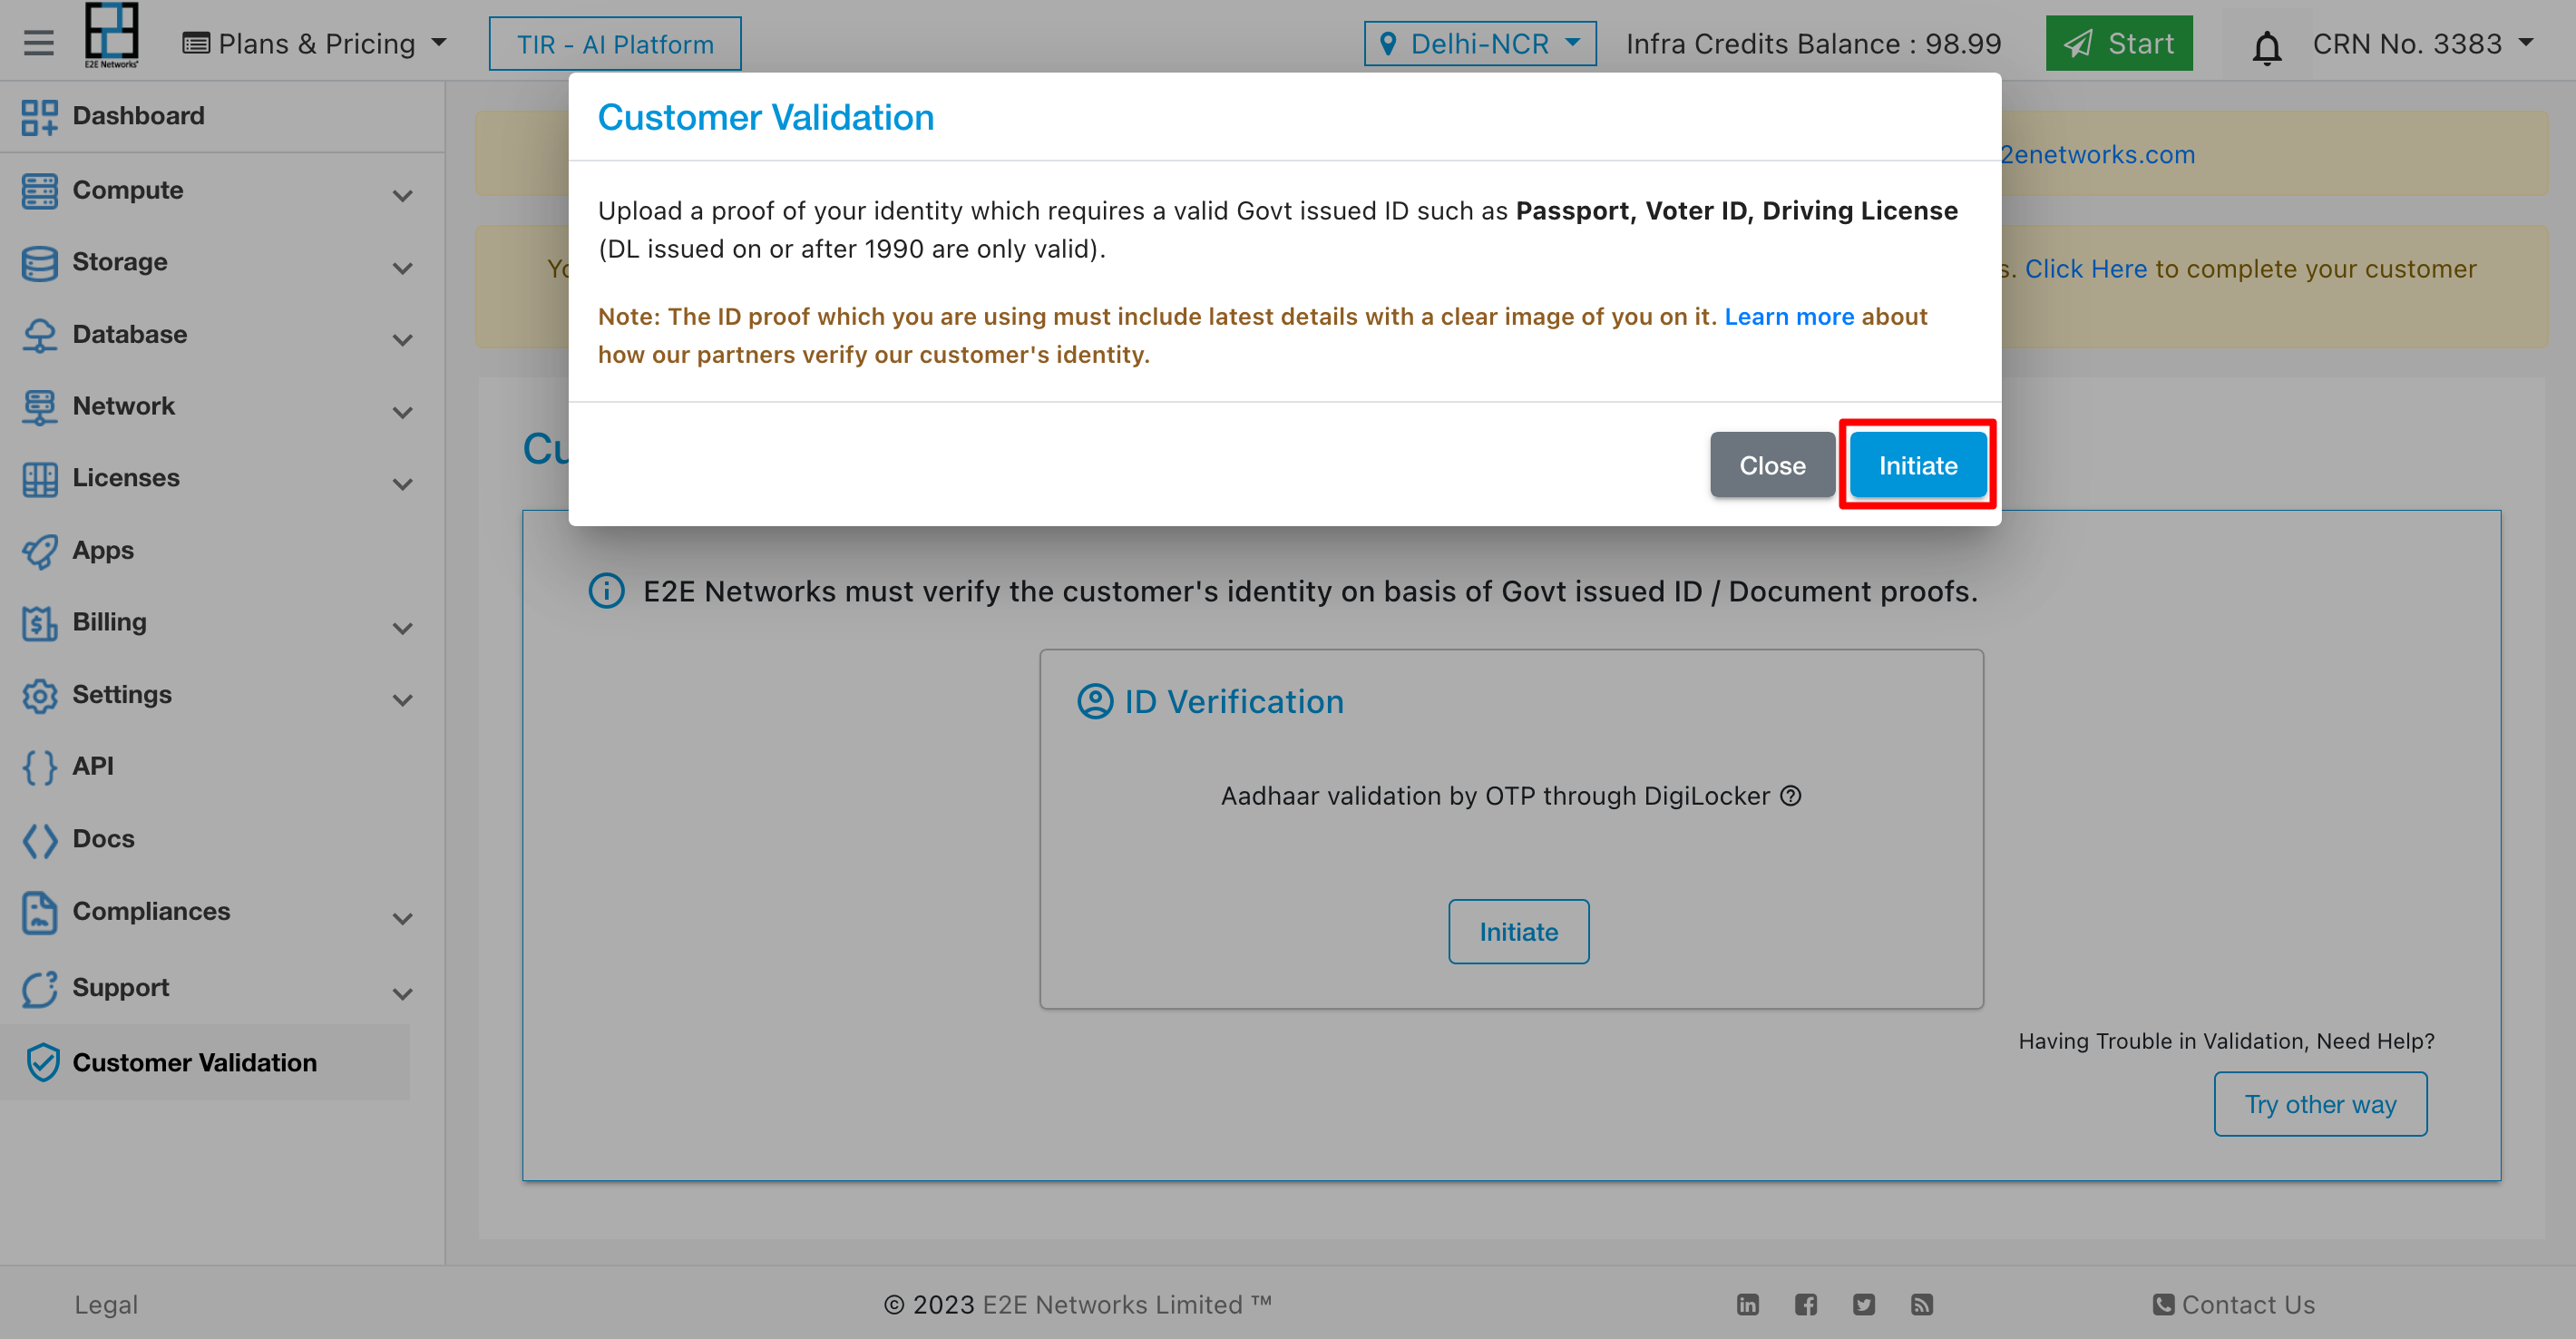
After clicking the Initiate button, a terms and conditions popup will appear. The user has to click Agree and Proceed.
Then, upload the front and back of the ID card. After uploading, click on the Submit button.
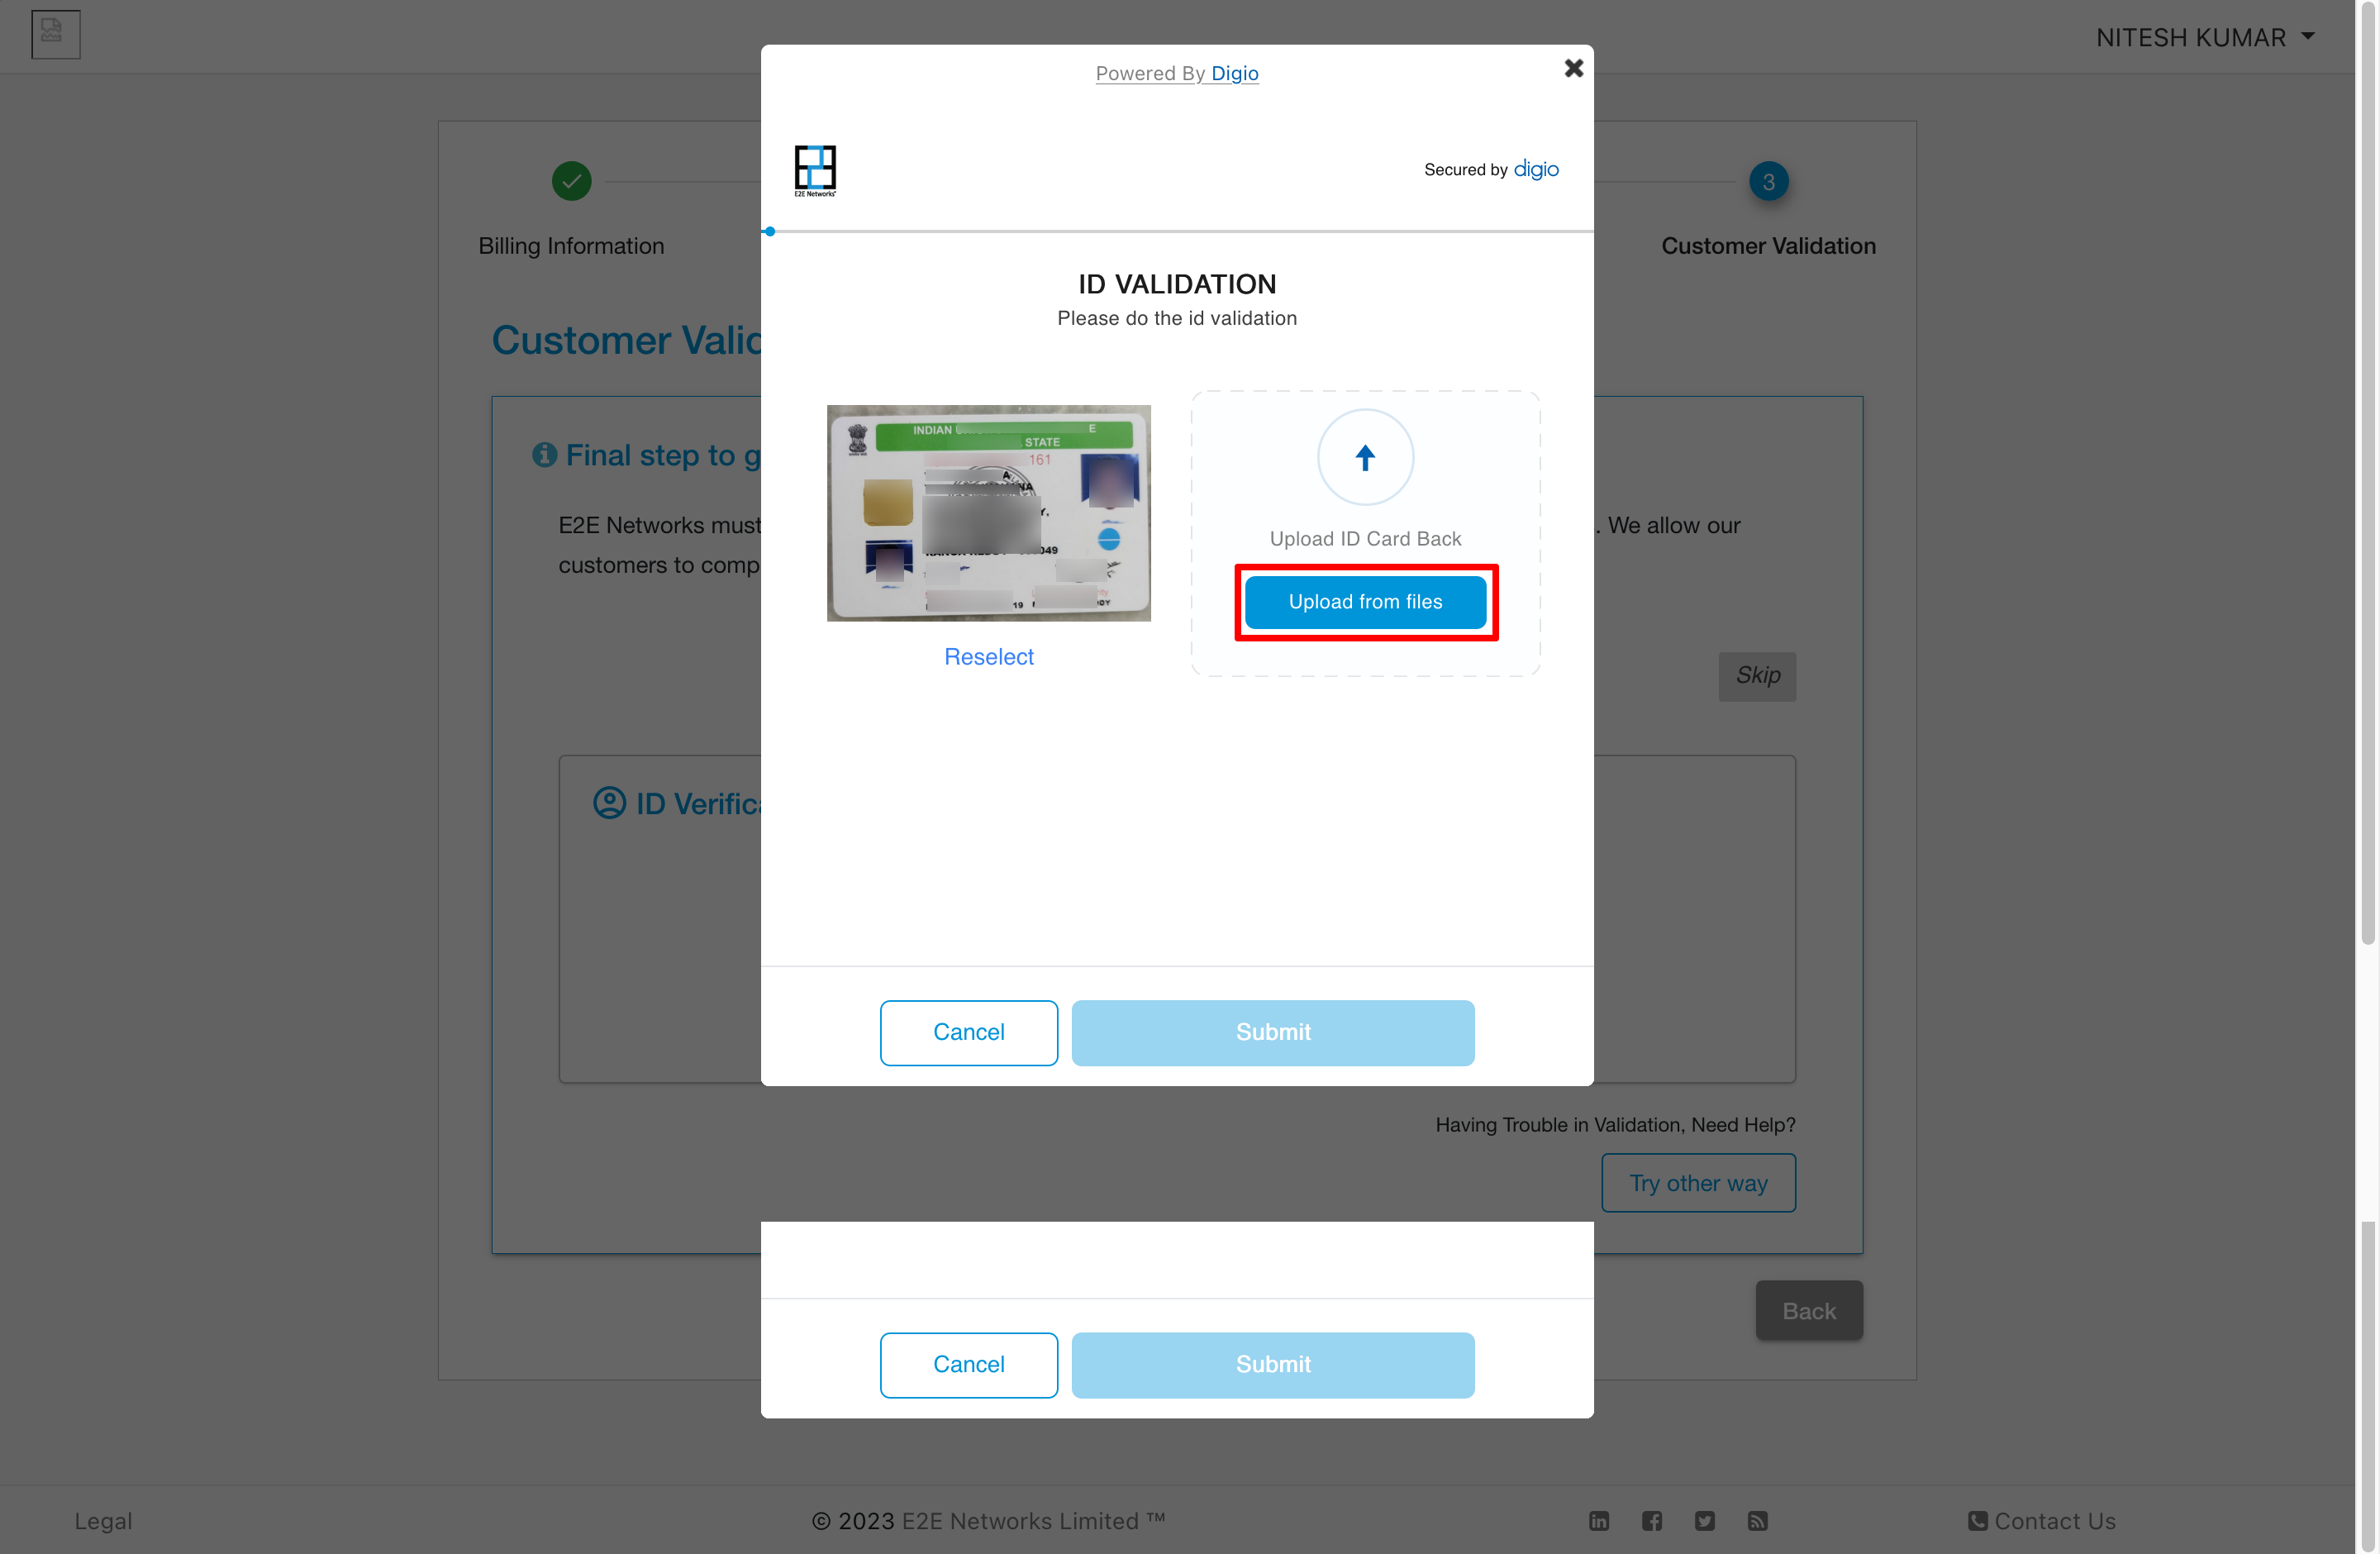
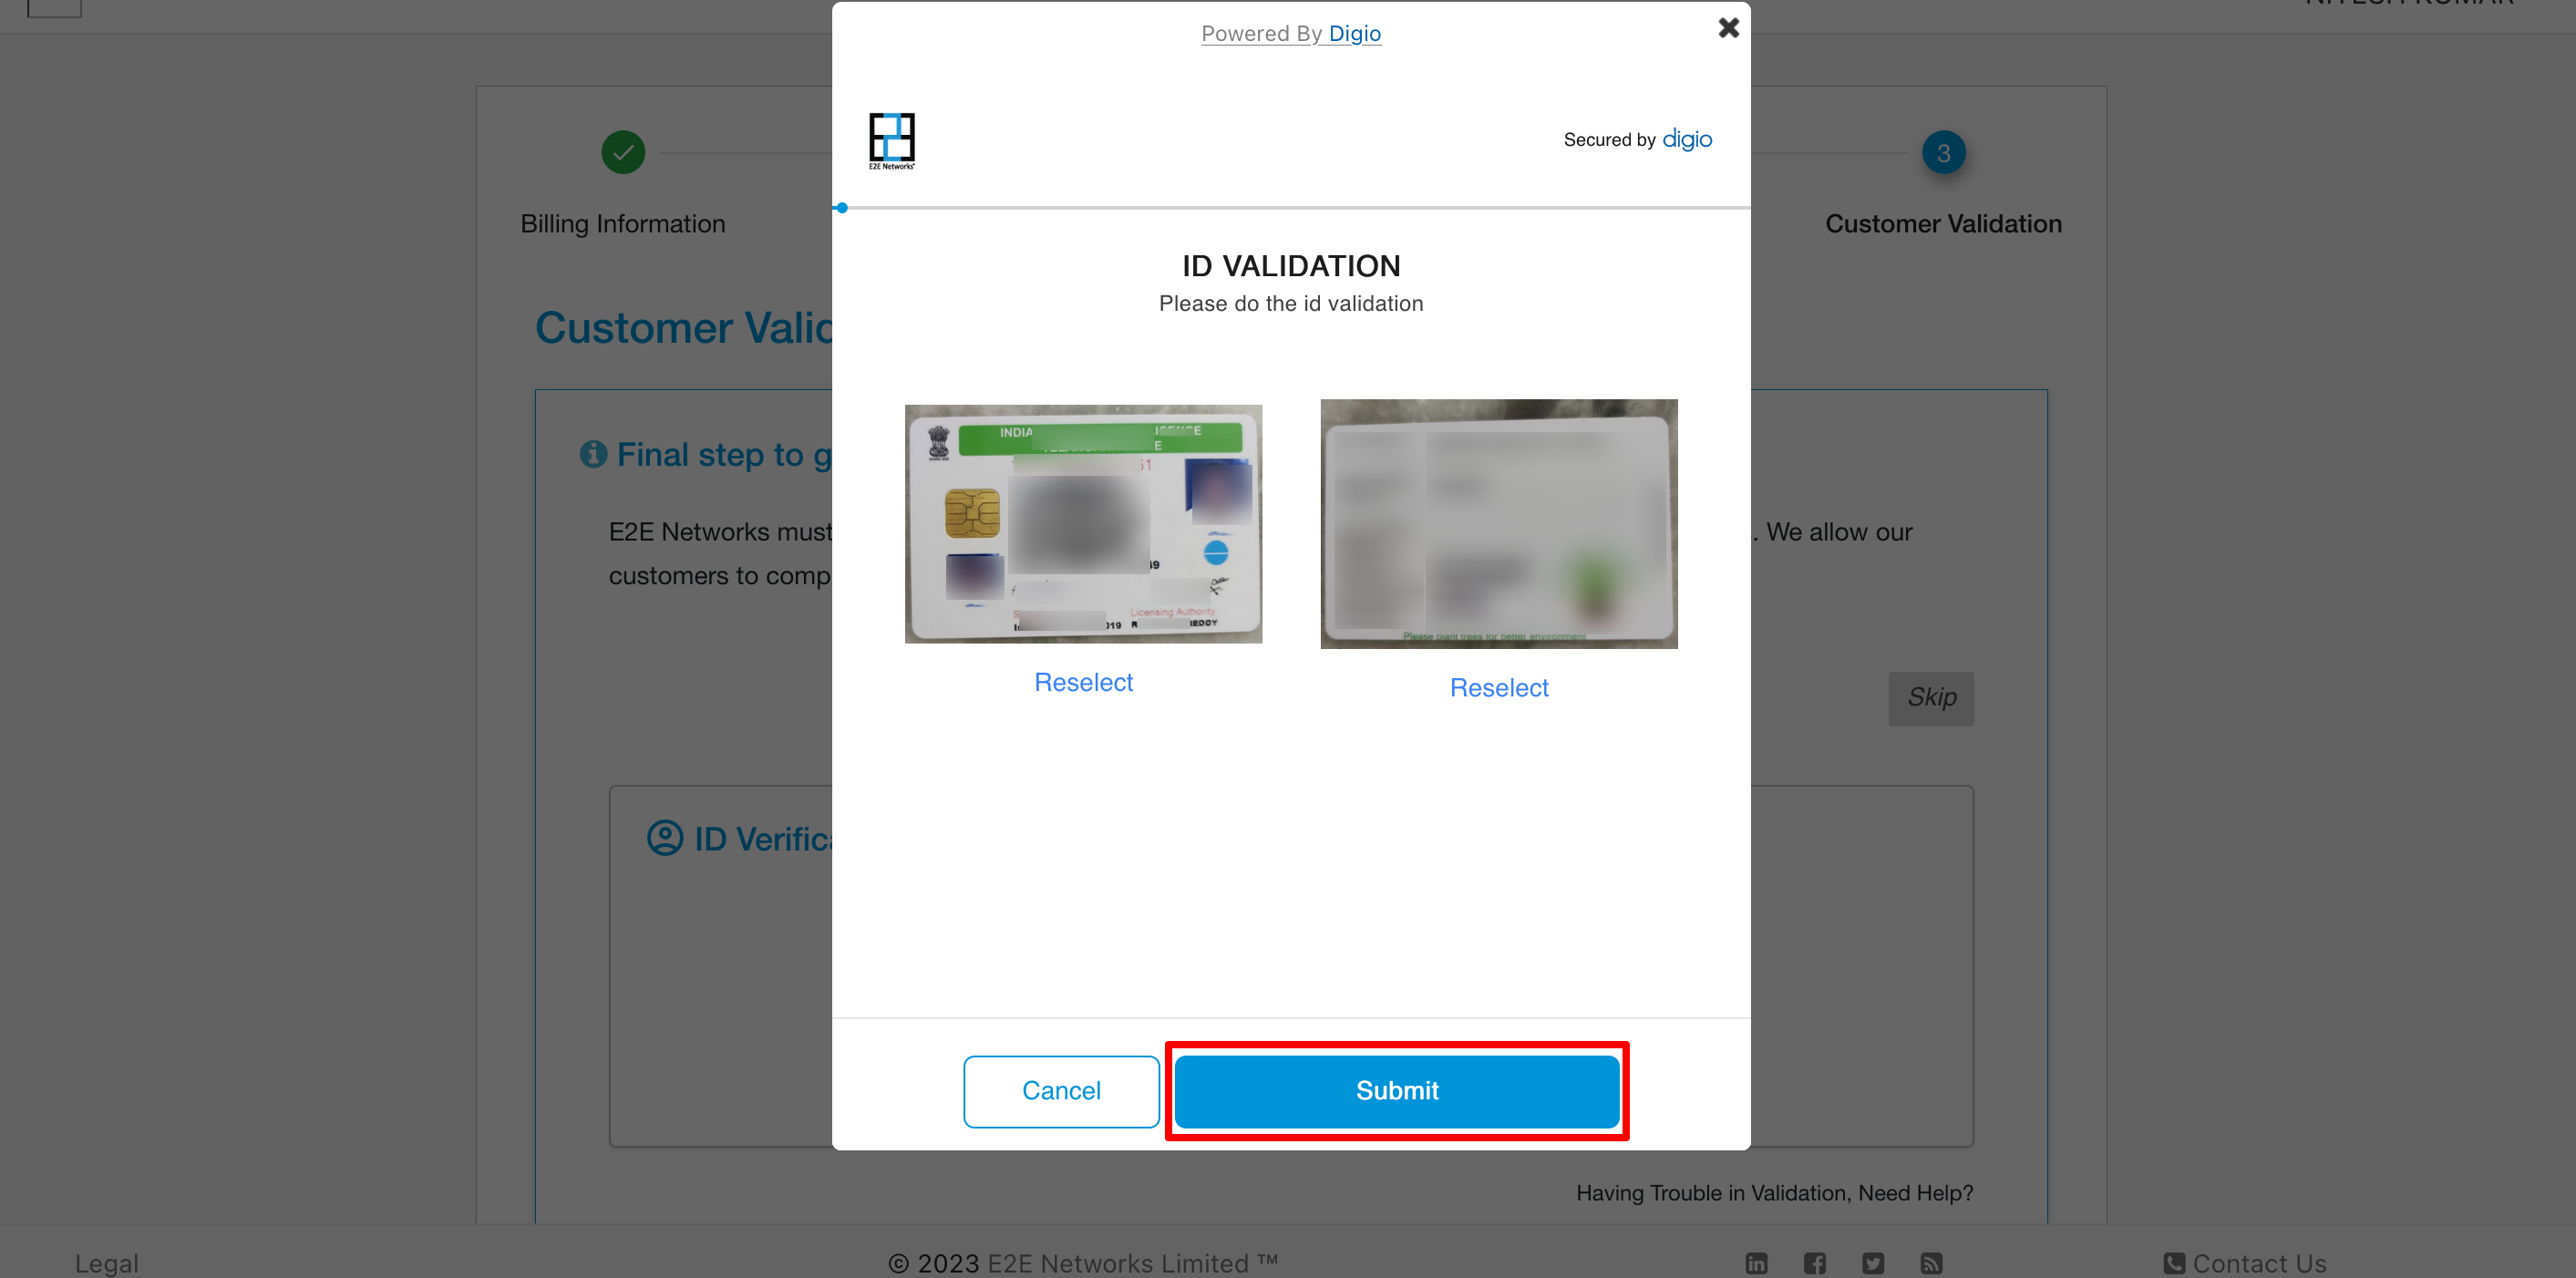
After submitting the ID card, the Selfie Validation process will start. The user has to capture their photo and click the Submit button.
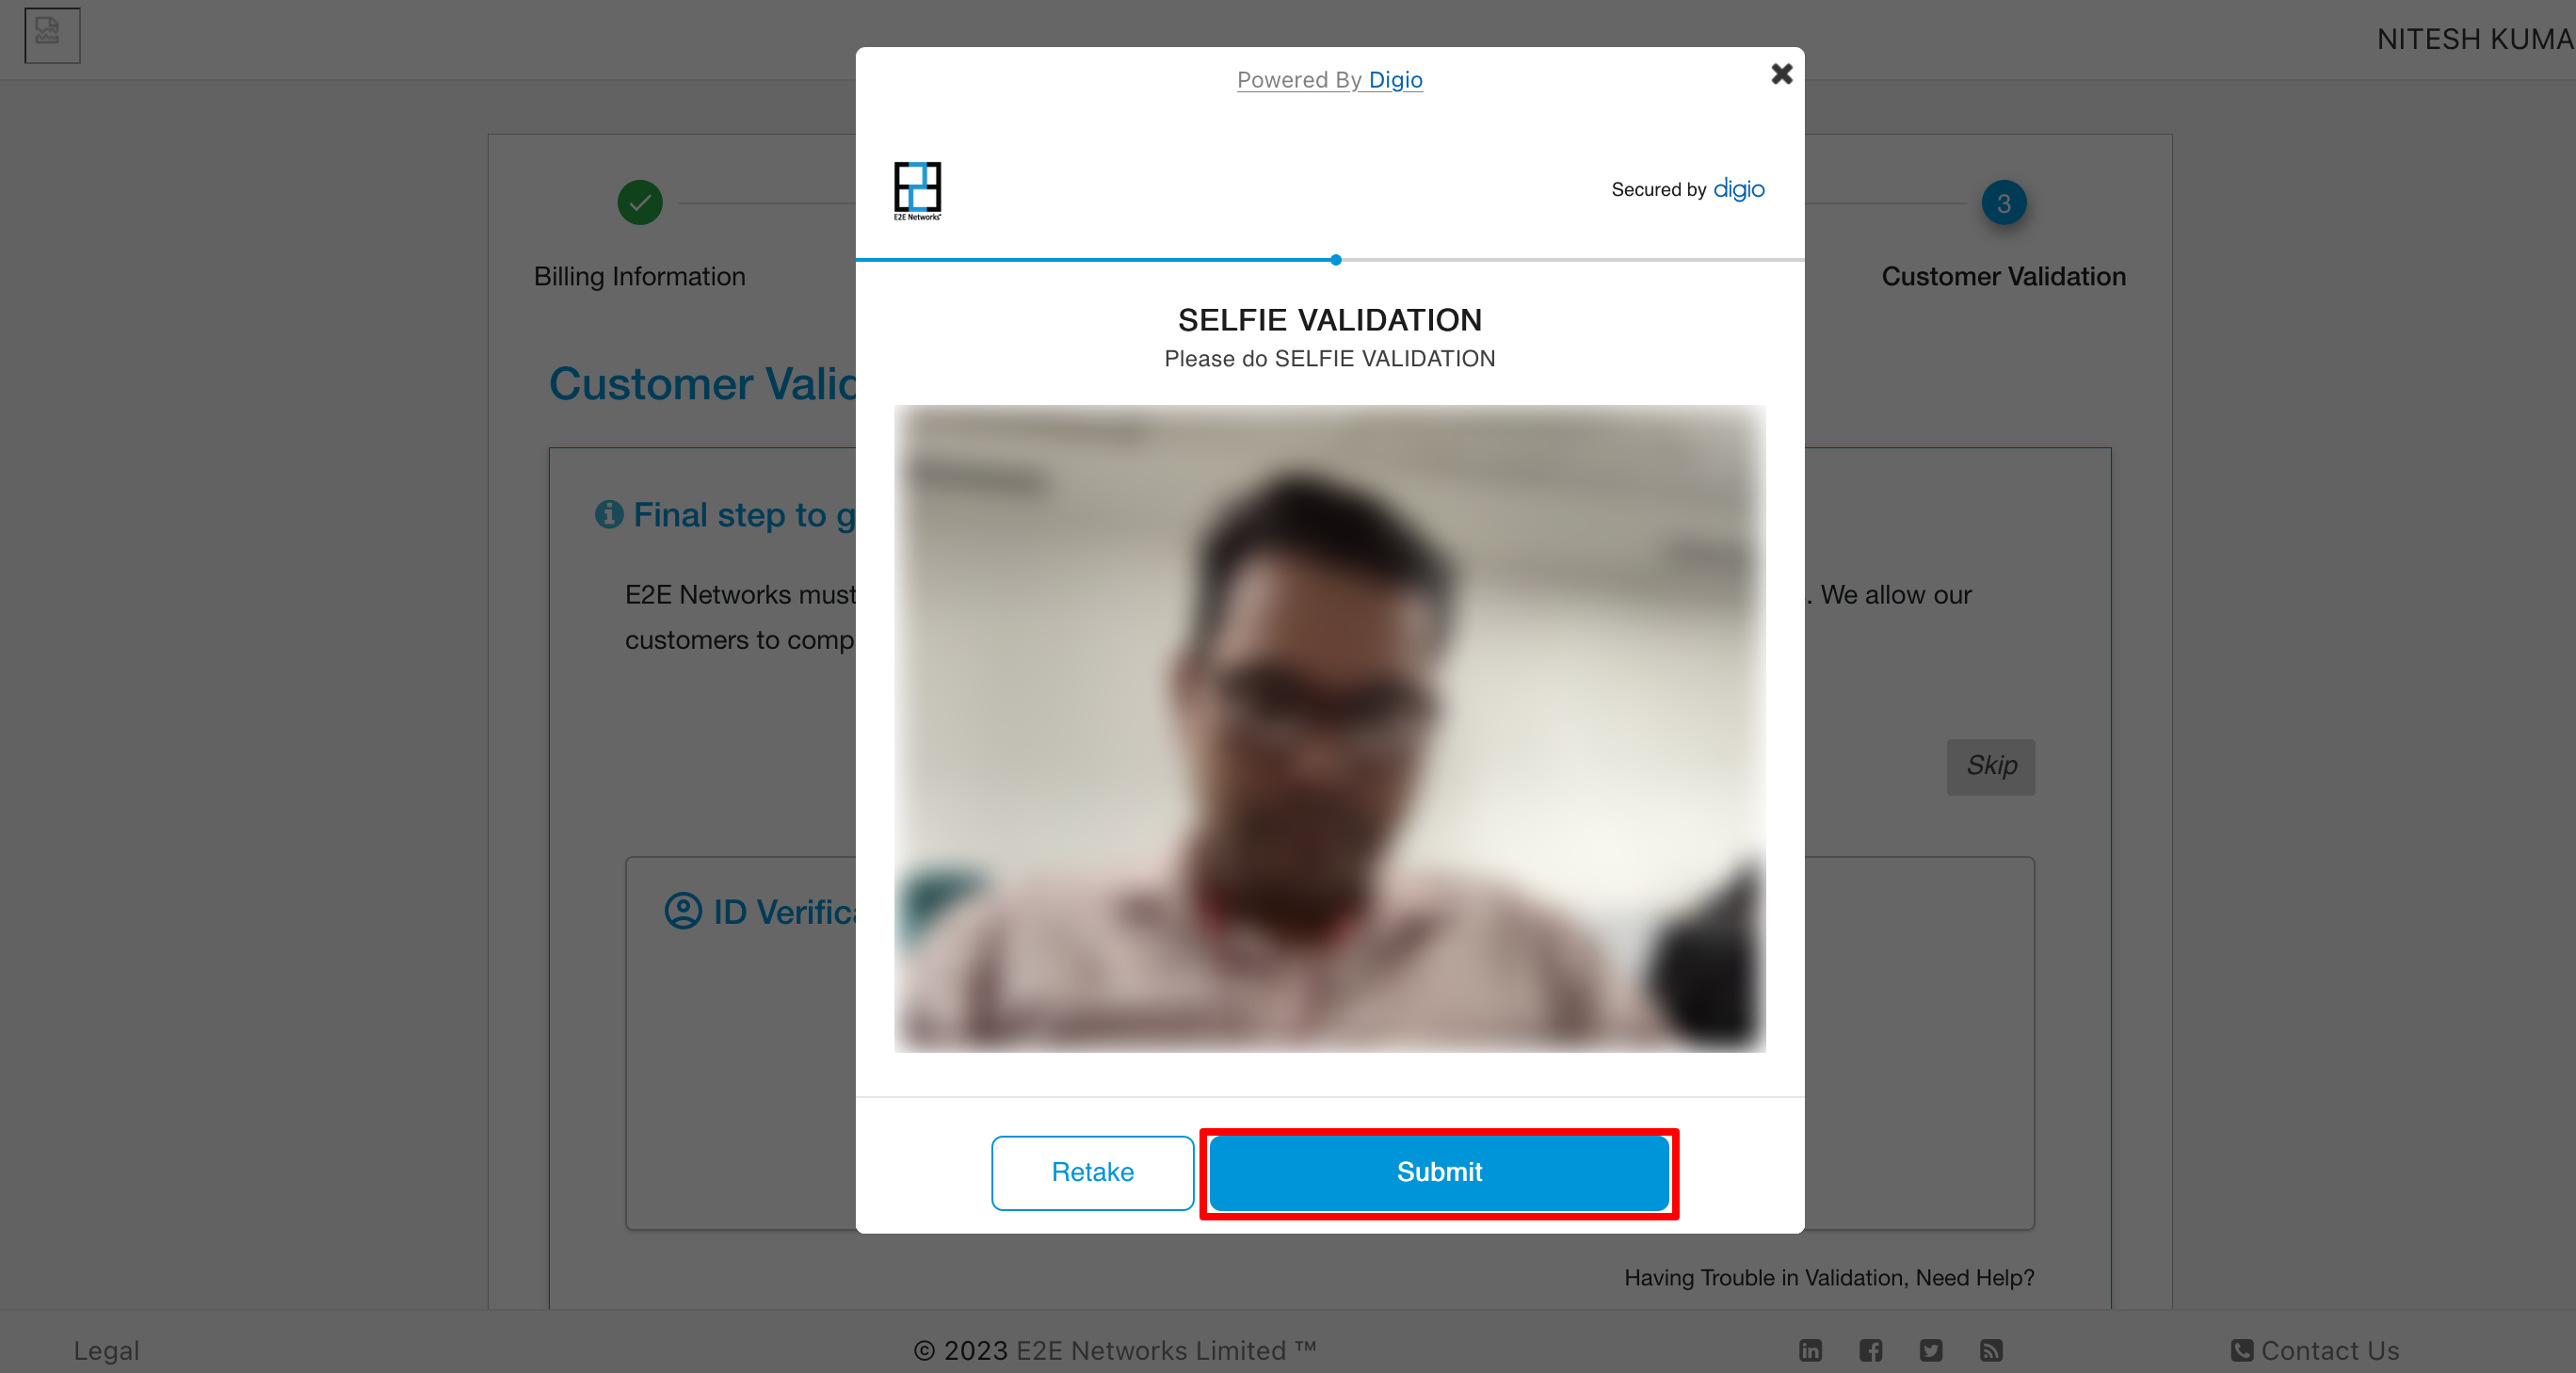
After clicking Submit, the user has to enter their billing address and click the Proceed button. The validation will then begin, and after completion, the user will be notified via email.
