Export AWS EC2 AMI and Import It into E2E Cloud — Complete Guide
This guide explains how to:
- Prepare an AWS EC2 instance
- Install ONE-Context (required by E2E)
- Create AMI
- Export AMI to RAW format
- Download it
- Upload to E2E Object Storage using mc
- Import into E2E Cloud
STEP 1 — Launch an EC2 Instance (Ubuntu)
- Go to AWS Console → EC2
- Launch a new Ubuntu (20.04 / 22.04 / 24.04) instance
- Choose t2.micro/t3.small (any size works)
- Add SSH security group
- Launch the instance
SSH into the instance:
ssh -i yourkey.pem ubuntu@<PUBLIC-IP>
STEP 2 — Install a Sample Application (Optional)
Install NGINX:
sudo apt update
sudo apt install nginx -y
Check status:
systemctl status nginx
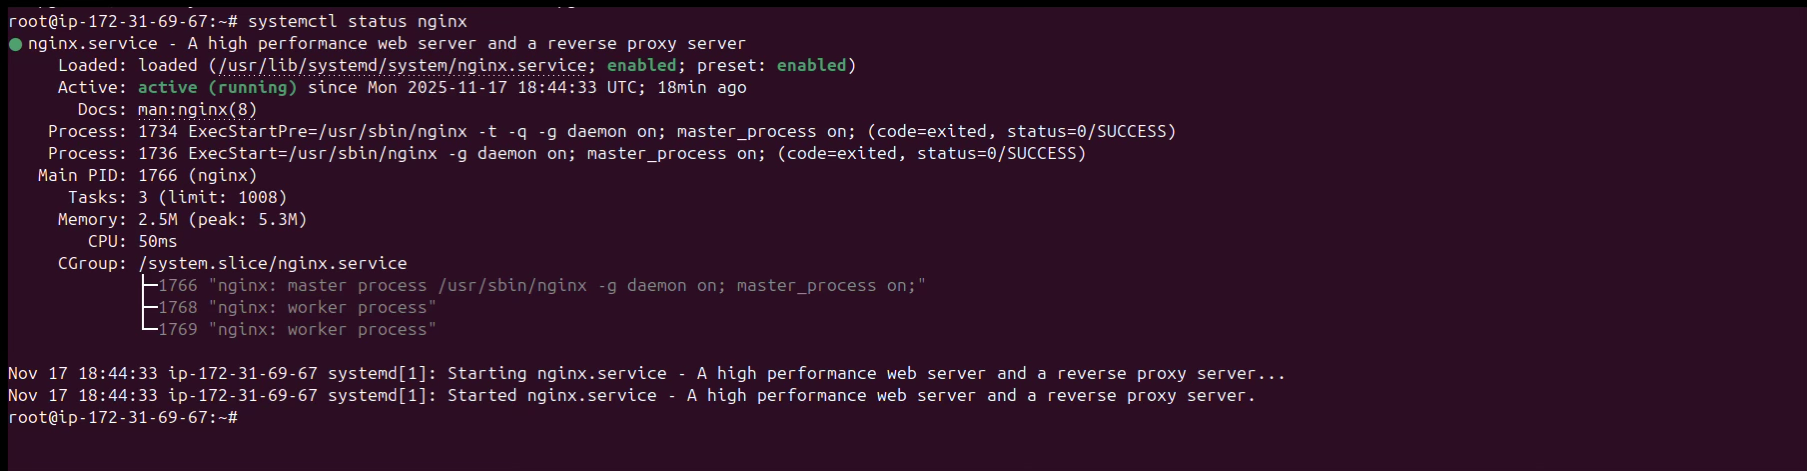
Deploy a sample page in /var/www/html/ to verify the server is working.
Open browser: http://<PUBLIC-IP>
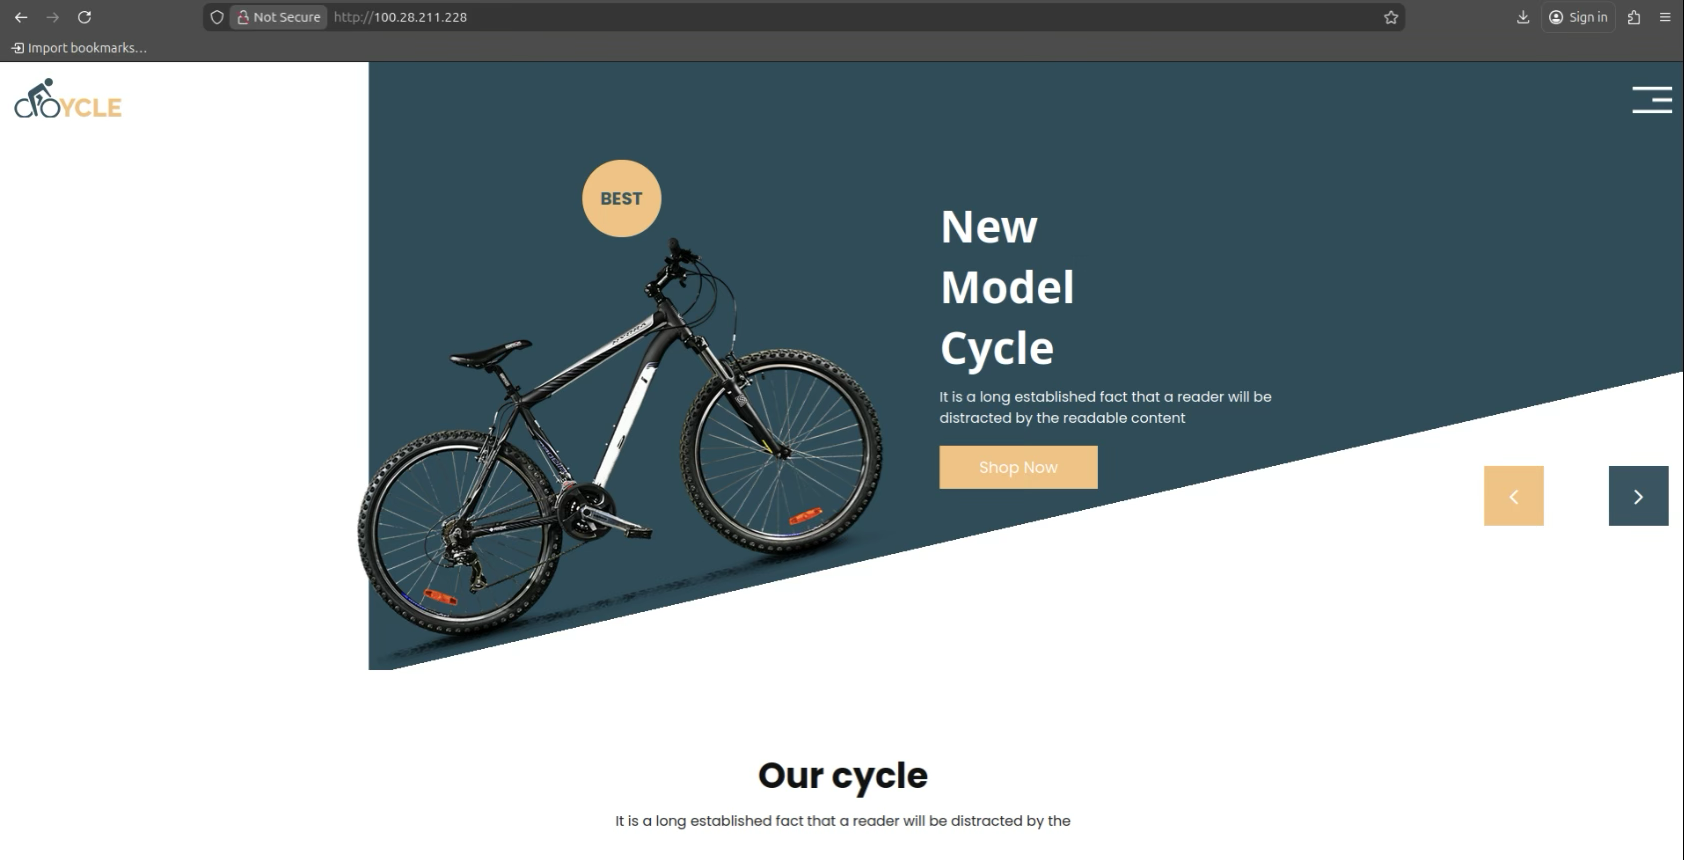
Instance is working — now prepare it for export.
STEP 3 — Install ONE-Context Package
E2E Networks uses the OpenNebula context package for virtual machine initialization, which configures the network, sets the user credentials, hostname, adds SSH keys, etc.
Debian / Ubuntu – Install ONE-Context (.deb Package)
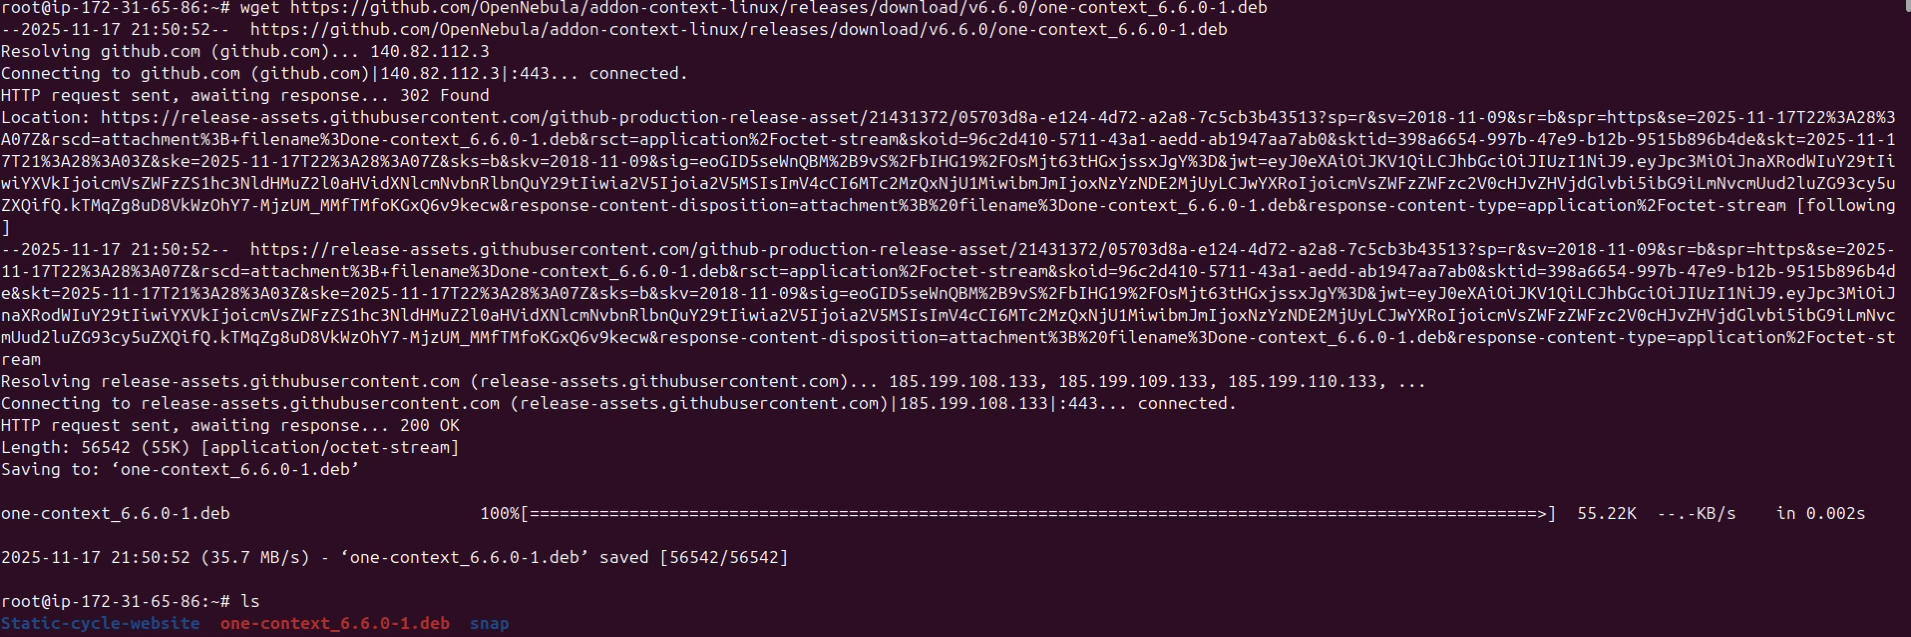
Step 1 — Download ONE-Context Package
wget https://github.com/OpenNebula/addon-context-linux/releases/download/v6.6.0/one-context_6.6.0-1.deb
Step 2 — Update System
sudo apt update
Step 3 — Fix Missing Dependencies
sudo apt --fix-broken install -y
Step 4 — Install ONE-Context
sudo dpkg -i one-context_6.6.0-1.deb
Step 5 — Enable ONE-Context Service
sudo systemctl enable one-context
RHEL / CentOS – Install ONE-Context (.rpm Package)
Step 1 — Download ONE-Context Package
wget https://github.com/OpenNebula/addon-context-linux/releases/download/v6.6.0/one-context-6.6.0-1.el7.noarch.rpm
Step 2 — Install Dependencies
sudo yum install -y epel-release
Step 3 — Install ONE-Context
sudo yum install -y one-context-6.6.0-1.el7.noarch.rpm
Step 4 — Enable ONE-Context Service
sudo systemctl enable one-context

Rocky Linux / AlmaLinux – Install ONE-Context (.rpm Package)
Step 1 — Download ONE-Context Package
wget https://github.com/OpenNebula/addon-context-linux/releases/download/v6.6.0/one-context-6.6.0-1.el8.noarch.rpm
Step 2 — Install ONE-Context
sudo dnf install -y one-context-6.6.0-1.el8.noarch.rpm
Step 3 — Enable ONE-Context Service
sudo systemctl enable one-context
Fedora – Install ONE-Context (.rpm Package)
Step 1 — Download ONE-Context Package
wget https://github.com/OpenNebula/addon-context-linux/releases/download/v6.6.0/one-context-6.6.0-1.fc38.noarch.rpm
Step 2 — Install ONE-Context
sudo dnf install -y one-context-6.6.0-1.fc38.noarch.rpm
Step 3 — Enable ONE-Context Service
sudo systemctl enable one-context
Windows
Download the MSI package into C:\:
Or execute this command in PowerShell:
(New-Object Net.WebClient).DownloadFile("https://github.com/OpenNebula/addon-context-windows/releases/download/v5.8.0/one-context-5.8.0.msi", "C:\one-context-5.8.0.msi")
In this guide, we are importing a Ubuntu-based server from AWS, so we installed the Ubuntu-related ONE-Context package.
E2E cloud platform supports images in QCOW2, qed, raw, vdi, and vhd formats for import.
The one-context service should be in inactive state after installation, as it should run on the E2E side after import.
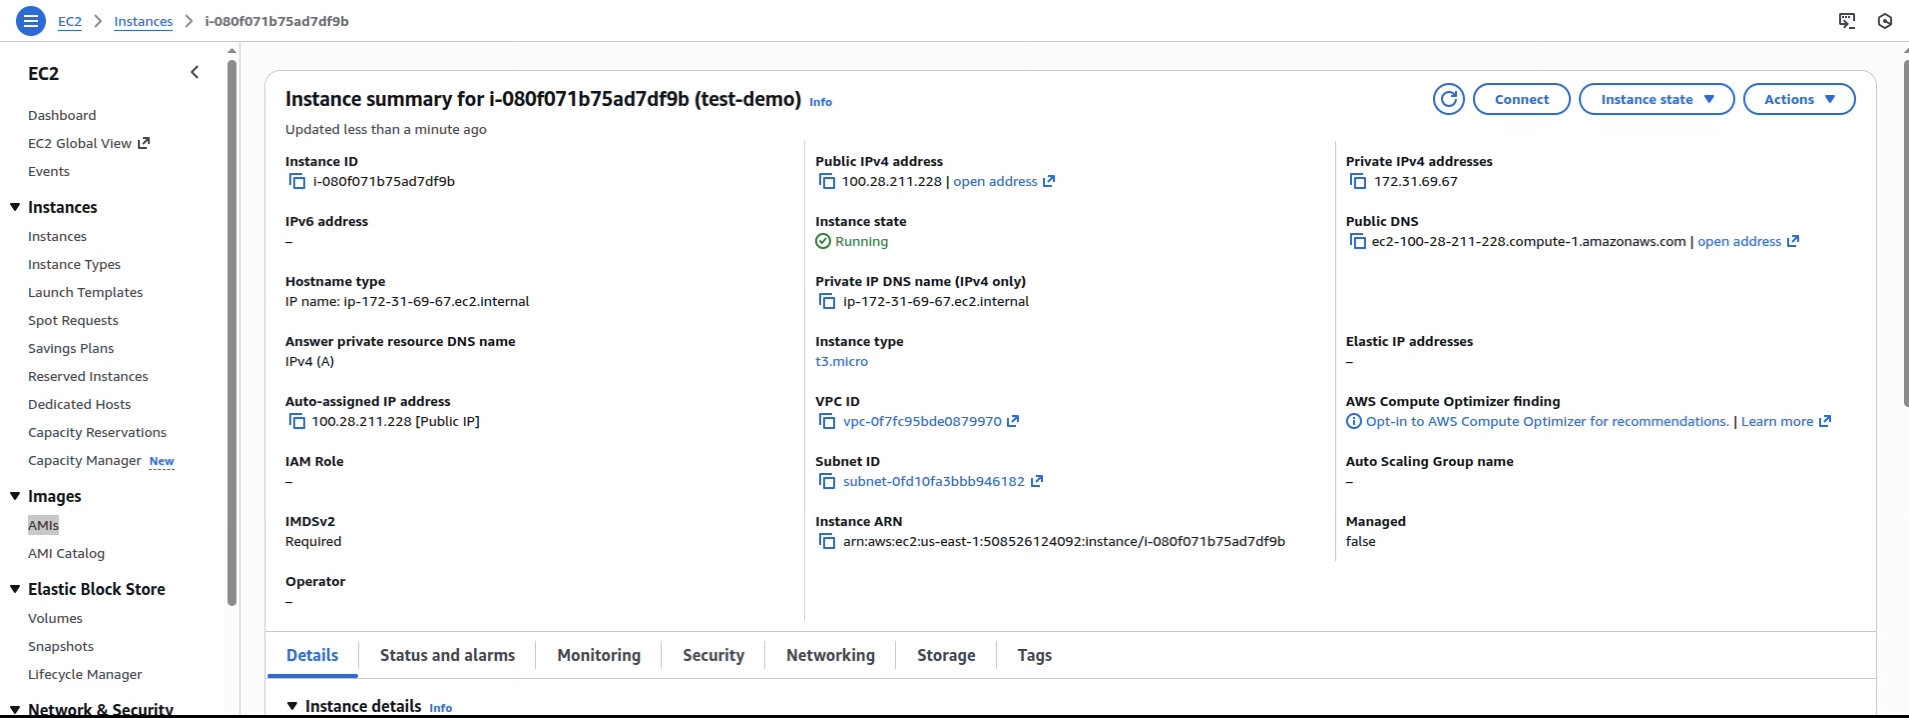
STEP 4 — Create AMI Image of the Instance
- Go to EC2 → Instances
- Select your instance
- Click Actions → Image → Create Image
- Give name (example:
aws-e2e-custom-image) - Click Create Image
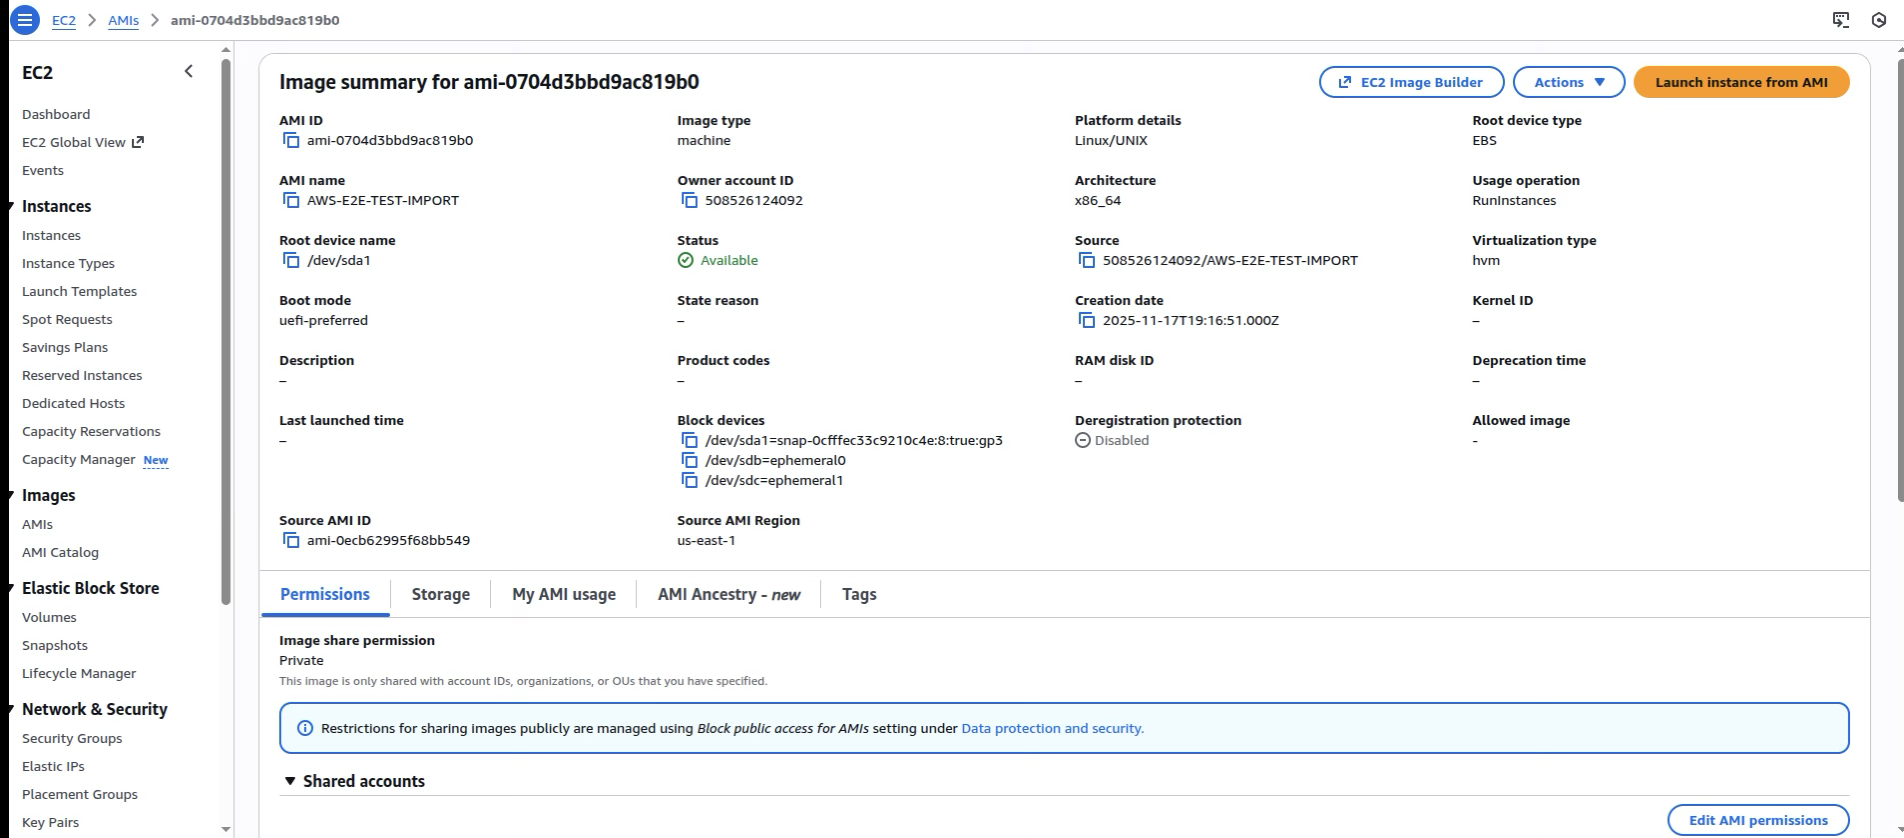
Wait until AMI status = available
STEP 5 — Install AWS CLI on Your Local System
Download and install:
curl "https://awscli.amazonaws.com/awscli-exe-linux-x86_64.zip" -o "awscliv2.zip"
unzip awscliv2.zip
sudo ./aws/install
aws --version

STEP 6 — Configure AWS CLI
aws configure
Enter:
- Access Key
- Secret Key
- Default region:
ap-south-1(or your region) - Output:
json
Verify:
aws sts get-caller-identity
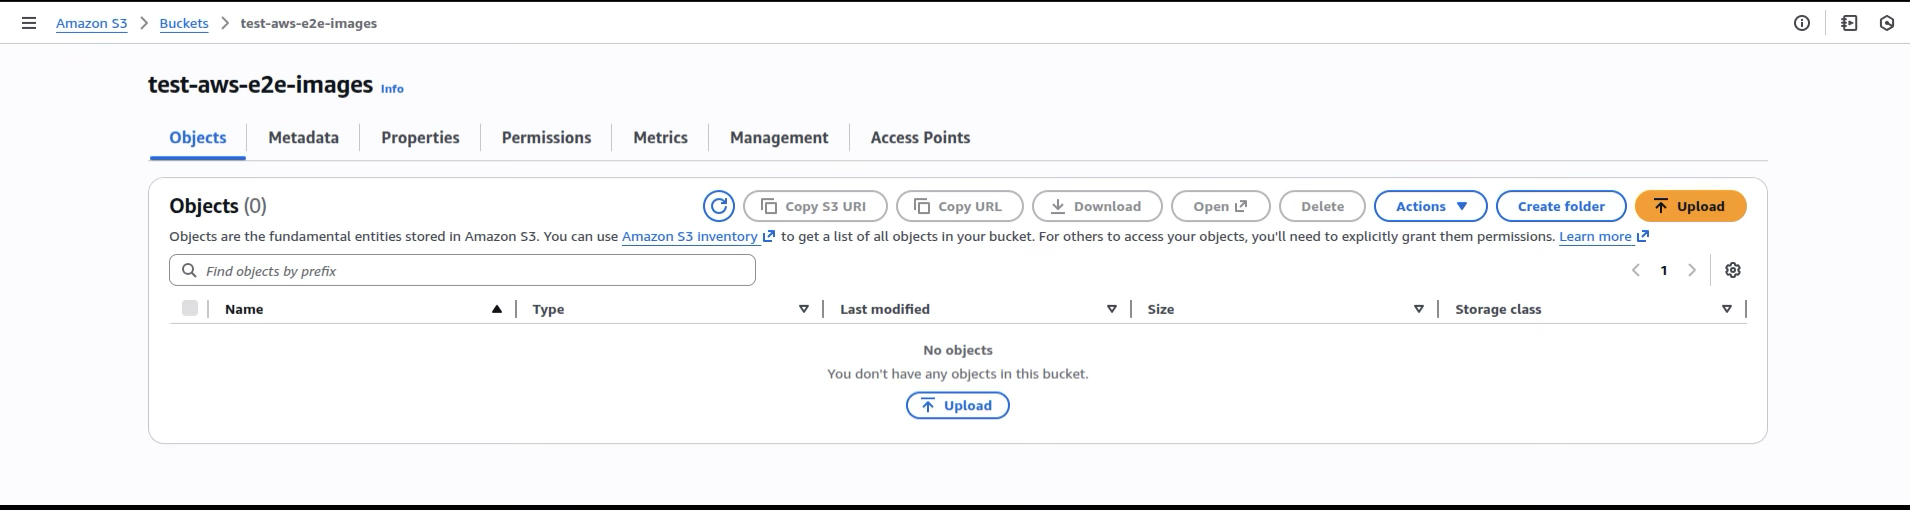
STEP 7 — Create an S3 Bucket for the Exported RAW Image
Create a bucket (via UI or CLI):
aws s3 mb s3://aws-e2e-export-bucket
To list buckets:
aws s3 ls

STEP 8 — Create IAM Role for VM Export
The VM Export service needs permission to access your S3 bucket and perform export operations.
Create trust policy:
cat > trust-policy.json << 'EOF'
{
  "Version": "2012-10-17",
  "Statement": [
    {
      "Effect": "Allow",
      "Principal": { "Service": "vmie.amazonaws.com" },
      "Action": "sts:AssumeRole"
    }
  ]
}
EOF
Create Role:
aws iam create-role \
  --role-name vmimport \
  --assume-role-policy-document file://trust-policy.json
STEP 9 — Attach Required Inline Policy
cat > role-policy.json << 'EOF'
{
  "Version": "2012-10-17",
  "Statement": [
    {
      "Effect": "Allow",
      "Action": [
        "s3:GetBucketLocation",
        "s3:GetObject",
        "s3:ListBucket",
        "s3:PutObject"
      ],
      "Resource": [
        "arn:aws:s3:::aws-e2e-export-bucket",
        "arn:aws:s3:::aws-e2e-export-bucket/*"
      ]
    },
    {
      "Effect": "Allow",
      "Action": [
        "ec2:ModifySnapshotAttribute",
        "ec2:CopySnapshot",
        "ec2:RegisterImage",
        "ec2:Describe*"
      ],
      "Resource": "*"
    }
  ]
}
EOF
Attach it:
aws iam put-role-policy \
  --role-name vmimport \
  --policy-name vmimport \
  --policy-document file://role-policy.json
Replace aws-e2e-export-bucket with your actual bucket name in the policy.
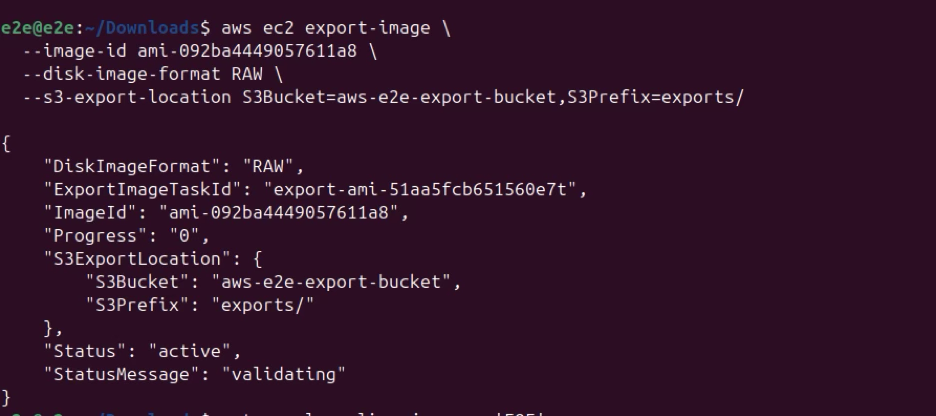
STEP 10 — Export the AMI to RAW Format
aws ec2 export-image \
  --image-id AMI-ID-HERE \
  --disk-image-format RAW \
  --s3-export-location S3Bucket=aws-e2e-export-bucket,S3Prefix=exports/
Example:
aws ec2 export-image \
  --image-id ami-07abc123456 \
  --disk-image-format RAW \
  --s3-export-location S3Bucket=aws-e2e-export-bucket,S3Prefix=exports/
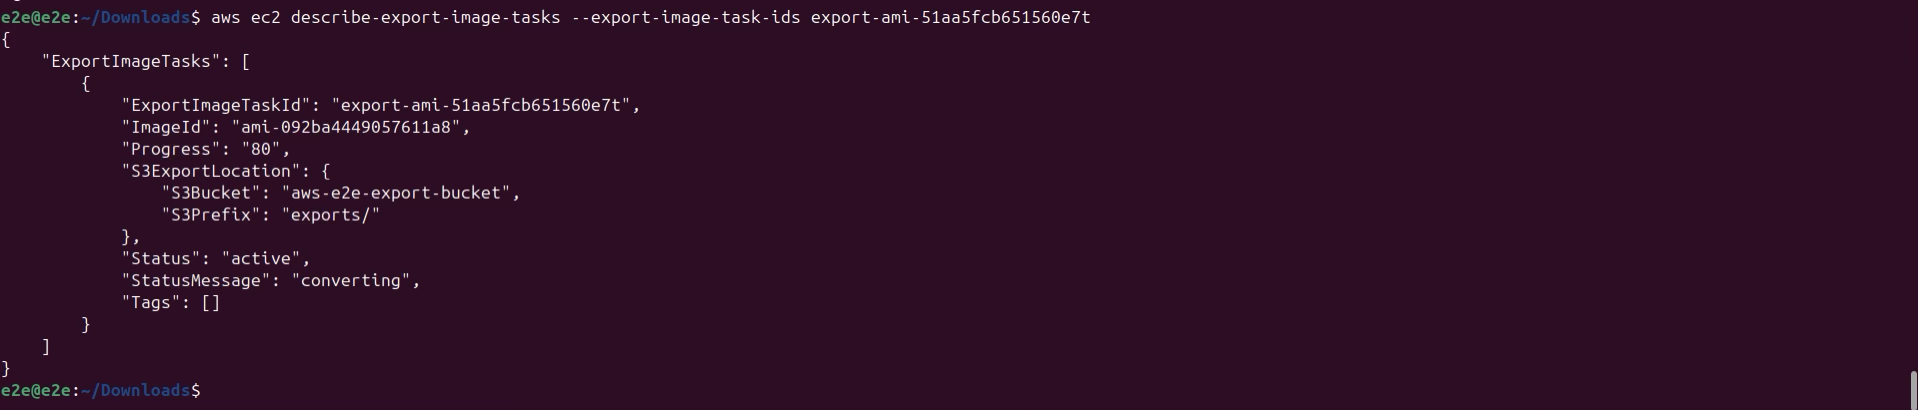
Check Export Progress:
aws ec2 describe-export-image-tasks --export-image-task-ids ExportImageTaskId
STEP 11 — Download the Exported RAW File
List file:
aws s3 ls s3://aws-e2e-export-bucket/exports/


Download the image:
aws s3 cp s3://aws-e2e-export-bucket/exports/exported.raw .

Now the RAW file is on your local system.

STEP 12 — Upload RAW Image to E2E Networks Object Storage
E2E imports only from its internal Object Storage.
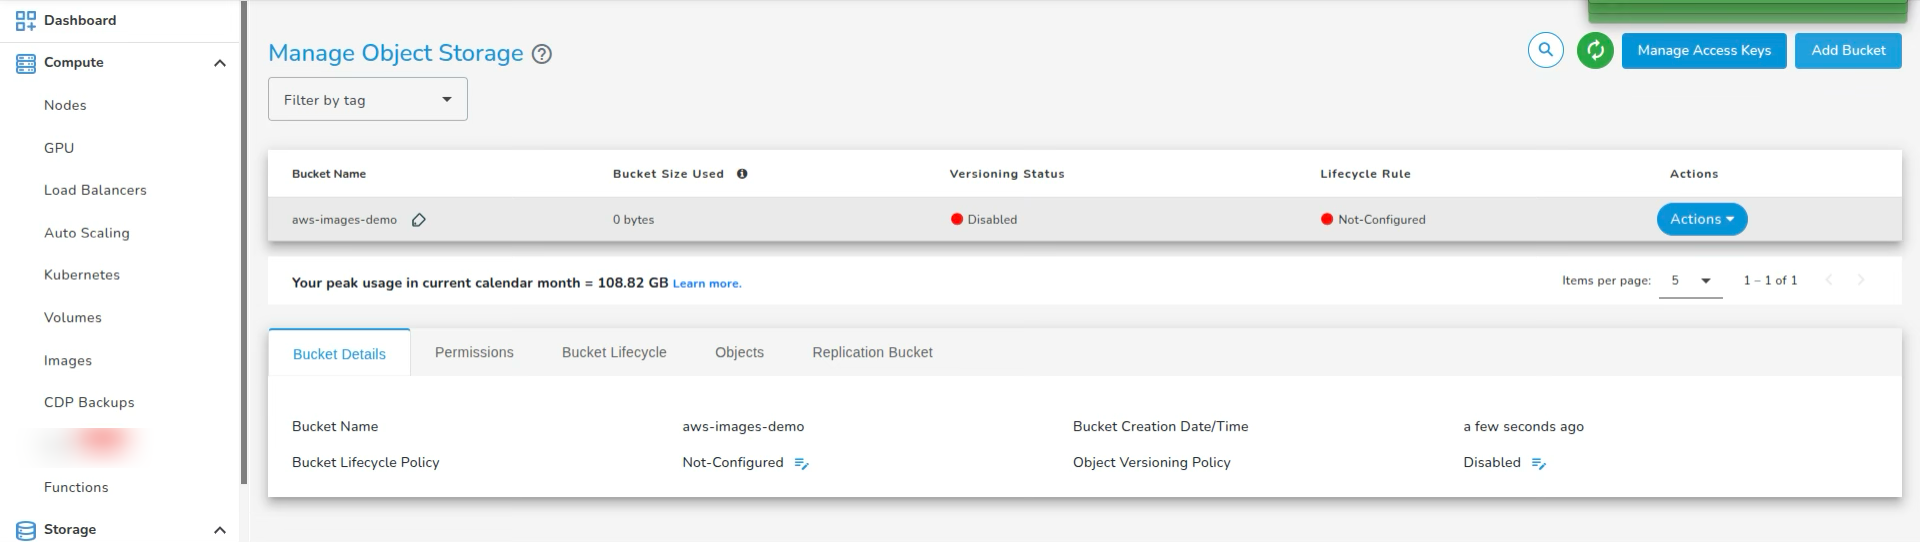
Step 12.1 — Create a Bucket in E2E
- Login → Object Storage → Buckets → Create Bucket
- Bucket name:
aws-imagesor any name you prefer. - Click Create
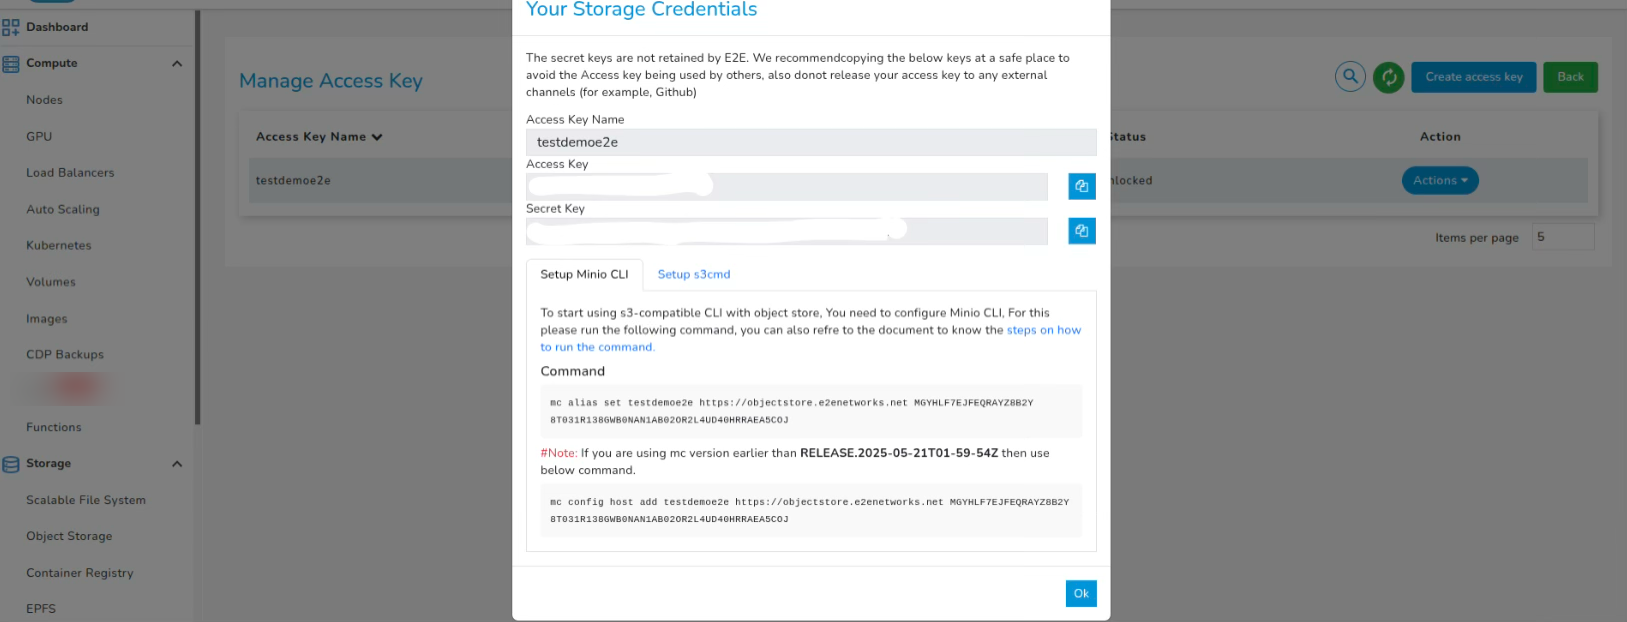
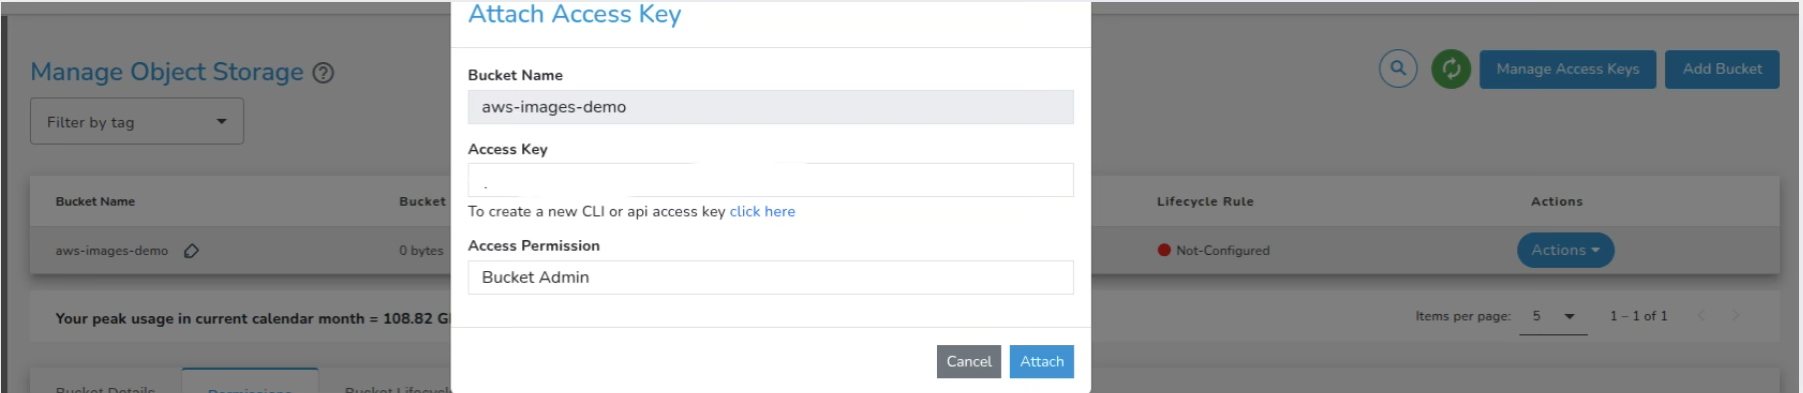
Create Access Keys:
- Click on Manage Access-key
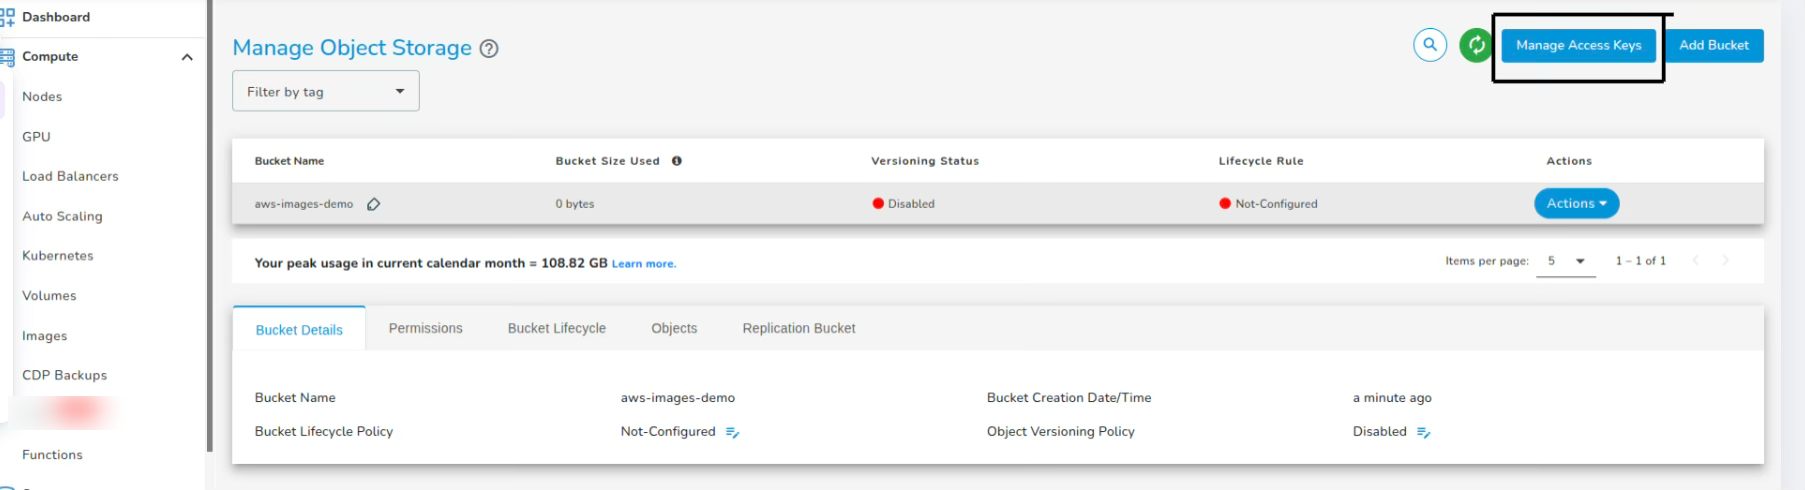
- Click on Create Access Key

- Store the Access-Key and Secret-Access-key
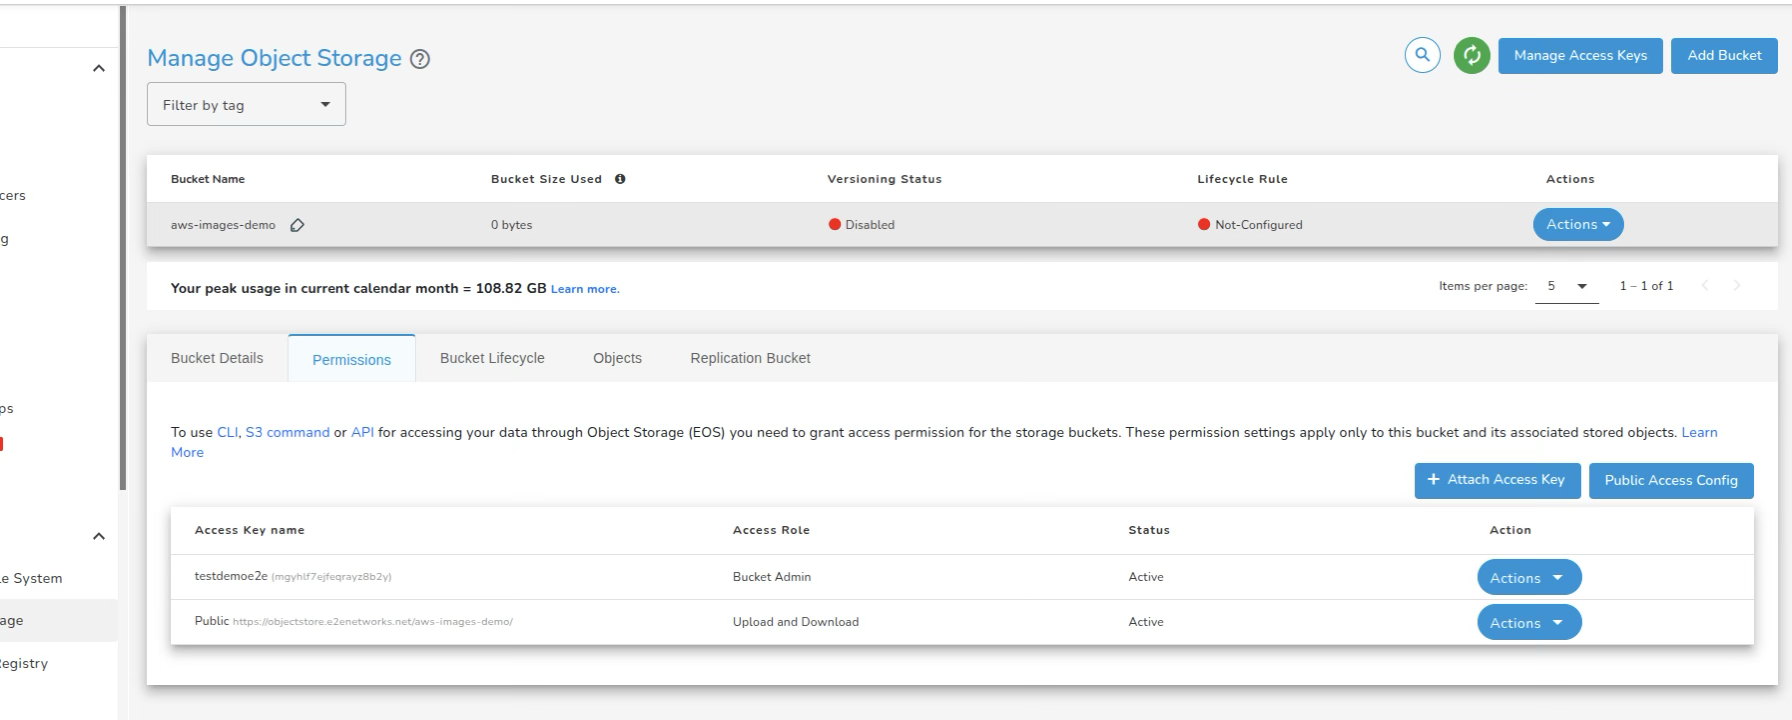
Attach Access Key to Bucket:
- Click on Permissions
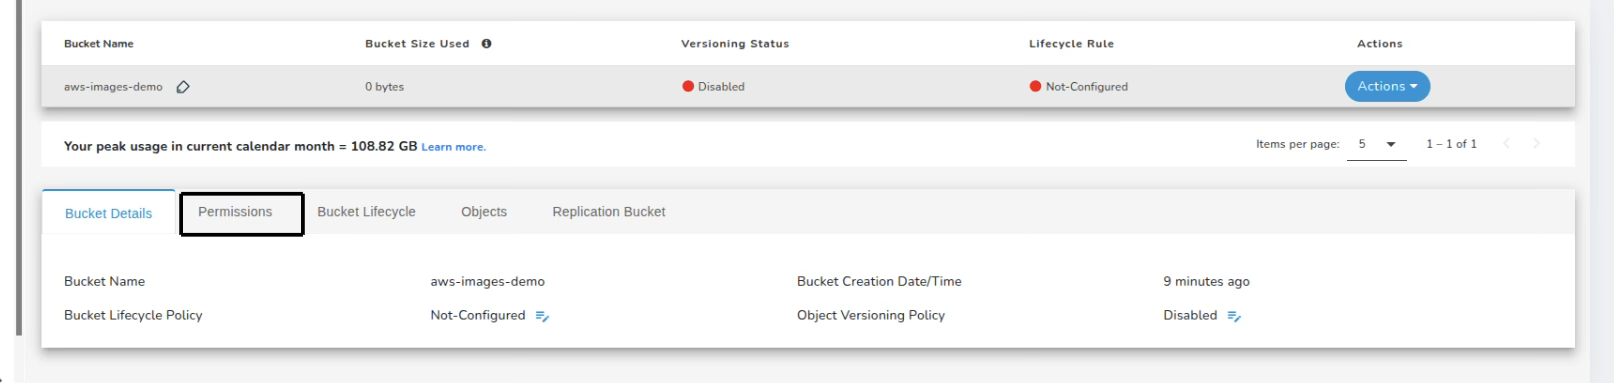
- Click on Attach Access-key
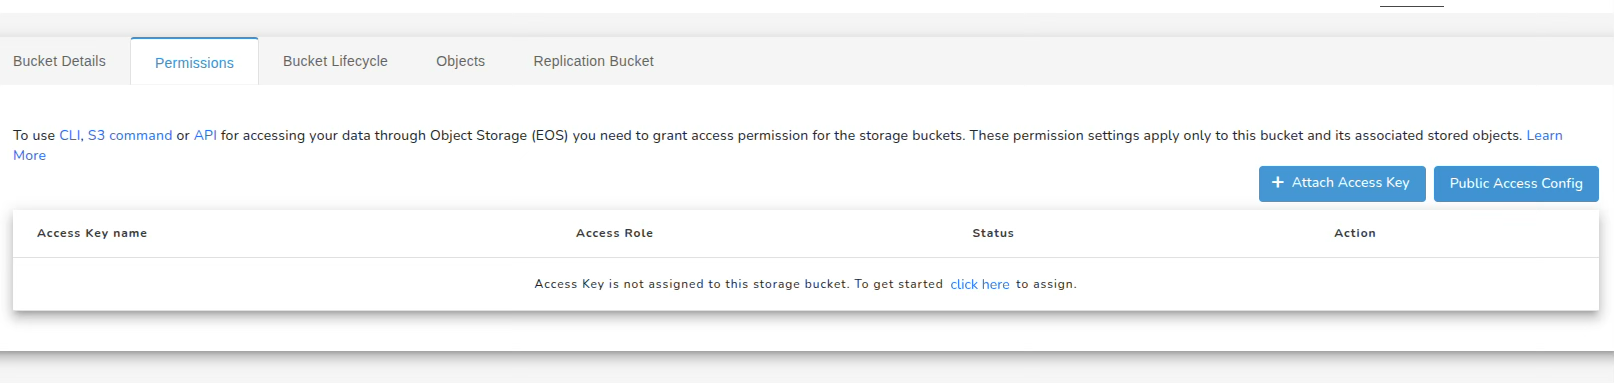
- Attach the same key with Bucket Admin Permissions
Set Public Access Permissions:
- Click on Public-access-config
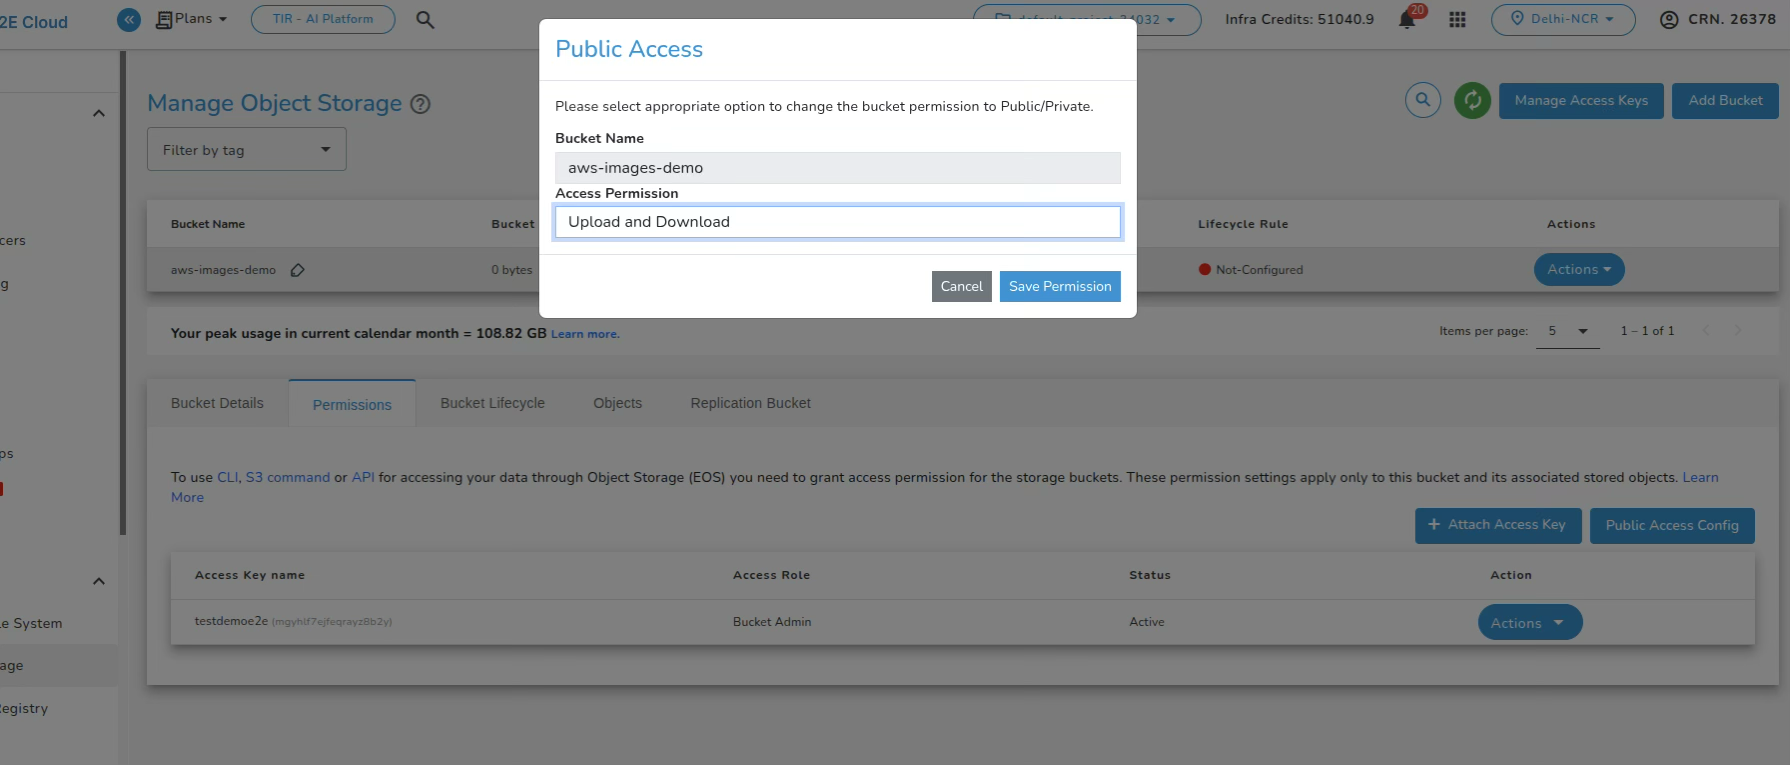
- Enable upload and download permissions
- Save permissions
Step 12.2 — Install MinIO Client (mc)
To copy the image from local to E2E Object Storage:
wget https://dl.min.io/client/mc/release/linux-amd64/mc
chmod +x mc
sudo mv mc /usr/local/bin/
Verify:
mc --version

Step 12.3 — Add E2E Storage as an mc Host
Replace with your Access + Secret Keys:
mc alias set e2e https://in-1.storage.e2enetworks.net ACCESS_KEY SECRET_KEY

Check:
mc ls e2e

Step 12.4 — Upload the RAW Image
mc cp ~/Downloads/export-ami-285288eab9317316t.raw e2e/aws-images-demo/

Verify:
mc ls e2e/aws-images-demo

Copy the Object URL:

https://objectstore.e2enetworks.net/aws-images-demo/export-ami-285288eab9317316t.raw
This Object URL will be used while importing the image to E2E Cloud.
The image is successfully copied to the bucket.
Step 12.5 — Import Image From Object Storage in E2E
- Go to: Compute → Images → Import Custom Images

- In Public URL, paste the URL of the object copied in the previous step
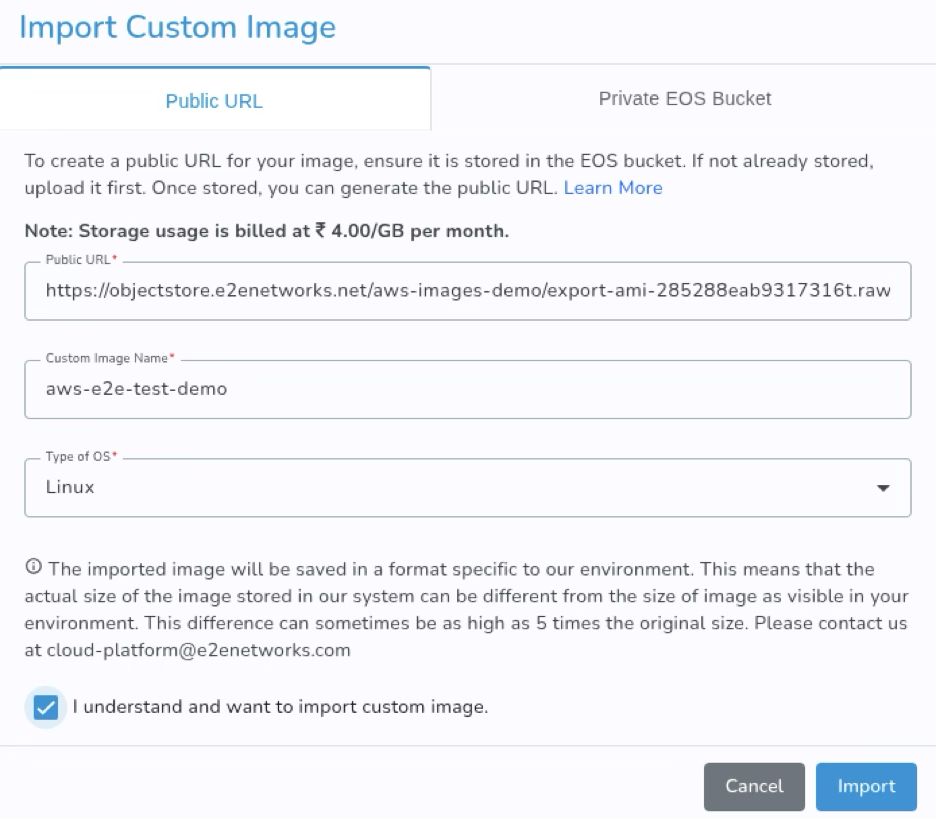
- Click on Import

- The image state will be Creating. Wait until it reaches Ready state

Your AWS EC2 image is now ready to be launched as a VM inside E2E Networks Cloud.
Step 12.6 — Create a Node From The Image
- Click on Actions and Create Node

- Select the plan of the node and billing model (Hourly/Committed)
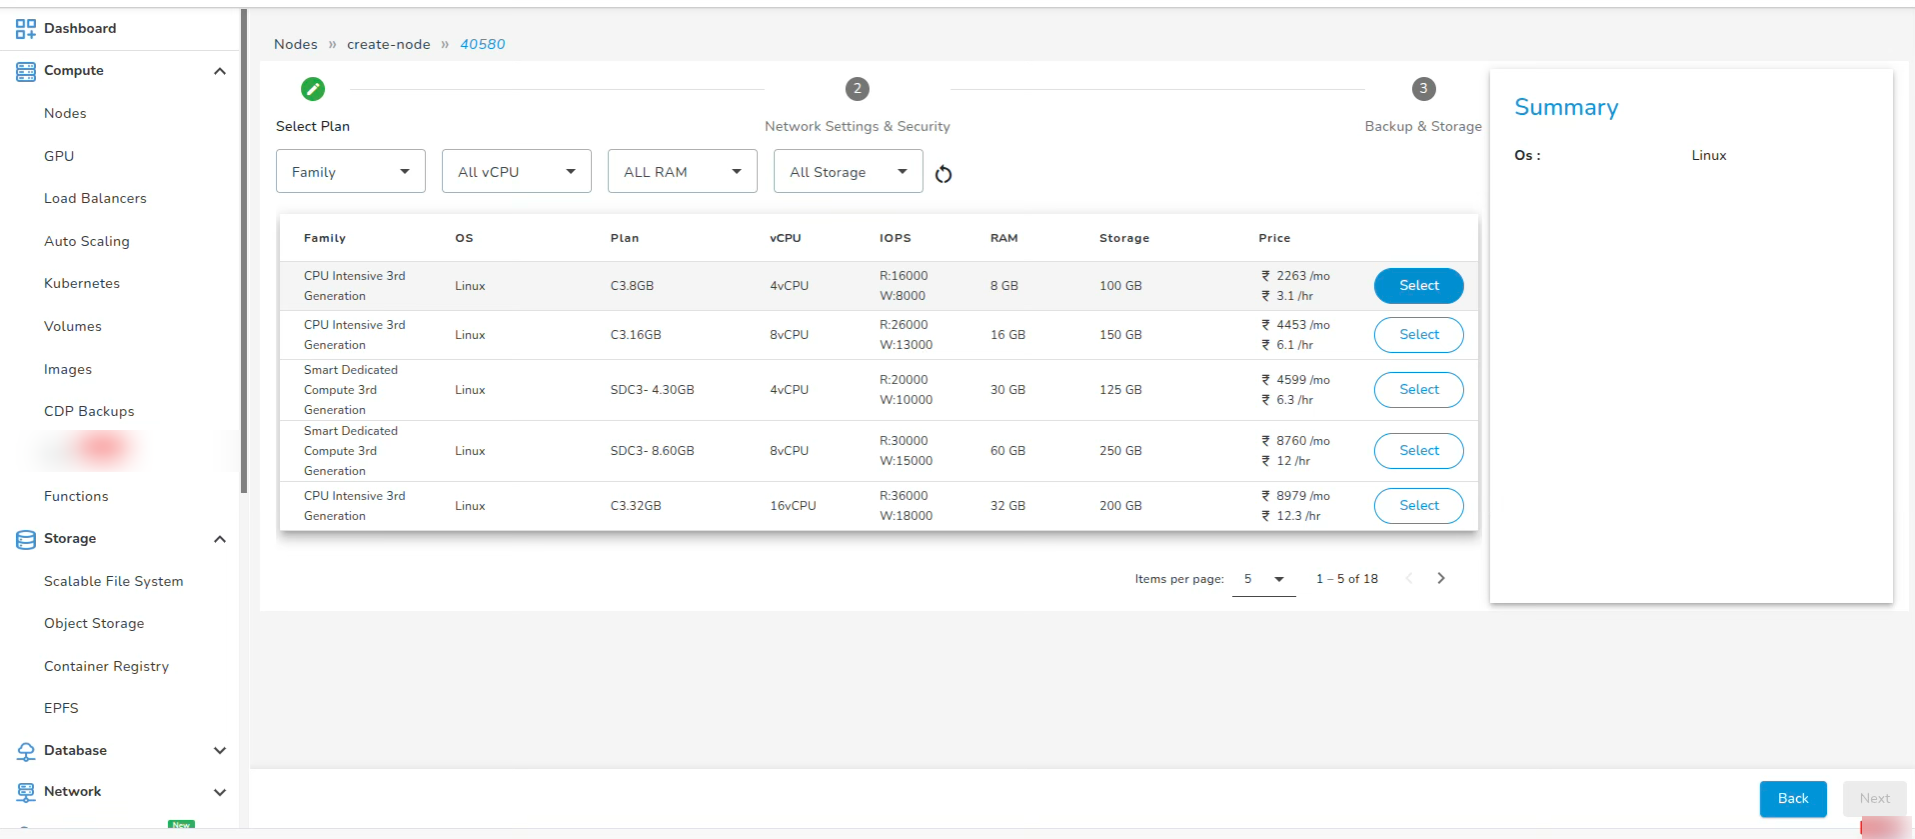
- The node will be in Creation state. Wait for a few minutes until it reaches Running state

STEP 13 — Verify Your Application
SSH into the newly created E2E node:
Use the node's public IP:
ssh root@public-ip-of-node
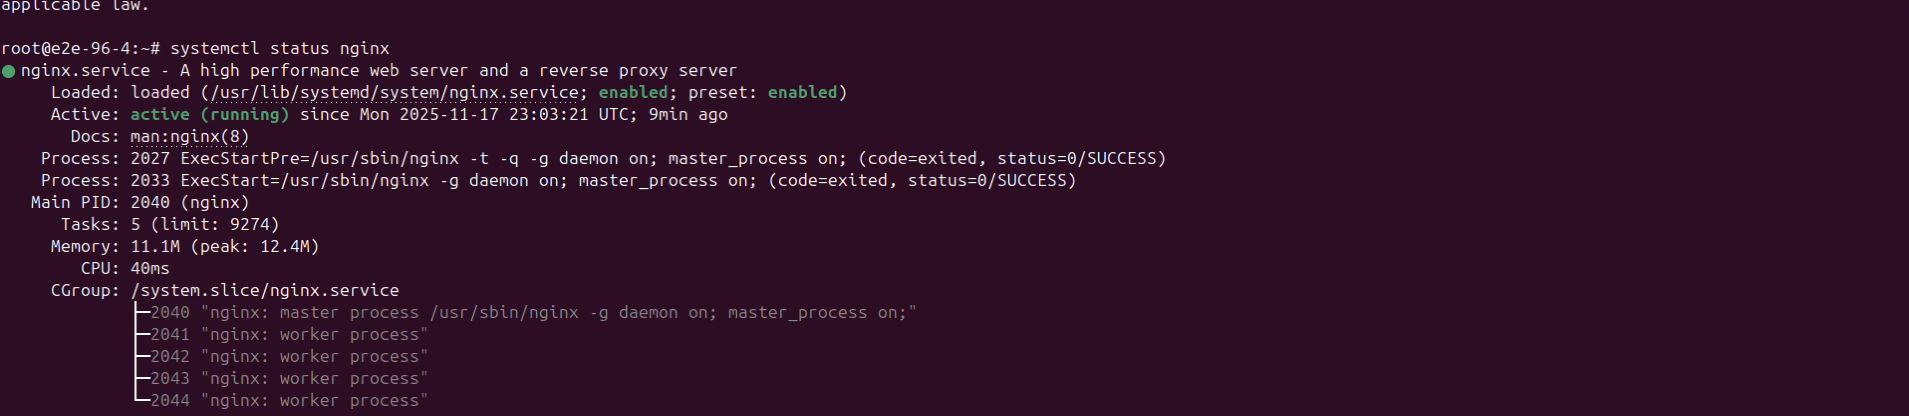
Verify NGINX (or your application) is running:
systemctl status nginx
If you installed a different application, verify it using the appropriate service name.
Access your application from browser:
Copy the E2E public IP and open it in your browser:
http://<E2E-PUBLIC-IP>
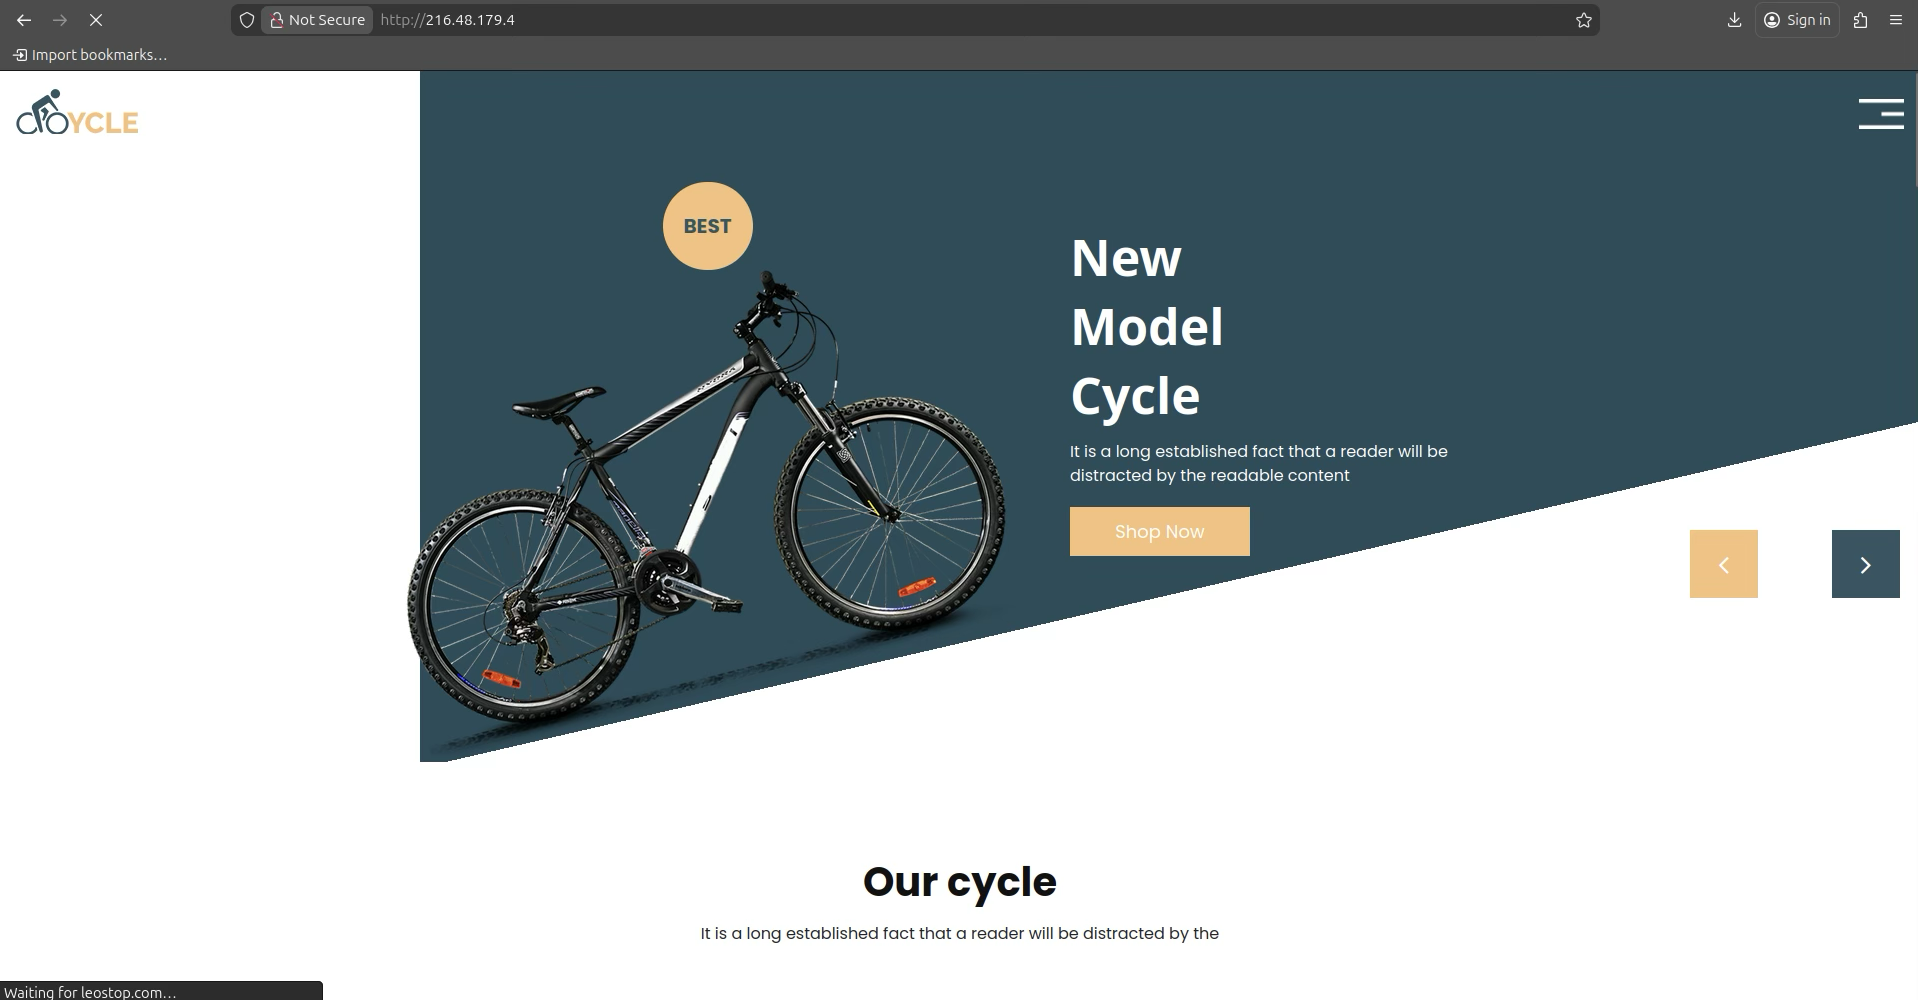
Your application should load exactly as it did on AWS EC2.
Final Confirmation
✅ Migration Complete!
We have successfully:
- Created an AMI from AWS EC2 instance
- Exported the AMI to RAW format
- Uploaded it to E2E Object Storage
- Imported it into E2E Cloud
- Created a running node from the imported image
- Verified the application is accessible
You have now performed a full migration from AWS EC2 to E2E Networks Cloud.