Steps for Encryption
E2E Networks provides two methods to secure your objects in Object Storage using encryption:
- E2E Managed Encryption – Encryption is handled automatically by E2E Networks.
- User-Managed Keys – User manage and apply your own encryption keys using the MinIO client (mc).
Option 1: Enable E2E Managed Encryption (Server-Side)
E2E Managed Encryption allows you to encrypt your bucket and its contents automatically. E2E Networks handles key management and encryption at rest.
Steps to Enable E2E Managed Encryption
-
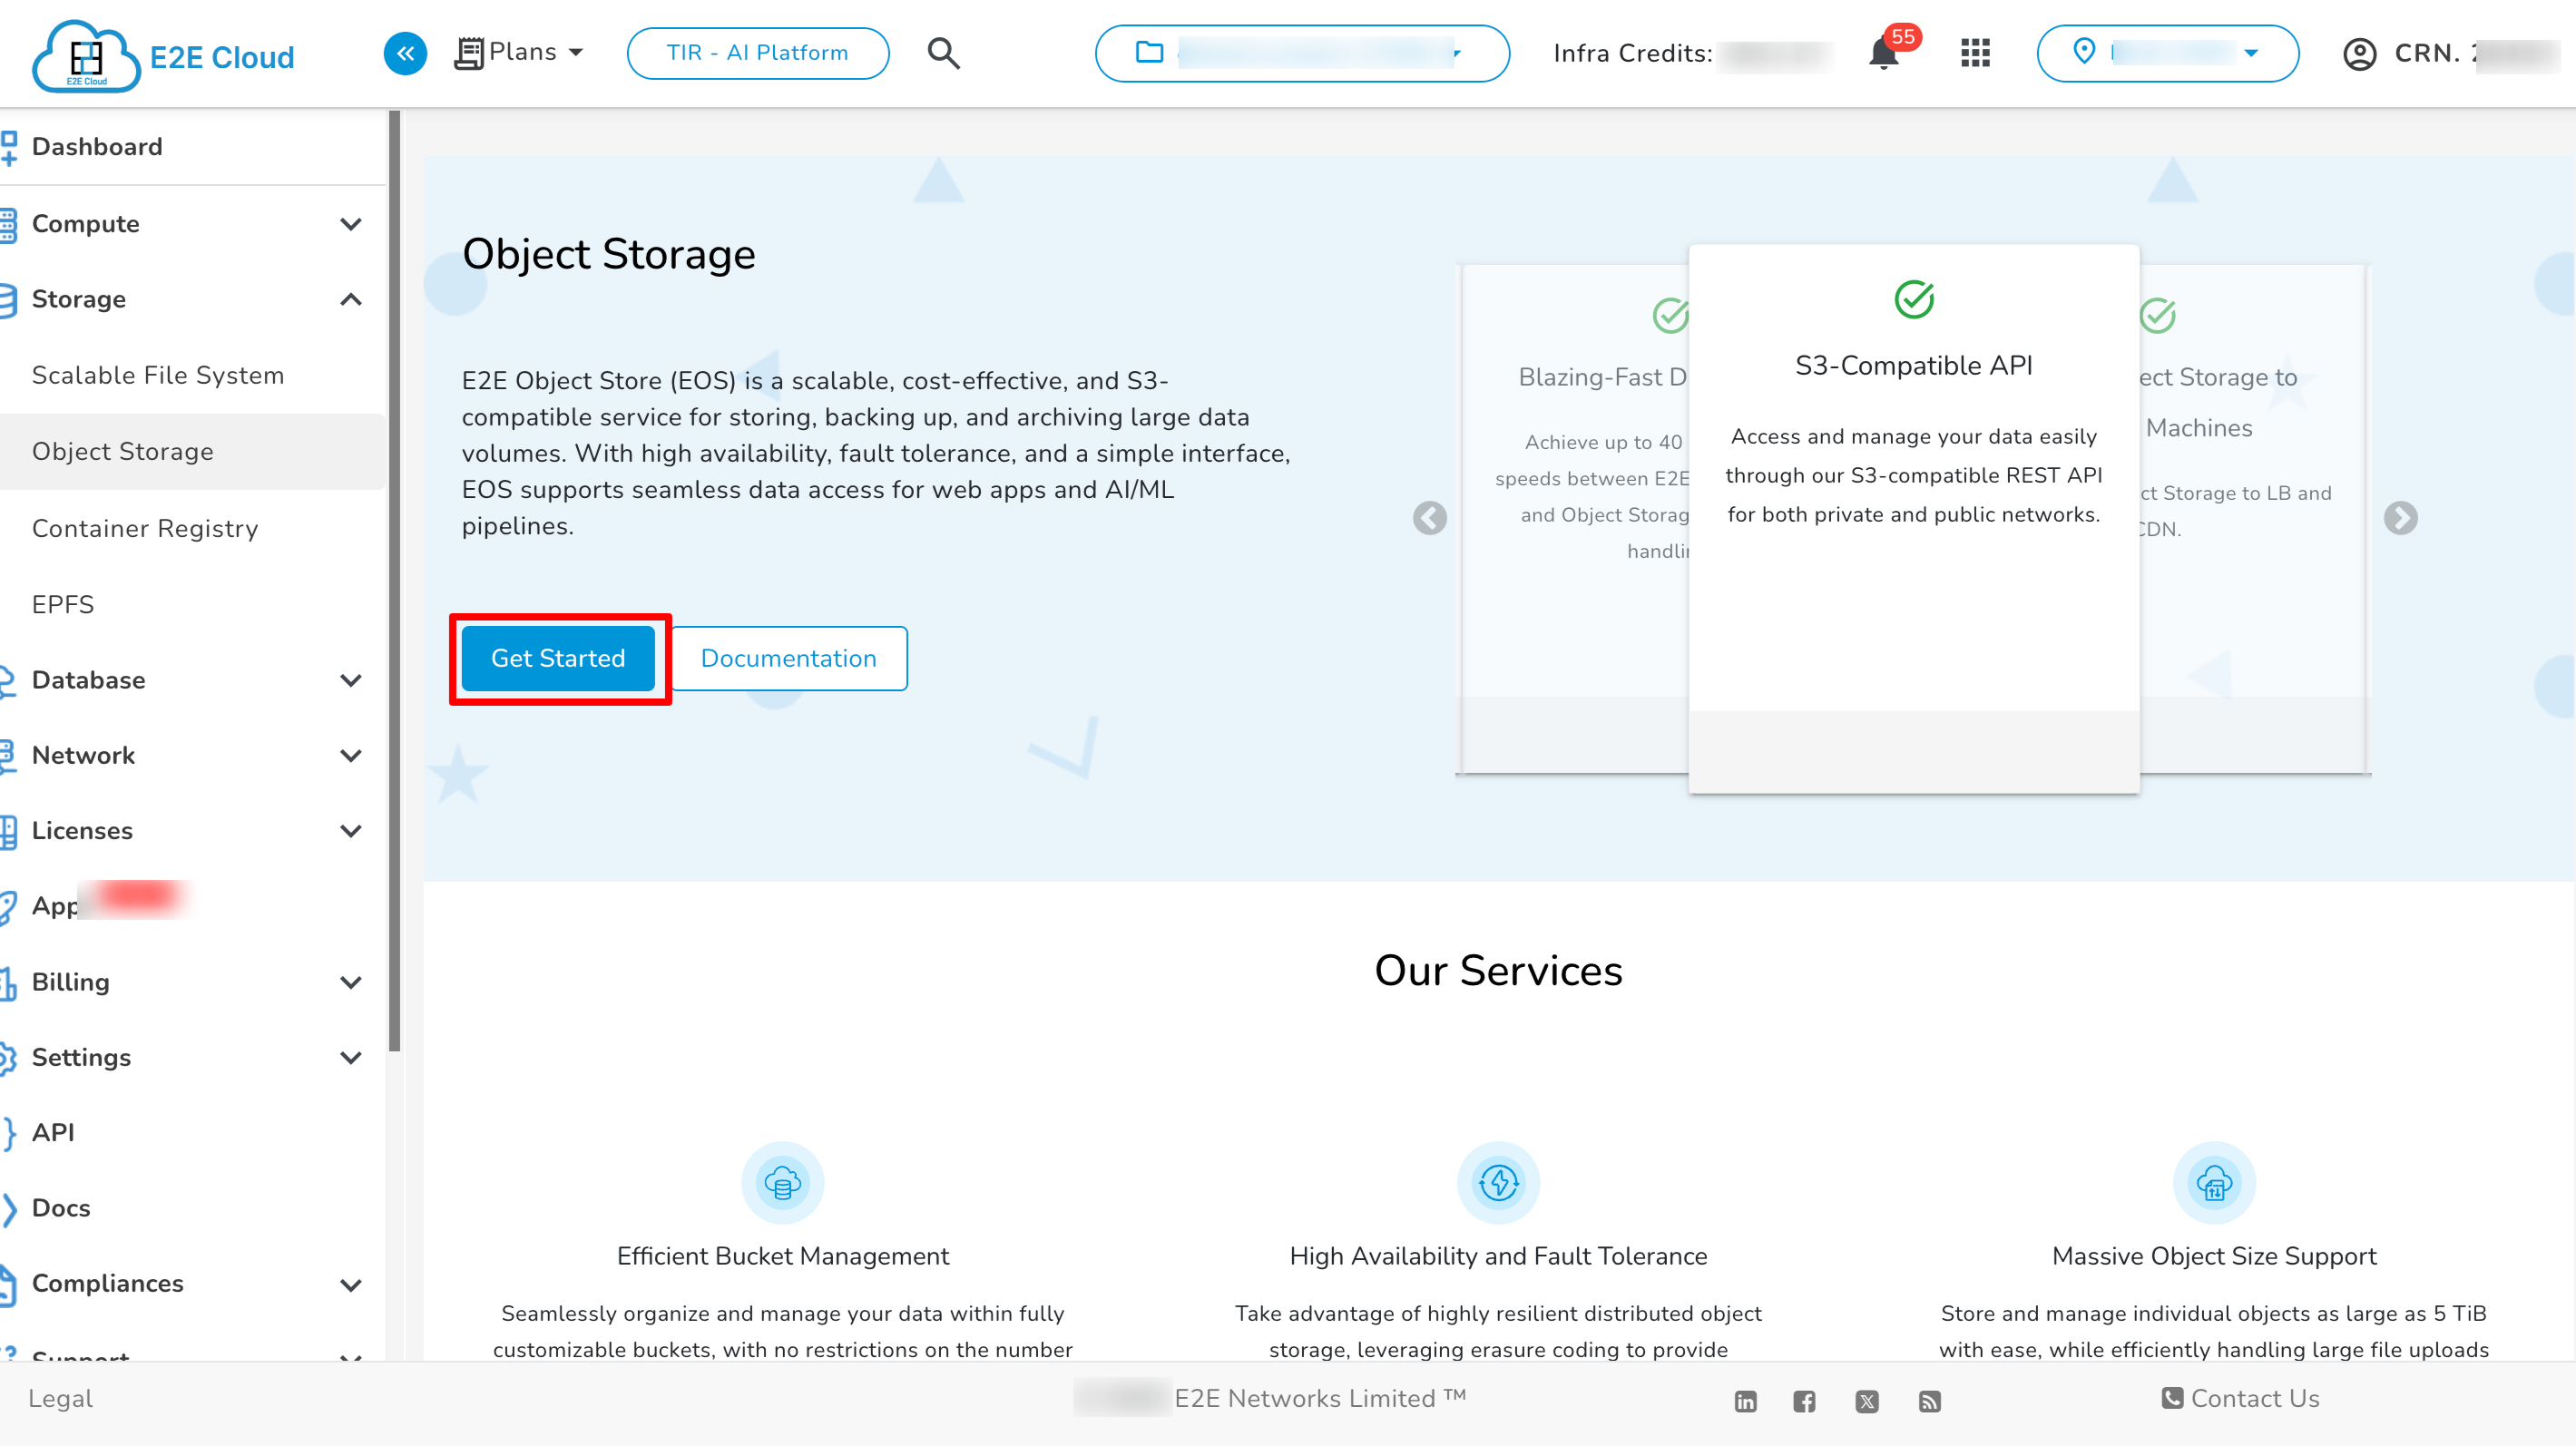
Navigate to Object Storage
- Go to Object Storage under Storage section from the MyAccount dashboard.
-
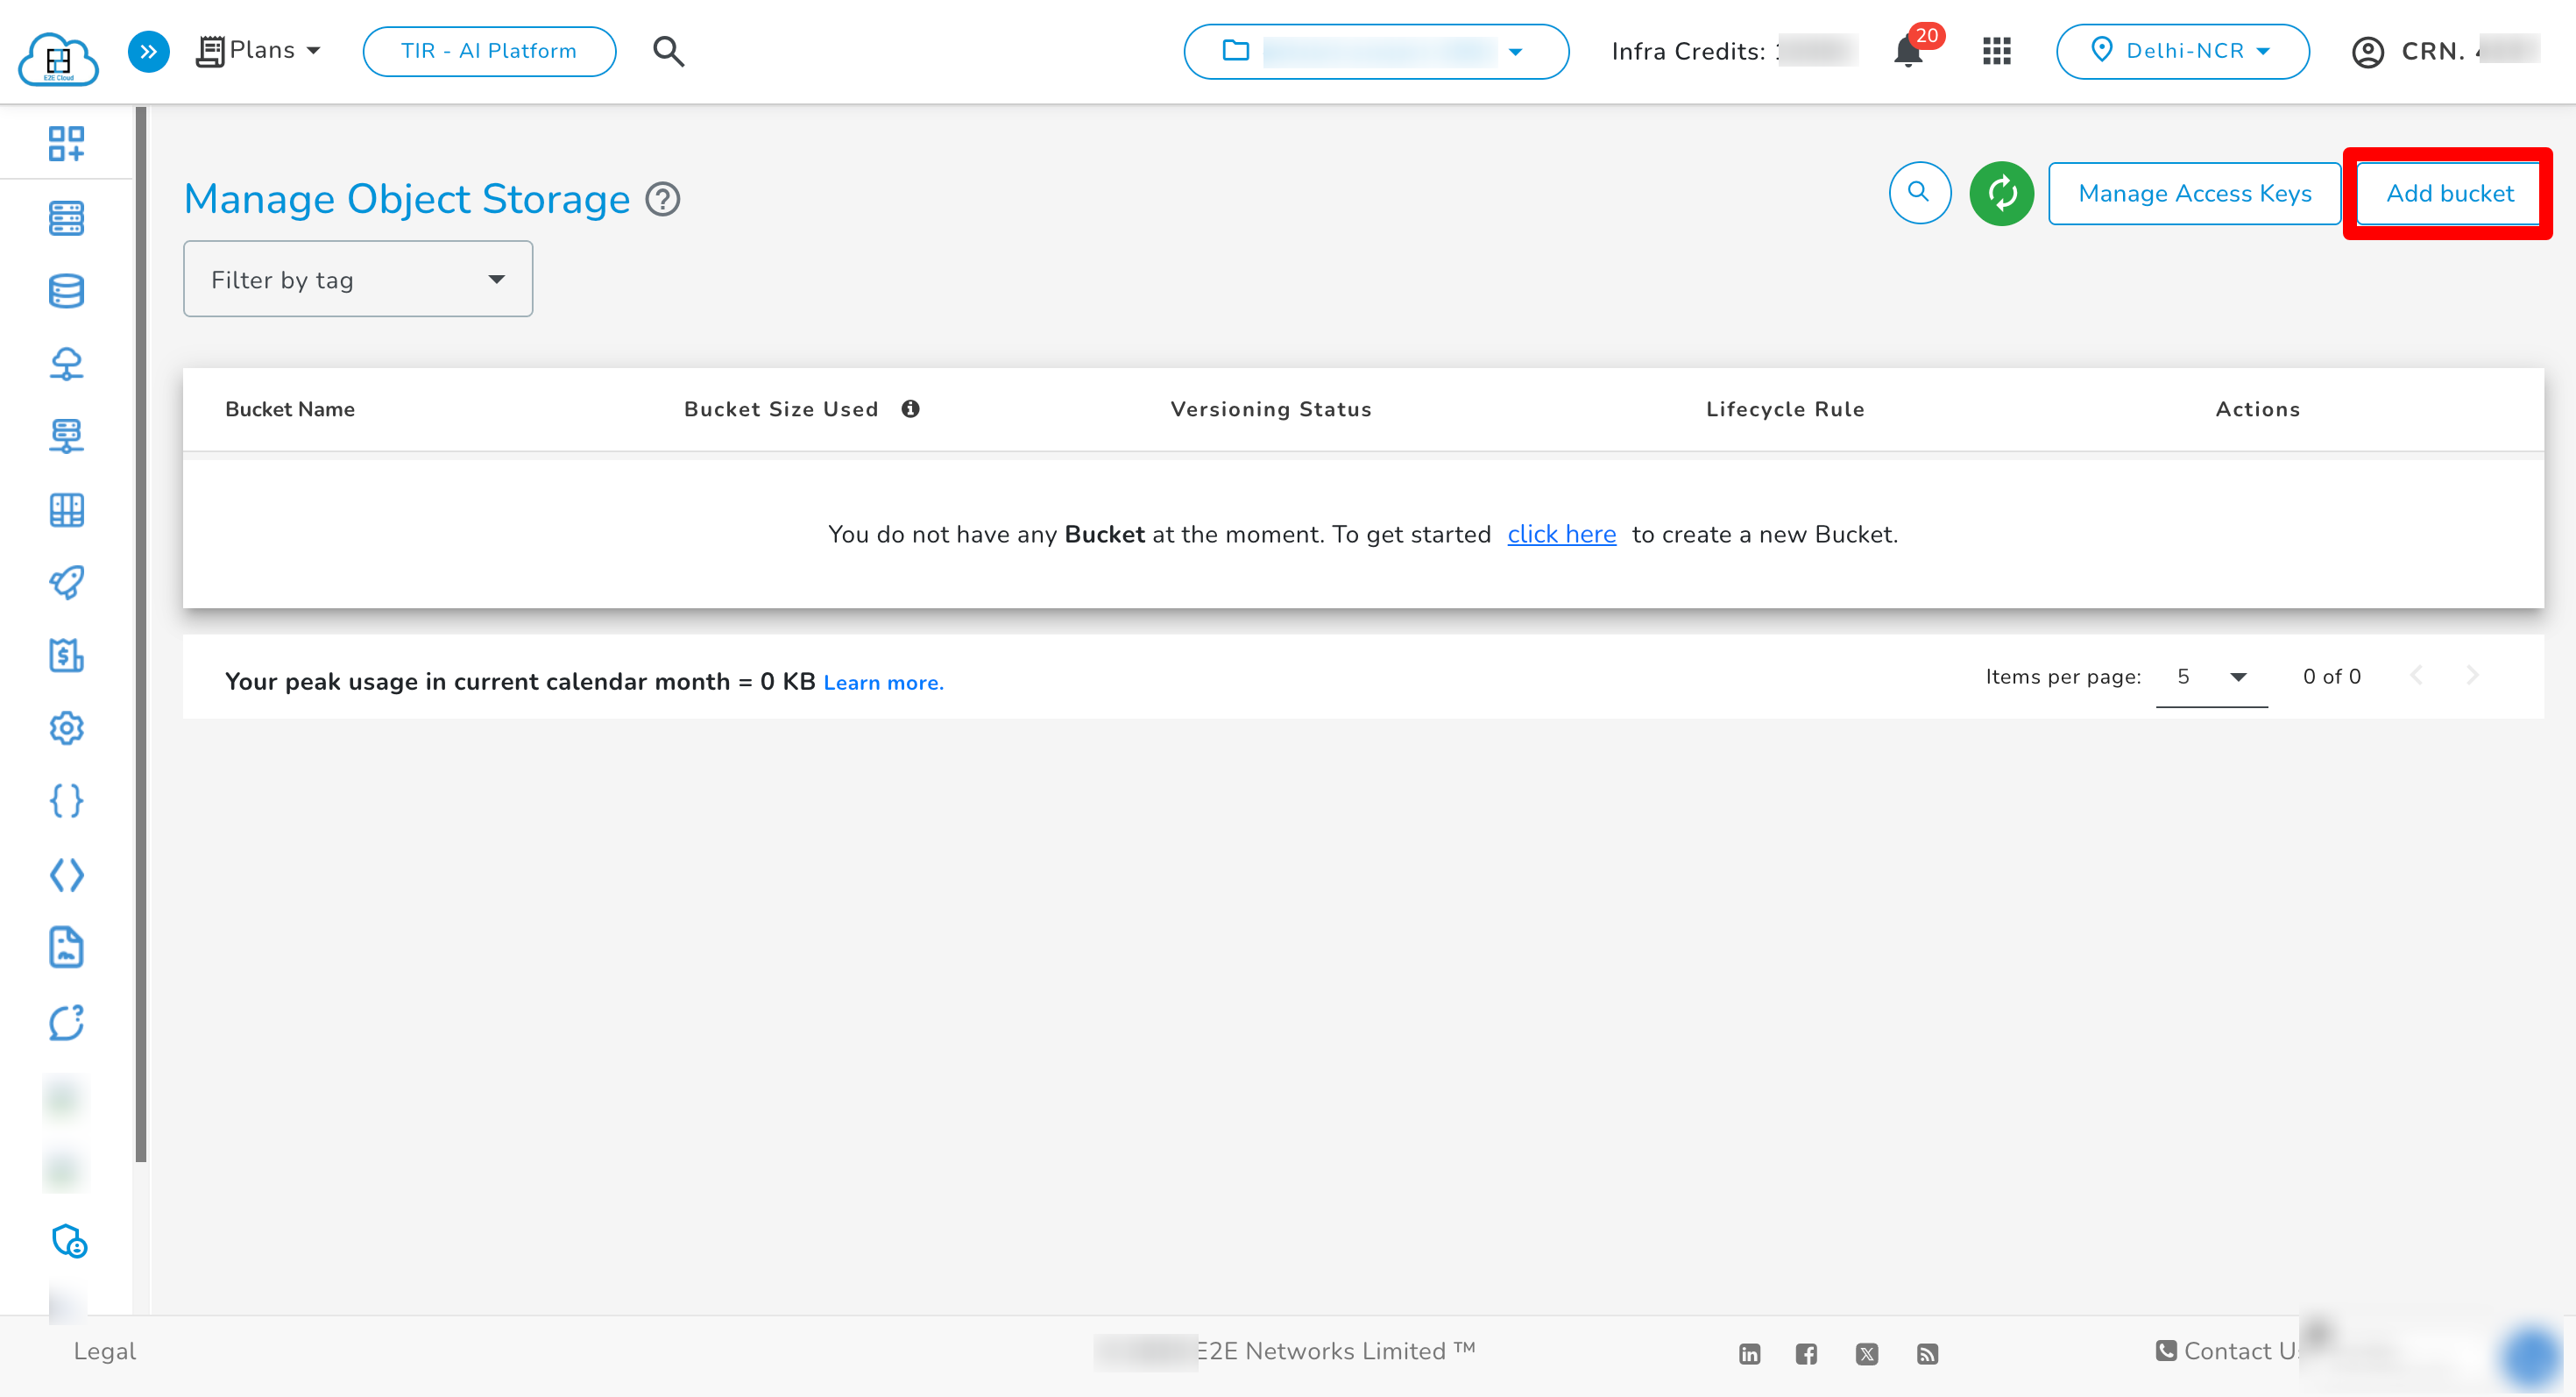
Create a New Bucket
- Click the Add Bucket button.
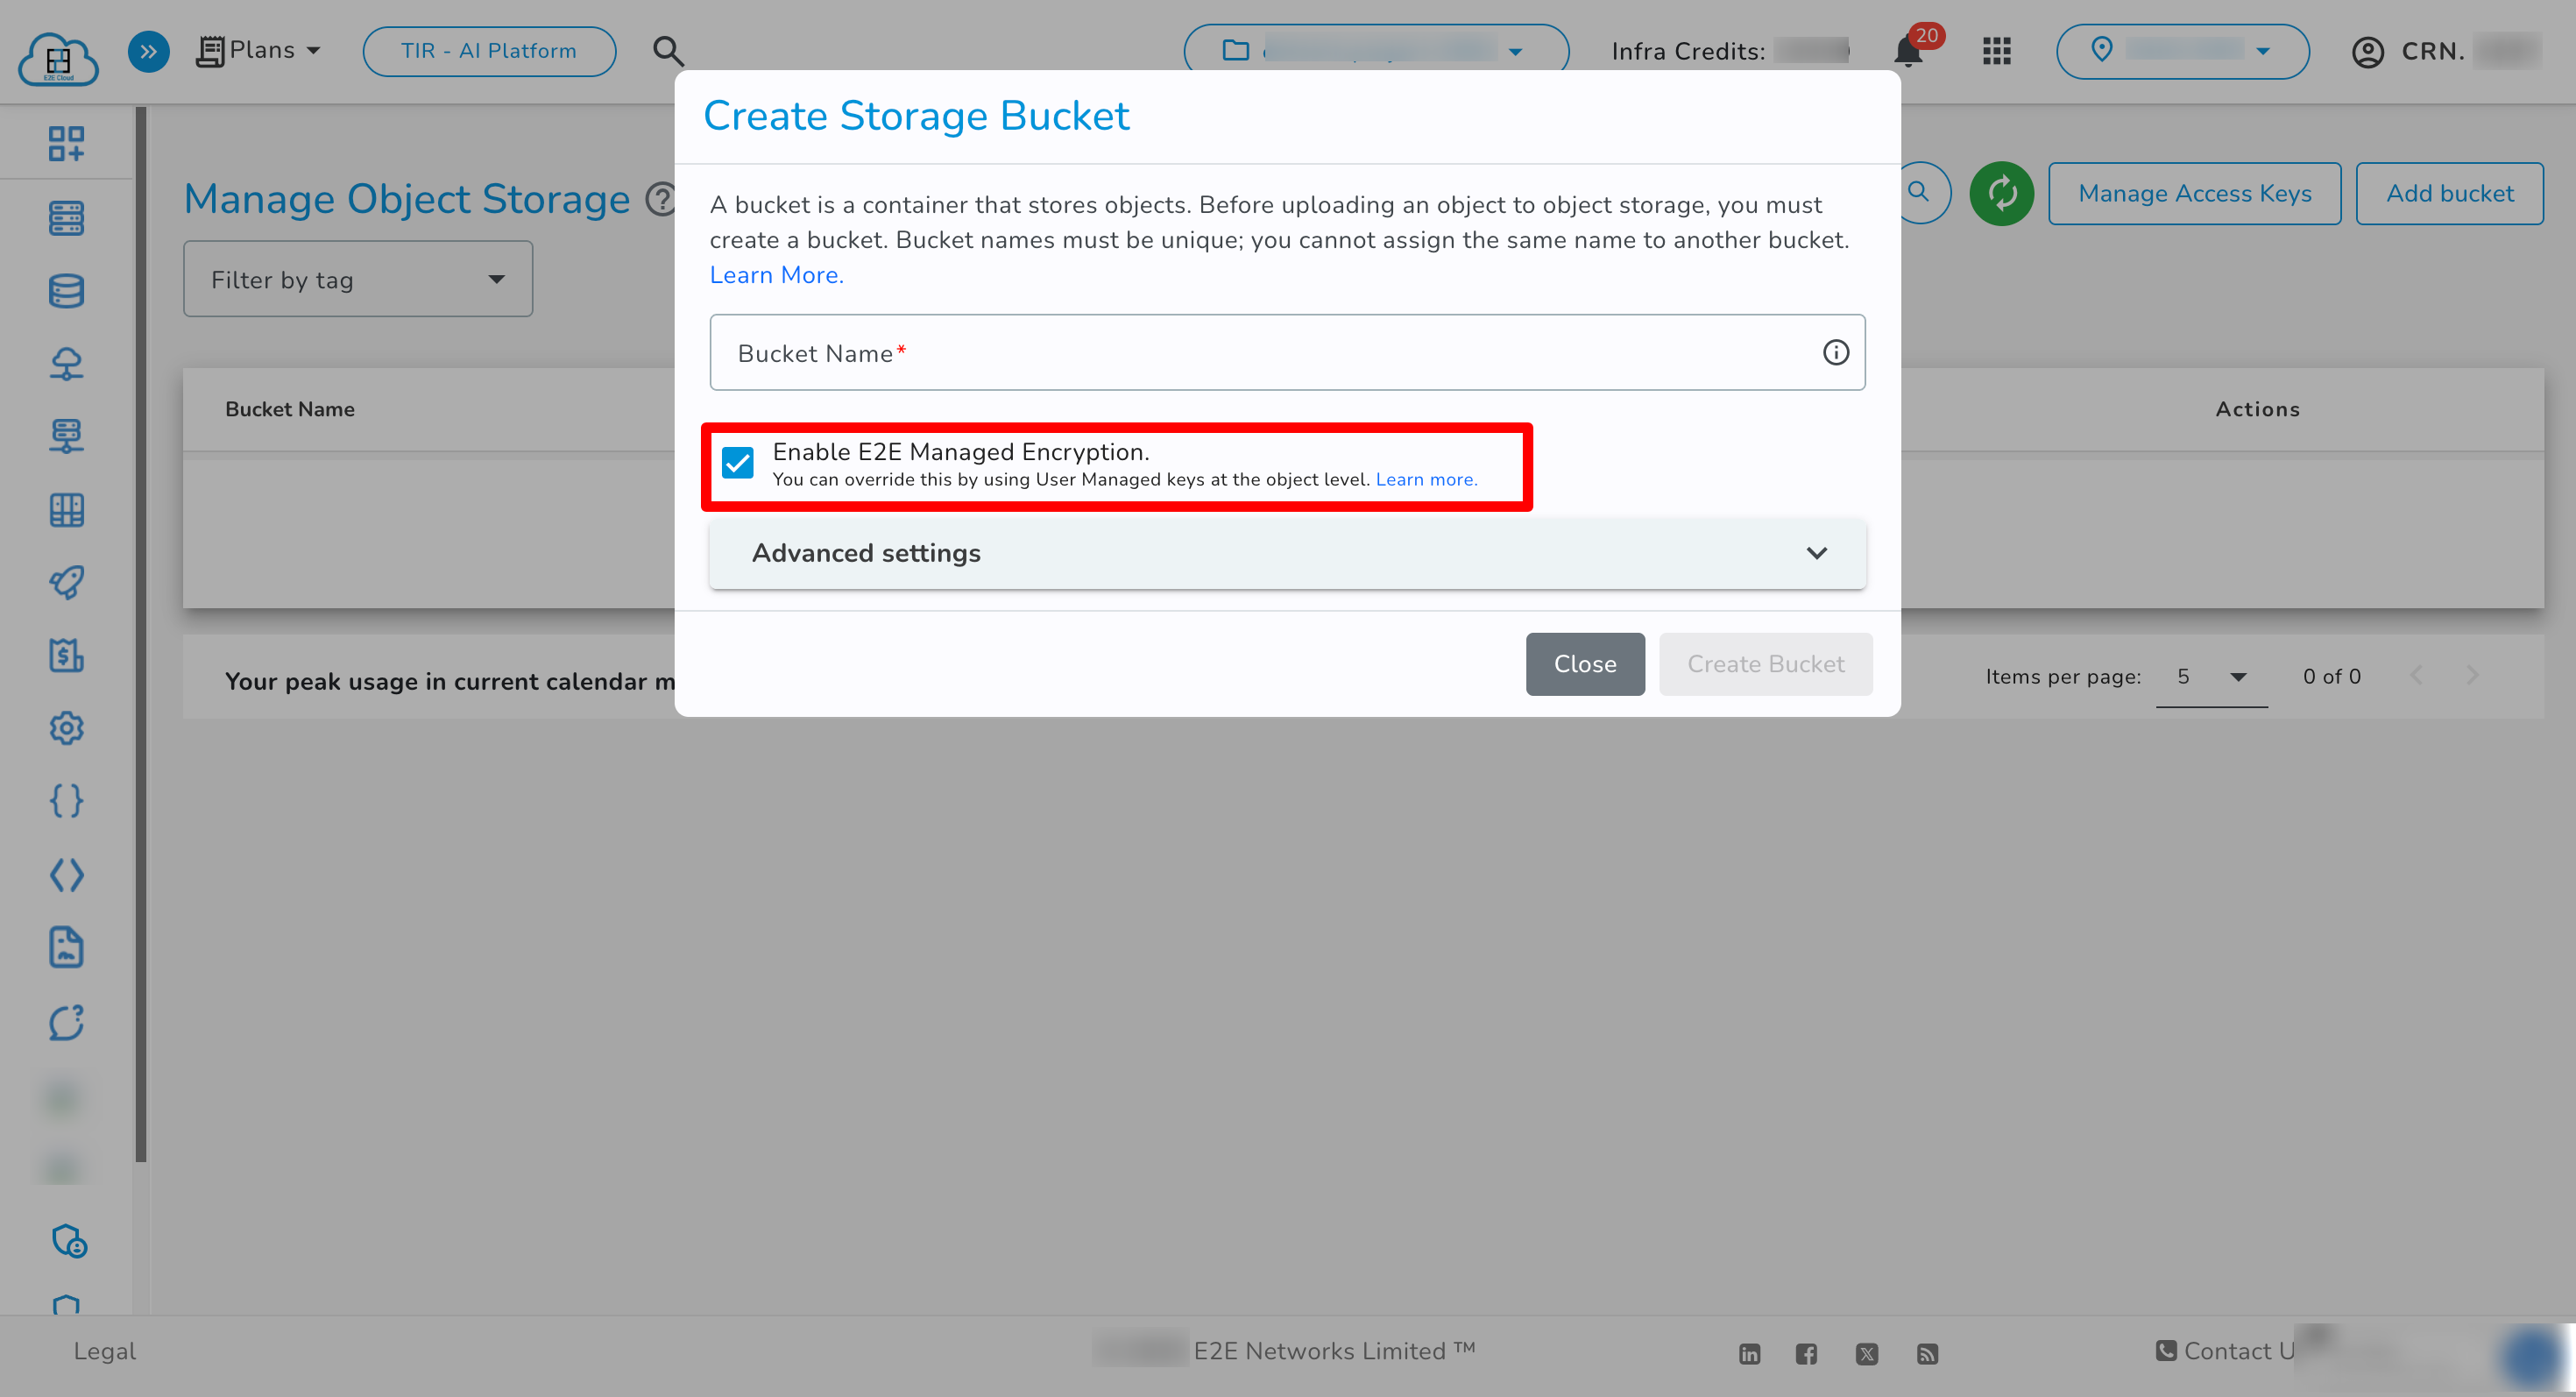
- The Enable Encryption checkbox will be checked by default.
- Proceed to create the bucket. It will now be encrypted by E2E Managed encryption service.
- Generate Access Credentials
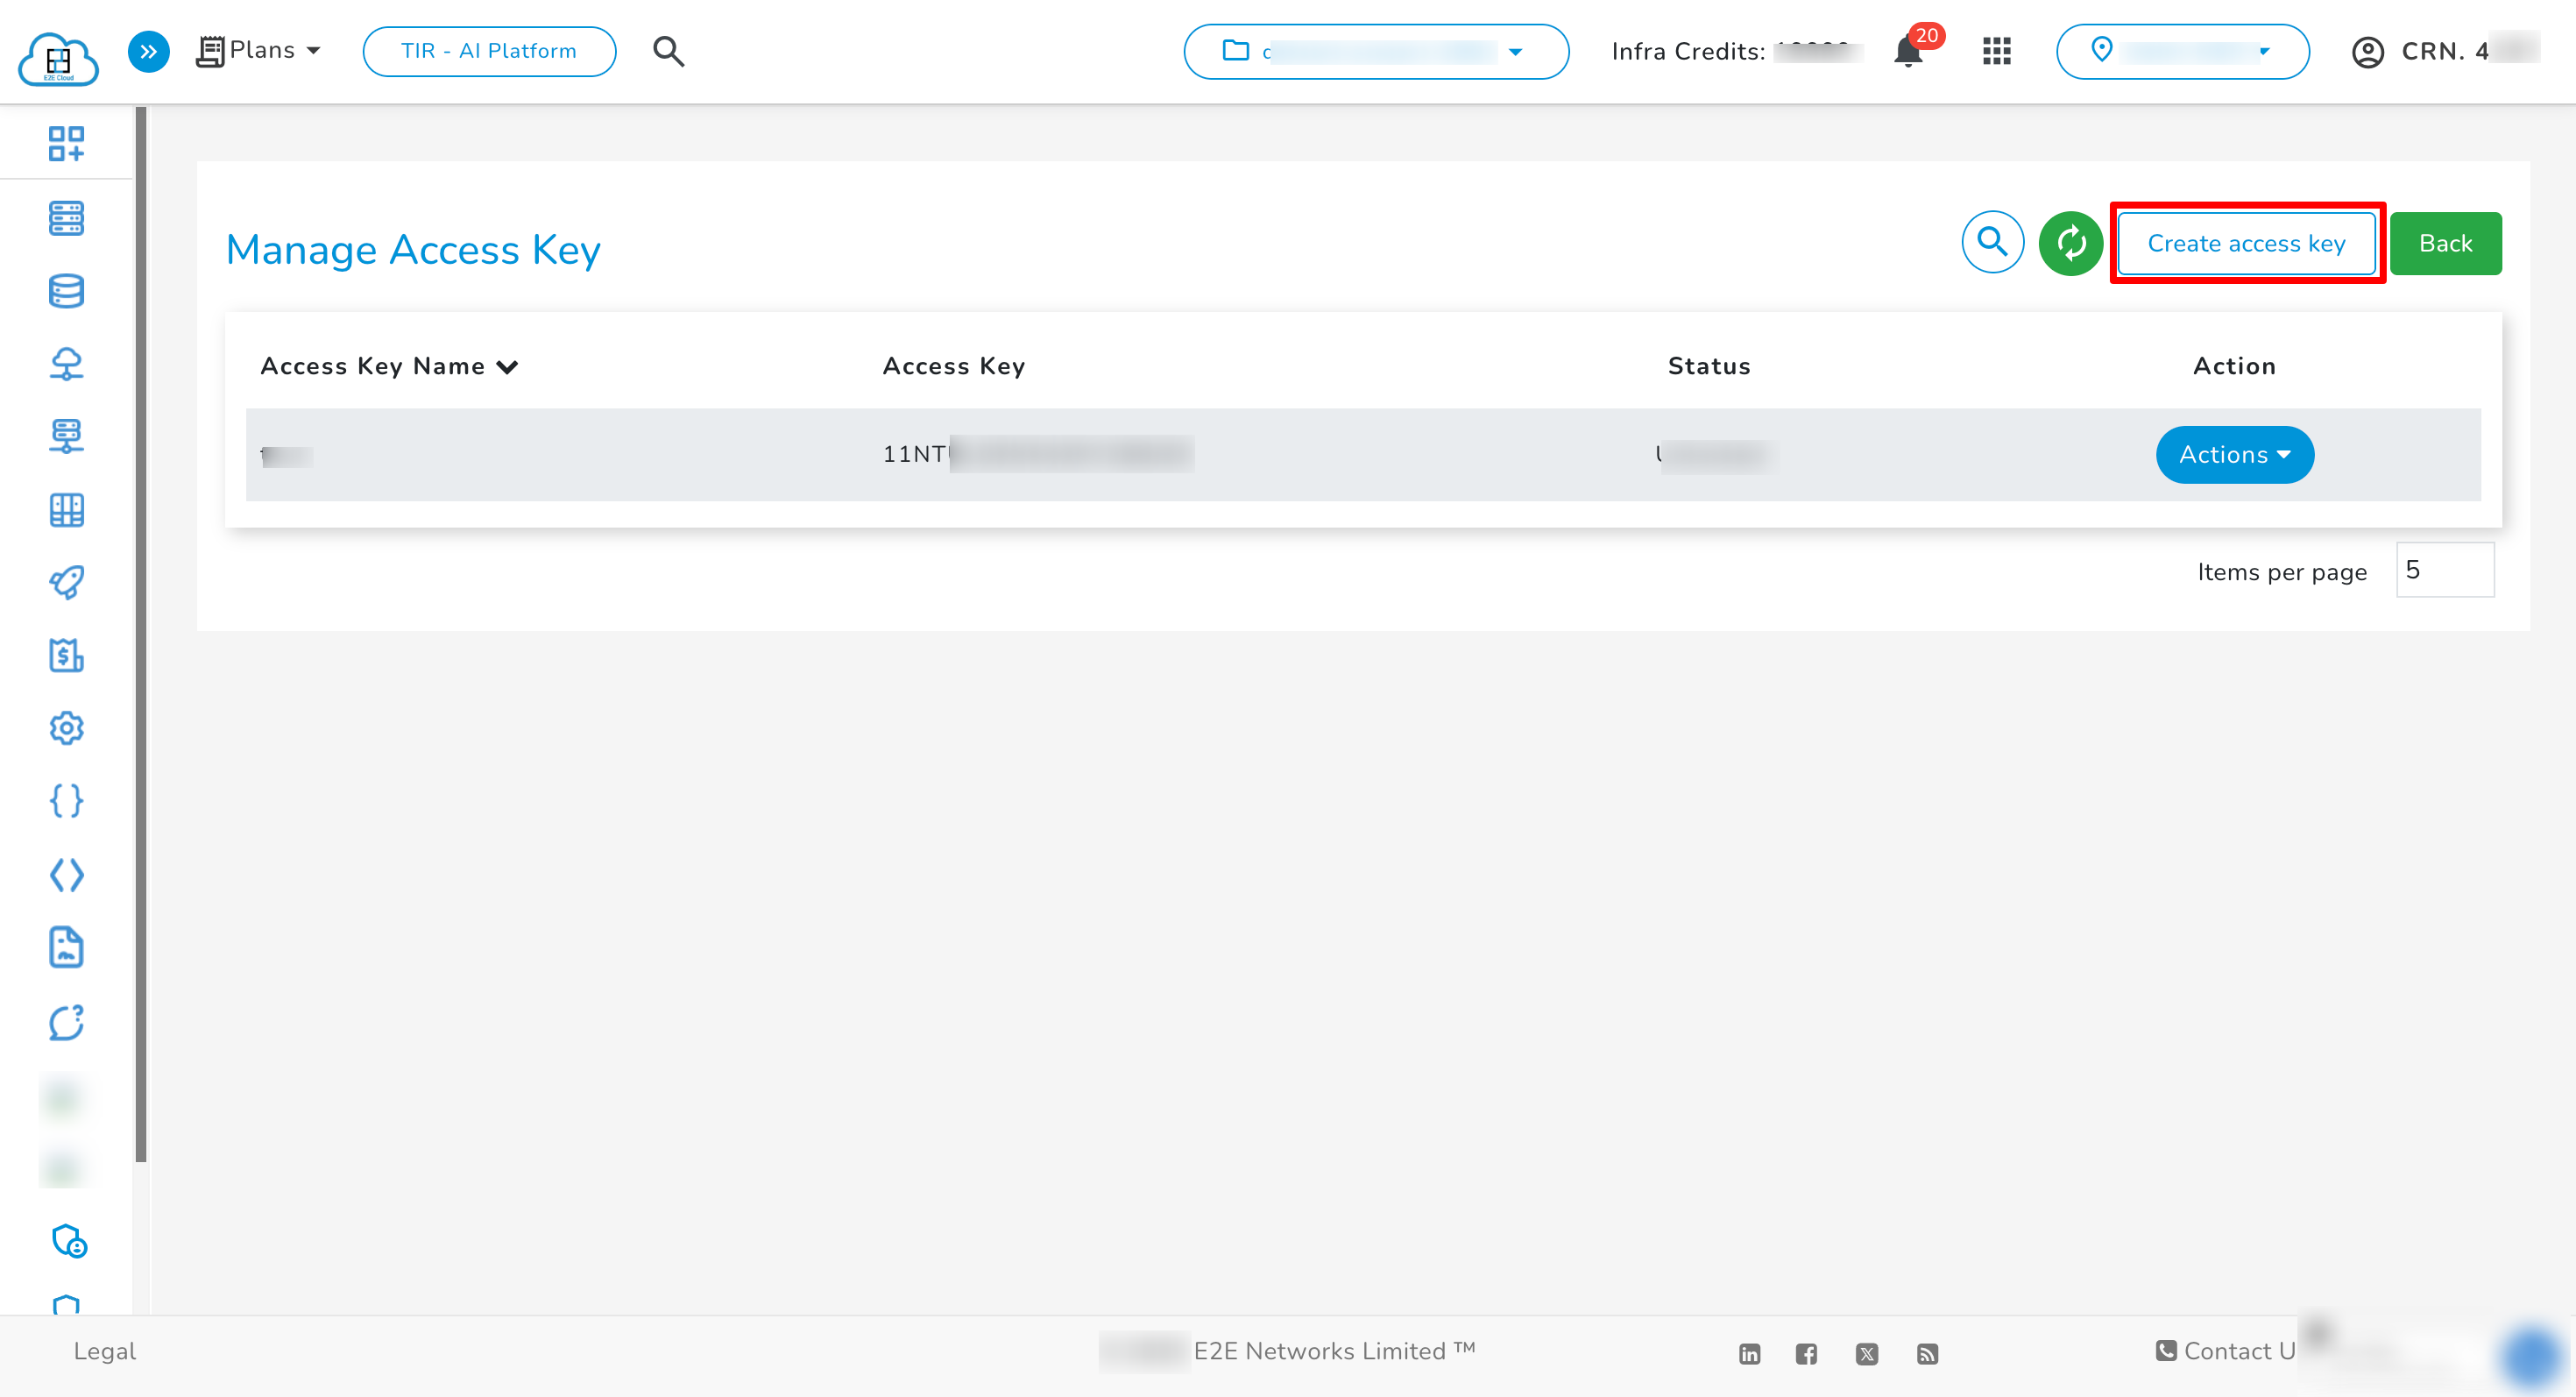
- Click on Manage Access Keys.
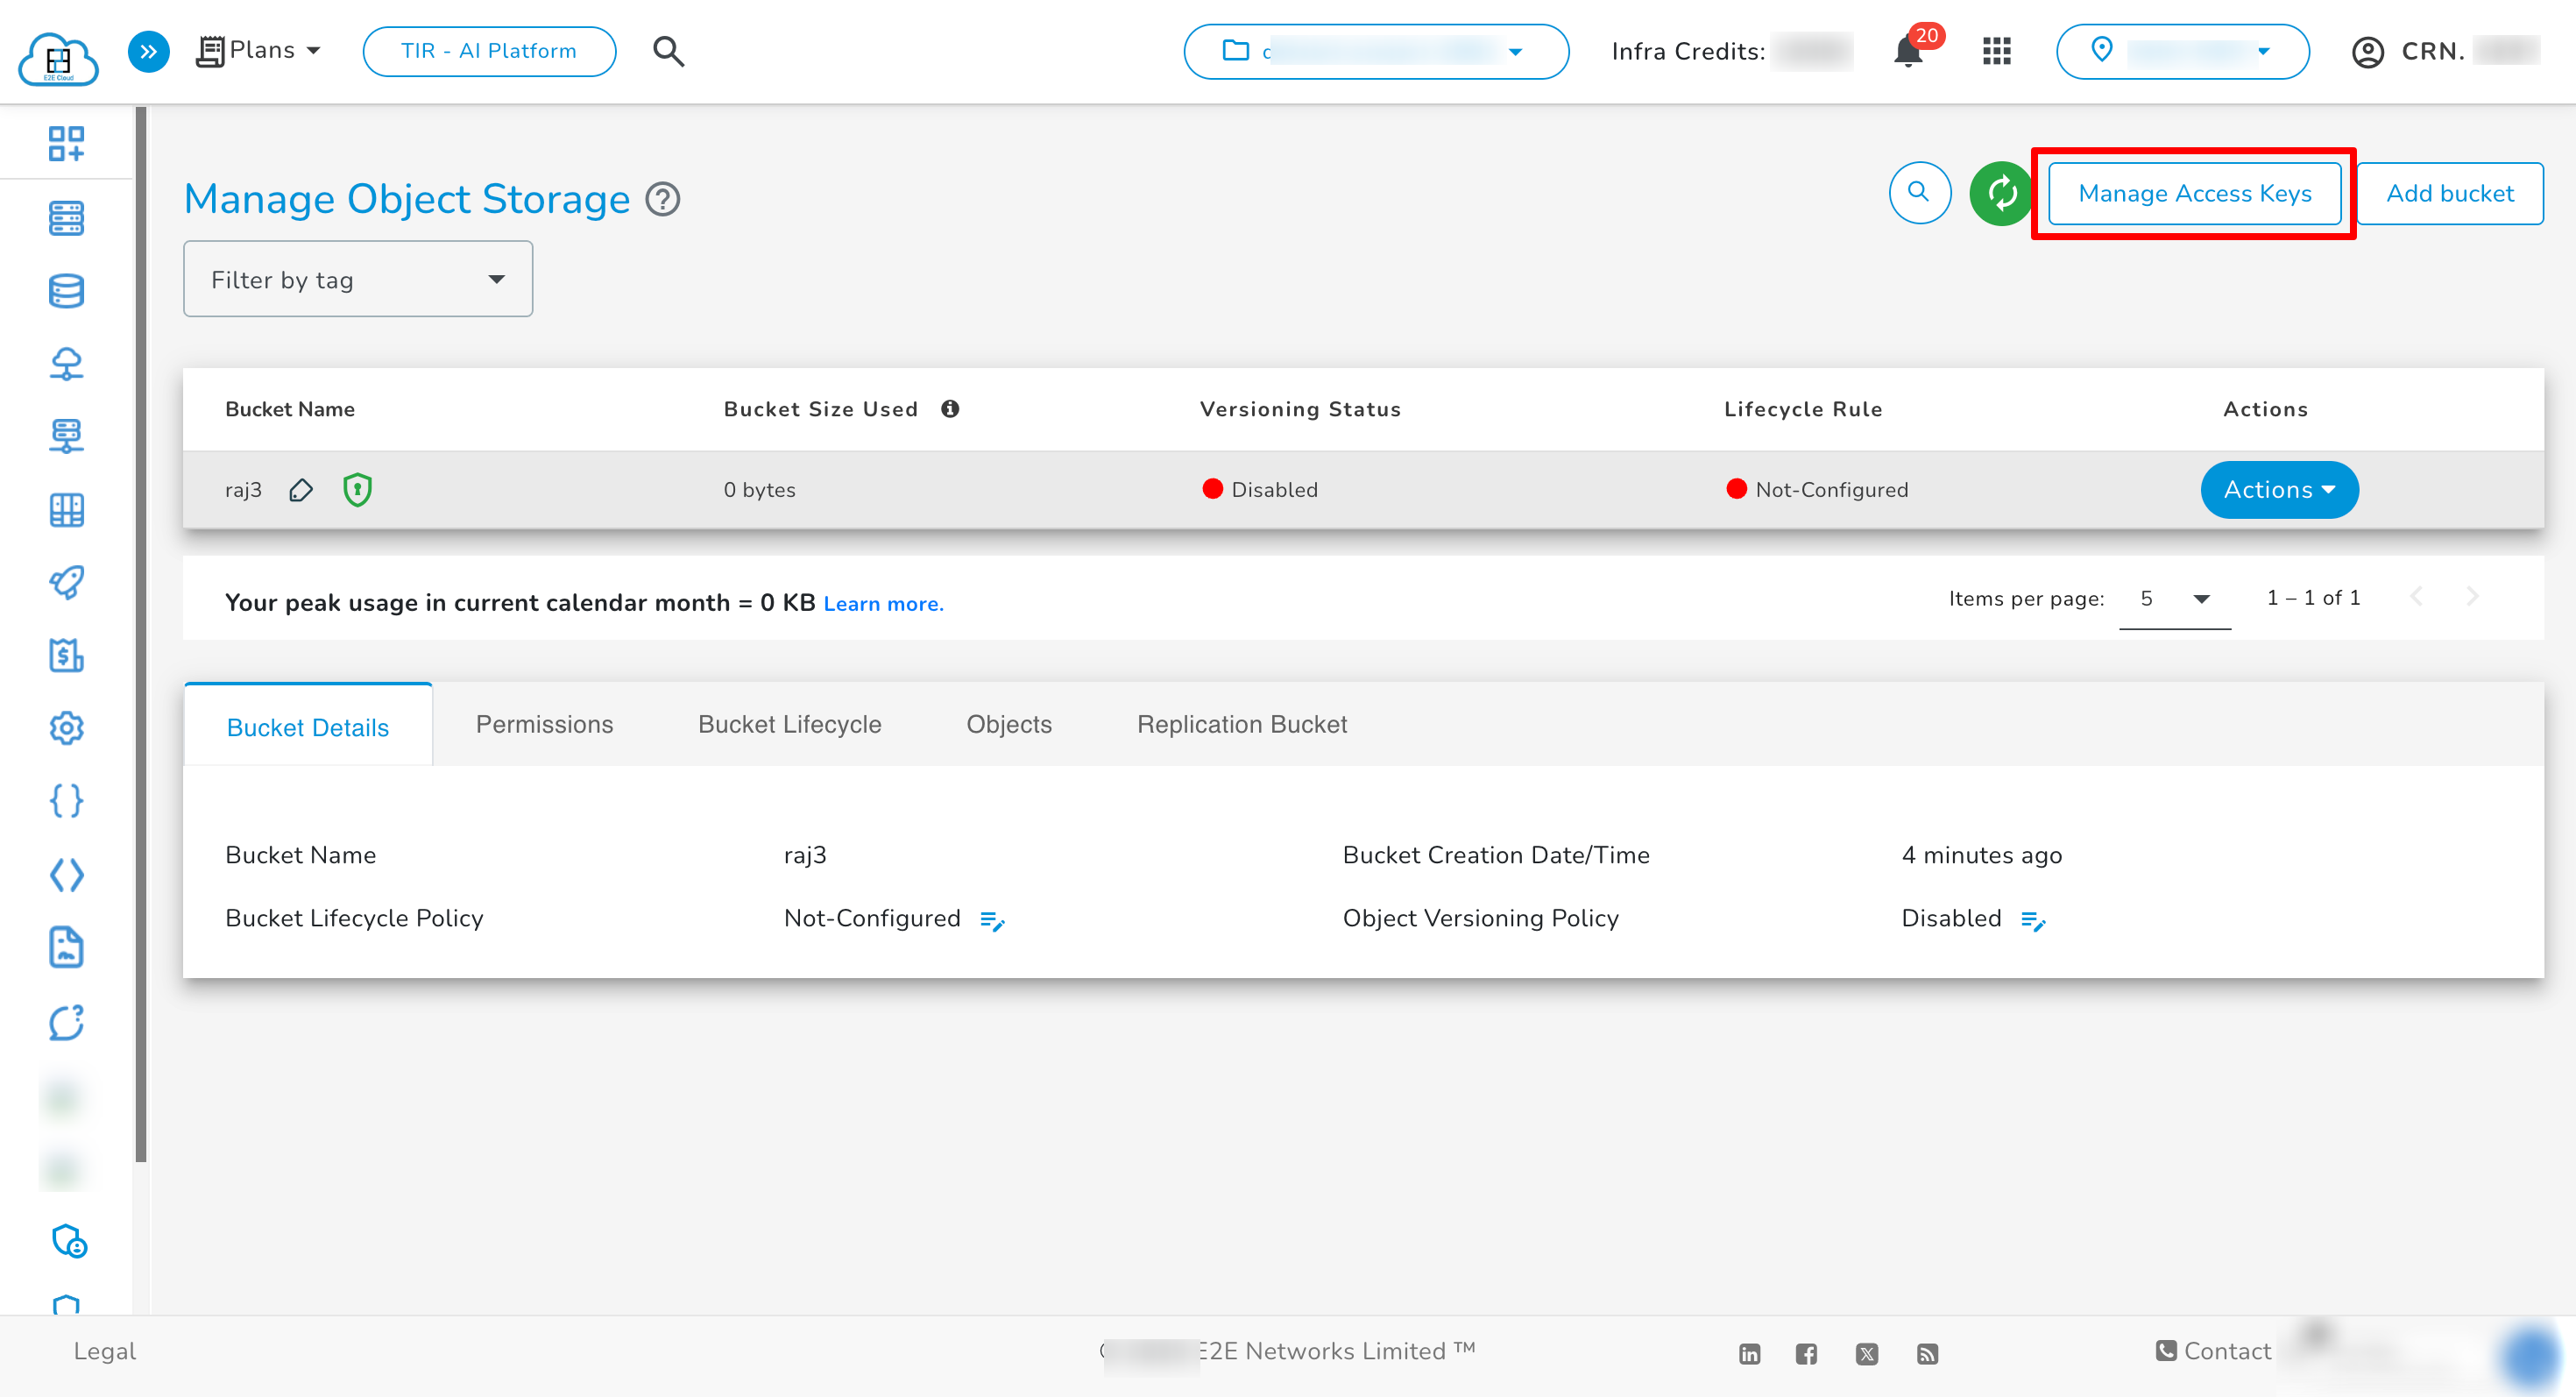
- Click on Manage Access Keys.
-
Then click Create Access Key.
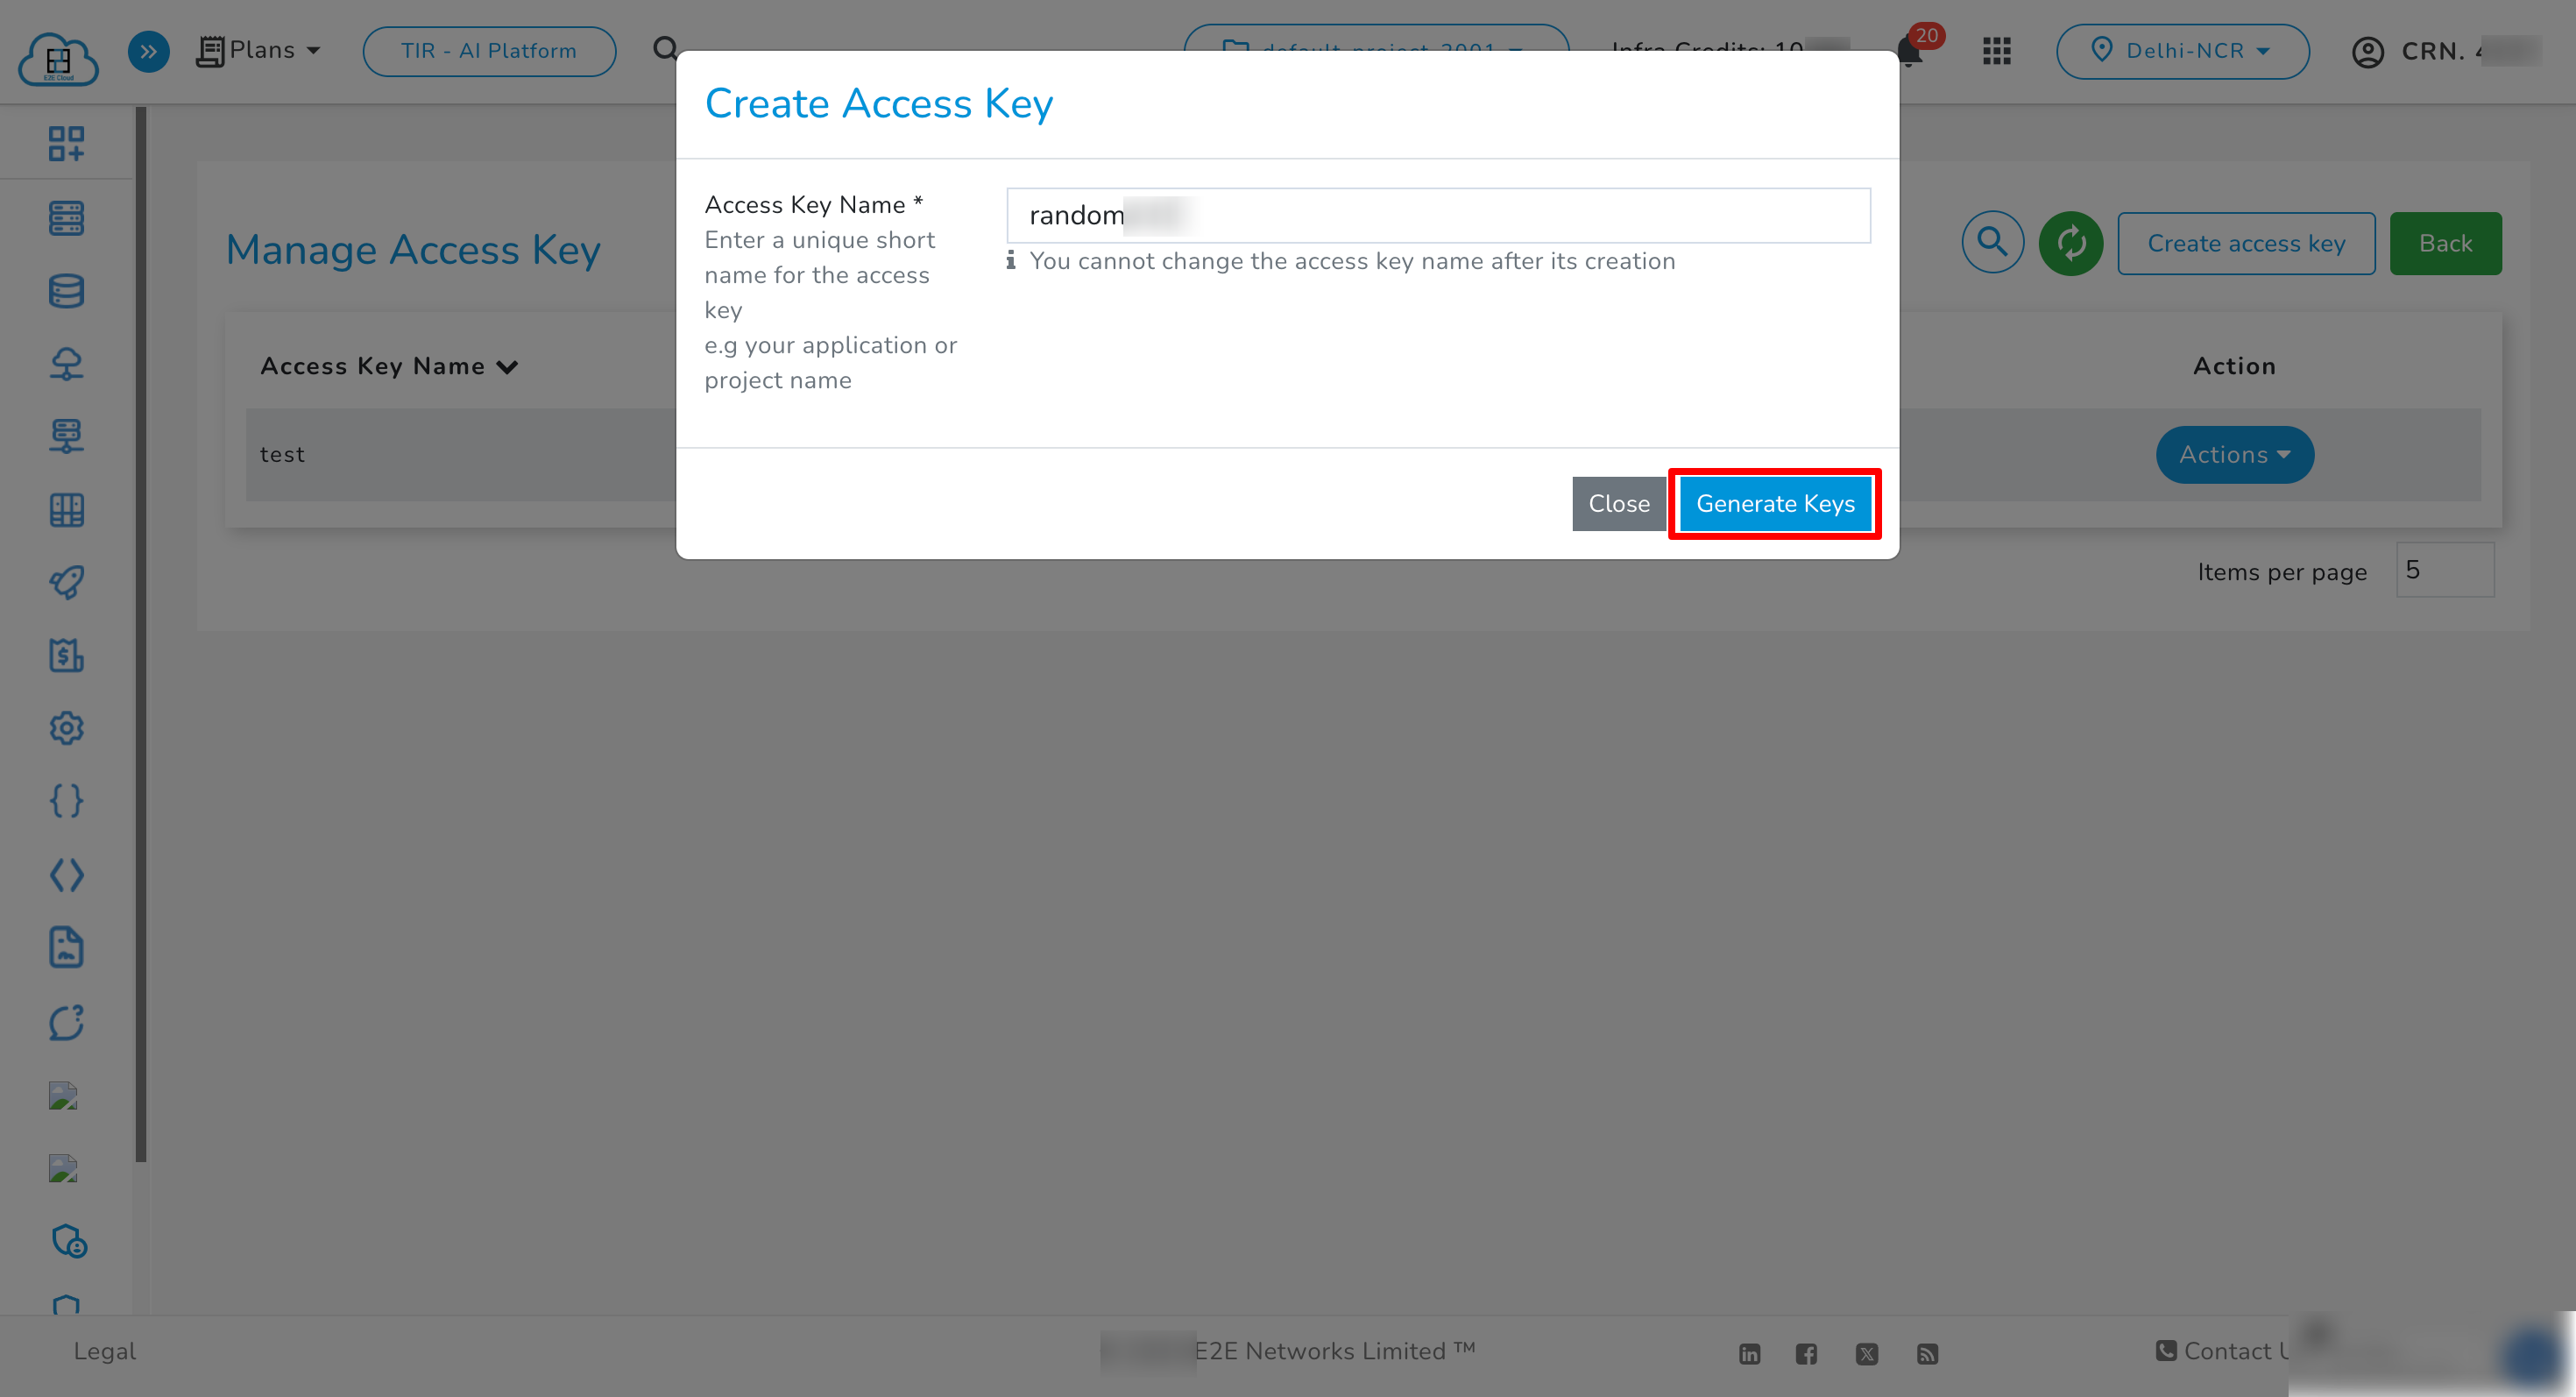
-
Enter a name and click Generate Keys.
-
Configure Credentials Locally
- Use the command shown in the UI to configure your credentials locally using the MinIO client:
(This command is pre-filled in the UI for your convenience.)
mc alias set <alias> https://<eos-url> <ACCESS_KEY> <SECRET_KEY>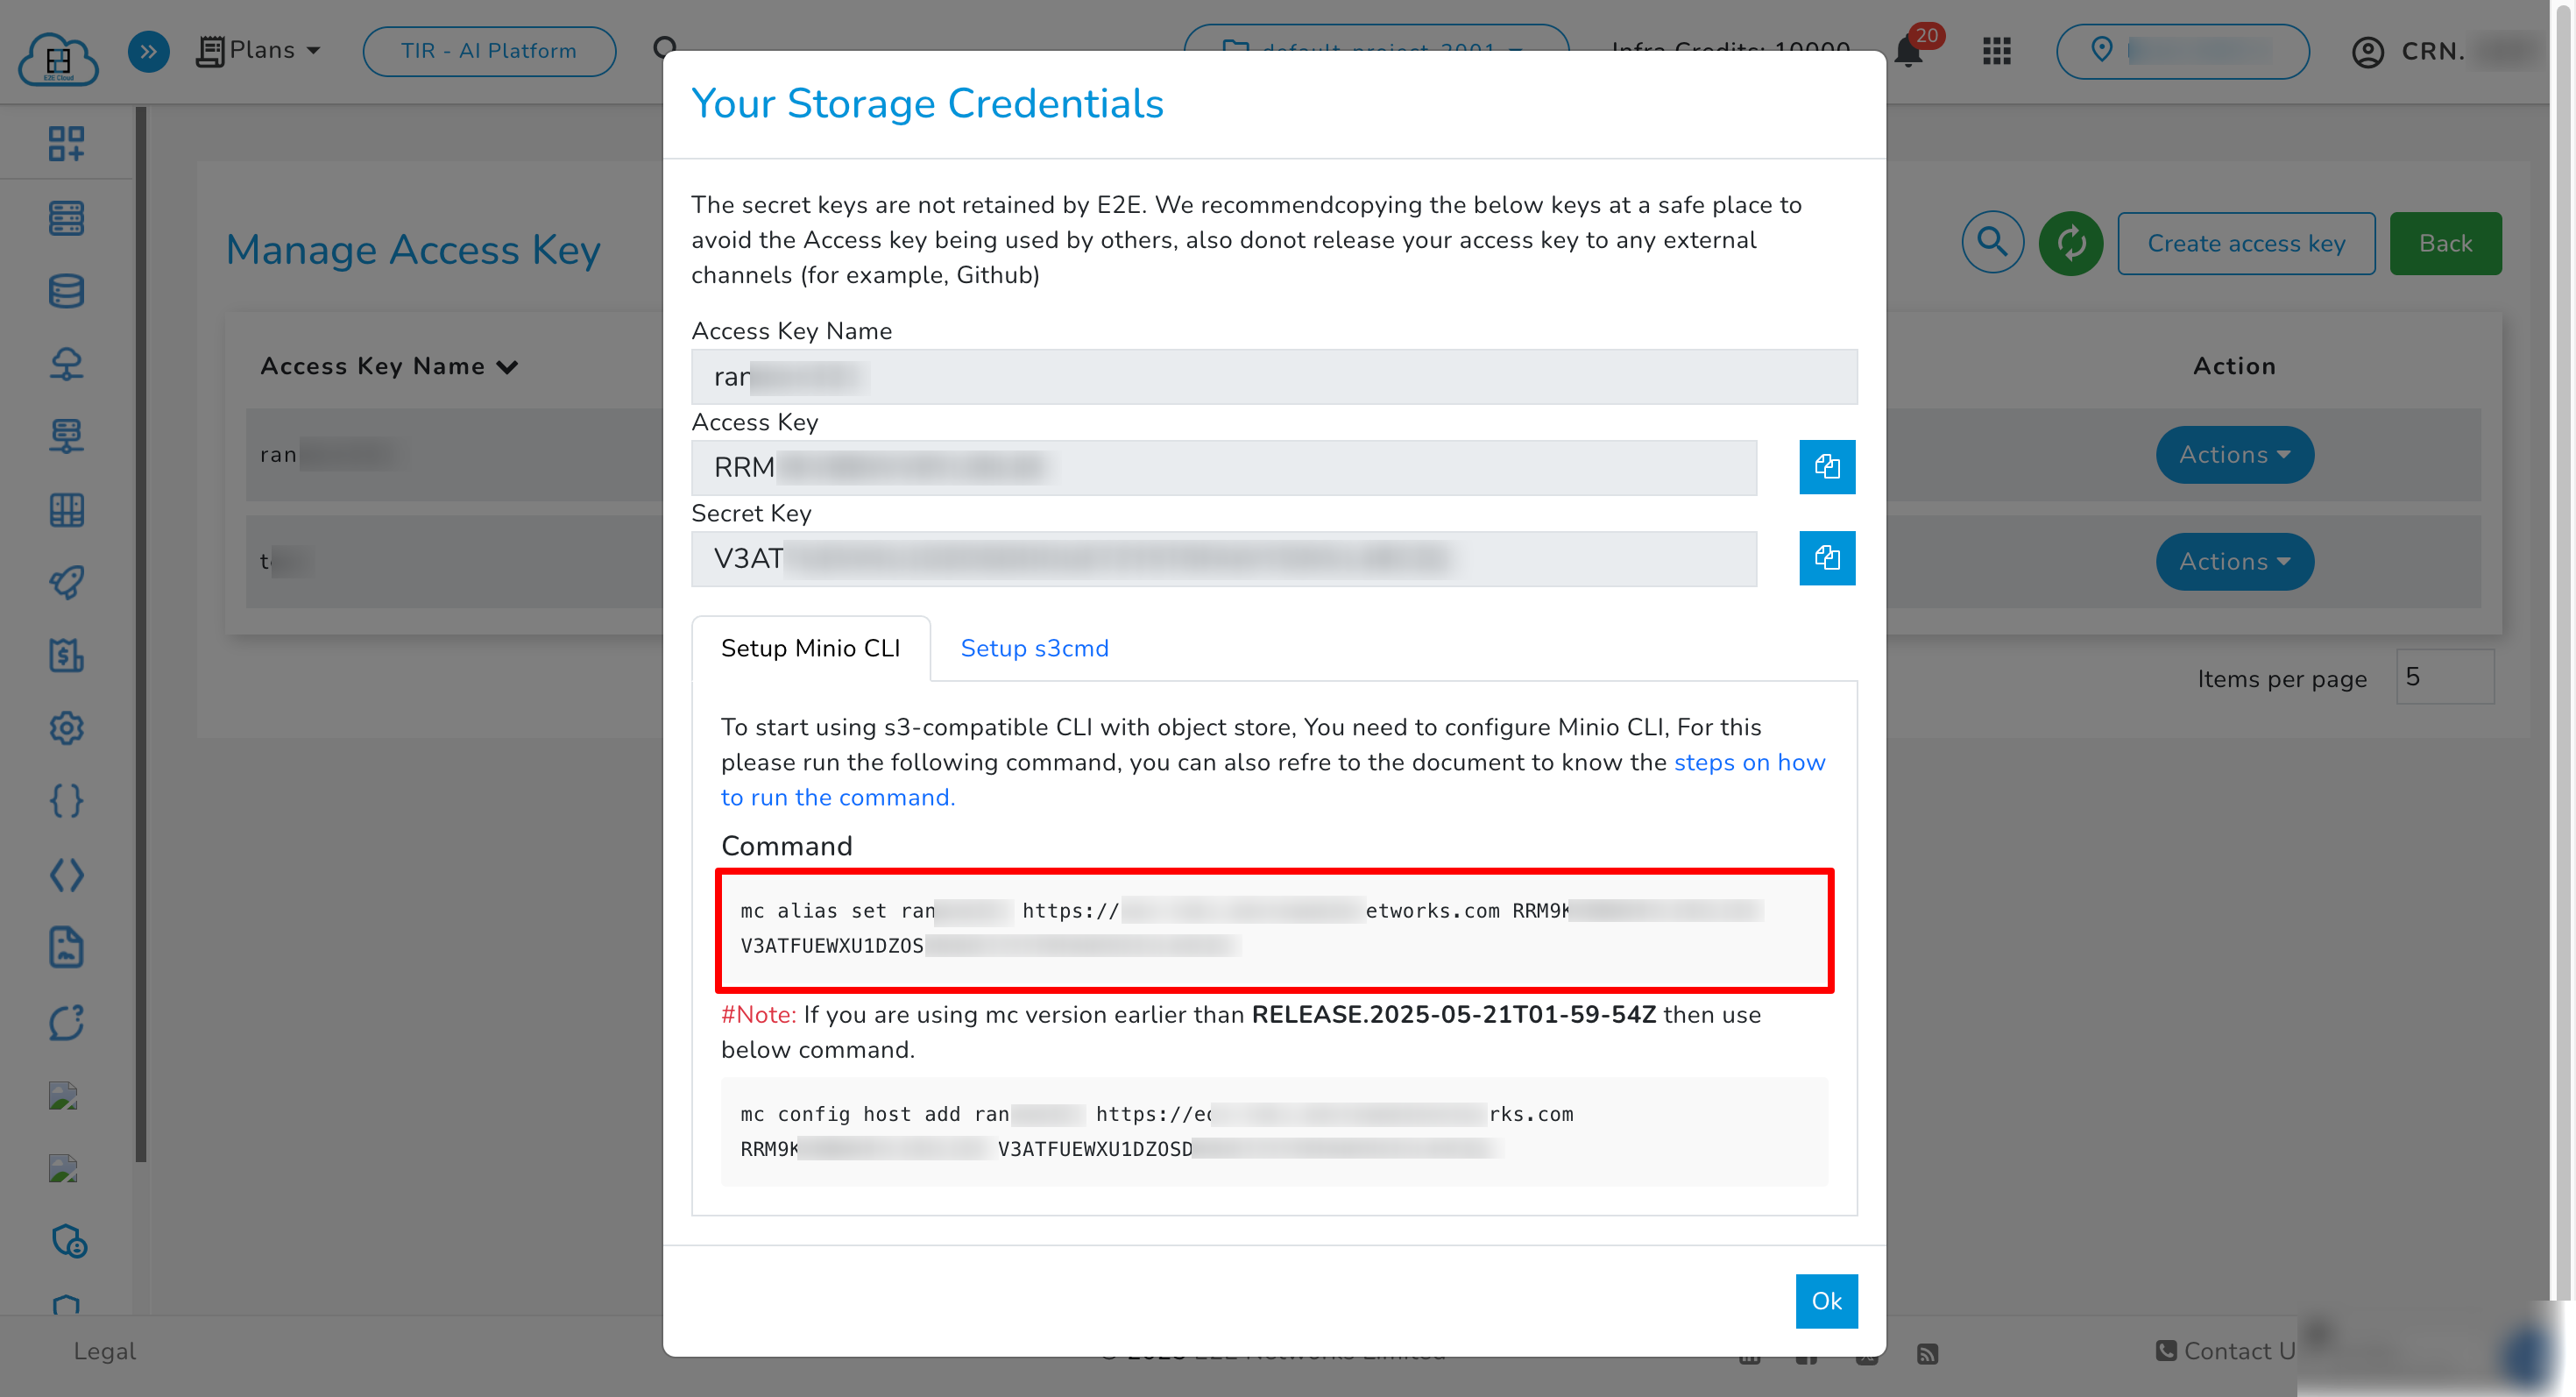
- Use the command shown in the UI to configure your credentials locally using the MinIO client:
-
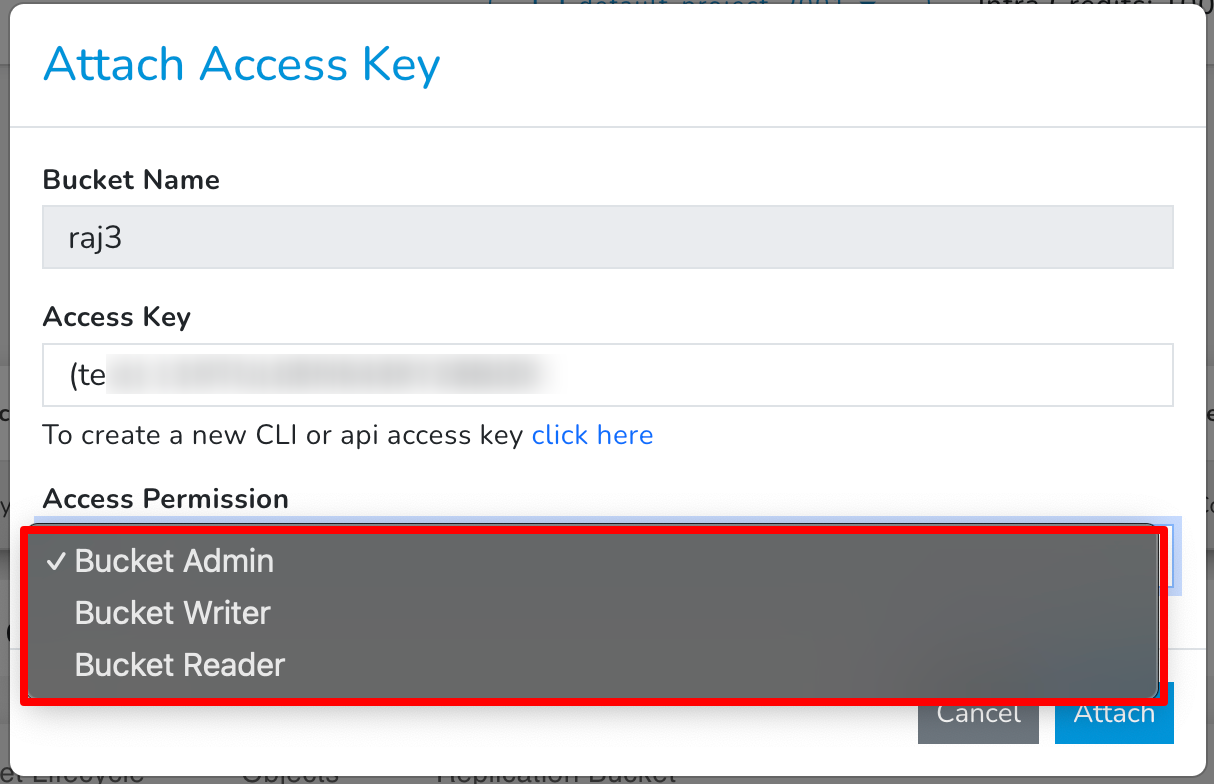
Attach Access Key to the Bucket
- Return to your Buckets list.
- Open the relevant bucket and go to the Permissions tab.
- Click Attach Access Key.

- Select the newly created access key.
- Choose Bucket Admin to allow full permissions.
-
Upload an Object
- Go to the Objects tab inside the bucket.
- Click the Upload button and select the file you want to upload.
 P
P
-
Verify Encryption Status
- Run the following command to verify encryption on the uploaded file:
mc stat <alias>/<bucket-name>/<object-name> - The output will look like this.
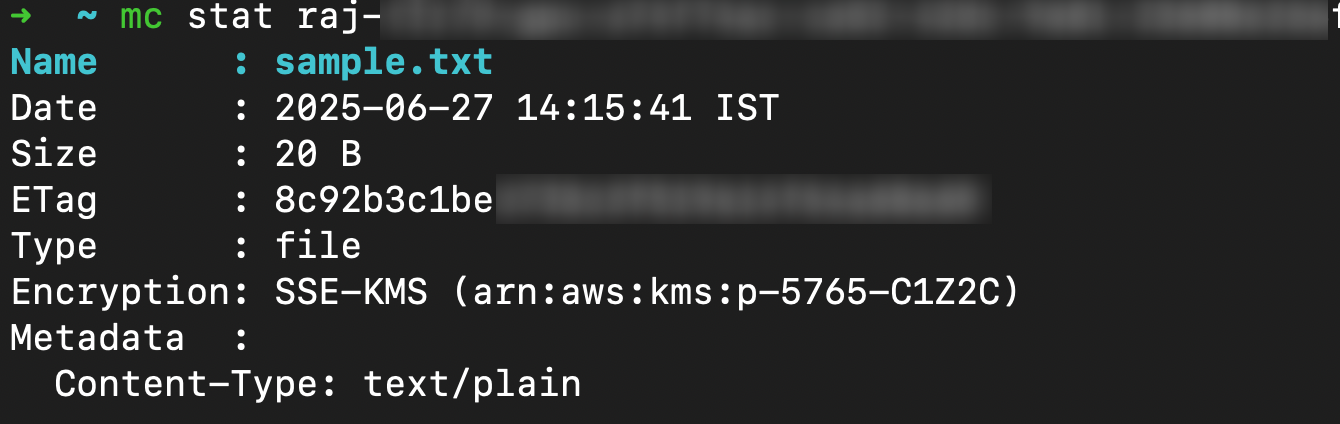
- Run the following command to verify encryption on the uploaded file:
Option 2: Encryption through User Managed Keys
You can also manage encryption yourself using your own passphrases or keys.
Client-Side Steps
Follow these steps to encrypt objects before uploading them:
-
Generate a 256-bit Hex Encryption Key
openssl rand -base64 32 | base64 -d | xxd -p -c 32 -
Upload the Object with Encryption
mc cp <local-file-path> <alias>/<bucket-name> --enc-c "<alias>/<bucket-name>/
<object-name>=<hex-encoded-256-bit-key>"
Parameters
-
<local-file-path>: Path to the file you wish to upload.
Example:seed_data.json -
<alias>: The alias configured in your MinIO Client for the storage.
Example:enctest -
<bucket-name>: Name of your target bucket.
Example:my-bucket -
<object-key>: Desired name for the object in the bucket.
Example:seed_data.json -
<hex-encoded-256-bit-key>: A 64-character hexadecimal string representing your 256-bit encryption key.
Example:4a6566656b656e6472616b61737361636b656e6372797074696f6e6b6579733031323334
Important Note
-
All future operations on this object — such as download, viewing metadata — will require the same encryption key, provided in this format:
--enc-c "<bucket-name>/<object-key>=<hex-encoded-256-bit-key>" -
Delete operations are not restricted by encryption keys.
-
Data Recovery Warning: If the encryption key is lost, data will be permanently inaccessible. Recovery is not possible without the original encryption key.
-
UI Action Error: Trying to do operations such as download/create presigned-URL from UI on objects encrypted with User Managed Keys will result in an error.
E2E Managed Encryption settings can be overridden by User Managed Keys Encryption during individual object upload through Minio Client (mc cli).