Manage Container Registry
Working with Container Registry
The following sections describe how you can use Container Registry.
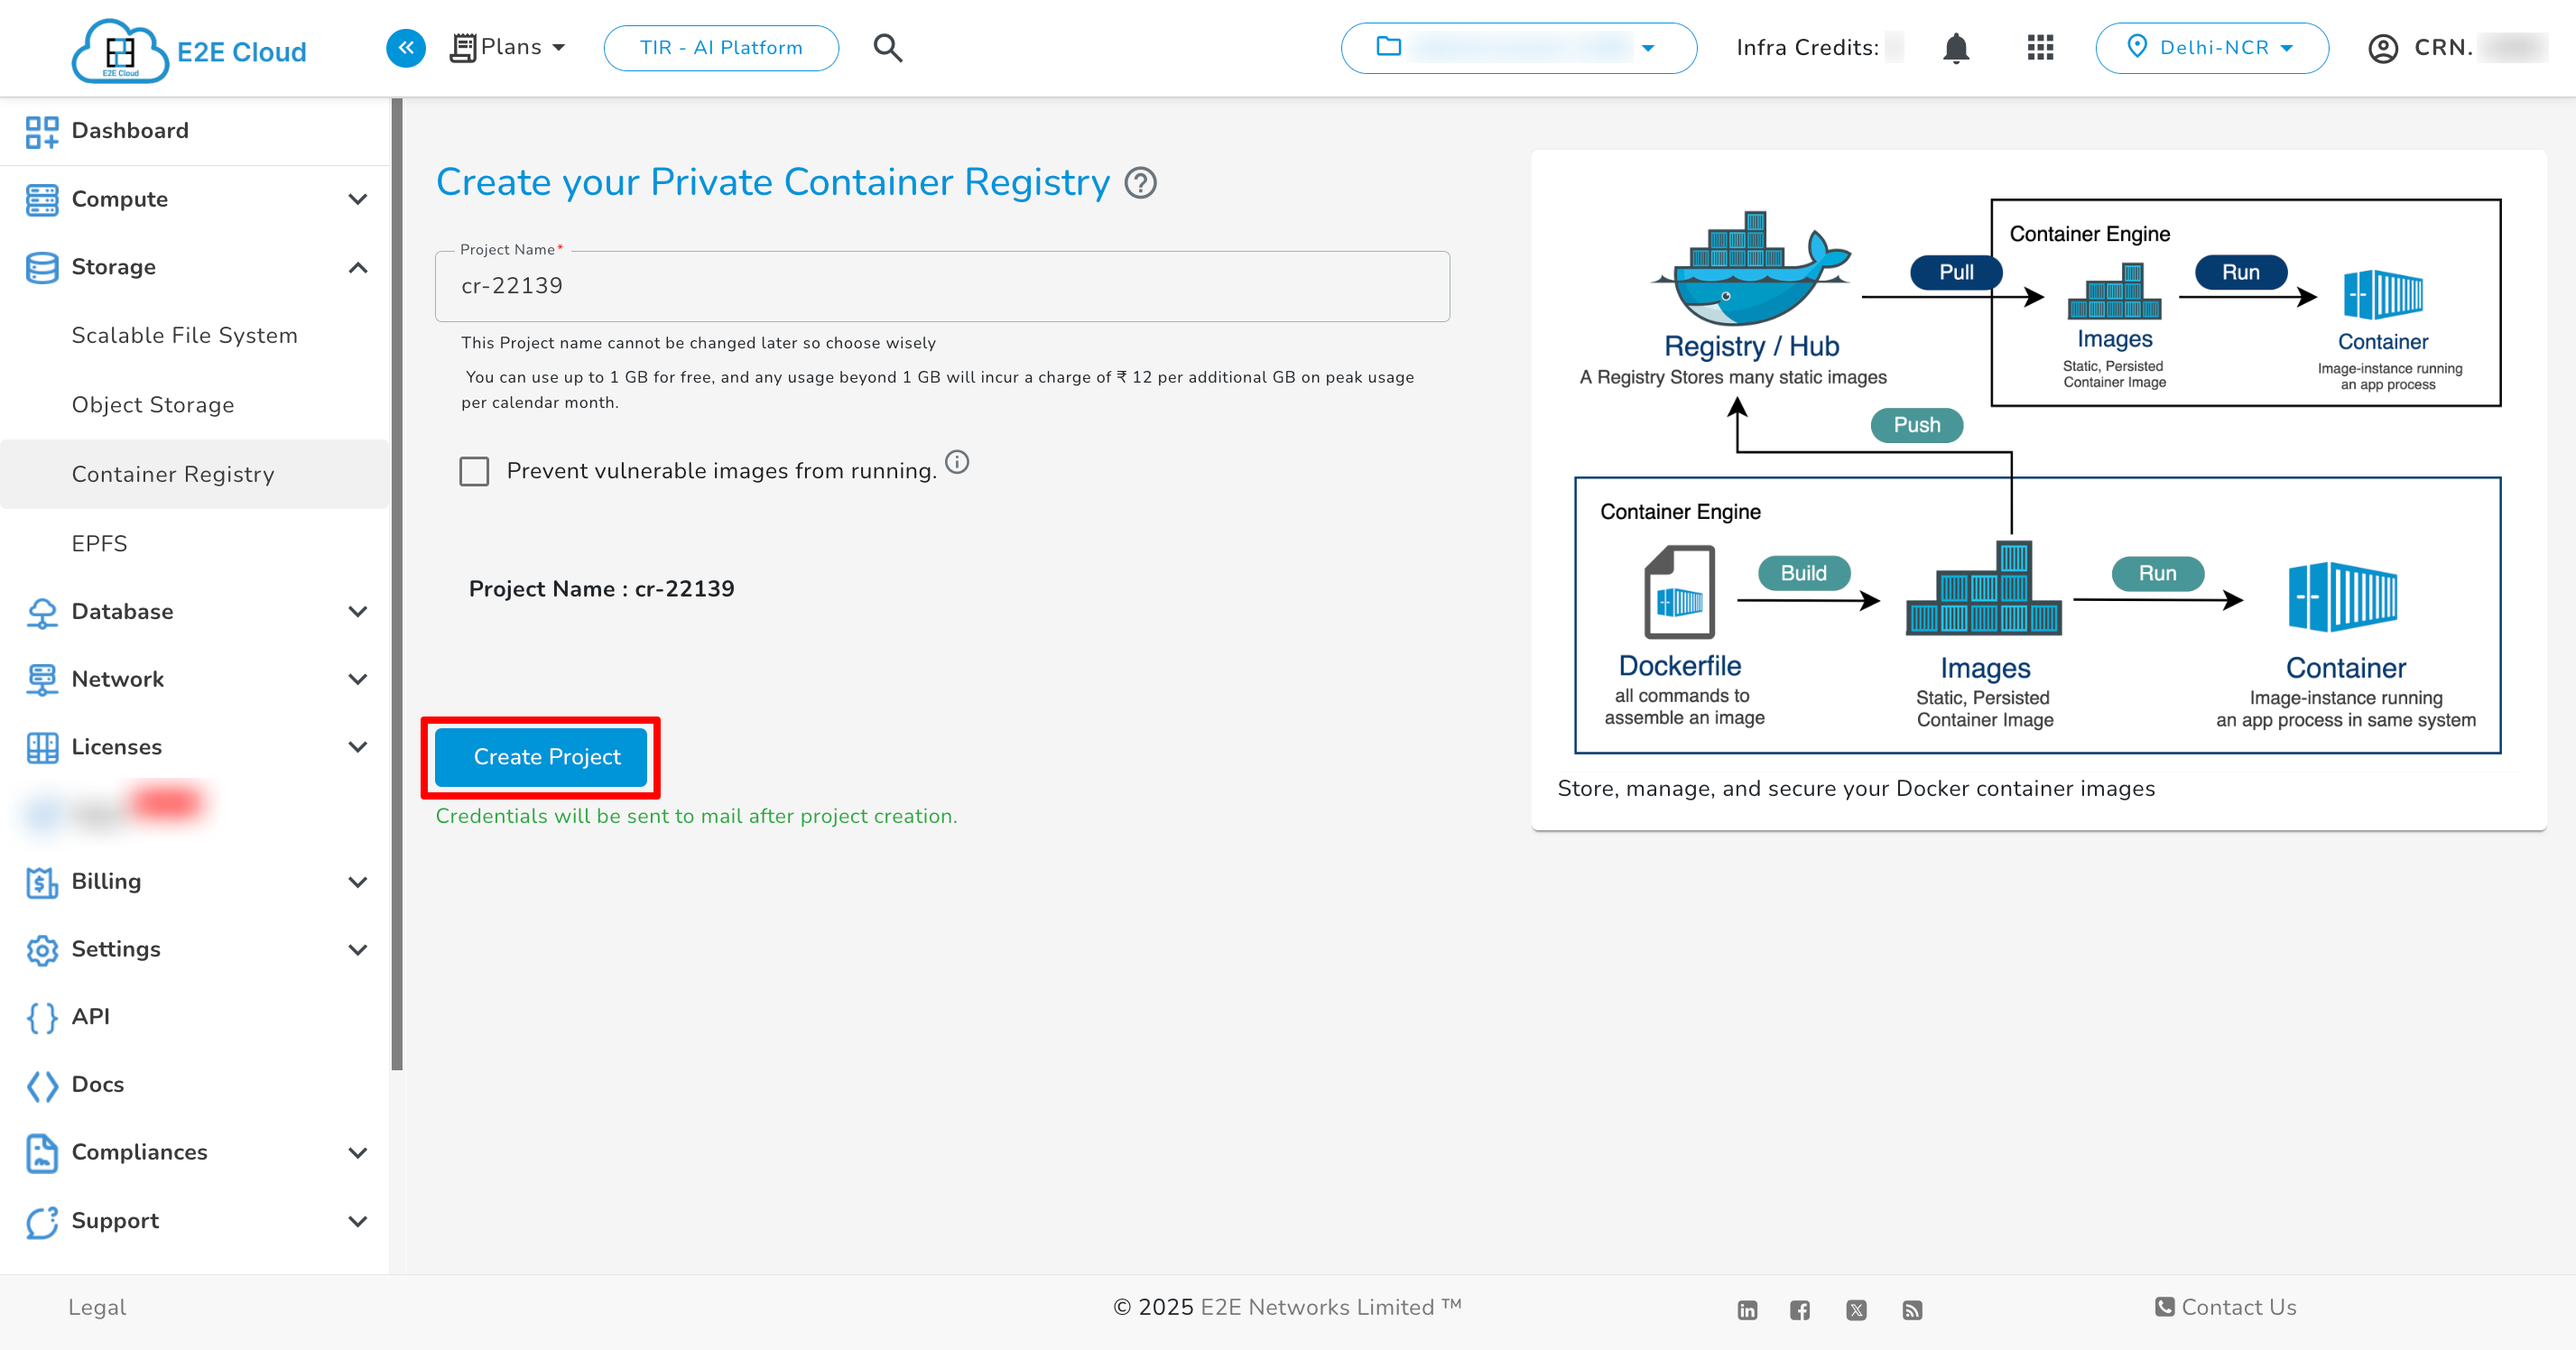
Create New Container Registry
- Click on the "Container Registry” sub-menu available under the Storage section.
- You will be directed to the ‘Container Registry manager’ page.
- You can provide the project name (optional).
- Click on the “Create Container Registry” button.
Scan Project
To scan the project, click on the three dots next to the respective project and then click on scan.

Connecting to your Container Registry
Enter the following command at a command prompt on your local or client desktop to connect to a container Registry. To manage access tokens kindly refer to Access Tokens.
docker login registry.e2enetworks.net -u <token_name> -p <token_value>
Push Commands
Using Docker
Enter the following command to push your image on the project.
Docker Images -
docker images
Create Tag -
docker tag <image>:<tag> registry.e2enetworks.net/<project_name>/<image>:<tag>
Push Images -
docker push registry.e2enetworks.net/<project_name>/<image_name>:<tag>
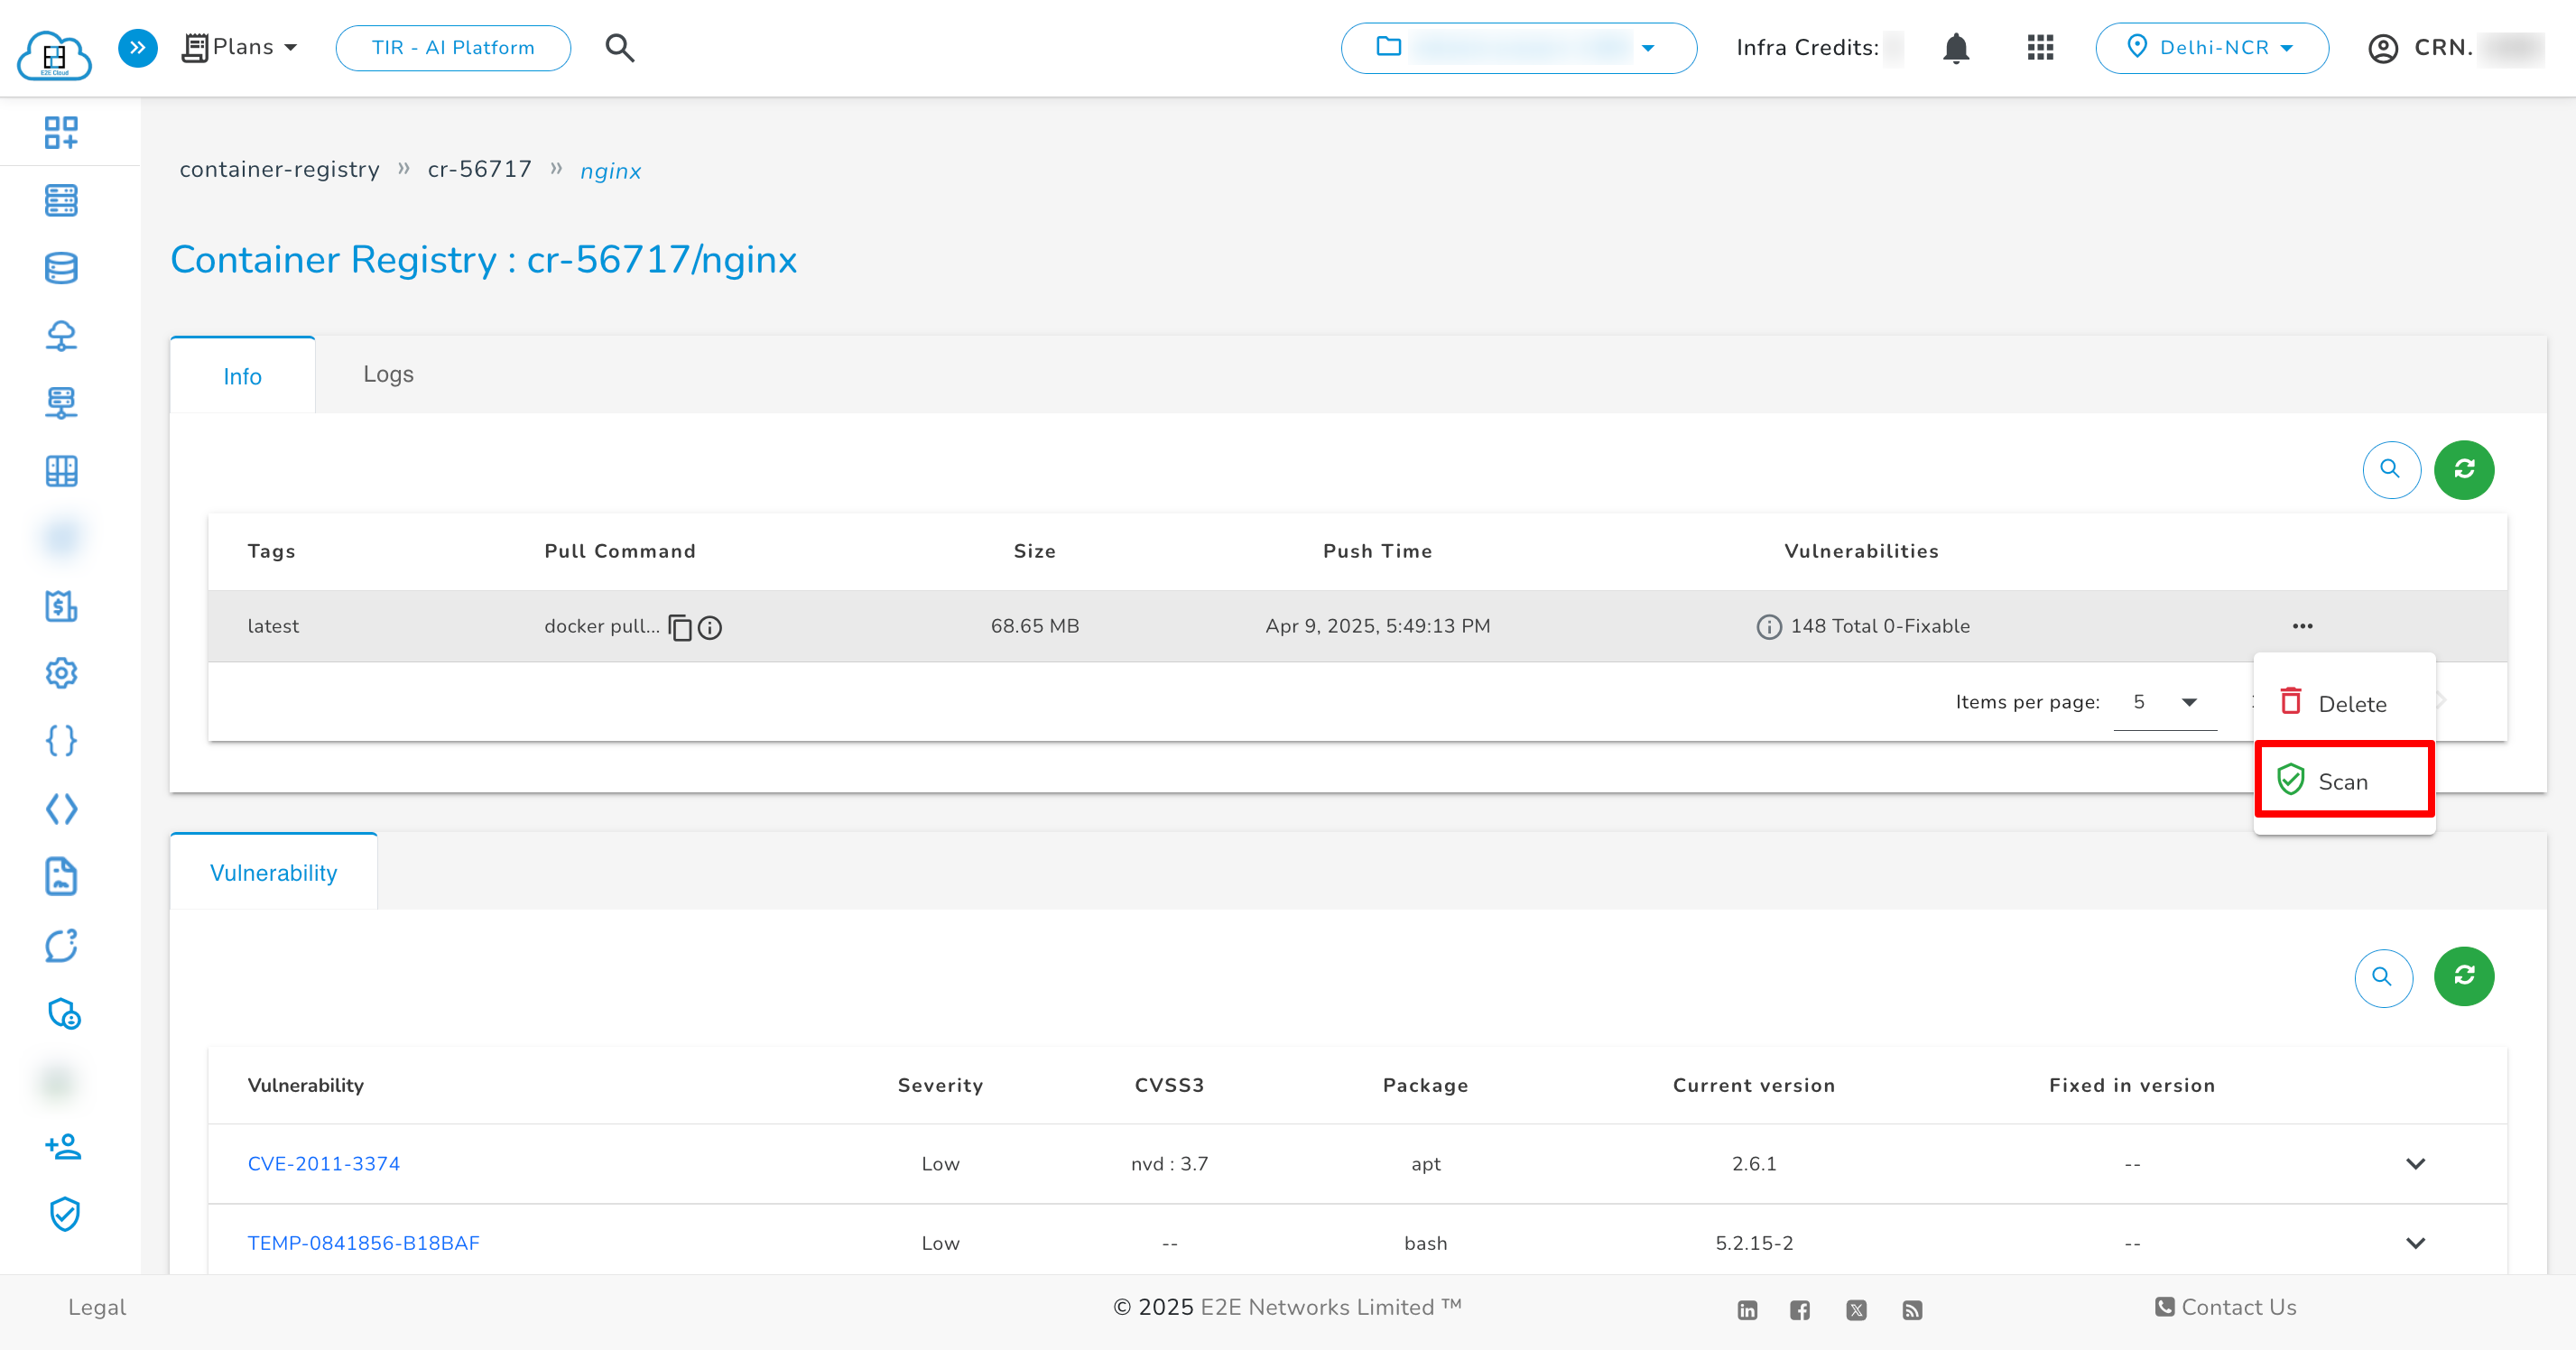
Scan Repositories
To scan the repository, click on the three dots next to the respective repository and then click on scan.

Scan Artifact
To scan the artifact, click on the repository. A new page will open; then, click on the three dots next to the respective artifact.
Delete Artifact
To delete the artifact, click on the three dots next to the respective artifact. A confirmation popup will be open, confirm it and click on Delete.
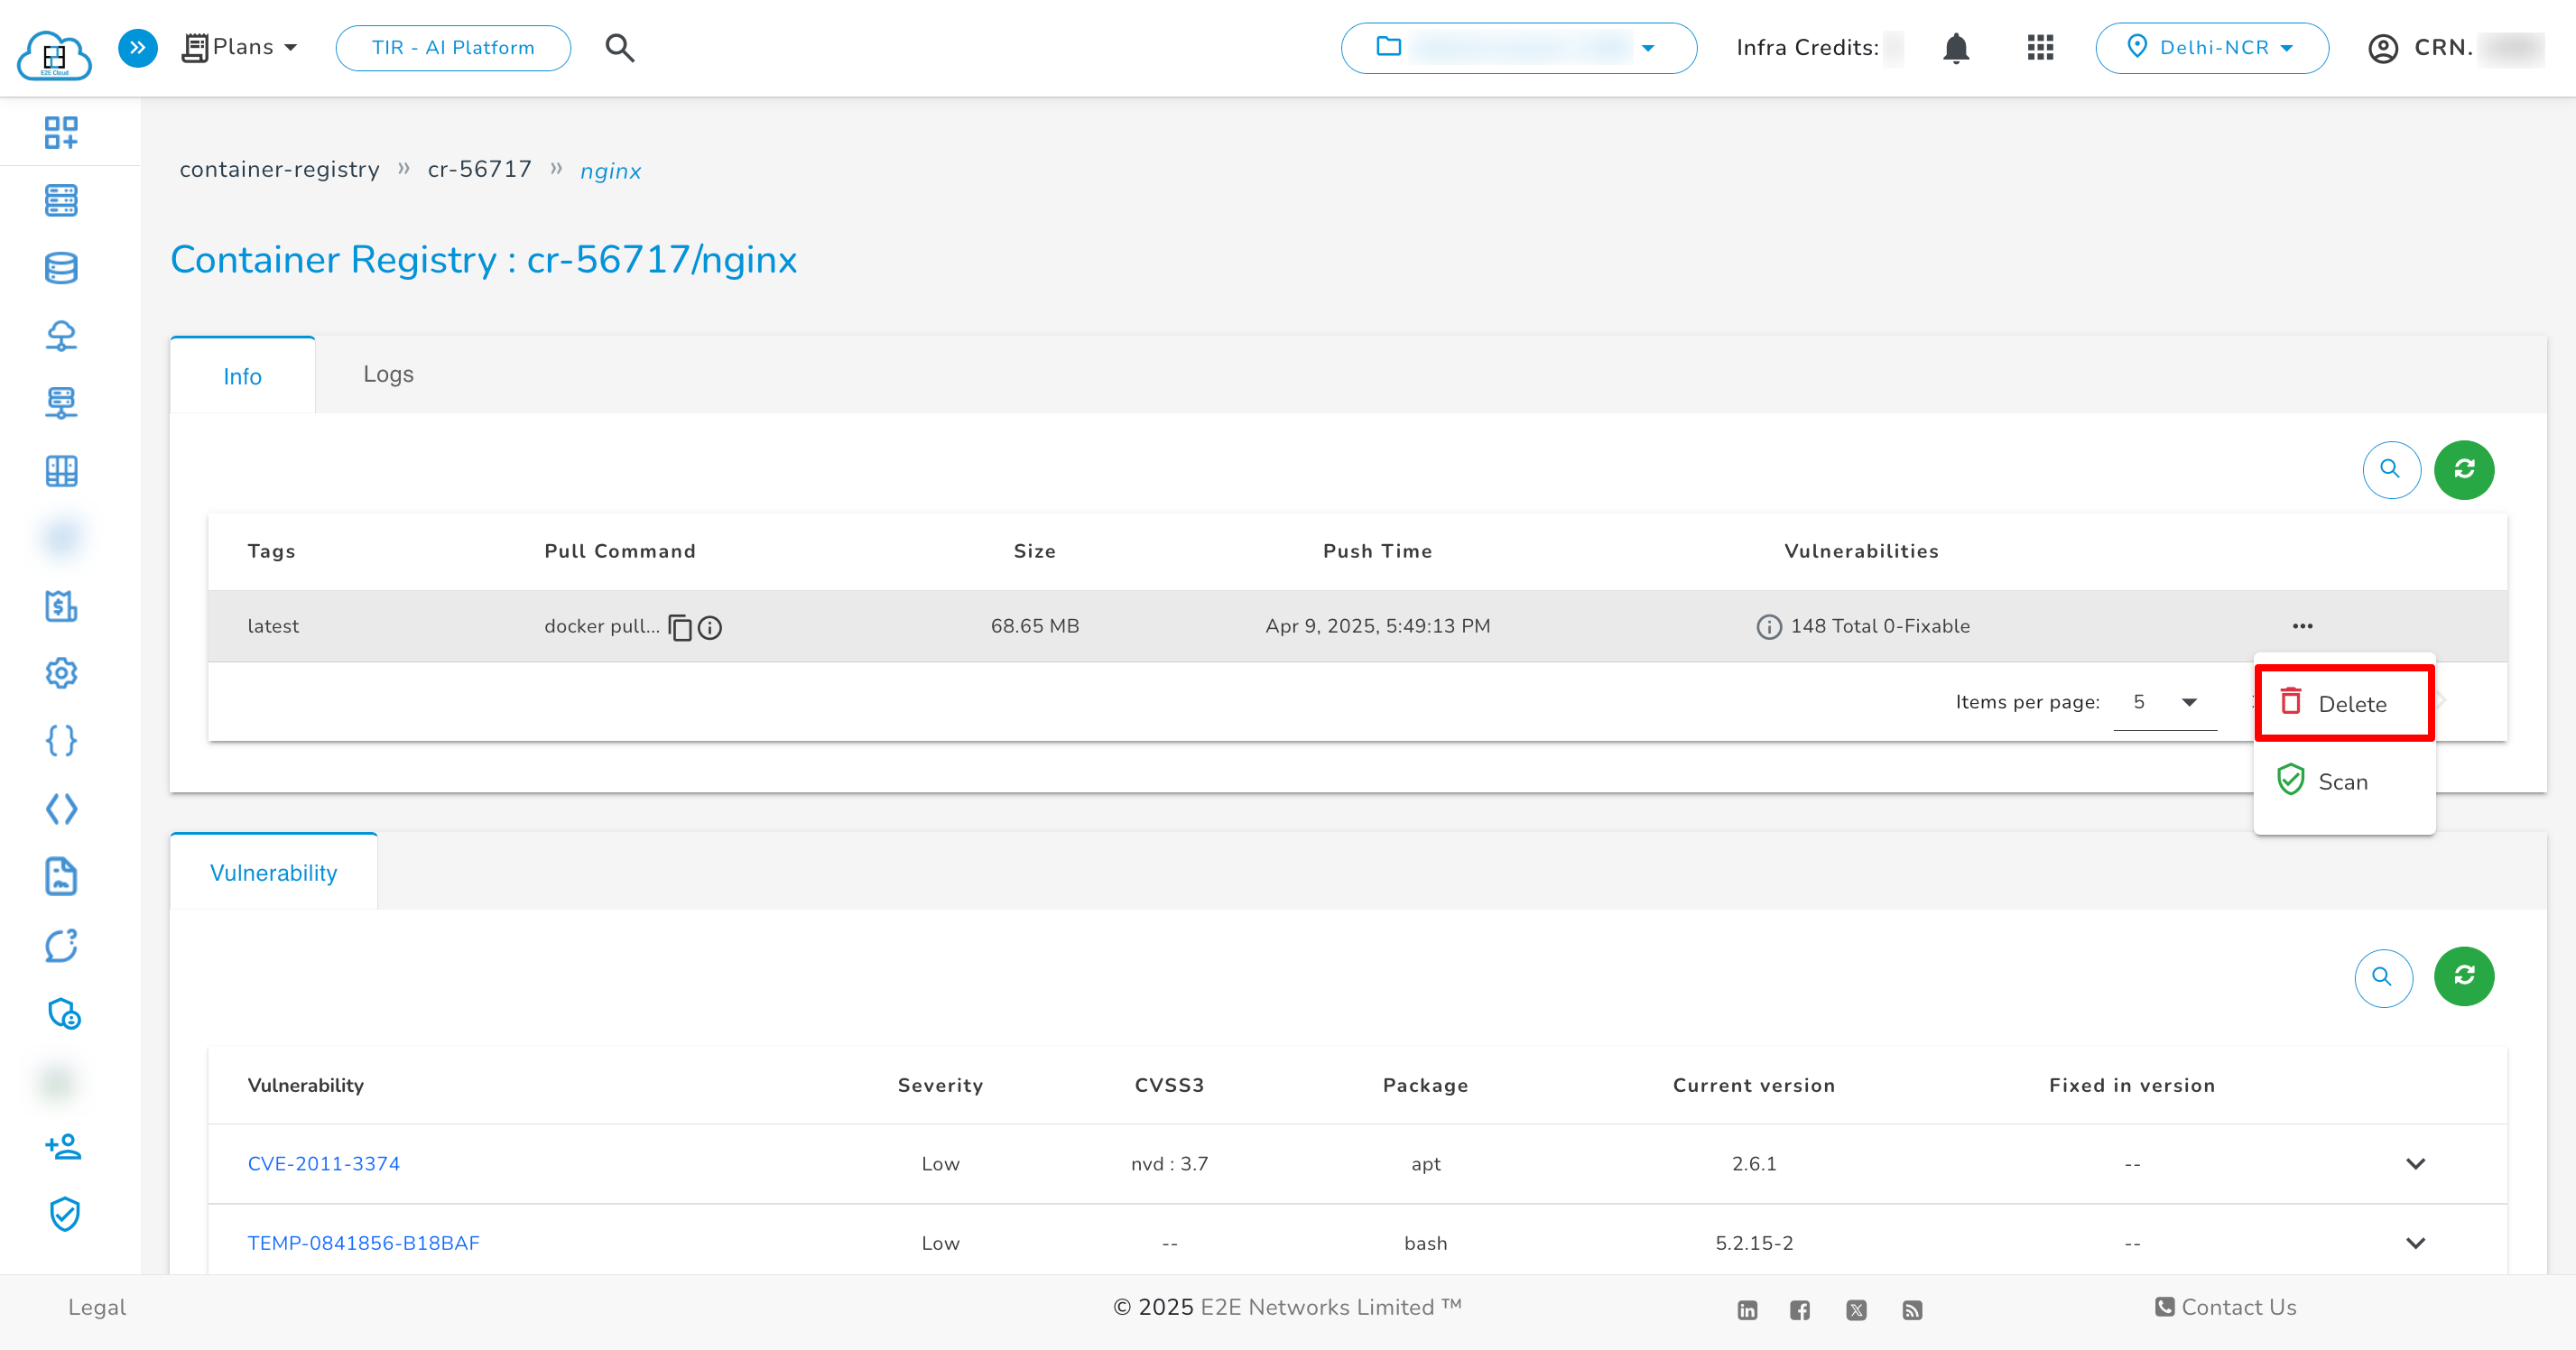
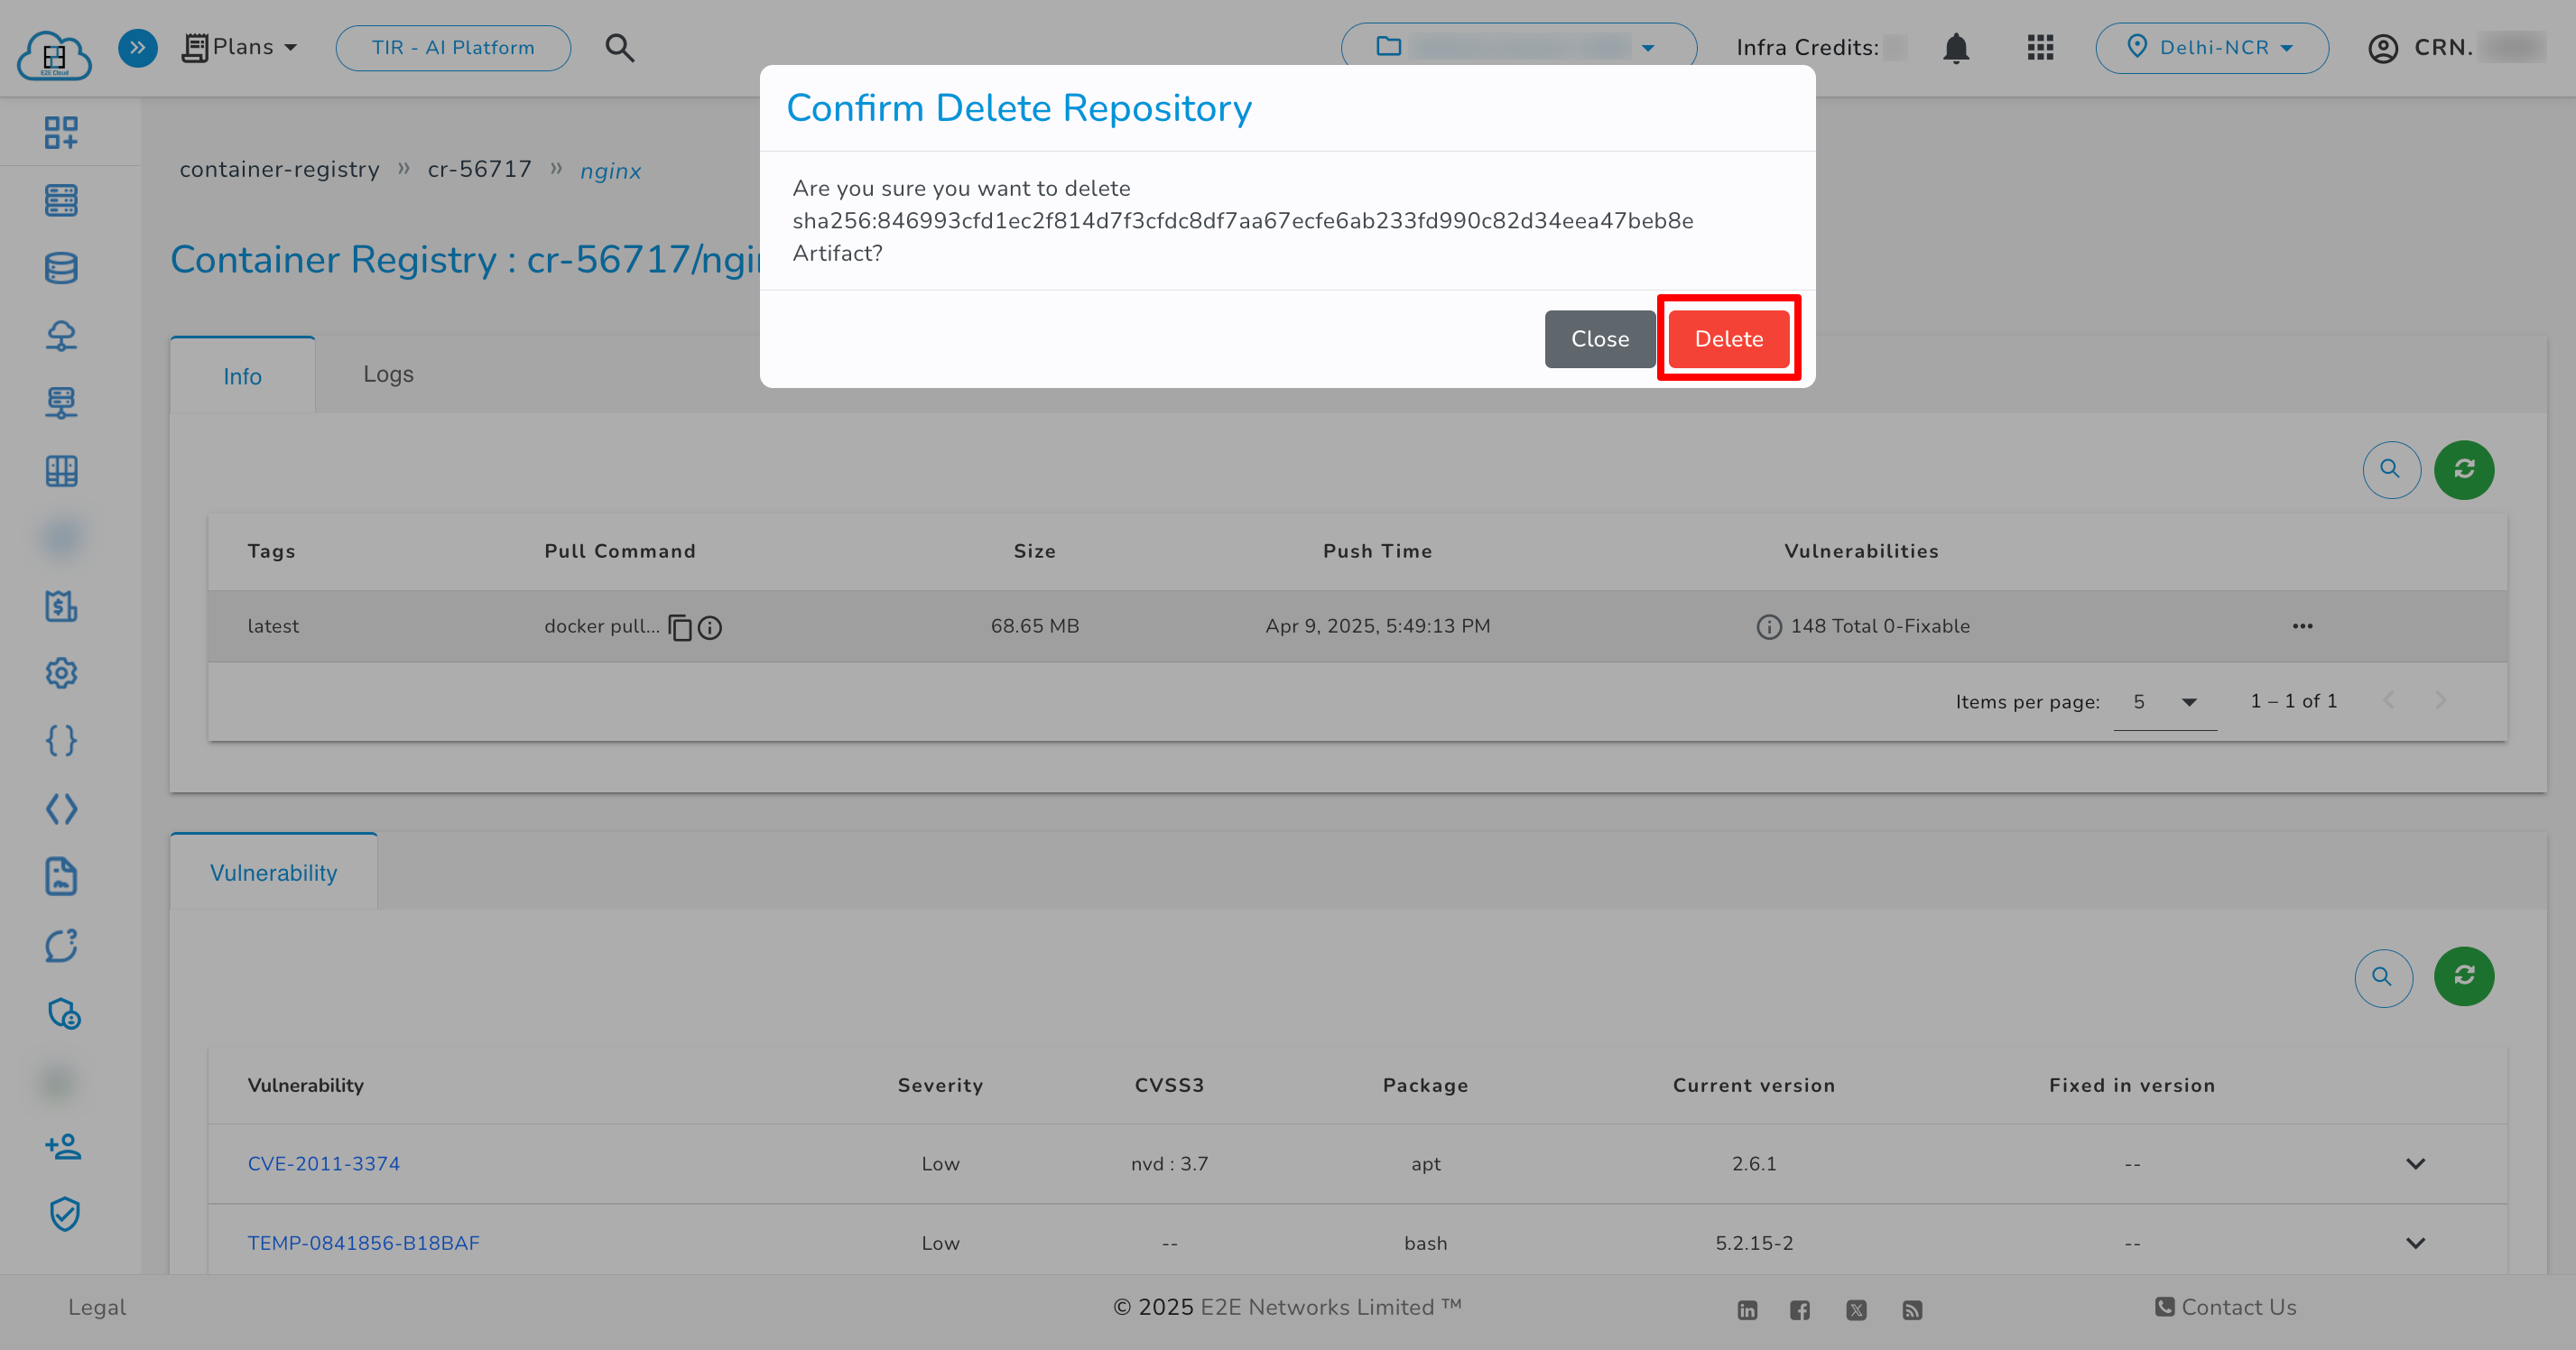
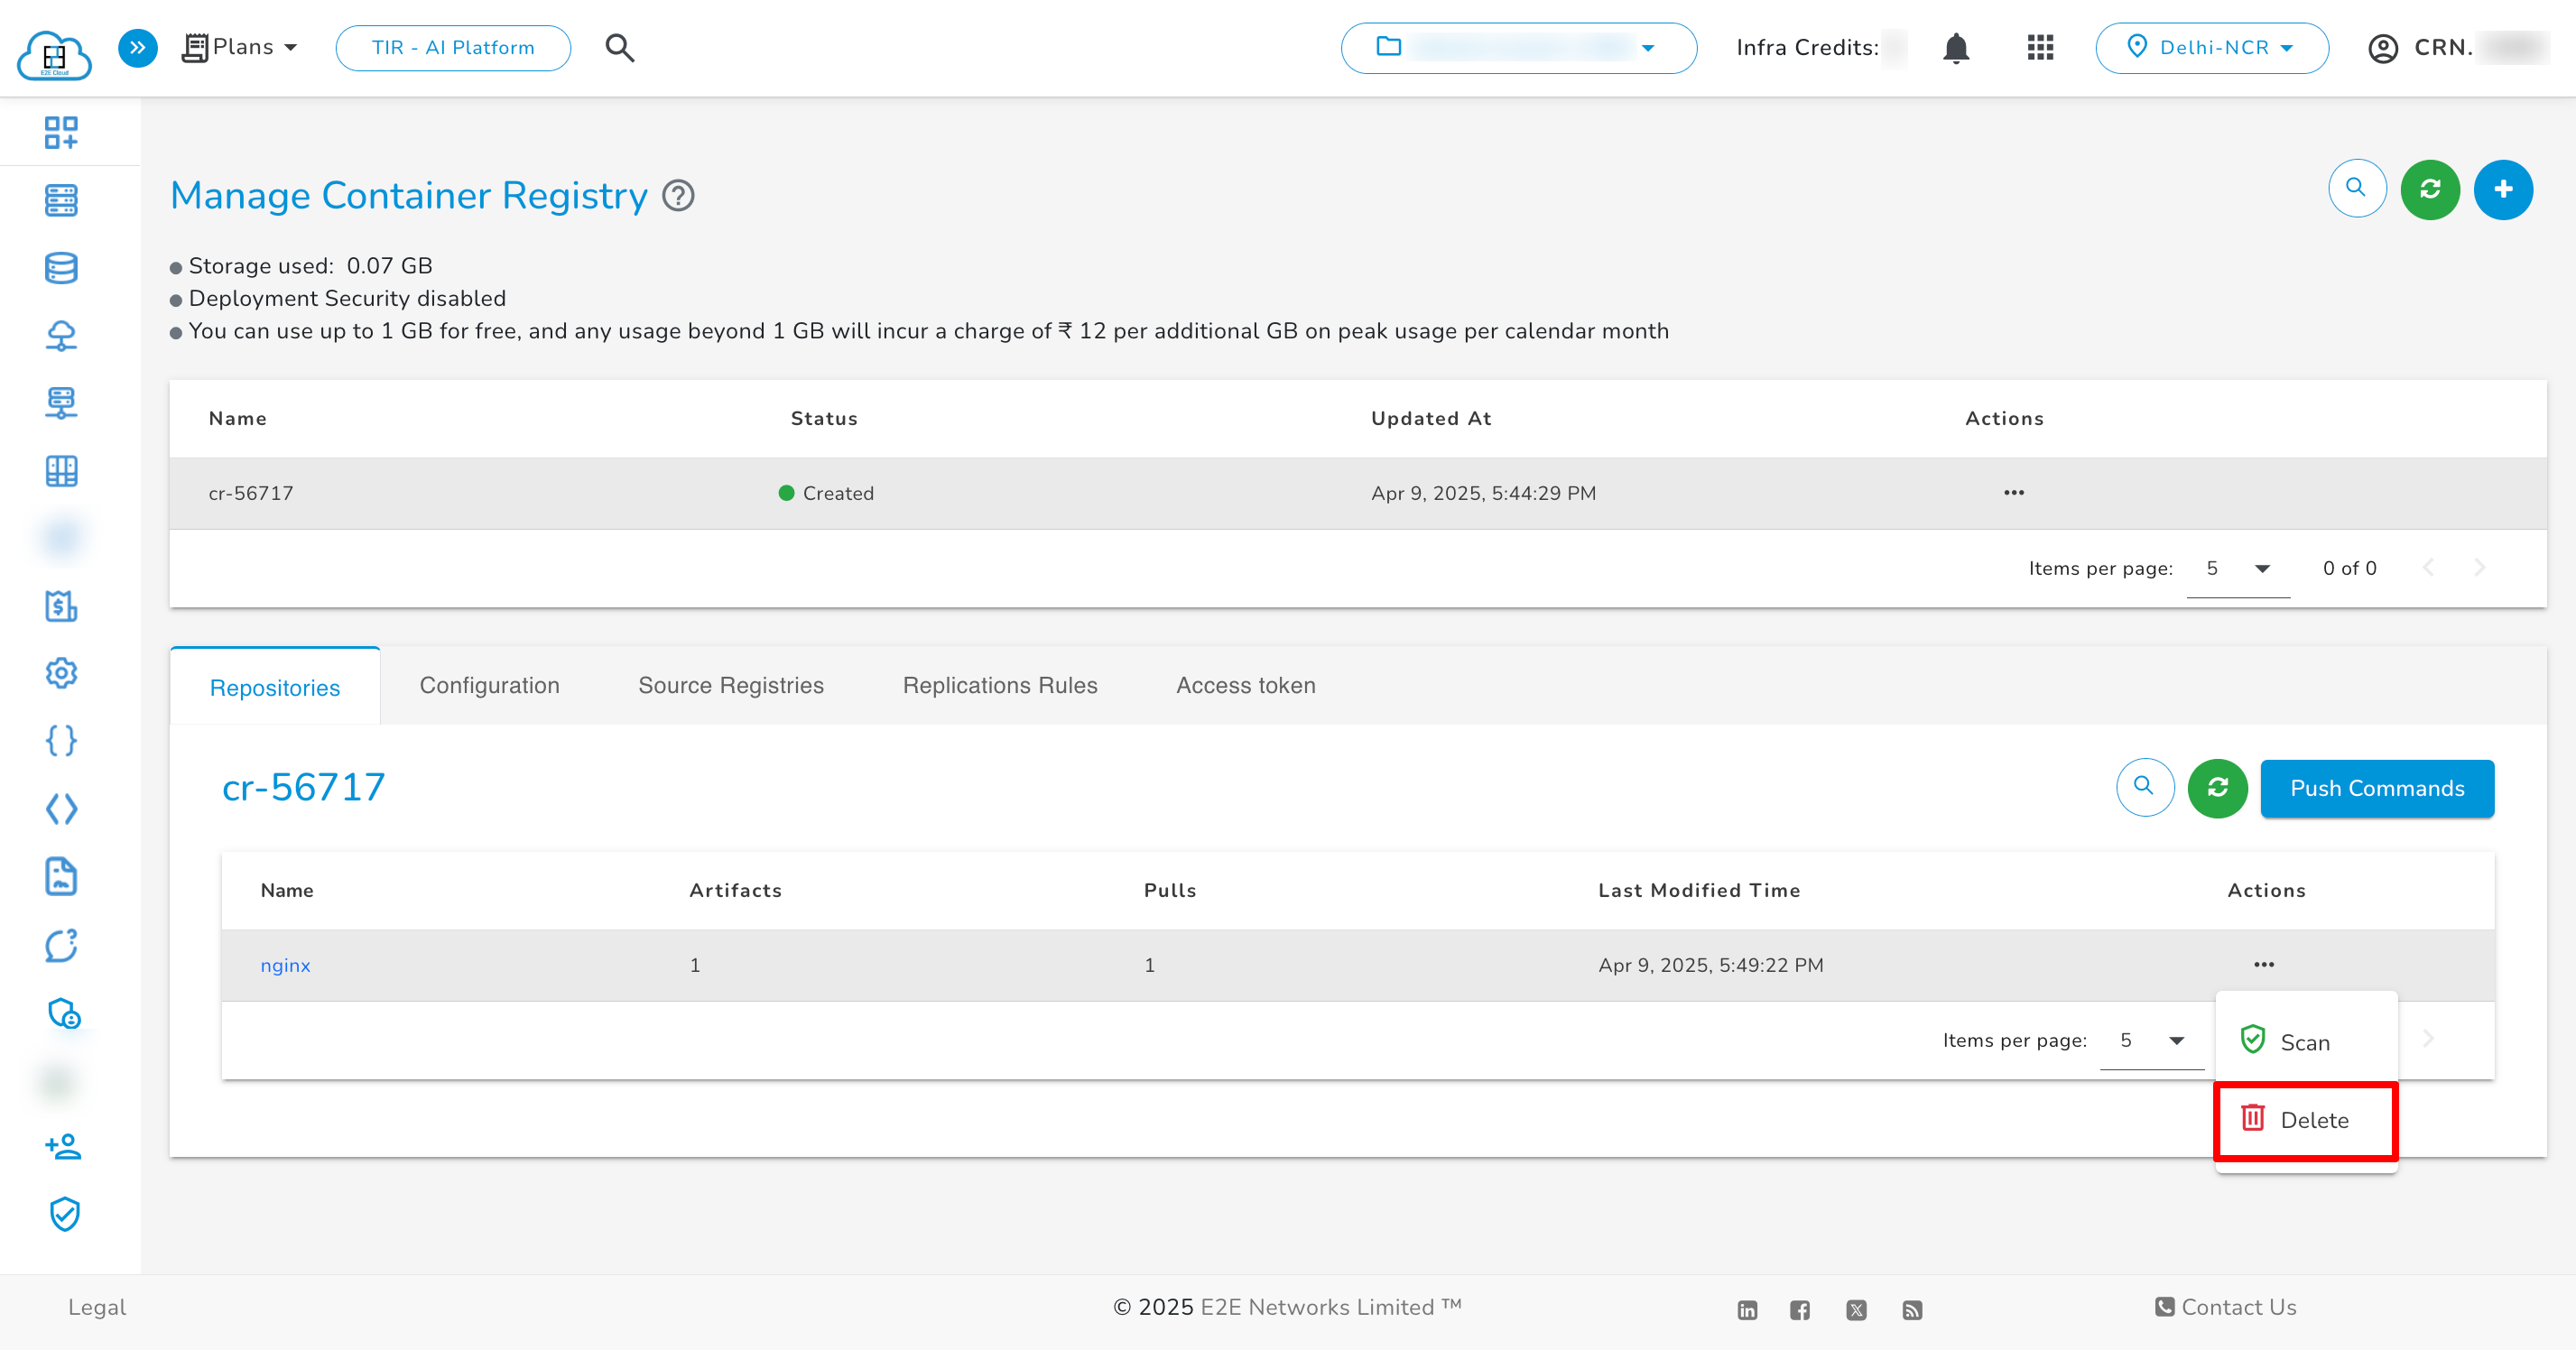
Delete Repositories
To delete the repository, click on the three dots next to the respective repository. A confirmation popup will be open, confirm it and click on Delete.

Delete Project
To delete the project, click on the three dots next to the respective project. A confirmation popup will be open, confirm it and click on Delete.

