MySQL
How to create a MySQL Database
Login into MyAccount Portal
Please log in to the MyAccount Portal using your credentials set up at the time of creating and activating the E2E Networks 'My Account'.
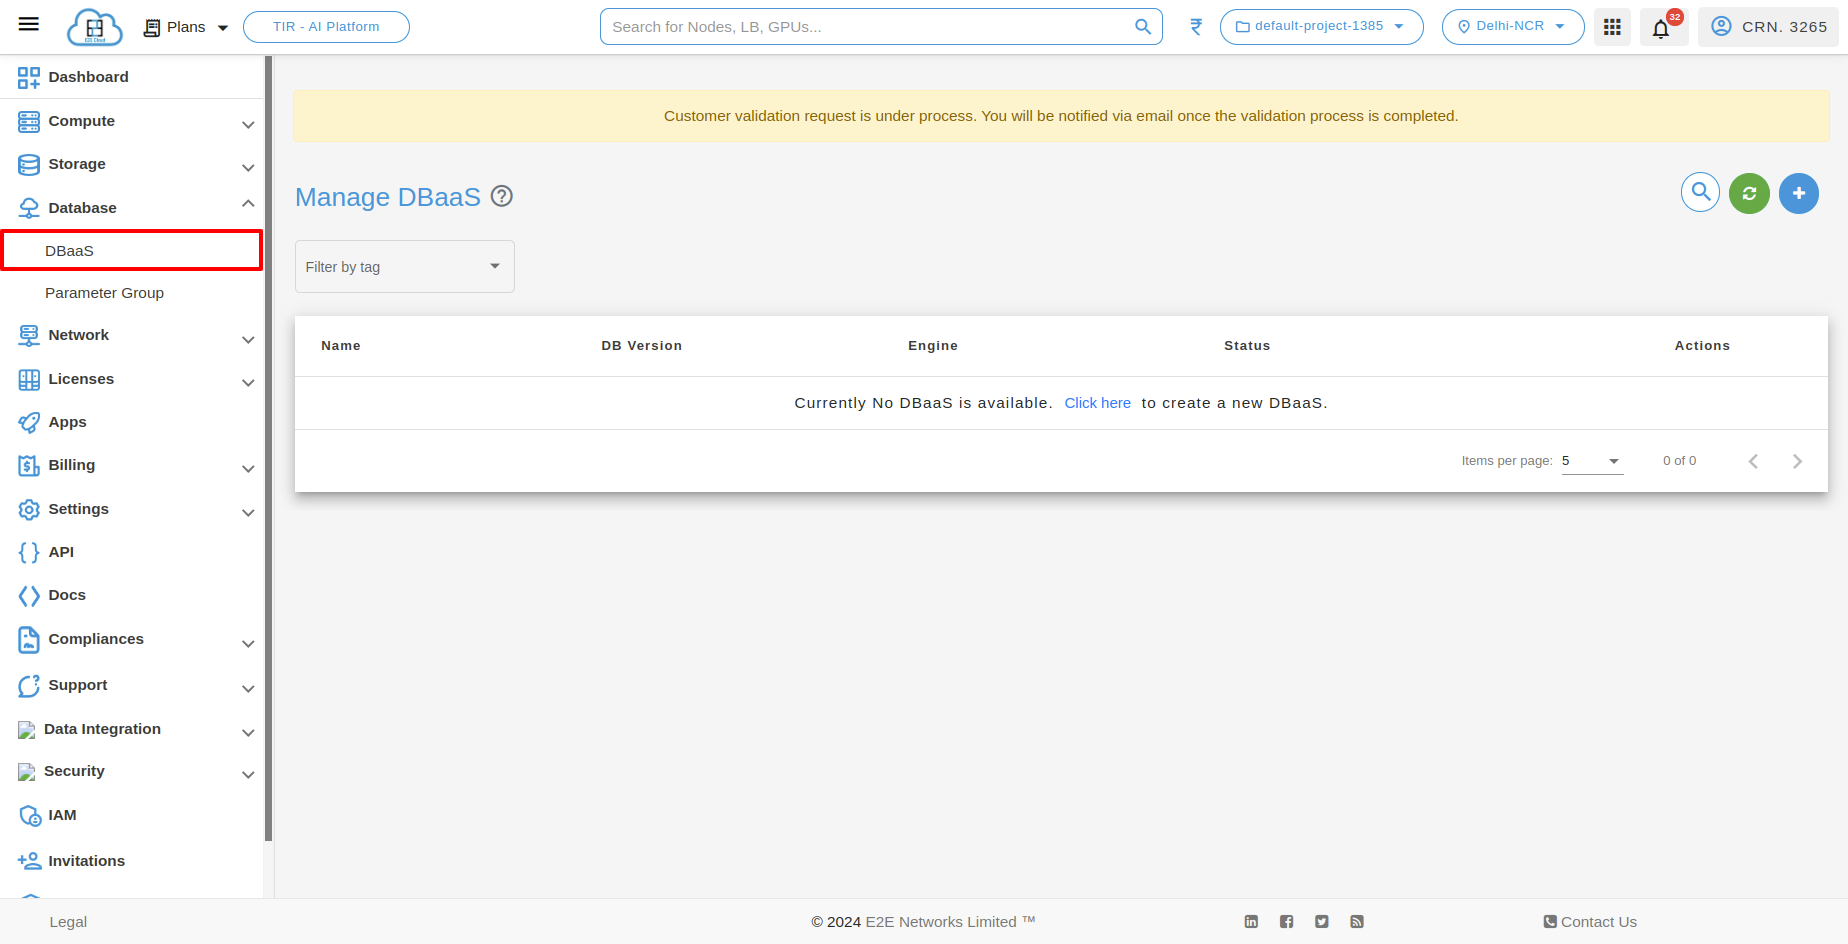
Navigate to Database Page
Once you have logged in to the MyAccount Portal, you can navigate to the database page from the sidebar menu.
Create Database
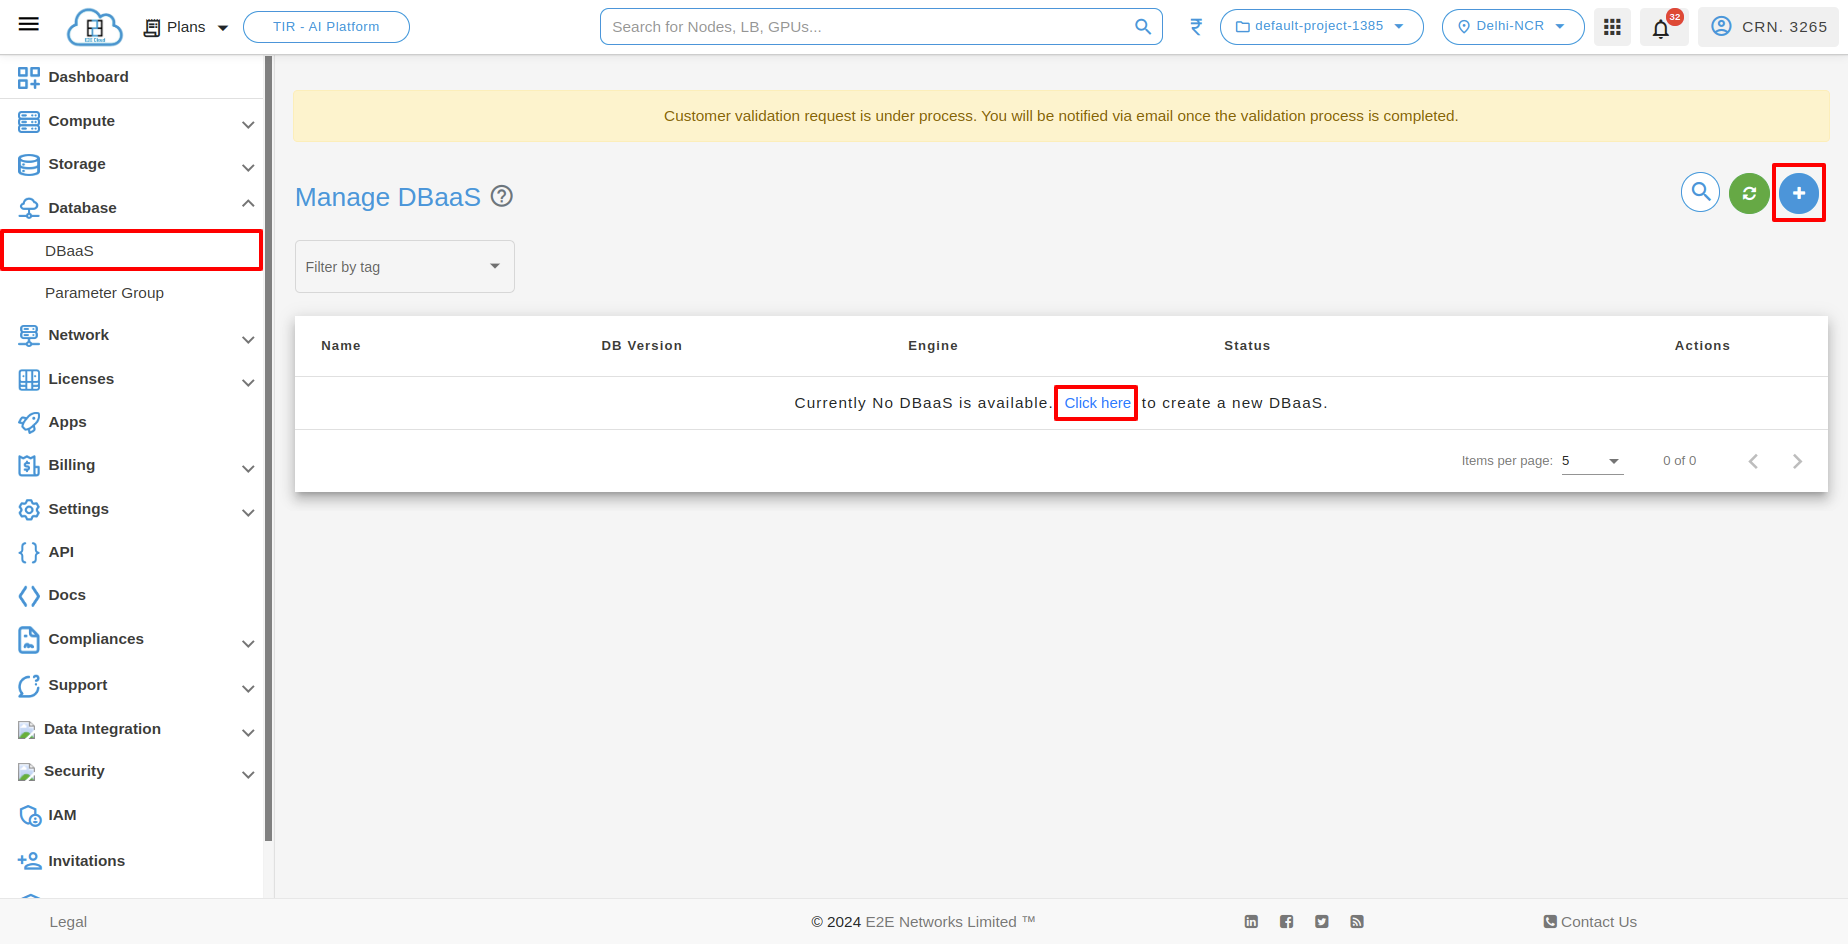
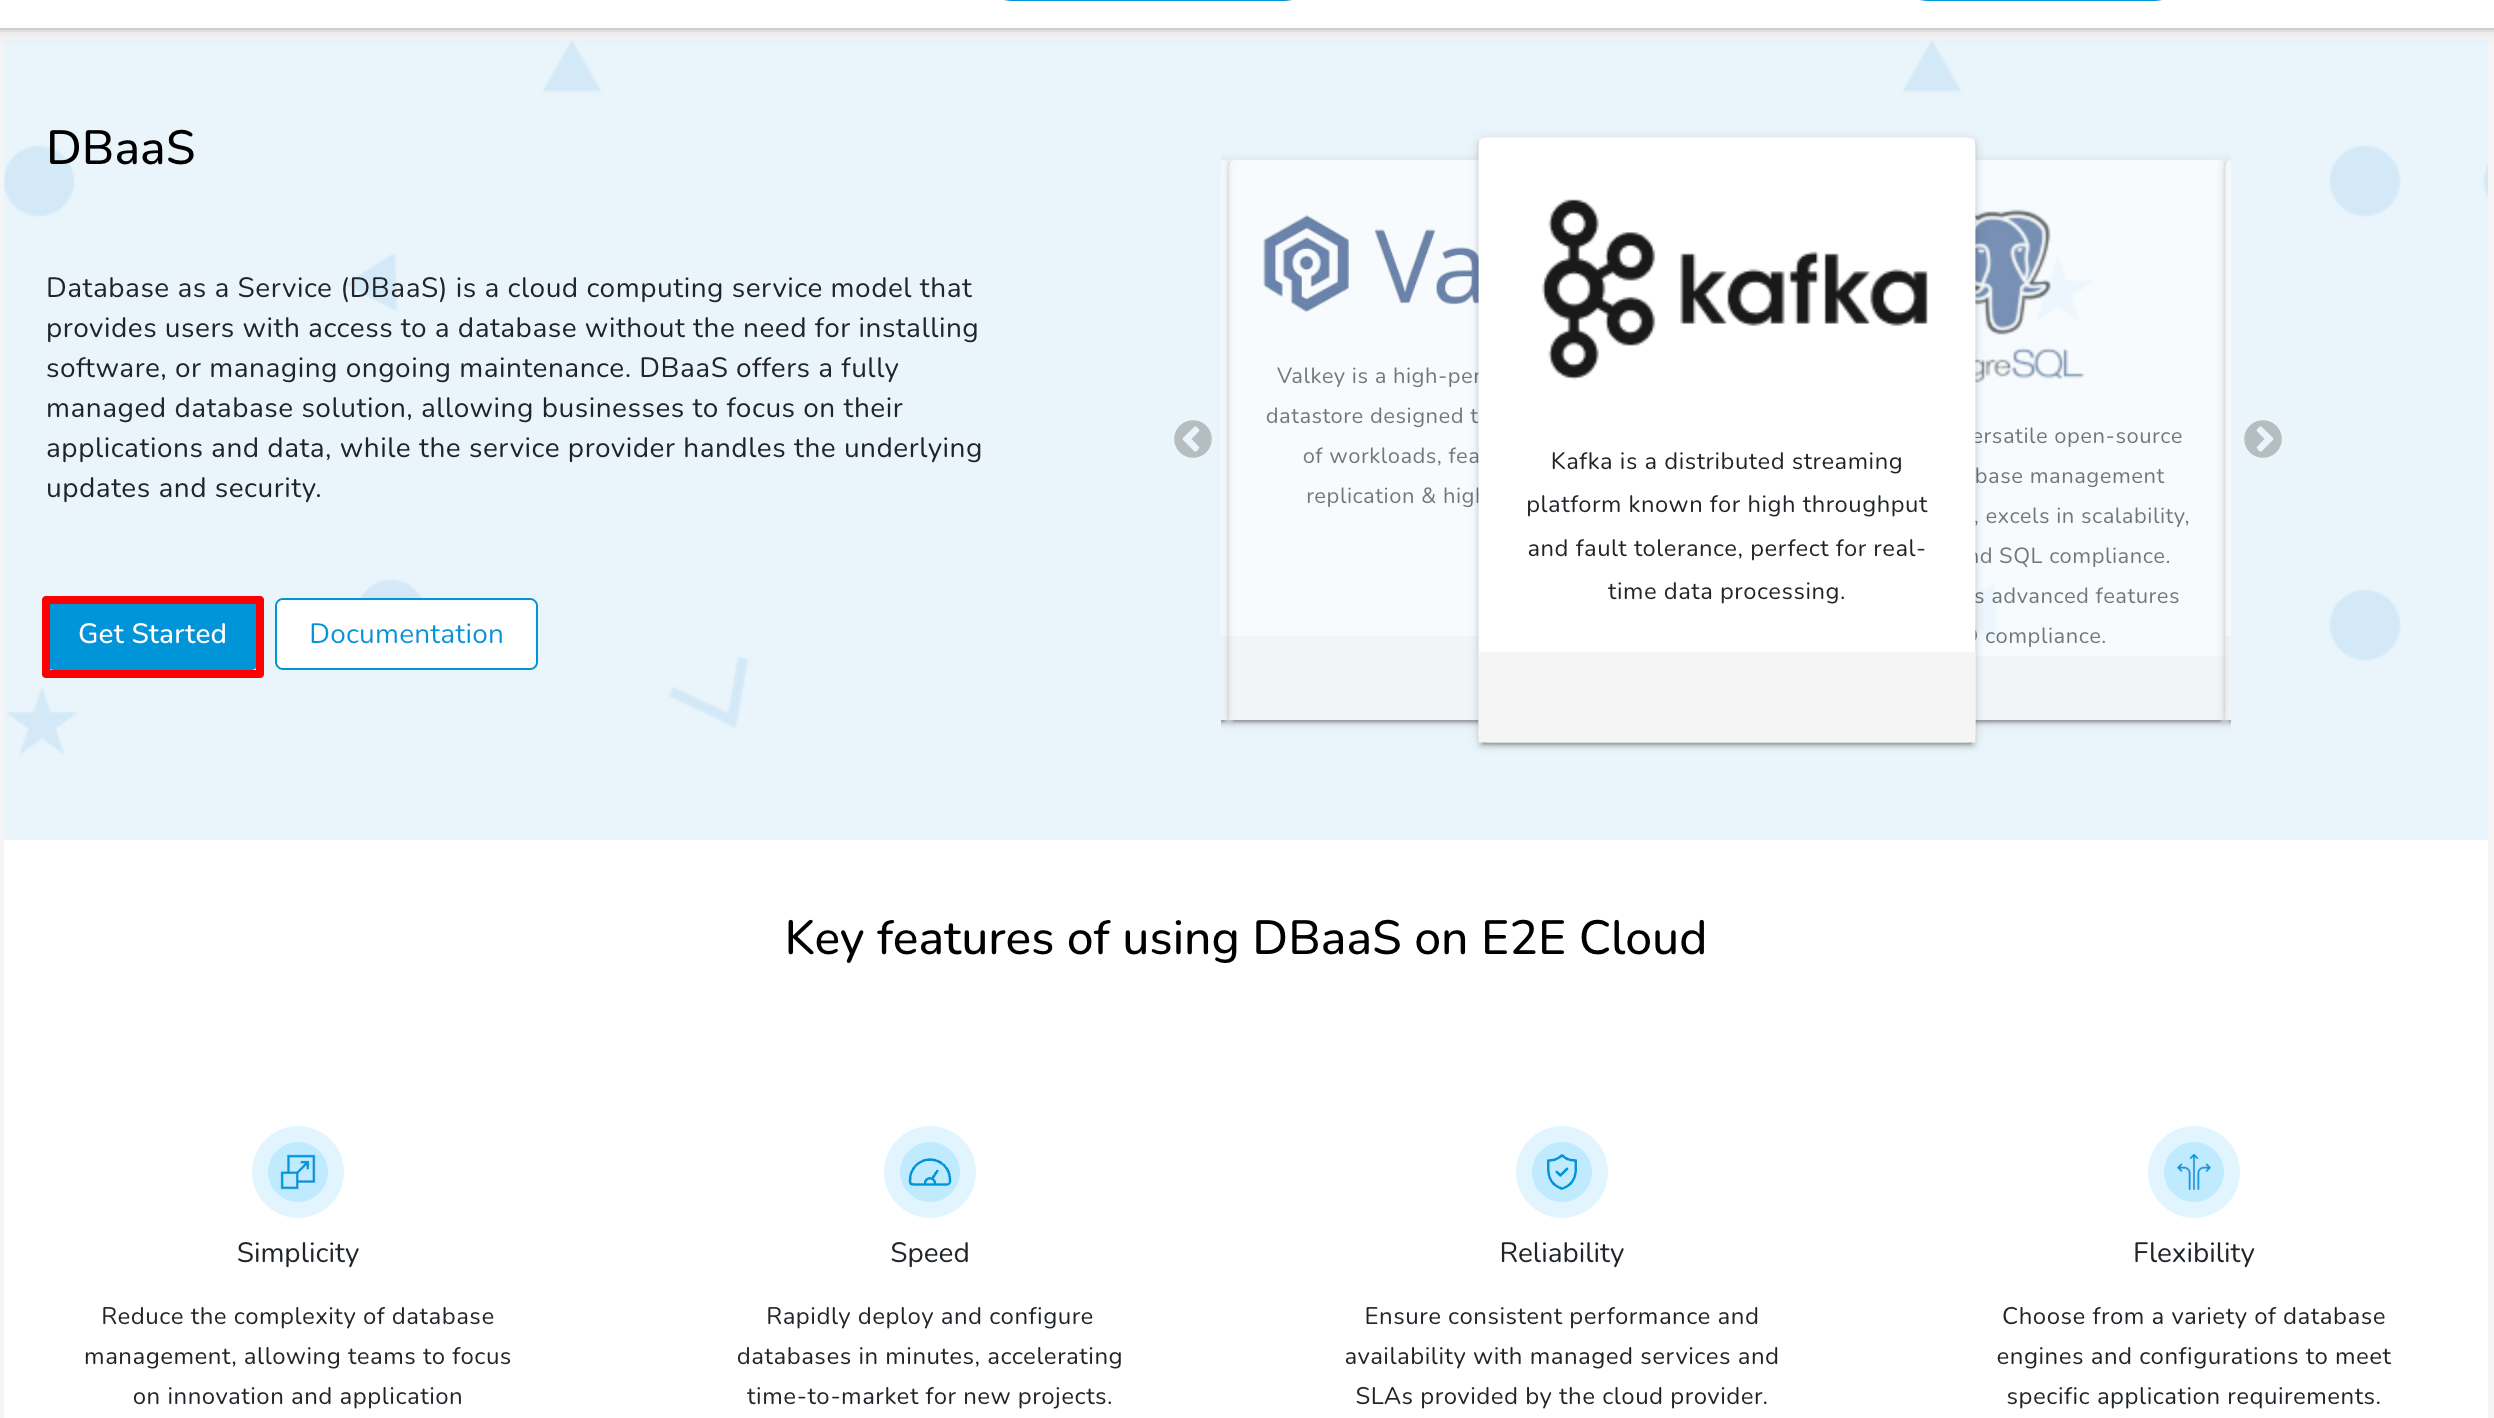
On the top right section of the manage database dashboard, click on the “Create Database” or "Get Started" button, which will take you to the cluster page where you will select the configuration and enter the details of your database.
Database Configuration and Setting
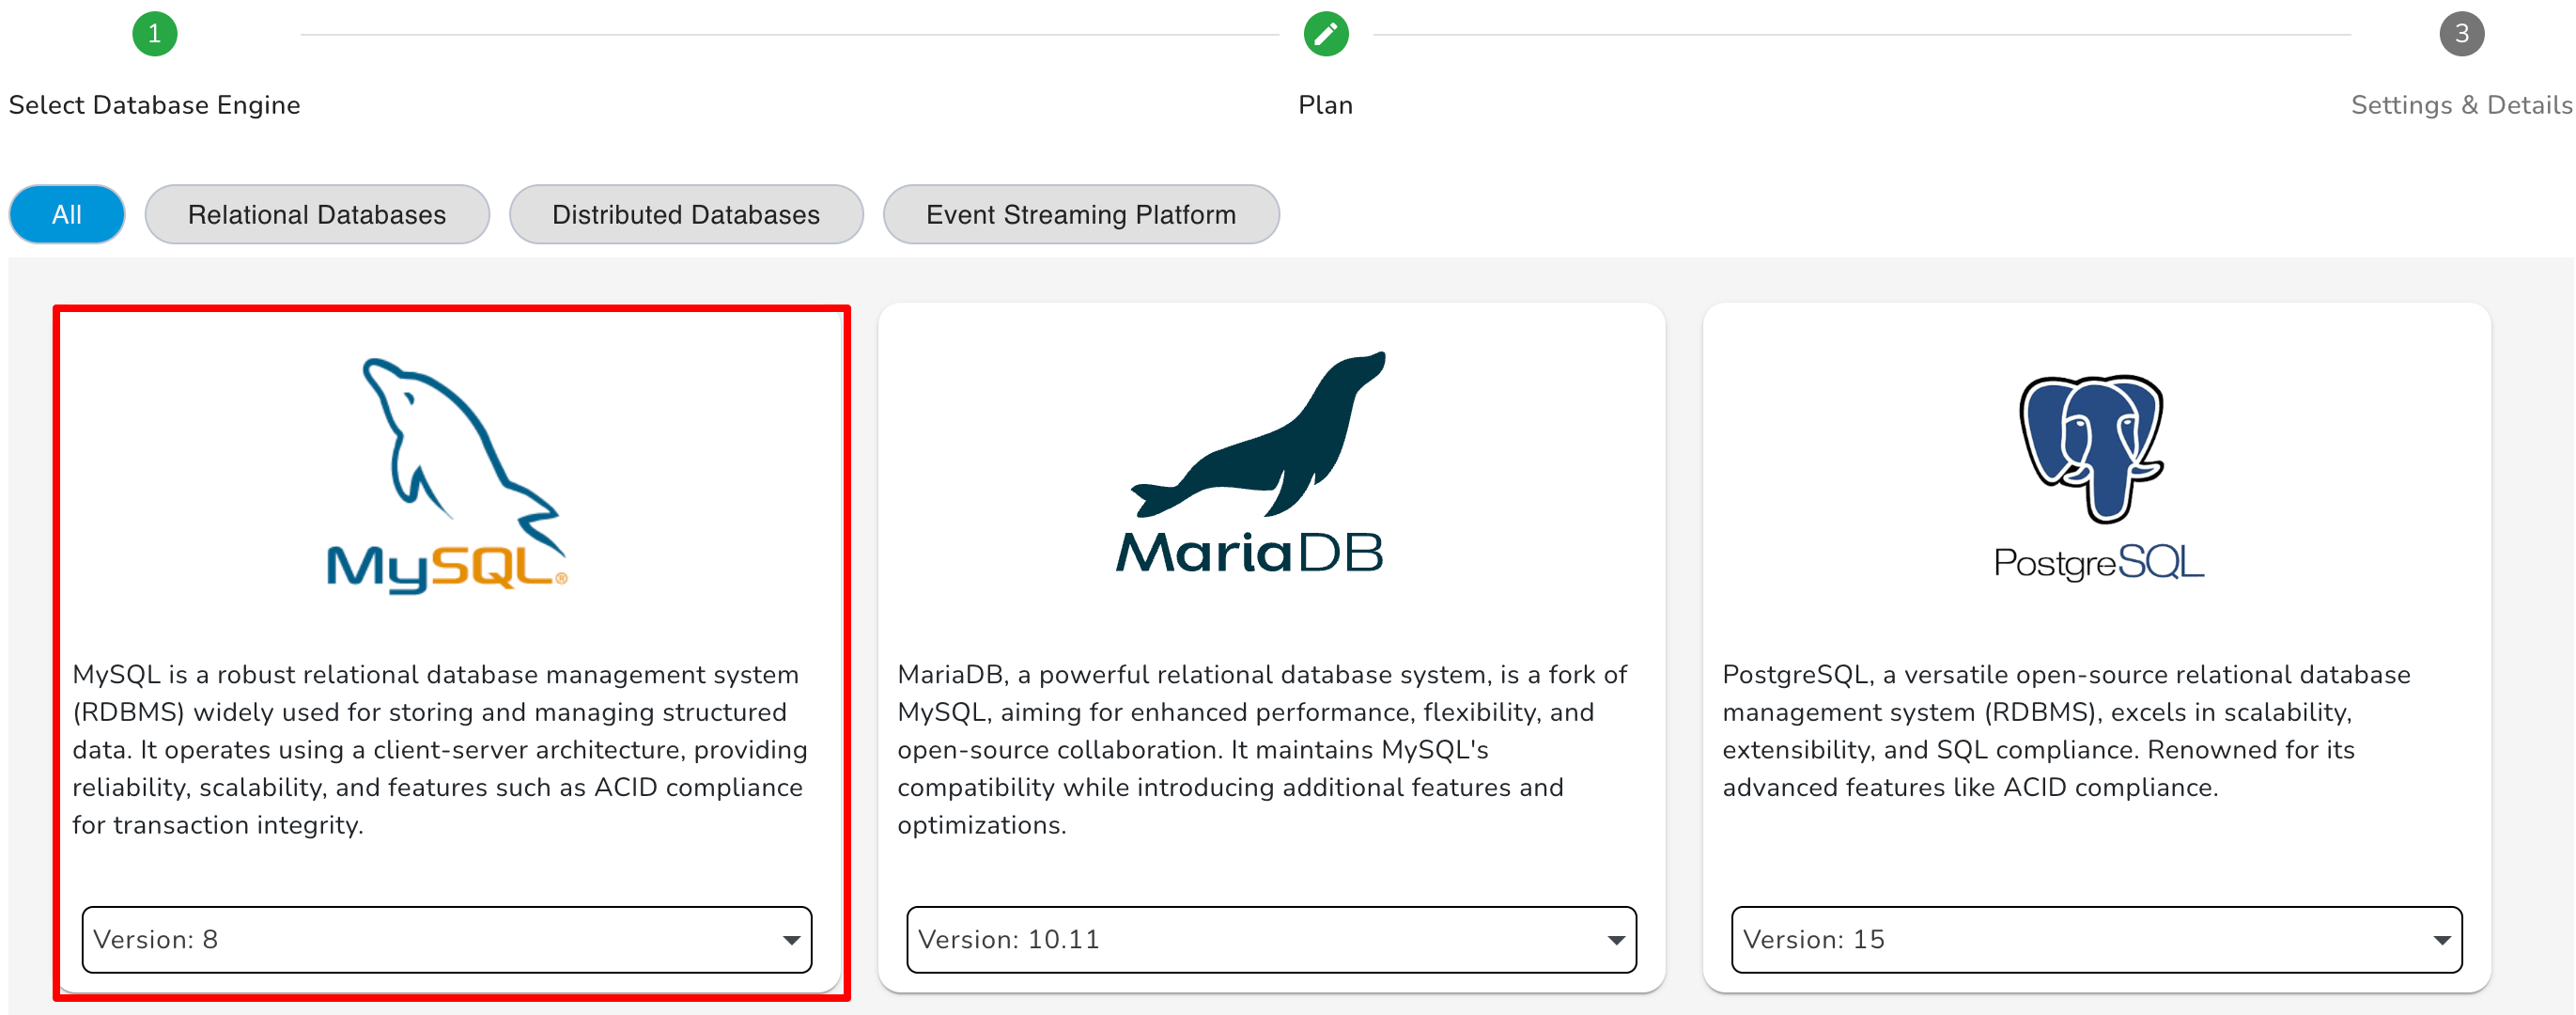
Database
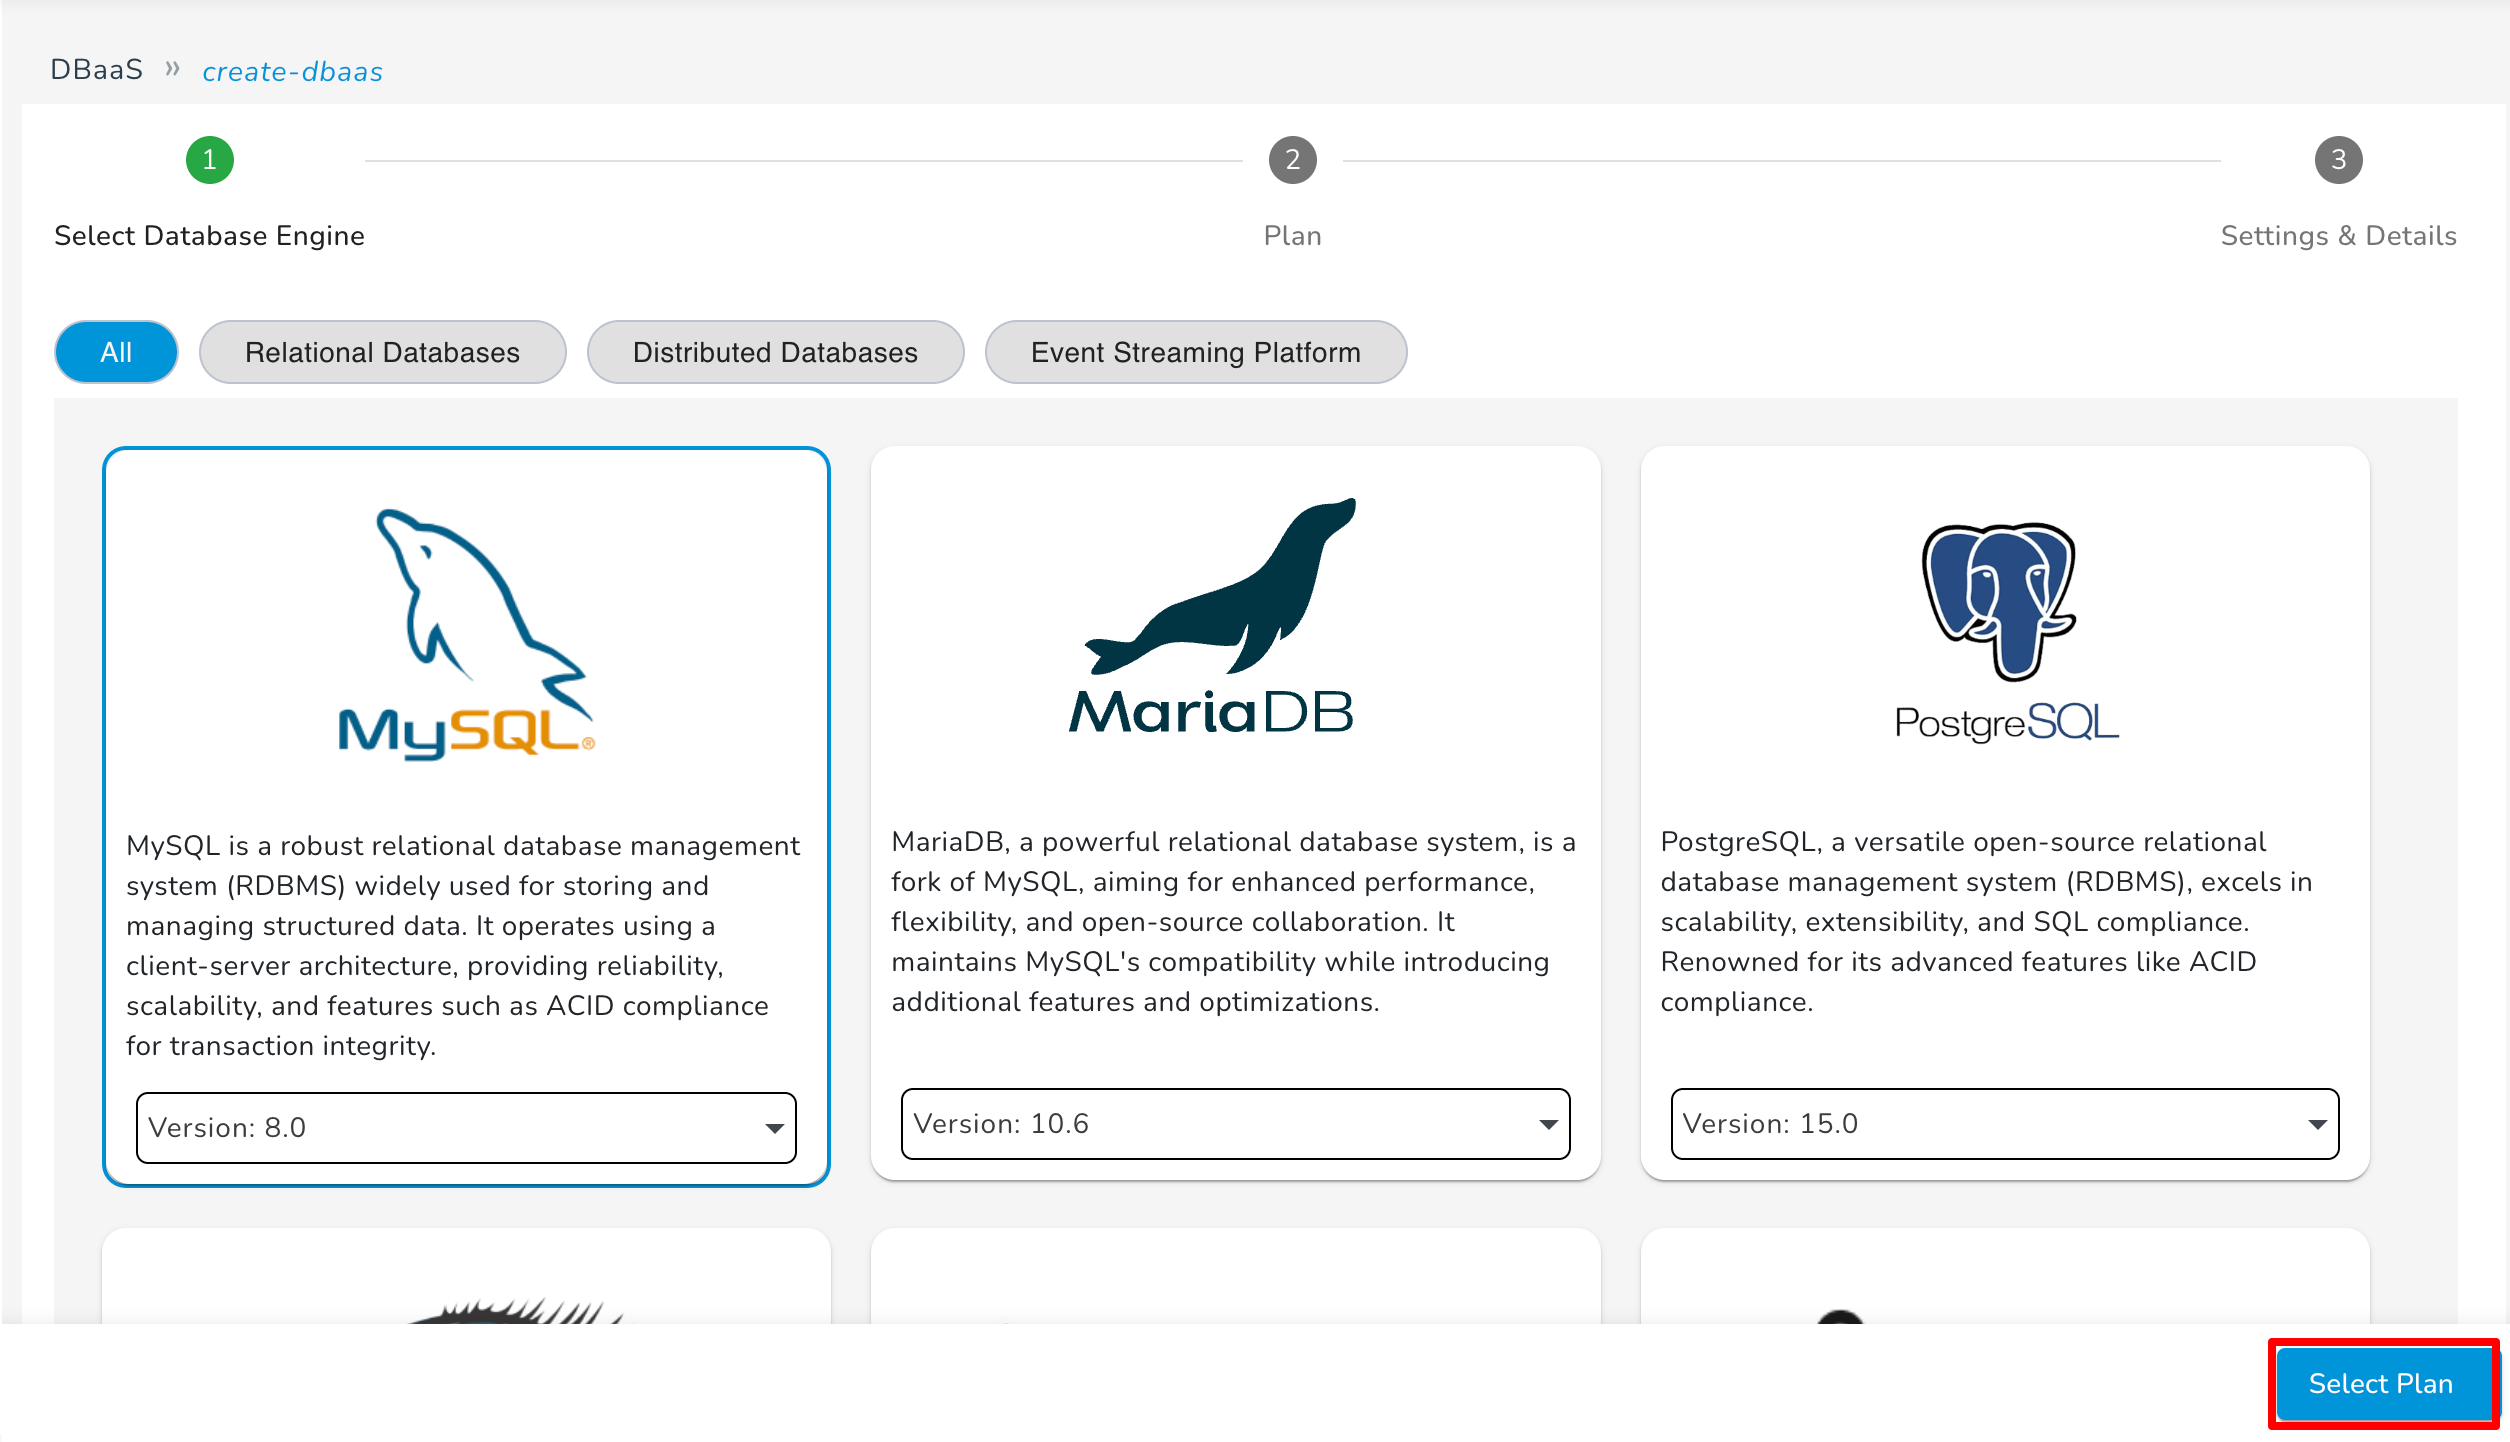
Please choose MySQL and the version of it that you would like to use
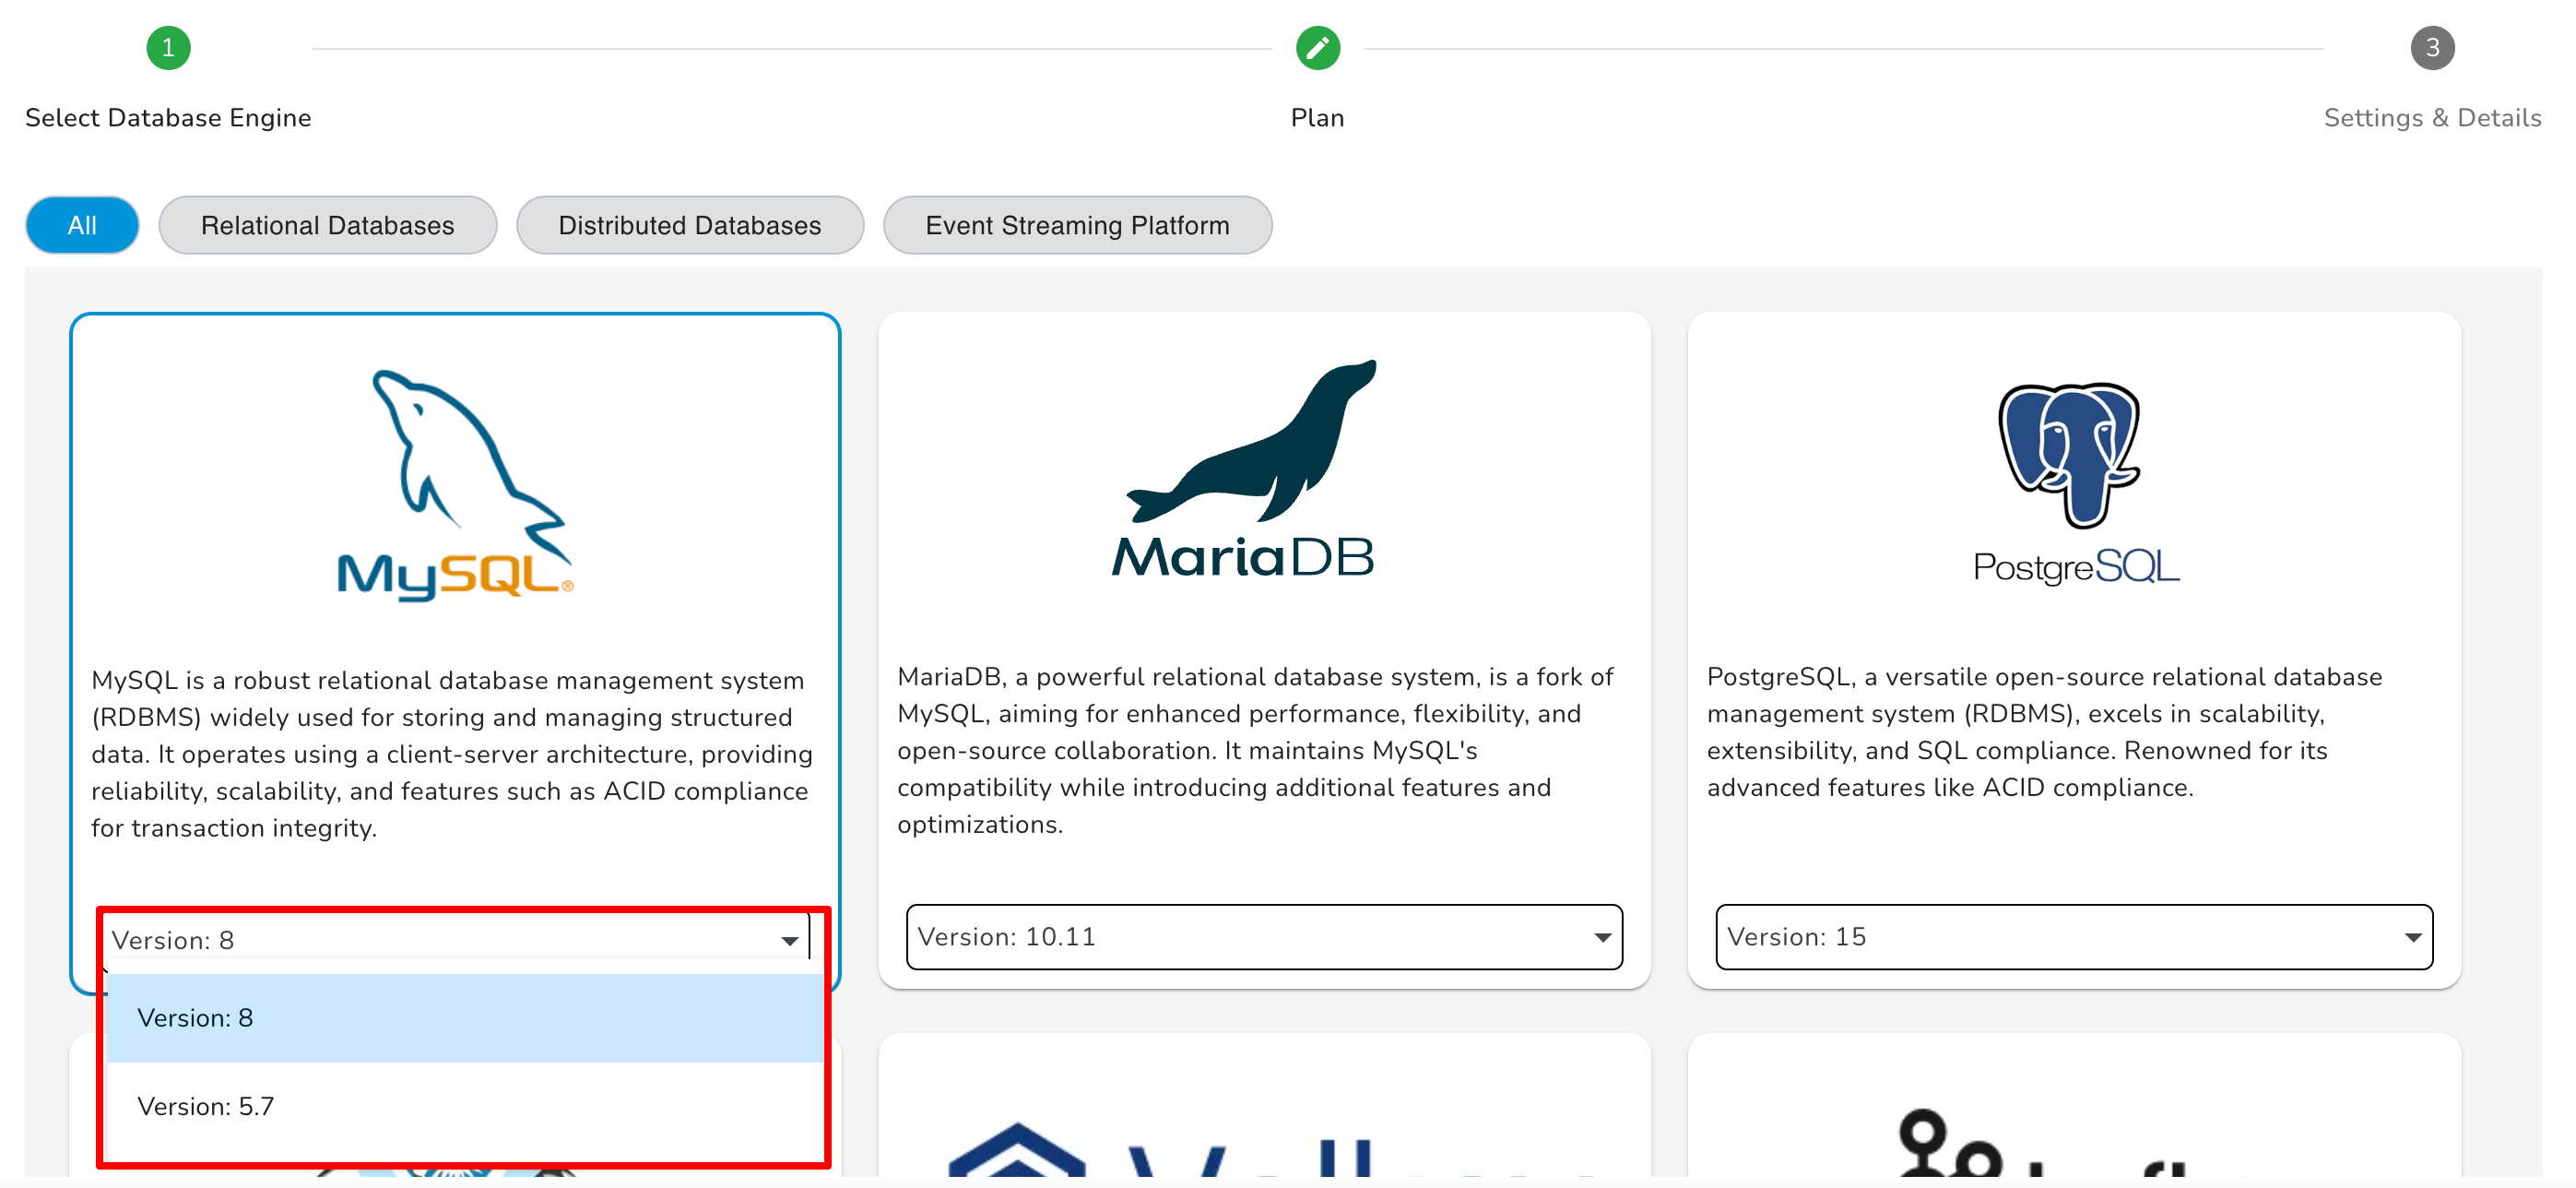
- Cluster Configuration: Node Cluster configuration comprises varying combinations of CPU, memory, and storage and gives you the flexibility to choose the appropriate mix of resources for your database.
After that, click on the "Select plan" icon.
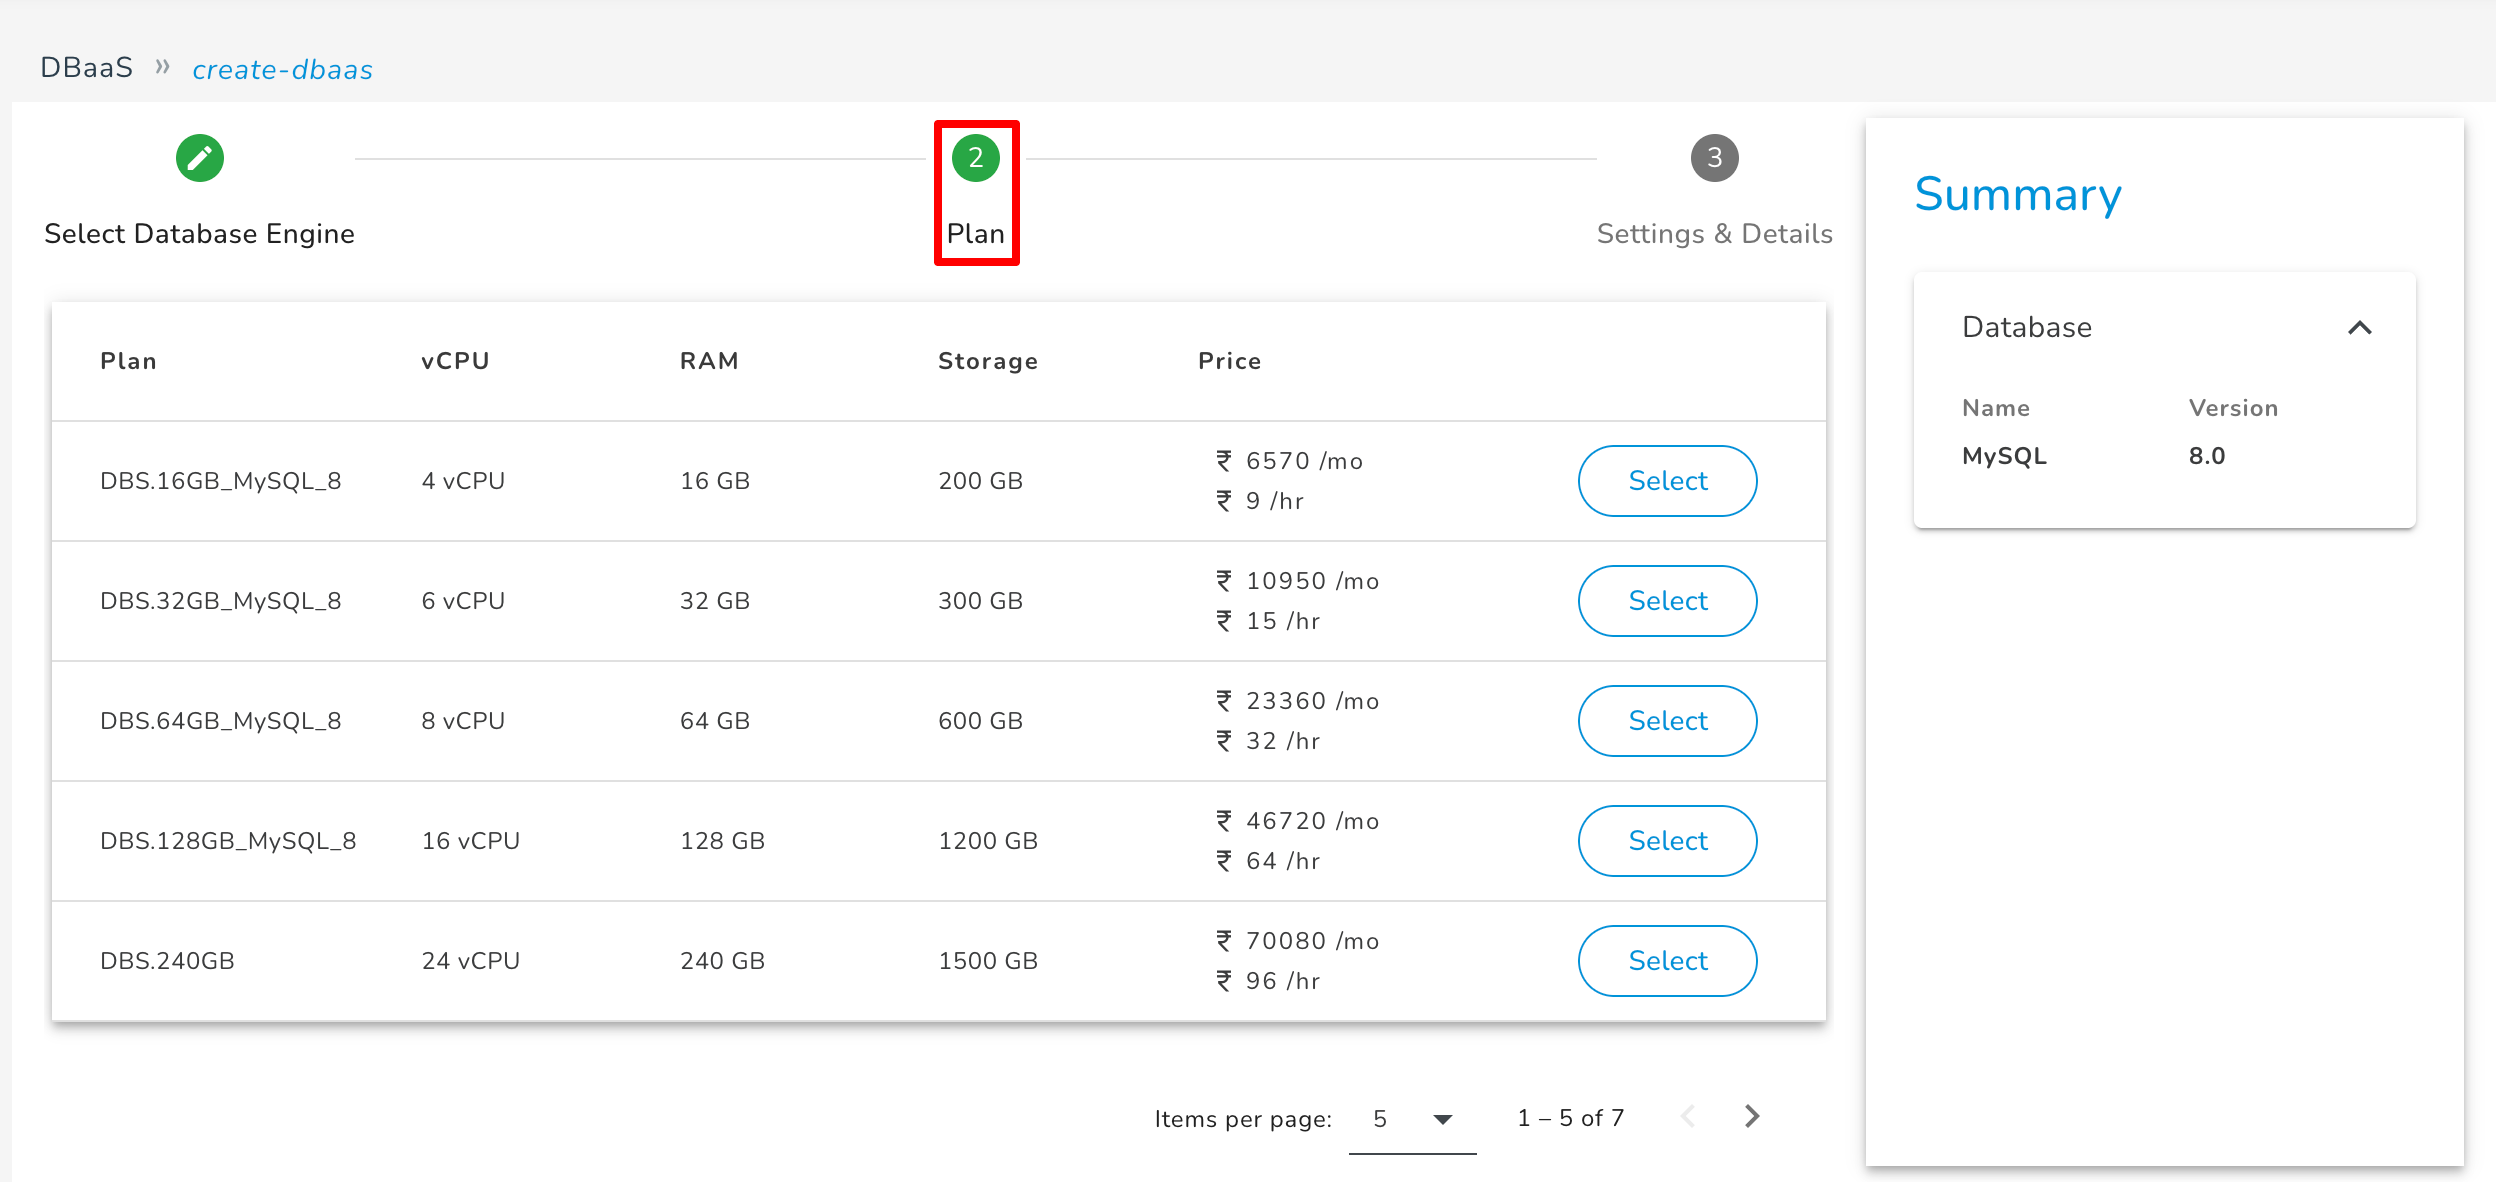
Plan
After selecting the version, you will be redirected to the plan section. Here you need to select a plan according to your needs.
Settings & Details
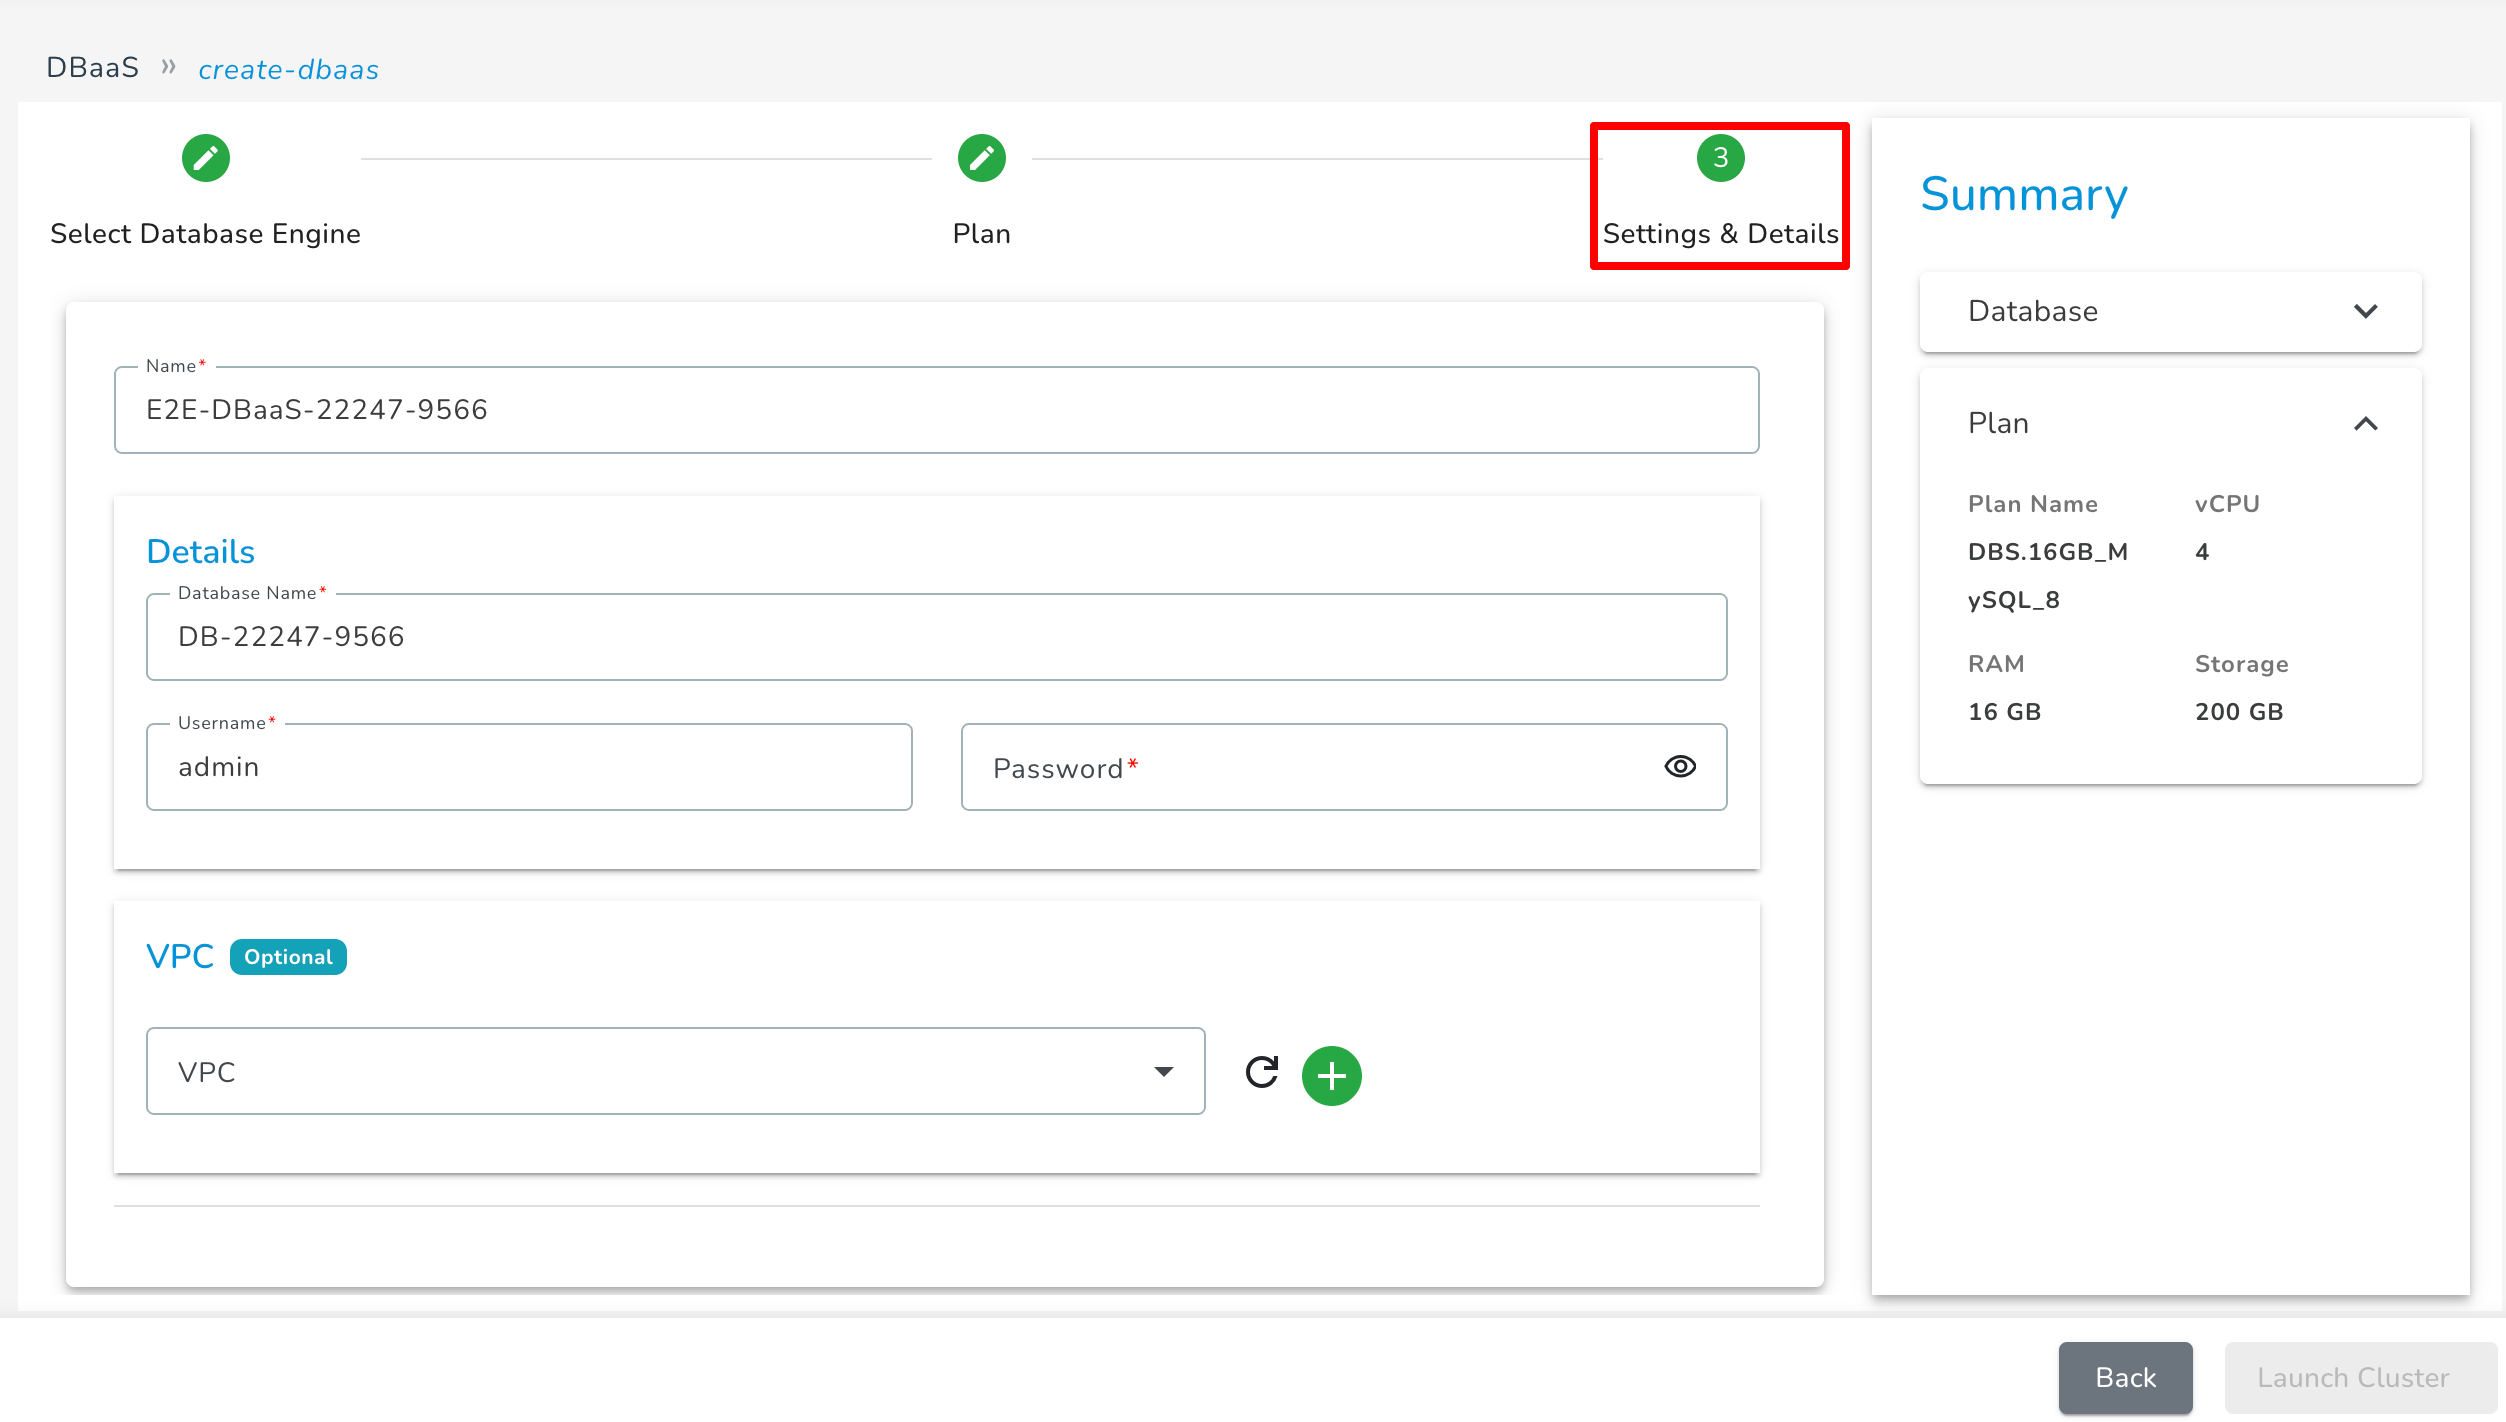
After selecting the plan, you need to select the required configuration and settings for your database, which are mentioned below.
-
Name: You need to provide the cluster name you want for your cluster. This name will be visible on the Database page.
-
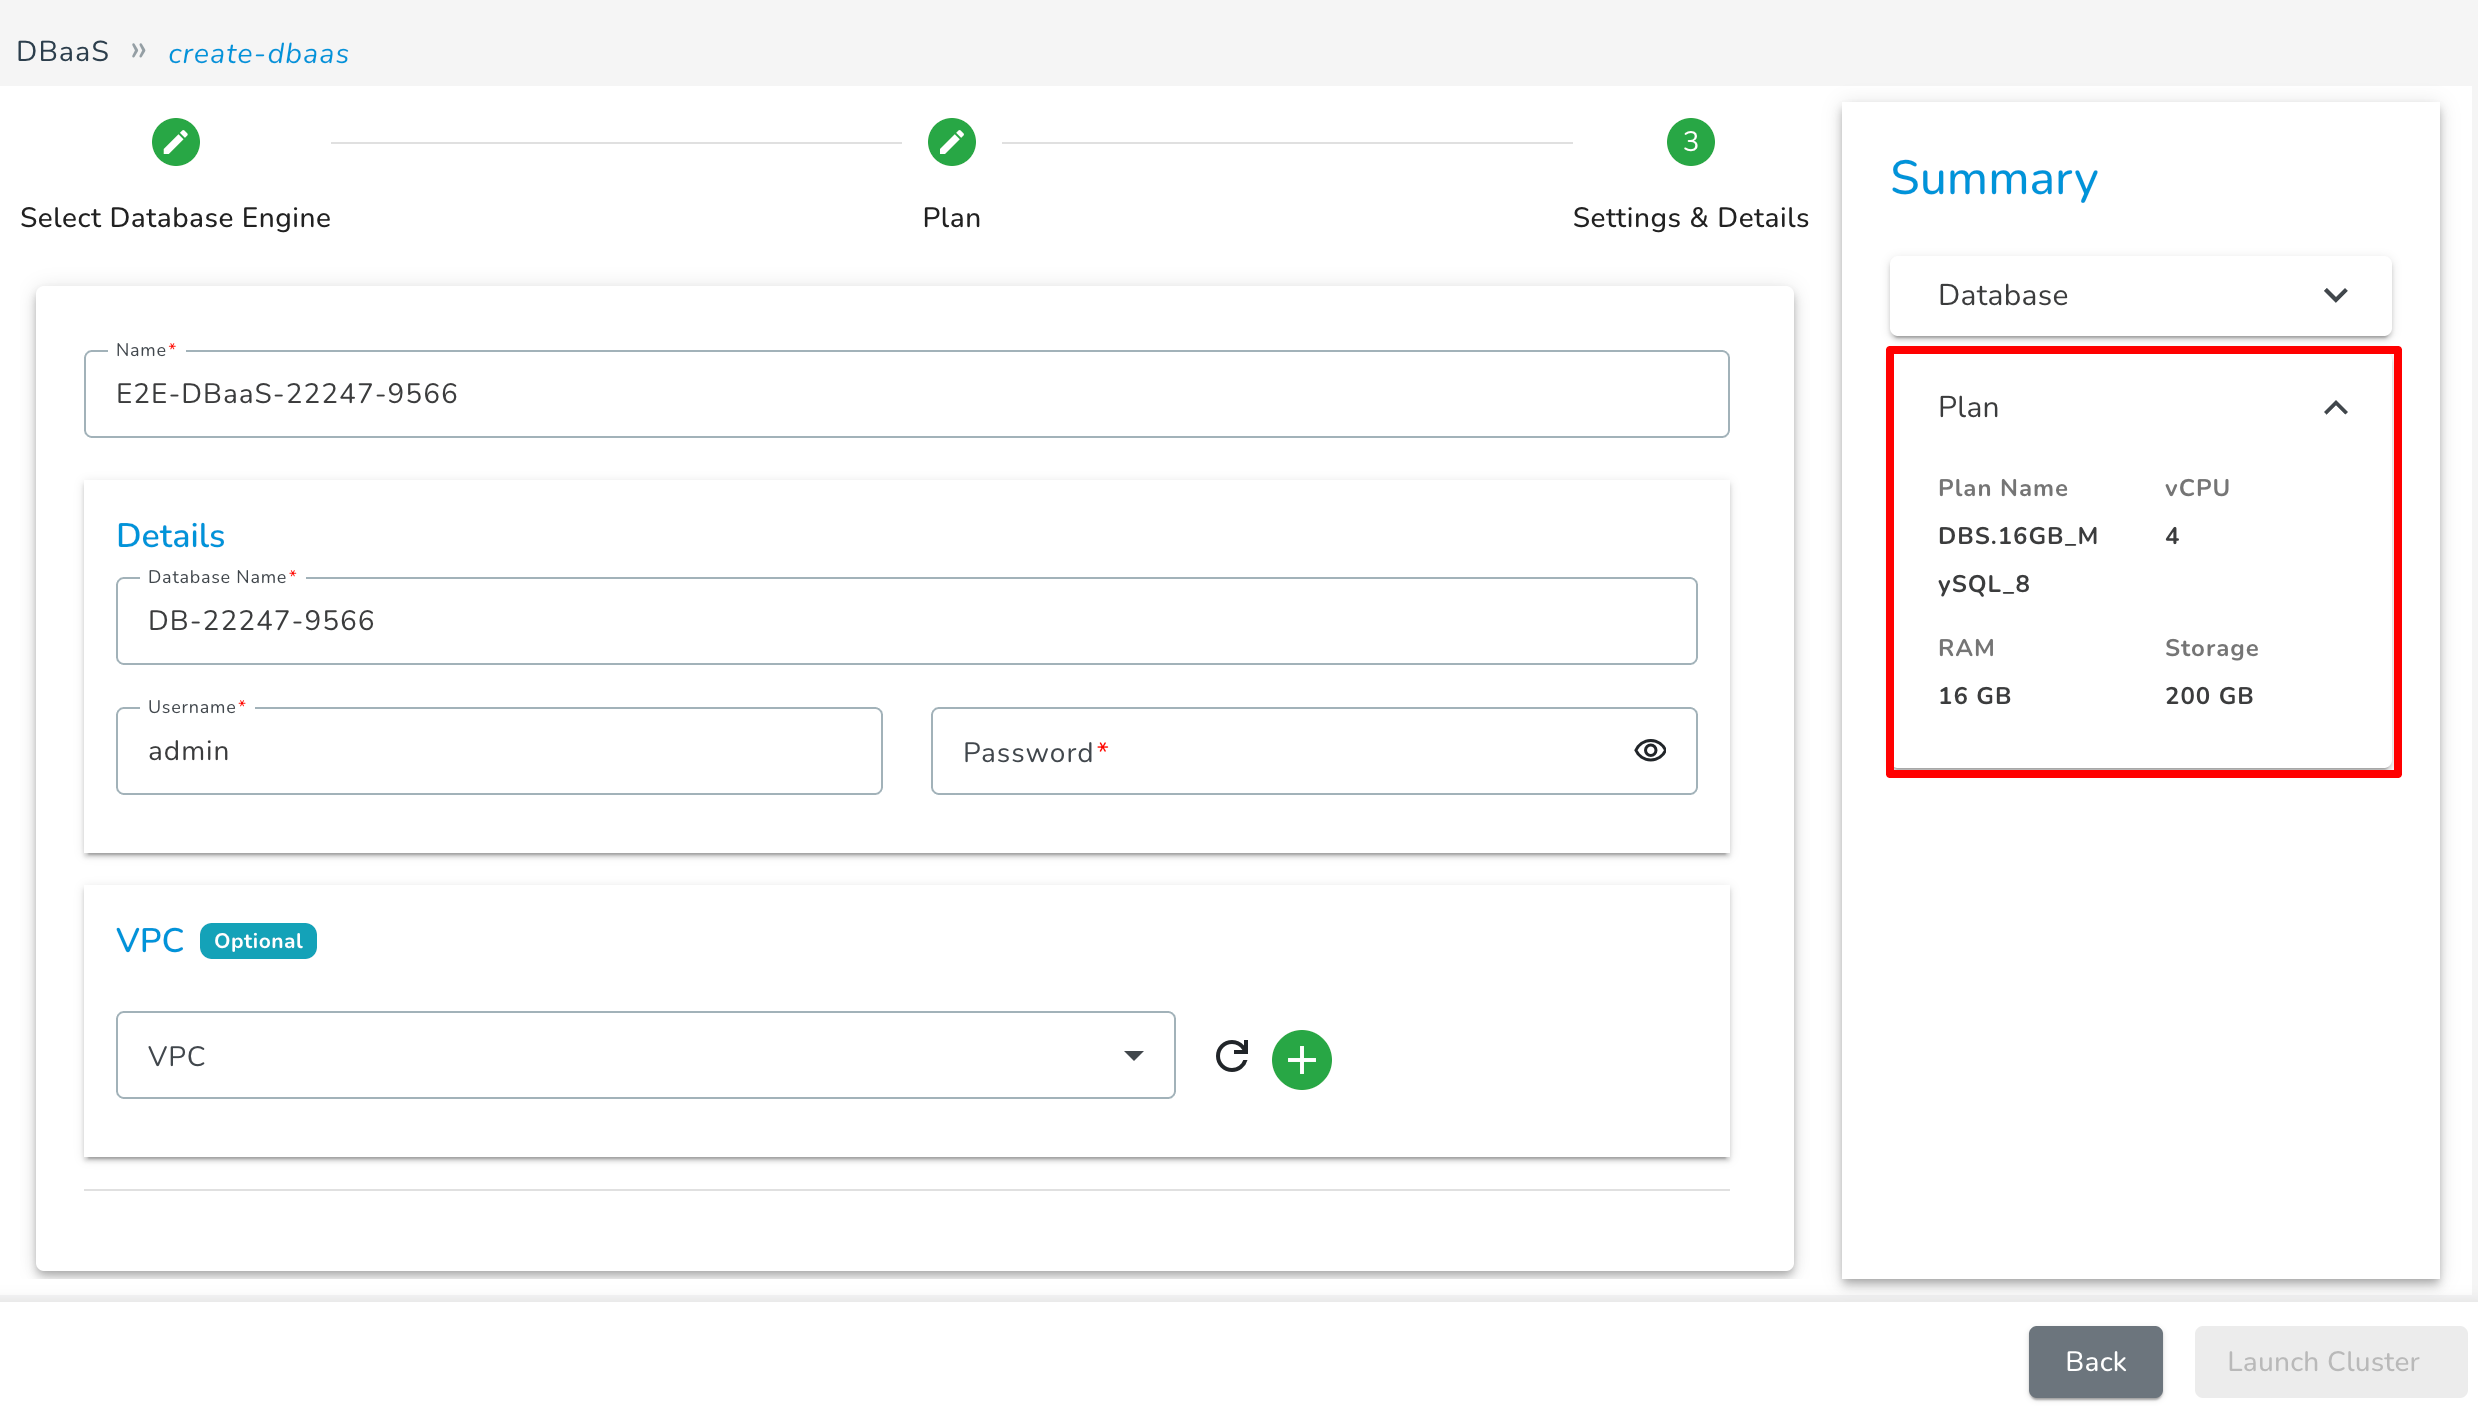
Database Setting: Update the database name, user, and provide a secure password for your database. You will use these credentials to log in to the database server.
With strong password authentication, your database controls and authenticates user accounts. If a DB engine has strong password management features, they can enhance security.
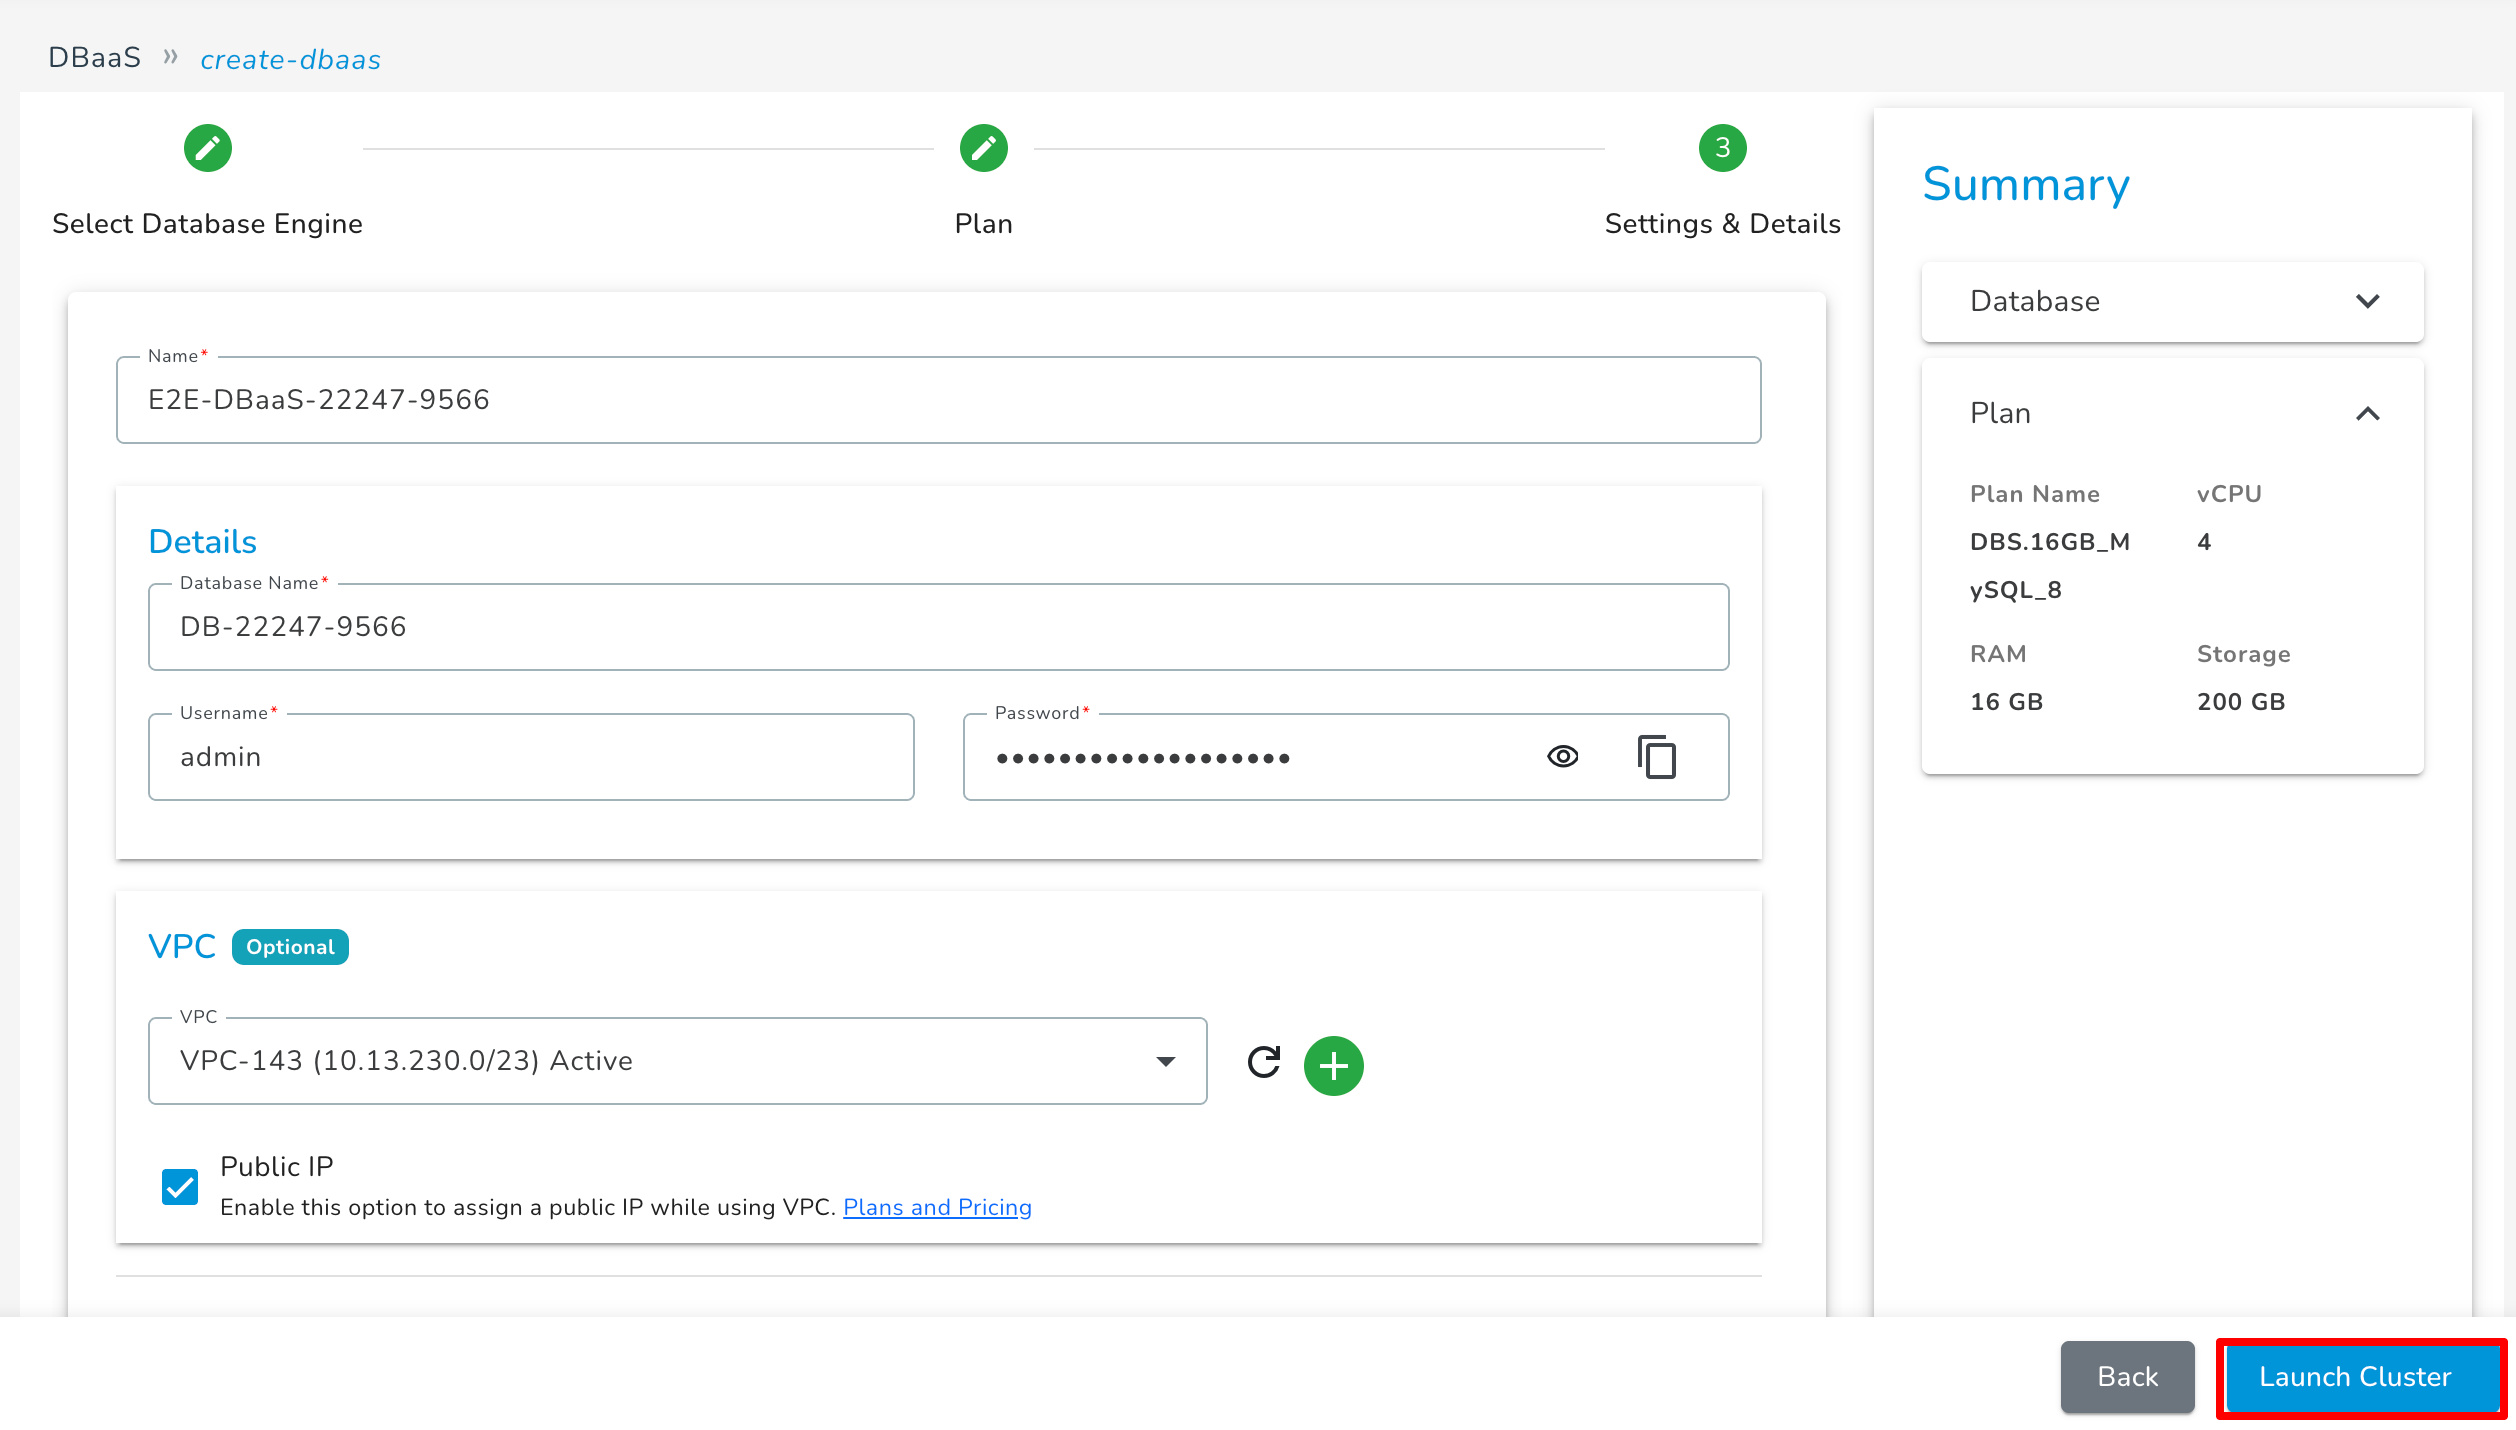
Once you have entered the required details, click on "Create a Database." Your database might take a few minutes to launch. The database node will be in a "Setting Up" state until it's ready to use, and the status will change to "Running."
- VPC: If you want to attach VPC to your DBaaS, you can select it if you have VPC; it will show in the list.
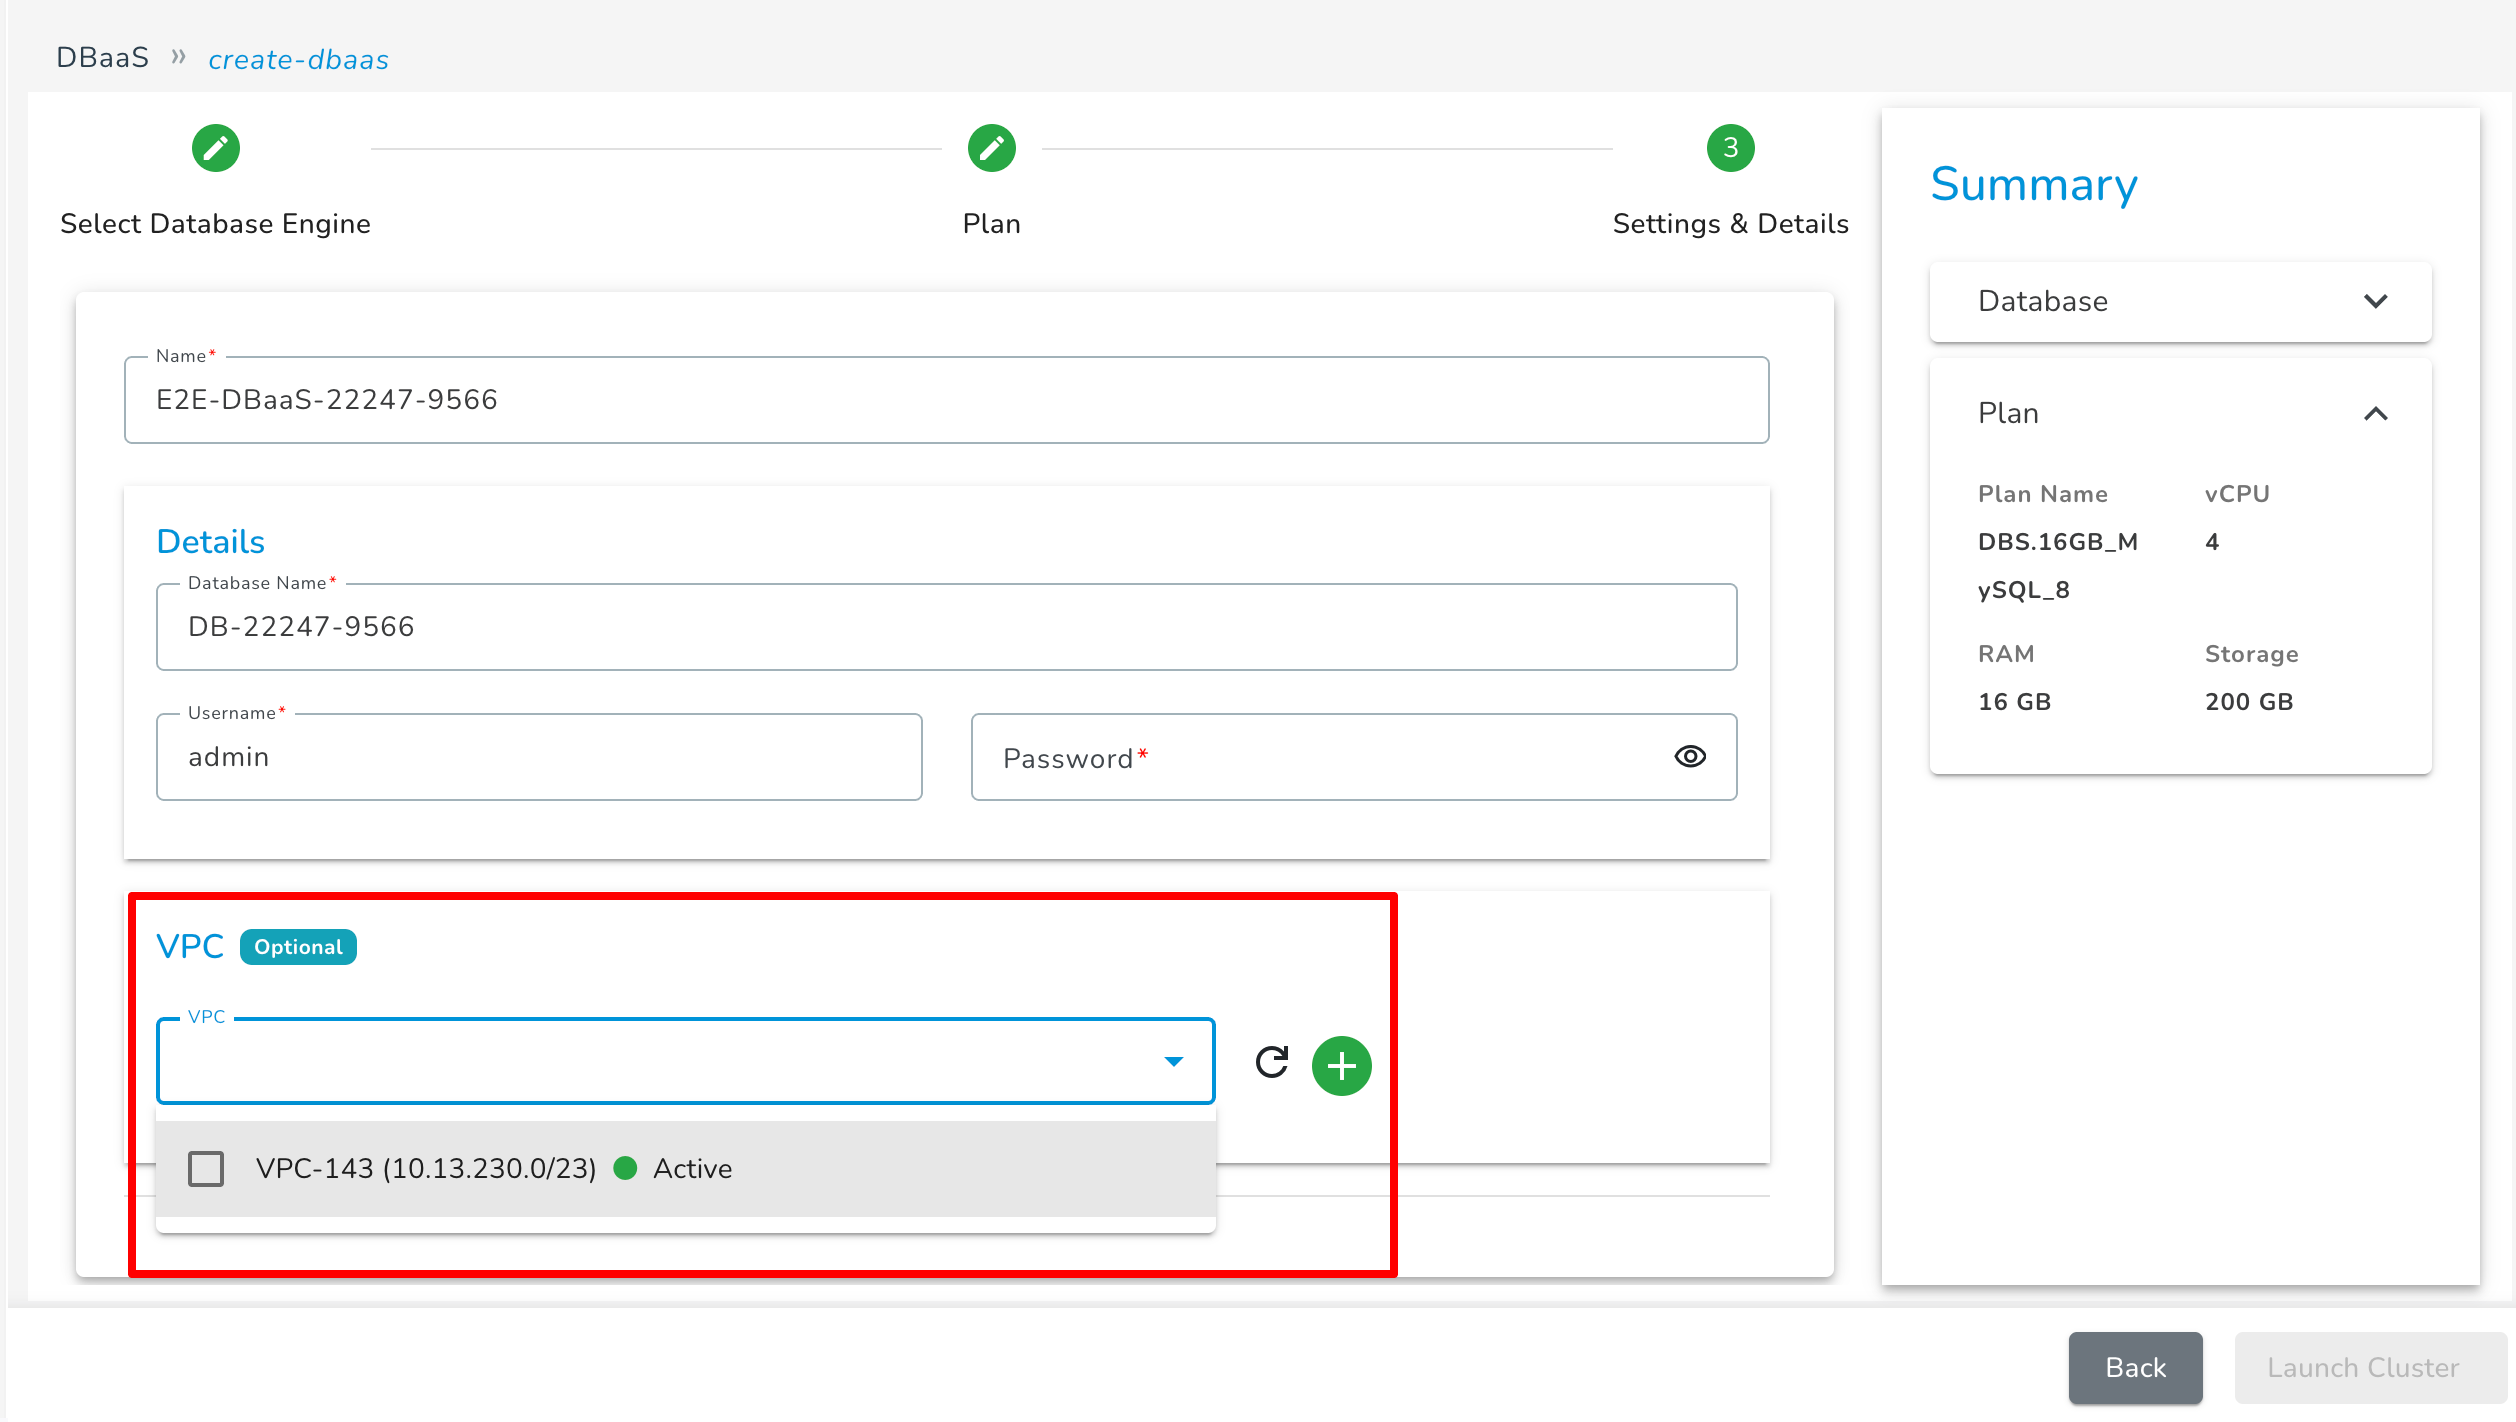
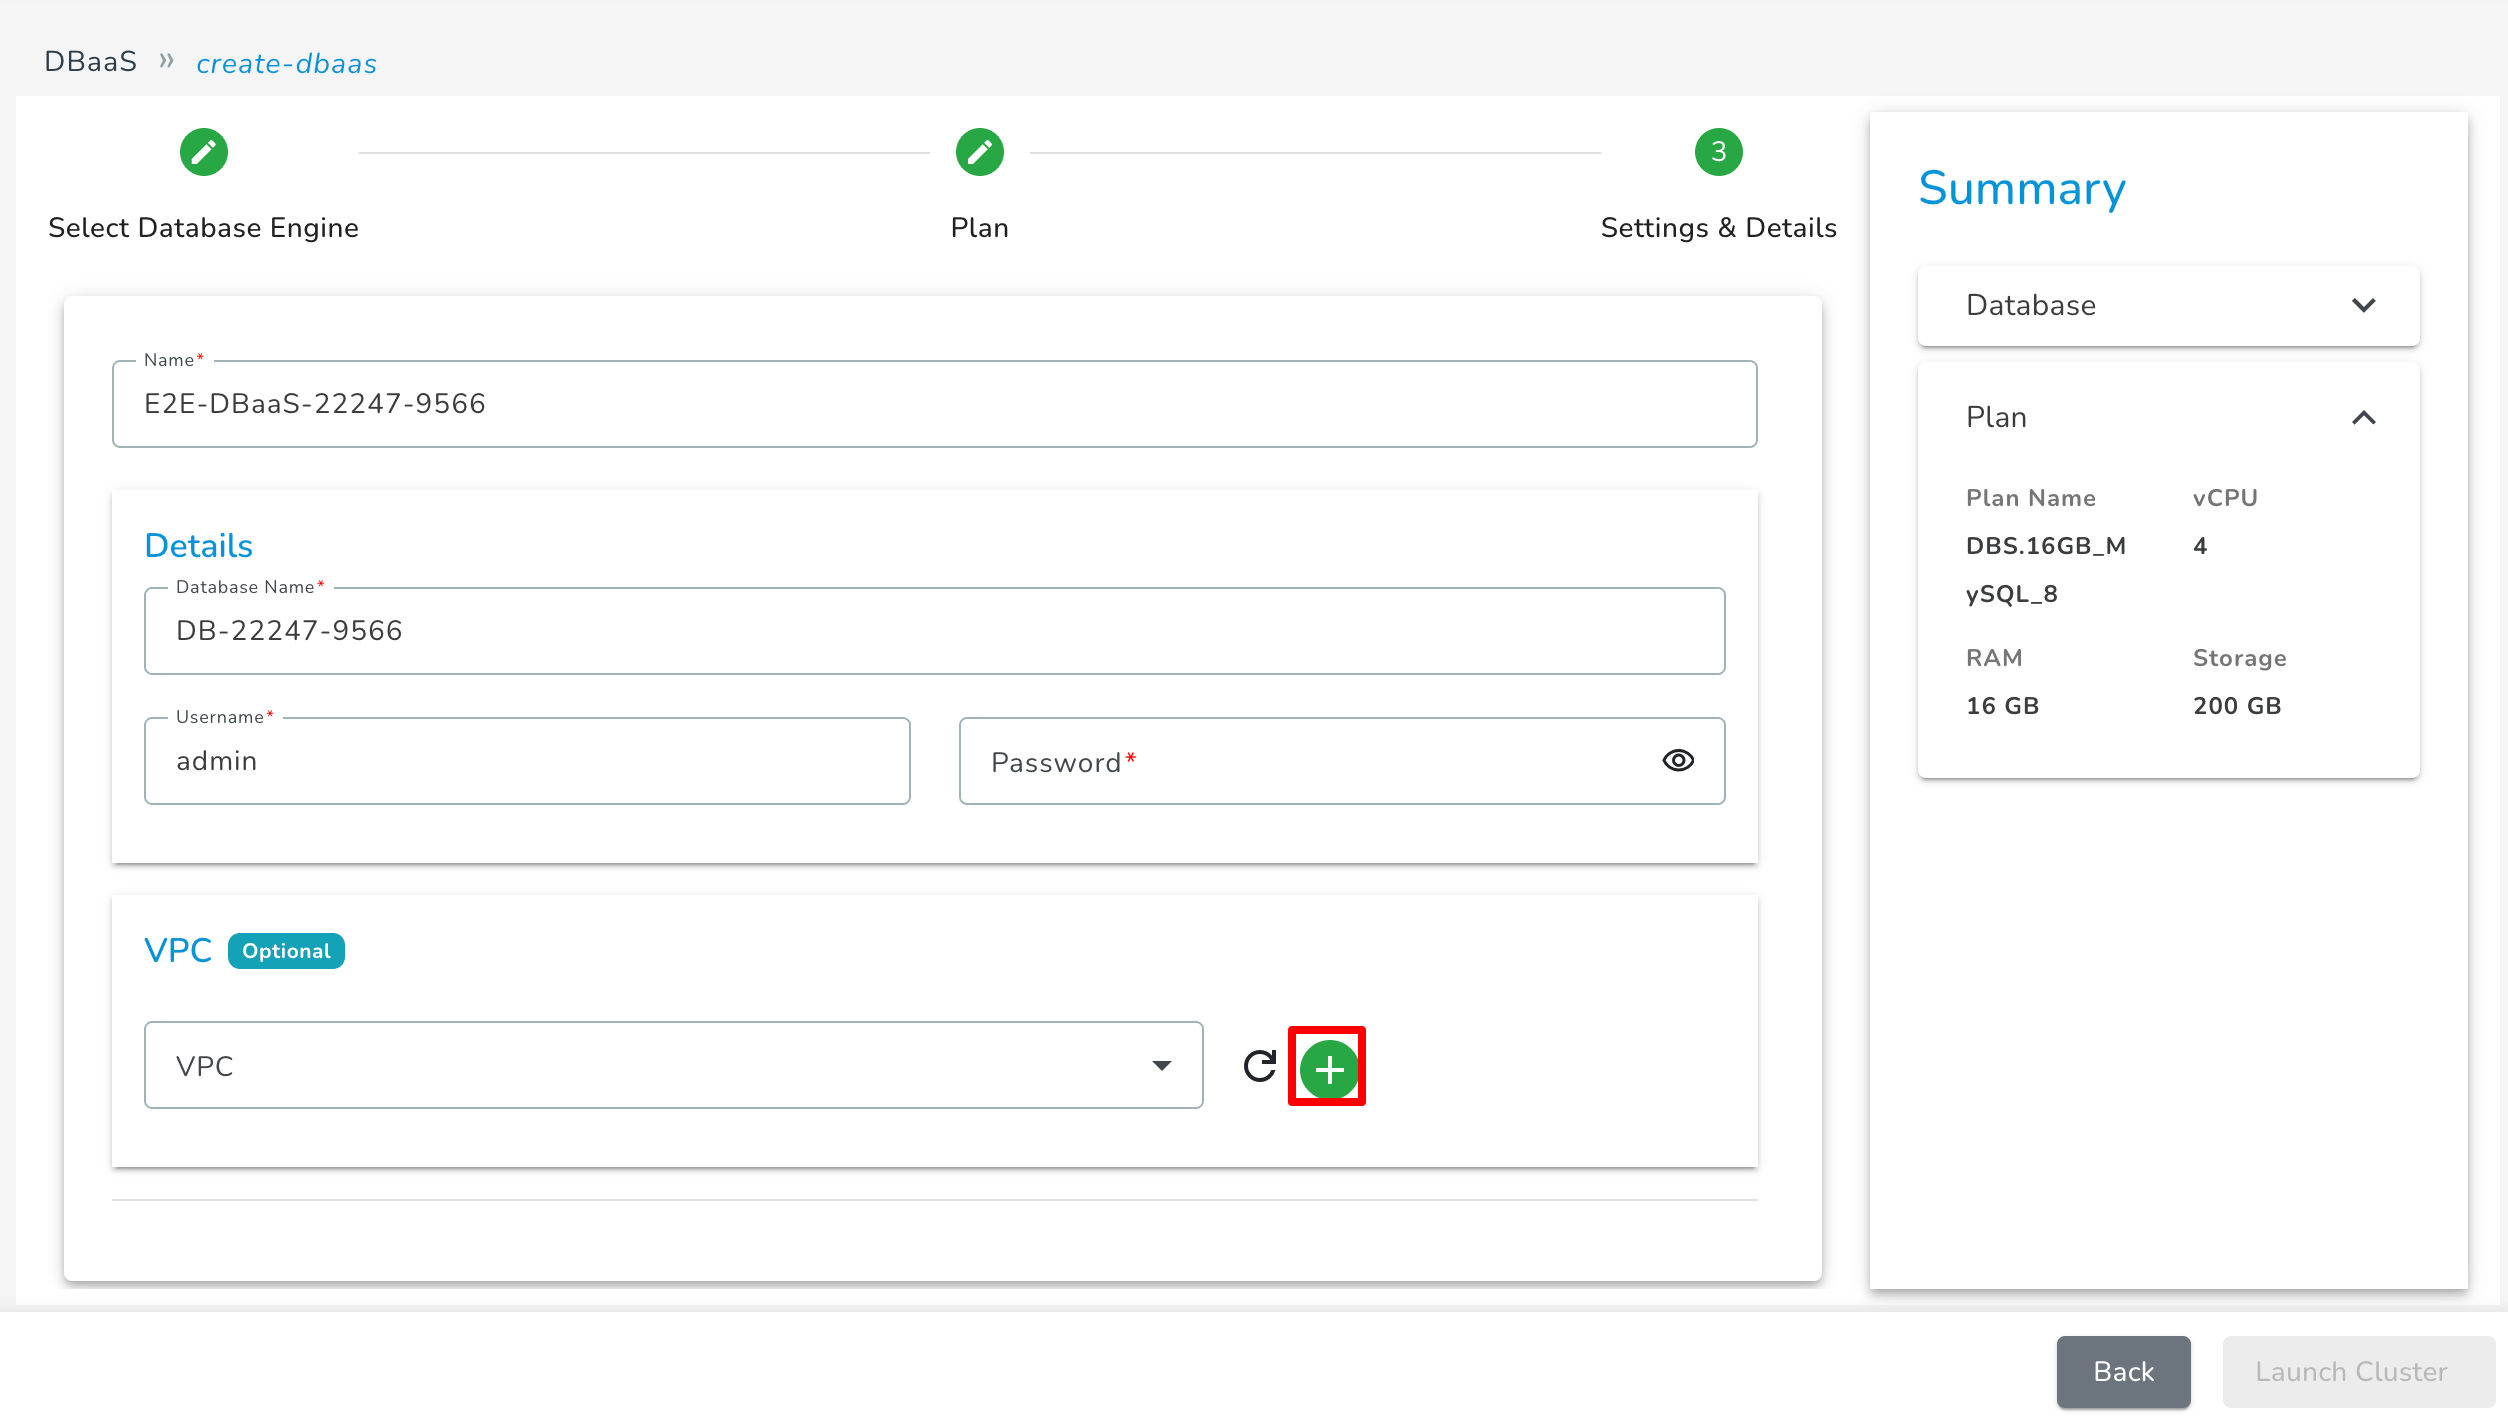
Or you can create a new VPC by clicking on "Create New VPC."
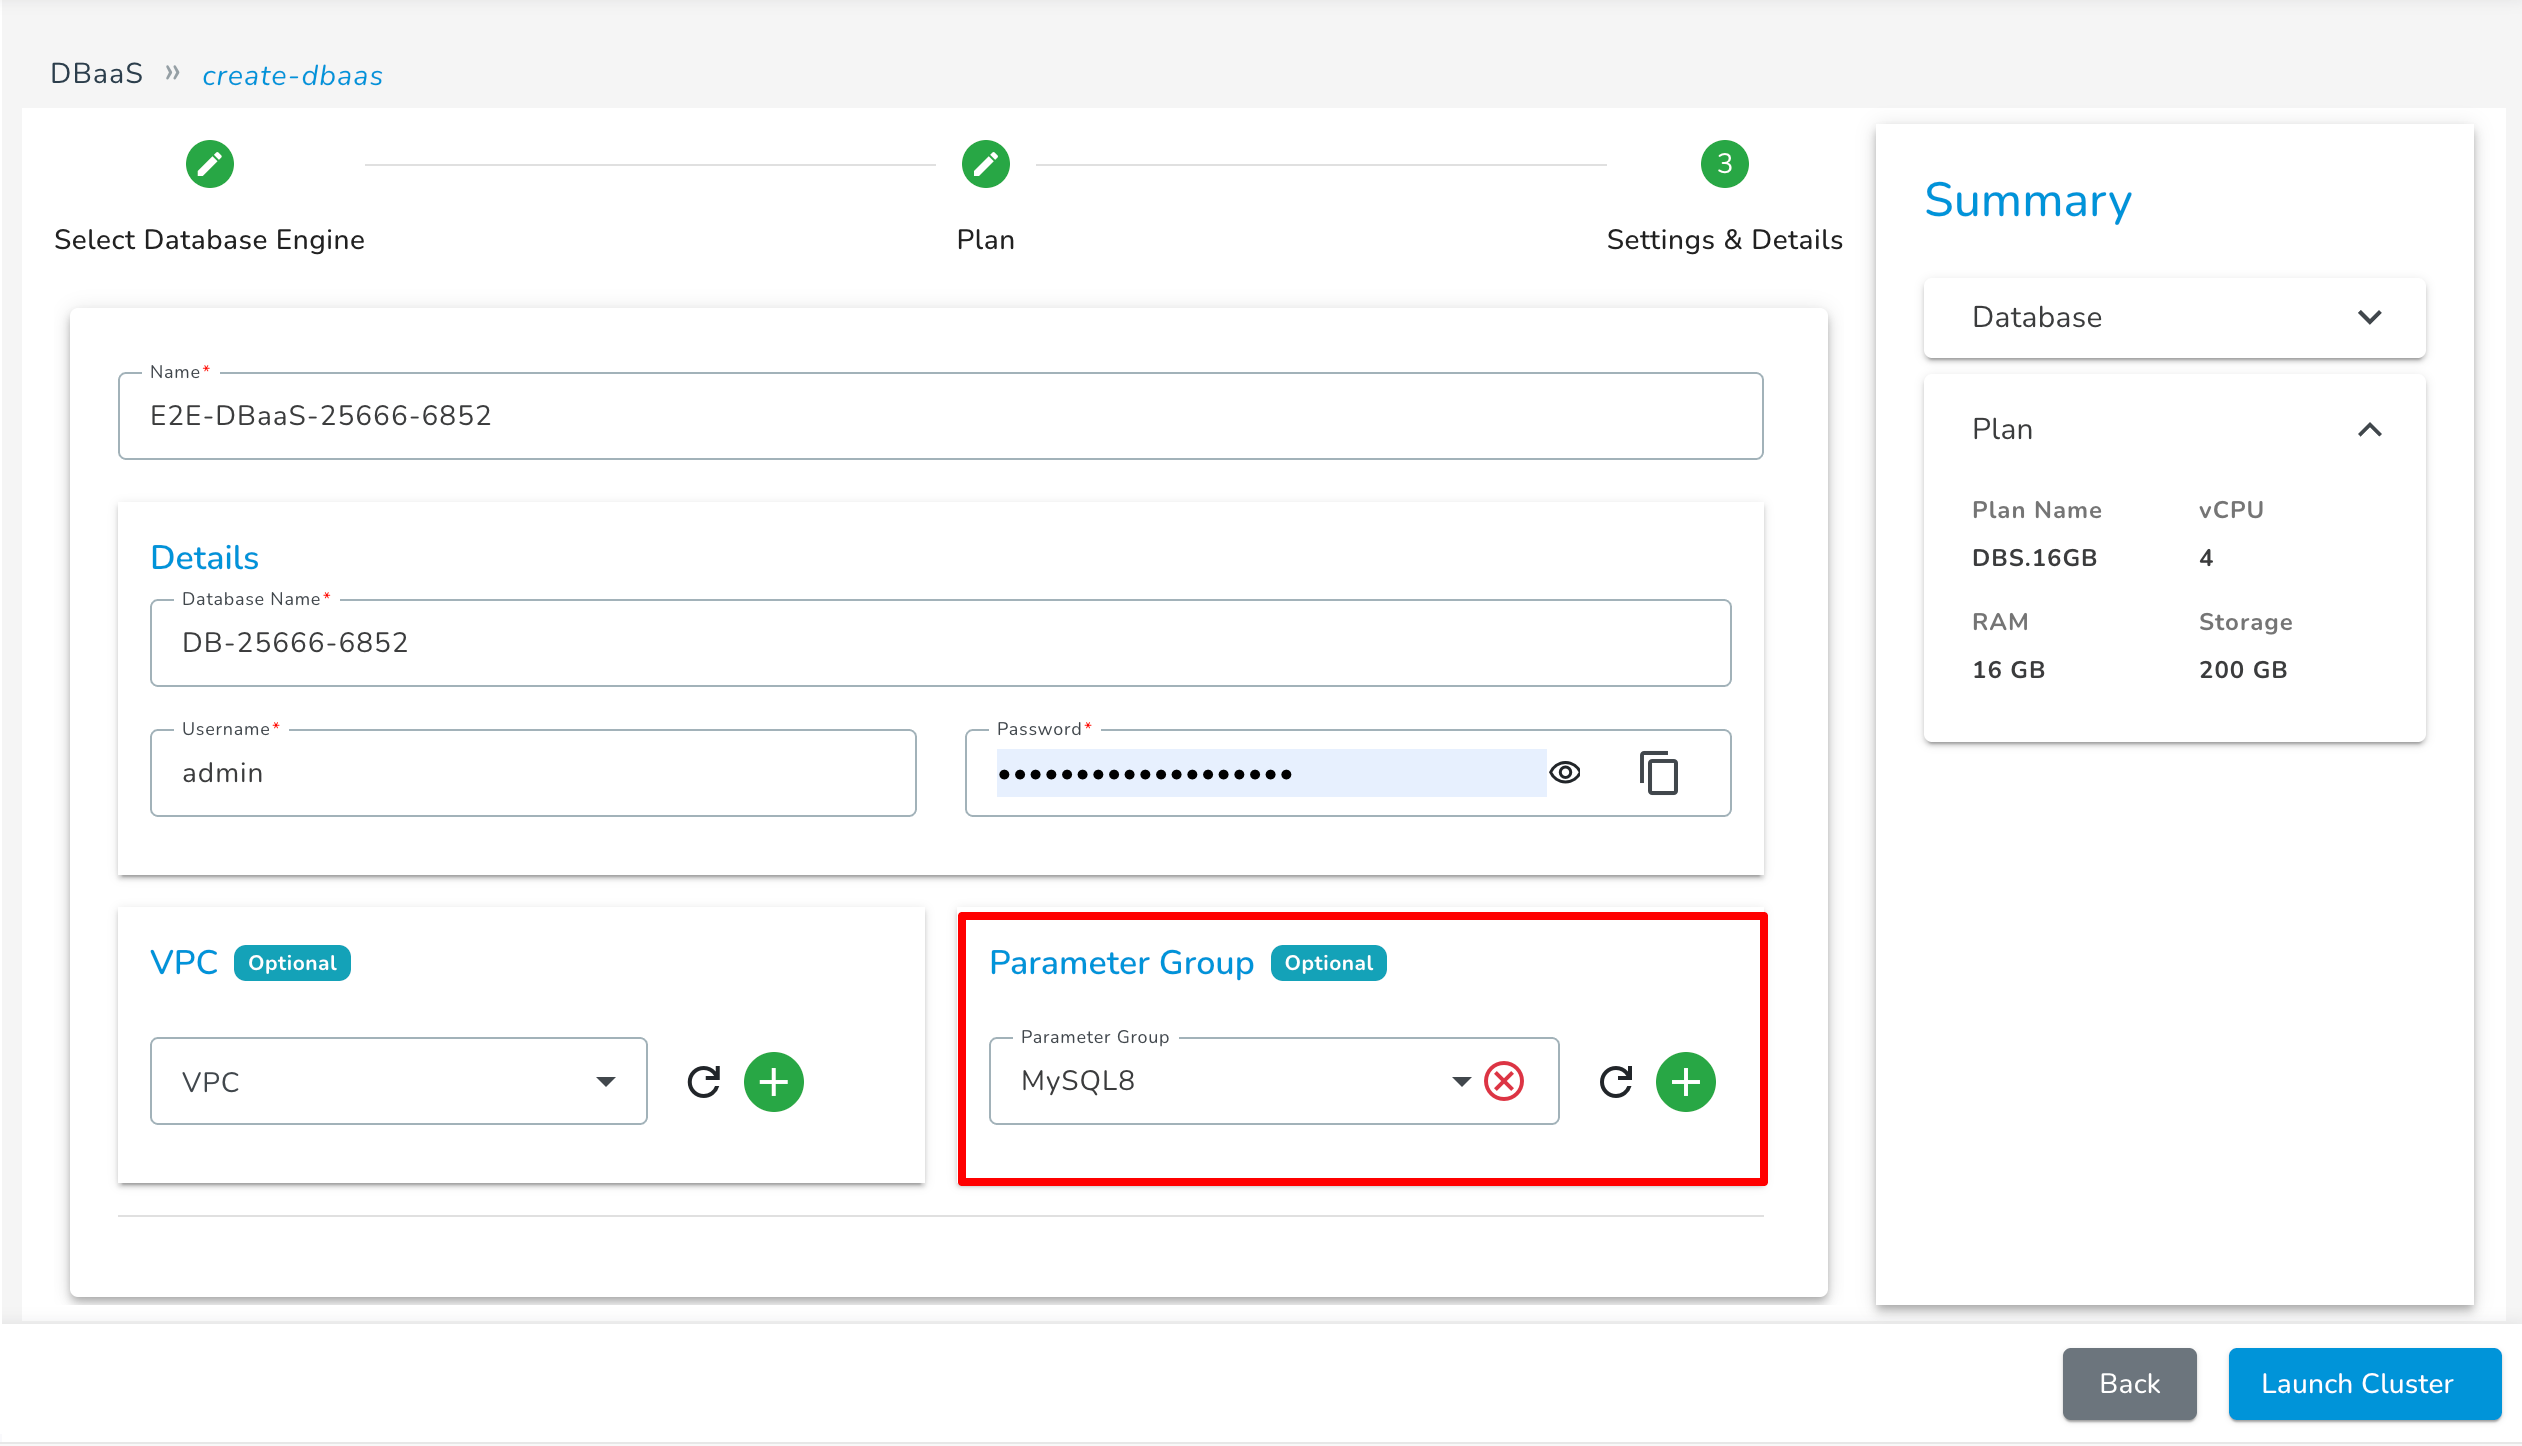
- Parameter Group: If you want to attach a parameter group to your DBaaS, you can select it if you have one created, it will show in the list.
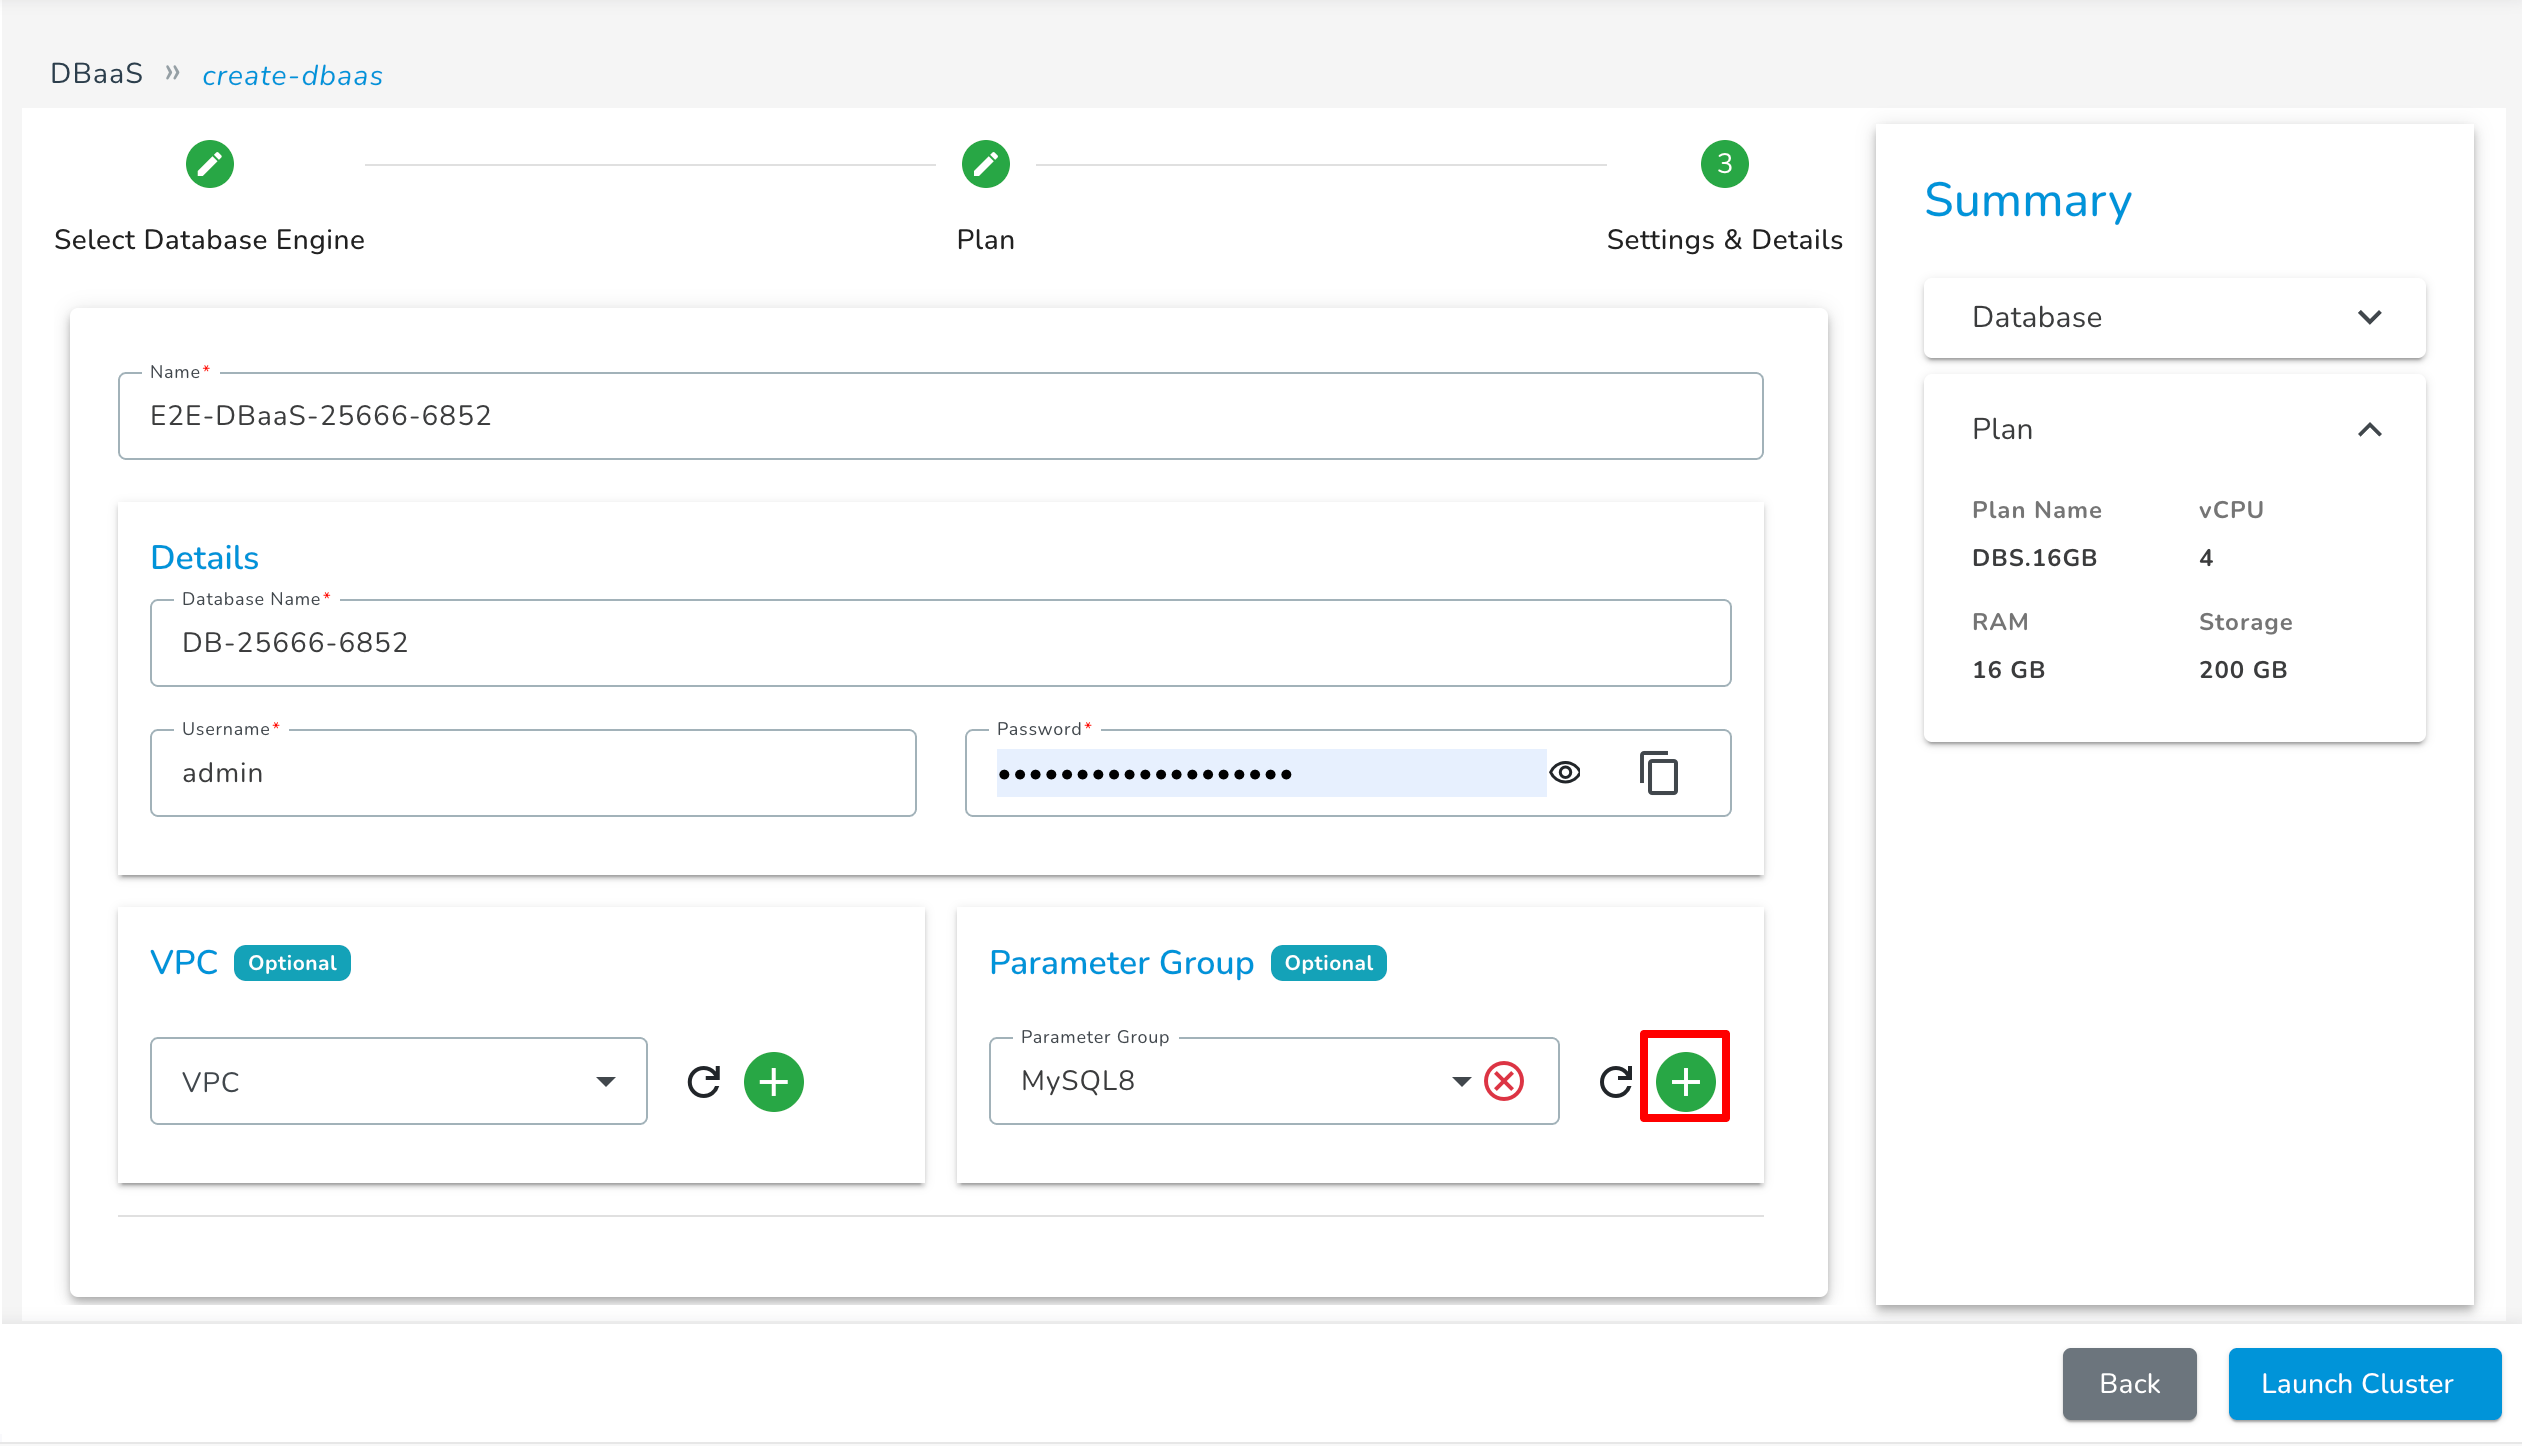
Or you can create a new parameter by clicking on the "+" icon.
By clicking Plan, you can see the selected plan.
Click on Launch Cluster Button to create the DBaaS
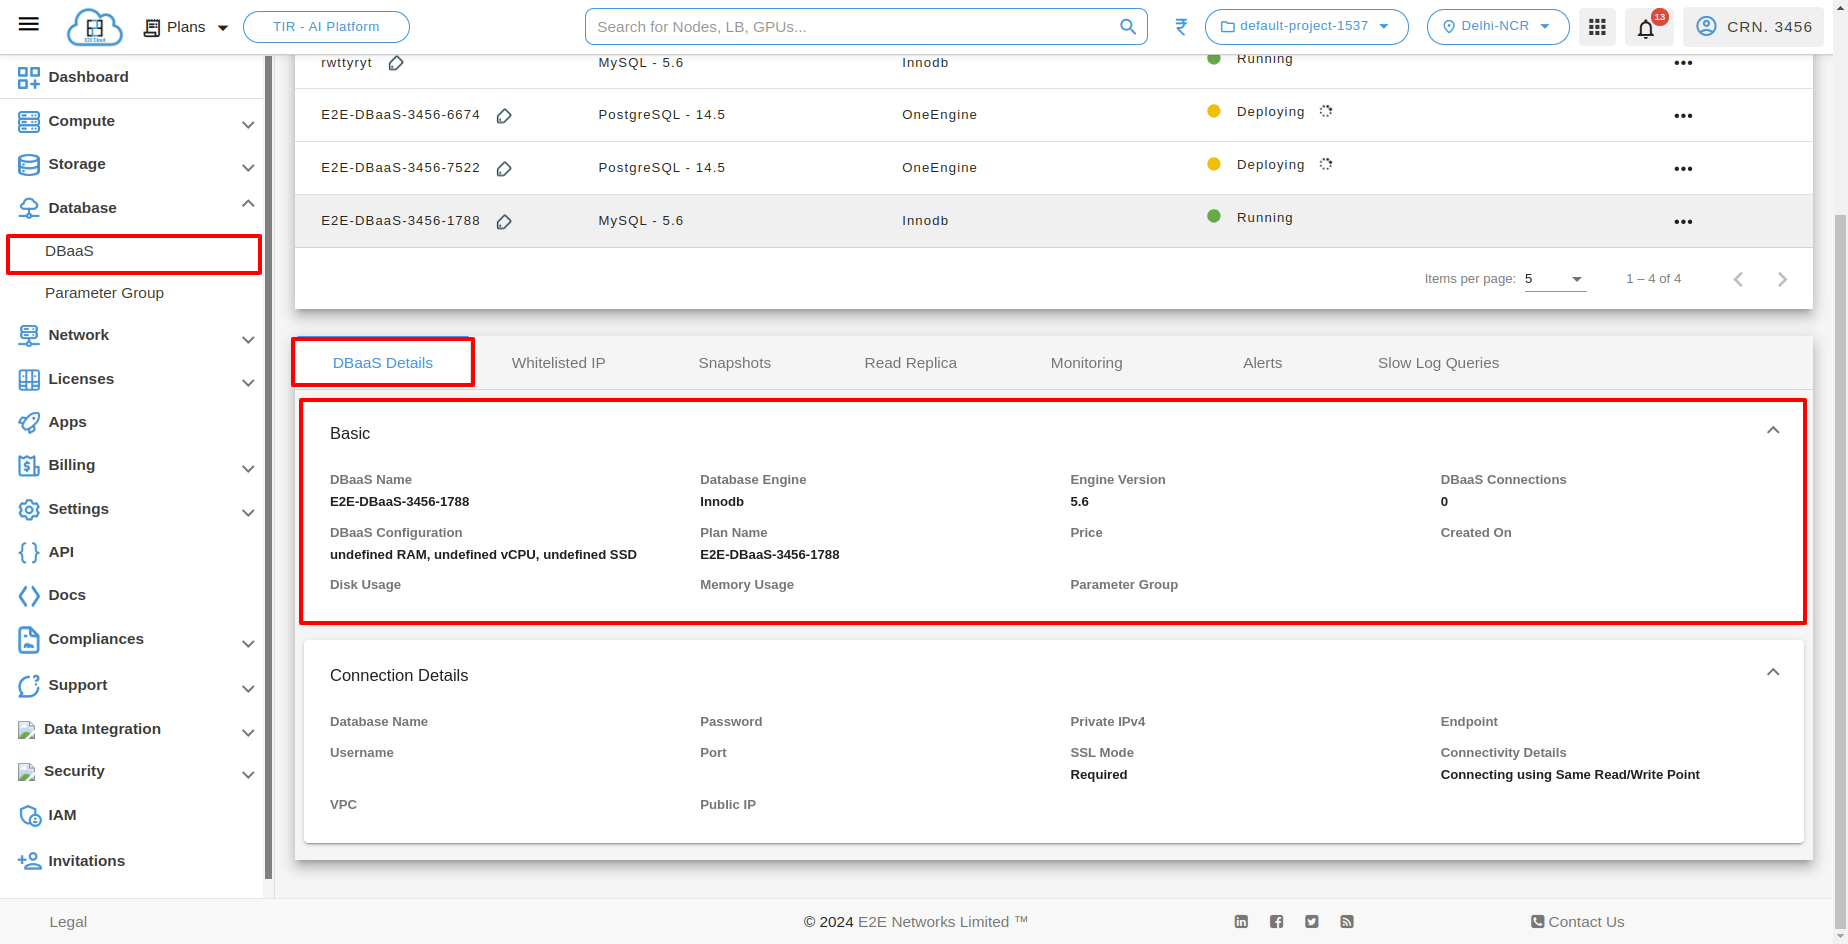
DBaaS Details
After successfully creating DBaaS, you can see its details on the DBaaS Details tab.
Connecting to Your Database Cluster
After E2E’s database (DBS) provisions your nodes, you can use any standard SQL client application to connect to a database on the DB instance. In this example, you connect to a database on a MariaDB instance using the MySQL command-line tool.
To Connect to Your Database Node Using MySQL Command Line
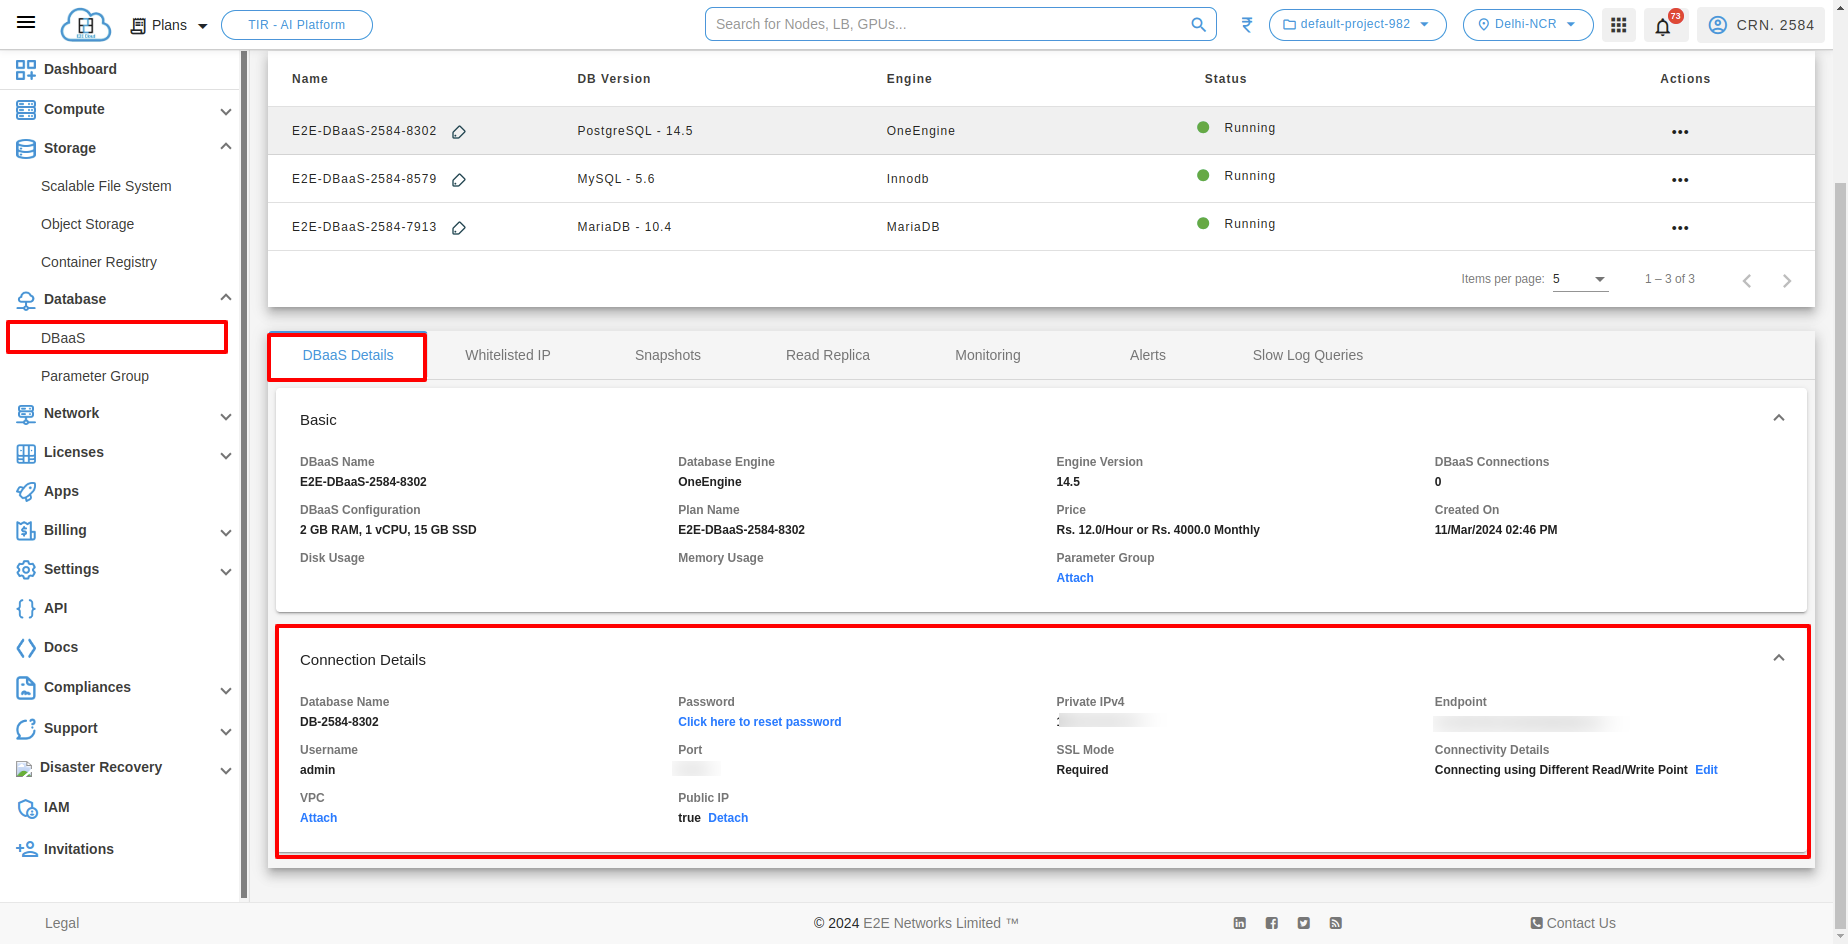
Once your database has been provisioned and is in a running status, you can get the database connectivity information on the dashboard:
- Usernames
- Host Details
- Port
- SSL Mode
Enter the following command at a command prompt on your local or client desktop to connect to a MySQL database:
mysql -h <host> -P 3306 -u <'username'> -p <'password'>
After you enter the password for the user, you should see output similar to the following.
Welcome to the MySQL monitor.  Commands end with ; or \g.
Your MySQL connection id is 272
Server version: 5.5.5-10.0.17-MariaDB-log MariaDB Server

Copyright (c) 2000, 2015, Oracle and/or its affiliates. All rights reserved.

Oracle is a registered trademark of Oracle Corporation and/or its
affiliates. Other names may be trademarks of their respective
owners.

Type 'help;' or '\h' for help. Type '\c' to clear the current input statement.

mysql >
When including the password in the connection string, ensure it's properly URL encoded. This means replacing special characters like '@' with their corresponding URL-encoded equivalents. For example, '@' becomes '%40', etc.