FortiGate IPSec VPN Tunnel Setup
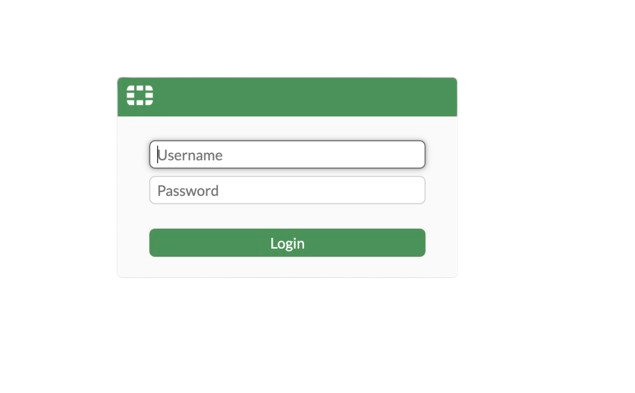
Step 1: Access the Firewall GUI
- Launch the firewall.
- Enter the public IP address of the firewall in a web browser.
- Login using the provided credentials:
- Username: admin
- Password: (Received via email)
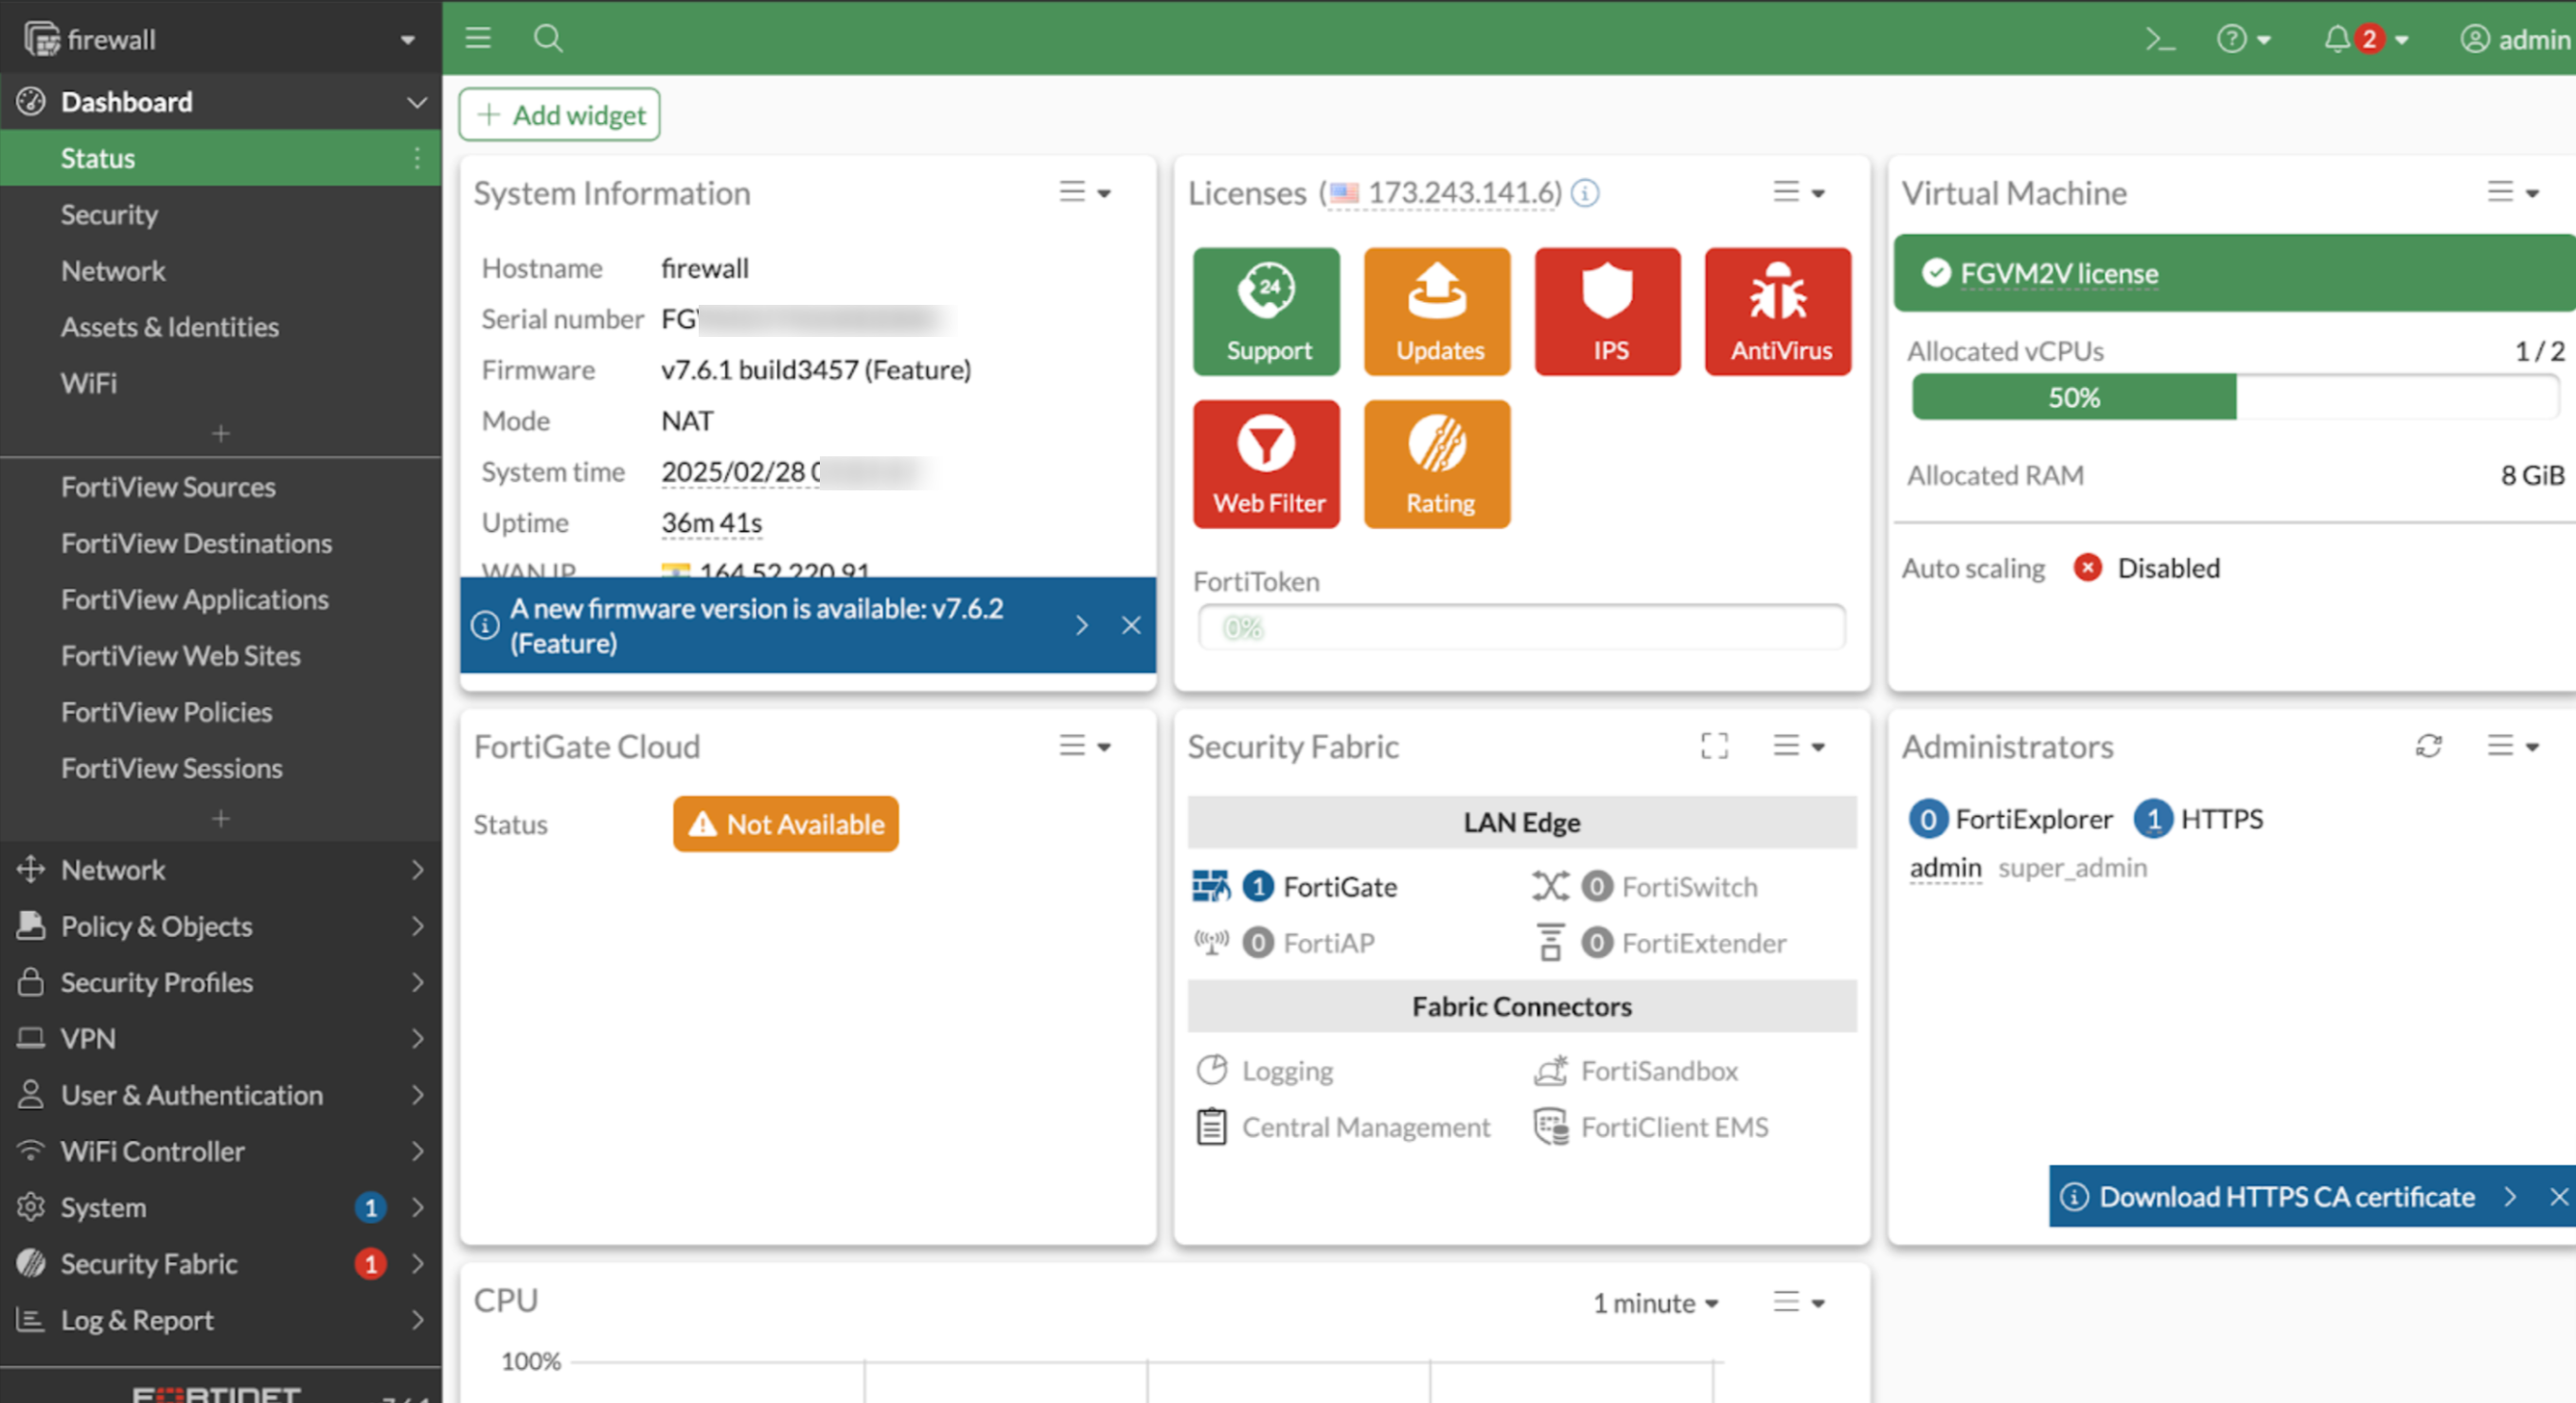
Step 2: Create a New VPN Tunnel
- Click on VPN Tunnels in the firewall dashboard.
- Click Create New.
- Select IPSec Tunnel from Template.
- Enter a name for the tunnel (e.g., VPC Peering).
- Click Begin.

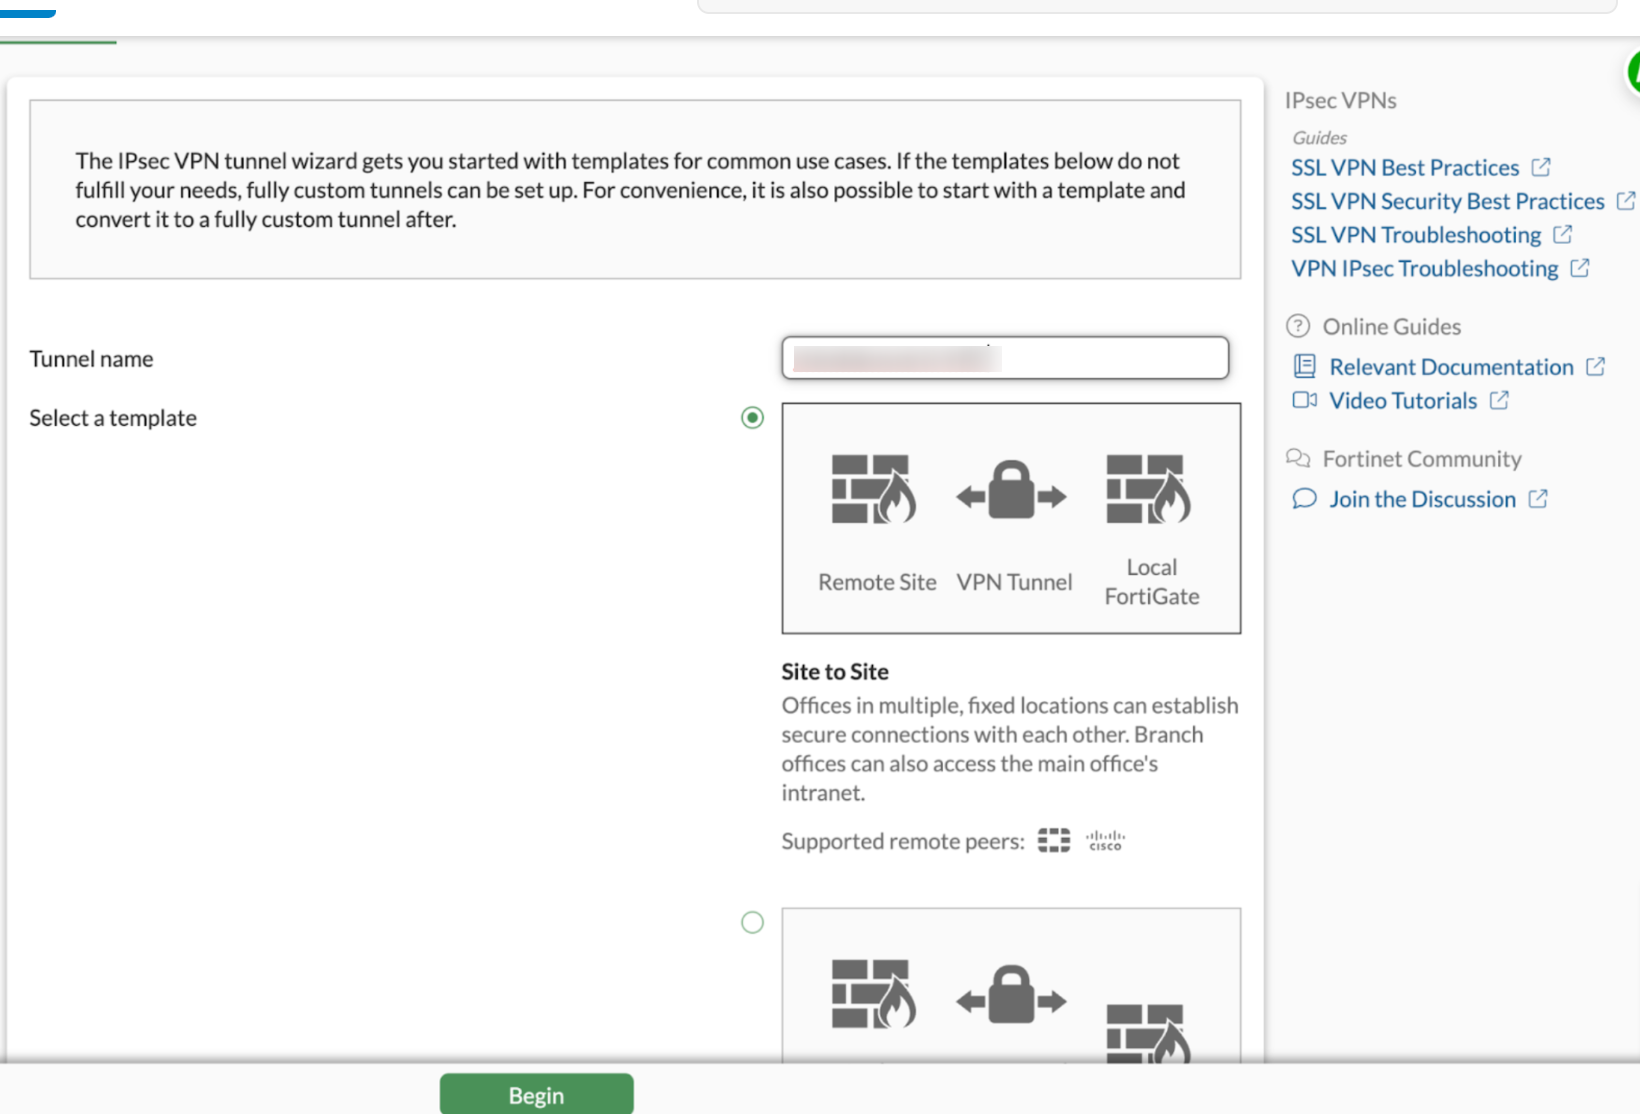
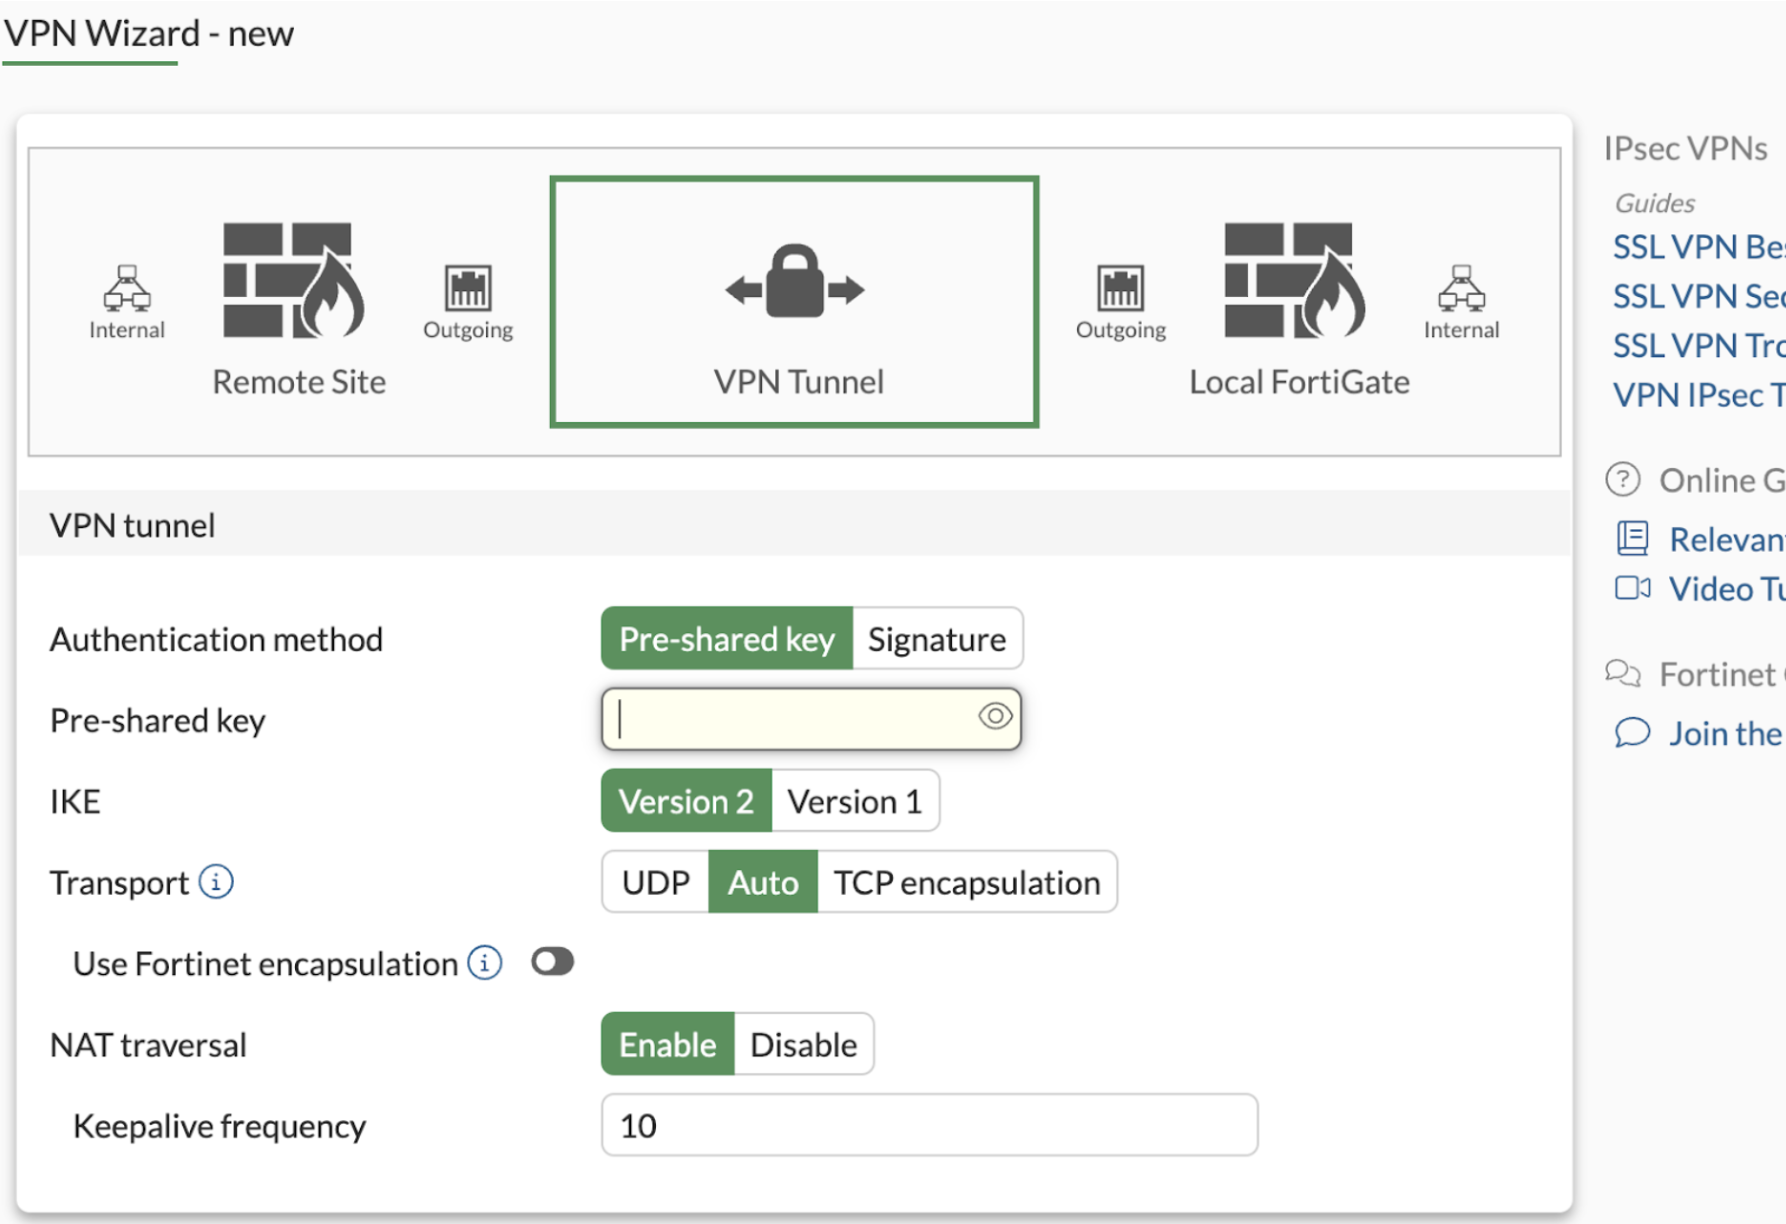
Step 3: Configure IPSec Tunnel
- Enter a Pre-shared Key (randomly generated). Example:
4+w2vCVCAB7t6Po9hCwqA8dm - Ensure the same passkey is used for both firewalls.
- Click Next.
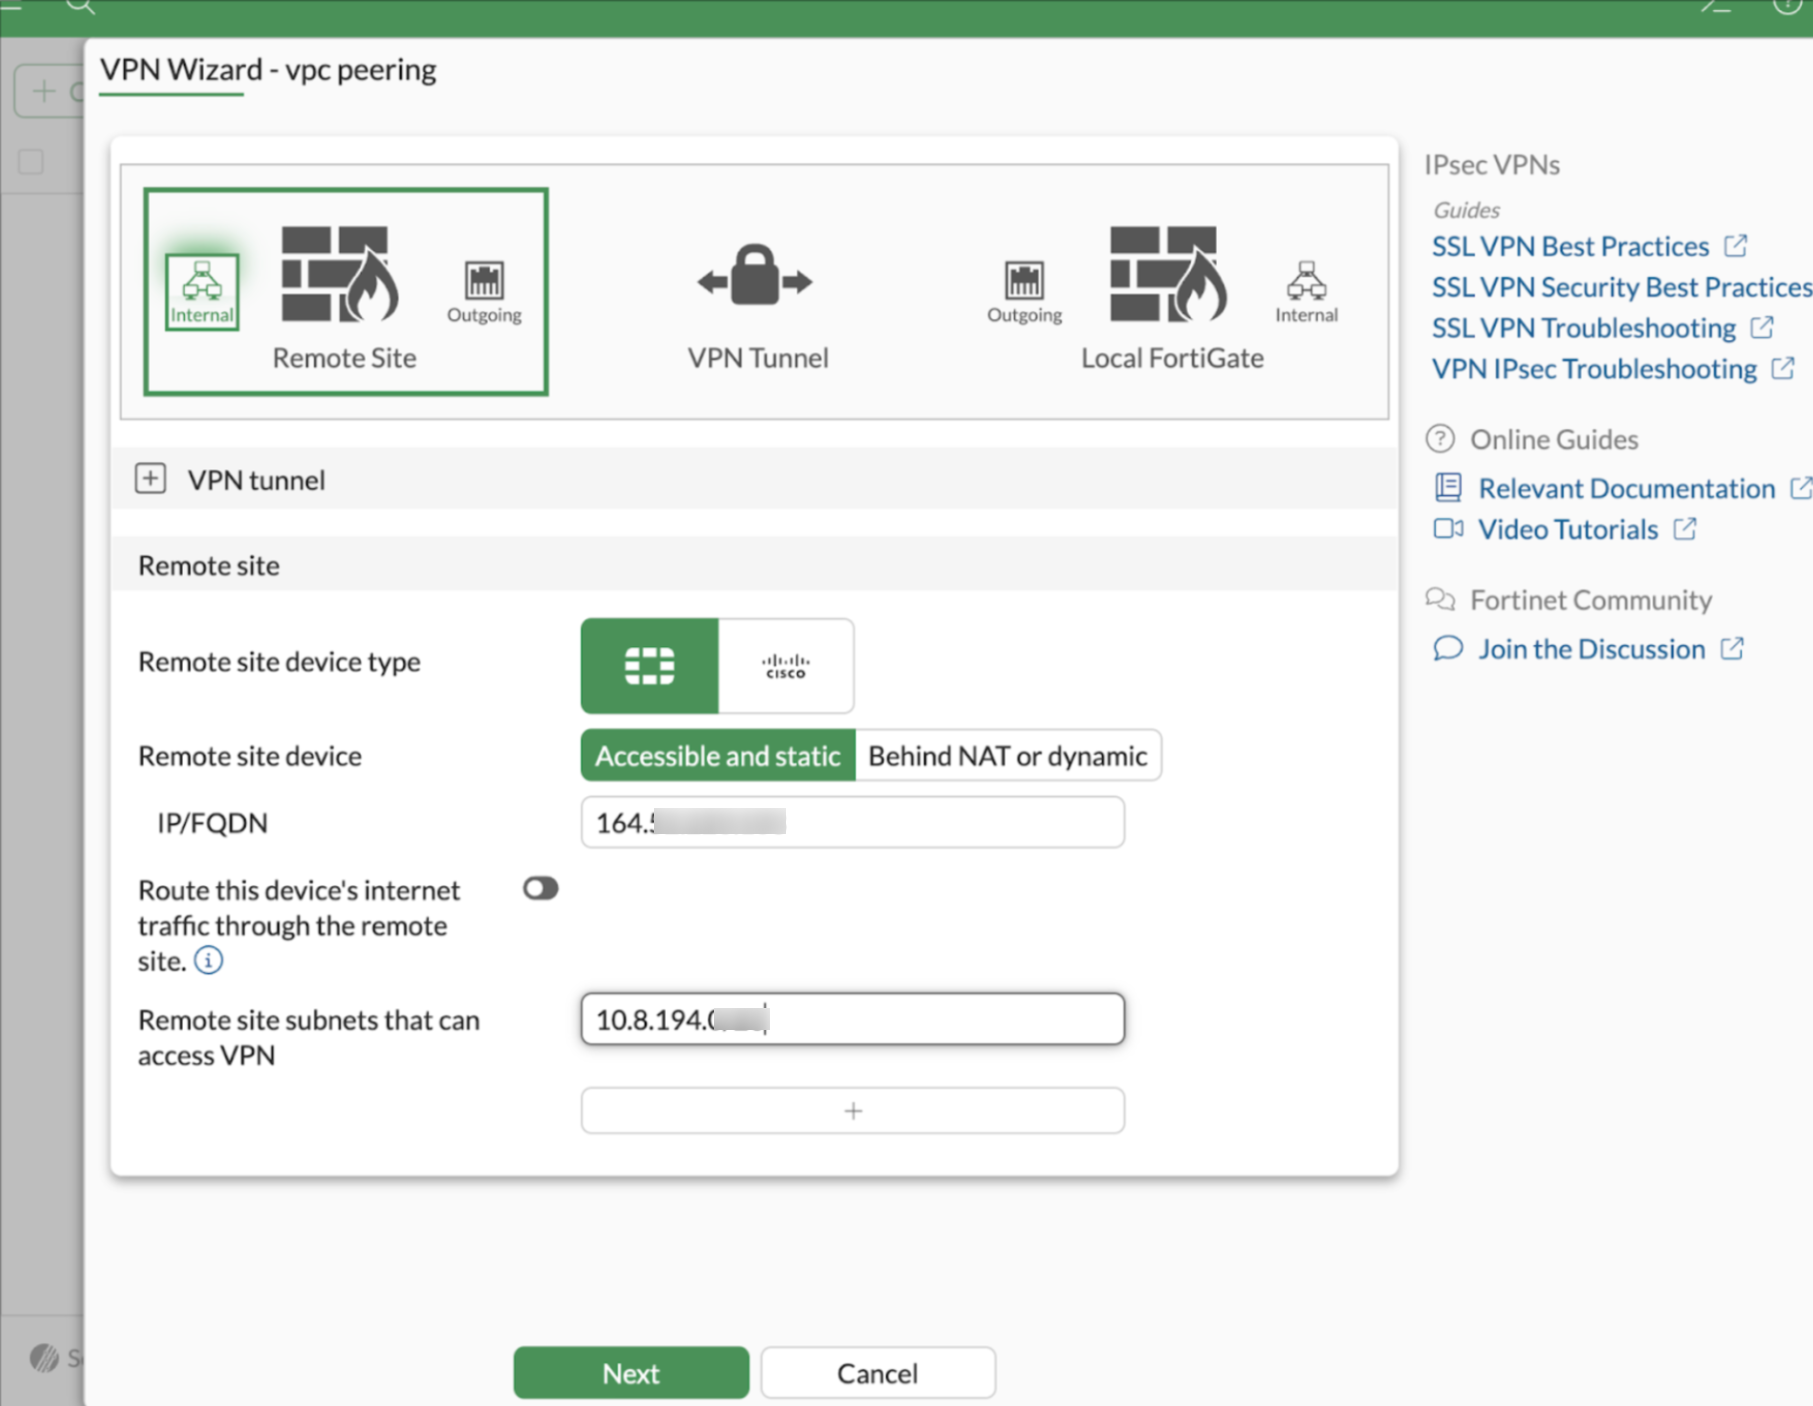
Step 4: Configure Remote Firewall Settings
- Enter the Public IP address of the remote firewall.
- Update the VPC CIDR of the remote firewall.
- Click Next.
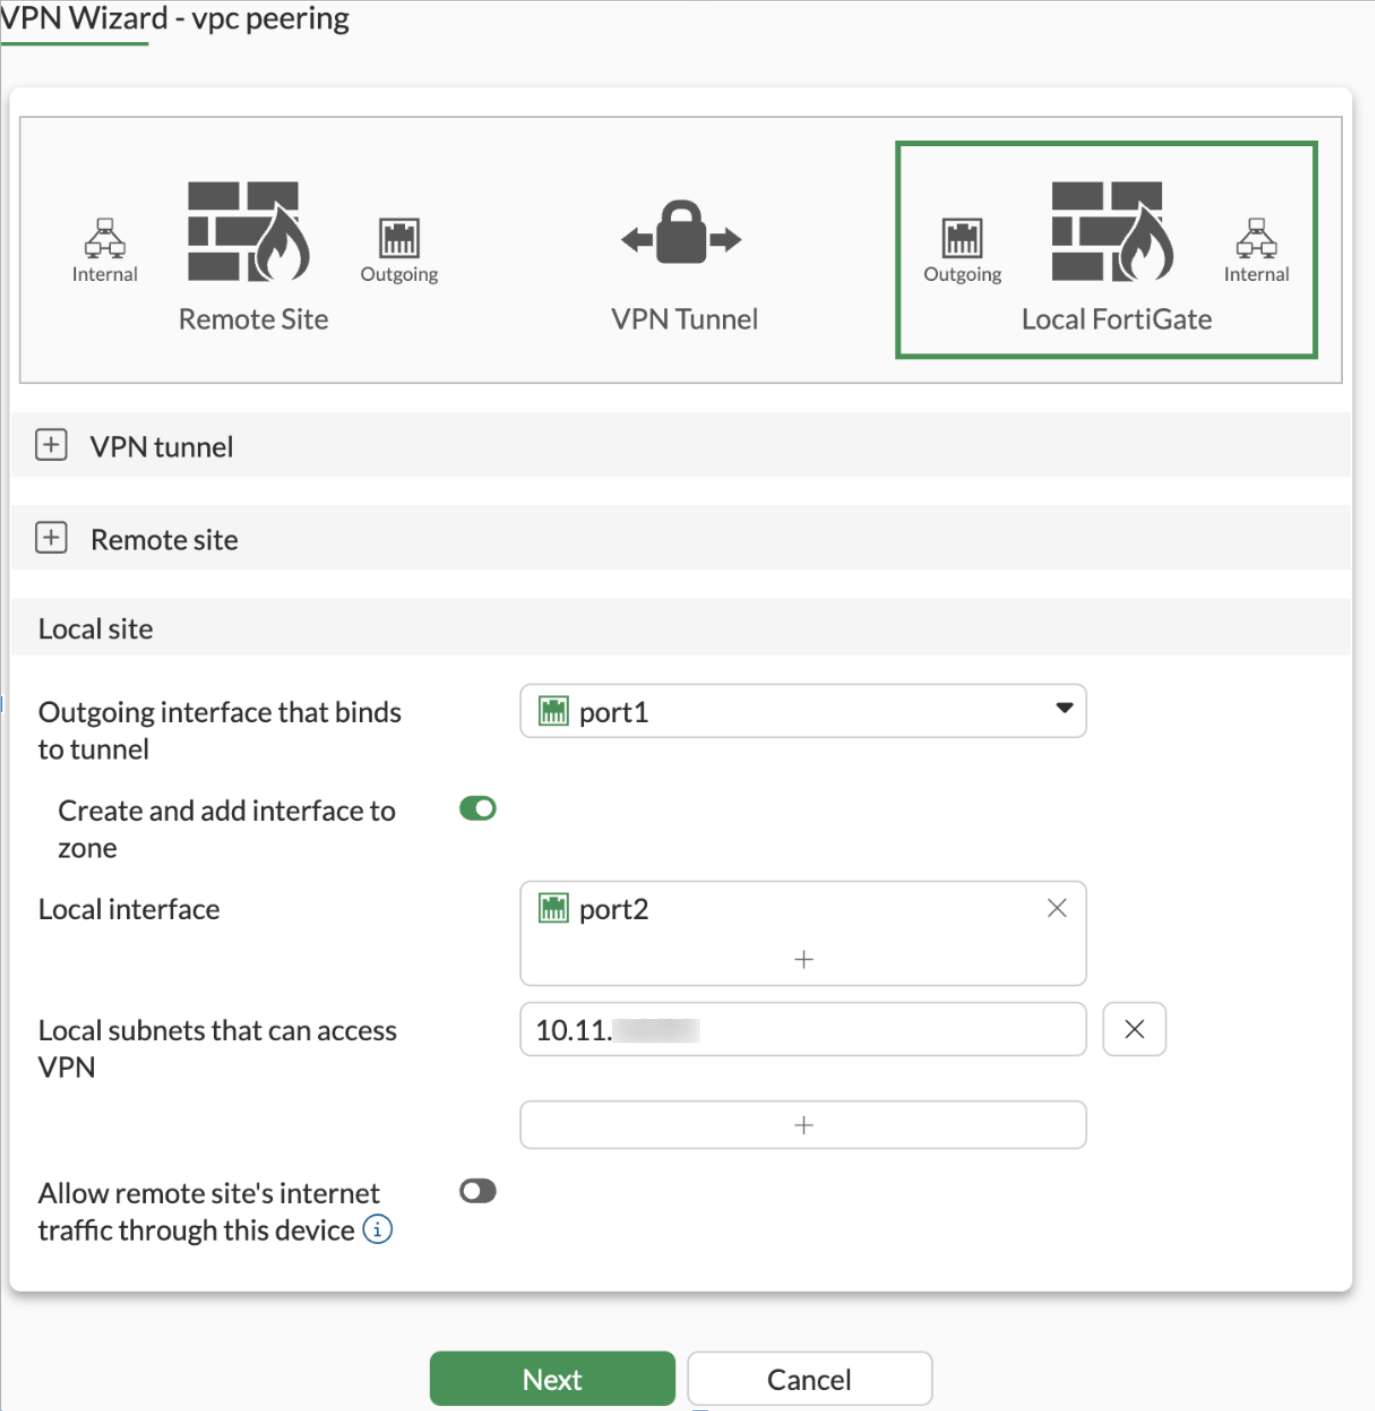
Step 5: Configure Interface Settings
- Set Outgoing Interface to port1.
- Set Local Interface to port2.
- Click Next.
Click on Next
It will show like below and click on submit
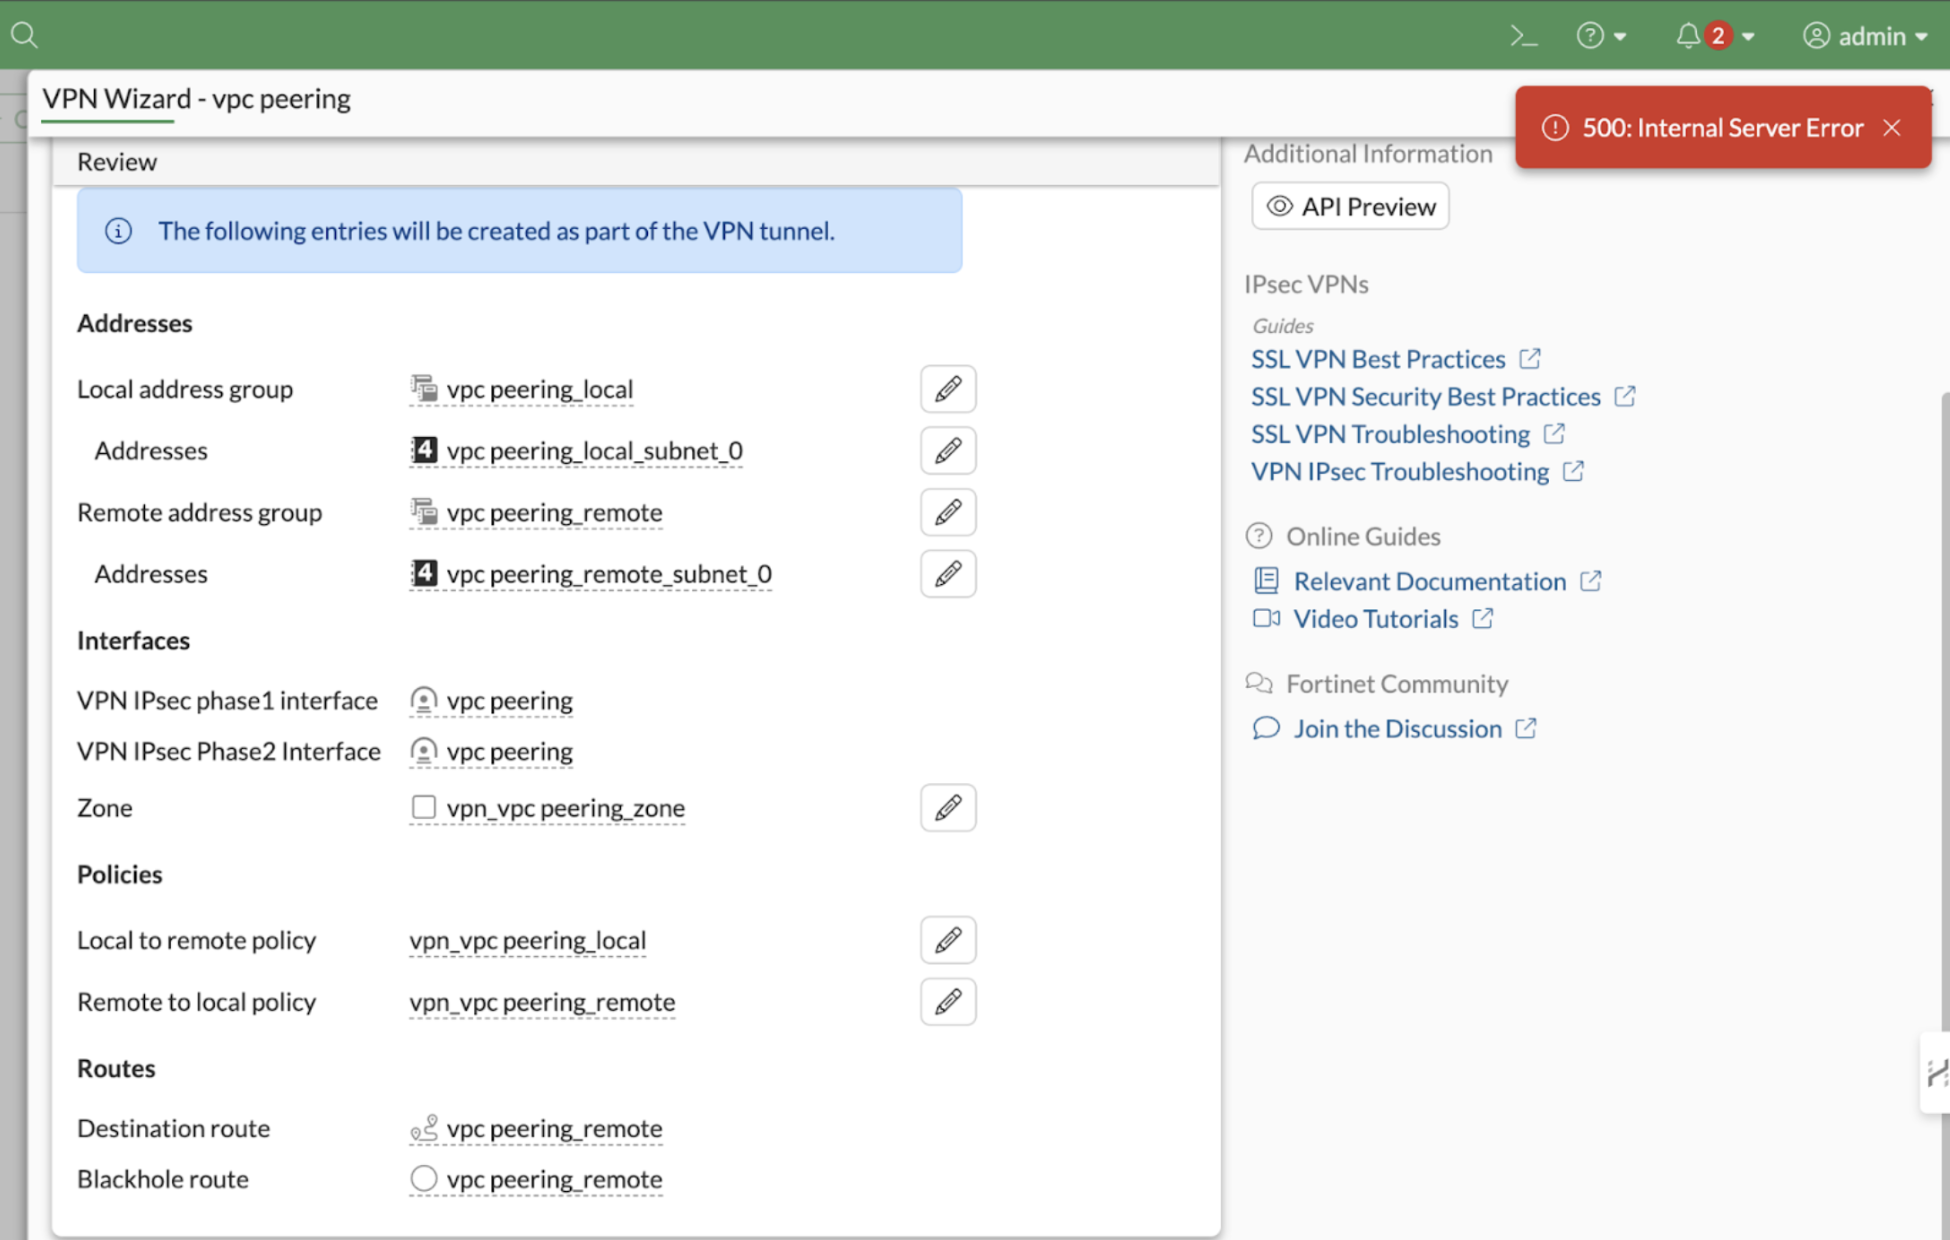
Step 6: Finalizing the Configuration
- Click Submit.
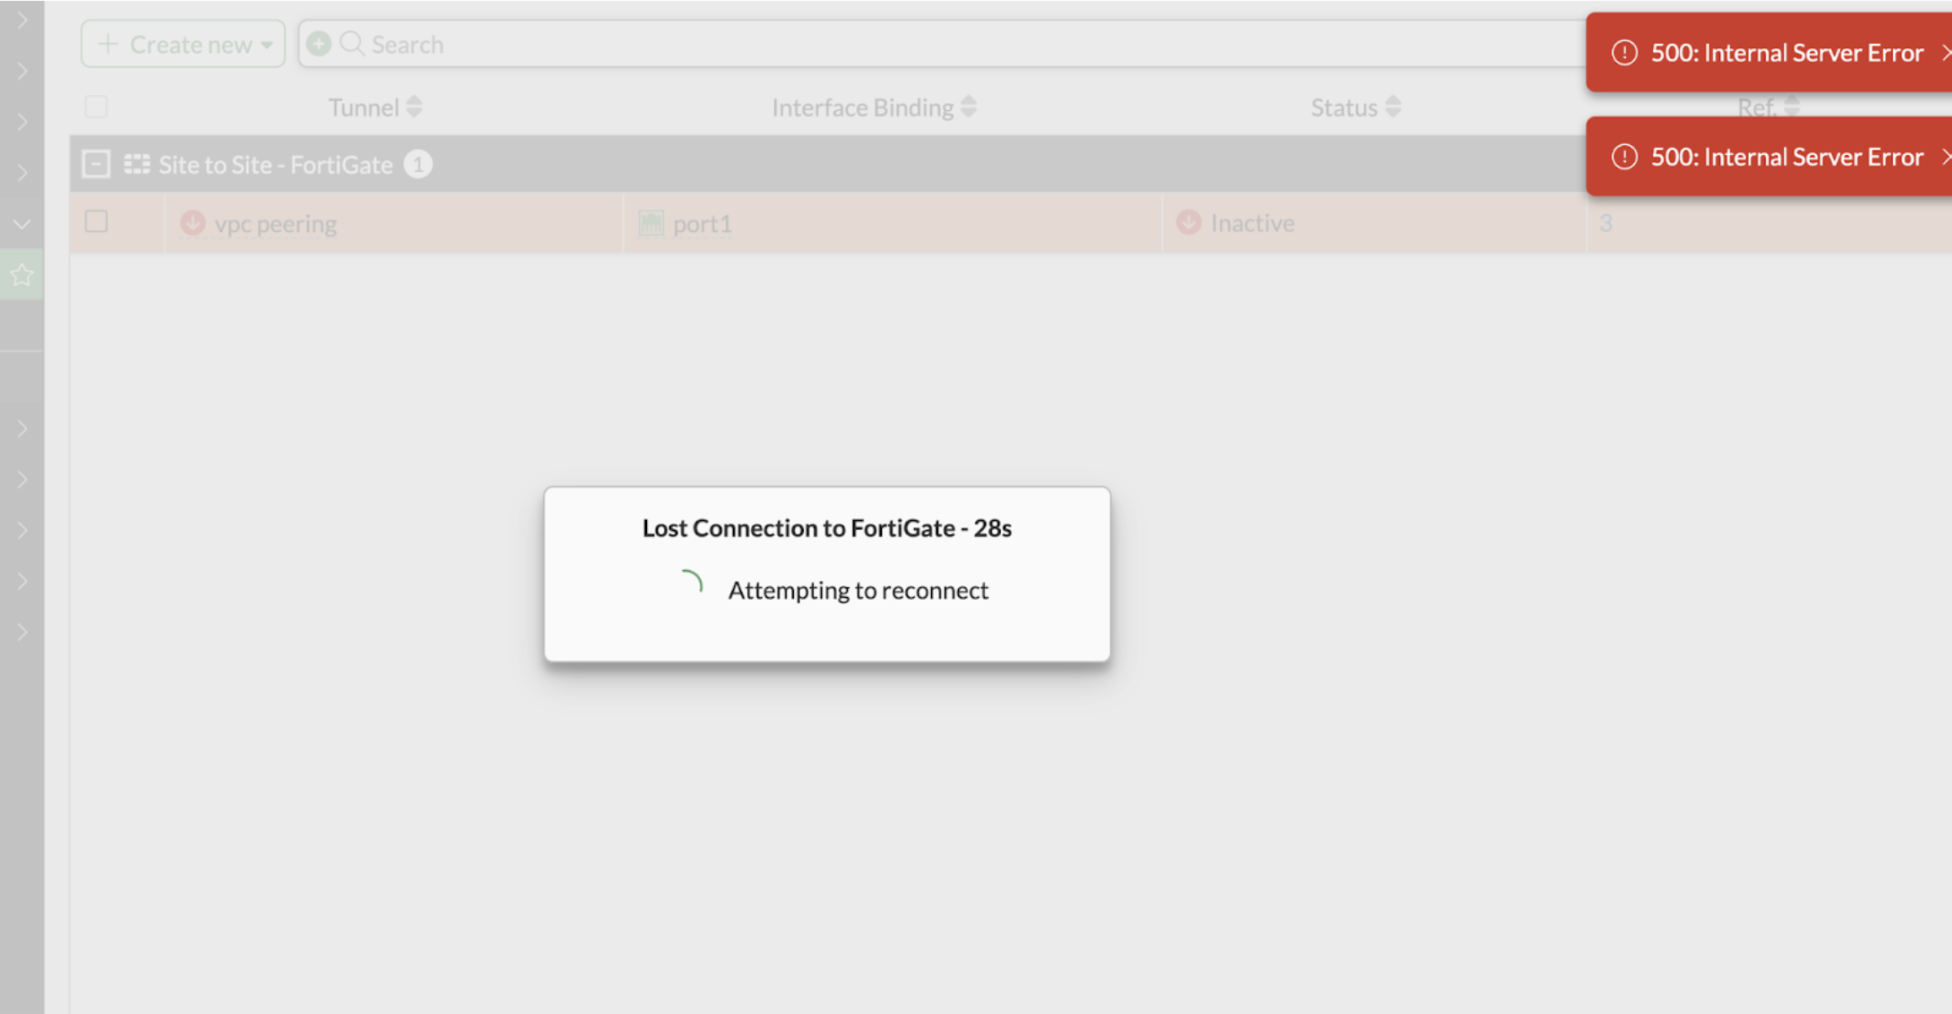
- You may receive a 500: Internal Server Error message.
- Ignore this and click Submit again.
- The firewall GUI may go down due to the tunnel using port 443.
Step 7: Change Firewall GUI Port
- Login to the firewall CLI.
Execute the following command to change the GUI port to 444:
config system global
set admin-sport 444
- end
- Access the firewall GUI using the new port:

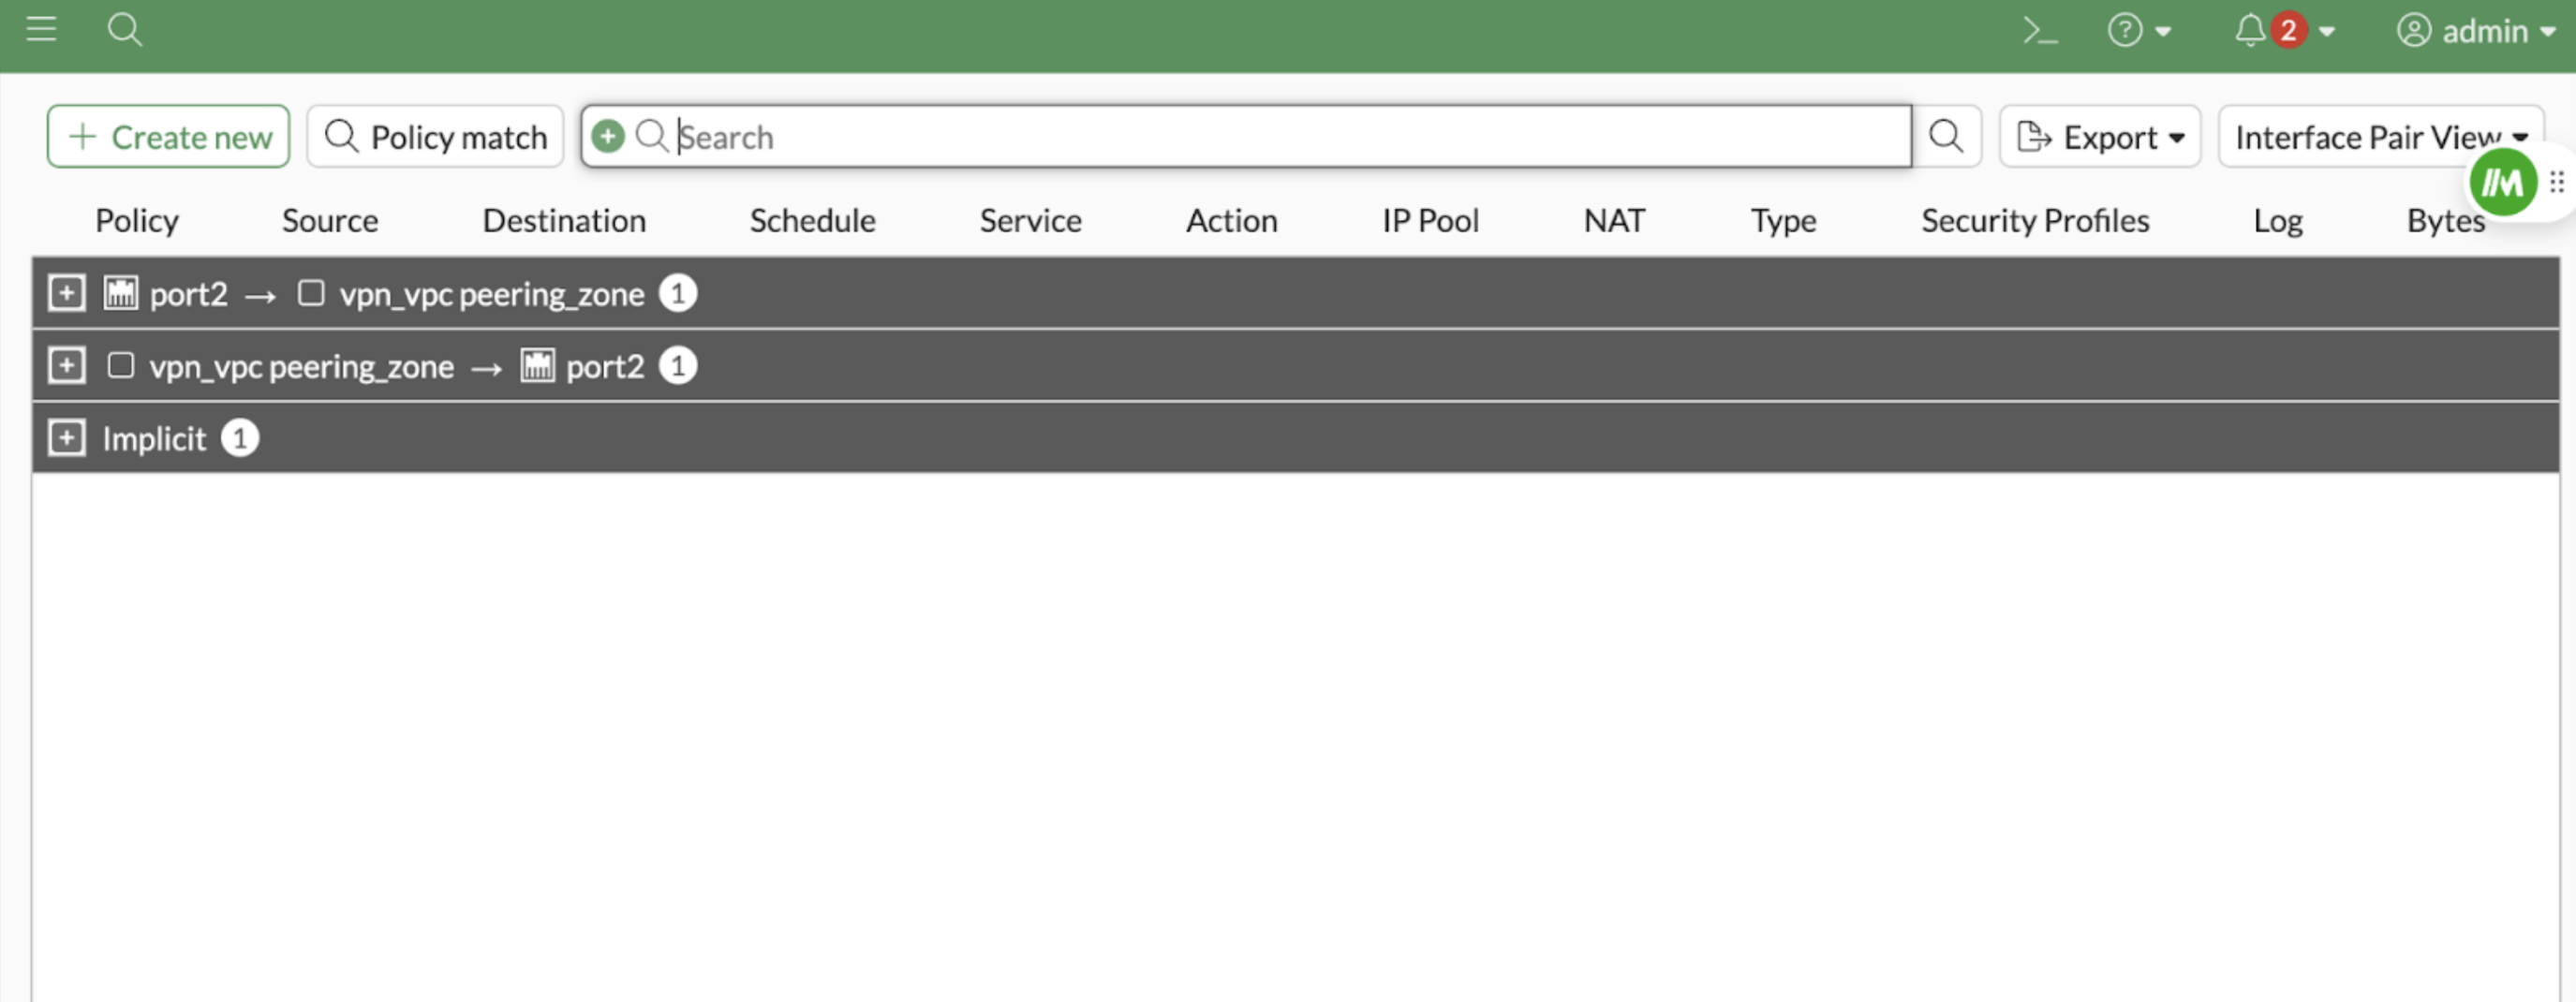
Please check the firewall policy has been added like below
Step 8: Configure the Second Firewall
- Repeat the same steps on the second FortiGate firewall:
- Update the Remote Firewall IP.
- Update the Remote VPC CIDR.
- Change the GUI port to 444 using CLI.
- Verify that the firewall policies have been added correctly.
Step 9: Verify Configuration
- Ensure that both firewalls have the VPN tunnel established.
- Check firewall policies to confirm that the VPC peering connection is configured properly.
Last updated on May 15, 2026.