Tutorial: How to Backup Your WordPress files and Databases to Object Storage.
Introduction:
Backup copies of your WordPress file and Database allow data to be restored from an earlier point in time to help the business recover from an unplanned event. Storing the copy of the data on a separate medium is critical to protect against primary data loss or corruption. In this tutorial, We will go through the steps involved to Backup and restore your WordPress files and database using a UpdraftPlus Plugin of Wordpress
Prerequisite:
WordPress Version 3.2 or Later
Access to Myaccount Portal. If you have not yet signed up, please refer to this article
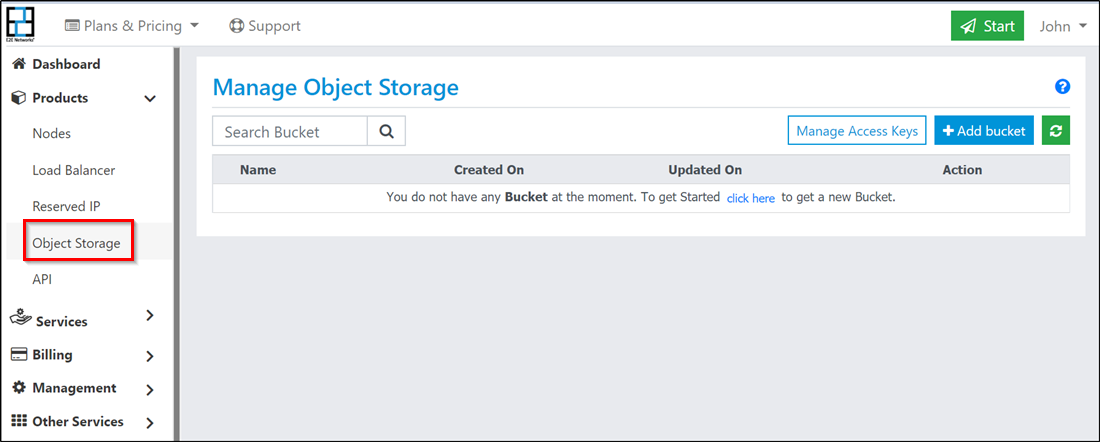
Step 1: Create a Bucket in Object Storage
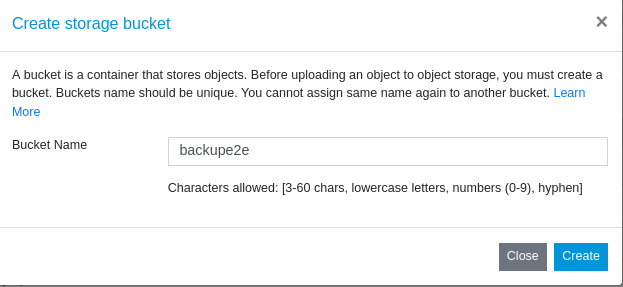
You need to first create a bucket where you will be backing up your WordPress files and Database. Select Object Storage from the Left panel in the Product Section and Click on Add Bucket. In this tutorial we are creating a bucket name backupe2e
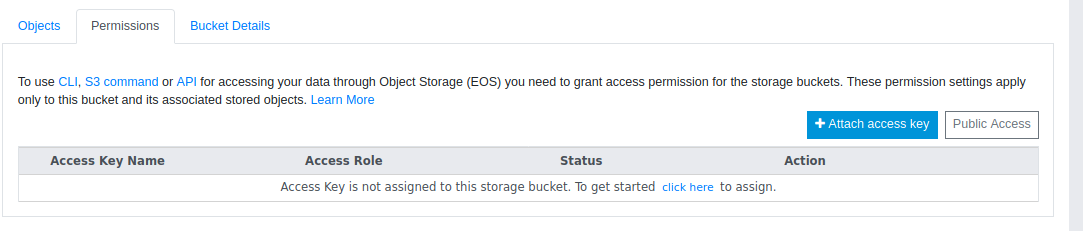
Step 2: Grant Admin Access Permission for Your Bucket
In order to Backup and Restore your data from WordPress, You need to attach an access key to your Bucket which will have Bucket Admin access. This option is available under the Permission Section of your Bucket. Click on the Attach access key.

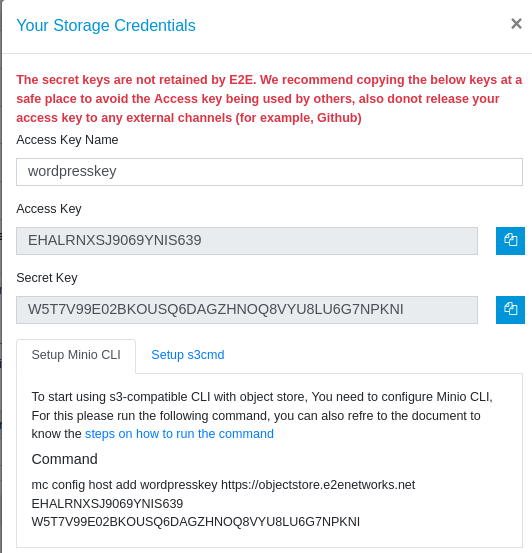
You can select your key if you have already had one or Create a new one. Here we are creating a new access key by clicking on the create a new key option with the name wordpresskey
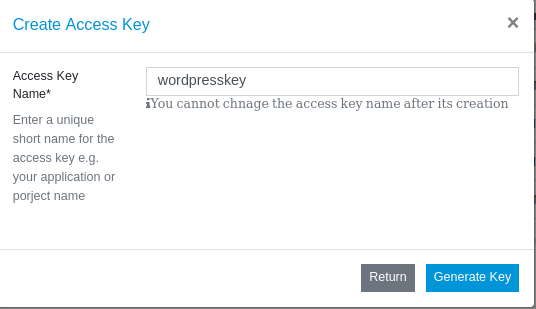
Once you have generated the key, Note down the access key and secret key which we will use later in WordPress plugin to backup and restore.
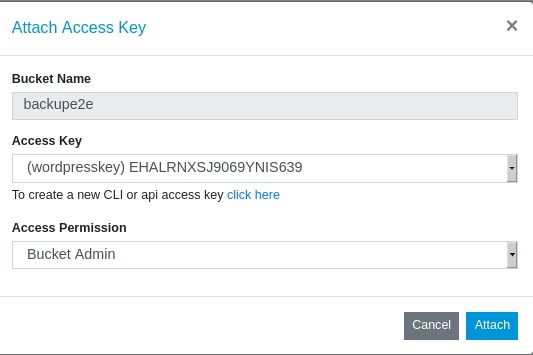
Provide Bucket Admin access permission to your created key and Attach it to your Bucket
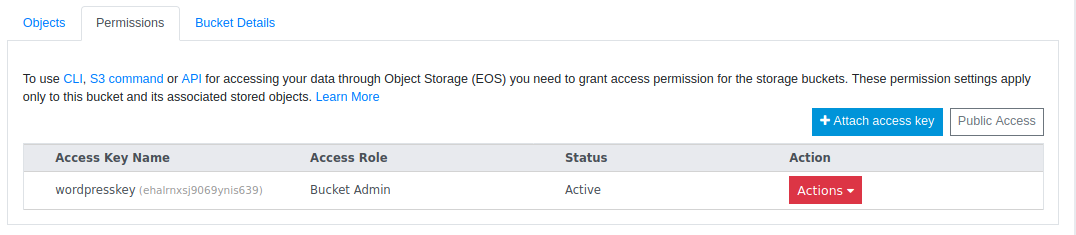
Now the key has been attached with Admin access
Step 3: Install and Activate UpdraftPlus Plugin in your WordPress.
UpdraftPlus simplifies backups and restoration. It is the world’s highest-ranking and most popular scheduled backup plugin, with over three million currently-active installs. Backup your files and database backups into the cloud and restore with a single click!
You can ignore these steps if you have already activated the Plugin. If you have not yet done, Please refer below steps
Go to WordPress Plugin Directory and Search for UpdraftPlus
Click on Install Now
Once the Plugin has been Installed, click on Activate.
Step 4: Configure Backups to Object Storage Buckets
Once the UpdraftPlus Plugin has been installed and activated, You need to configure it to backup to the object storage bucket which was created earlier in step1
Go to Setting -> UpdraftPlus Backup -> Click on Setting
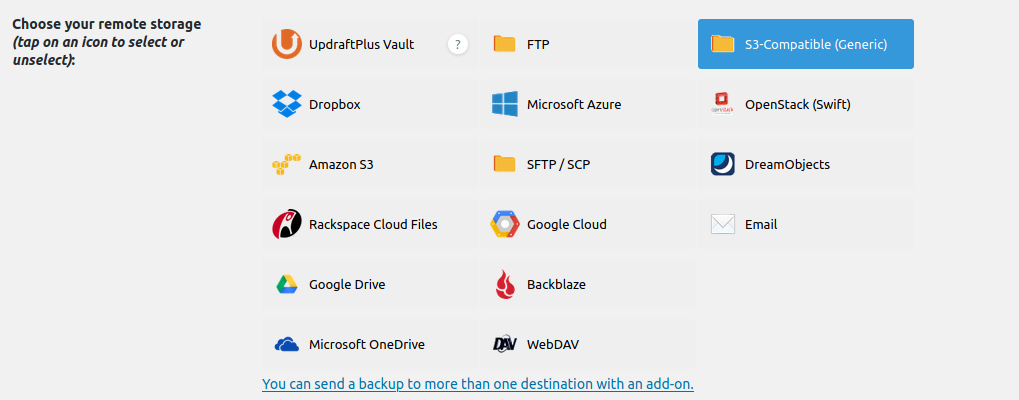
Scroll down and you will find the Remote Storage option, Select S3-Compatible Generic here.
Next, You need to update the details of your Bucket and keys which we attached to the bucket
Add S3 access key and S3 secret key details
on S3 Location option, Add your Bucket Name
on S3 endpoint,Add objectstore.e2enetworks.net
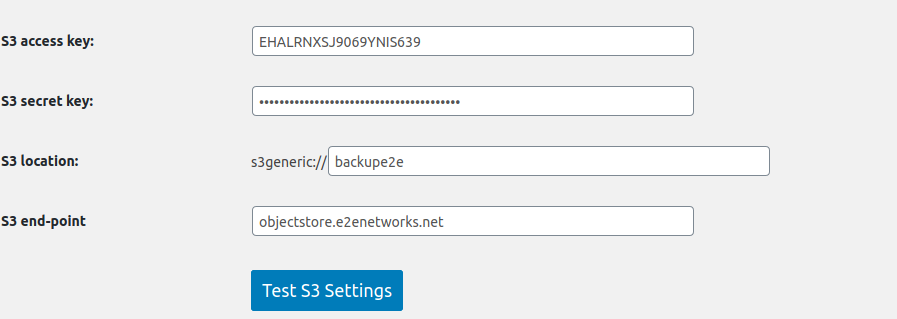
Once the details have been added, Test the connection by clicking on Test S3 Setting
You will get the output as below if the connection has been successful.

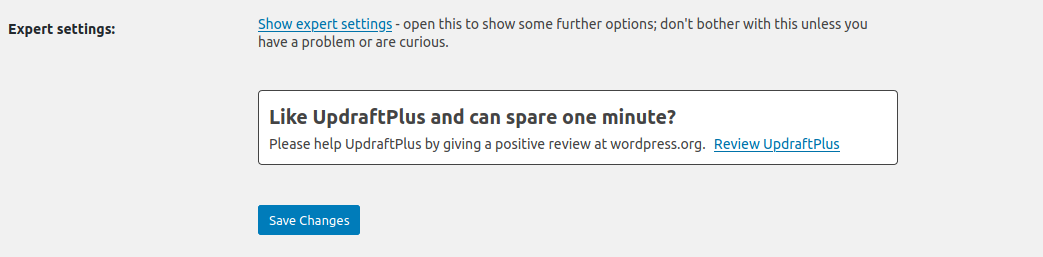
Scroll Down further and Save the Changes Made.
Step 4: Backup your data to Object Storage
After the configuration has been updated successfully, We will now test the backup and Restore it to our bucket in UpdraftPlus Plugin.
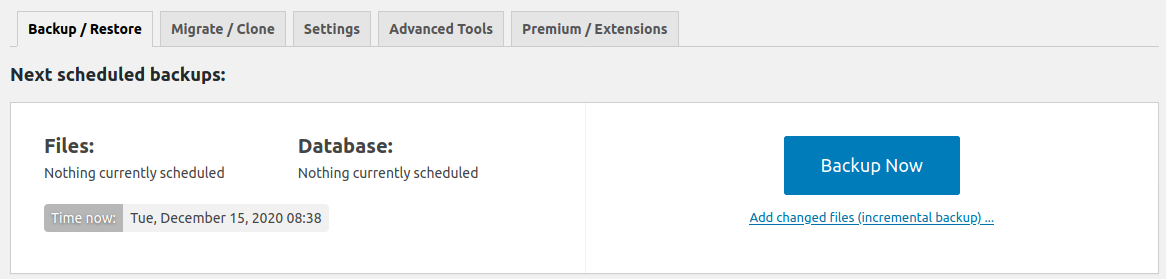
Go to UpdraftPlus Plugin and Select Backup/Restore Tab and Click on Backup Now.
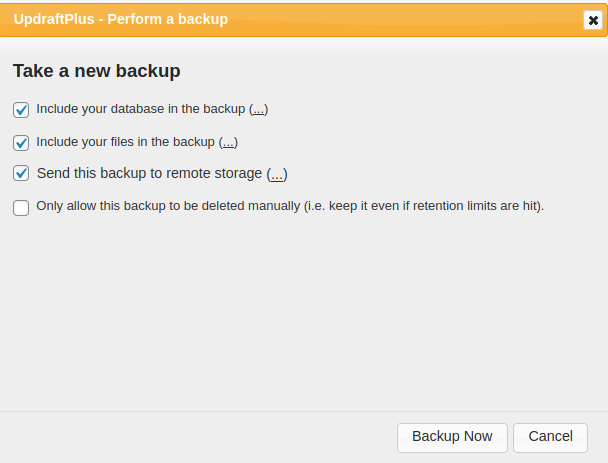
A Backup option window will pop up. Make sure “Send this Backup to Remote Storage” is Tick Marked
Once the backup has been successfully completed, You will get the output as below
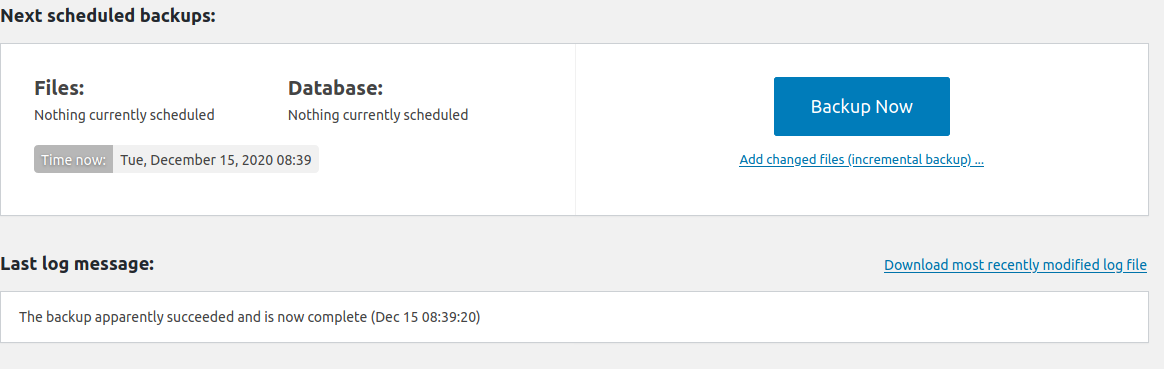
If you scroll Down Further, You will see the details of the latest backups available

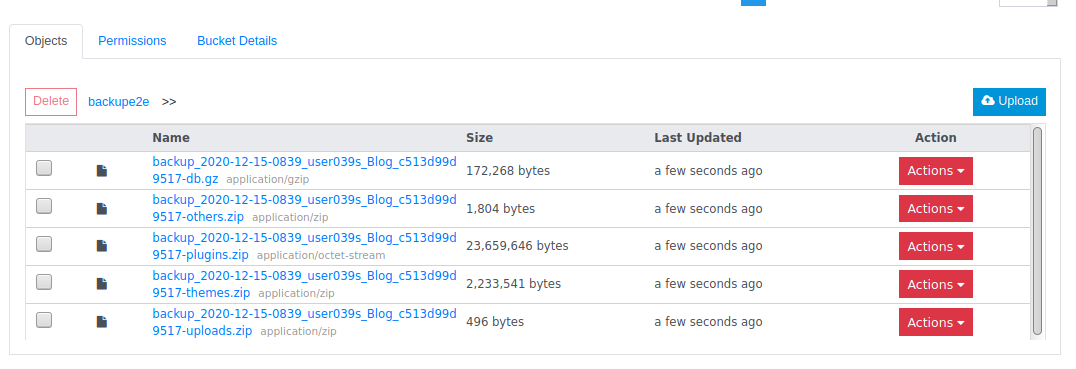
You can also verify the same whether the Backup data is now available on Your Bucket. Refresh your Bucket once on the Object Storage portal. You will be able to view the Backed up data.
Step 5: Restoring your data to WordPress
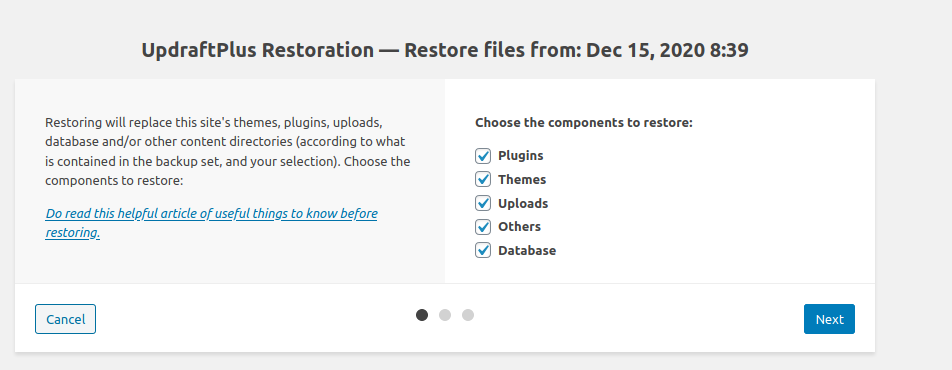
You can restore your data by clicking on the Restore button.
Select the Necessary option for restoring and Proceed Further.
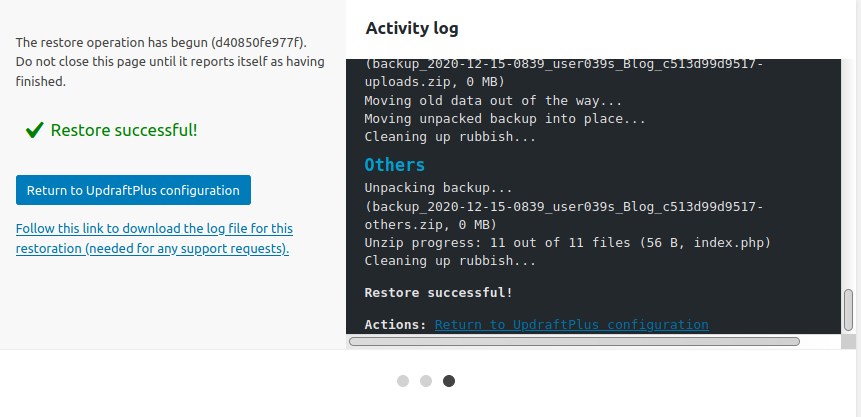
Once the restoration has been completed, You can able to view the output as below
Conclusion:
With the above steps, you can be able to backup and restore your files and Database to an object storage bucket. Further, you can also configure timely backups and Exclude/Include Files and Folders under the setting.