Security Groups
Introduction
An E2E Networks Security Group acts as a virtual firewall for your Server Node to control incoming and outgoing traffic. Both inbound and outbound rules control the flow of traffic to and traffic from your Server Node, respectively.
Navigate to Security Groups page
Please go to ‘MyAccount’ and log in using your credentials set up at the time of creating and activating the E2E Networks ‘MyAccount’.
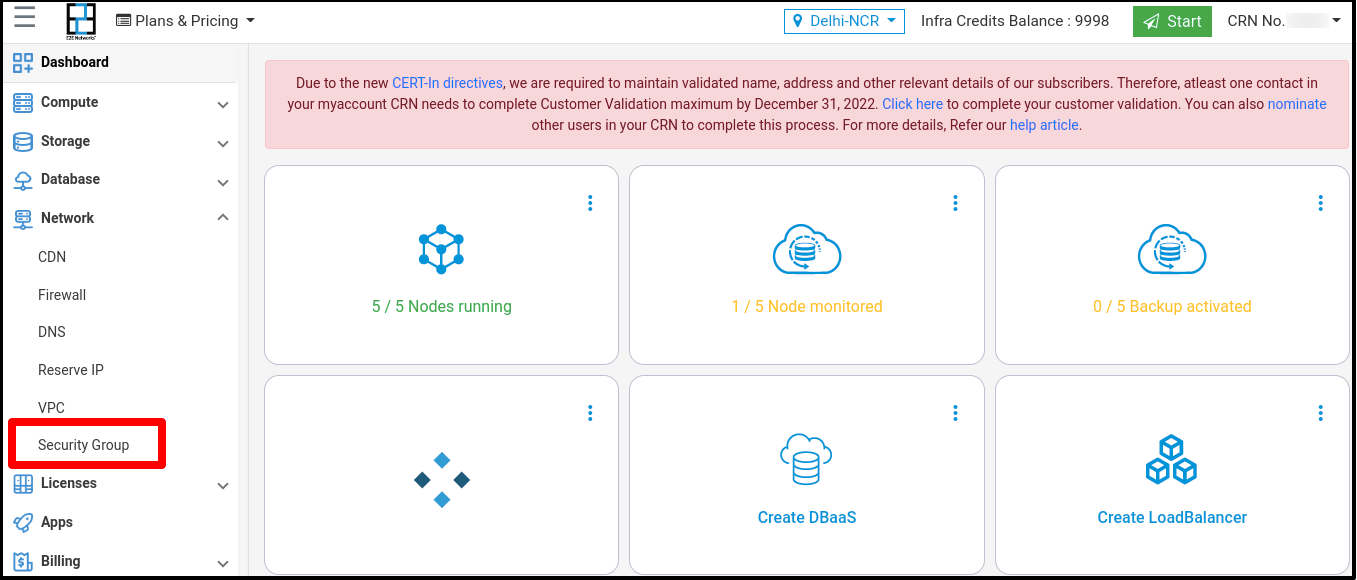
After you log in to the E2E Networks ‘MyAccount’, On the left side of the MyAccount dashboard, click on the “Security Groups” sub-menu available under the Network section.
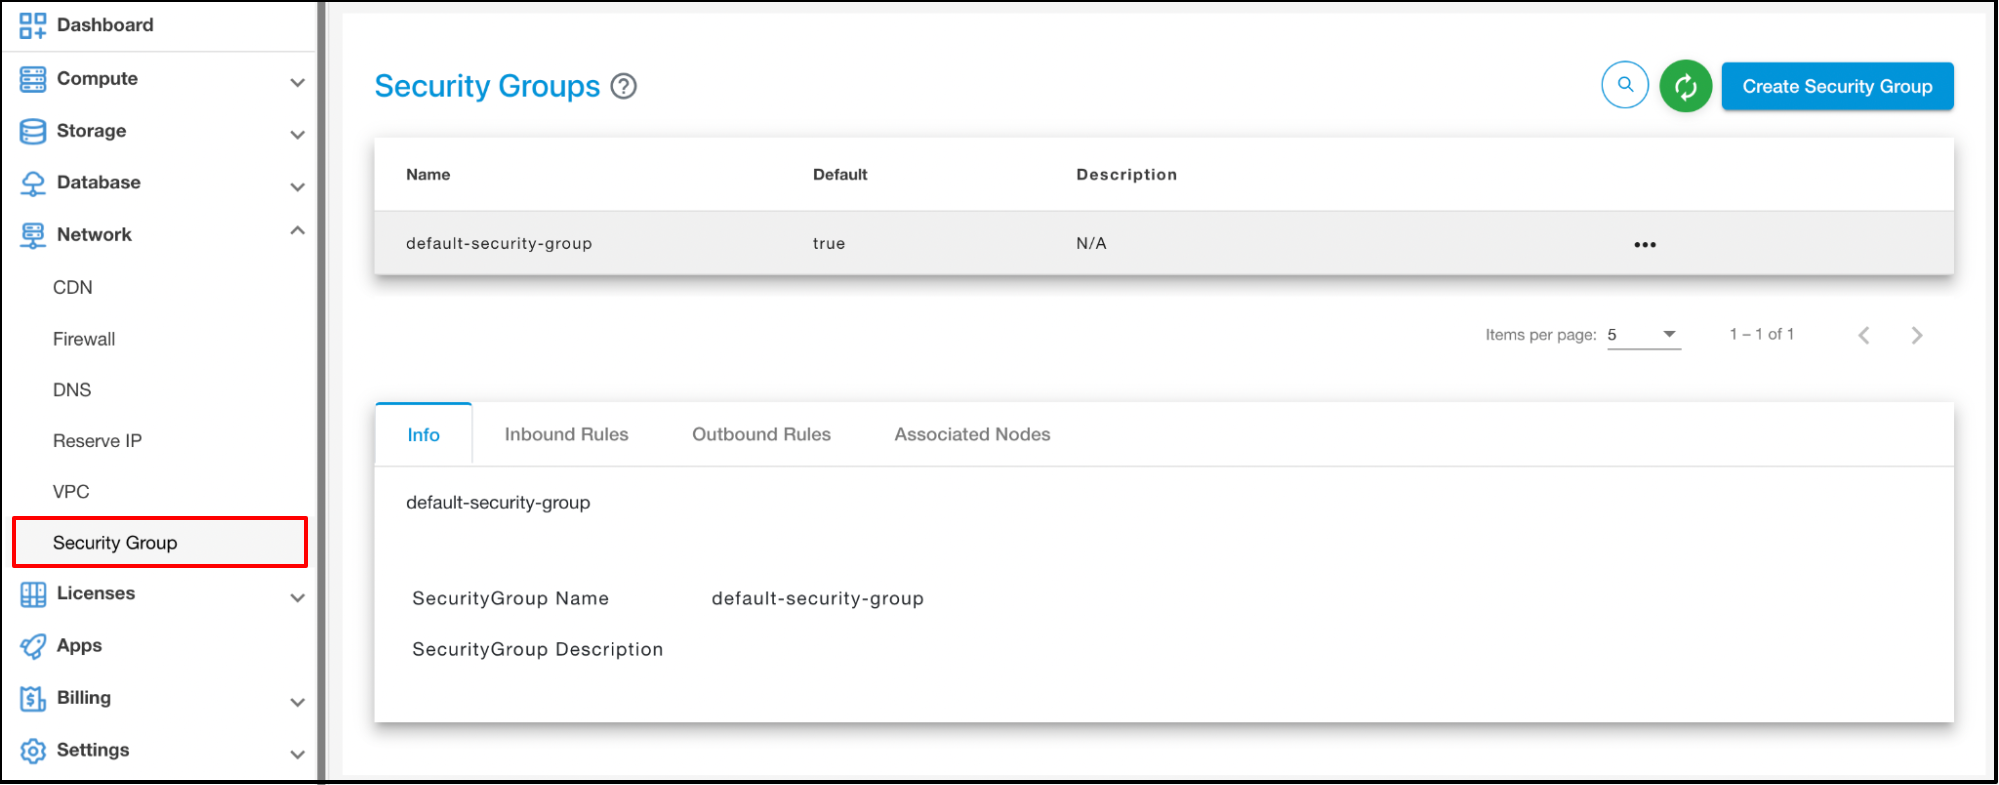
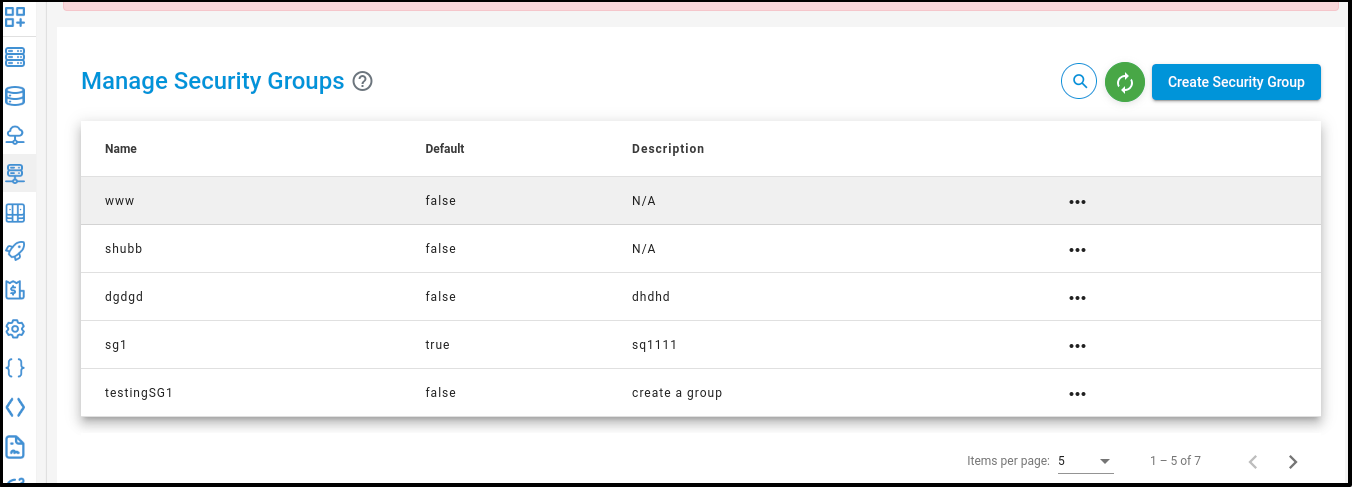
You will be directed to the ‘Manage Security Groups’ page.
Working with Security Groups
The following sections describe how you can use Security Group.
Create New Security Group
Click on the “Security Groups” sub-menu available under the Network section.
You will be directed to the ‘Manage Security Groups’ page.
Click on the “Create Security Groups” button.
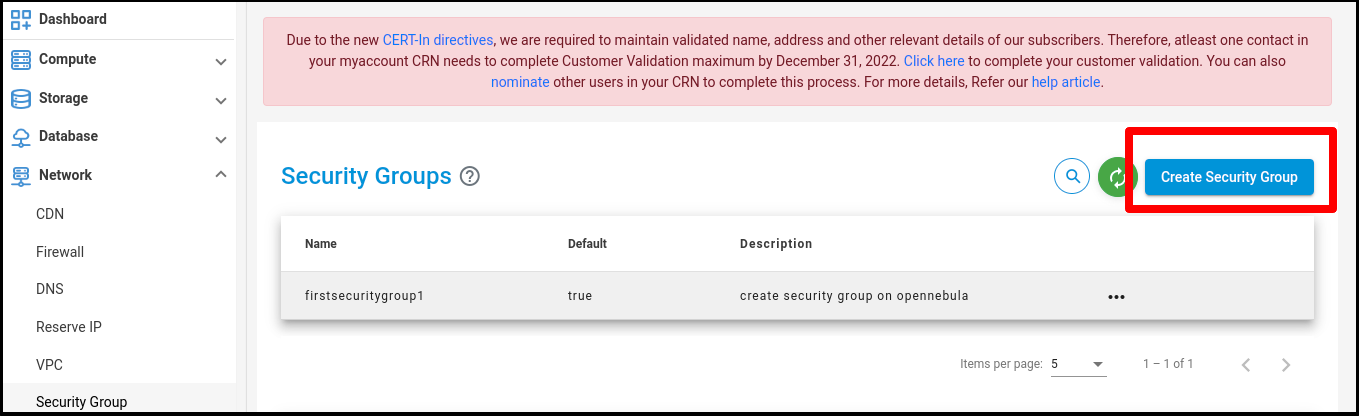
Click on the ‘Create Security Groups’ button. The ‘Create Security Groups’ page will appear.
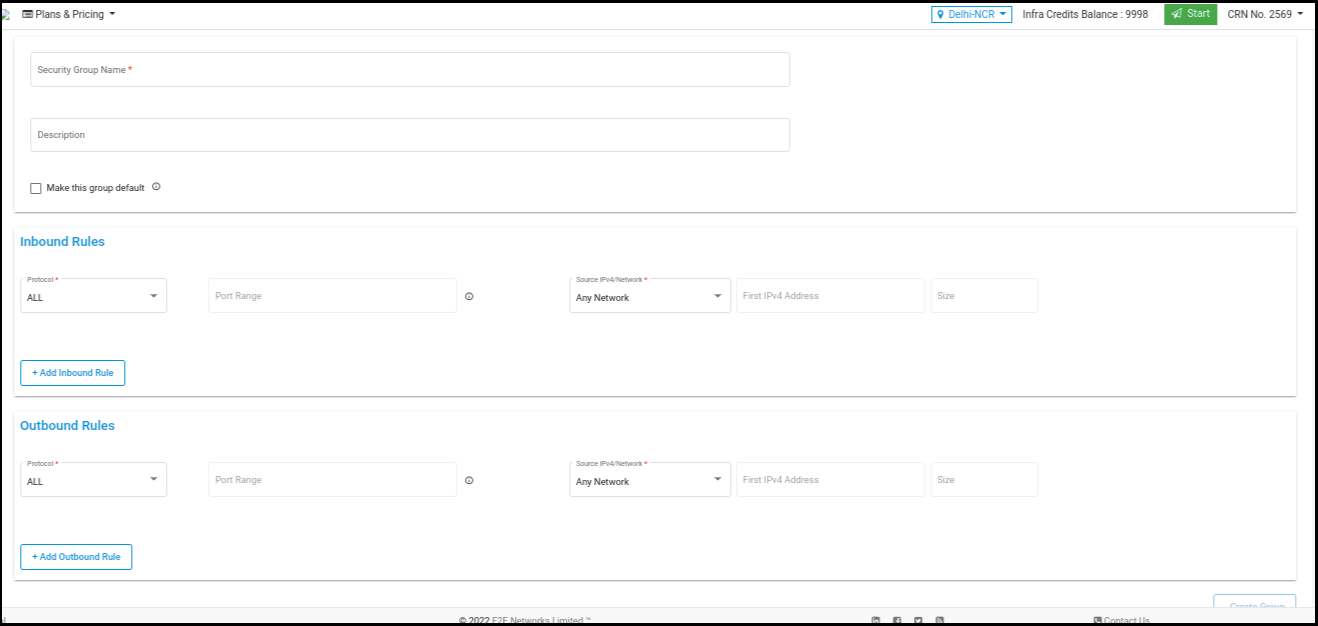
Inbound Rules
When you create a security group, it has no inbound rules. No inbound traffic originating from another host to your instance is allowed until you add inbound rules to the security group.
Outbound Rules
By default, a security group includes an outbound rule that allows all outbound traffic. We recommend that you remove this default rule and add outbound rules that allow specific outbound traffic only.
Name: The name for the security group (for example, “my securitygroup”). A name can be up to 128 characters in length. Allowed characters are a-z, A-Z. When the name contains trailing spaces, we trim the spaces when we save the name. For example, if you enter “Test Security Group” for the name, we store it as “Test Security Group” .
Protocol: The protocol to allow. The most common protocols are 6 (TCP), 17 (UDP), and 1 (ICMP).
Port range: For TCP, UDP, or a custom protocol, the range of ports to allow. You can specify a single port number (for example, 22,80,8080).
ICMP type and code: For ICMP, the ICMP type and code. For example, use type 8 for ICMP Echo Request or type 128 for ICMPv6 Echo Request.
Click on the ‘Create Security Groups’ button
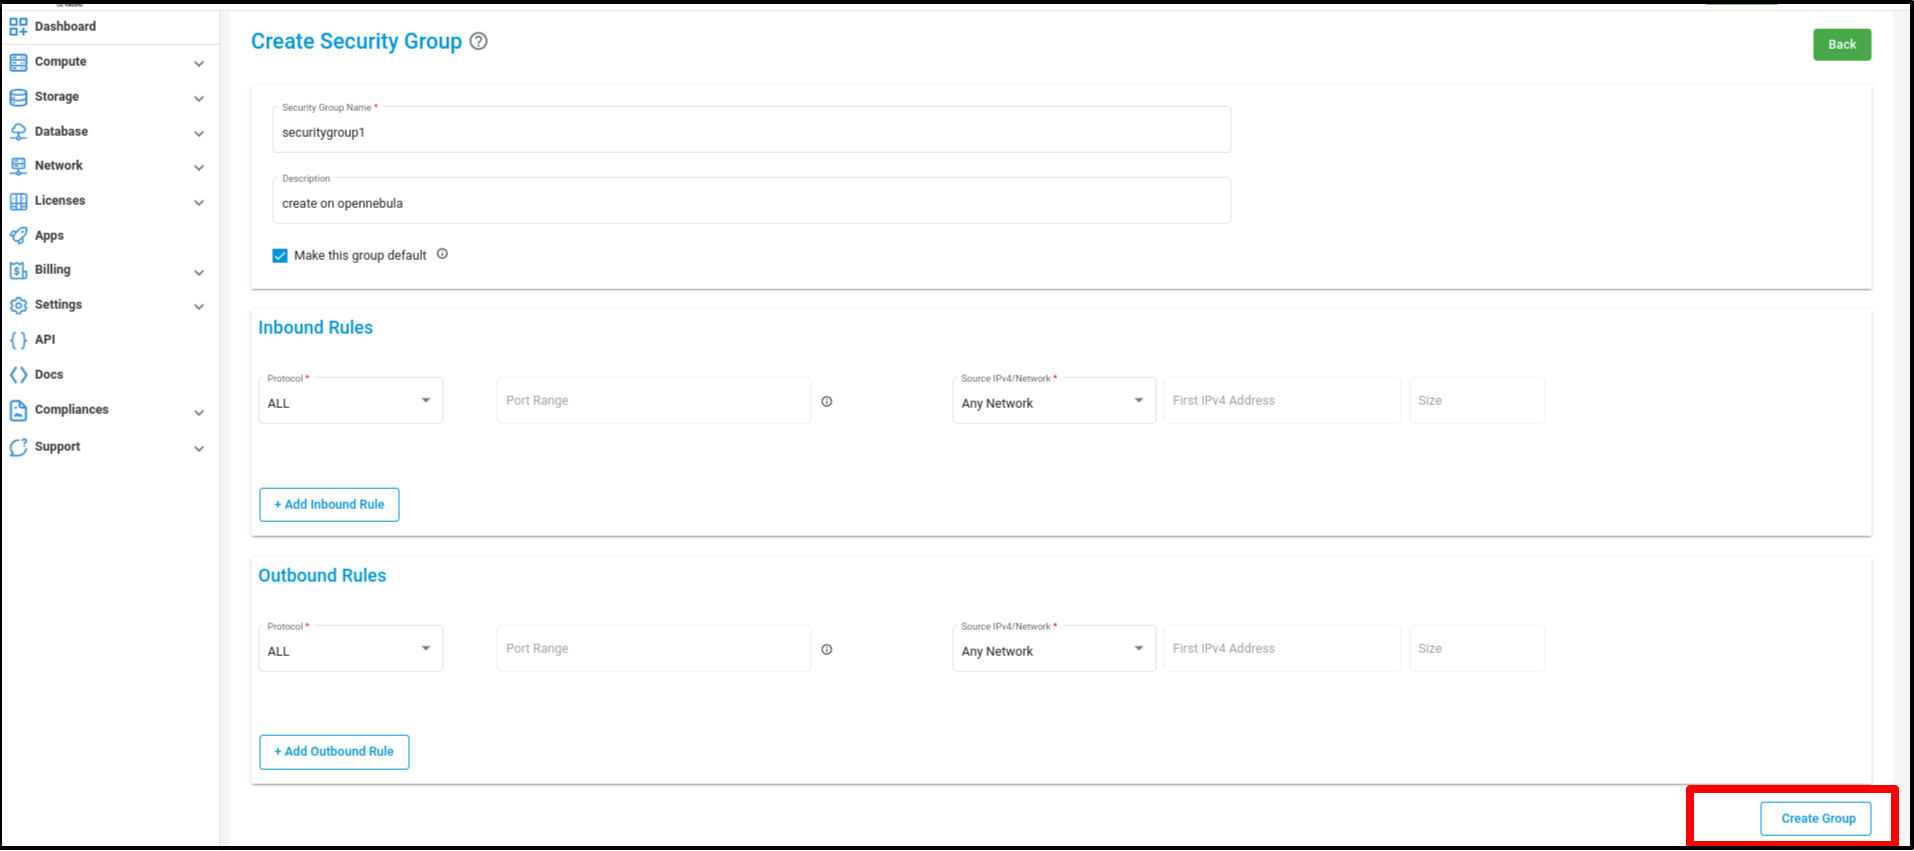
Click on the ‘Create group’ button then after the new Security Group is created and redirected to the ‘Manage Security Groups’ page.
Security Groups - Actions
Click on the ‘Actions’ button list out ‘Delete’ button
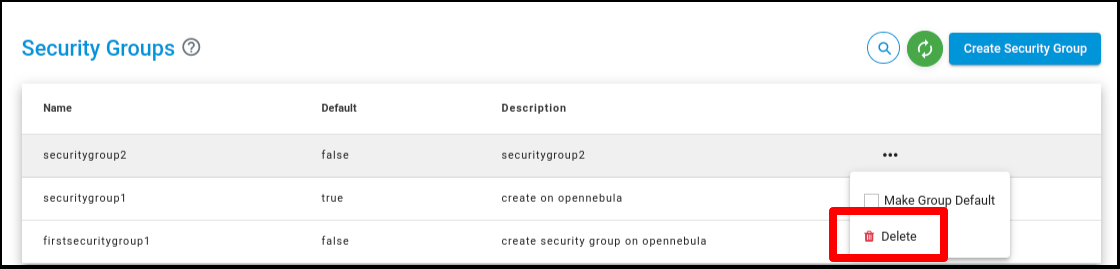
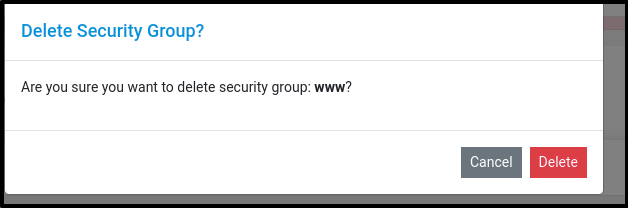
Click on the ‘Delete’ button and confirm the same in the pop up menu to delete the chosen Security Group.
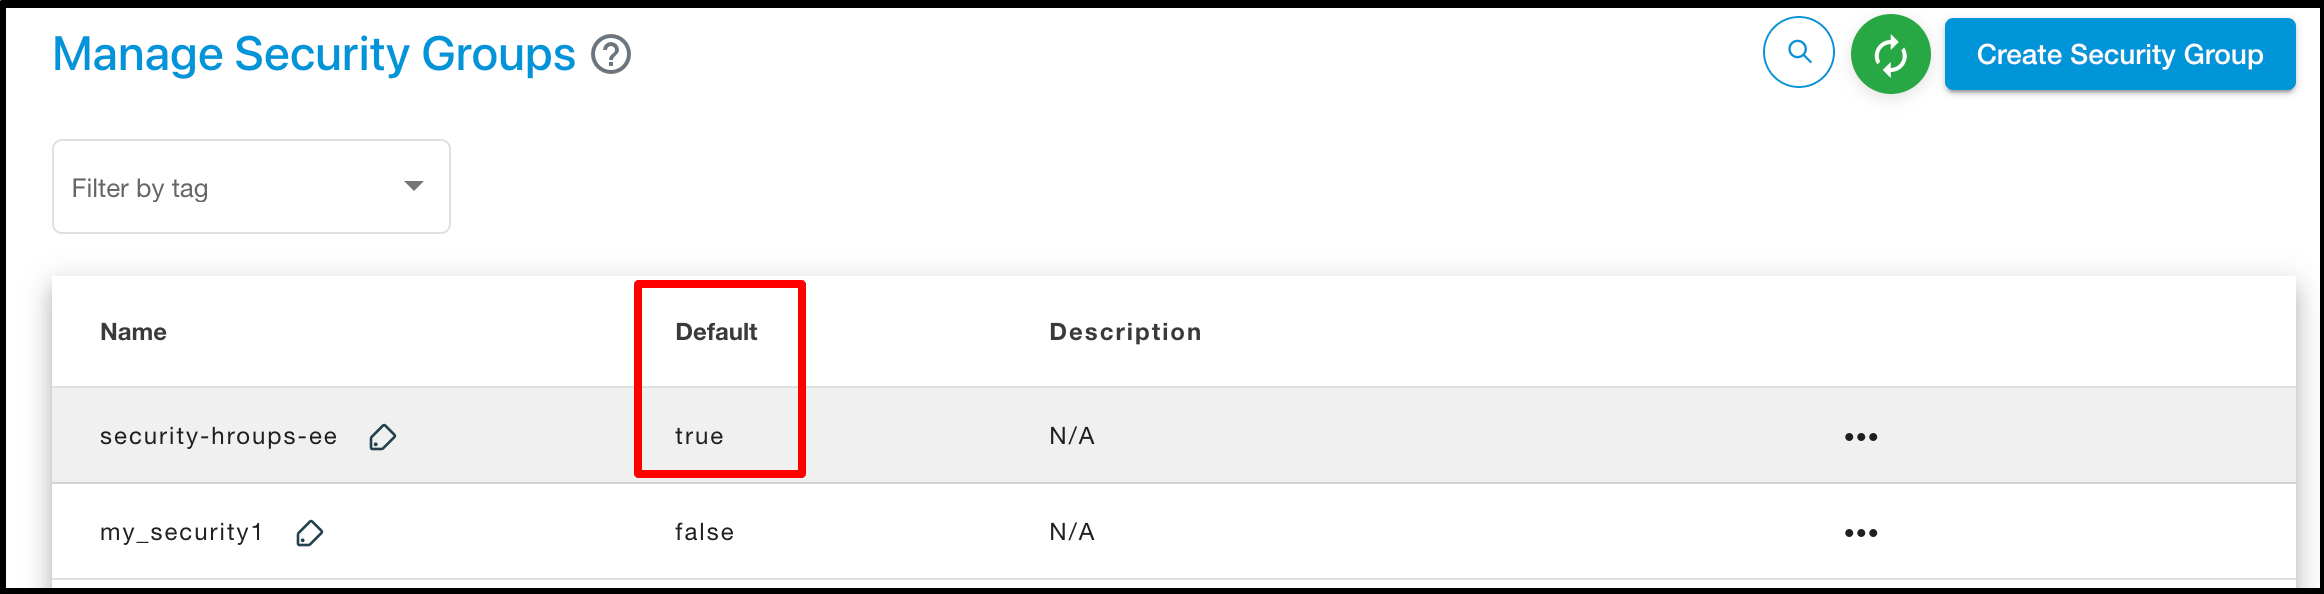
Click on the ‘Actions’ button list out ‘Make Group default’ button
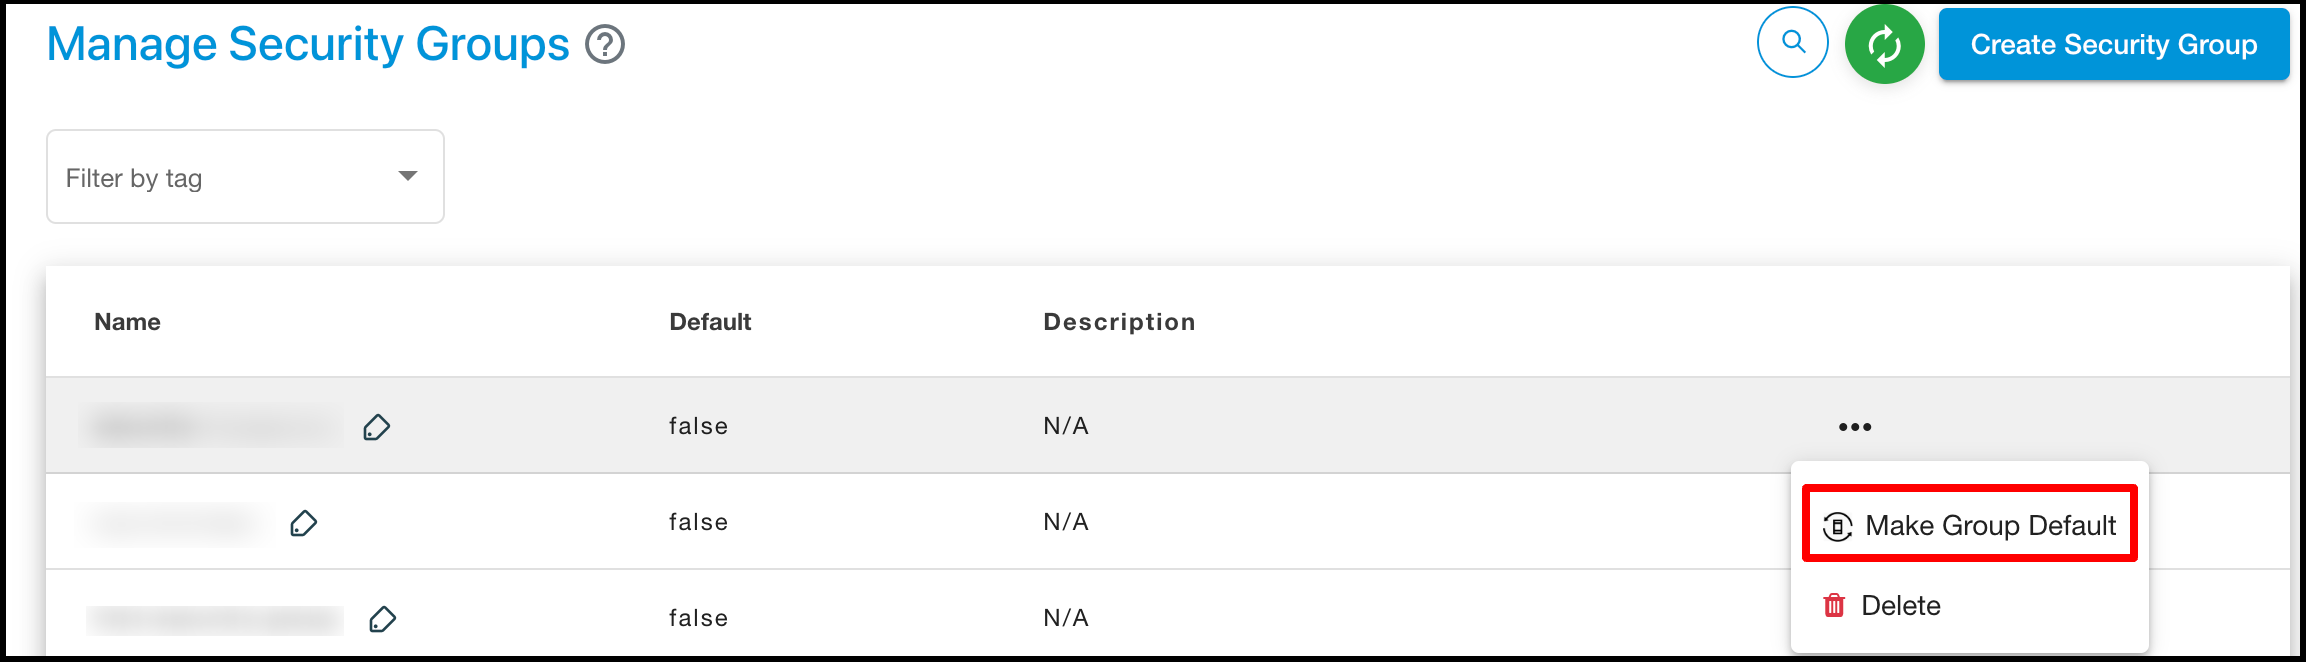
Click on the ‘Make Group default’ button to make default security group.
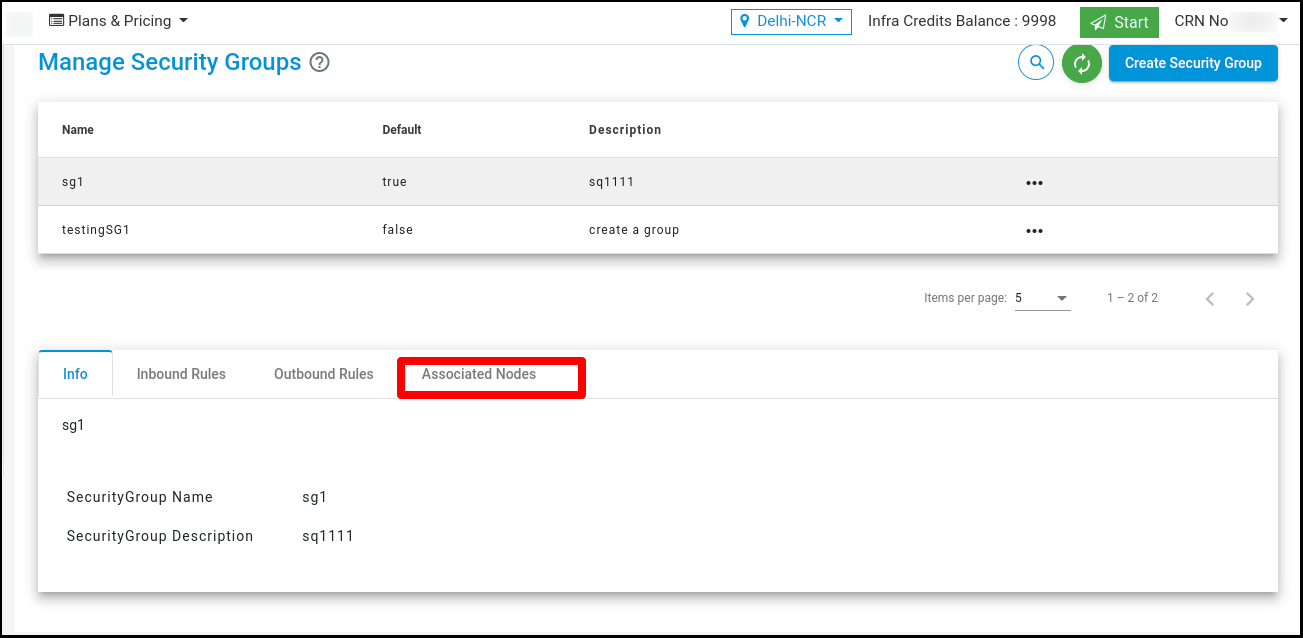
Associated Node With Security Group
Click on the ‘Associated node Details’ tab to associate a Node.
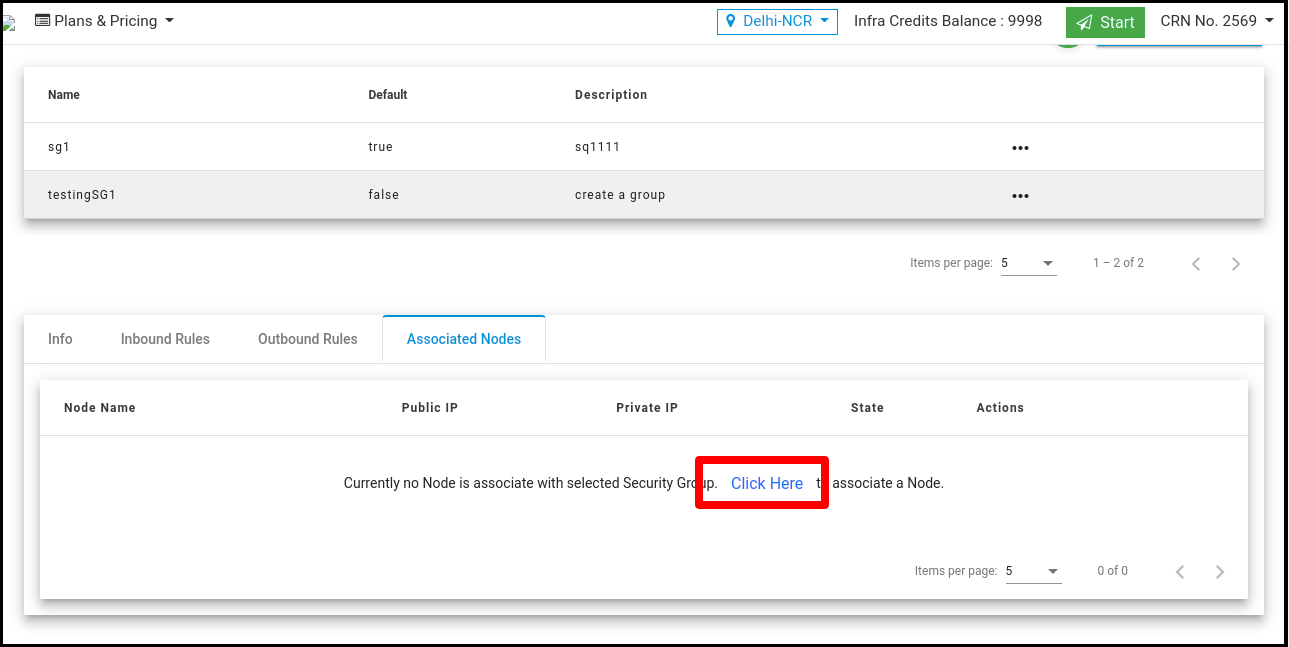
Click on the ‘Click Here’ link to associate a Node. It’s redirect to ‘Manage Node’ Page.
Click on the ‘Security Group’ tab to associate the security group with Node.
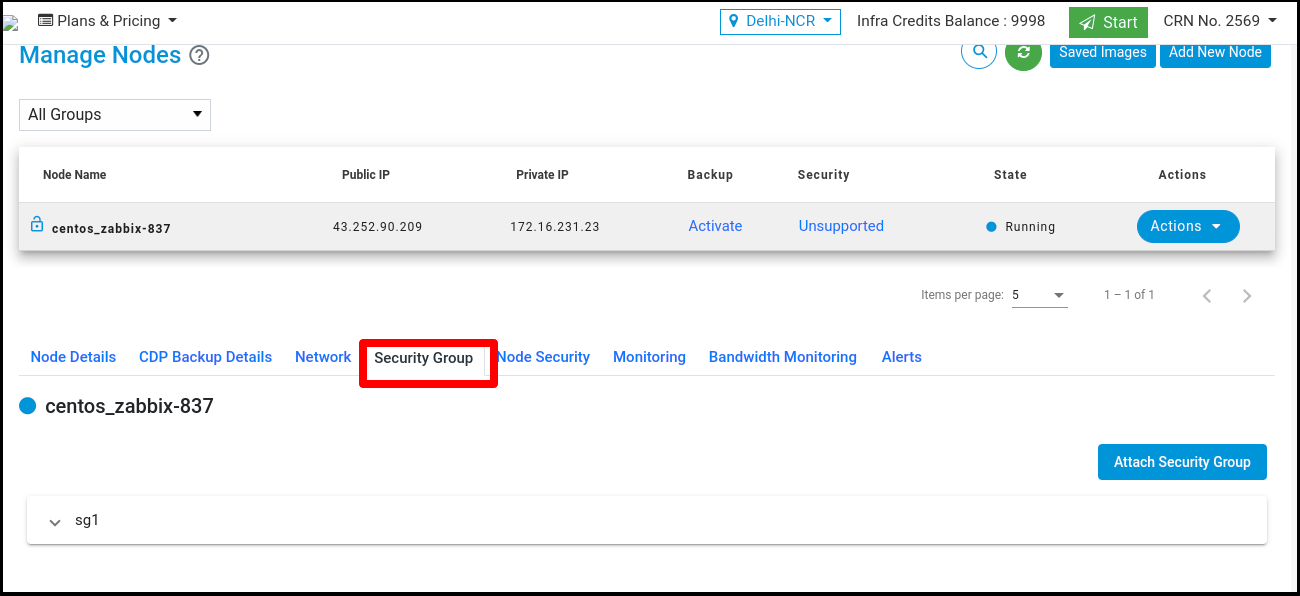
Note
By default at least one security group is attached to the node.
Click on the ‘Attach Security Group’ button to attach multiple security groups with Node.
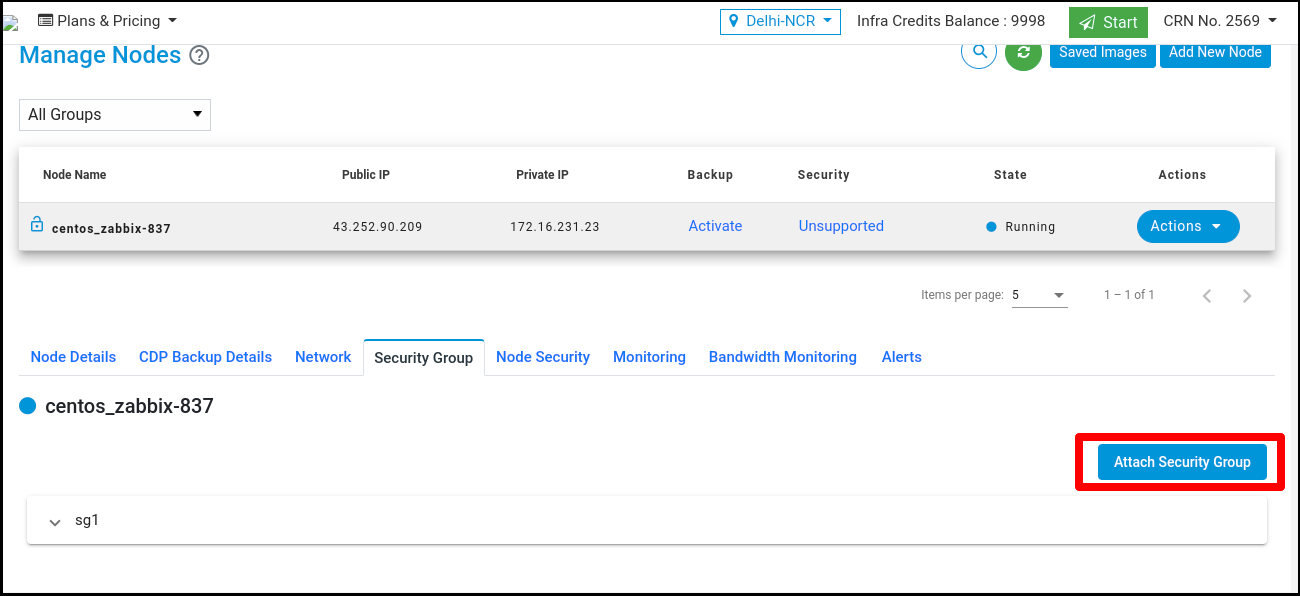
Click on the button and attach multiple security groups.
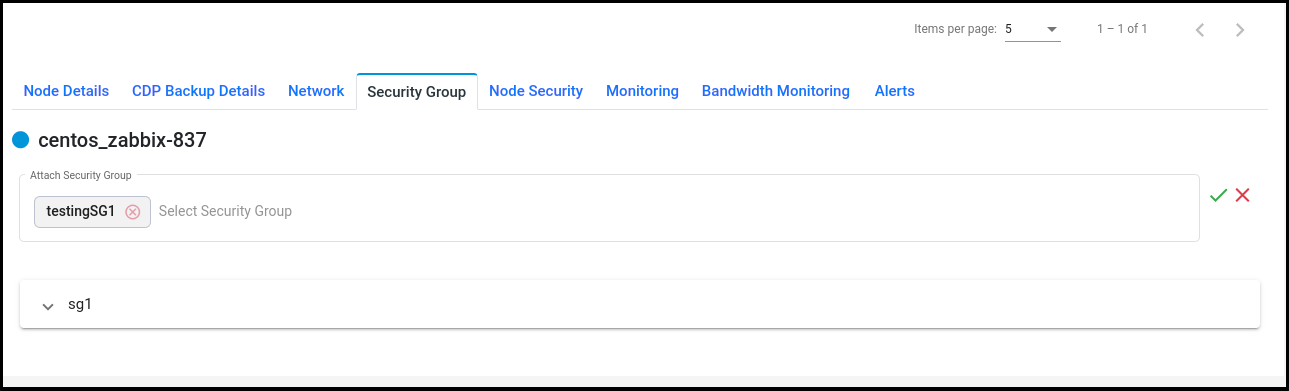
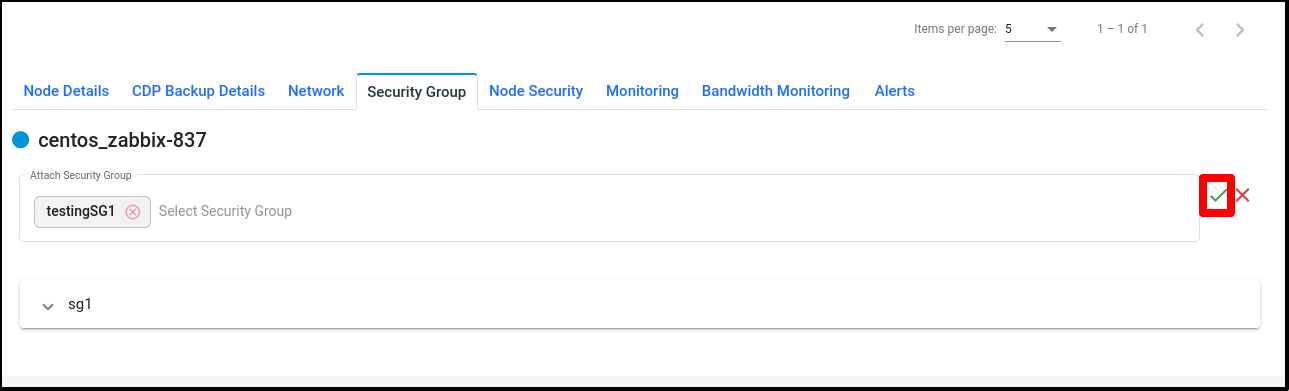
After attaching security groups with Node visible in the ‘Security Groups’ tab.
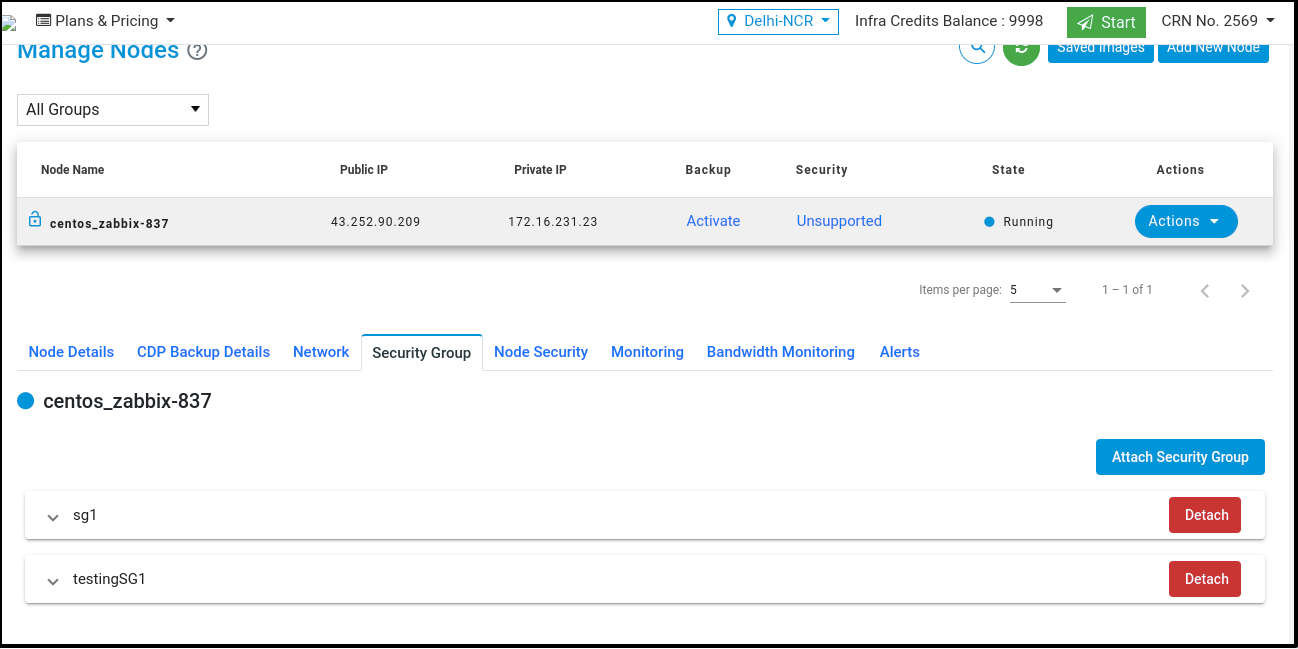
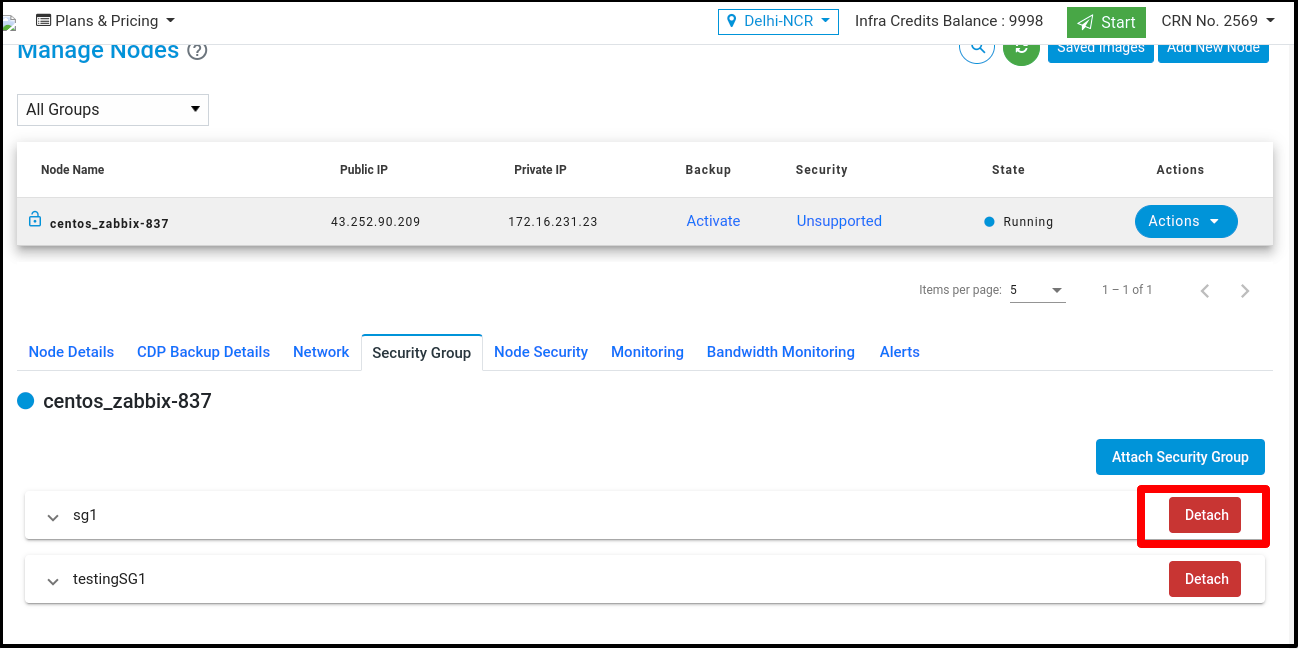
Click on the ‘Detach’ button to detach the security group from node but at least one Security Group attaches with node.
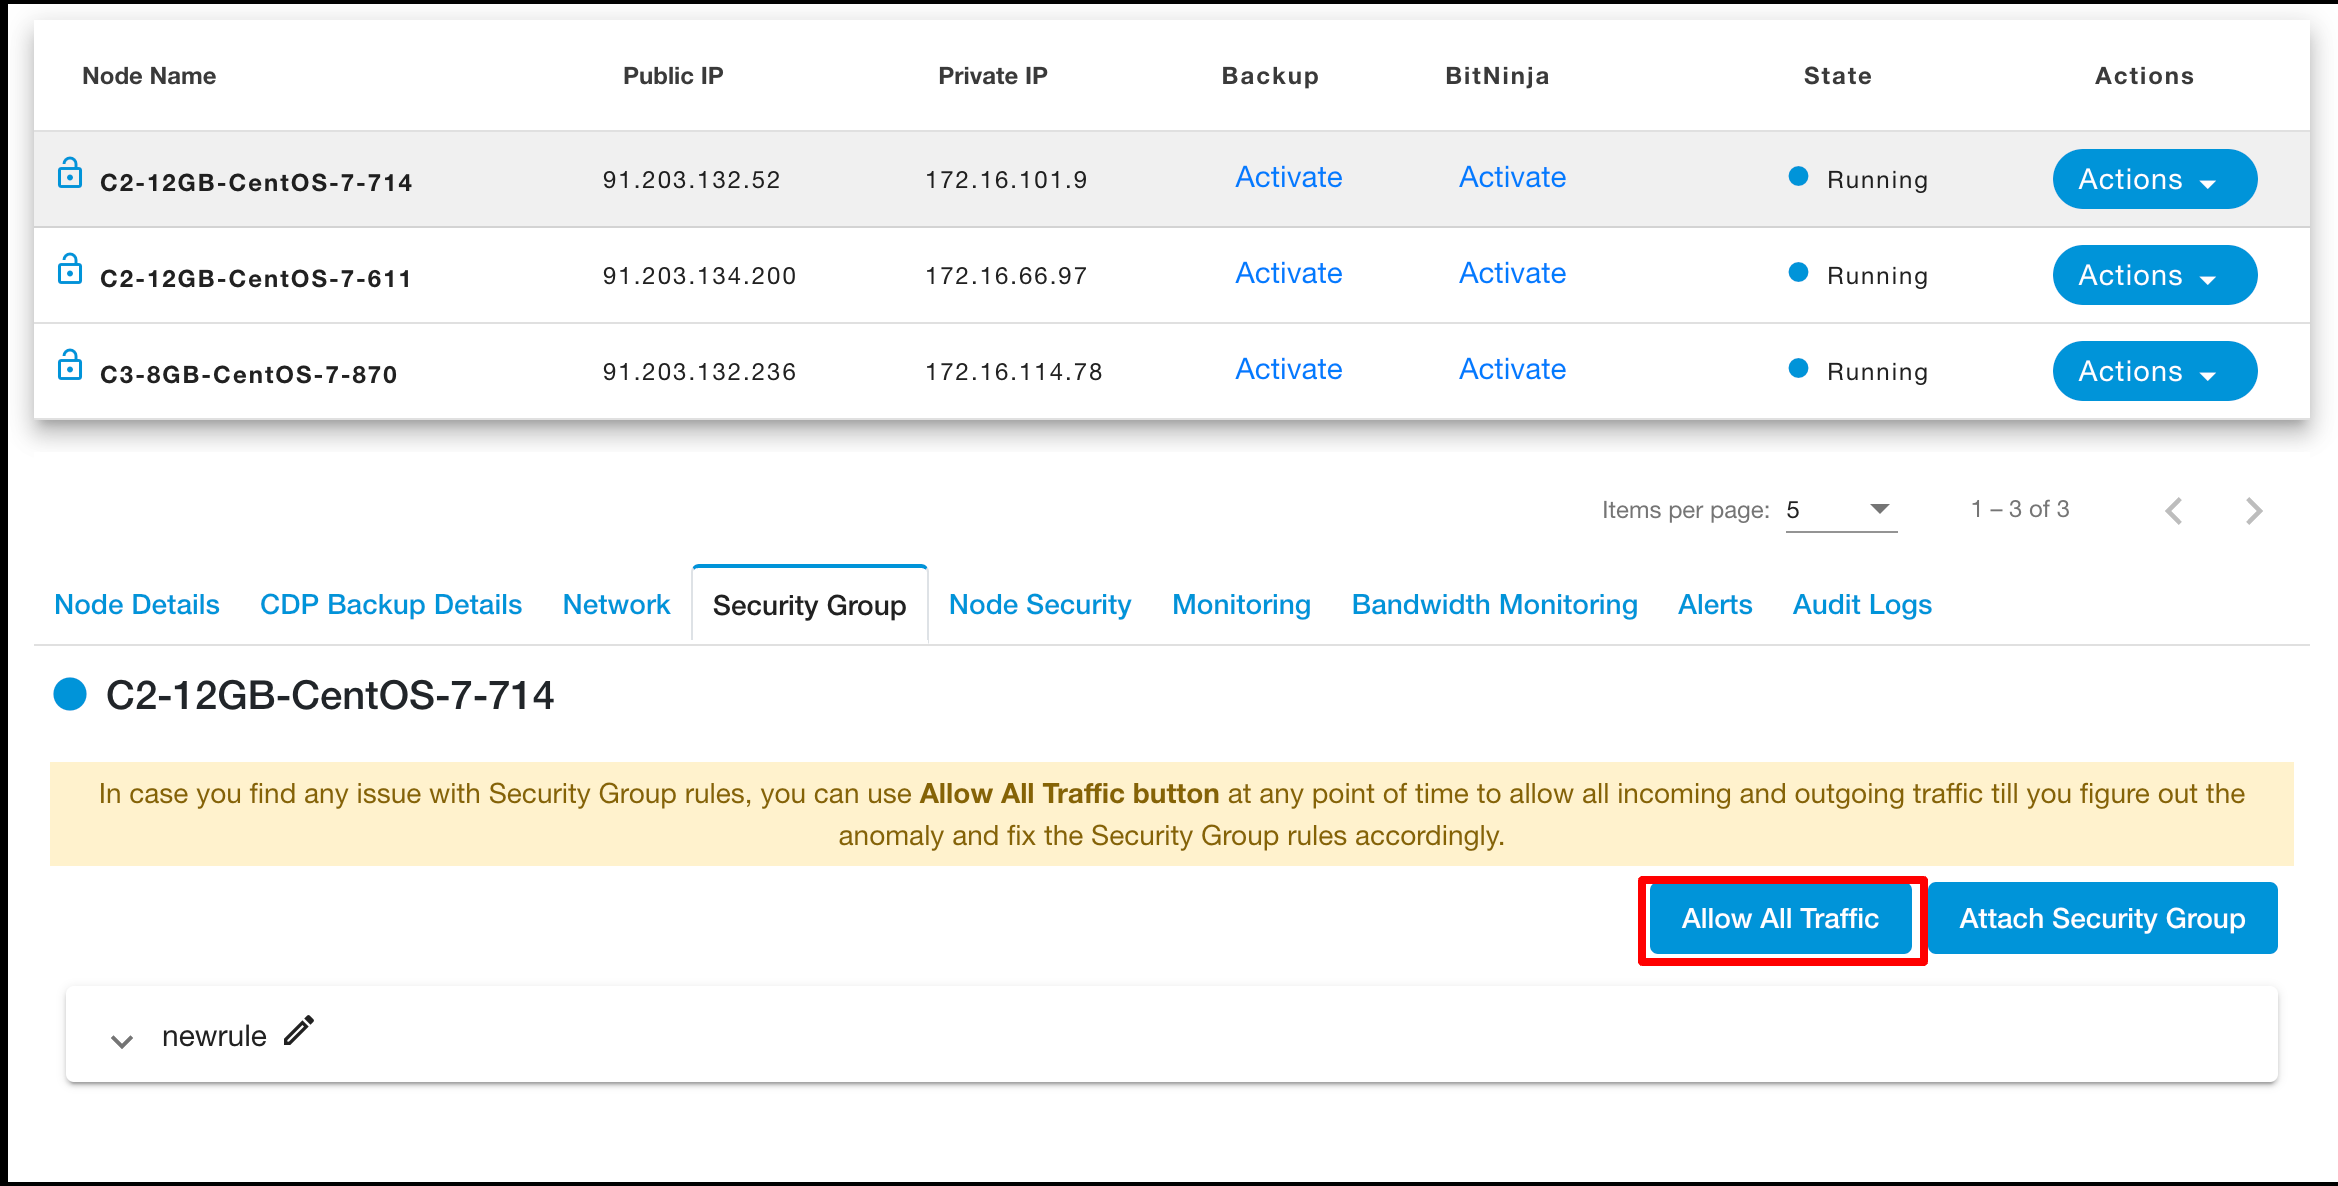
Allow All Traffic
If you choose to allow all traffic in a security group, it means that all inbound and outbound network traffic will be permitted to and from the resources associated with that security group. Here is a description of what allowing all traffic entails:
Inbound Traffic:
All incoming network traffic from any source IP address, IP range, or specific IP address will be allowed.
All protocols (e.g., TCP, UDP, ICMP) and port ranges will be permitted for incoming connections.
This includes traffic intended for services, applications, or any other protocol running on your resources.
Outbound Traffic:
All outgoing network traffic from your resources will be allowed to any destination IP address, IP range, or specific IP address.
All protocols (e.g., TCP, UDP, ICMP) and port ranges will be permitted for outgoing connections.
This includes traffic generated by your resources, such as requests to external services, database connections, or any other outbound communication.
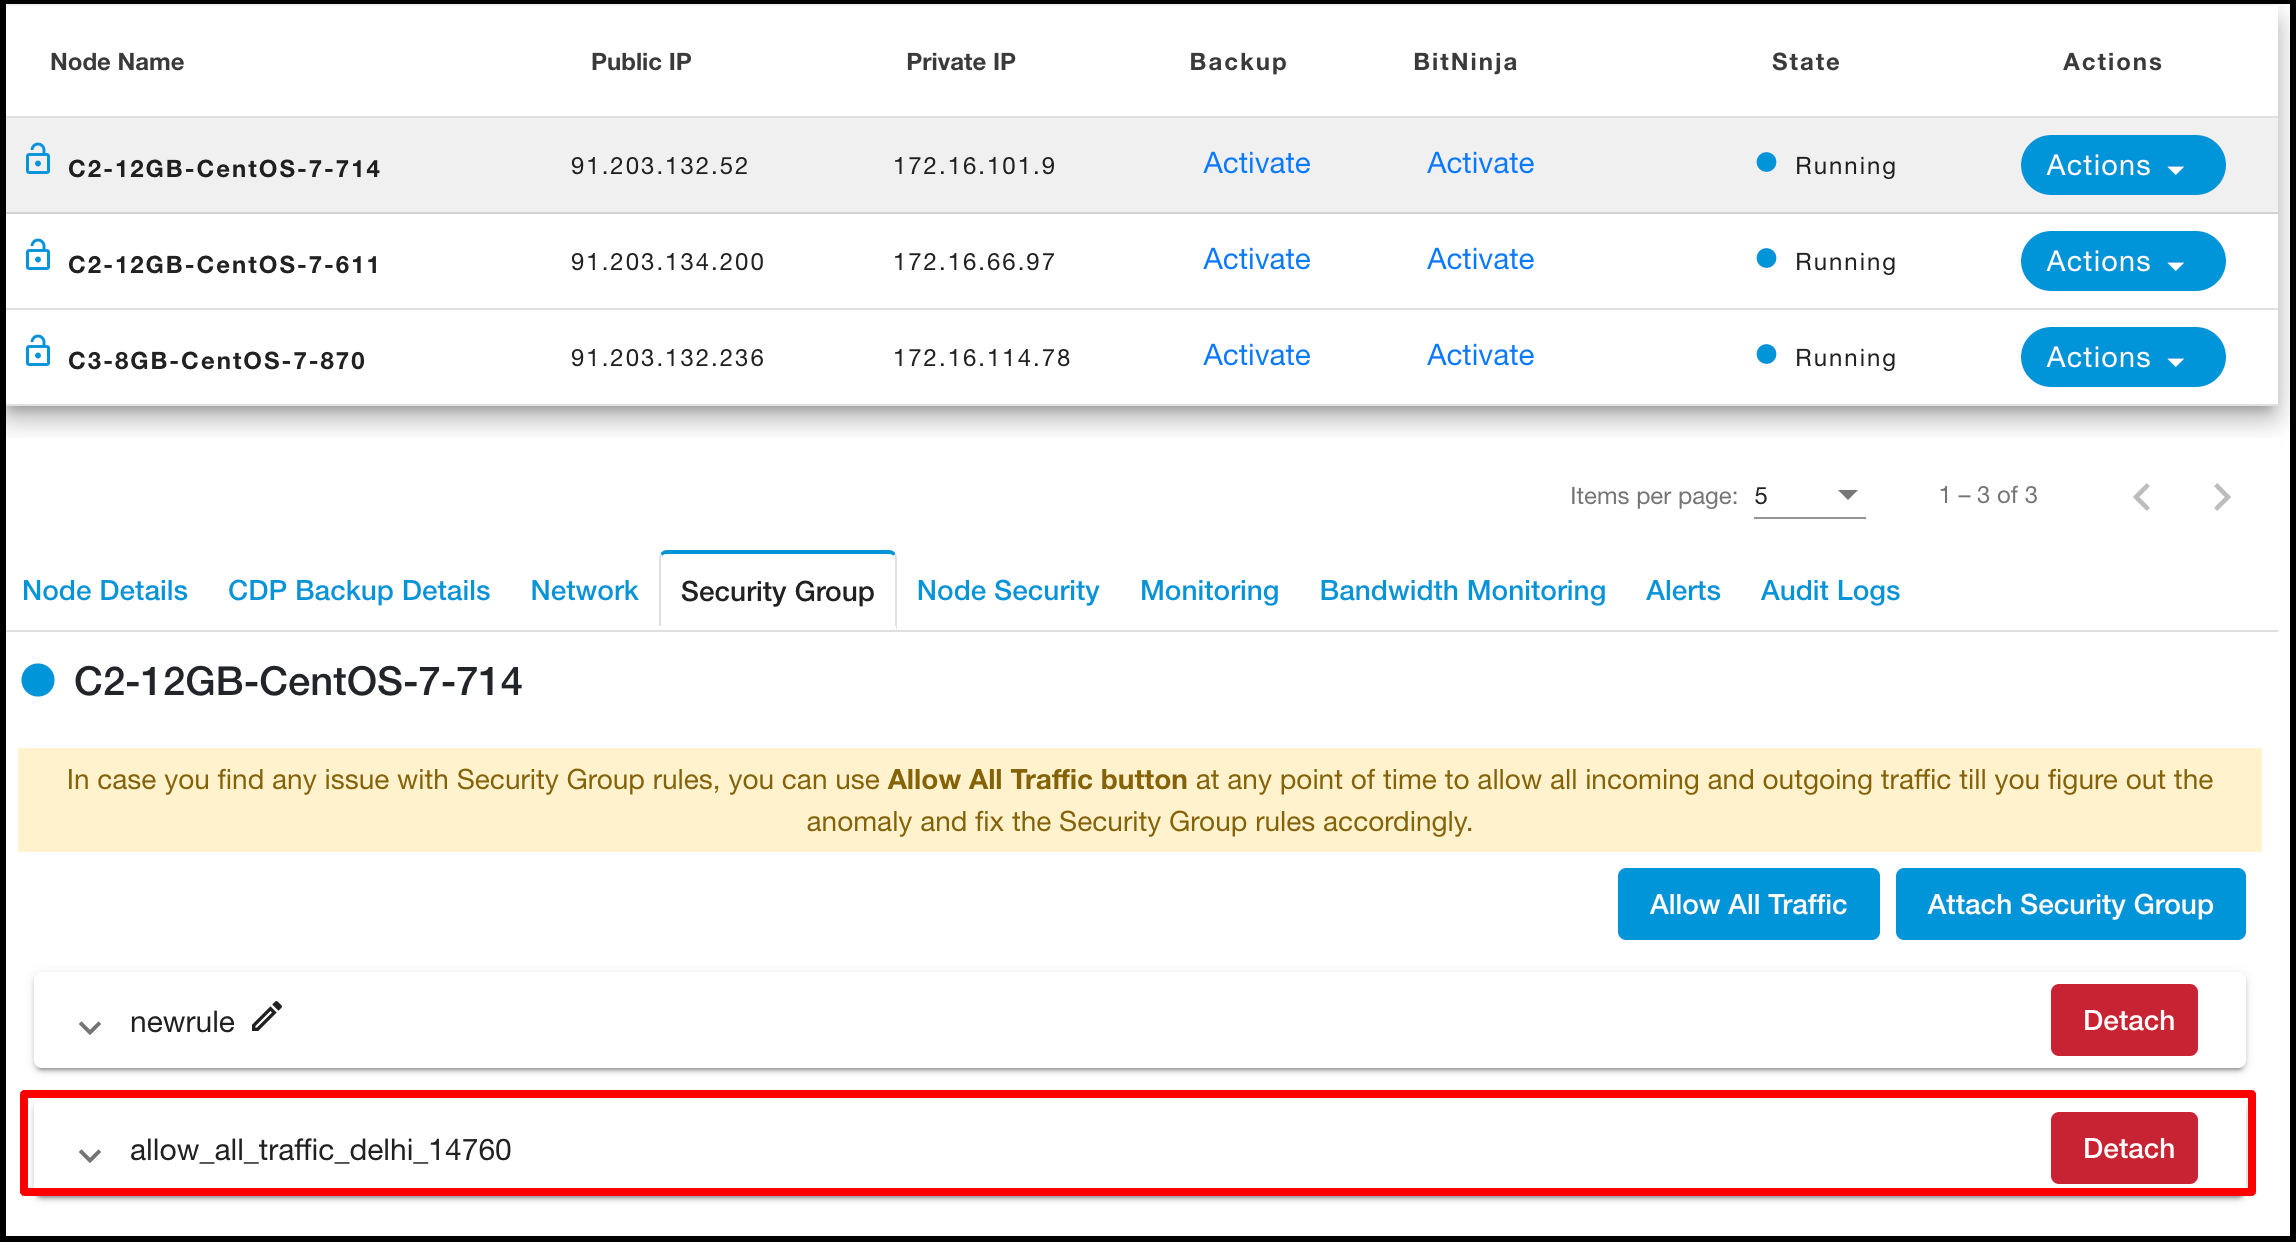
Click on the ‘Allow All Traffic’ button to add new security group.
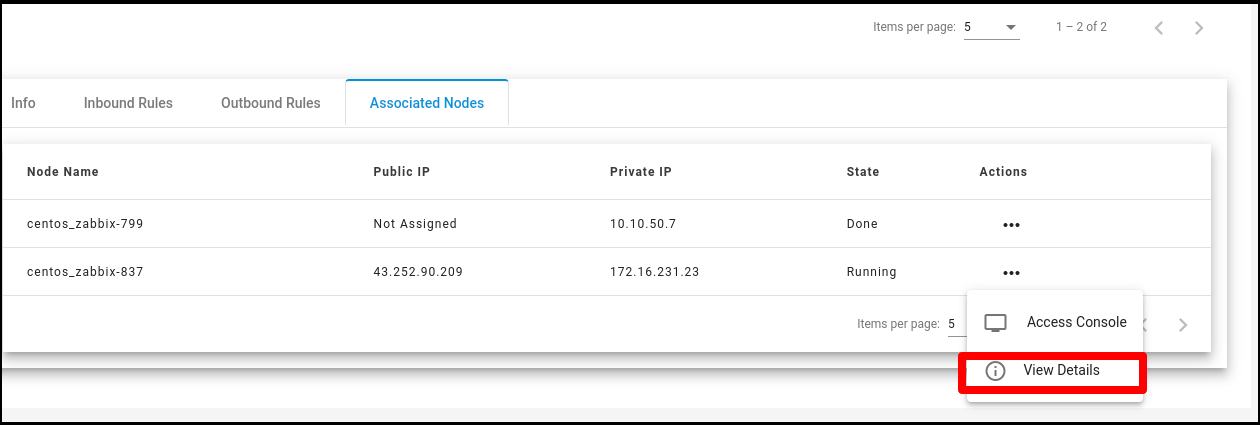
Associated Node - Actions
Click on the ‘Actions’ button list out ‘View Details’ button
Click on ‘View Details’ user can redirect to ‘Manage Node’ list and can see node details.
Adding Node
Click on the ‘Compute’ Submenu under ‘Products’ .
Click on the ‘Add New Node’ and redirect to the ‘Create Compute Node’ page.
Select any plan and click on ‘Create’ button then redirect to ‘Create Compute Node’ page.
Select ‘Security Group’ under the ‘Node Security’ section while creating nodes.
