Access node in recovery mode
Select Actions for the respective node where need to enable recovery mode from Manage Nodes option.
Firstly need to power-off the node to enable recovery mode….


Now need to select Enable Recovery Mode option from Actions to enable it.


Once the recovery mode is enabled will get the below message as Recovery Mode Enabled

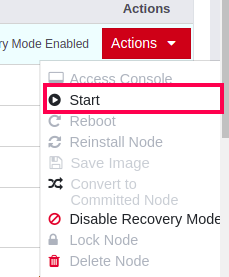
Server to be started after enabling the recovery mode. Please wait for the recovery mode to be enabled. Once enabled, power on the node to boot in to recovery mode.

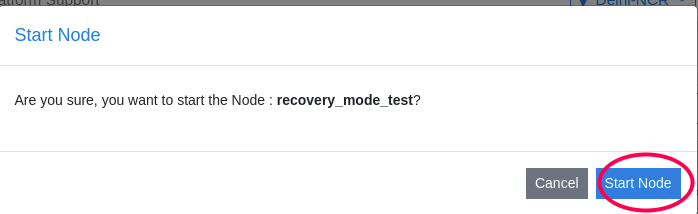
Once the node comes to running state, select Actions -> Access Console.

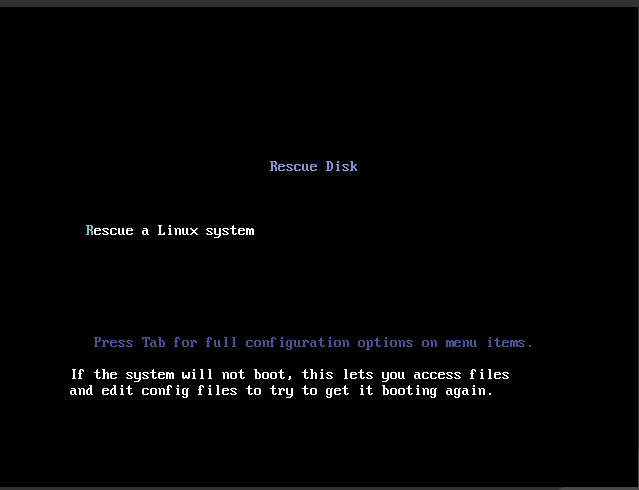
Click on the screen and press enter to boot in to recovery mode.
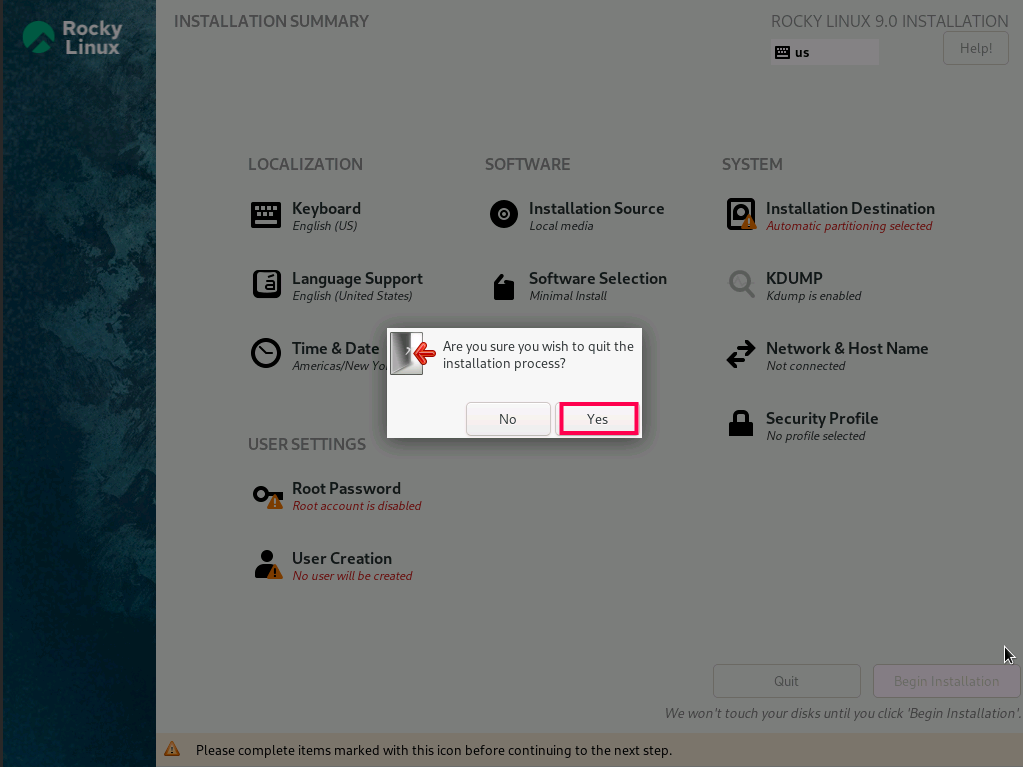
If rescue disk enabled and left for 30 seconds, you need to quit installation as per below screenshot.
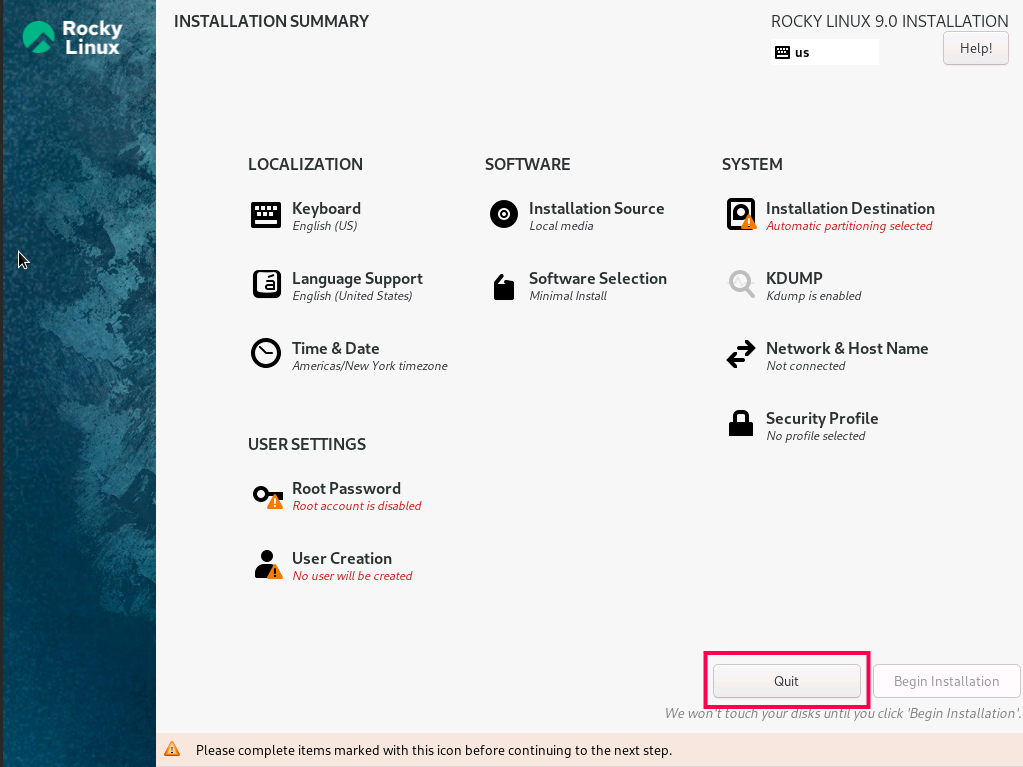
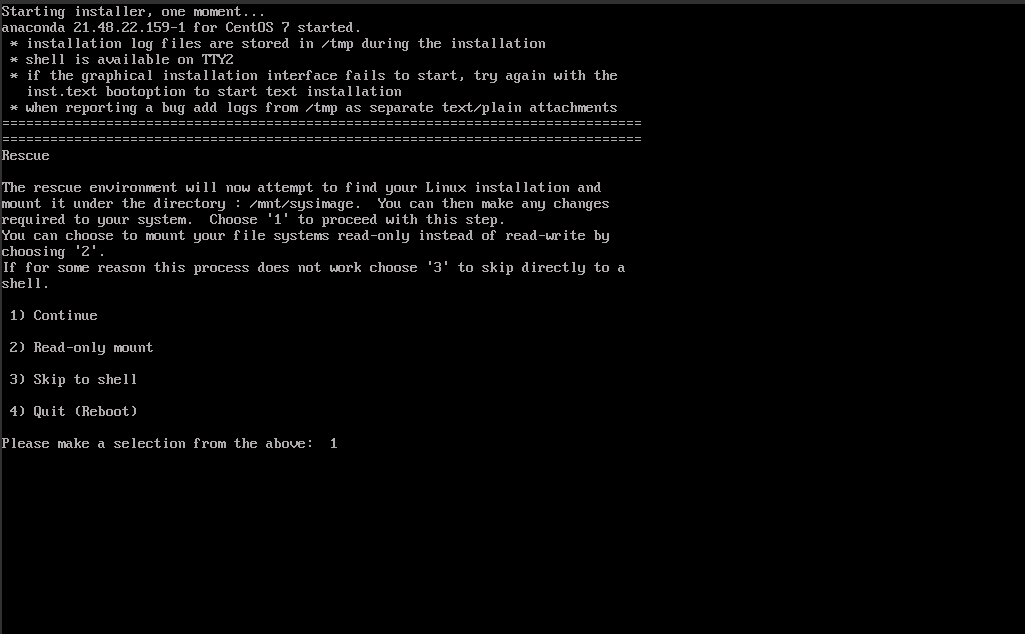
After Quiting, the rescue image will boot in to recovery mode.
Then to chose option 1 to mount the disk, Enter 1 on the below screen to continue as in the picture below
Press enter button to get the command line in recovery mode.


Disk Space full
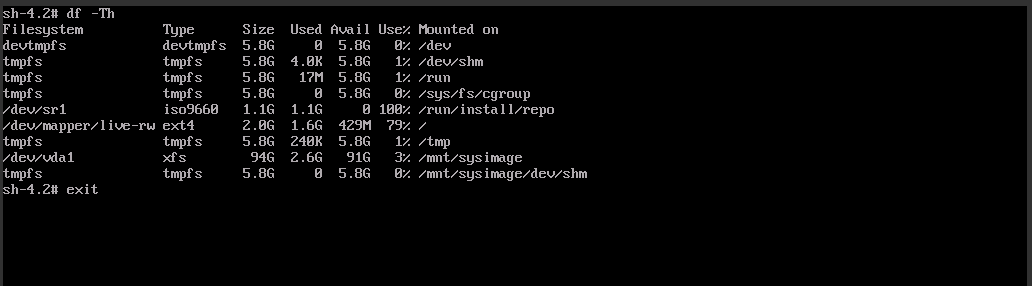
When the disk space is full on server can check with command -> “df -Th” and can see node’s disk (vda1) will be mounted on /mnt/sysimage.


If you want to remove / delete through recovery mode then you can browse and clear the unwanted files.

Change password
If you want to change the password of root user through recovery mode you can mount disk (vda1) on /mnt/sysimage and change as per the below screen.


Note
Please check if the user is changed to root@localhost if not use sudo -i, it is mandatory to change root password.

To exit / unmount the disk (vda1) from /mnt/sysimage can run exit command as in the screenshot below :

Once disk is cleared / password reset done or other operations performed through recovery mode you can power-off the node again.

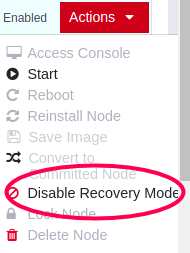
Thereby disable the recovery mode option through Disable Recovery Mode from Actions
Finally, you can power on the node and check the server status should be on RUNNING state.