VPC
Introduction
E2E networks Virtual Private Cloud enables you to launch E2E nodes into a virtual network that you’ve defined. This virtual network closely resembles a traditional network that you’d operate in your own data centre. VPC networks provide a more secure connection between resources because the network is inaccessible from the public internet and other VPC networks. Traffic within a VPC network doesn’t count against bandwidth usage.
Navigate to VPC page
Please go to ‘My Account’ and log in using your credentials set up at the time of creating and activating the E2E Networks ‘My Account’.
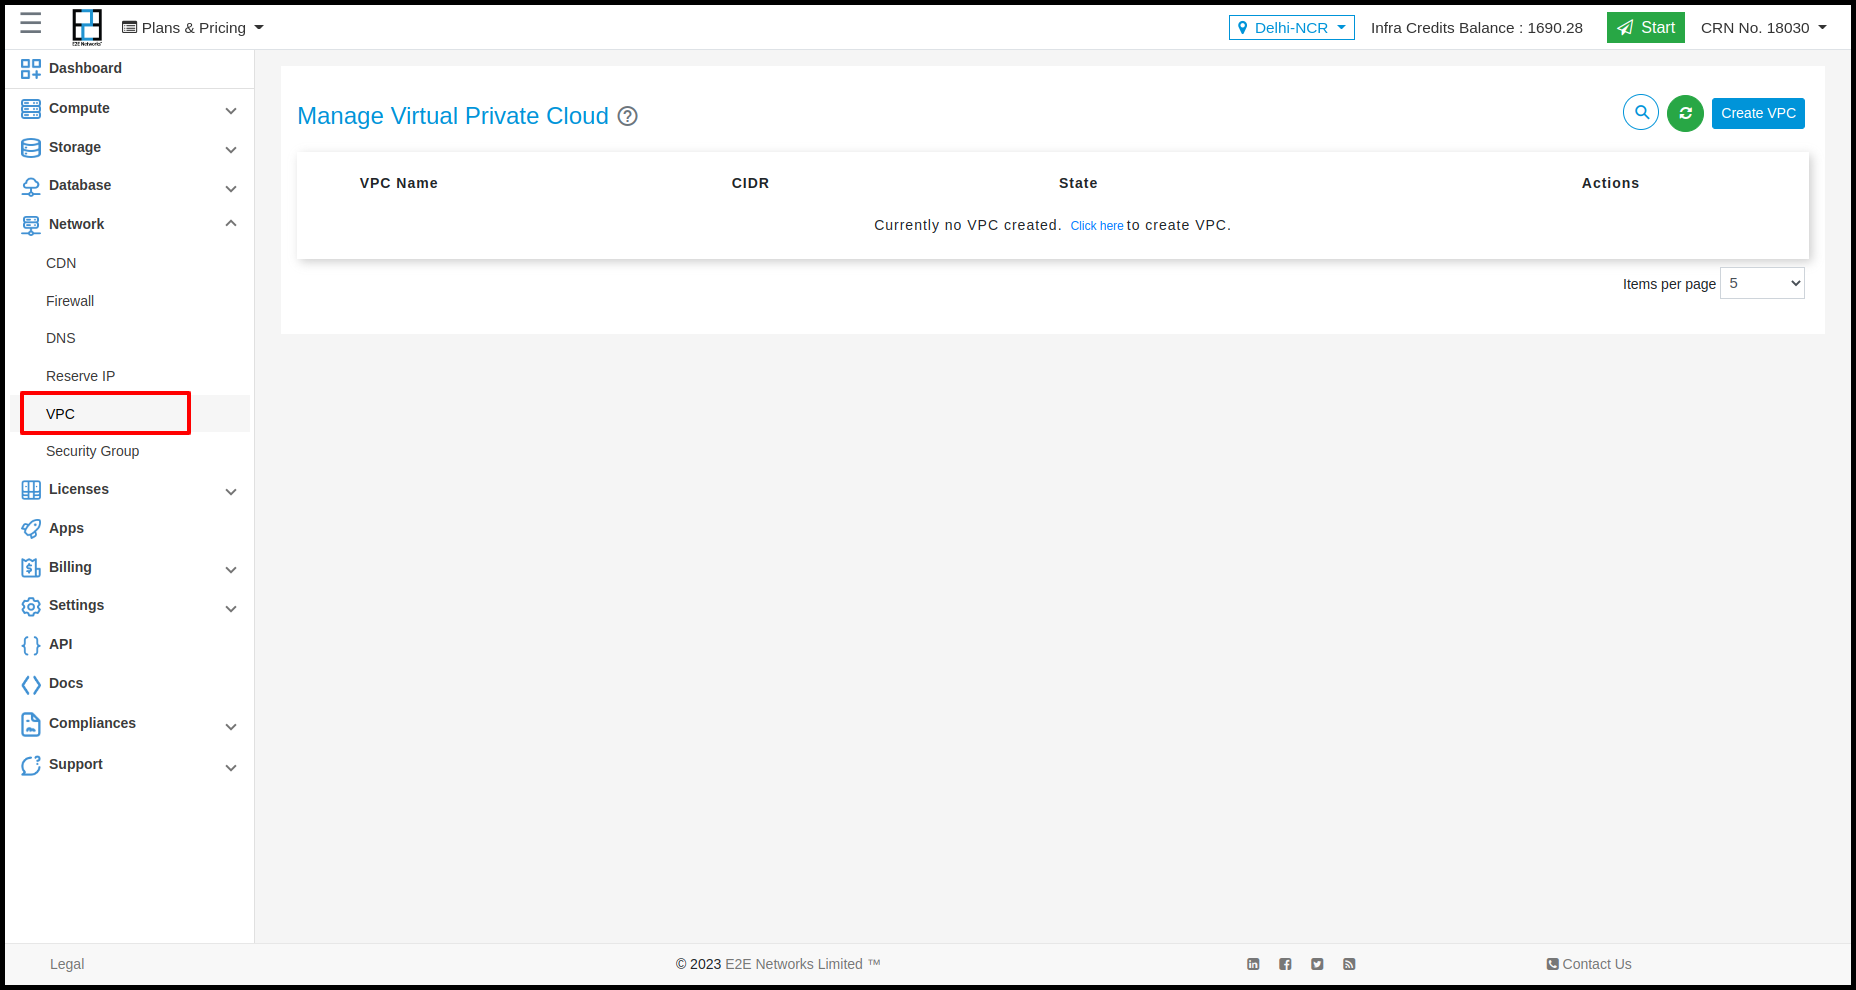
After you log in to the E2E Networks ‘My Account’, On the left side of the MyAccount dashboard, click on the “VPC (Beta)” sub-menu available under the Networking section.
You will be directed to the ‘Manage Virtual Private Cloud’ page.
Working with VPC
The following sections describe how you can use VPC.
Create New VPC
Click on the ‘VPC” sub-menu available under the Network section.
You will be directed to the ‘Manage Virtual Private Cloud’ page.
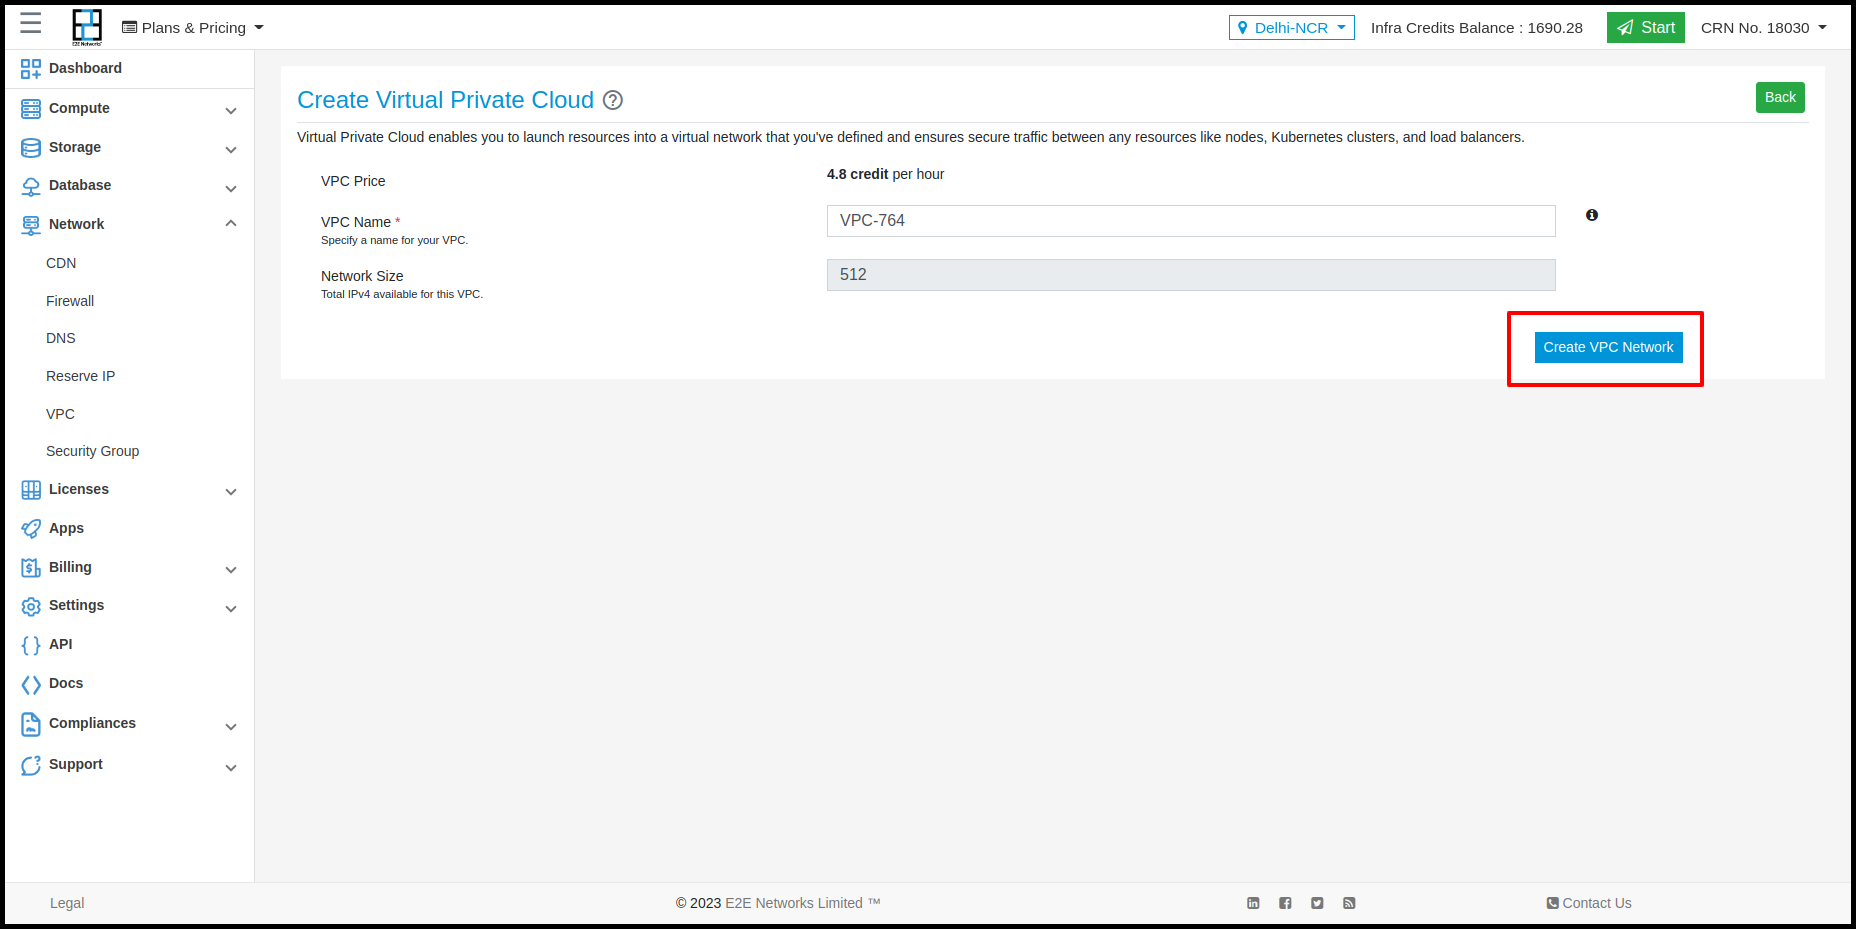
Click on the “Create VPC” button.
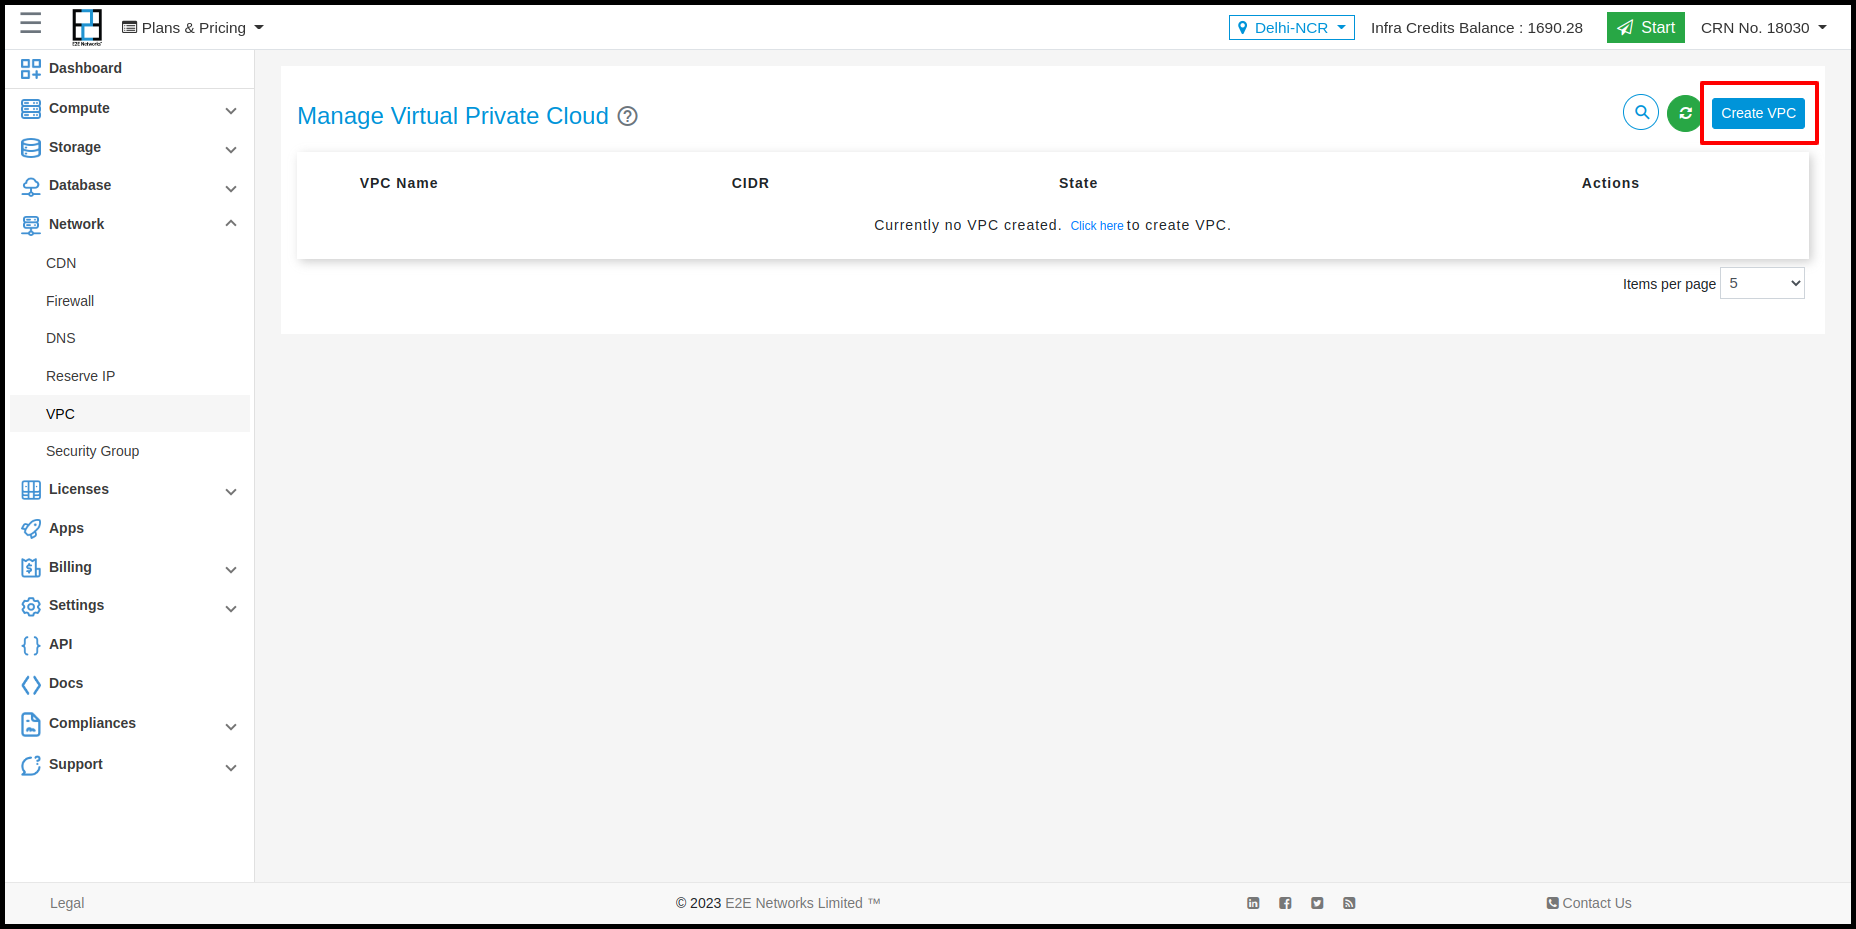
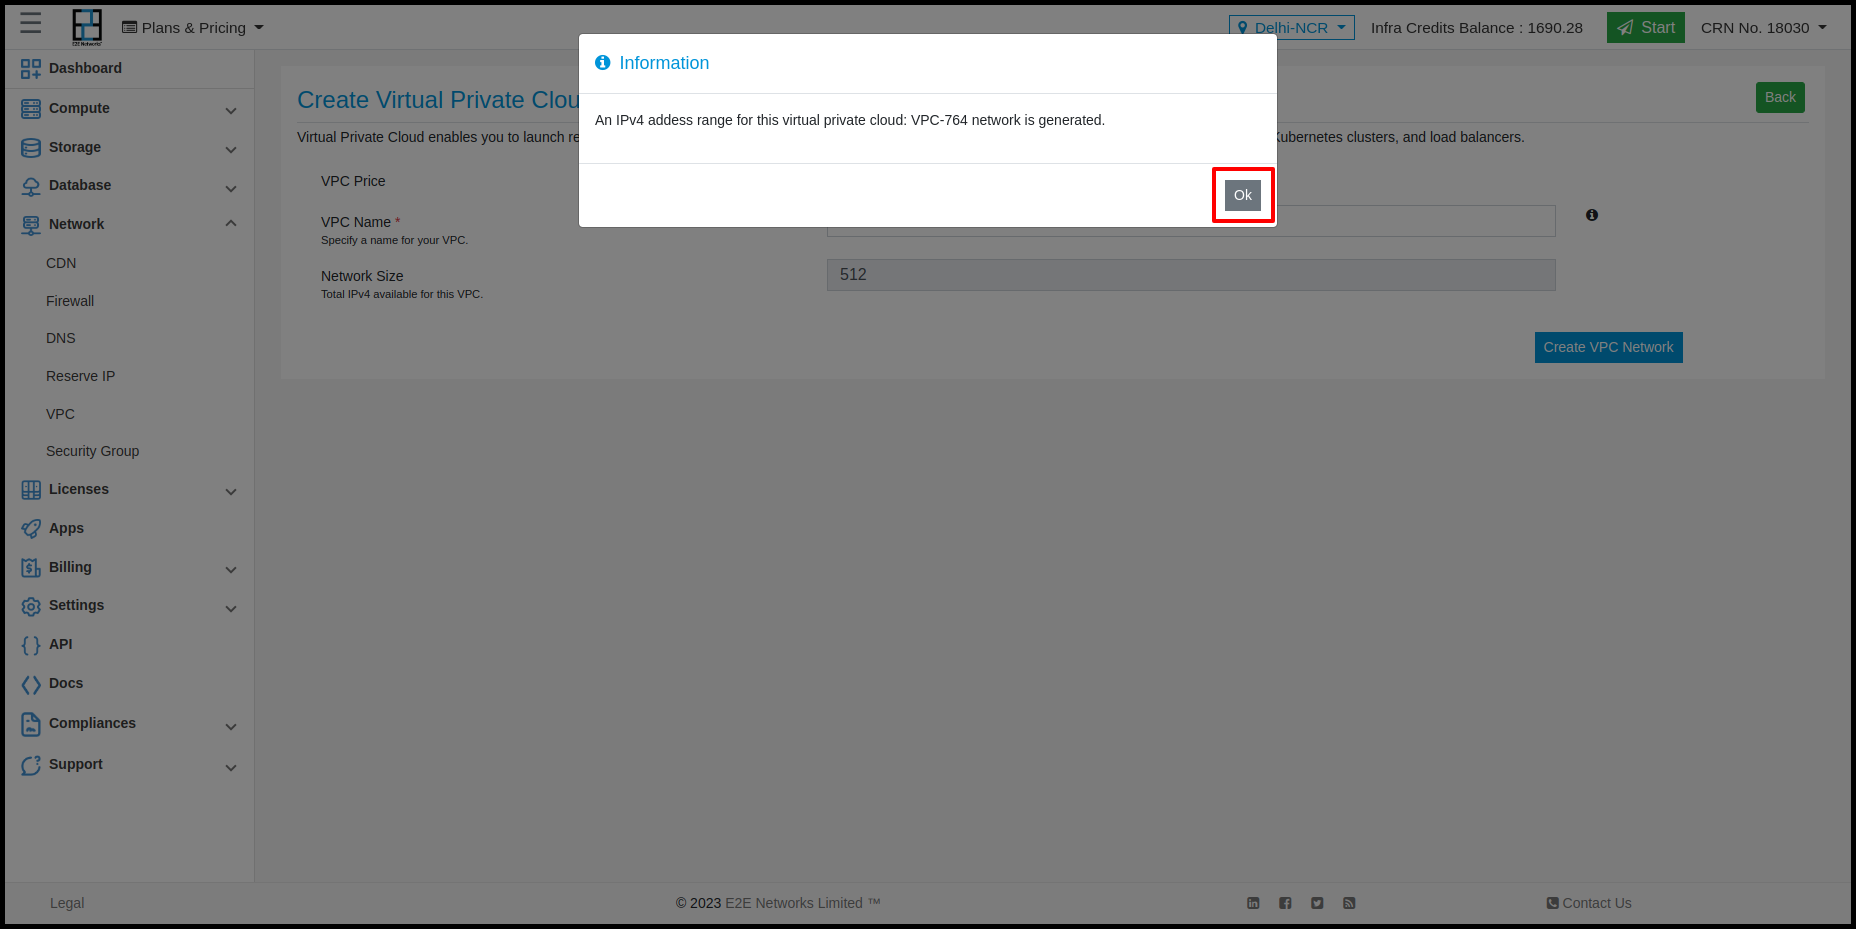
Click on the ‘Create VPC Network’ button to the new VPC pool for your MyAccount. The ‘Information’ popup will appear.
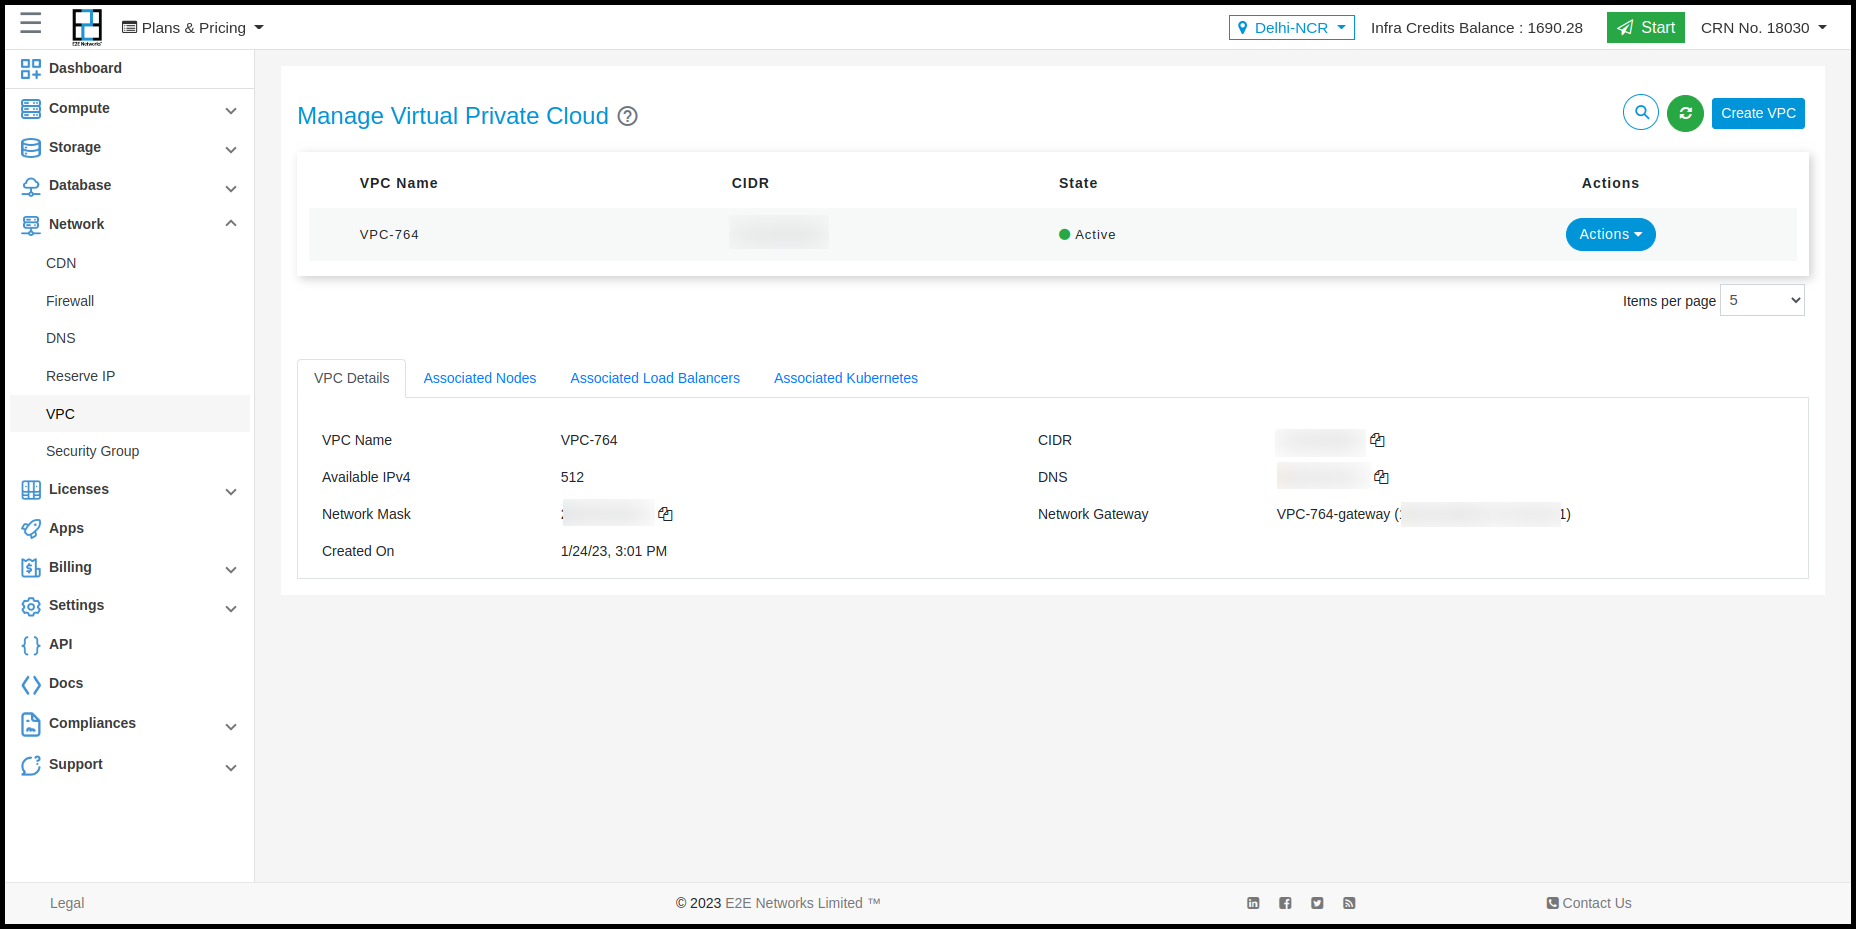
Click on the ‘OK’ button then your VPC will be created and it will show in list.
VPC - Actions
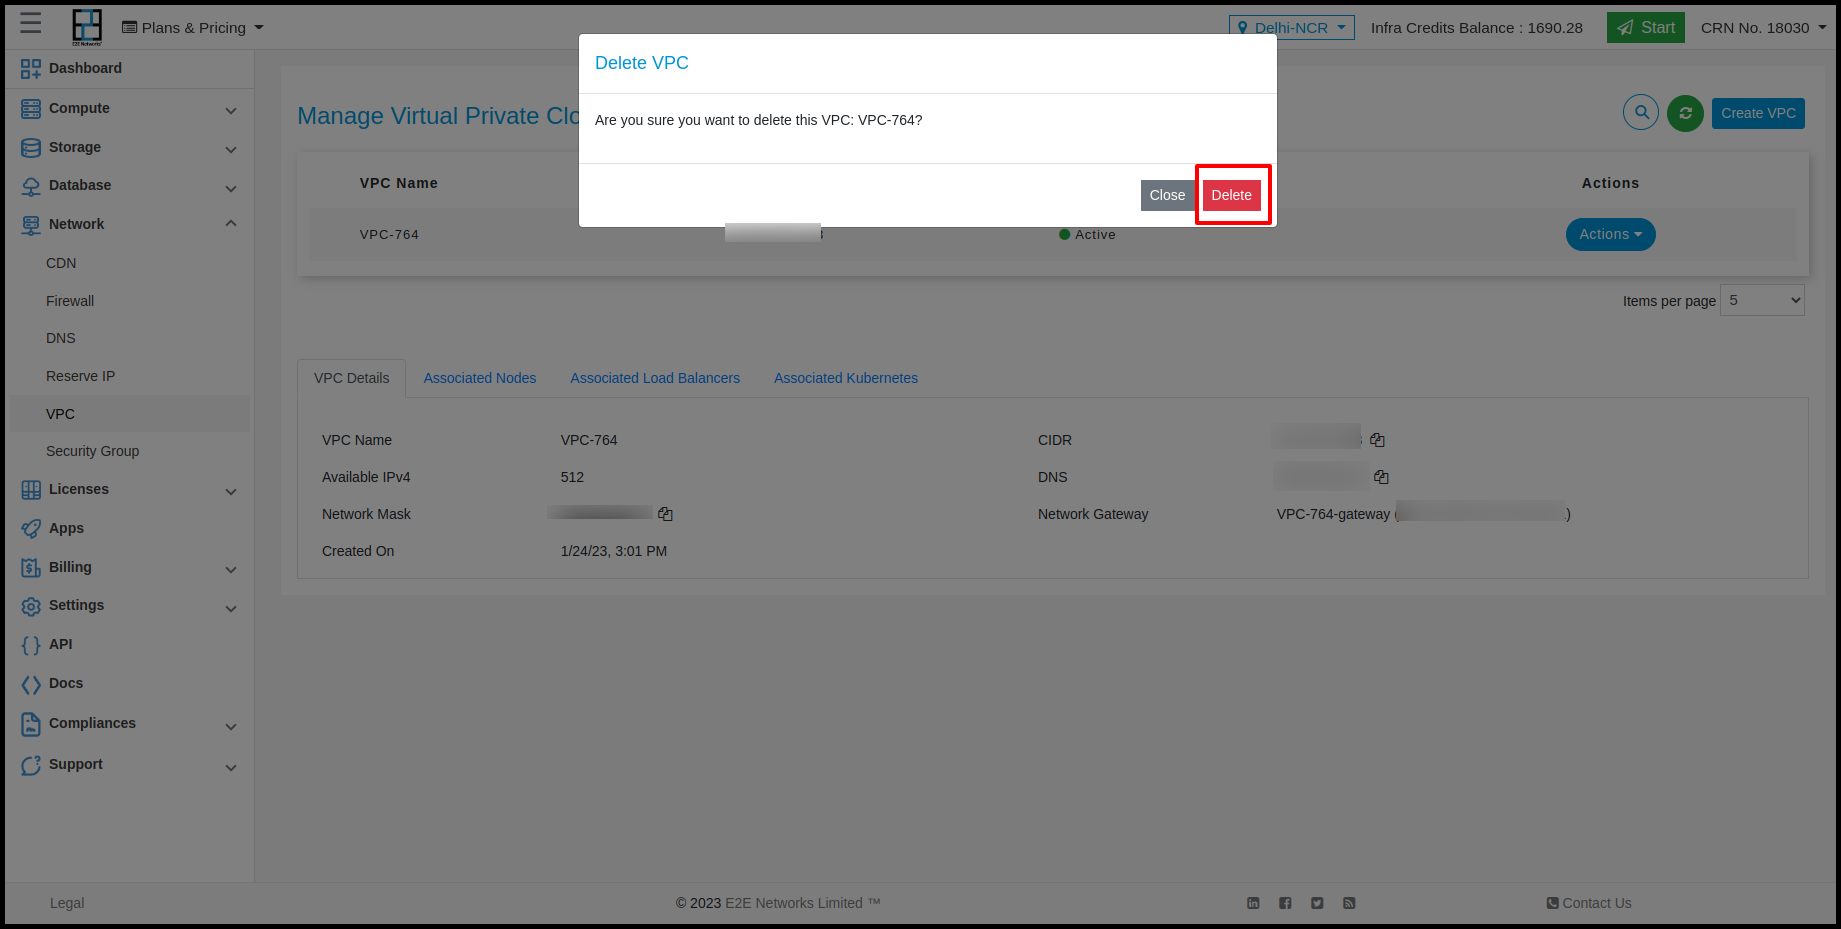
Click on the ‘Actions’ button list out ‘Delete VPC’ button
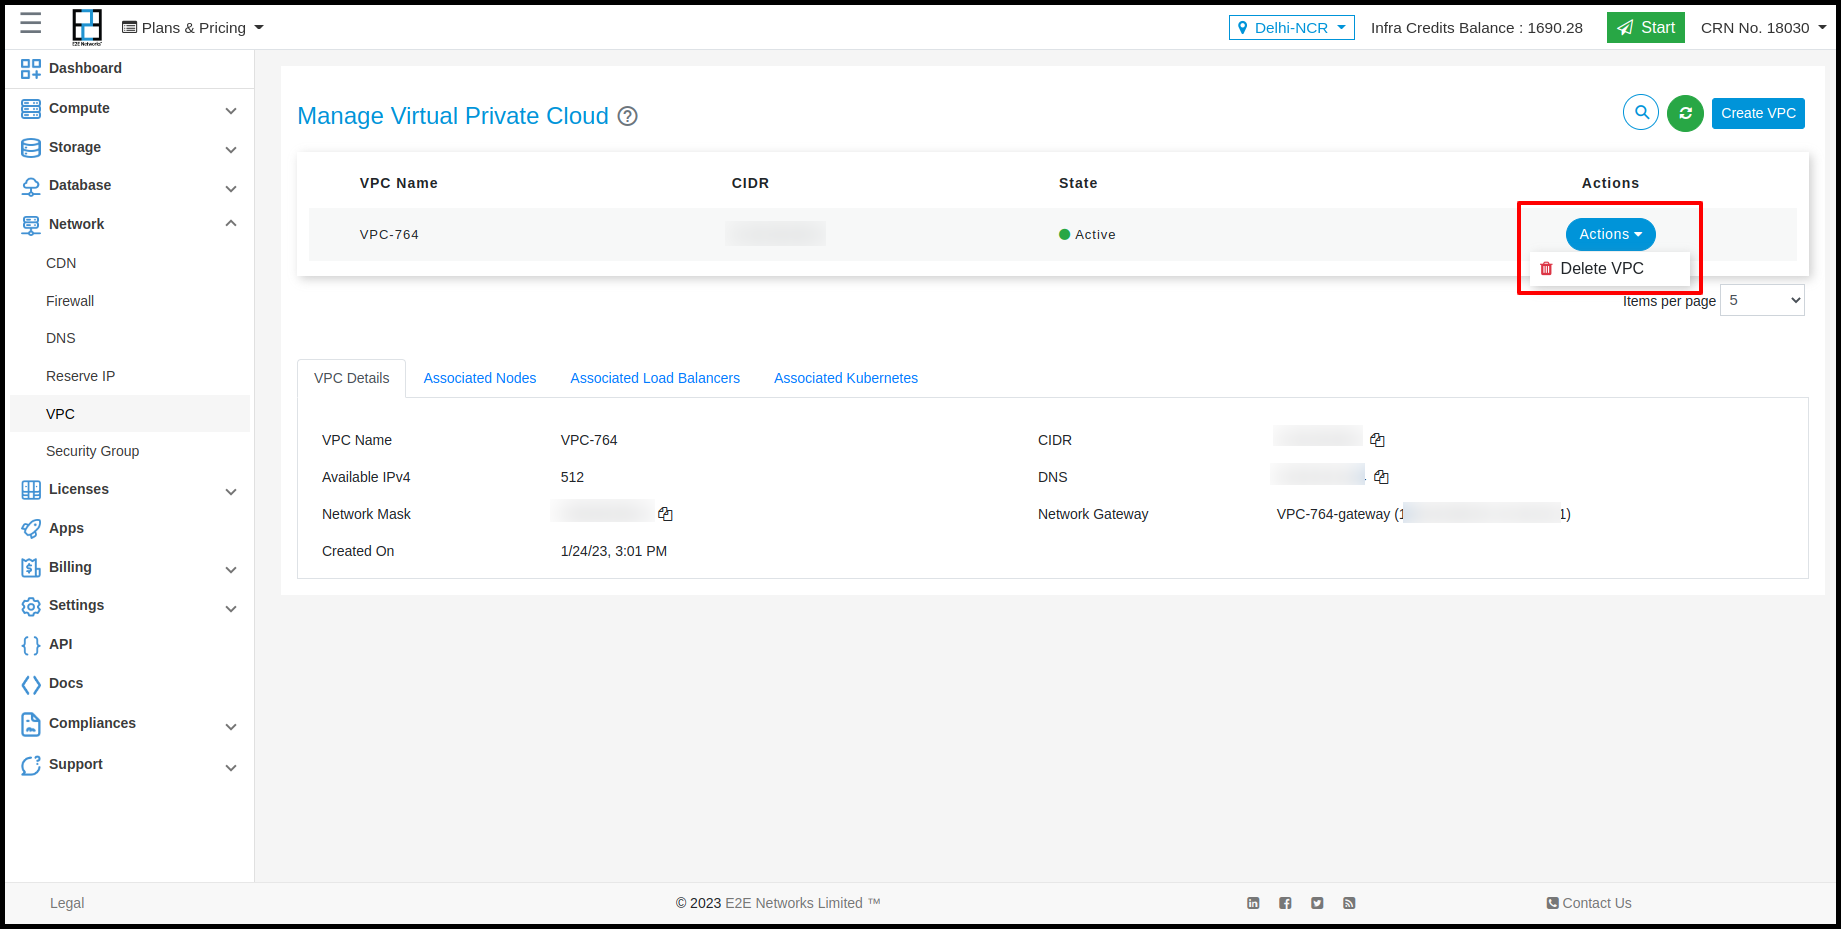
Click on the ‘Delete VPC’ button and open popup ‘Delete VPC’ and click on ‘Delete’ button to remove vpc.
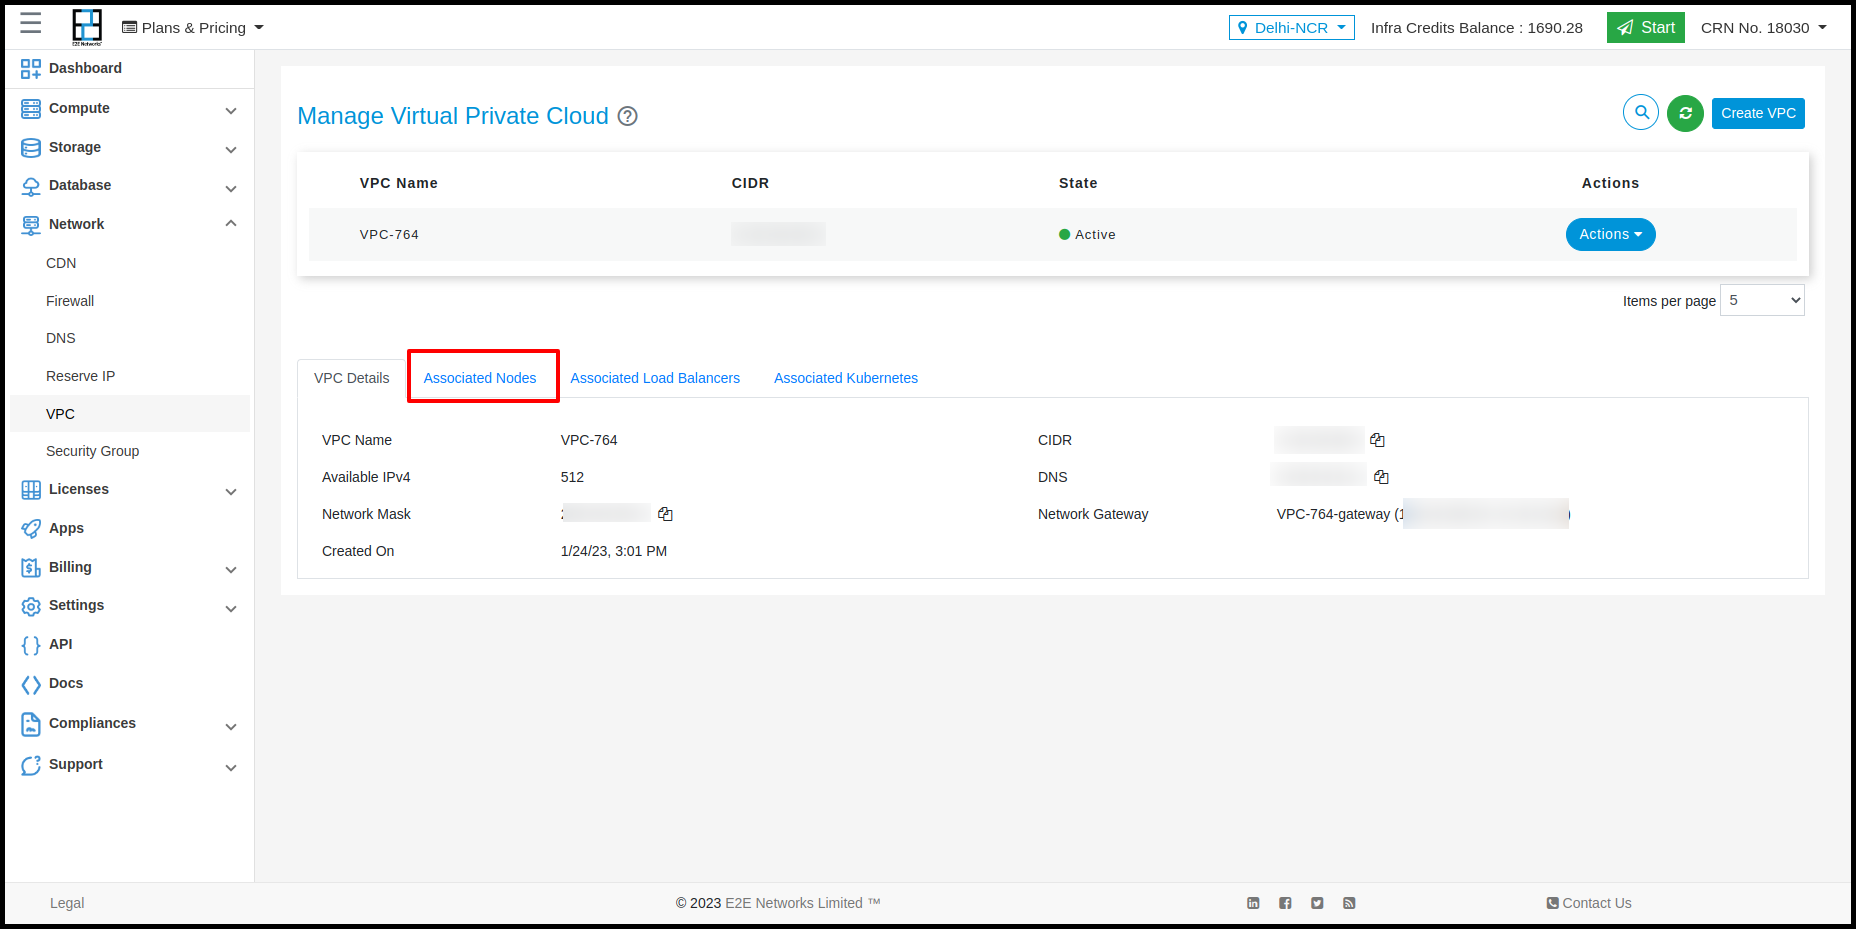
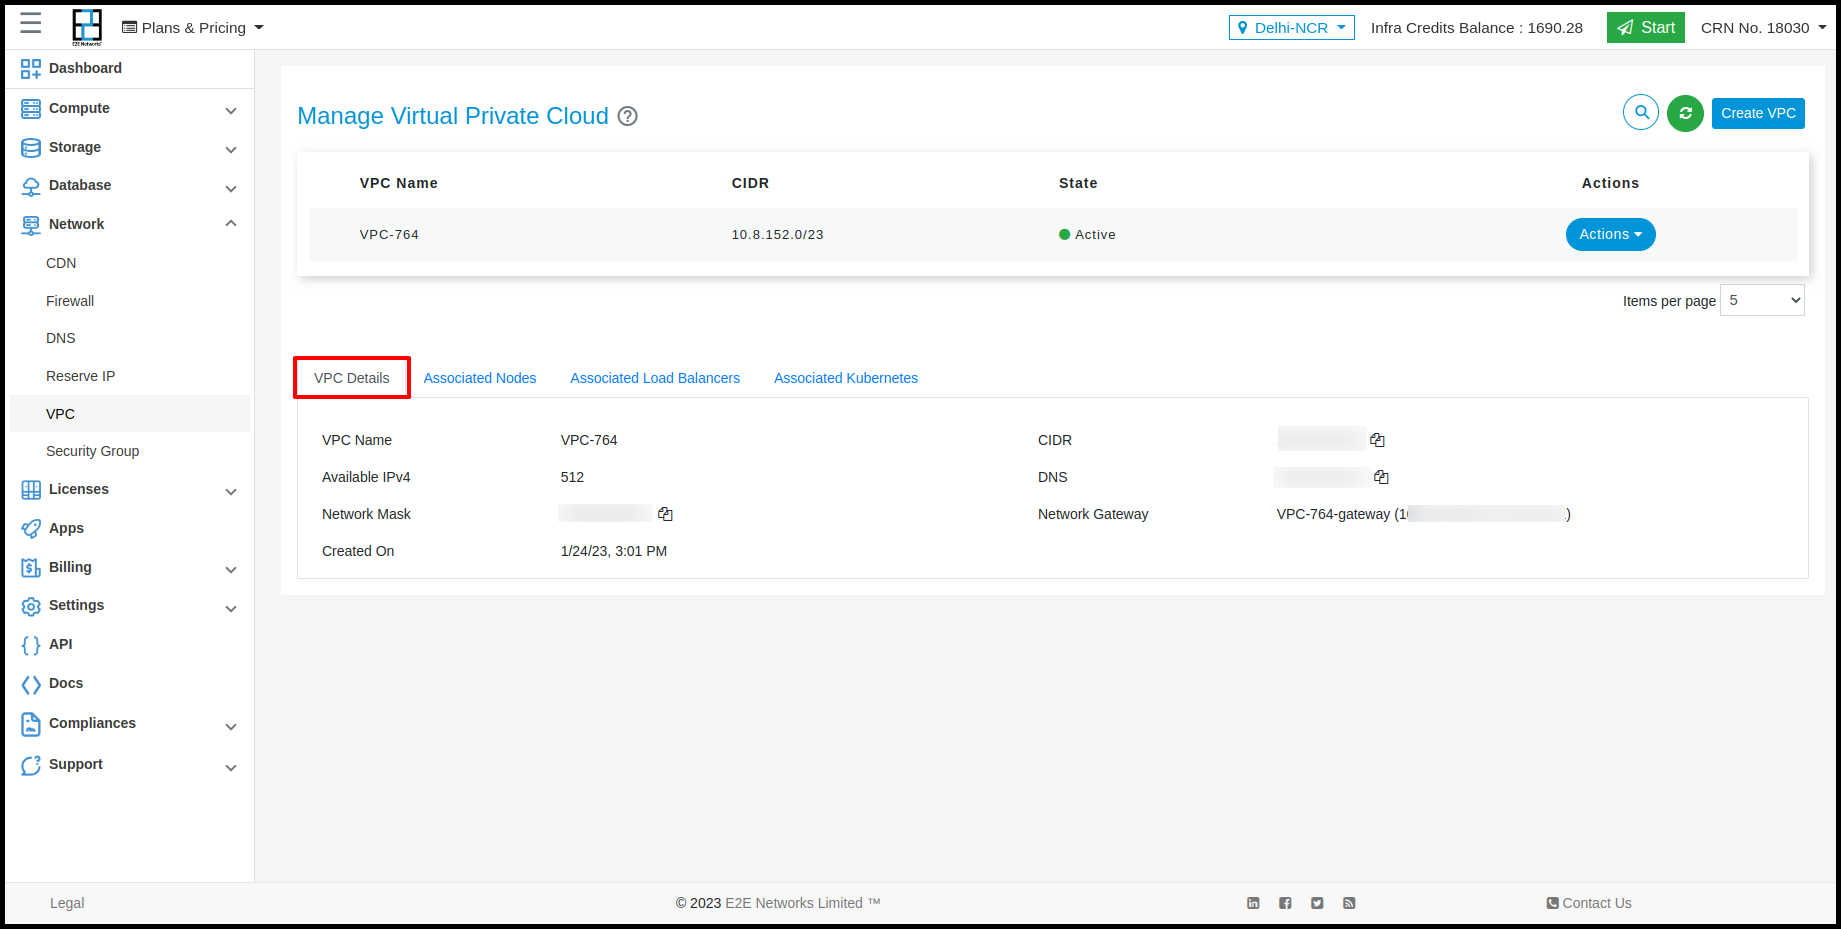
Associated Node With VPC
Click on the ‘Associated node Details’ tab to associate a Node.
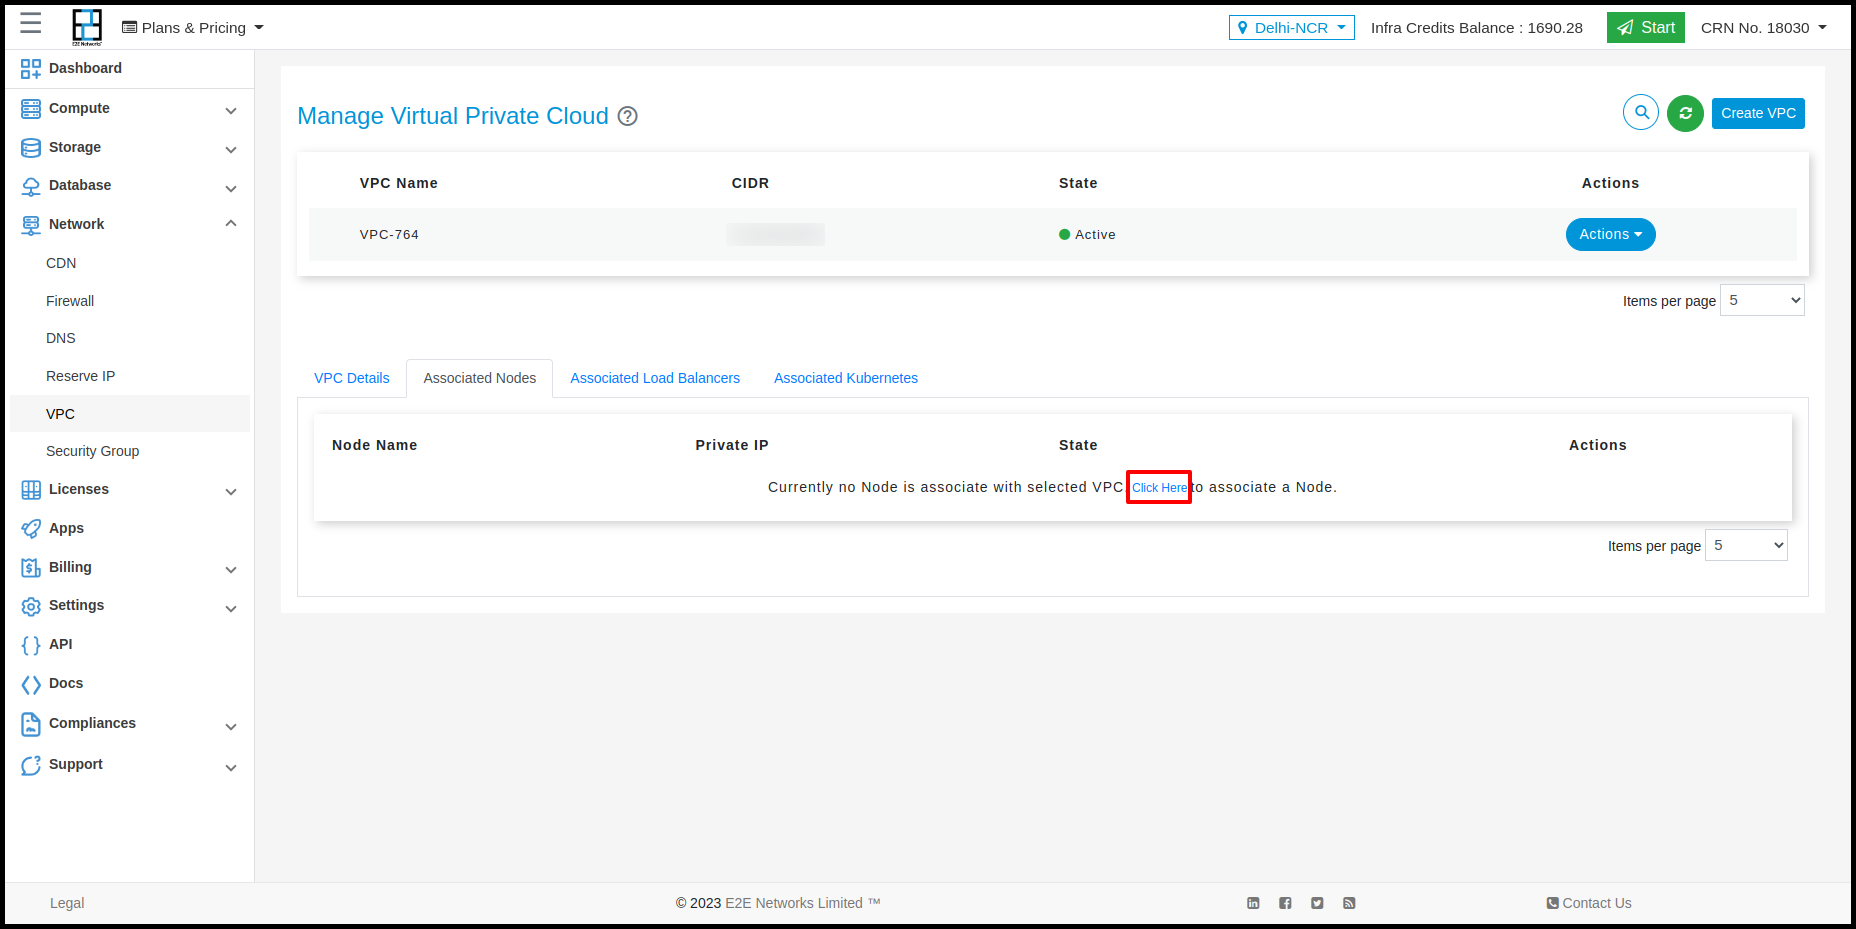
Click on the ‘Click here’ link to associate a Node.It’s redirect to ‘Manage Node’ Page.
Click on the ‘Network’ tab to associate VPC with Node.
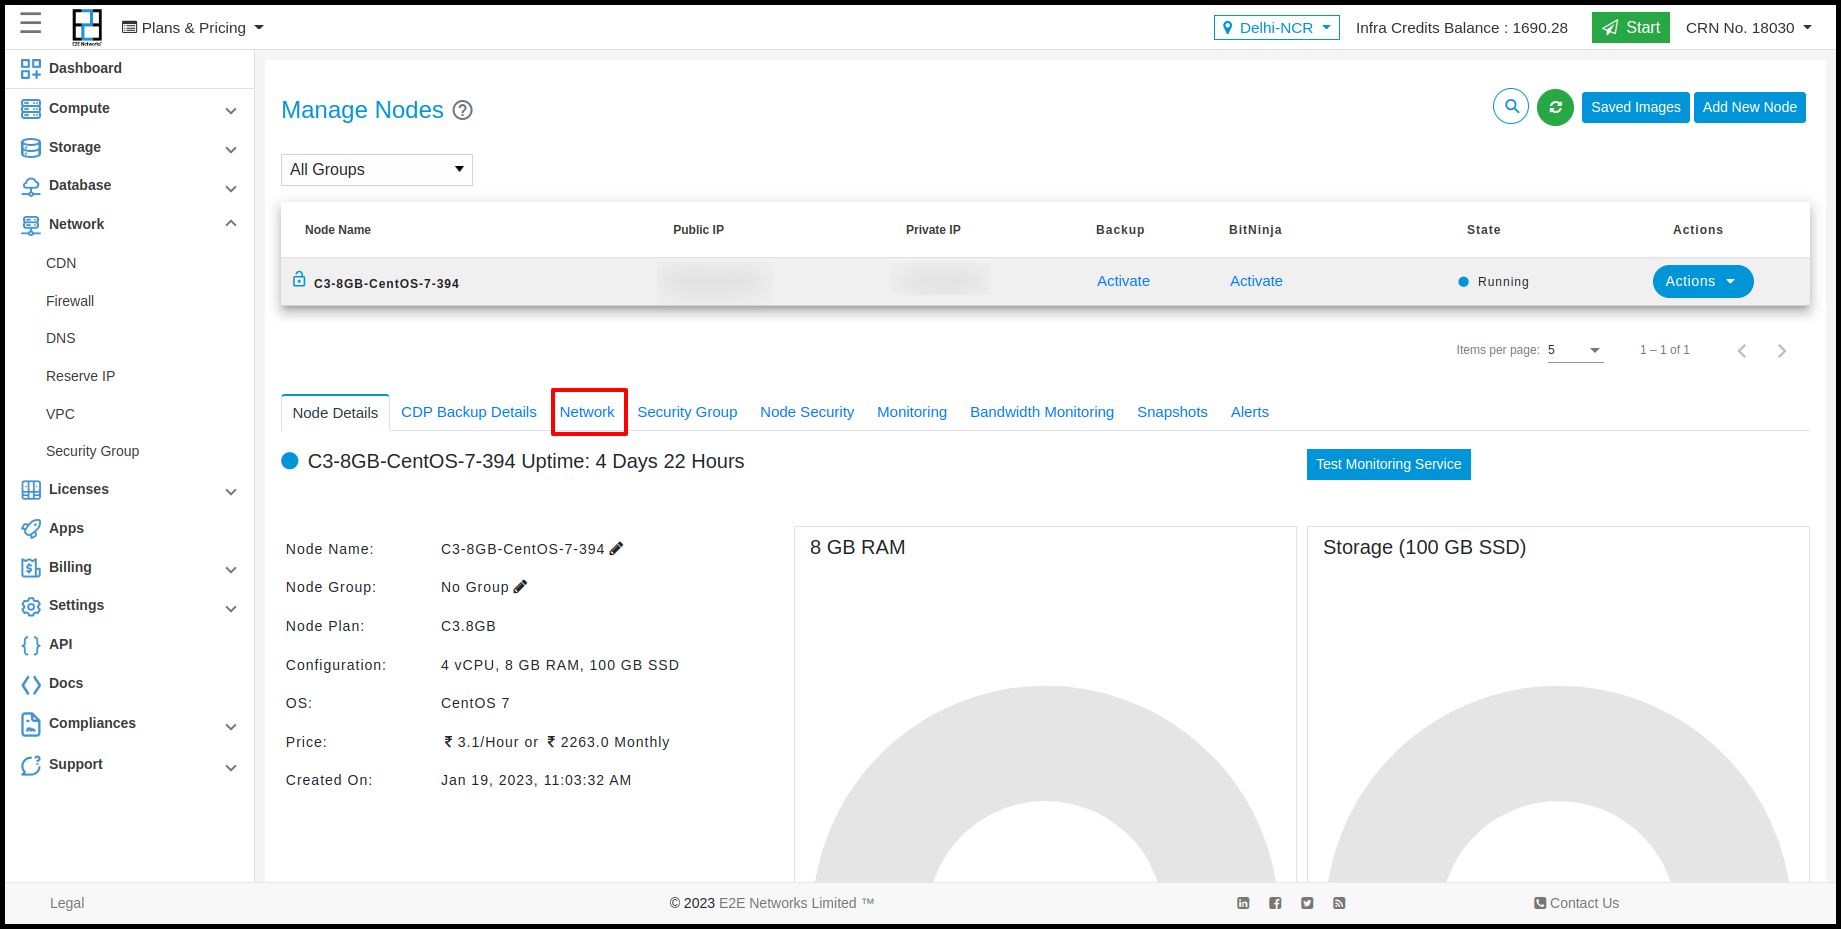
Click on the ‘click here’ link to associate VPC with Node.
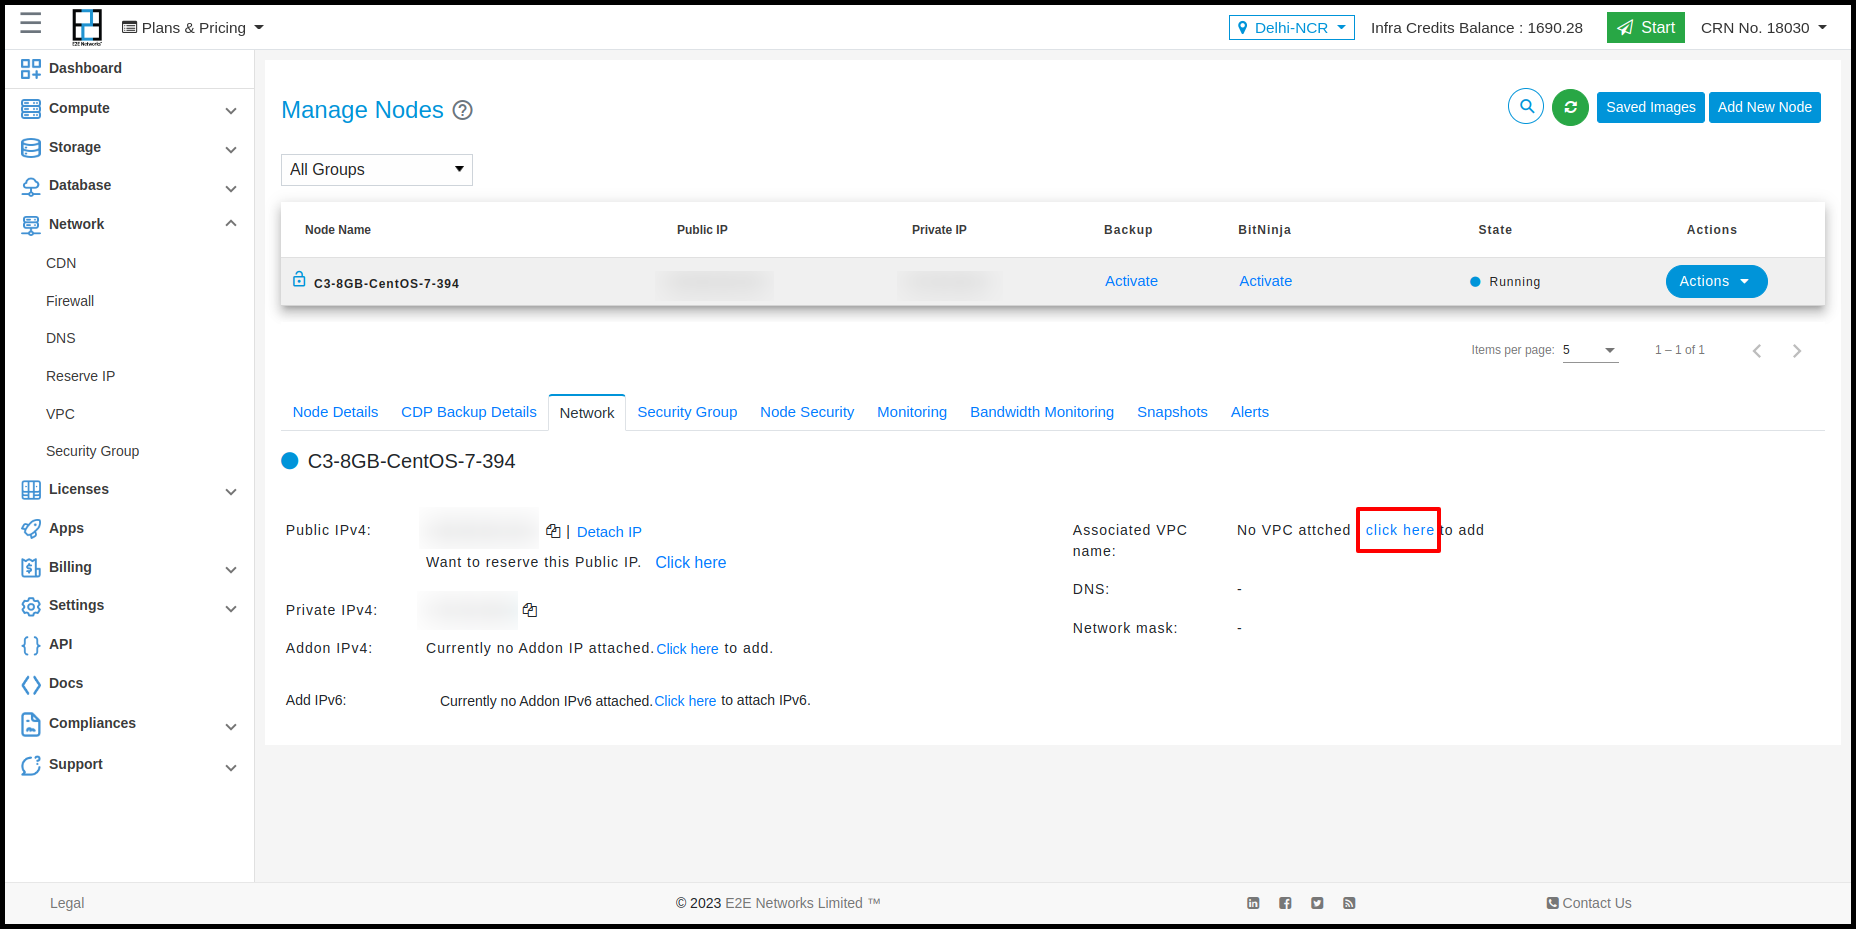
Click on the ‘click here’ link to associate VPC with Node. After that appear ‘Attach VPC’ popup.
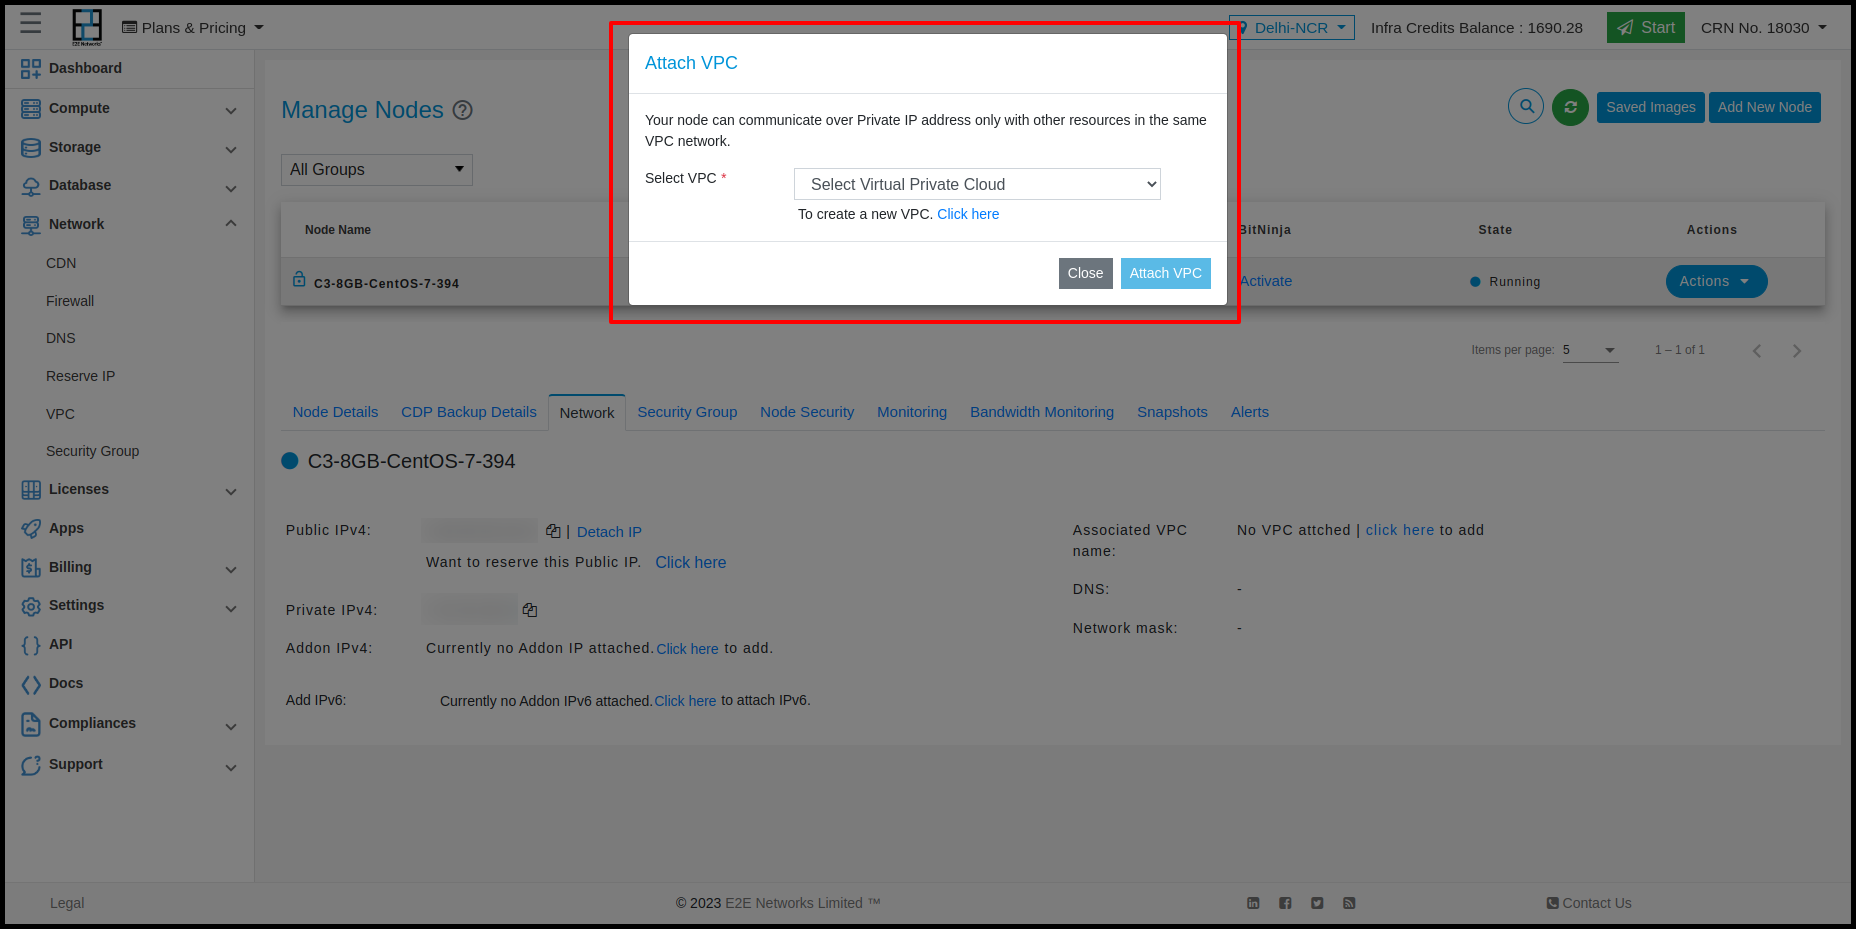
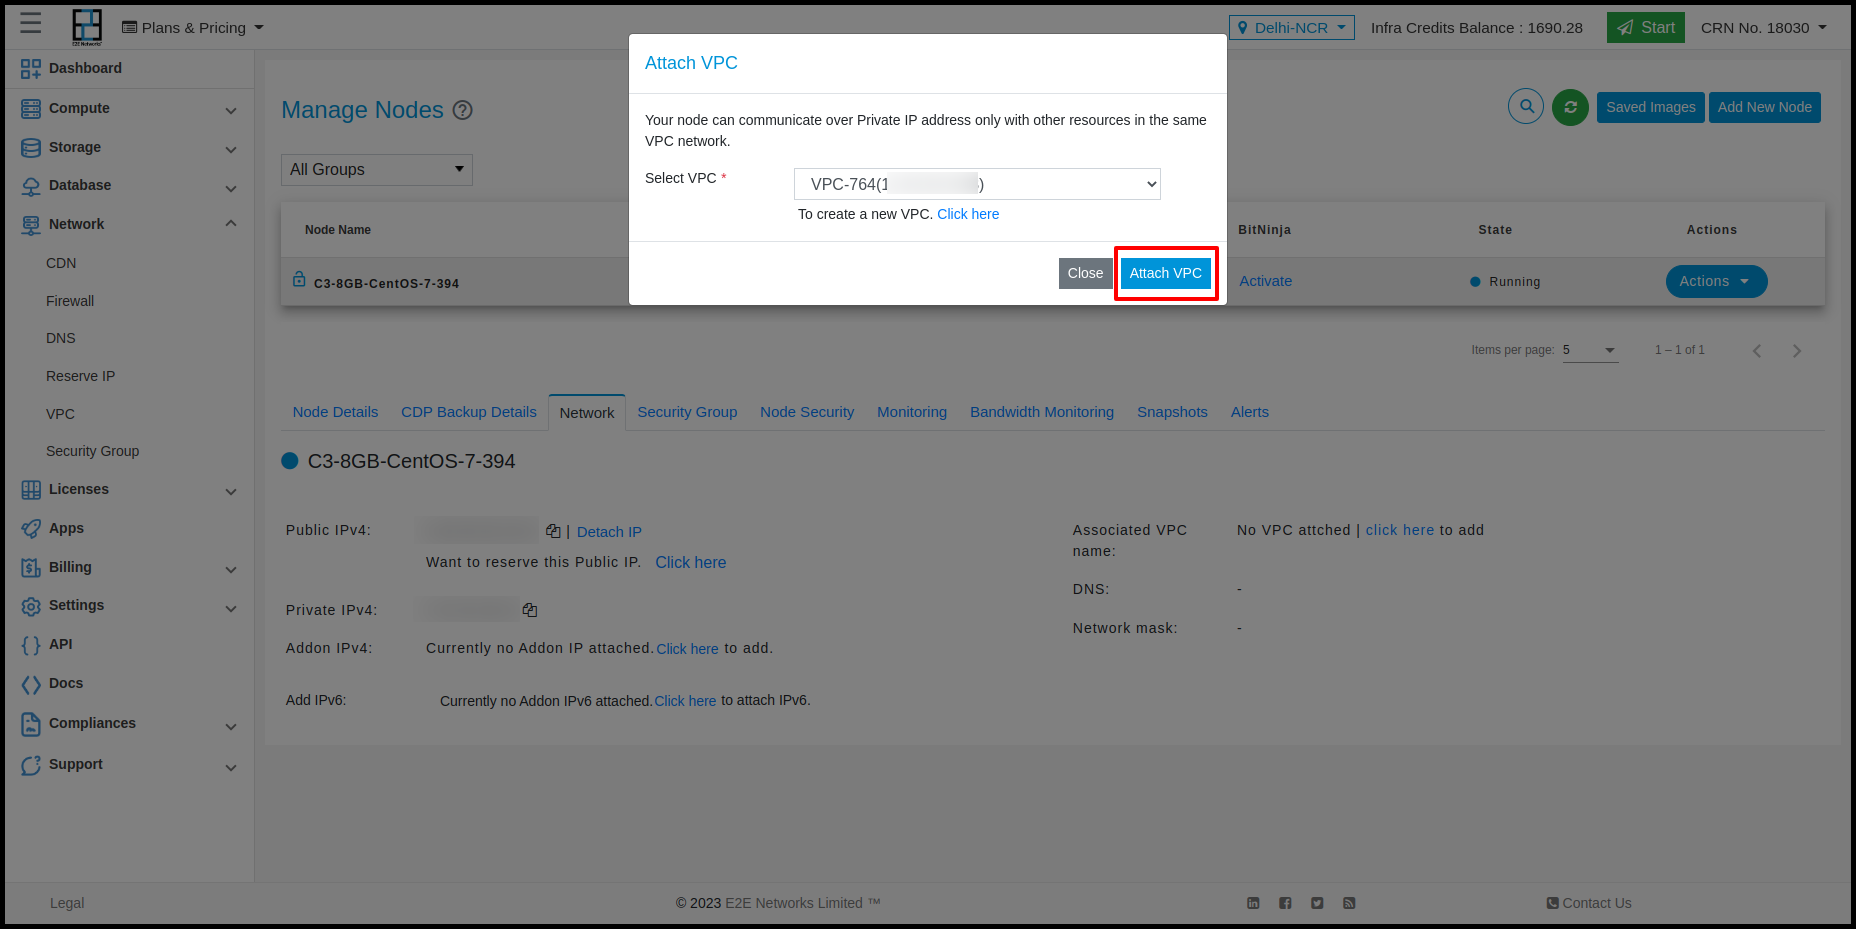
Click on the ‘Select VPC’ from the drop down menu and choose vpc.
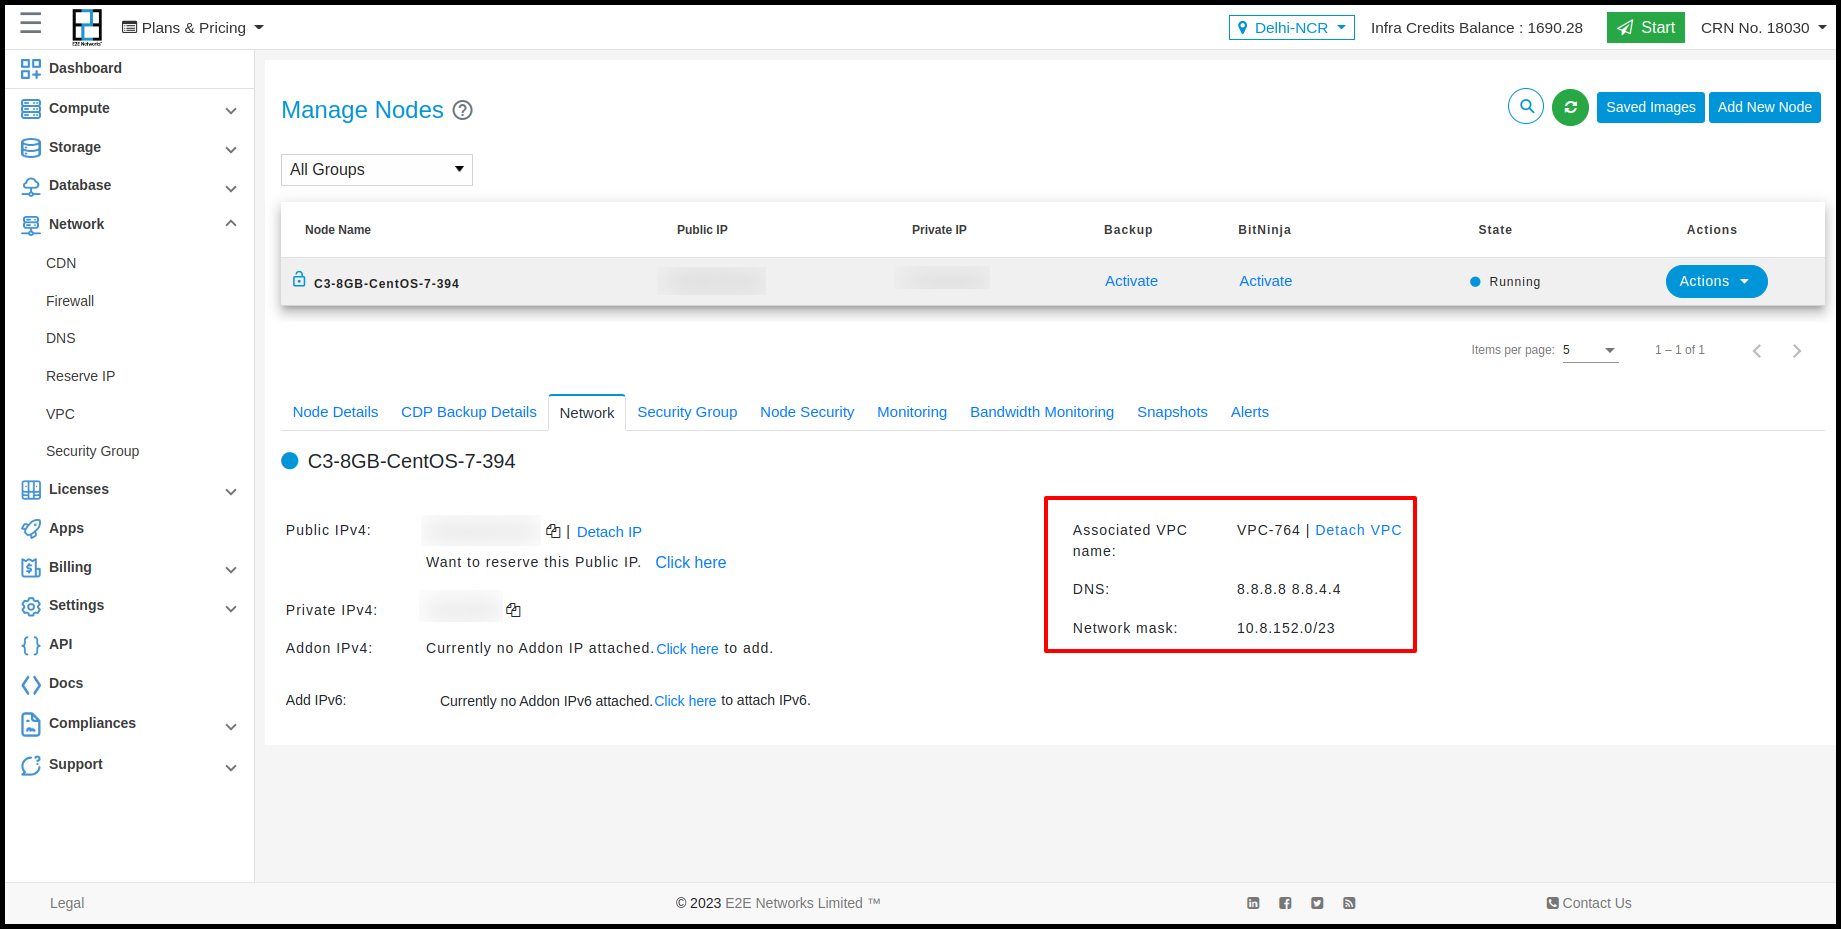
After selected VPC with Node visible in the ‘Network’ tab.
Associated Node - Actions
Click on the ‘Actions’ button list out ‘Access Console’ button
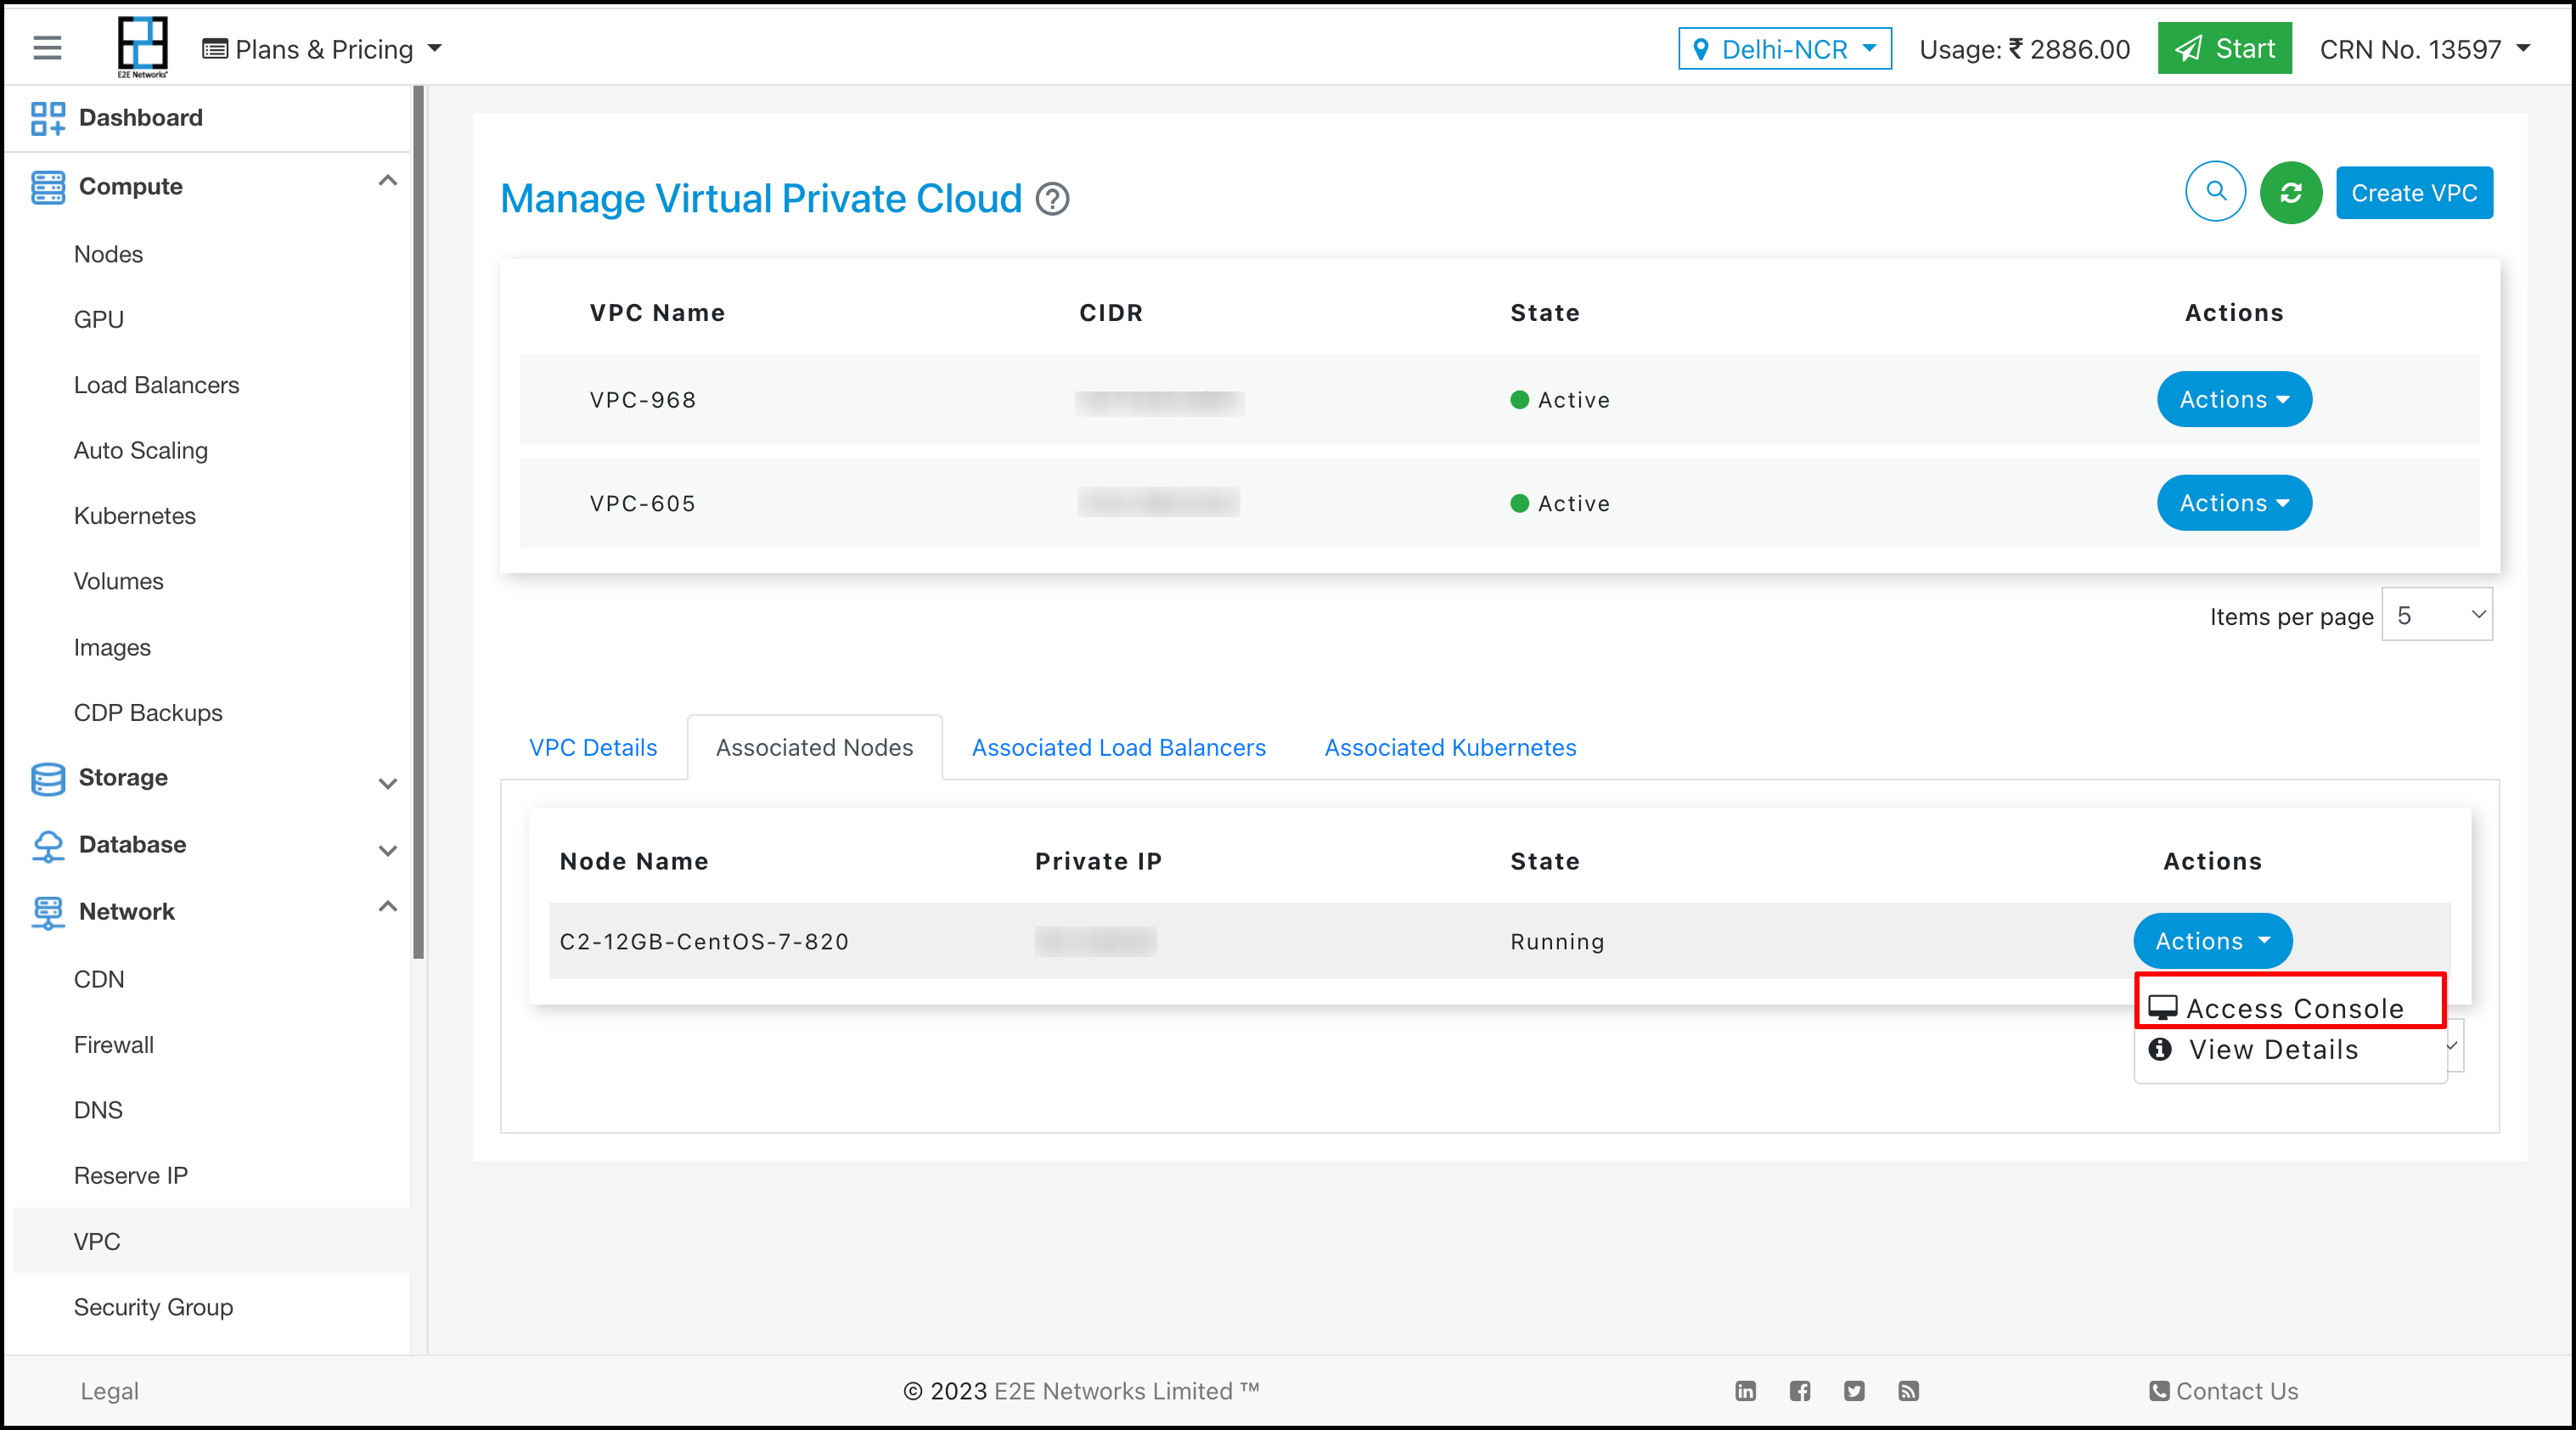
Click on ‘Access Console’ user can access node on console.
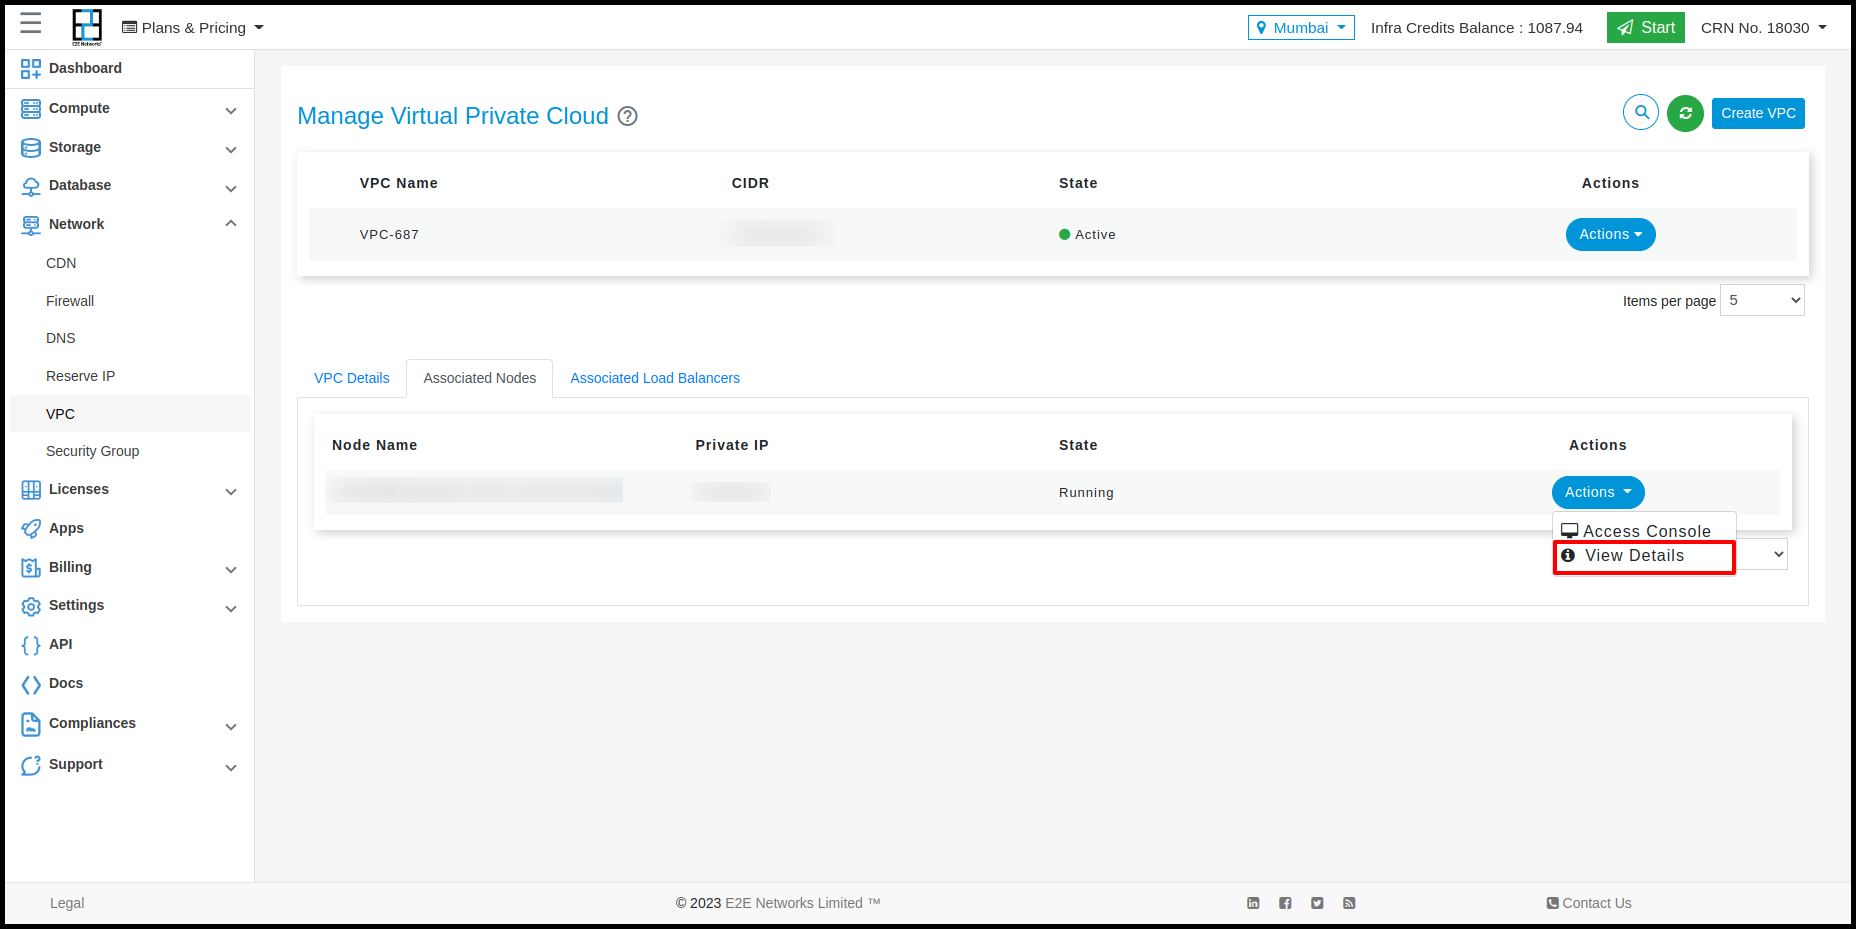
Click on the ‘Actions’ button list out ‘View Details’ button
Click on ‘View Details’ user can redirect to ‘Manage Node’ list and can see node details.
Adding Node
Click on the ‘Compute’ Submenu under ‘Products’.
Click on the ‘Add New Node’ and redirect to the ‘Create Compute Node’ page.
Select any plan and click on the ‘Create’ button then redirect to ‘Create Compute Node’ page.
Select ‘Use VPC’ under the ‘Network’ section while creating nodes.

Select VPC under the ‘Network’ section while creating nodes.
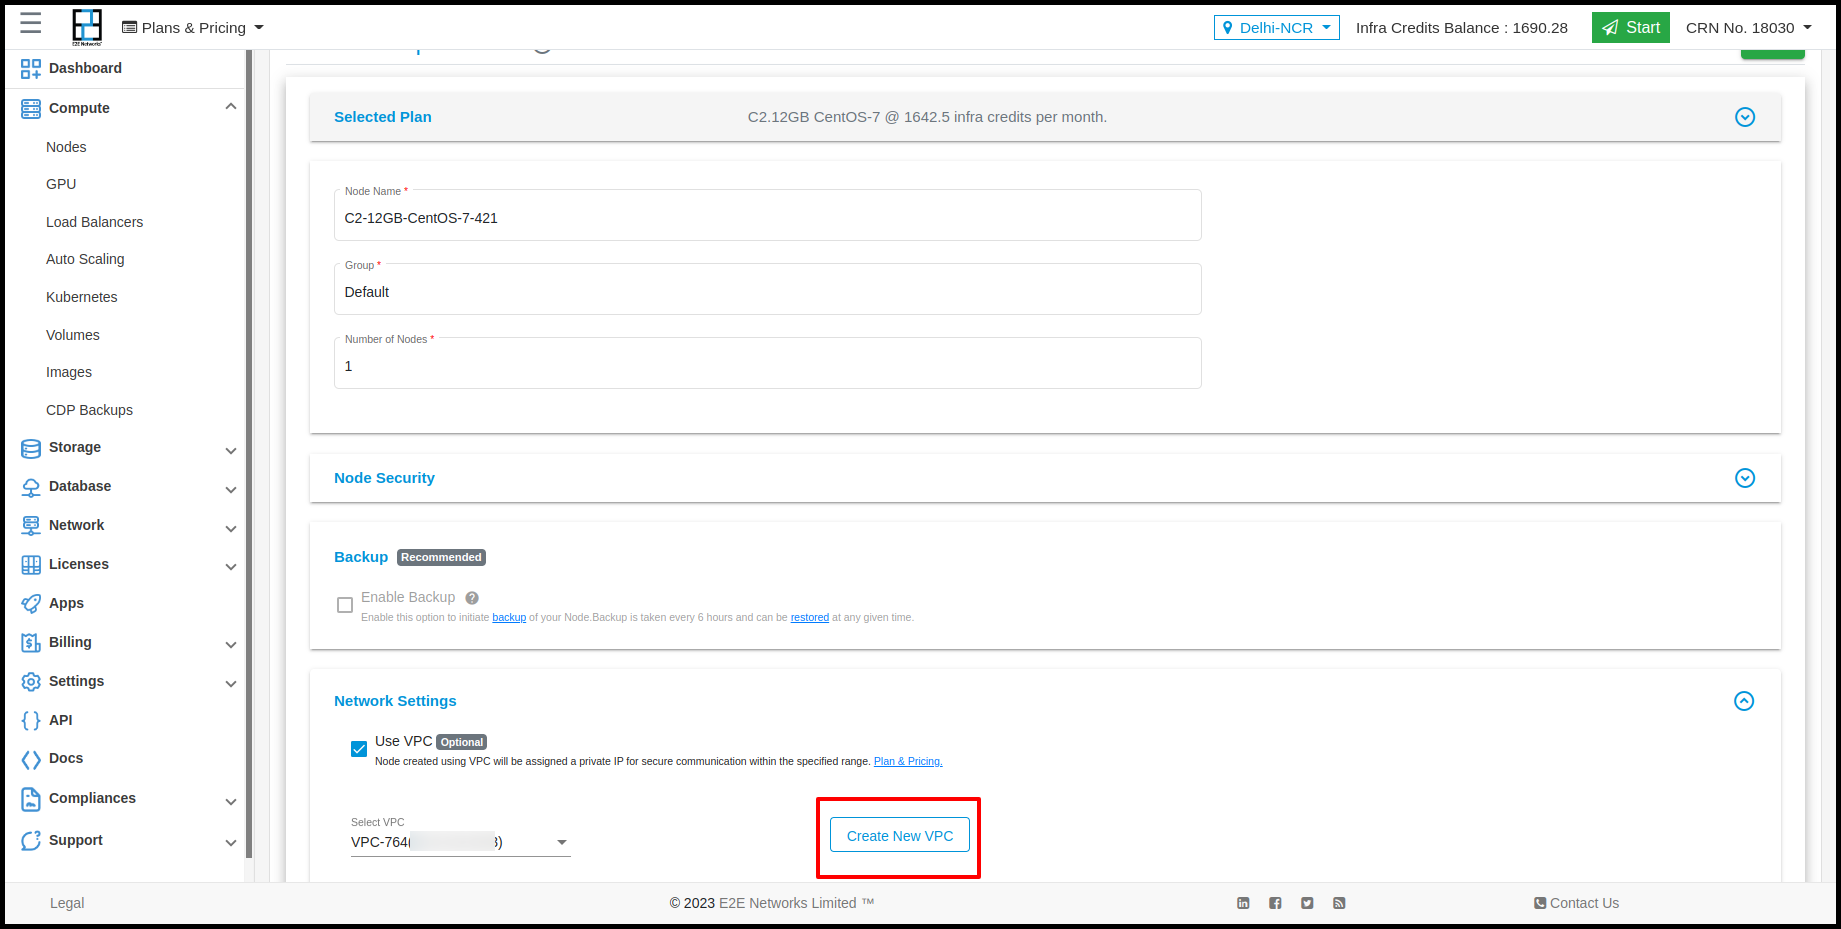
Either user can create a new vpc from that ‘Create New VPC’ button.
Click on ‘Create My Node’ and vpc is attached with new node and visible in ‘Network’ tab.
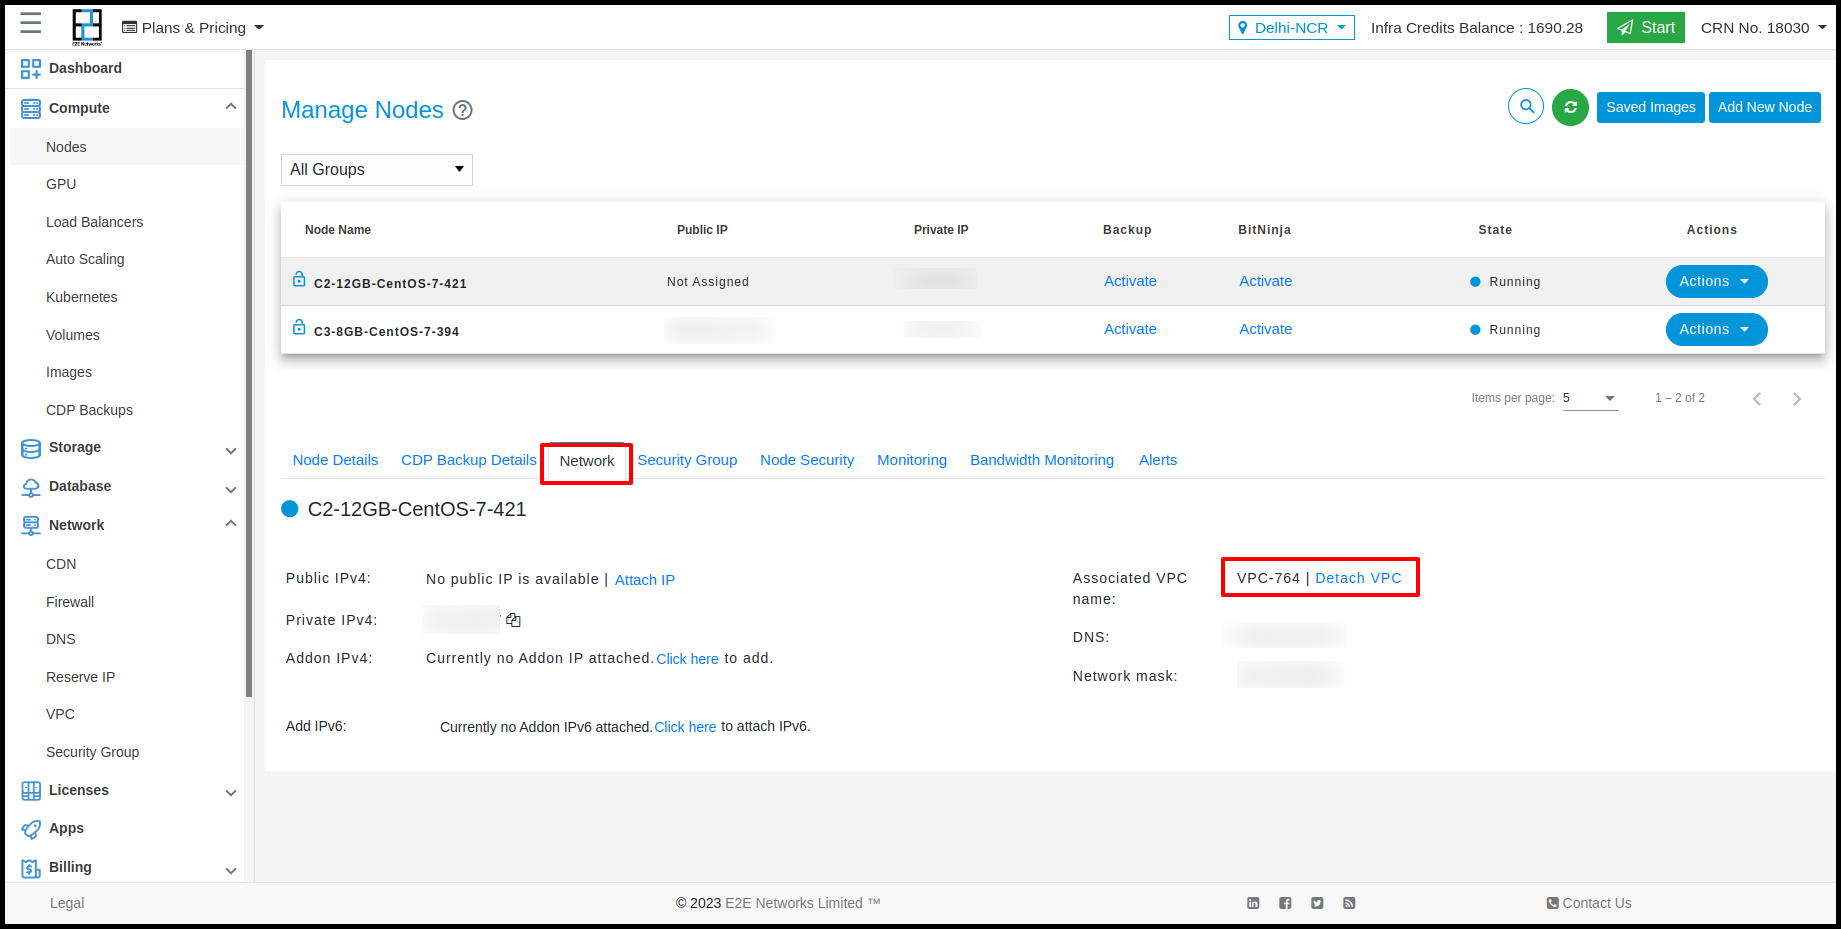
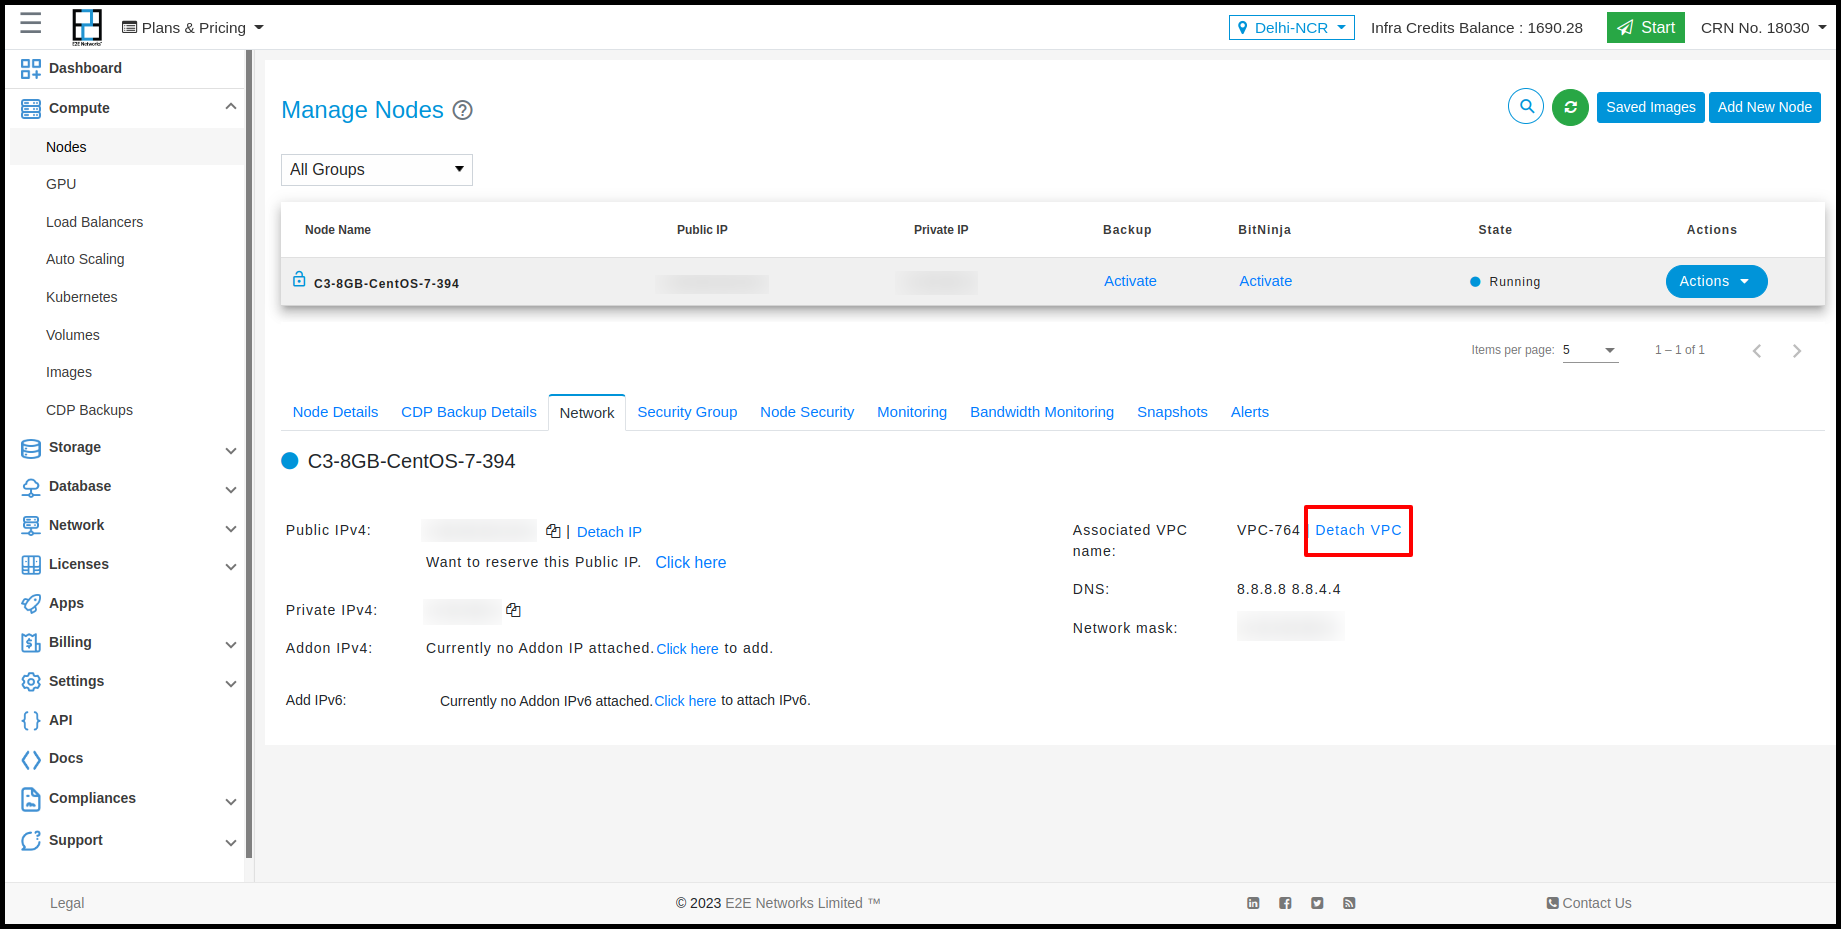
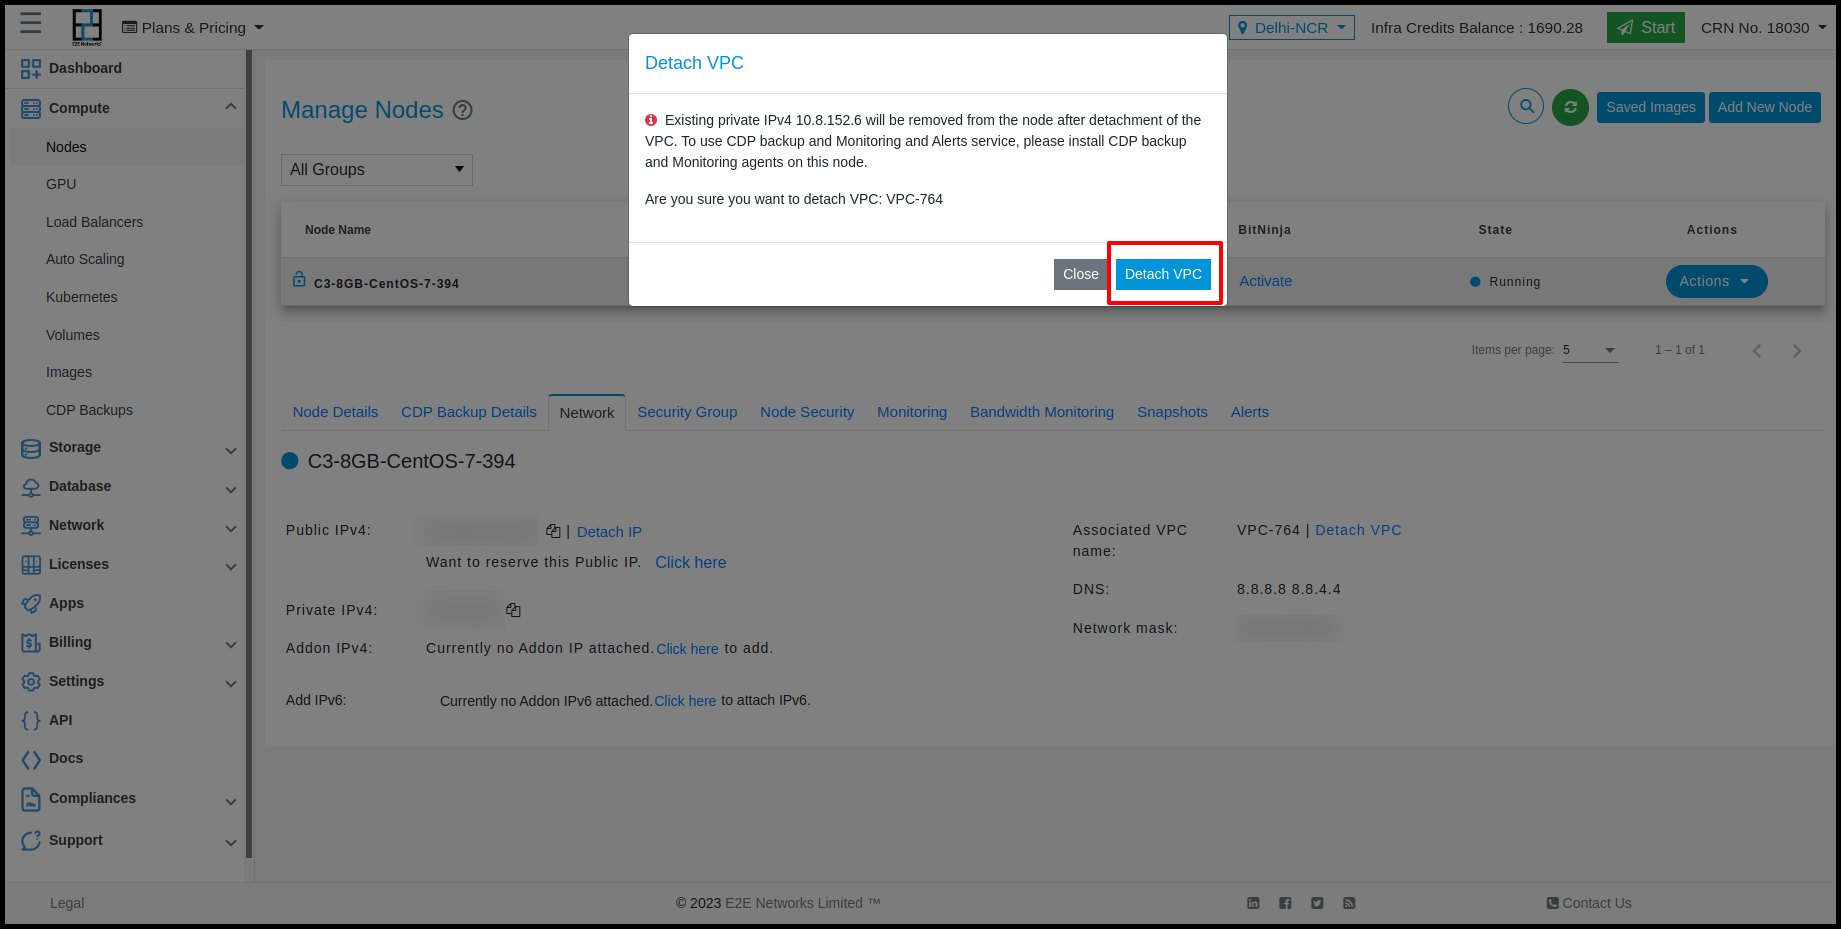
Click on Detach VPC for detaching VPC from the Node