Creating A New Qdrant Database
Getting Started
Go to TIR Dashboard
Create or Select a project
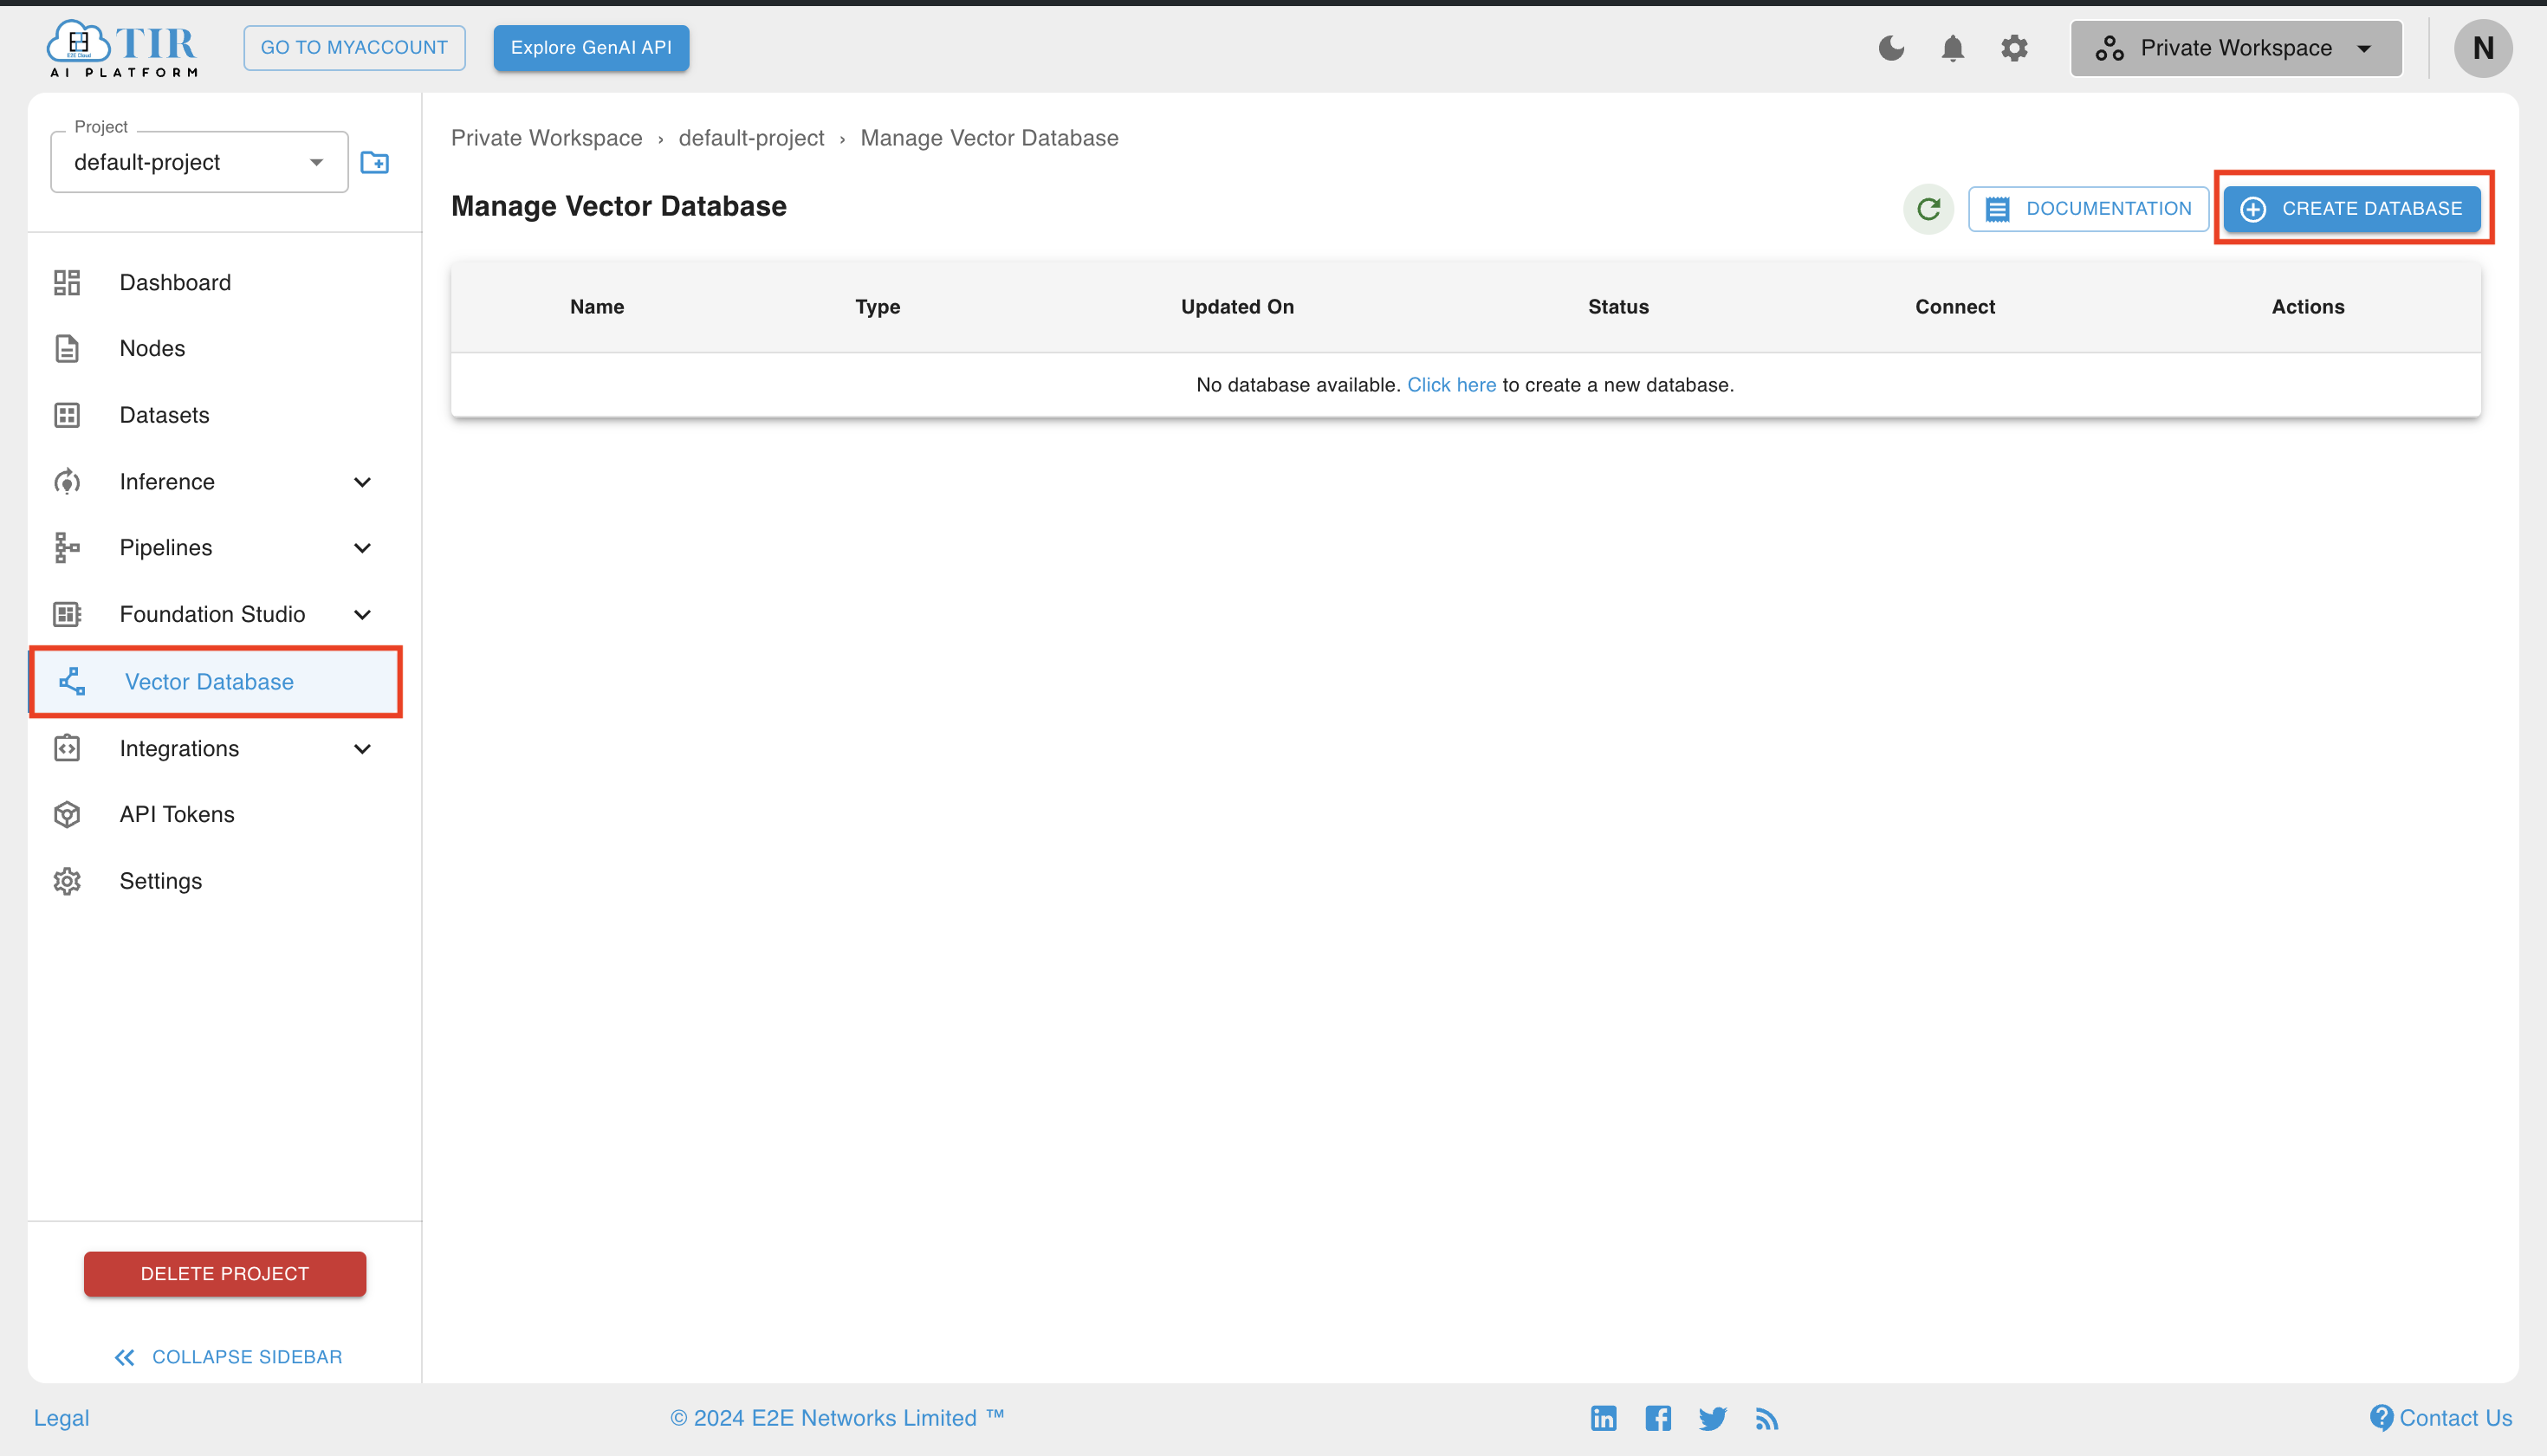
Click on Vector Database in the sidebar section.
Click CREATE DATABASE
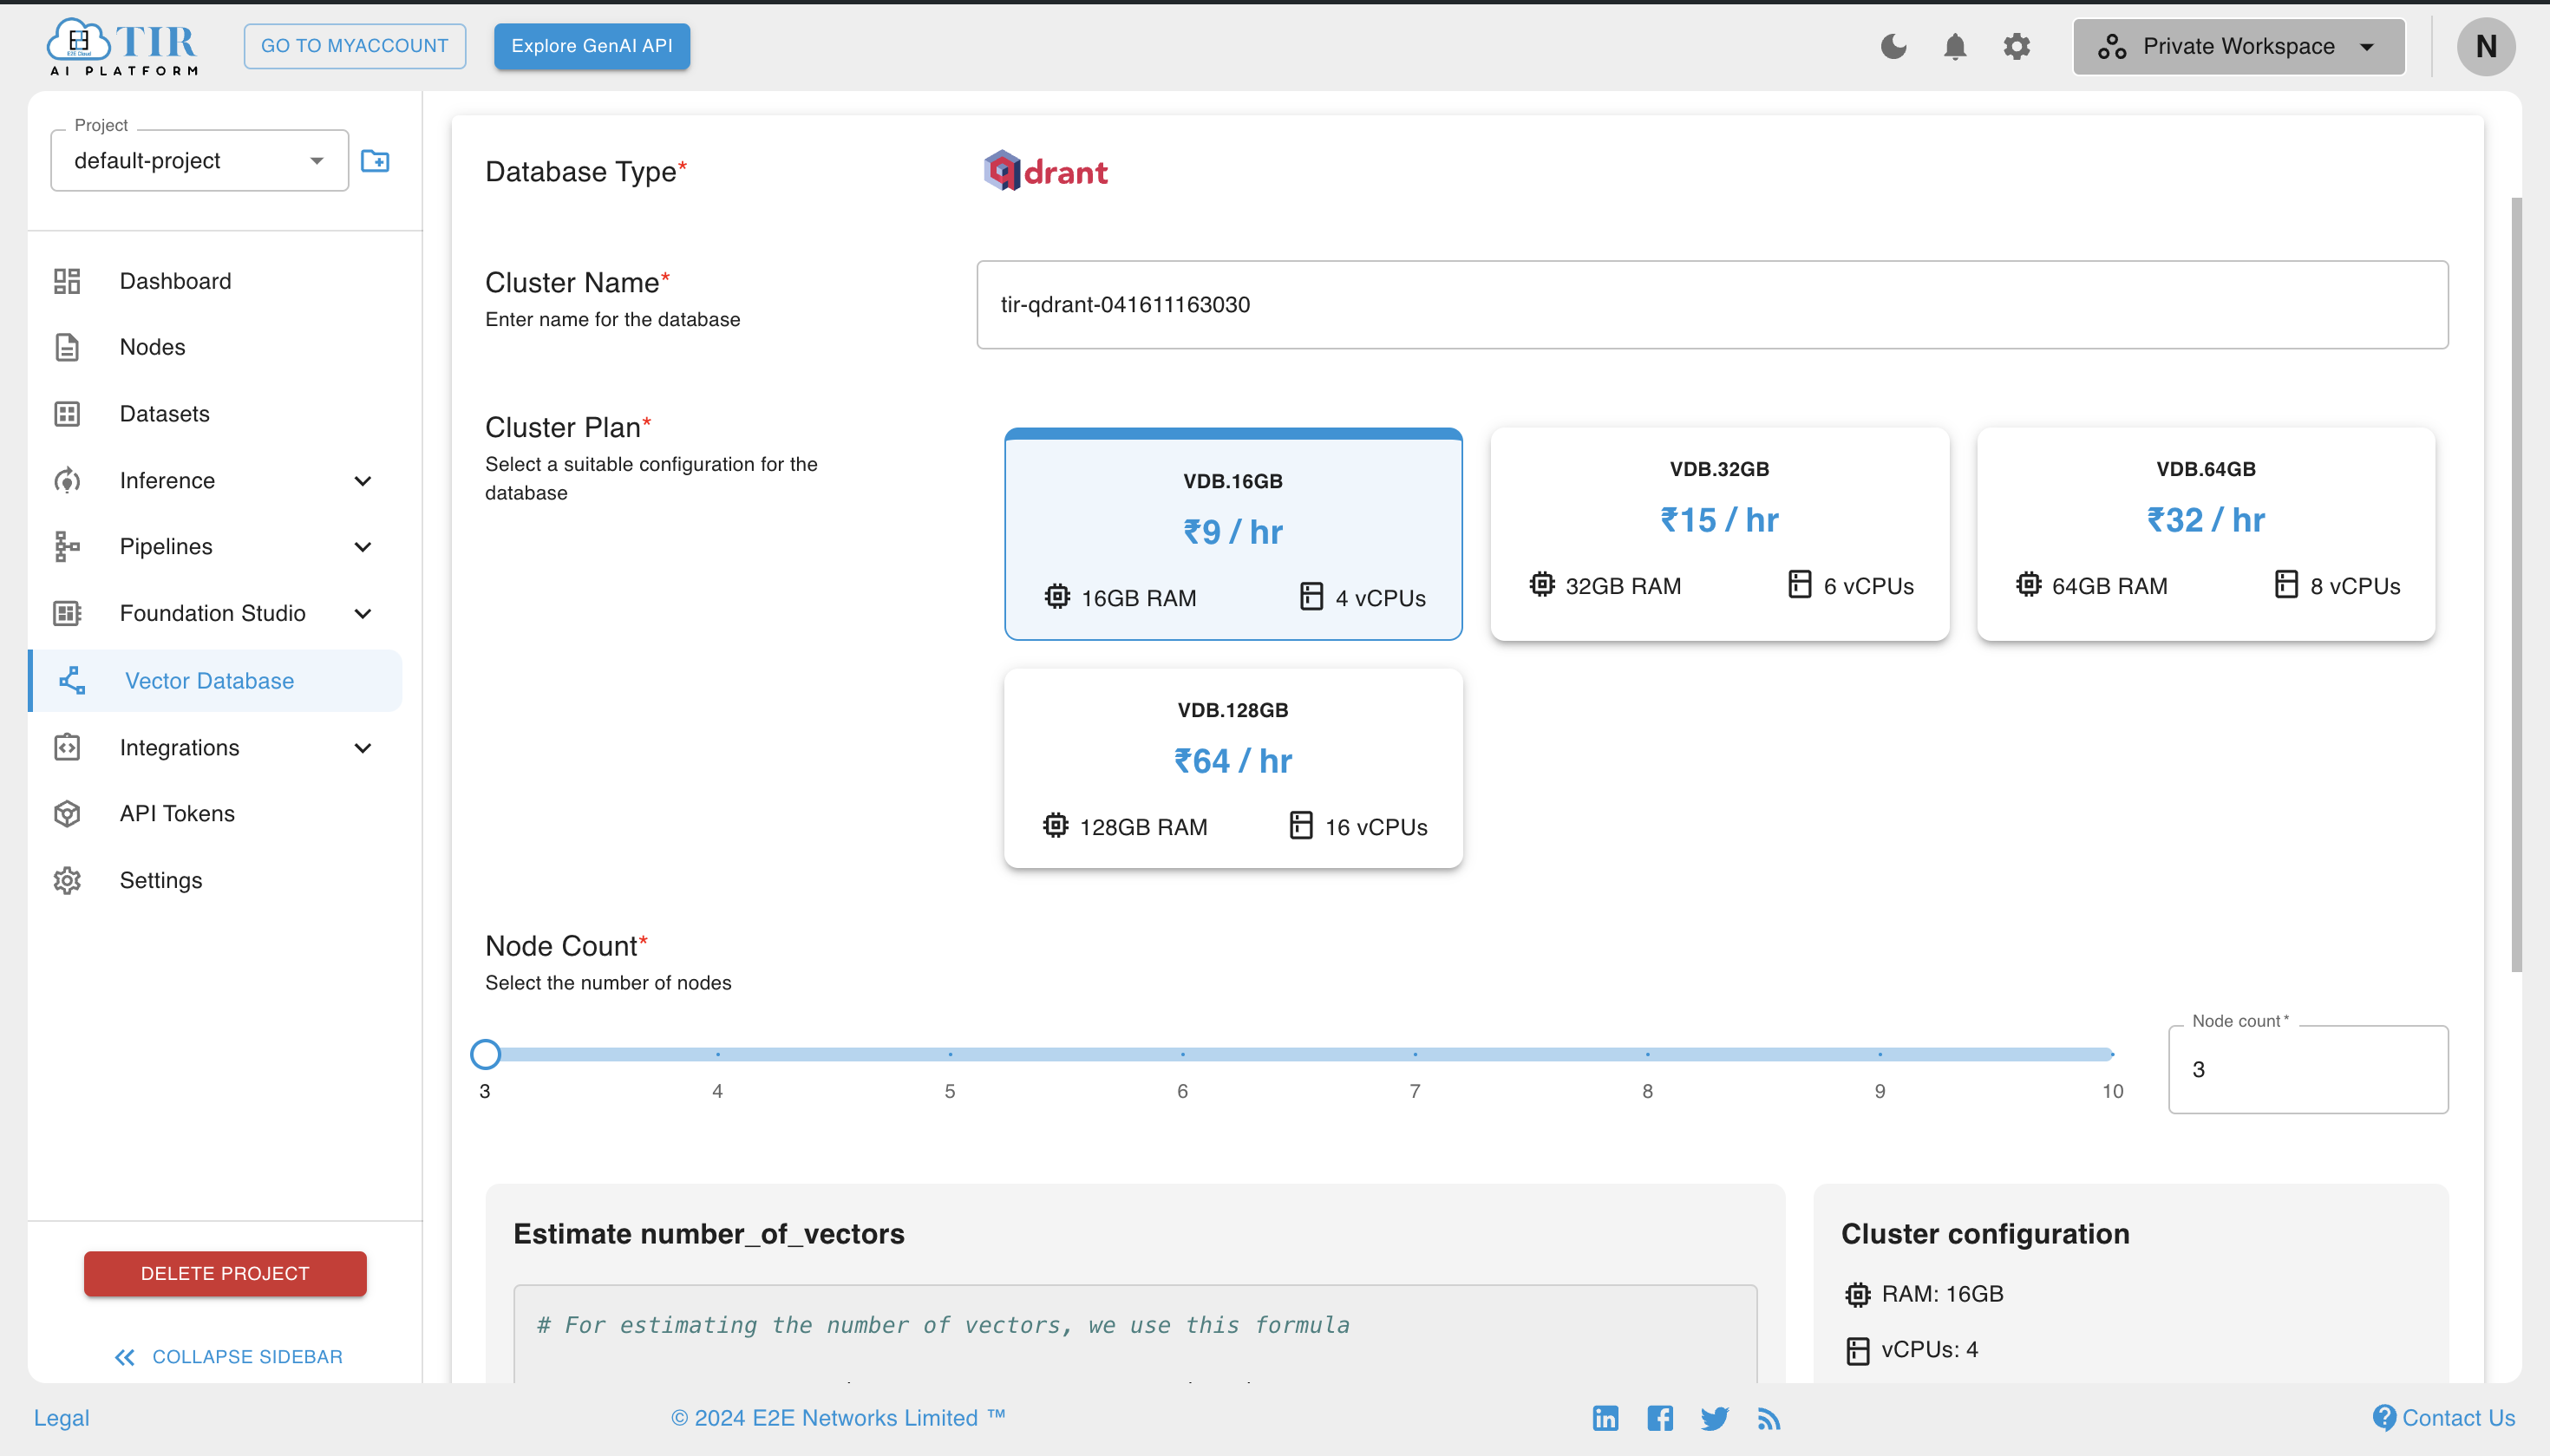
Choosing Plans
Choose the plan that suits your needs.
The ideal number of Qdrant nodes depends on how much resilience and performance/scalability you need.
Clusters with three or more nodes and replication can perform all operations even while one node is down and gains performance benefits from load-balancing.
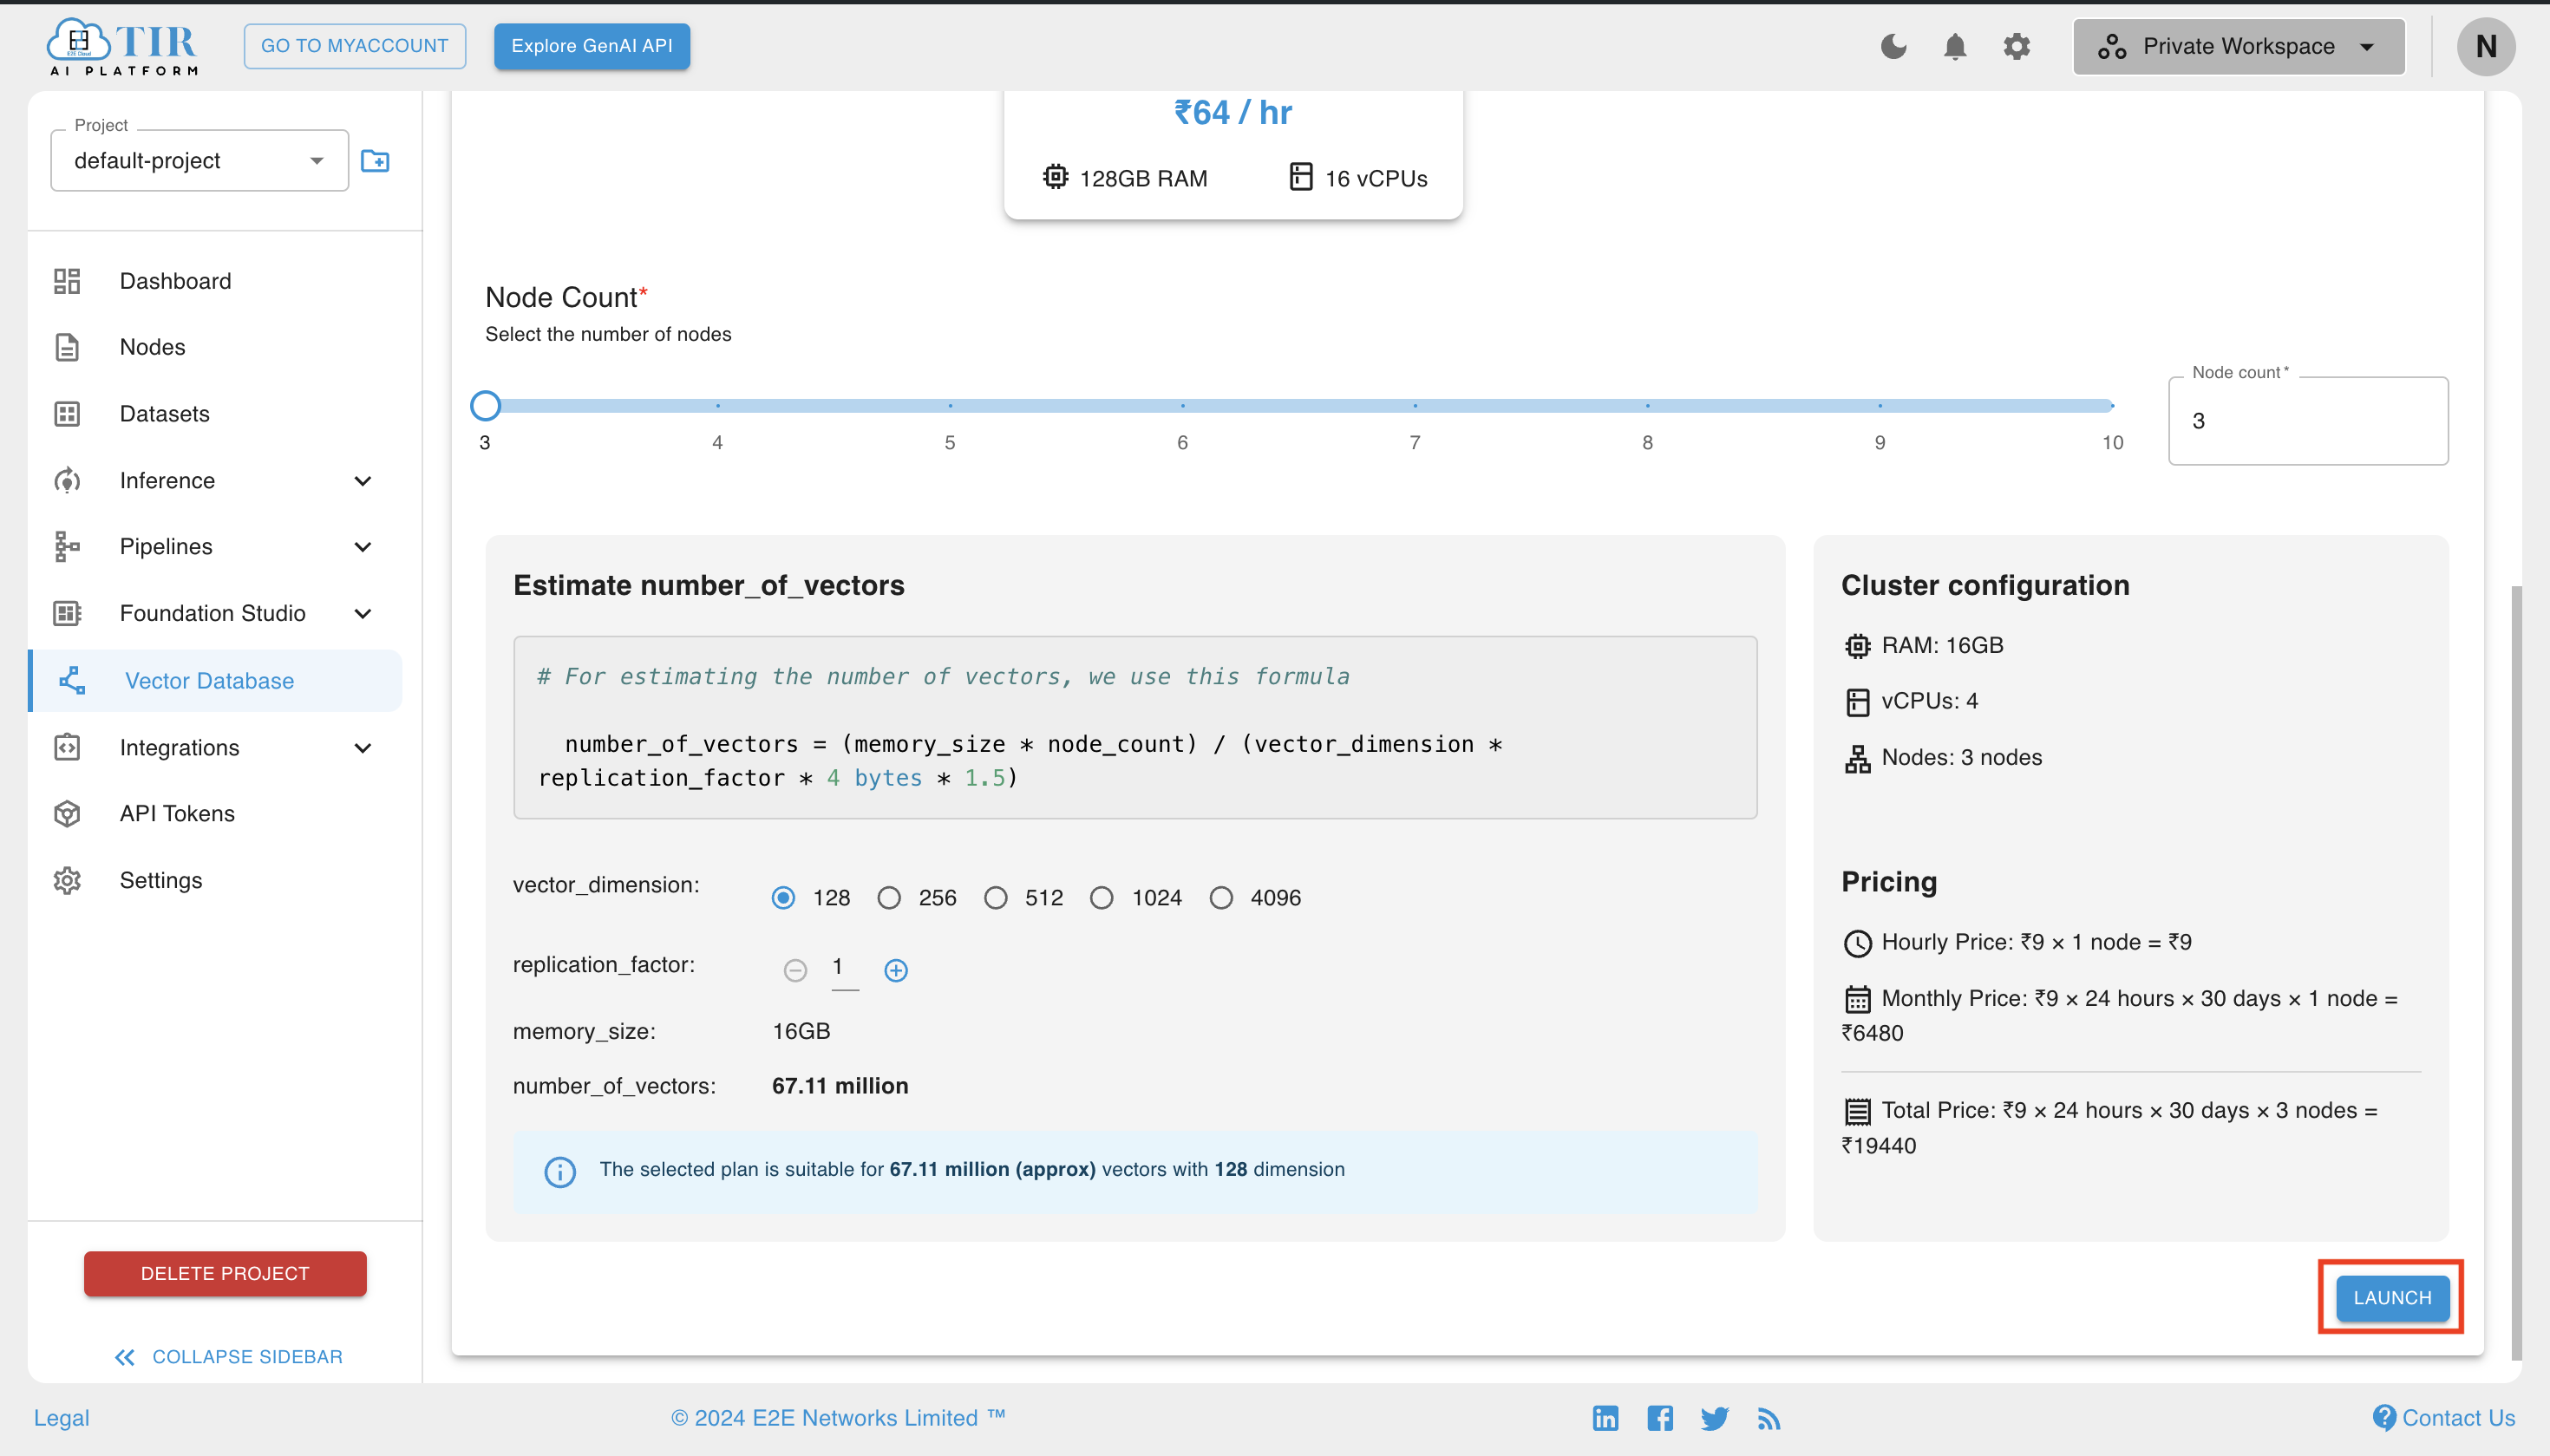
On the bottom left side, you can see the approximate number of vectors you can store in the selected plan. We also provide the formula to approximate the number of vectors that can be stored in the chosen plan configuration. The pricing calculator is built around vectors. The calculation result may differ if your dataset includes non-vector fields (int, string, JSON, etc.)
The higher the replication factor, the more resilient your database will be.
Finalizing Qdrant
You can see your final cluster configuration and cost on the bottom right.
Click on the Launch to create the database.
Qdrant Details
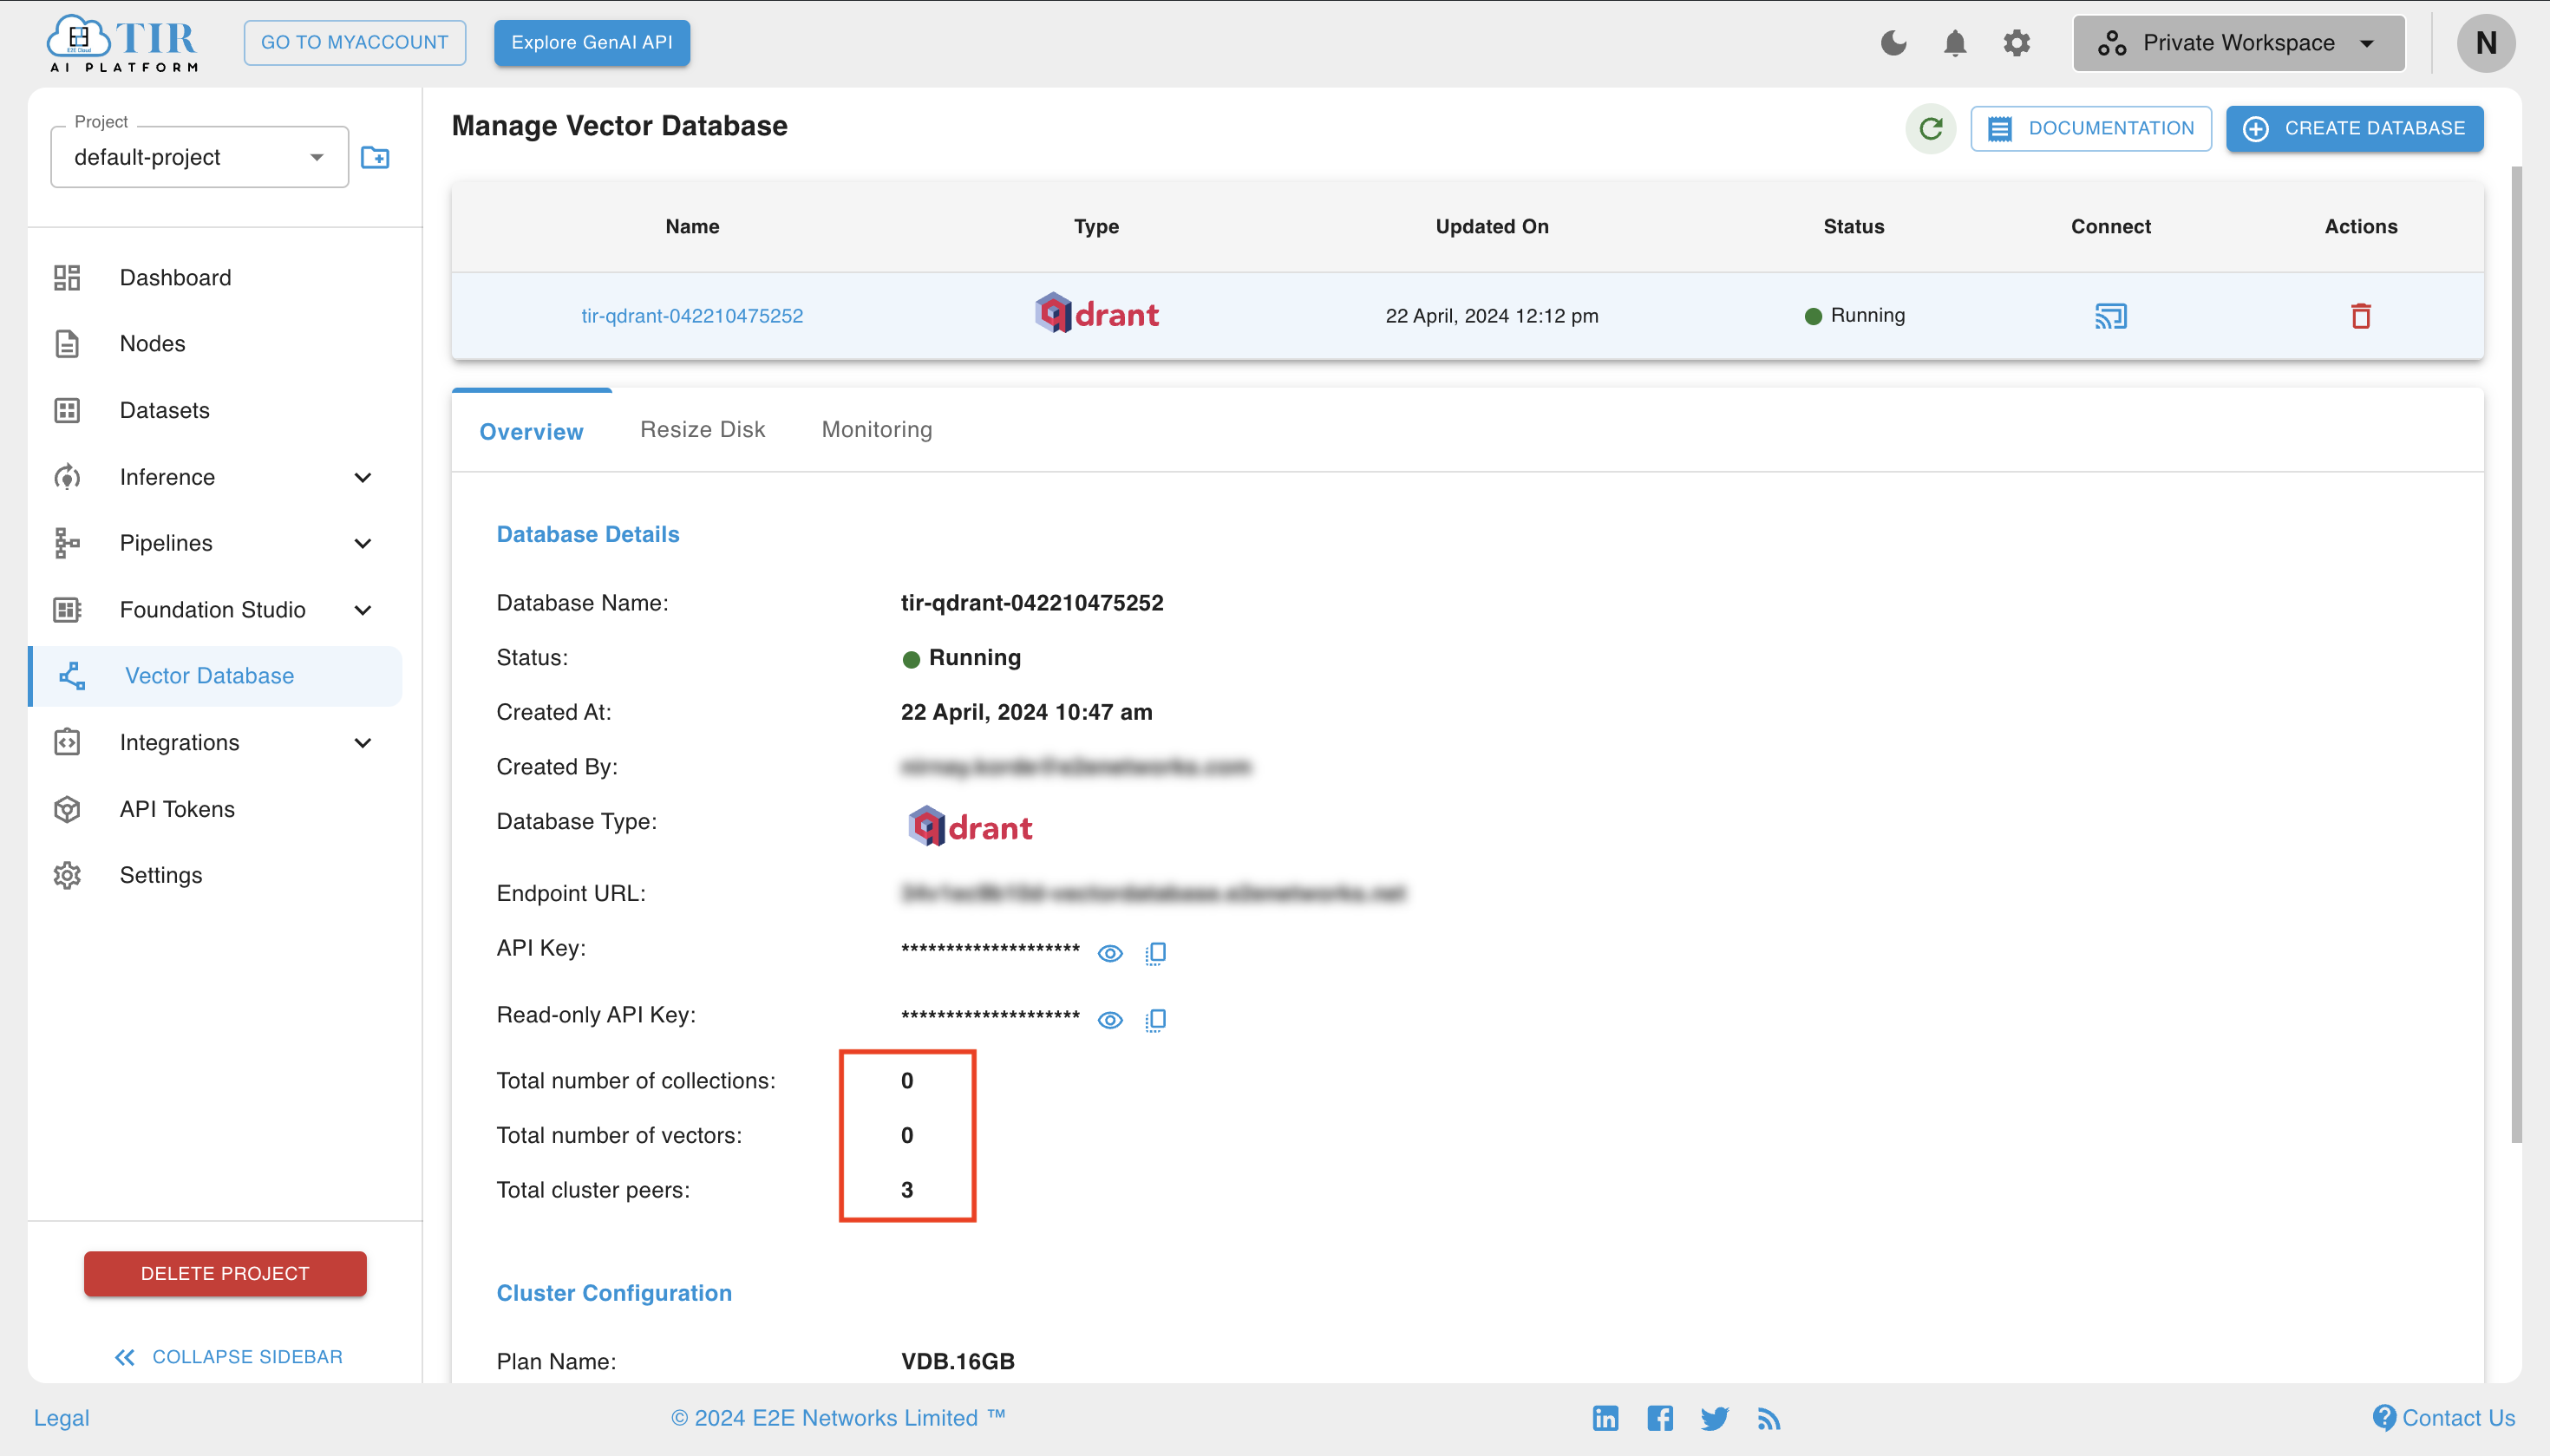
Under the status column, you can see the status of your Qdrant Database.
The Overview tab in the Manage Vector Database page will show you the details of your database.
You will need the API Key to connect to the database.
You also get the READ ONLY API Key to connect to the database in read-only mode.

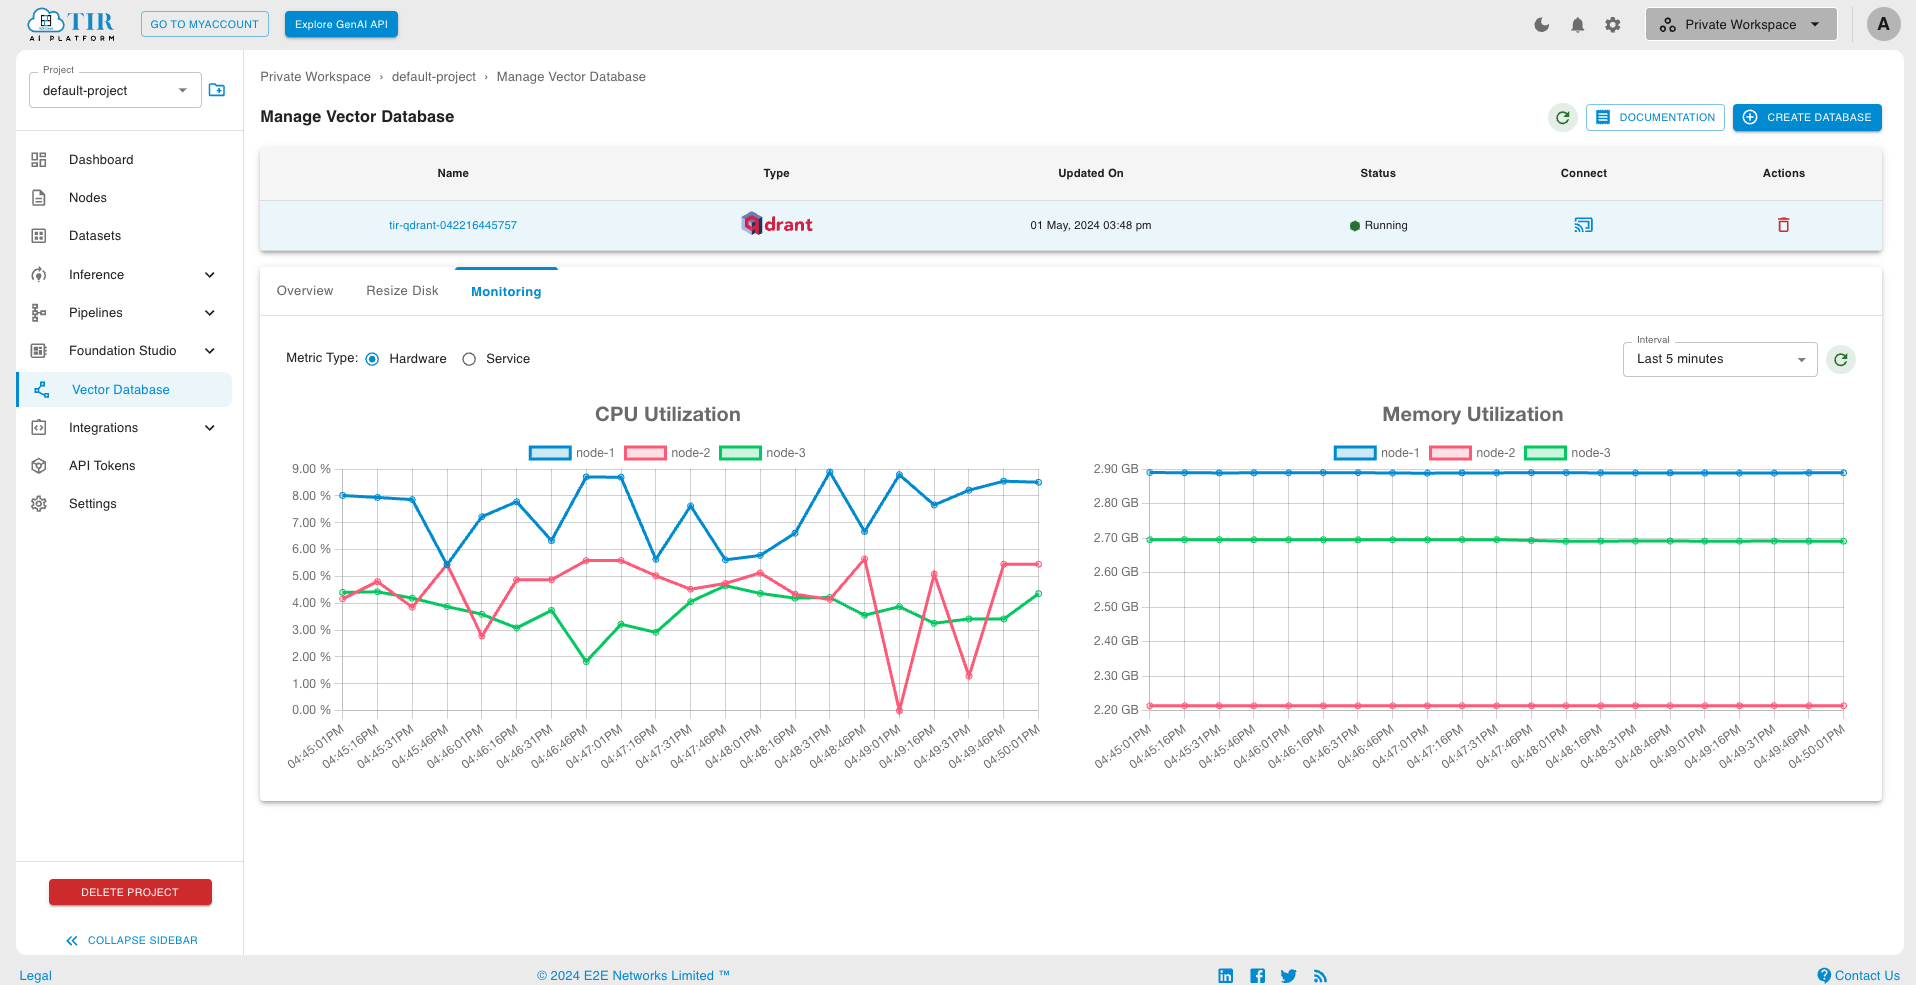
Qdrant Metrics
Under the Monitoring tab, you can see the metrics of Qdrant Database.
The Hardware tab will show the CPU and Memory Utilization of the nodes where the qdrant is runnning.

The Service tab will display the metrics related to your database and API calls done to it.
You can also see Vector Database related details in the Overview section.
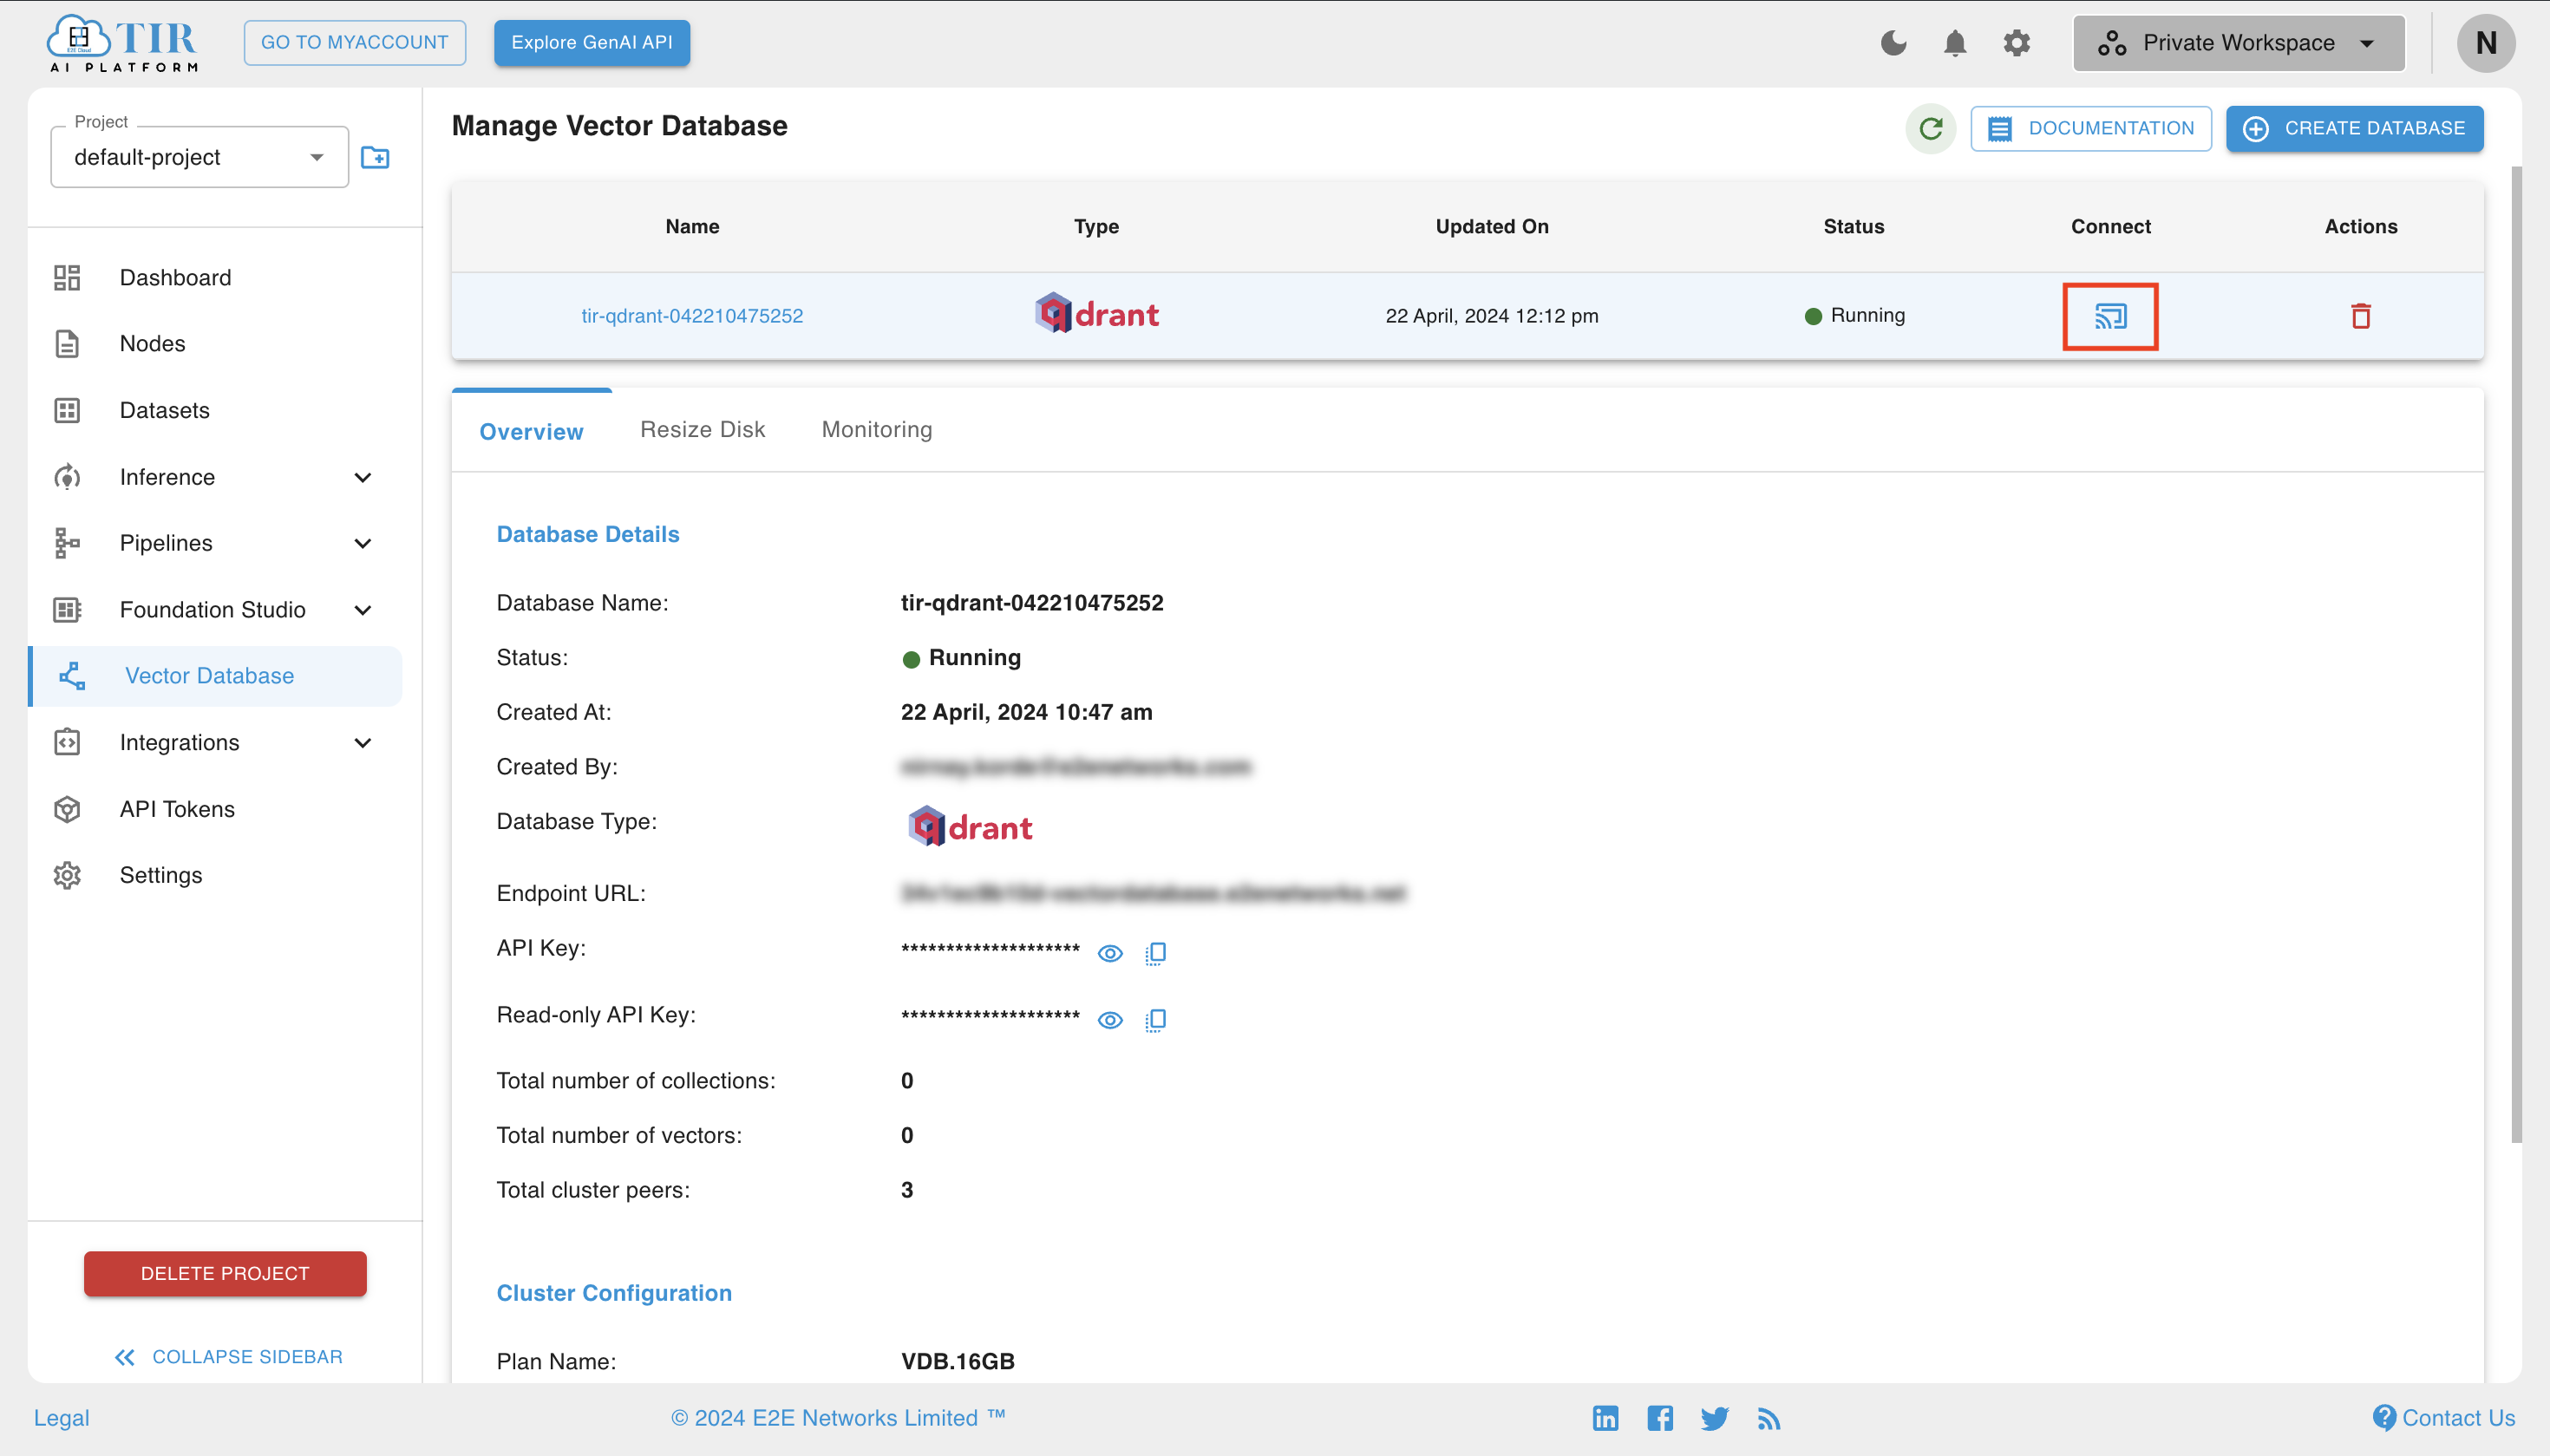
Connect to Qdrant
You can go directly to the Qdrant Dashboard by clicking the Connect button.
You can also use the Endpoint URL and API Key to connect to the database through any client provided by Qdrant.
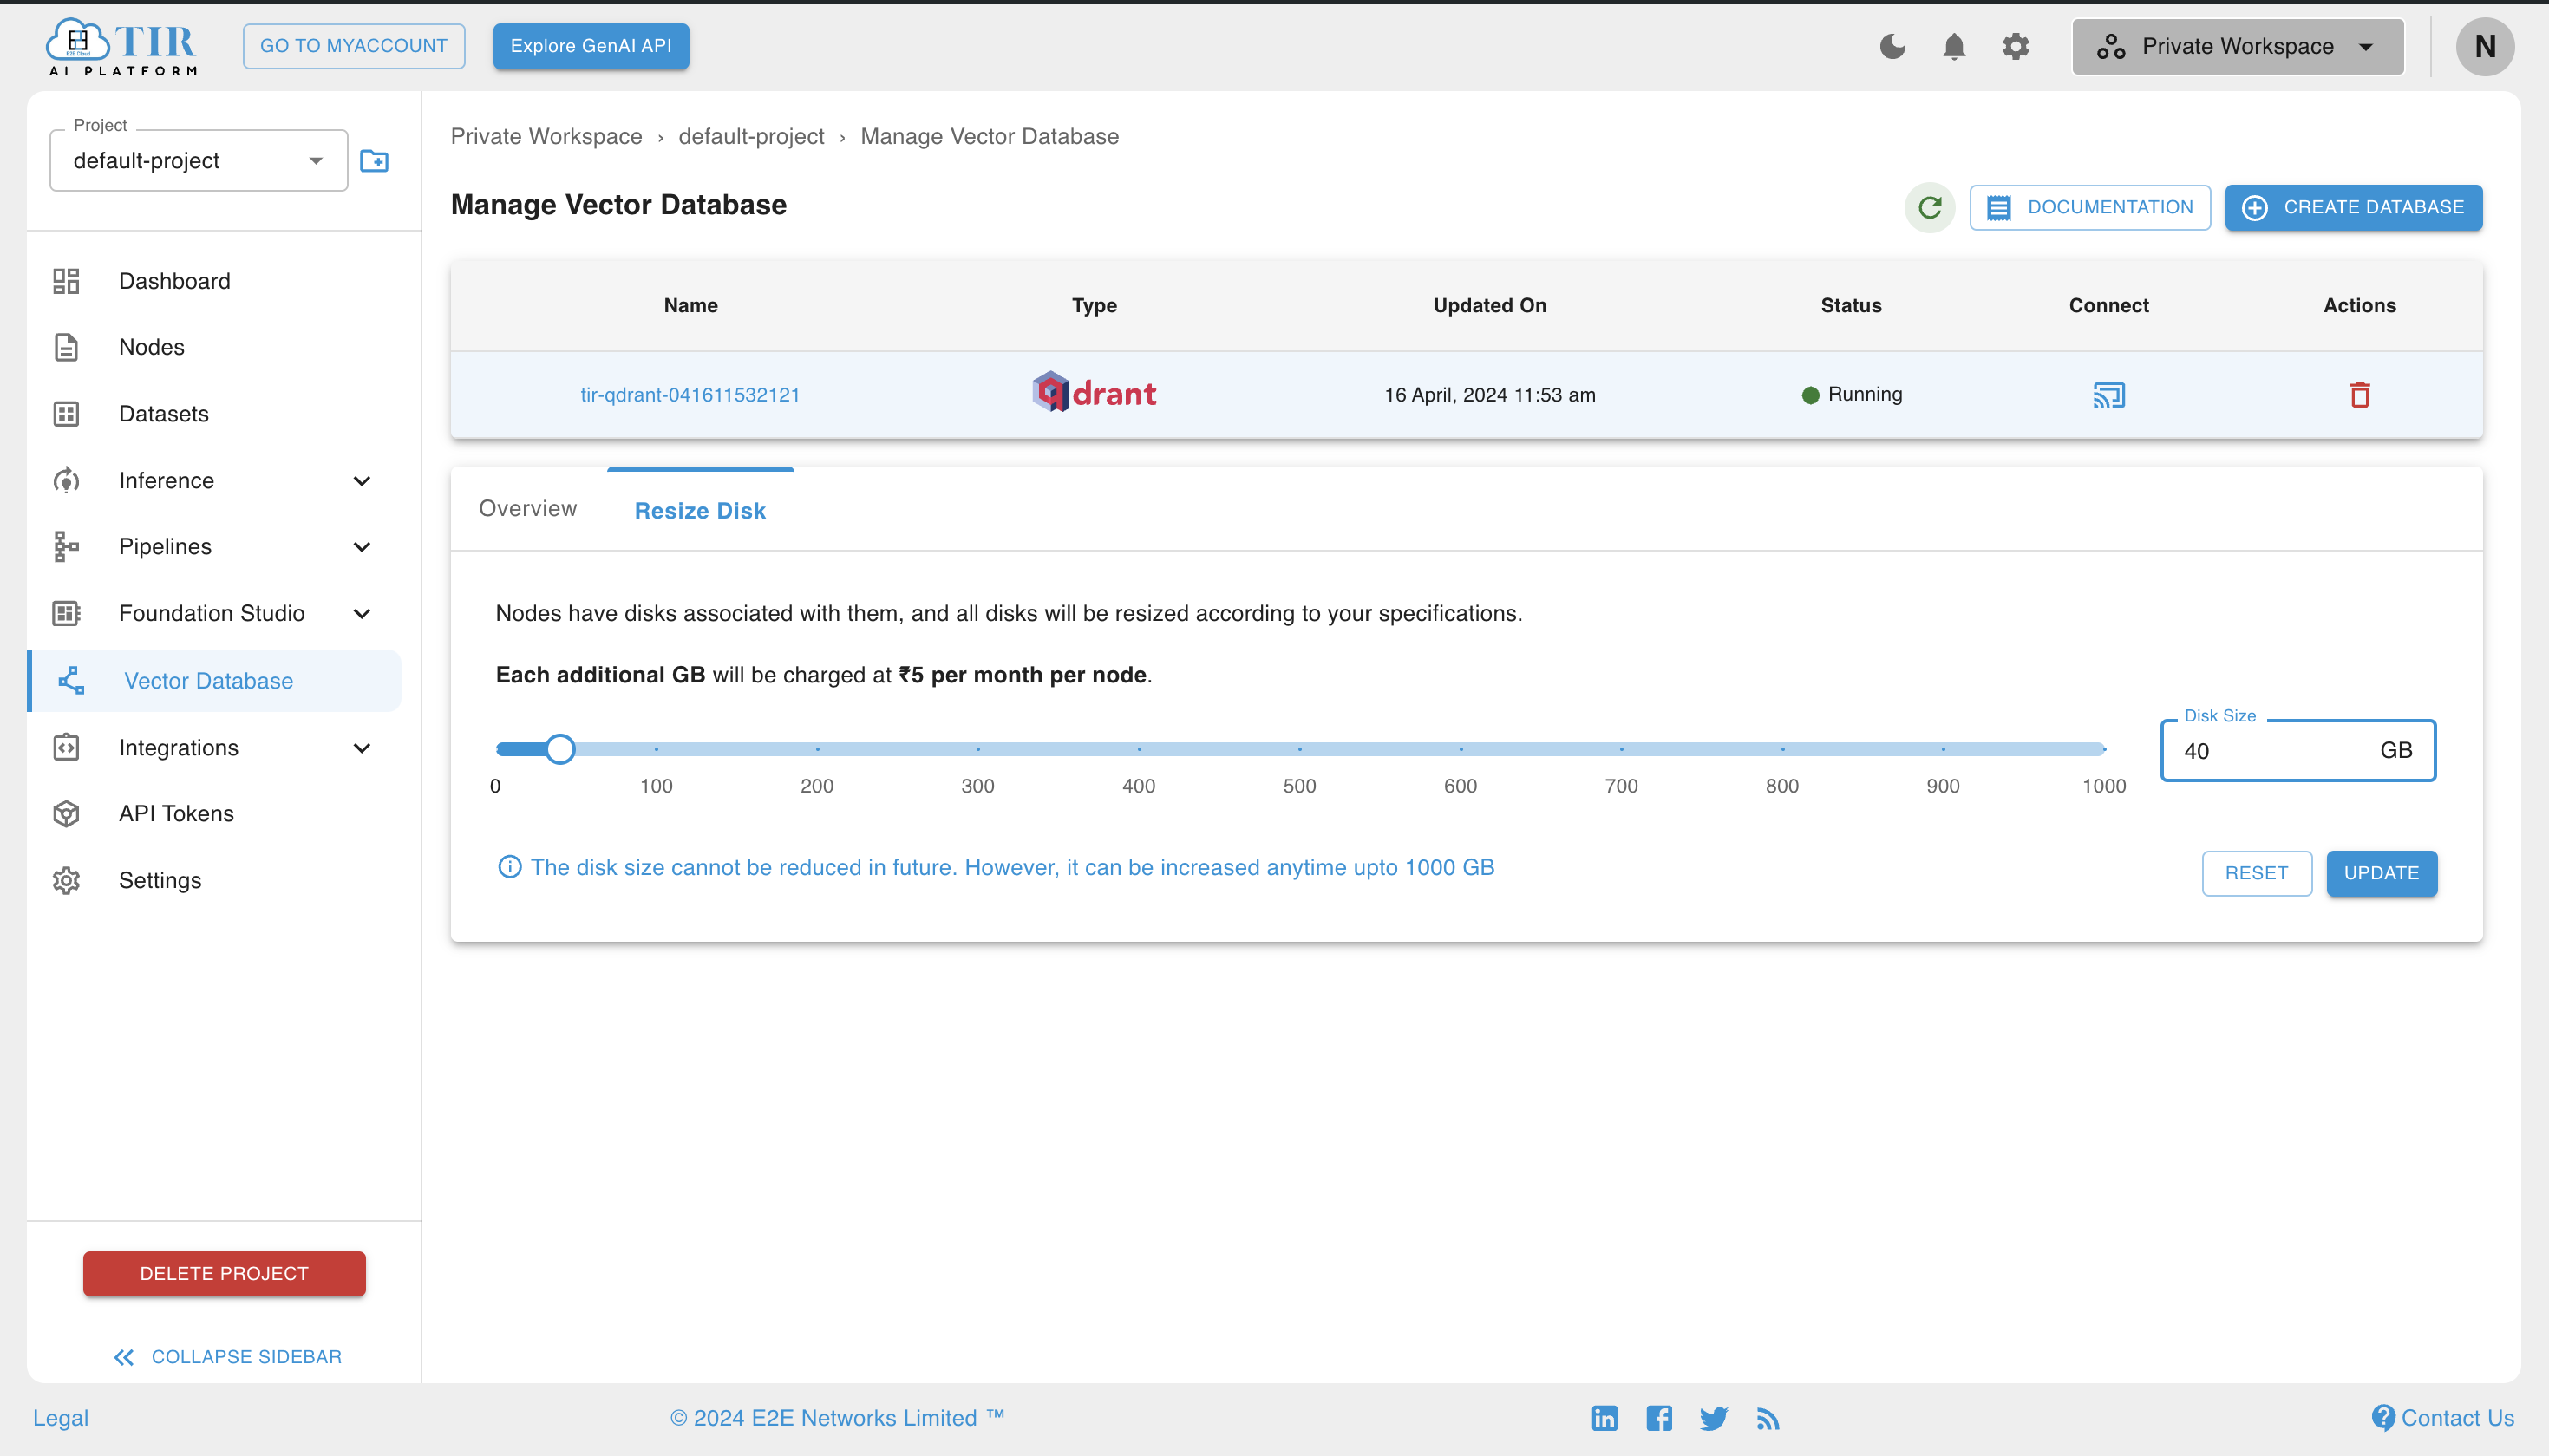
Resizing Storage Capacity
Every Node in your Database has a disk associated with it. If you feel the need to resize the storage capacity of your database,
you can do so by clicking on the Resize Disk tab.
You can increase the storage capacity of your database by selecting the desired storage and all the associated disks will be resized according to your specification. Please note, disk size once increased cannot be reduced in future.
Note
You will be charged per node for the additional storage you have selected. For example, you have 3 nodes and selected 40GB storage, adding 10GB to each node. So you will be charged for 3 X 10GB X Rs.5 = Rs.150 per month.
What’s Next?
Now that you have created a Qdrant database, you can start using it to store vectors and apply similarity search operations. Here are some tutorials to help you get started:
For the HTTP API tutorial, head over to Qdrant HTTP Requests
For Python Client tutorial, head over to Qdrant Python Client
For Qdrant Dashboard tutorial, head over to Qdrant Dashboard
For scaling the Qdrant cluster, head over to Qdrant Scaling
For more information on Qdrant, head over to Qdrant Documentation