Import your own custom Image
Introduction
In the E2E cloud stack, we empower our customers by allowing them to get their customized images made available in their myaccount console. Customers can bring in their golden images (customized Linux distributions with software and configurations to fit the specific needs) from the on-premises environment or even from other cloud providers to the E2E cloud platform and use them to create virtual machines with their choice of Plans. The option saves time and effort required to set up and configure your node right from the scratch again to get your required golden stack in place. You can get your bootable disk images from virtual machines (VMs) on your local workstation, from your physical datacenters, or from VMs that run on another cloud platform to E2E Cloud-Platform.
Prerequisites
VM initialization method
There are different methods to pass information to a newly created Virtual Machine. This information can be the network configuration of the VM, user credentials, init scripts, and free form data.
In our cloud platform, we use the OpenNebula context package for virtual machine initialization, which configures the network, sets the user credentials, sets hostname, adds provided SSH keys, etc.
Download and Installation of Contextualization Packages and Dependencies to your VM
CentOS/RHEL 6.x
# wget https://github.com/OpenNebula/addon-context-linux/releases/download/v5.8.0/one-context-5.8.0-1.el6.noarch.rpm
# yum install -y epel-release
# yum install -y one-context-[0-9]*el6*rpm
CentOS/Fedora/RHEL 7.x
# wget https://github.com/OpenNebula/addon-context-linux/releases/download/v5.8.0/one-context-5.8.0-1.el7.noarch.rpm
# yum install -y epel-release
# yum install -y one-context-[0-9]*el7*rpm
Debian/Ubuntu
# wget https://github.com/OpenNebula/addon-context-linux/releases/download/v5.8.0/one-context_5.8.0-1.deb
# apt-get purge -y cloud-init
# dpkg -i one-context_*deb || apt-get install -fy
OpenSUSE 42,15
# wget https://github.com/OpenNebula/addon-context-linux/releases/download/v5.8.0/one-context-5.8.0-1.suse.noarch.rpm
# zypper --no-gpg-check install -y one-context-[0-9]*suse*rpm
Alpine Linux
# wget https://github.com/OpenNebula/addon-context-linux/releases/download/v5.8.0/one-context-5.8.0-r1.apk
# apk add --allow-untrusted one-context-[0-9]*apk
FreeBSD 11,12
# wget https://github.com/OpenNebula/addon-context-linux/releases/download/v5.8.0/one-context-5.8.0_1.txz
# pkg install -y curl bash sudo base64 ruby open-vm-tools-nox11
# pkg install -y one-context-[0-9]*.txz
Note
If you have cloud-init present in your virtual machine for initialization, please make sure that the respective cloud-init service is disabled on boot before taking the image. The cloud-init will conflict with the OpenNebula context package which may result in failure of virtual machine initialization process.
Supported image formats
E2E cloud-platform supports images in qcow2, qed, raw, vdi, vhd, and vmdk formats for import.
Tip
To save space and reduce import time you can also compress the file using gzip and tar compression formats.
Disk requirements
The image should contain single disk partition. The primary partition on the disk can be in any format that you like as long as it boots properly from the MBR bootloader. The disk should not be larger than 2048 GB (2 TB).
Operating System requirements
CentOS/RHEL >= 6
Debian >= 8
Ubuntu >= 14.04
Note
Other operating systems can also be imported but they might require additional configuration steps that are not covered in this guide.
Prerequisites for importing an image to E2E Cloud-Platform
Create an E2E Object Storage for storing the exported images or choose an existing bucket. To learn how to create an E2E Object Storage, follow Object Storage.
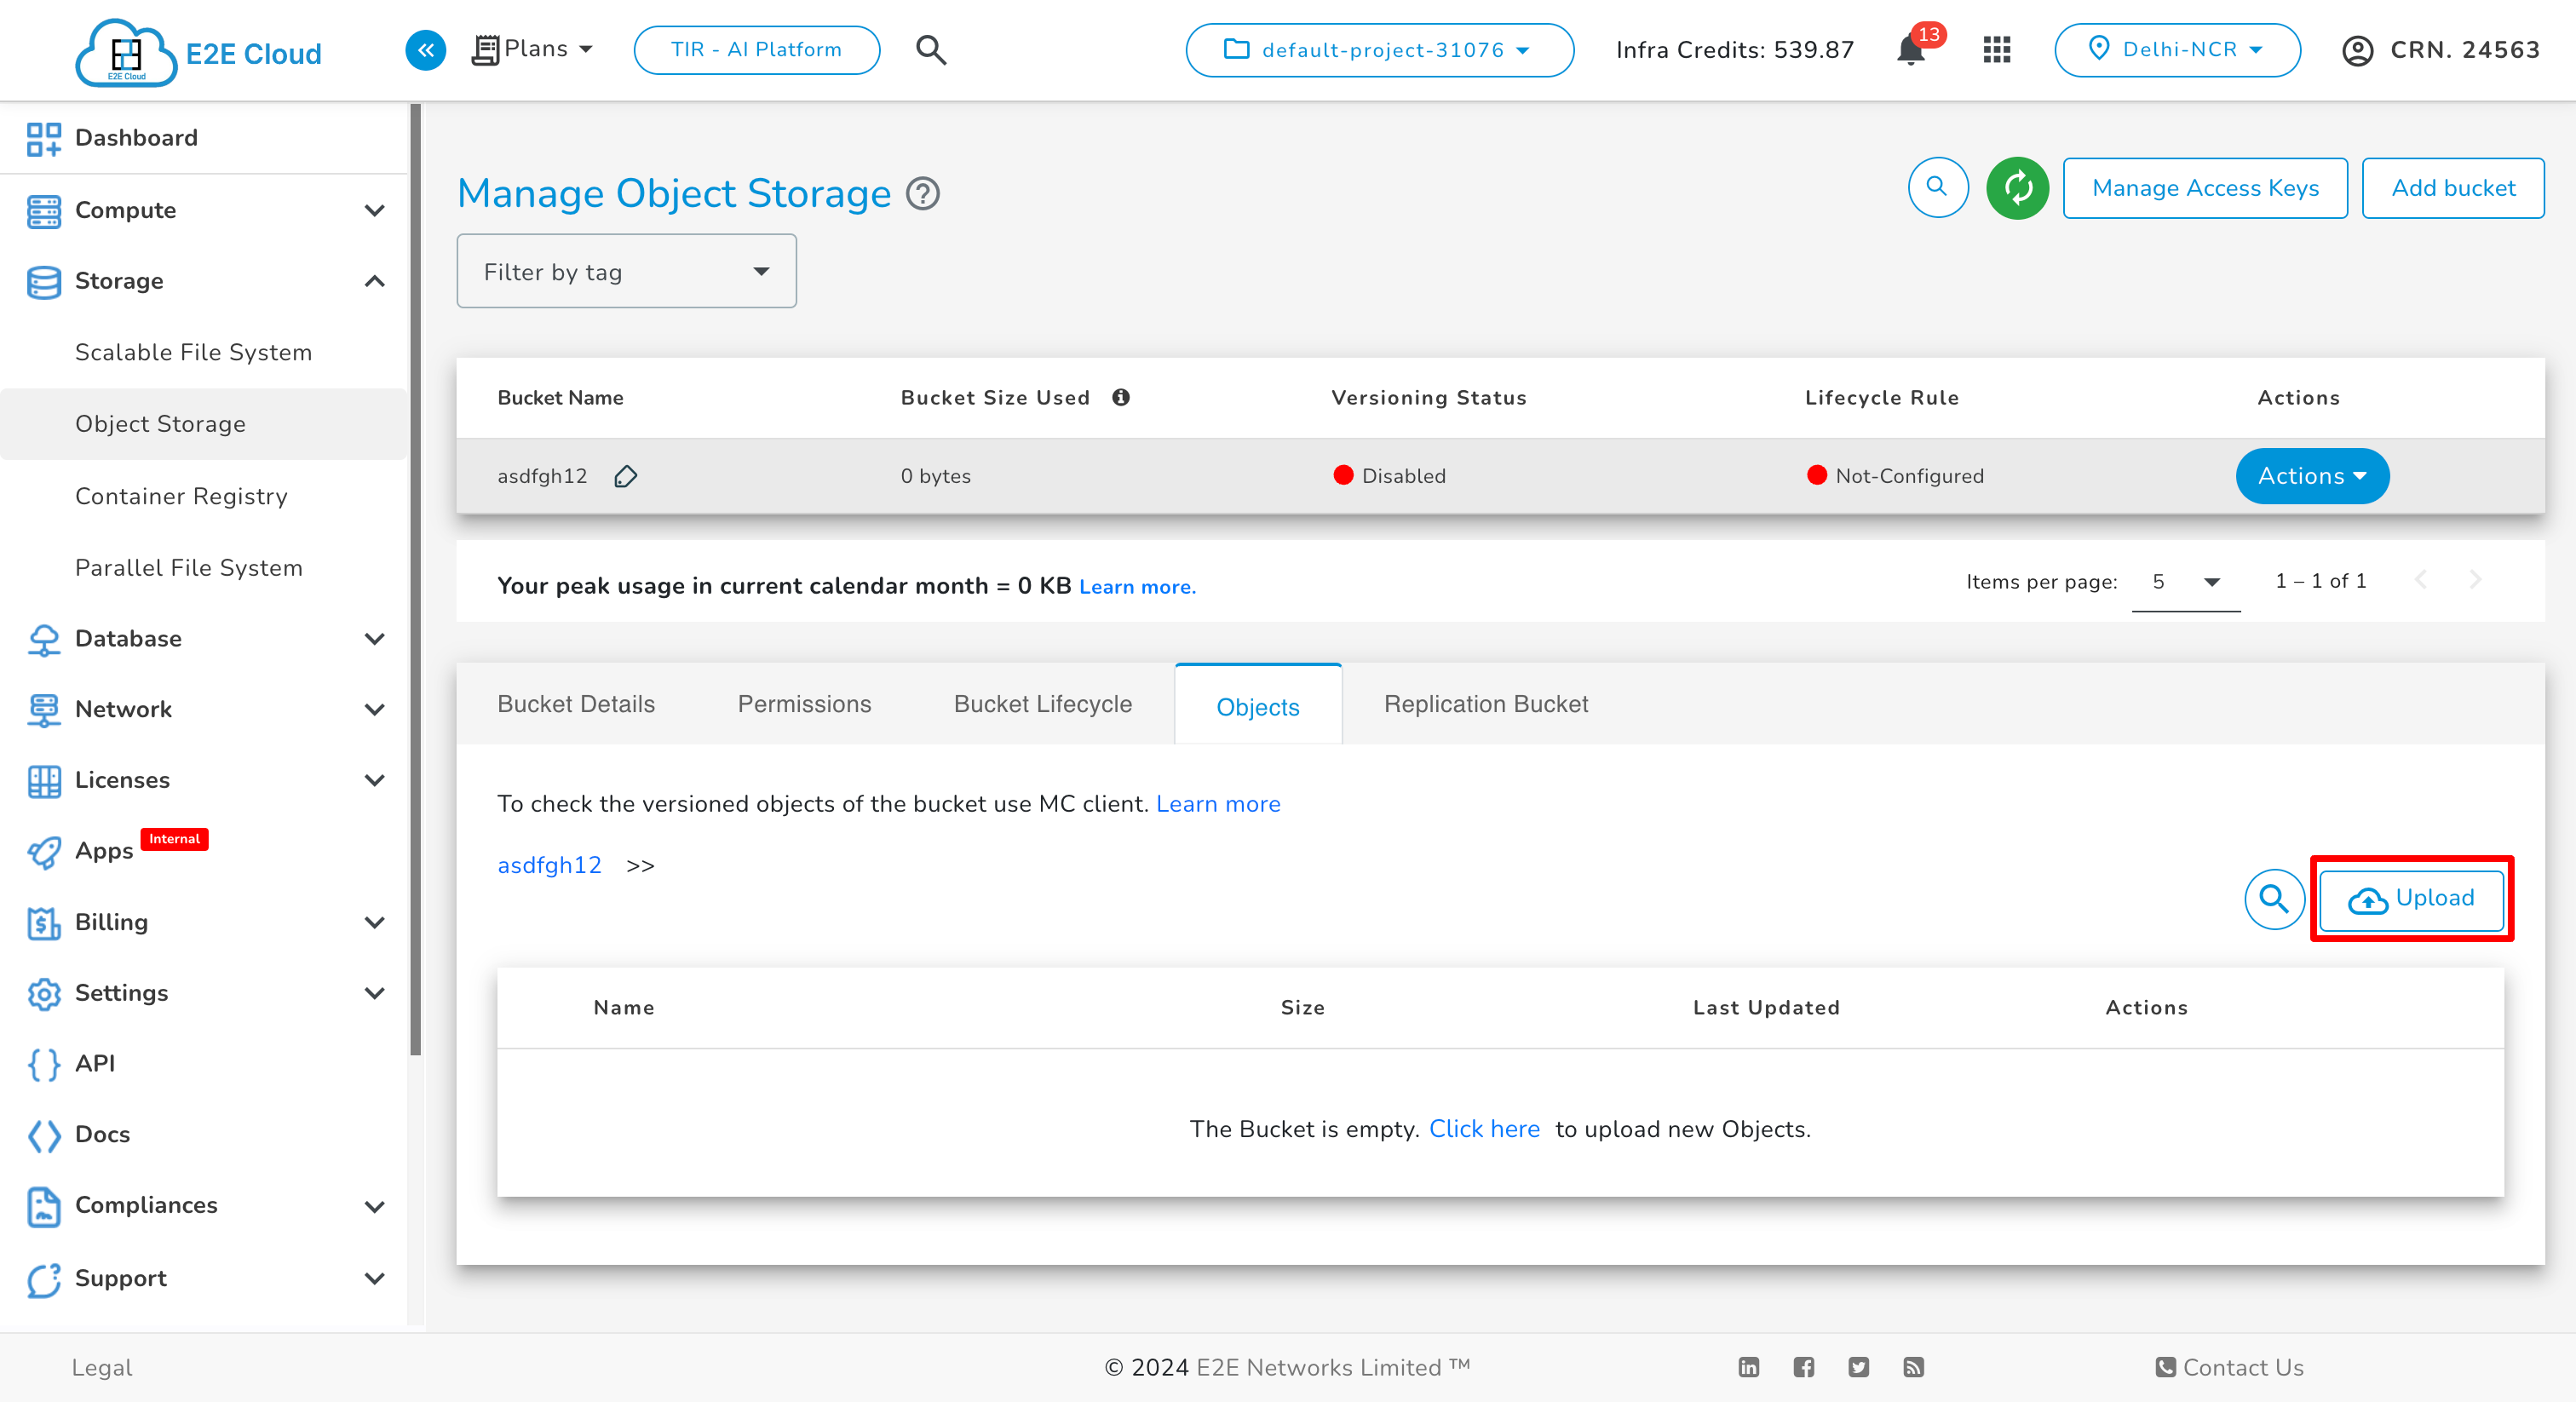
Upload the image on the Object Storage using the Upload feature
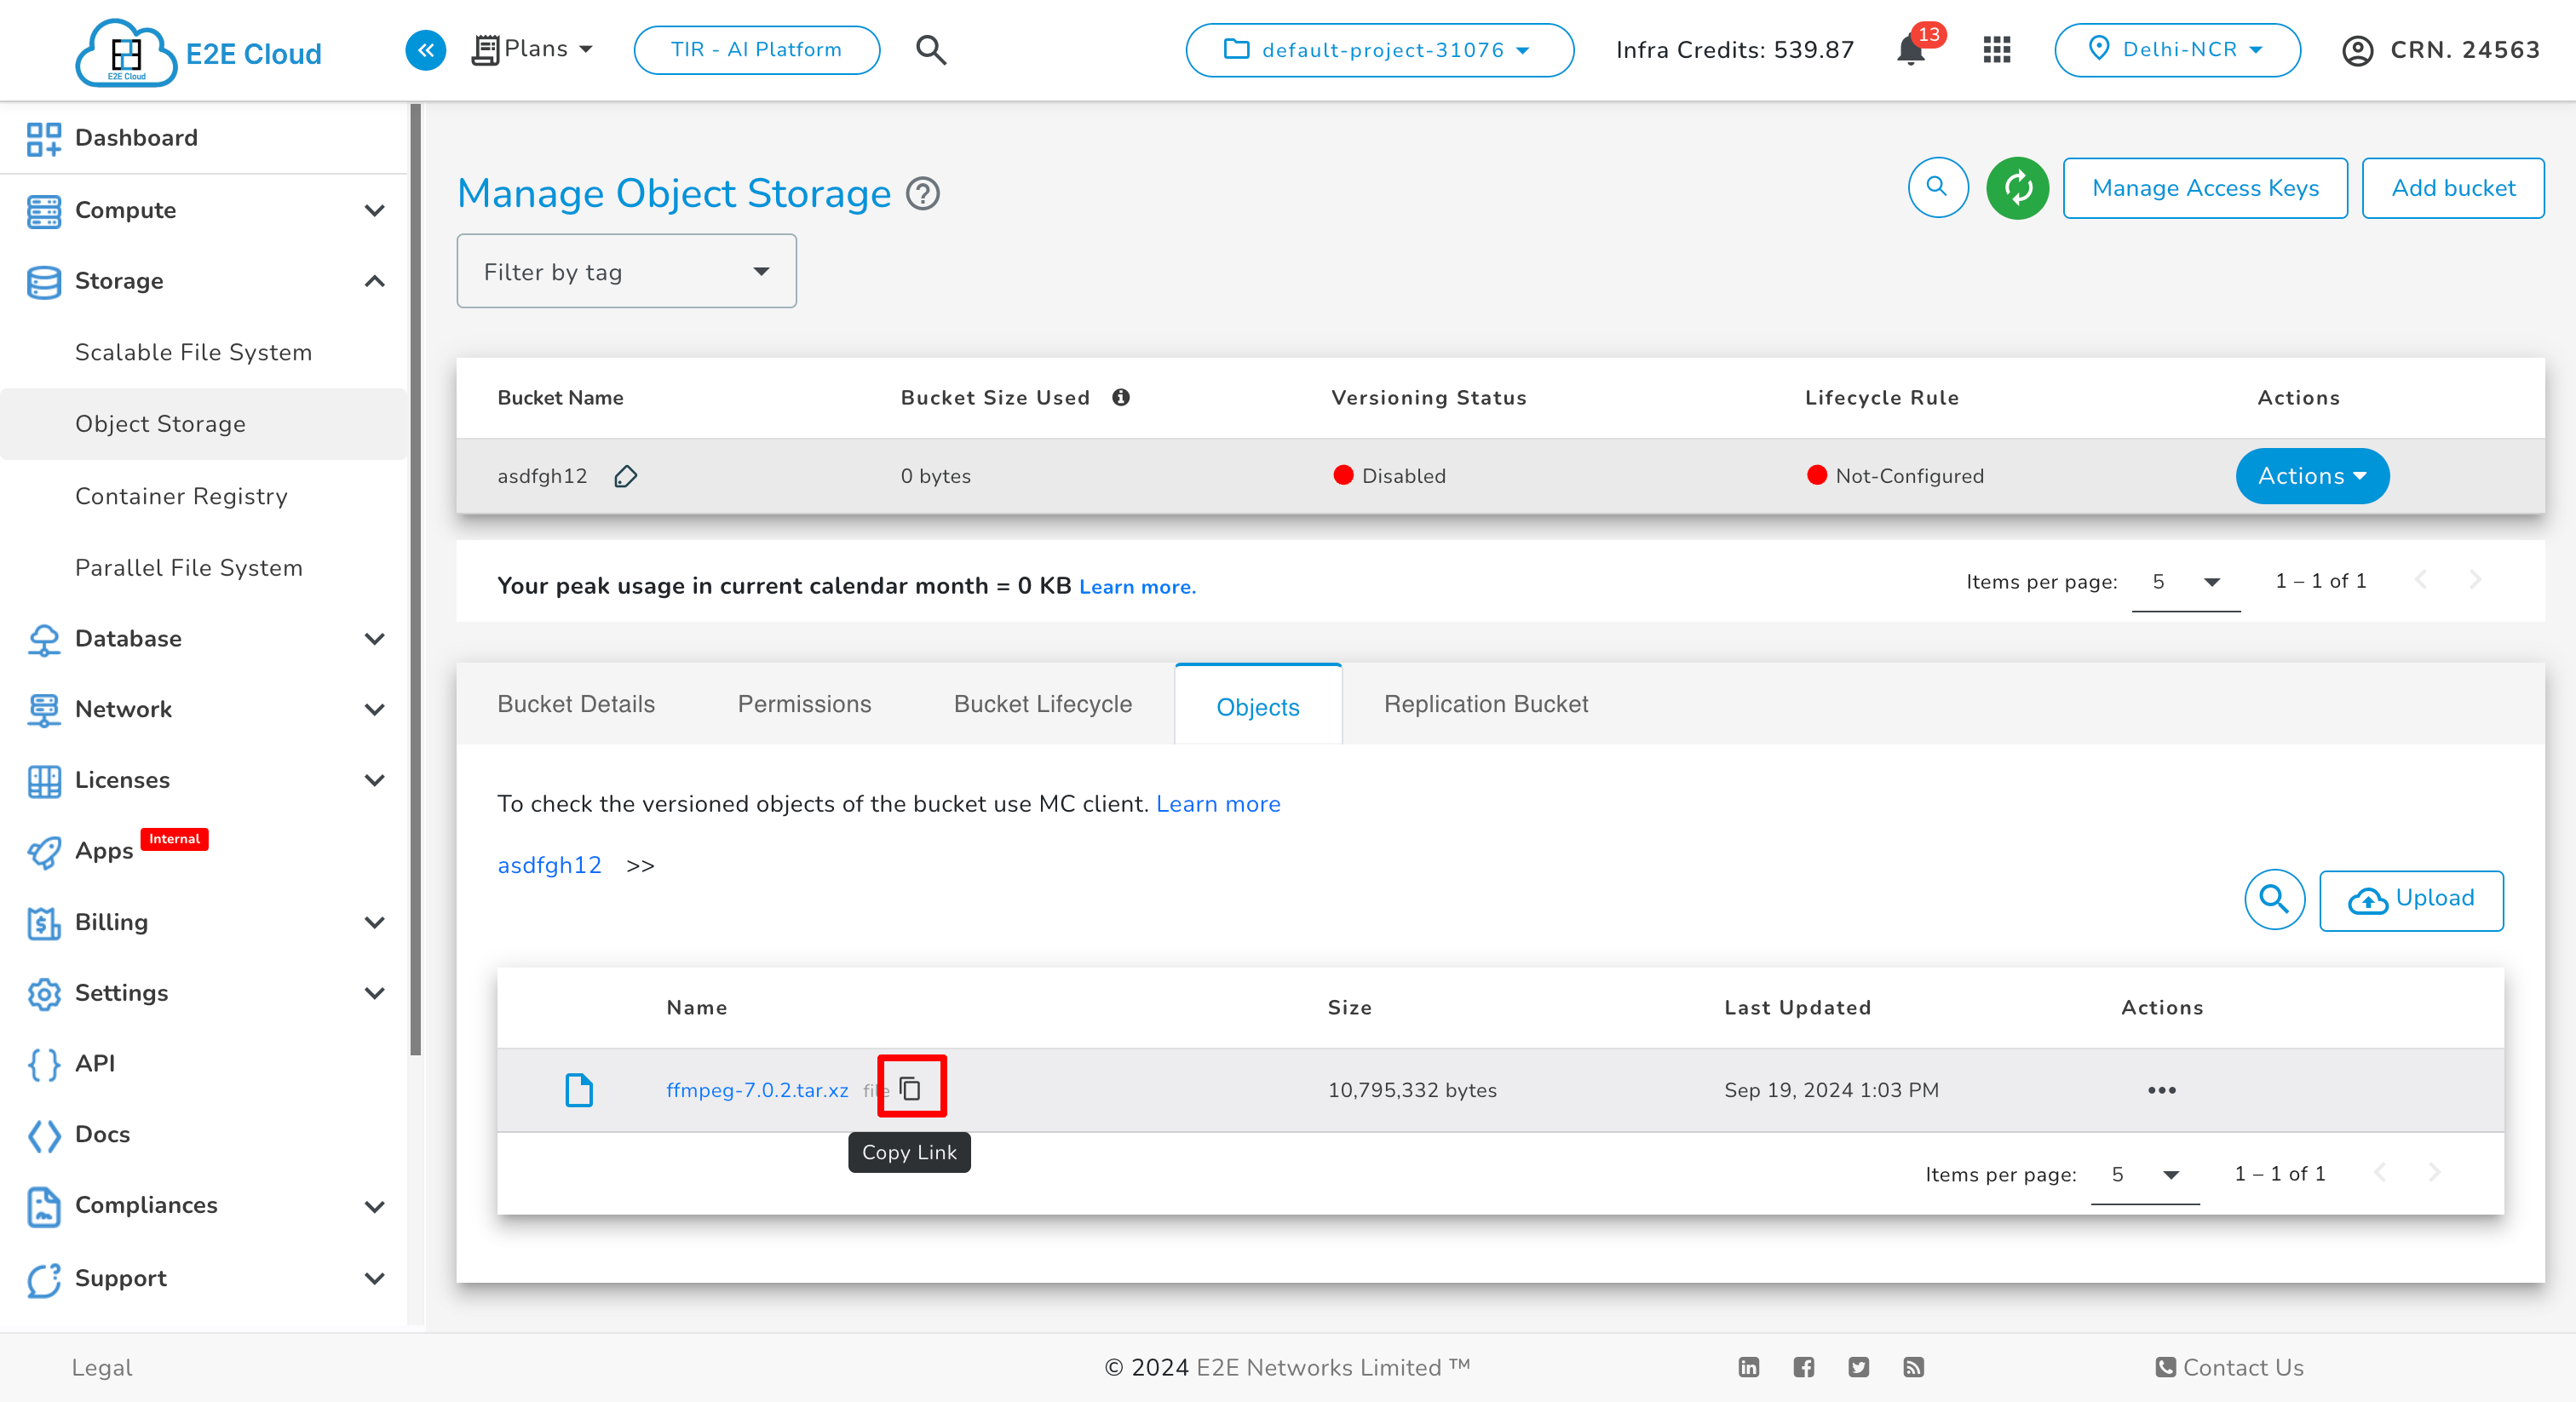
After the image has been uploaded on the bucket, you can simply copy the link which is a public E2E Object Storage URL.
Importing an image to E2E Cloud-Platform
Once you have an image ready meeting the aforementioned prerequisites, you can provide us with a public E2E Object Storage URL from where we can download the image. We will get the image imported to our cloud-platform from the backend and make it available in your myaccount Saved Images section from where you can use it to create virtual machines with your choice of plan.
Go to MyAccount and log in using your credentials.
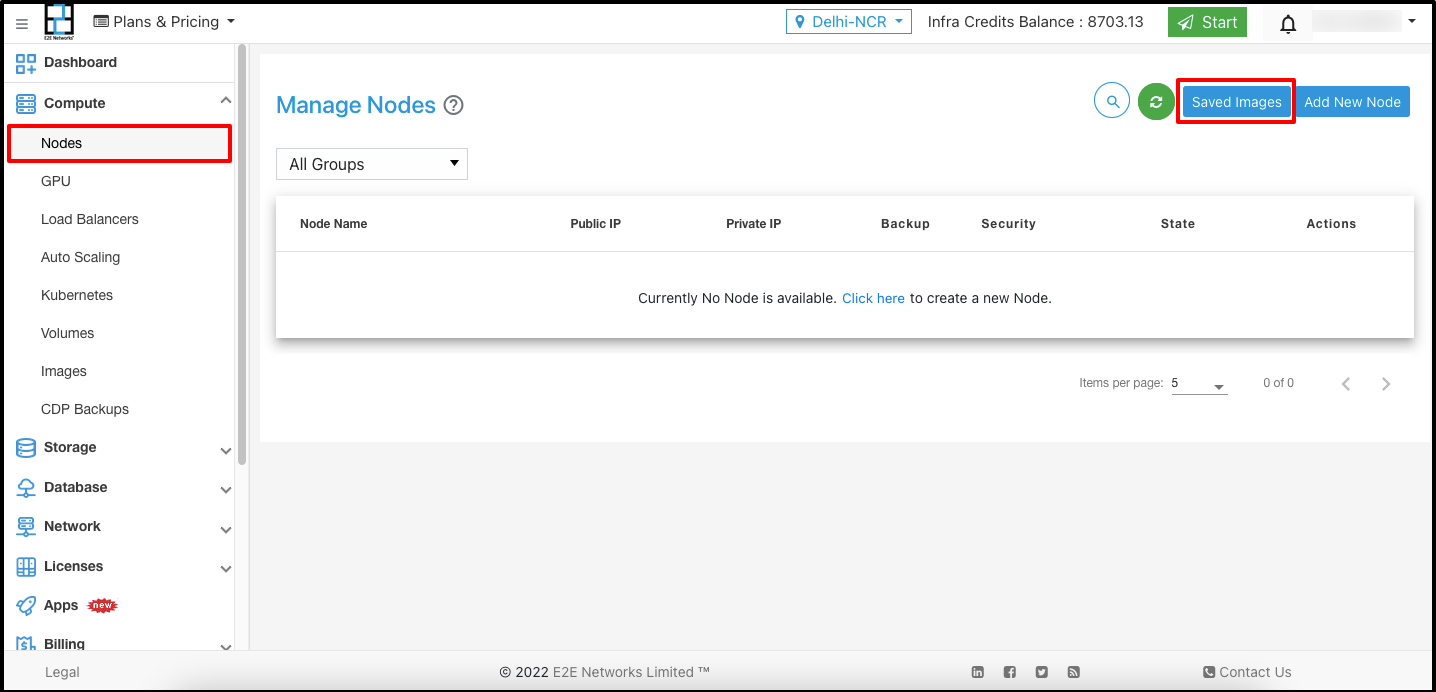
On the left Navigation bar, Select Nodes under the compute section.
You will be redirected to the Manage Node page.
Click on ‘Saved Images’.
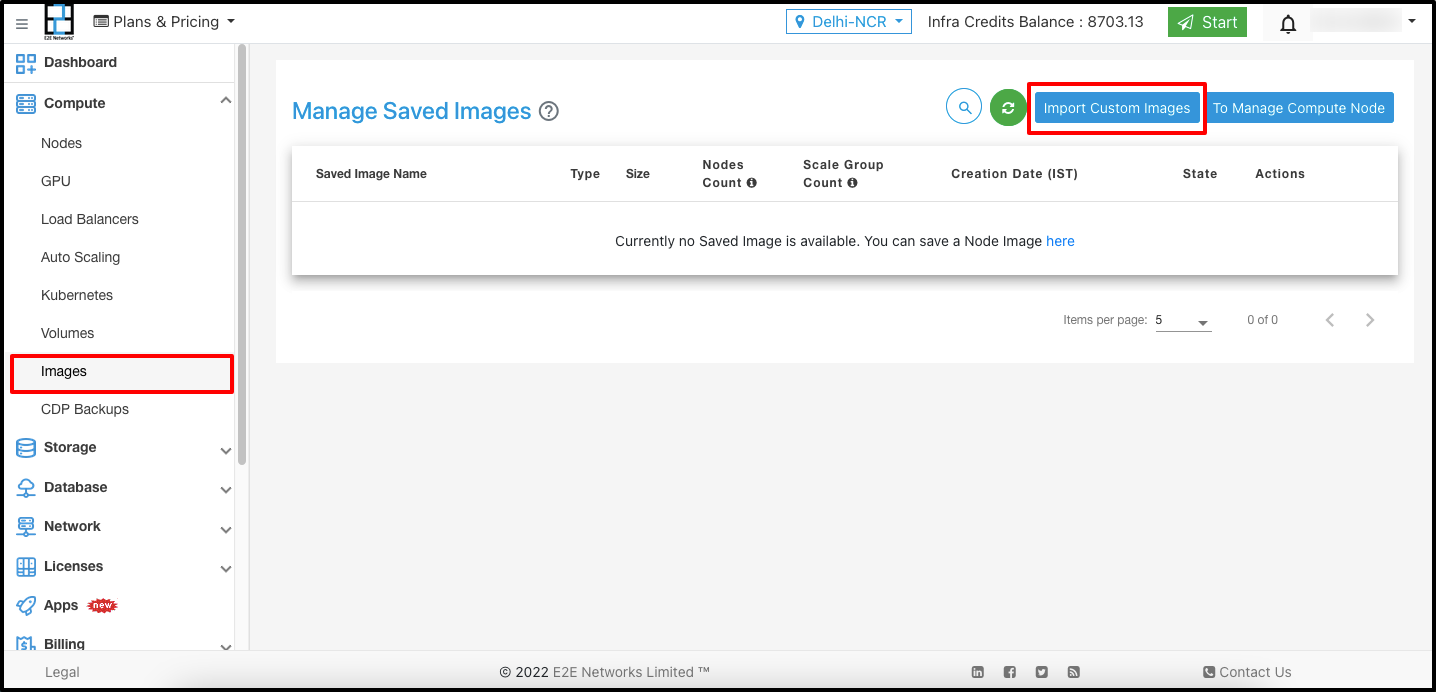
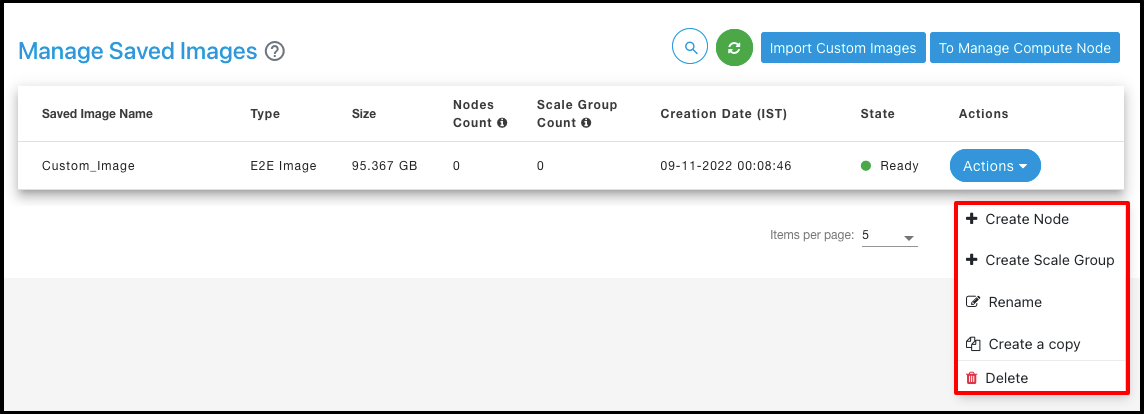
You will be redirected to the ‘Manage Saved Image’ page.
Click on the ‘Import Custom Image’.
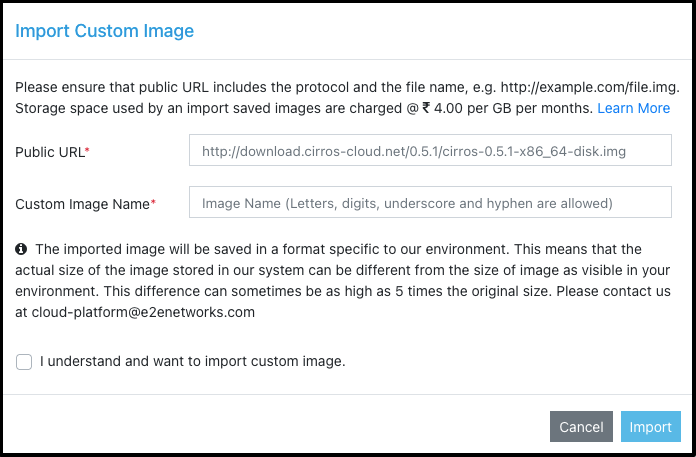
The import custom image window will be opened. Please provide the following details.
Public URL: Paste the public E2E Object Storage URL which you have copied from the object storage. We will import the image from this link.
Custom Image Name: This field is pre-filled with the name, but you can customize it if you like.
Note
The imported image will be saved in a format specific to our environment. This means that the actual size of the image stored in our system can be different from the size of the image as visible in your environment. This difference can sometimes be as high as 5 times the original size. Please contact us at cloud-platform@e2enetworks.com
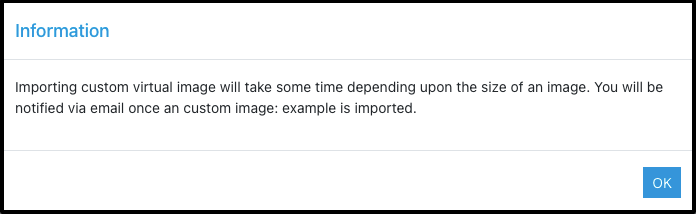
After you’ve entered the required details, click Import. An information message will appear on screen.
Note
Importing virtual images will take some time. It’s depending upon the size of an image. You will be notified once an image is imported.
Once your custom image is added to your account, you can create a node or create a scale group from your custom image.
You can contact our cloud-platform support team at cloud-platform@e2enetworks.com for any query and concern with the import process.